At some point during the story, you will unlock the Varmareno Coliseum at Port Brilehaven. There are two options for you here, which are Ranked Battles that slightly differ as you climb the ranks, and Gauntlet Challenges. The Gauntlet Challenges ask you to complete 30 battles in a row, without any resting in between them. There are three tiers of the gauntlets, but there is really no reason to do any of them, except for the Gold Gauntlet Challenge, as you unlock a trophy/achievement for doing that. Progress through the Ranked Battles to unlock the Gold Gauntlet, then wait until you’re near the end of the game to do it.
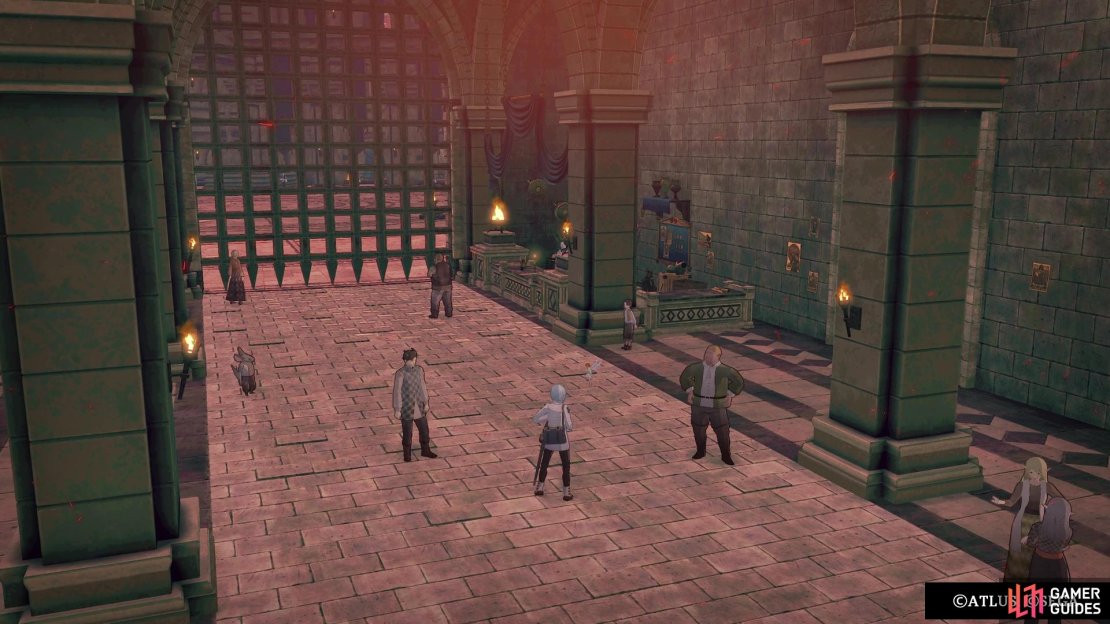
The Coliseum is found in Brilehaven, and there are two different challenges there.
Gold Gauntlet Challenge Overview
The Coliseum is unlocked after you complete the Infiltration of the Charadrius, as part of the main story in the Brilehaven chapter of the game. At this point, though, you only have limited battles in which you can participate. As you complete more of the Ranked Battles, you will eventually increase your rank from Bronze, to Silver, and eventually Gold. Once you reach Gold, then you will unlock the Gold Gauntlet Challenge. Note that it would probably be very hard to do the challenge at the point in which you first unlock it, so it’s better to wait until you’re near the end of the story.
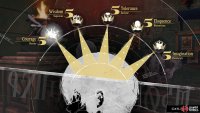
The Gauntlet Challenges, as briefly described in the opening paragraph, have you doing a total of 30 fights in a row, without any breaks or recovery in between them. Thus, it’s important that you be prepared, as all it takes is one bad battle to set things back, especially if you manage to make it far into the challenge. The rewards for the Gauntlet Challenges is nothing but a slight increase to your Courage Royal Virtue, although you could get item drops and experience from doing all of the fights. Overall, though, it’s definitely not worth doing these, since they take up a time slot and the rewards aren’t entirely worth it in the long run.
The Gold Gauntlet Challenge is the toughest of the three, with enemies in it ranging from the mid-50s, all the way up to level 70 or so. The Gauntlet Challenges have set battles in them, but the order in which you fight them will be completely random. So, you could fight the same battle two times in a row, and there’s a chance you might not even see a battle formation or two. When you win a fight, you will have the choice to continue or stop. Choosing to stop will end the challenge and the next time you try, you’ll have to start from the beginning.
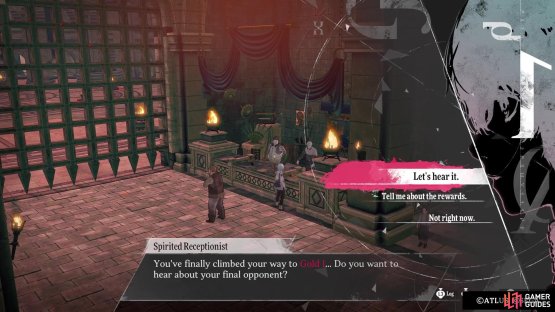
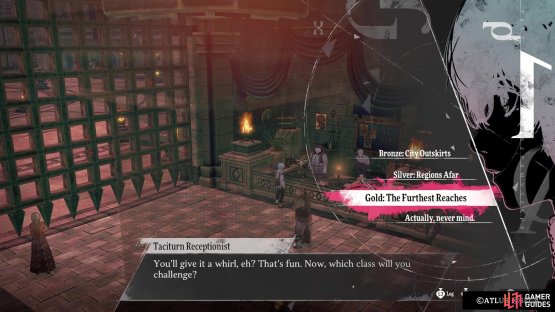
(1 of 2) You’ll have to reach Gold in the Ranked League before trying the challenge.
You’ll have to reach Gold in the Ranked League before trying the challenge. (left), There is no need to do the other two Gauntlet Challenges. (right)
If you are able to complete the Ranked Battles all the way, then you should be ready for the Gold Gauntlet Challenge. Having a healthy supply of ![]() Cursed Love Ballads is ideal, since they heal 100 MP to the entire party (double that if someone has
Cursed Love Ballads is ideal, since they heal 100 MP to the entire party (double that if someone has ![]() Item Connoisseur).
Item Connoisseur). ![]() Strohl is great if you have the Royal Warrior Archetype on him, as he gains some good area-of-effect skills. Likewise, the
Strohl is great if you have the Royal Warrior Archetype on him, as he gains some good area-of-effect skills. Likewise, the ![]() Prince can do wonders with
Prince can do wonders with ![]() Radiance, since there are a few enemies weak to Light. If you have a
Radiance, since there are a few enemies weak to Light. If you have a ![]() Tycoon, then their one Synthesis Skill that does big damage can work wonders, provided you have a lot of money.
Tycoon, then their one Synthesis Skill that does big damage can work wonders, provided you have a lot of money.
Gold Gauntlet Challenge Enemies
As previously mentioned, the enemy formations in battles during the challenge are set in stone, but the order in which you encounter the enemies is completely random. So, you could fight the same two battles in a row, and you might not even fight some enemy formations at all. That’s why it’s important to come in prepared, since you never really know what you’re going to be up against here.
-
Noctiluca Papyrmas: Set of four of them. Weak to Pierce, Wind and Dark. Should be pretty much fodder, considering they are level 48.
-
Greatmoth Nocurmos: Set of three of them and slightly stronger than the above enemies. Weak to Ice and Wind.
-
 General Malmortas: Four skeletons, of the varying types (Bow, Sword and Spear). All weak to Strike and Light.
 -
Spekto of Fury and Rigopetia: There are three Spektos and one Rigopetia. The former is weak to Ice and Light, while the latter is weak to just Ice. If you have an all-Ice skill, use it on this group, although the Rigopetia has a lot of HP.
(1 of 2) Attacks that hit all enemies will be great against some enemy groups.
Attacks that hit all enemies will be great against some enemy groups. (left), Likewise, the Prince’s Radiance skill works for enemies weak to Light. (right)
-
Scourge Malmortas: Three skeletons, one of each type. All weak to Strike and Light. Can be one of the tougher formations, due to being a higher level. However, they don’t have a whole lot of HP, so use
 Mahamaon/Radiance to deal with them.
 -
Balmy Alento/Kaprasarto: A pair of different enemies, with different weaknesses. The former is weak to only Fire, while the Kaprasarto is weak to Lightning and Dark. The Alento is a lower level, but has almost three times the HP over the other enemy.
-
Kaprasarto/Raging Corvosta: There are two Corvostas here, which are weak to only Pierce, but their only other resistance is Wind. Look above for the Kaprasarto.
-
Raging Corvostas: A different battle with four of them. Remember, they are weak to only Pierce, but their only resistance is Wind, so you can use anything else to defeat them.
-
Grotesque Chimenzahn: Only a single one, but one of the more troublesome enemies, due to its high HP. Weak to both Ice and Wind.
-
Potolpo Bruas: Three of these little exploding enemies from the field, although they aren’t too bad in an actual battle. They are weak to Lightning.
-
Bandits: Two different types of bandits, with two each. The non-hooded one is weak to Fire and Ice, while the one with the hood is weak to Pierce and Strike. Go after the hooded ones first, as they have
 Assassinate.
 -
Spellwight Magileto/Skeletons: The Spellwight Magileto is an enemy you probably haven’t seen yet. Unlike the previous Magileto is the one tower, this one is less of a pain, as it doesn’t have much HP and is weak to Strike and Light (same as its two skeleton friends).
(1 of 2) The biggest challenge will be the large enemies, as they have a lot of HP.
The biggest challenge will be the large enemies, as they have a lot of HP. (left), Other than a trophy/achievement, all you get for doing this is some Courage. (right)
-
Gargoyle and Spektos: The Gargoyle shouldn’t pose much of a problem, despite its only weakness being Wind. The Spektos it has with it are weak to Light and you can use Radiance to clear them, since the Gargoyle has no resistance to it.
-
Skull Gelatinos/Greatmoths: The Gelatinos are the only new enemy here, with them being weak to Lightning and Light. The only other elements you can use on them are Ice and Wind, which are the Greatmoths weaknesses.
-
Kokasadors: Stronger enemy that has a fair bit of HP, but is weak to both Pierce and Fire. Be careful of a prolonged battle, as it can instantly KO a character that isn’t protected by
 Rakukaja.
 -
Obsilhas: Four dog-like enemies that are fairly easy, since they are weak to Ice. As long as you don’t use Dark or Fire on them, they should be brought down fairly quickly.
-
Moldilich: A single, strong enemy and possibly the worst one to fight in this whole gauntlet. Only weak to Strike, it’s annoying, since it’s resistant to Light and reflects all of the other elements. It also has a skill it can use to one-hit KO a character.
As you can see from the above, there are quite a few enemies that can be fought in the Gold Gauntlet Challenge. Depending on where you’re at in the game, though, it can be difficult or easy. If you’ve already done the Trials of the Dragon, then you shouldn’t really have much trouble at all with this. Your only reward for doing this is a boost in the Courage Royal Virtue, but you will also unlock the Coliseum Champion trophy/achievement.








No Comments