
The third major arc of Metaphor: ReFantazio will have you visiting the port town of Brilehaven. While here, you decide to get close to Lord Louis, in order to get the formula for the ![]() Prince’s curse spell. As part of this plan, you plan to infiltrate the his gauntlet runner, the Charadrius, as that is where you feel the formula is being held. Louis is holding a soiree on August 13th, so that will be your deadline for this story mission.
Prince’s curse spell. As part of this plan, you plan to infiltrate the his gauntlet runner, the Charadrius, as that is where you feel the formula is being held. Louis is holding a soiree on August 13th, so that will be your deadline for this story mission.
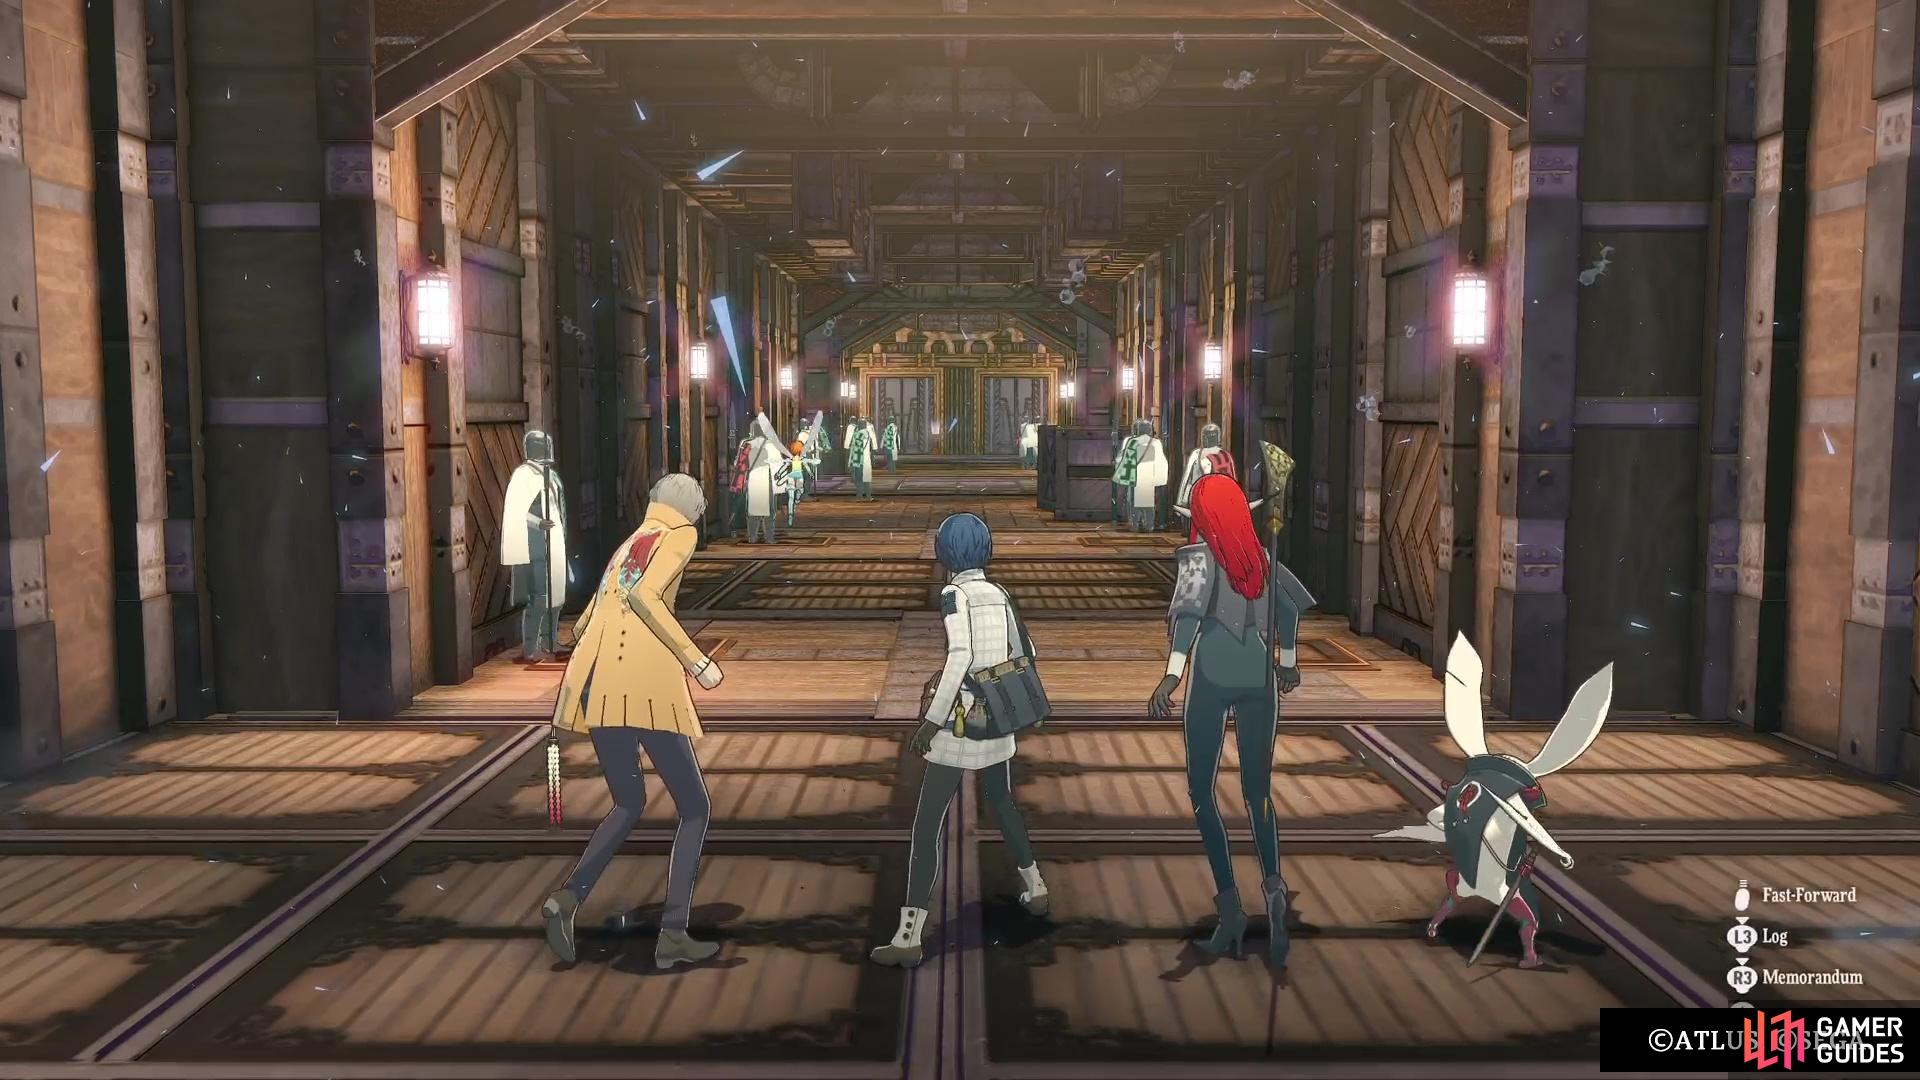
Infiltrating the Charadrius is the main goal of your time in Brilehaven.
Table of Contents
If you wish to quickly jump to any of the sections below, click on any of the links.
Preparing for the Infiltration
Before heading to the runner, you will want to do a few things first. Naturally, you want to head to the tavern in Brilehaven and speak to the ![]() Informant to get some tips on all the officers inside the place. There will be five in total, which means that you will be fighting five bosses (or four, since one is optional). You also won’t be doing this in a traditional battle, as you have to beat all of them within three turns. If you don’t do this, then it will result in a game over. Each of the bosses will have something to them that can make them tough, but a strong enough party should be able to clear them easily.
Informant to get some tips on all the officers inside the place. There will be five in total, which means that you will be fighting five bosses (or four, since one is optional). You also won’t be doing this in a traditional battle, as you have to beat all of them within three turns. If you don’t do this, then it will result in a game over. Each of the bosses will have something to them that can make them tough, but a strong enough party should be able to clear them easily.
Doing all of the optional content first, which includes all of the side quests and bounties, from Brilehaven should make you more than ready. This will likely put you around level 33 or so and on Normal, this is enough. Note that you won’t be fighting any other battles in here, so MP conversation is a lot easier. Once you’re ready, teleport to Warship Harbour and go in through the door to get started.
Crew Quarters
When you first enter the runner, go straight down the hall and then make a right at the end, as the marked exit will bring you to the Crew Quarters. There will be a bunch of guards in here, but they aren’t enemies and are more like NPCs. Climb the ladder down to the base floor, then go up the other ladder in the southeast corner to find an item (![]() White Hawk Wings). To get started in this section, approach the guards in the northeast corner for a quick scene.
White Hawk Wings). To get started in this section, approach the guards in the northeast corner for a quick scene.


(1 of 2) Don’t forget to grab the items in the area before you enter the stealth section.

Don’t forget to grab the items in the area before you enter the stealth section. (left), Your only real option to sneak to do recon in the Crew Quarters is yourself. (right)
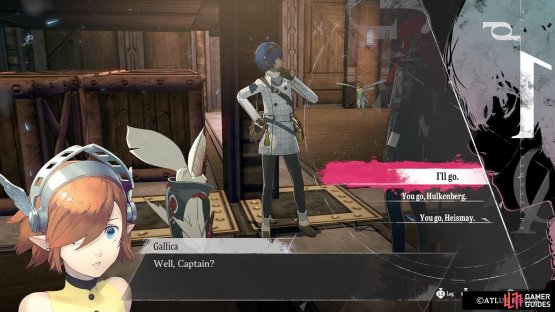
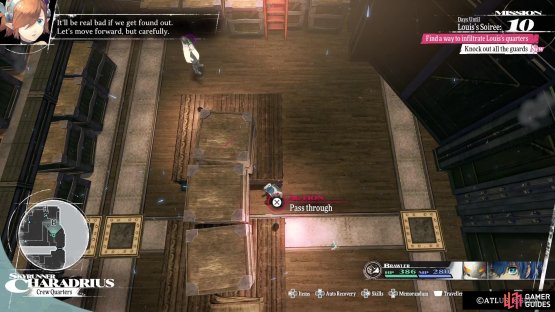
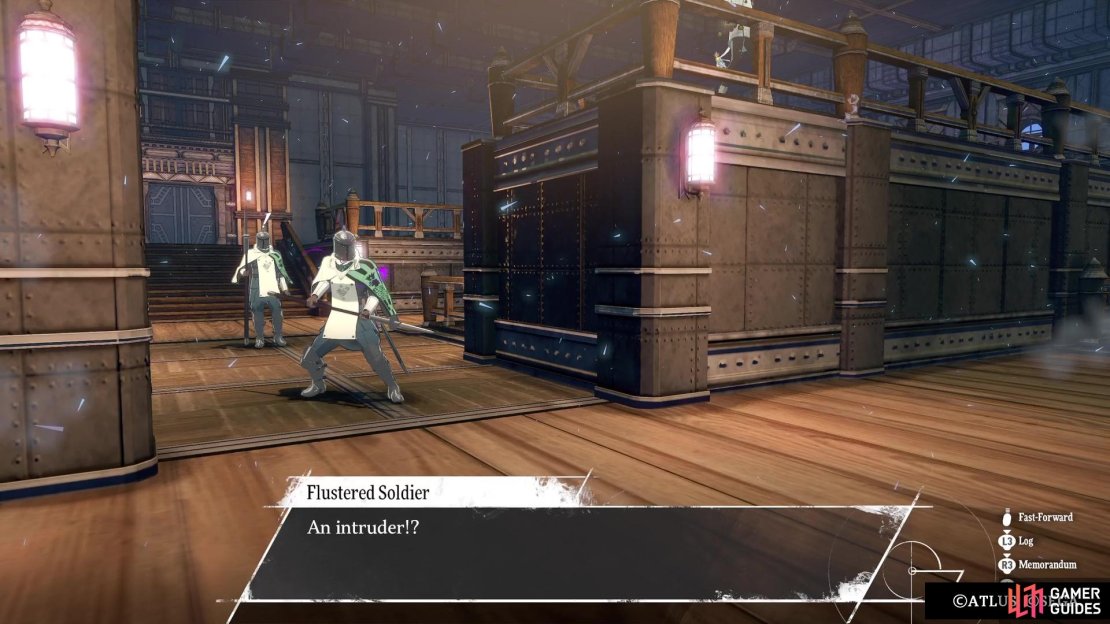
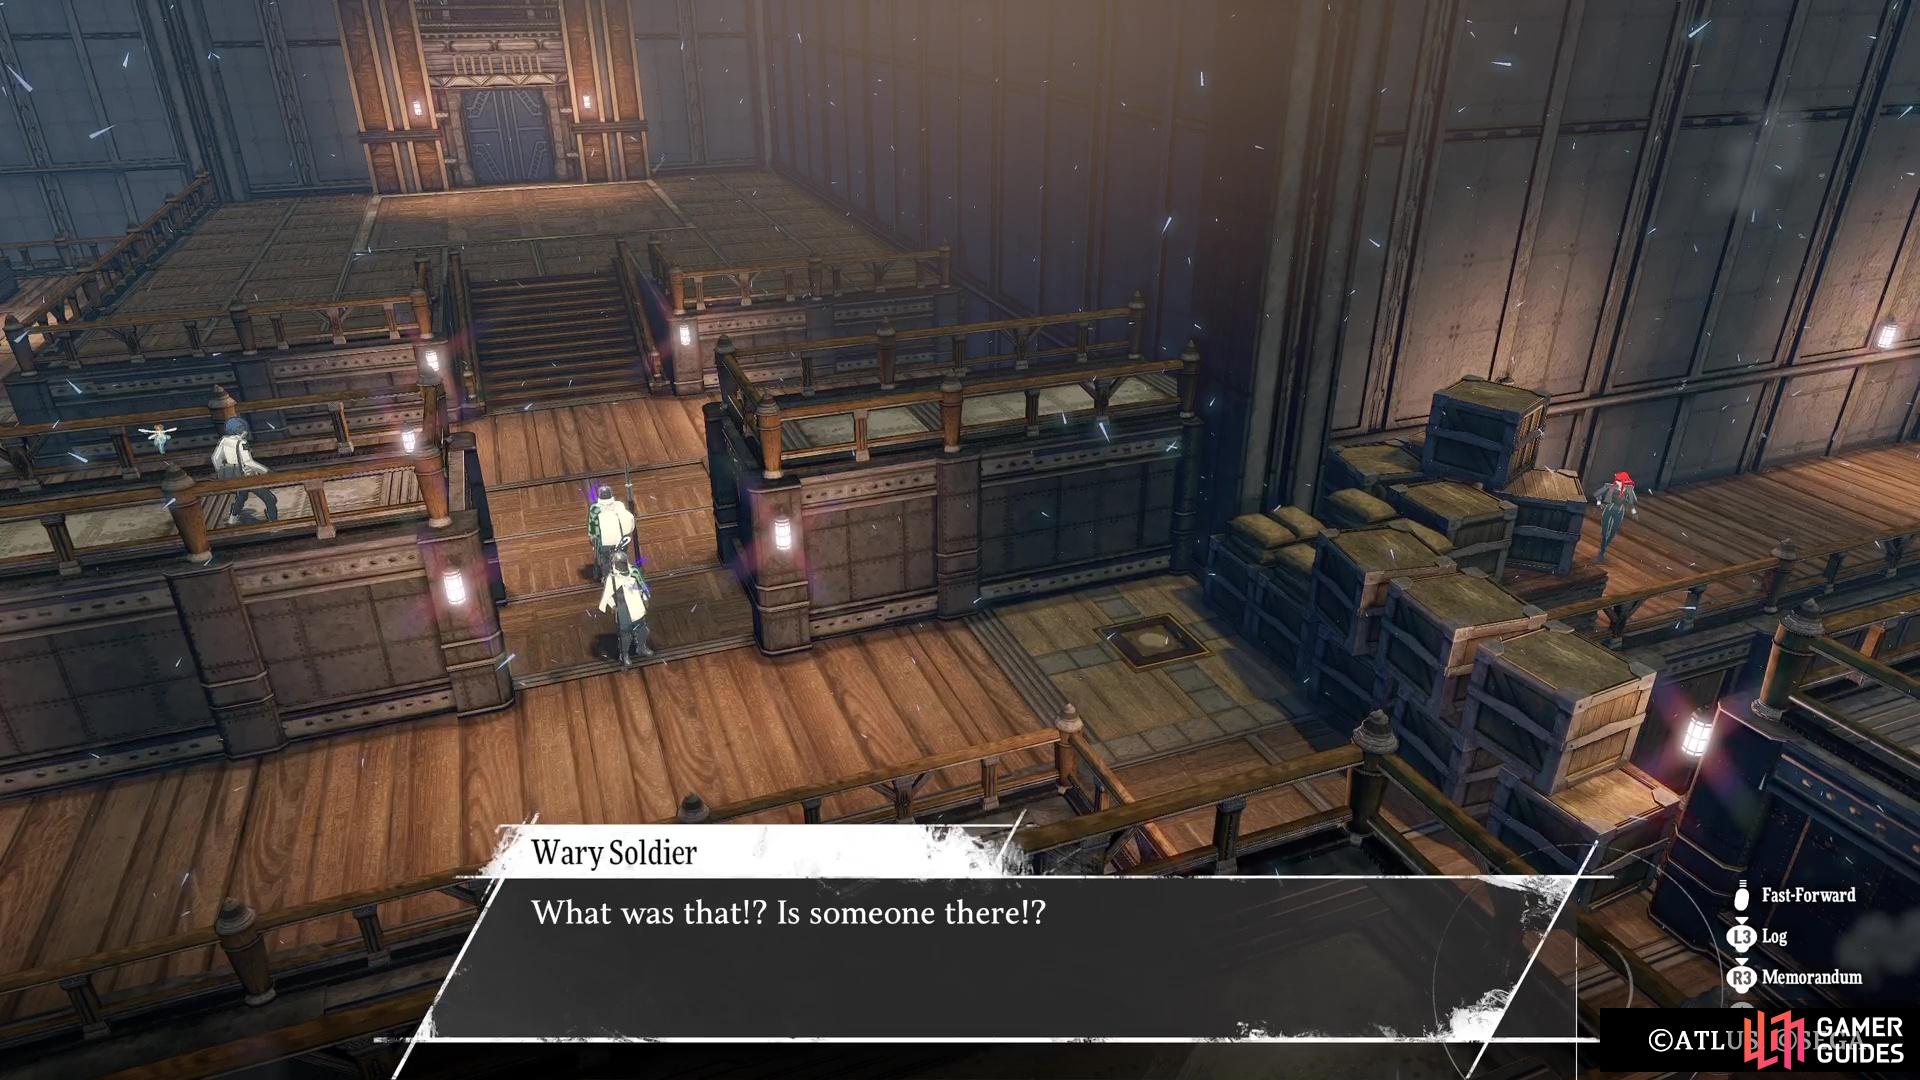
It appears you won’t be able to get past them, but it’s suggested to speak with the other soldiers in the room to learn any gossip. Speak to all of the soldiers that have a speech bubble, which should trigger another scene that gets the guards away from the one door. At that point, you will get to pick who goes into the next room, but the choice will always be the protagonist. After heading inside, you will be forced into a stealth section, which isn’t terribly difficult, but you need to not get seen at all.
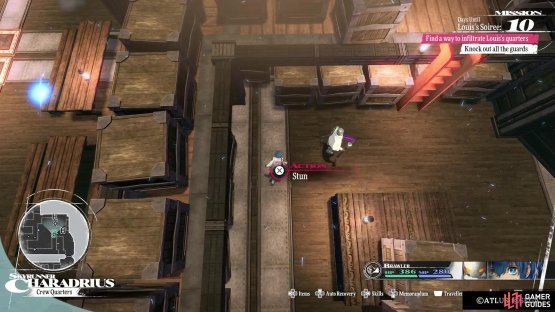
The goal here is to get behind all of the guards and knock them out, which will be done with a designated button when you see it. Upon starting, crawl through the small passage at the boxes to get behind the first guard and knock him out. Head south next to pick up the item along the southern path (![]() Gambling Stall Silver), then return to where the first guard was located. Take the ladder up here (another Gambling Stall Silver here), then use the ladder at the very top to reach the middle section.
Gambling Stall Silver), then return to where the first guard was located. Take the ladder up here (another Gambling Stall Silver here), then use the ladder at the very top to reach the middle section.

(1 of 2) You don’t want to get caught at all when you are in the stealth sections.

You don’t want to get caught at all when you are in the stealth sections. (left), The goal of each one is to knock out all of the guards you find. (right)
Wait for the guard to turn its back before stunning him, then grab the ![]() Thick Poetry Collection and hit the final guard just south of there. Seeing as this is the final soldier here, the party will get back together and you’ll approach the door to Sergeant Xanth. If you need it, there is a save point right at the door, and you can go over the intel you have from the Informant, provided you bought it. When you’re ready, go inside and face the first of many bosses in this dungeon.
Thick Poetry Collection and hit the final guard just south of there. Seeing as this is the final soldier here, the party will get back together and you’ll approach the door to Sergeant Xanth. If you need it, there is a save point right at the door, and you can go over the intel you have from the Informant, provided you bought it. When you’re ready, go inside and face the first of many bosses in this dungeon.
Sergeant Xanth Boss Strategy
Remember that you have a total of three turns to beat Xanth here, or else it’s game over. The intel mentions that status ailments are great against Xanth, especially Burn and Poison, so if you can inflict them easily, then go ahead and do that. Otherwise, the best bet is to just go all out with your strongest skills. ![]() Gold Attack from the
Gold Attack from the ![]() Merchant is great here, since it’s both physical and Almighty. You don’t really have too much leeway to experiment in these battles, due to the turn limit. Pick something that works and just keep using it until you beat him.
Merchant is great here, since it’s both physical and Almighty. You don’t really have too much leeway to experiment in these battles, due to the turn limit. Pick something that works and just keep using it until you beat him.
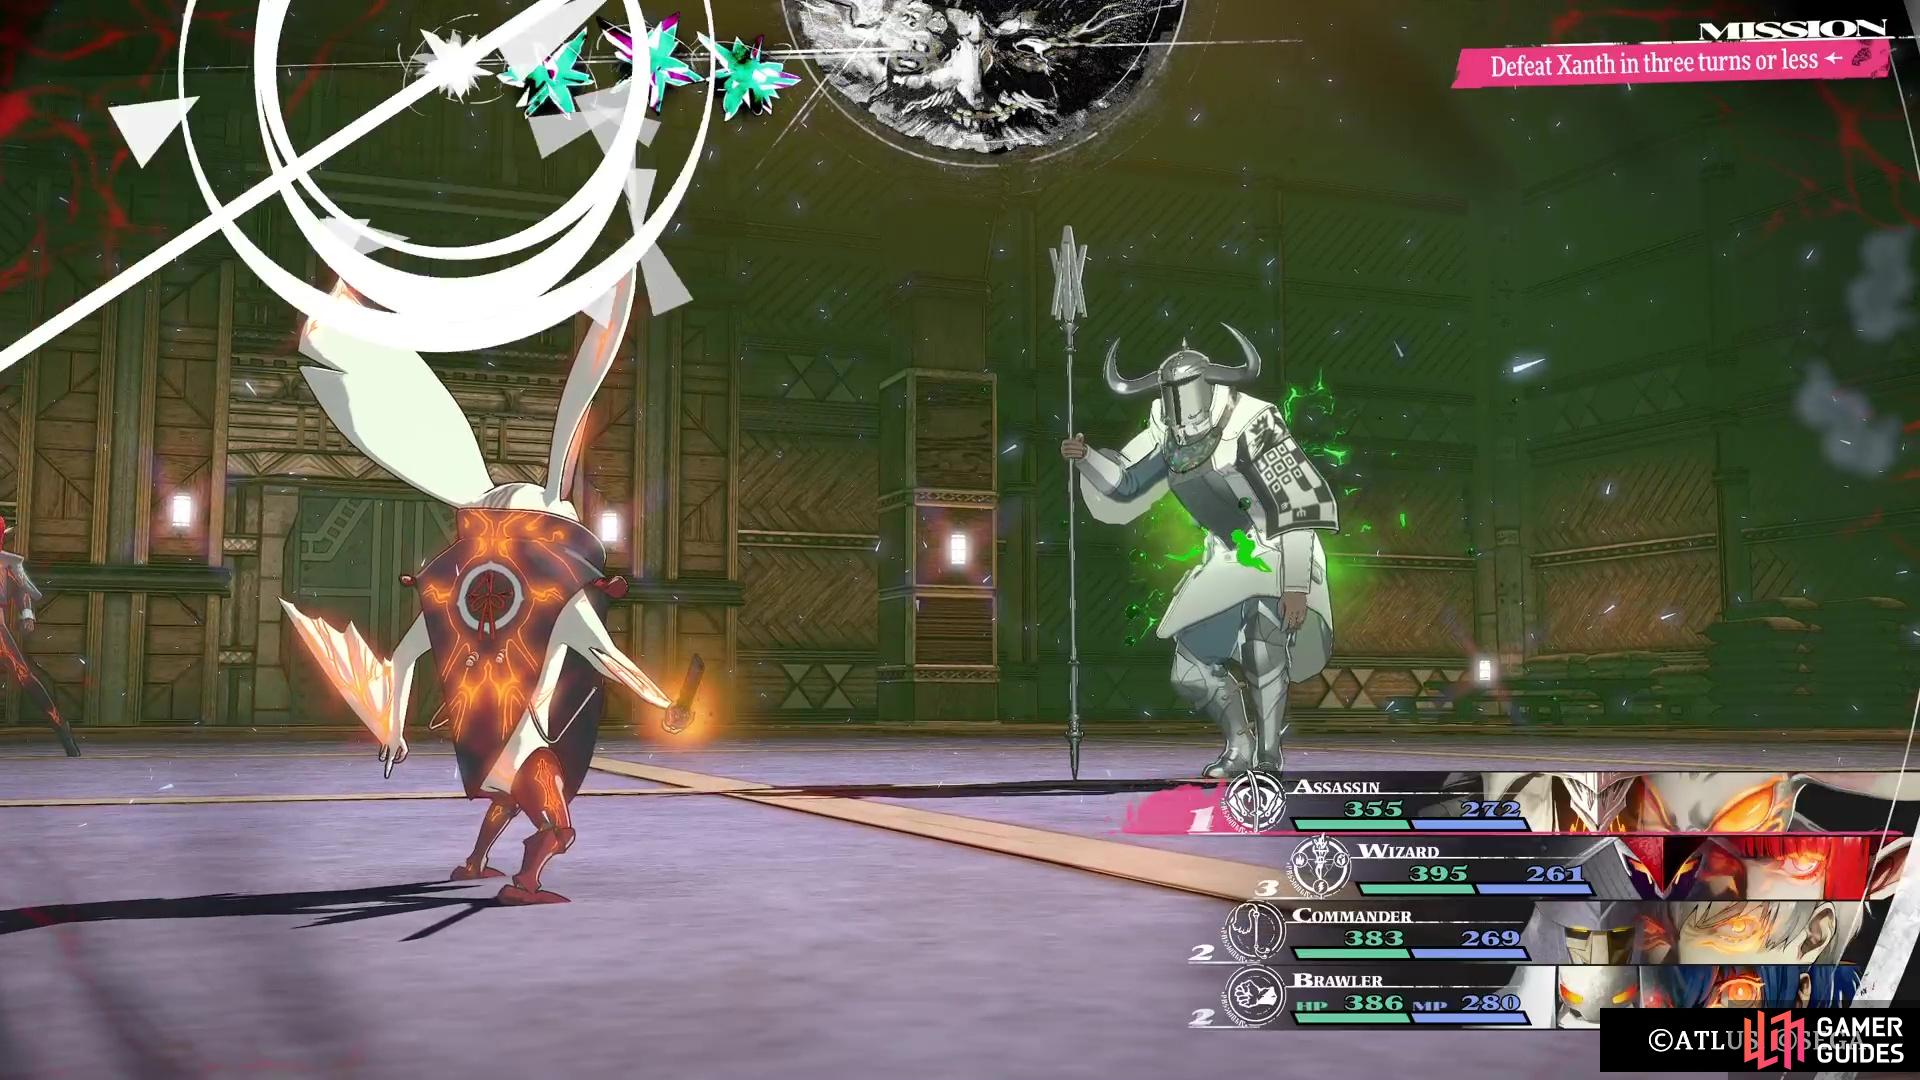


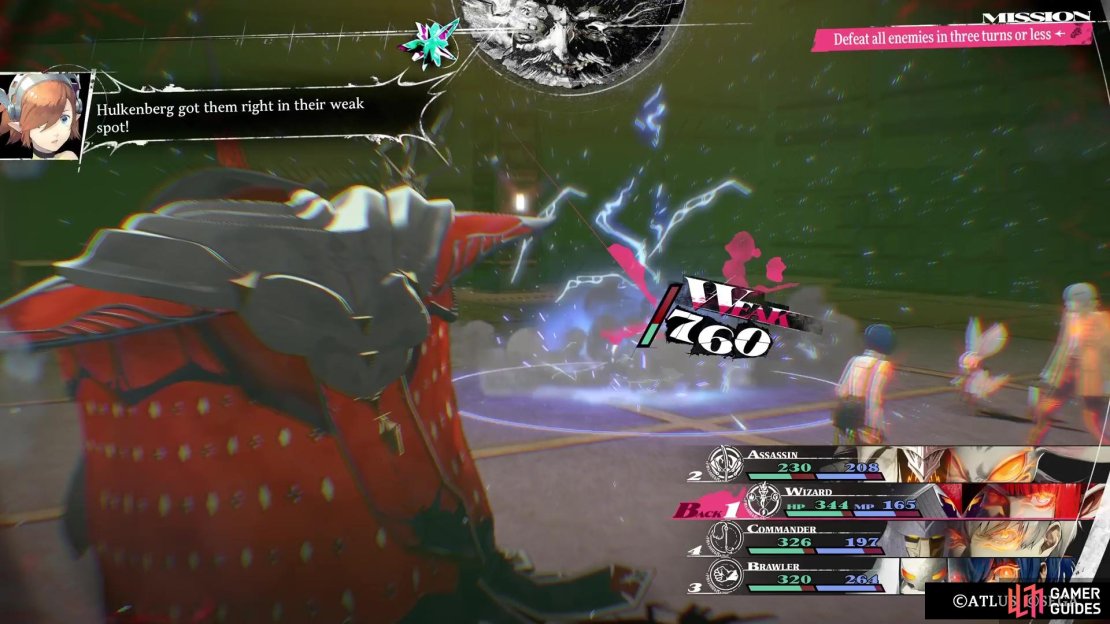
(1 of 2) Status ailments, like poison and burn, work wonders against Xanthe.
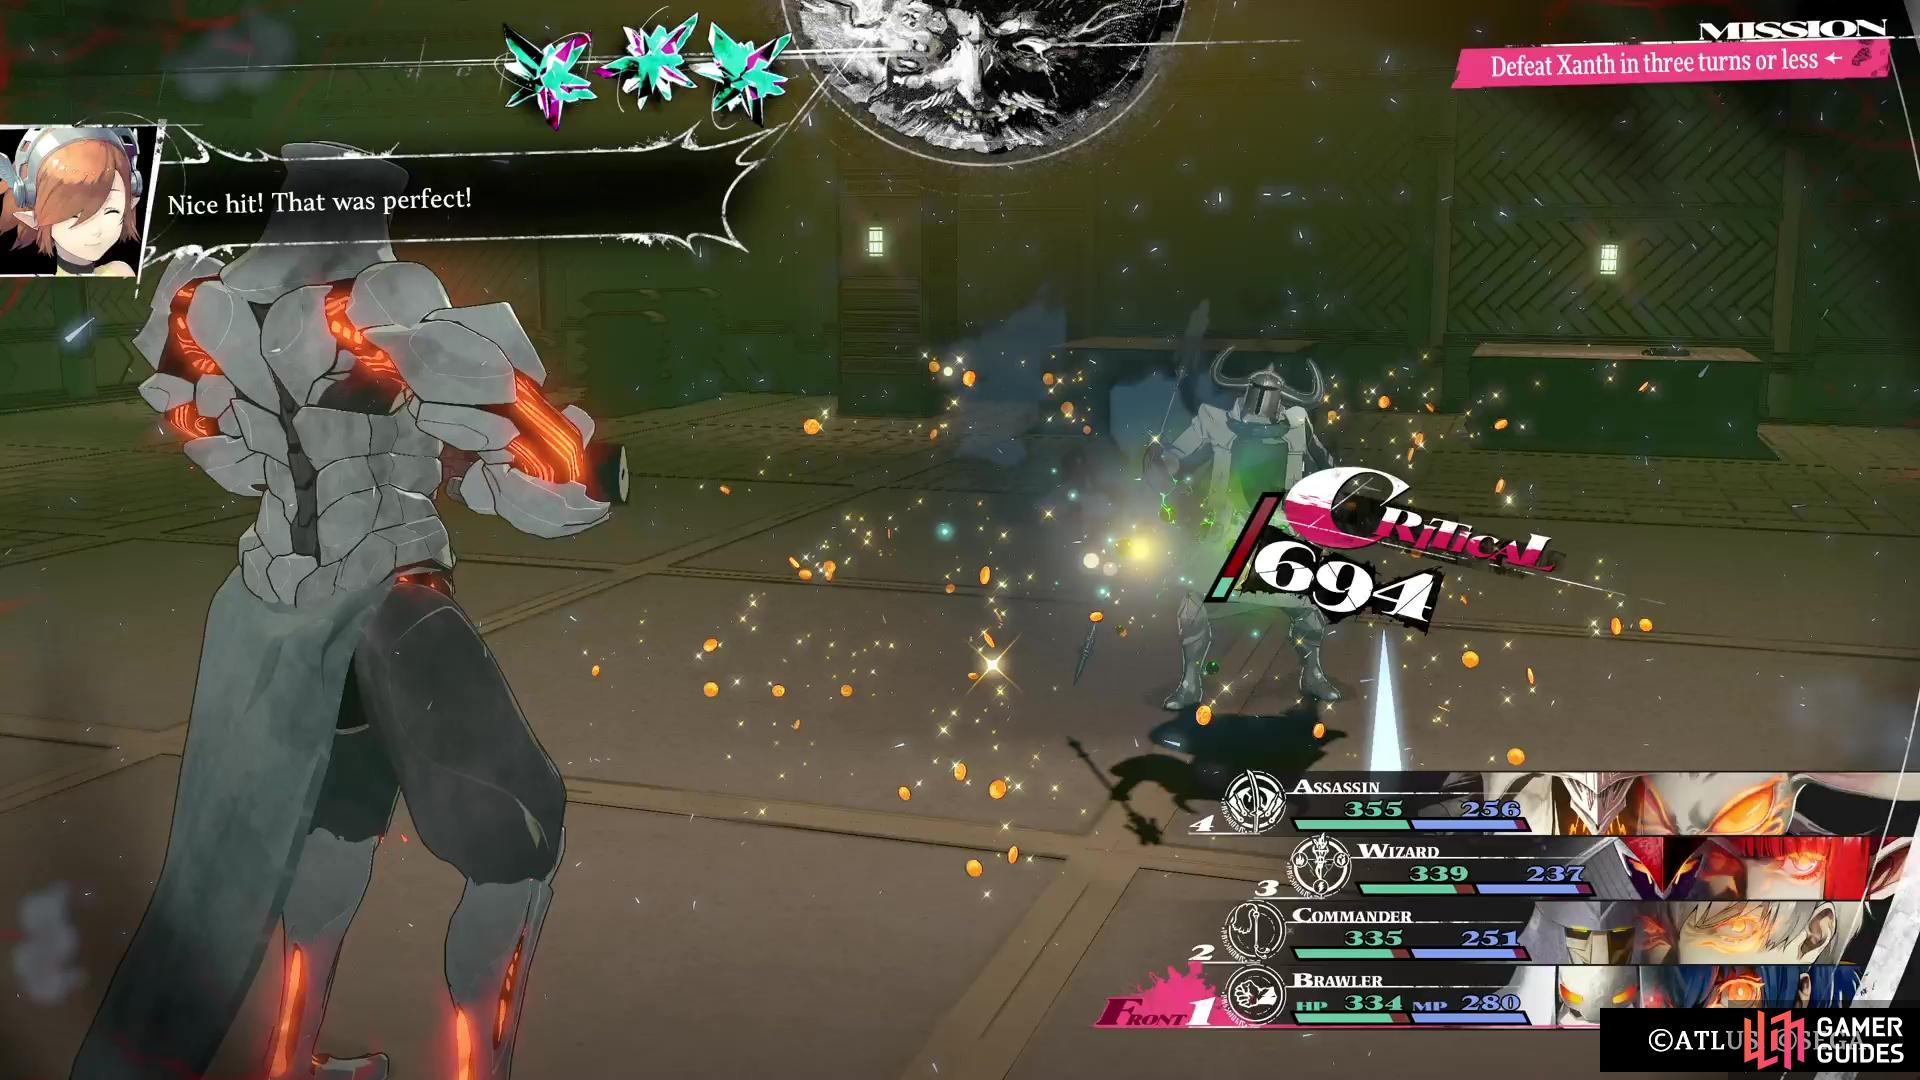
Status ailments, like poison and burn, work wonders against Xanthe. (left), You just really need to use your strongest moves on him. (right)
You’ll receive the ![]() Sergeant’s Magla Key after successfully defeating him and can move onto the next sector. On the next floor, there is a safe room here, if you need to save, use Akademia, or even leave. You will also be presented with a choice at the next part, as you can go one of two ways.
Sergeant’s Magla Key after successfully defeating him and can move onto the next sector. On the next floor, there is a safe room here, if you need to save, use Akademia, or even leave. You will also be presented with a choice at the next part, as you can go one of two ways.
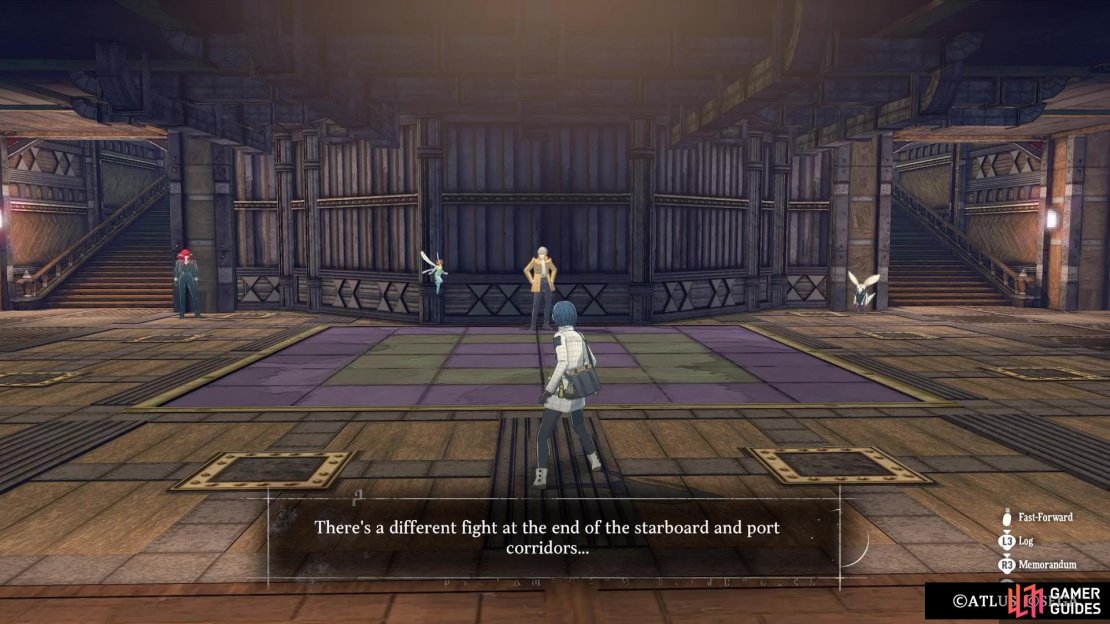
Starboard Corridor or Port Corridor?
The choice between the Starboard Corridor and the Port Corridor isn’t a hard one, as it will be similar in nature to when you did the Crew Quarters. There will be a stealth section before either one, then you will face the boss there. Ceiba will be guarding the end of the Starboard Corridor, and he’s the harder of the two bosses here. The boss at the end of the Port Corridor is Glechom, who has the potential to be extremely annoying, but there is a way to trivialize that battle. You can also backtrack after doing one of the sections to do the other, since they both contain items (the exact same items, too) that you can loot.
Starboard Corridor
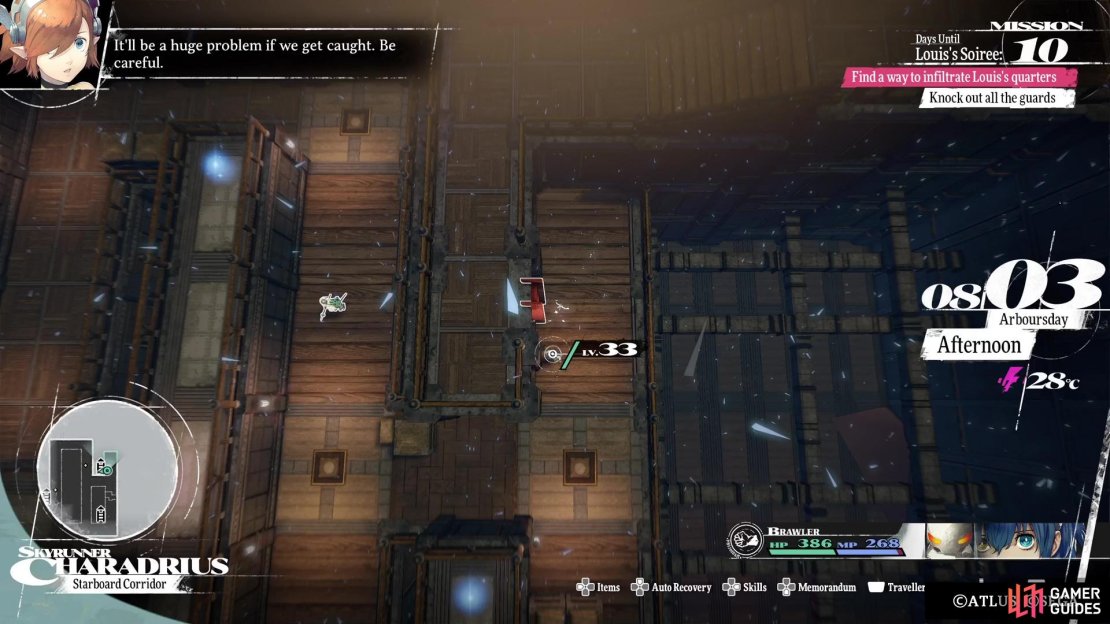
You will start on the upper section when you enter the Starboard Corridor. You will also see Heismay sitting at a point, doing some recon, but he’s just really sitting there until you meet up with him. Take the nearby ladder down to the lower section and wait until you can get behind the first patrolling guard to knock him out. There will be another guard to your south, as well as one more to the north here. You’re able to get both of them now, so go ahead and do that to make things easier on yourself.

(1 of 3) The game wants you to choose, but you can actually do both paths.
There’s a ladder past the northern one, allowing you to get to the upper level. From here, a guard can be found just east of your position, so take him out and grab the items to the north and east of him (![]() Elitist Flag and Superior Briny Staff). Use the ladder to the east of the guard up here to get back to the lower level, where you can continue to the west (pick up the
Elitist Flag and Superior Briny Staff). Use the ladder to the east of the guard up here to get back to the lower level, where you can continue to the west (pick up the ![]() Weighted Mail along the way). Head south, up the ladder there, then all the way north for some
Weighted Mail along the way). Head south, up the ladder there, then all the way north for some ![]() Matador Shoes. You can then meet up with Heismay, which is shown as an exclamation point on the map.
Matador Shoes. You can then meet up with Heismay, which is shown as an exclamation point on the map.
He will distract the two guards stationed here, making it so they will start moving around the lower level. Wait for one to pass the ladder to the south, then drop down and knock him down. Unfortunately, the game will put you in a bad spot, so carefully return to the south to get the other one. With those two down, there is only one more (and very easy) guard towards the northwestern corner. Once you’ve downed all the guards, you will be ready to face the boss for the Starboard Corridor.
Maintenance Chief Ceiba Boss Strategy
This is a gimmick fight, as Ceiba will not attack you at all. Every single turn, Ceiba will use Mage Wall to erect a barrier that repels Slash, Pierce and Strike. If you use any of those damage types against him, you will immediately lose all of your Turn Icons and the battle will continue. Of course, this is a problem, as you only have three rounds in which to beat the rotund chief. You can go about this battle in one of two ways, as breaking the barrier with an item or skill will allow you to use physical attacks.
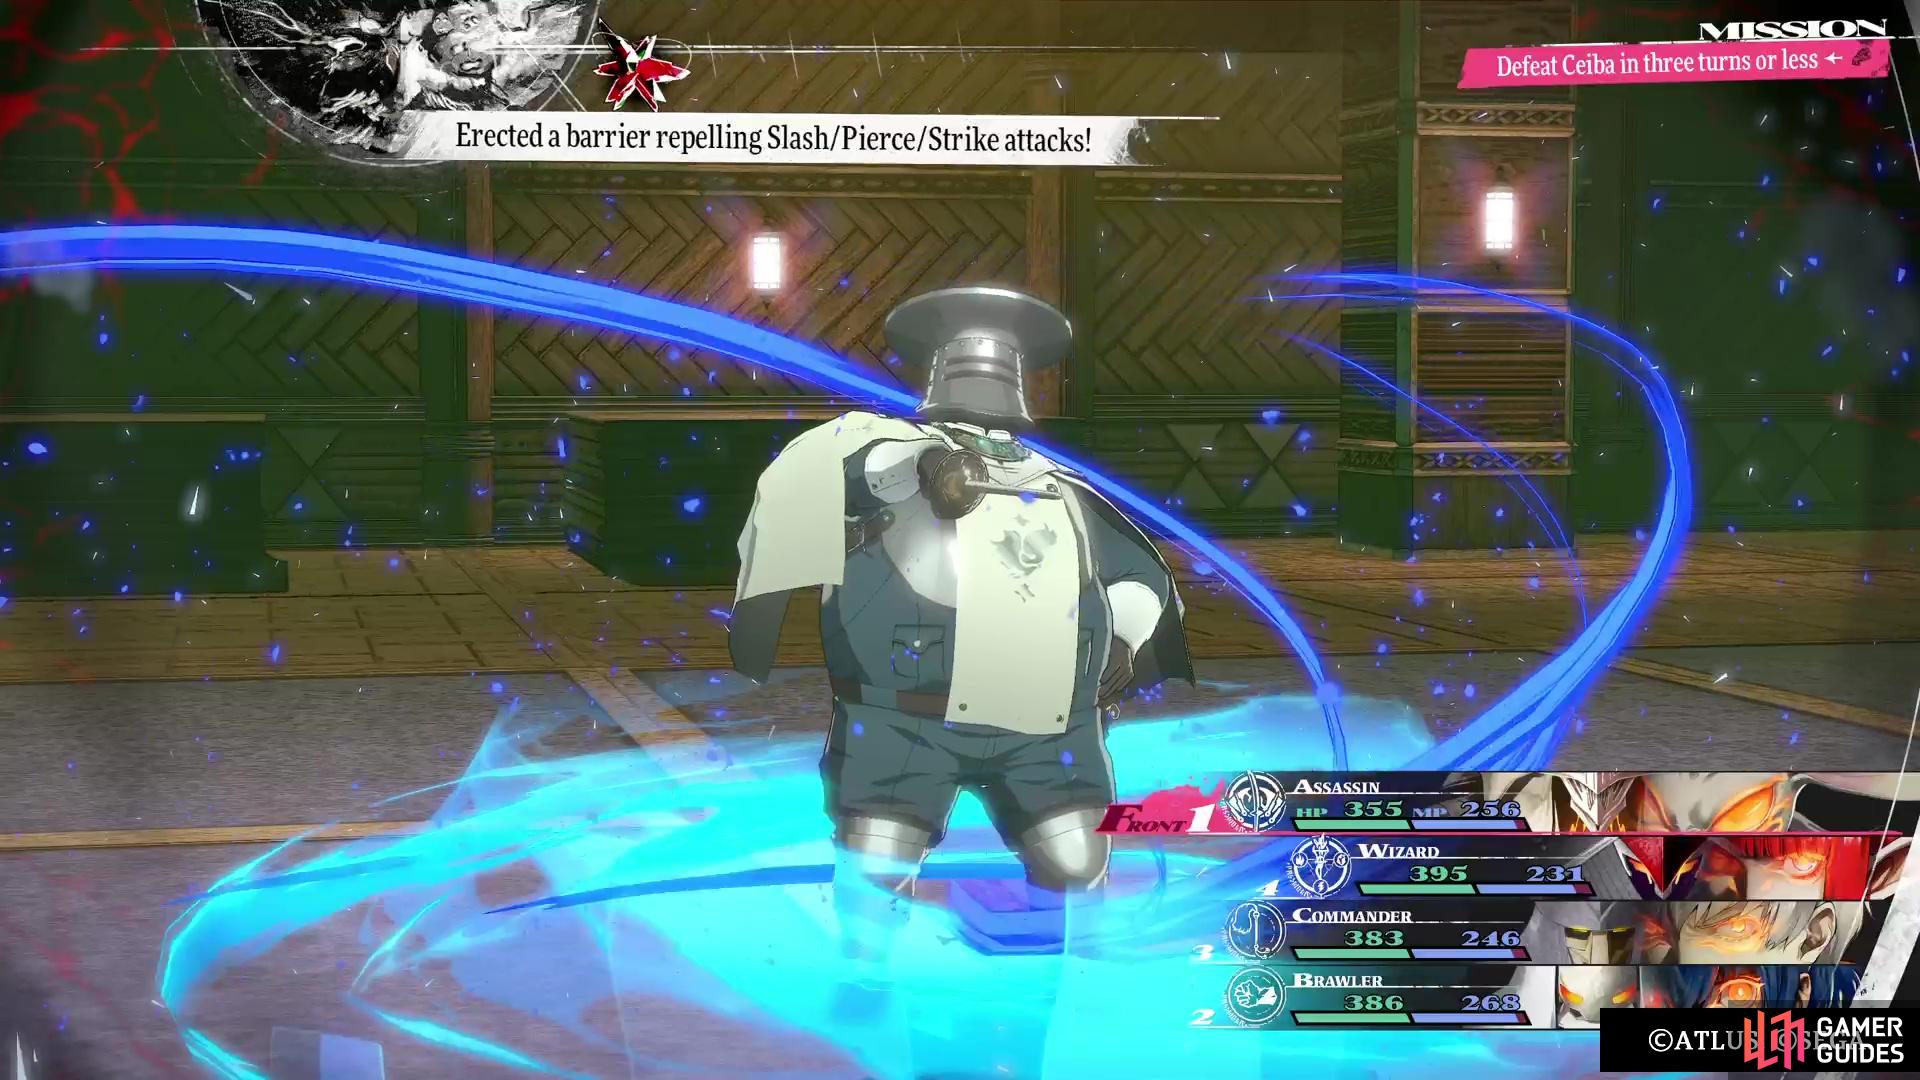

(1 of 3) Ceiba will do nothing but erect a physical repelling barrier each round.
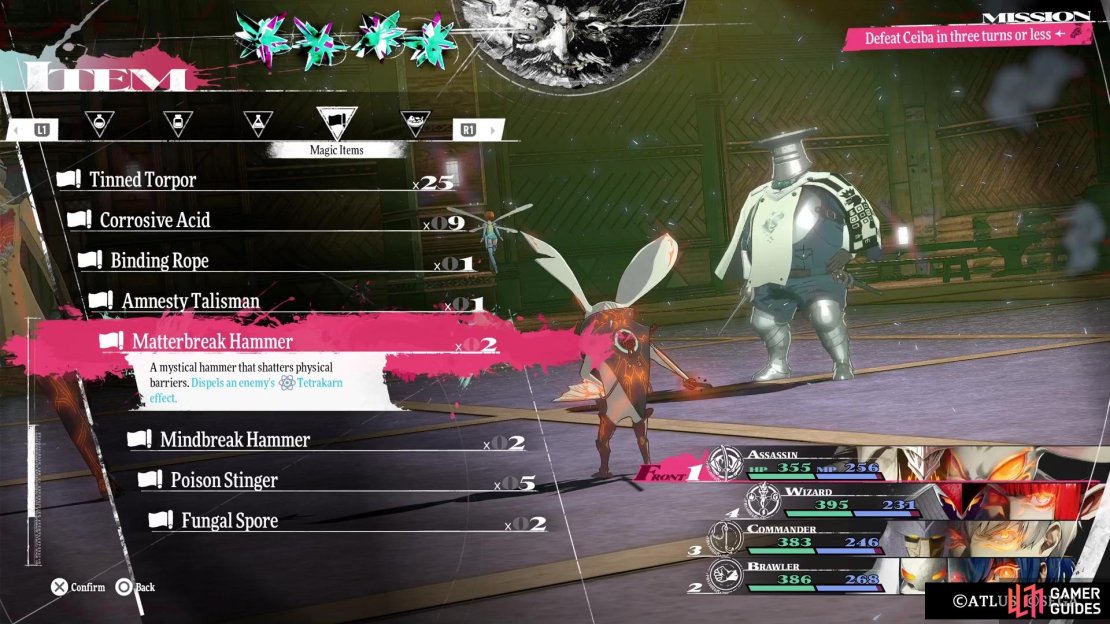
The skill you can use to break the barrier is called ![]() Tetrabreak, which can be learned by reaching Rank 20 with the
Tetrabreak, which can be learned by reaching Rank 20 with the ![]() Seeker. Otherwise, you’d have to use a
Seeker. Otherwise, you’d have to use a ![]() Matterbreak Hammer, an item you might have a few of, provided you’ve done all of the optional content up to this point. If you don’t want to use either of the above options, then you simply need to blast him with magical attacks. Note that Gold Attack, despite being a physical attack, goes through the barrier.
Matterbreak Hammer, an item you might have a few of, provided you’ve done all of the optional content up to this point. If you don’t want to use either of the above options, then you simply need to blast him with magical attacks. Note that Gold Attack, despite being a physical attack, goes through the barrier.
Port Corridor
If you did the Starboard Corridor, the Port Corridor has a similar layout, although things play out a little differently in the stealth section. Descend the ladder near the start and wait for the guard to pass, before you sneak behind him and take him out. There’s another guard to the north and he will turn around every few seconds, so lay in wait until the opportunity arises. Snatch the Superior Briny Staff next to him, then head to the south for another guard patrolling down there.
Hulkenberg will be the one distracting the guards in the Port Corridor.
Climb either of the nearby ladders to the upper level, then grab the Elitist Flag at the one dead end. Climb down the ladder to the northwest, then immediately climb the next one a little more to the west of that other one. There will be an item in the middle up here (Matador Shoes), so snag it, then quickly go down the ladder to knock out the guard you see below. Return to the top and meet up with ![]() Hulkenberg, who will distract one of the two guards standing there. Now, quickly go to the northern of the two nearby ladders and wait for the guard to pass by, then drop down and get him before he gets to Hulkenberg.
Hulkenberg, who will distract one of the two guards standing there. Now, quickly go to the northern of the two nearby ladders and wait for the guard to pass by, then drop down and get him before he gets to Hulkenberg.
Since the other guard that was with him didn’t move, you can easily take him out at the original spot. All that is left are the two guards circling the block near the last item in the southwestern corner. Get the first one, loot the item (Weighted Mail), than knock out the other guard to finish up this stealth section.
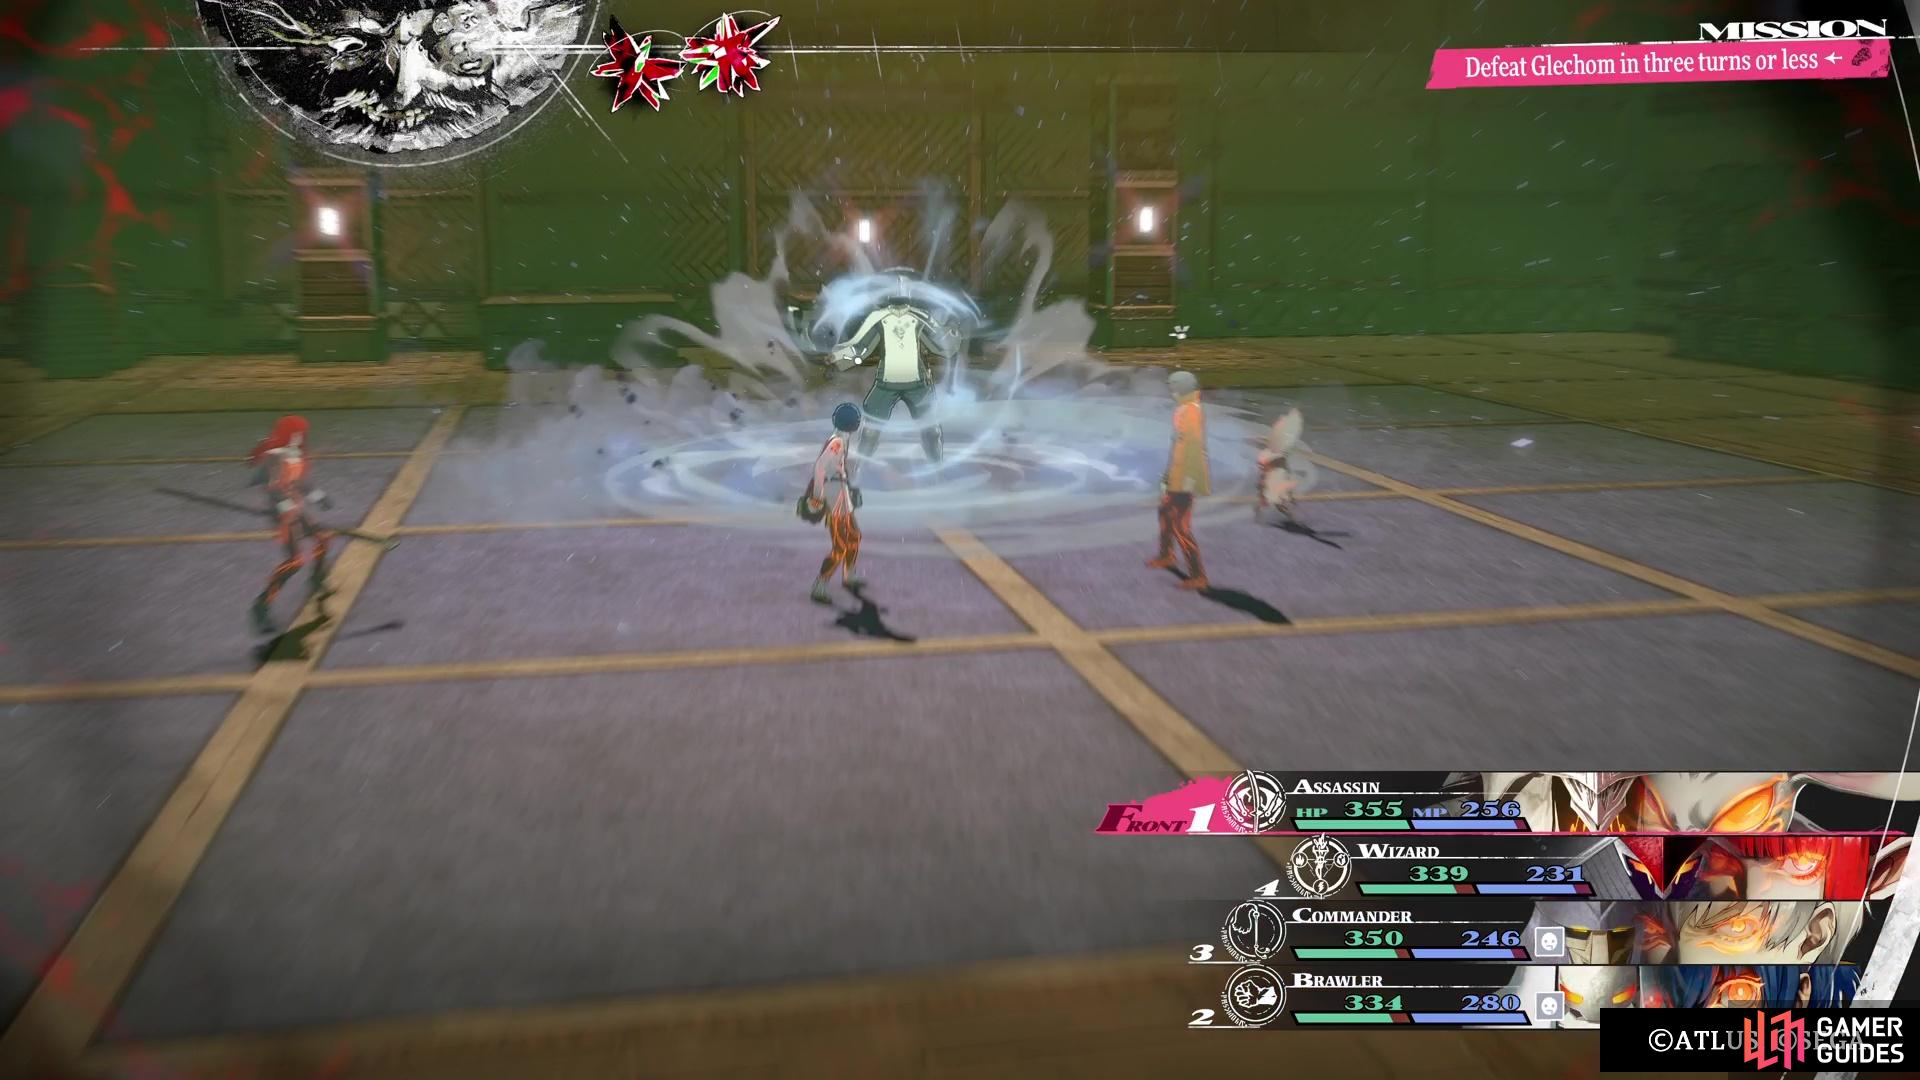
Master Sergeant Glechom Boss Strategy
Glechom will open up the battle by using Earsplitting Shriek, which has a chance to inflict Daze on the entire party. This ailment makes it so your accuracy is severely reduced, so you would most likely miss the majority of your attacks. There’s nothing you can do for the opening bit, unless you had accessories equipped to prevent it, but hopefully your characters dodged it. Use the first turn to heal this ailment, but try to do some damage to the boss, too.

(1 of 2) Glechon opens the battle by trying to inflict Daze on your party.
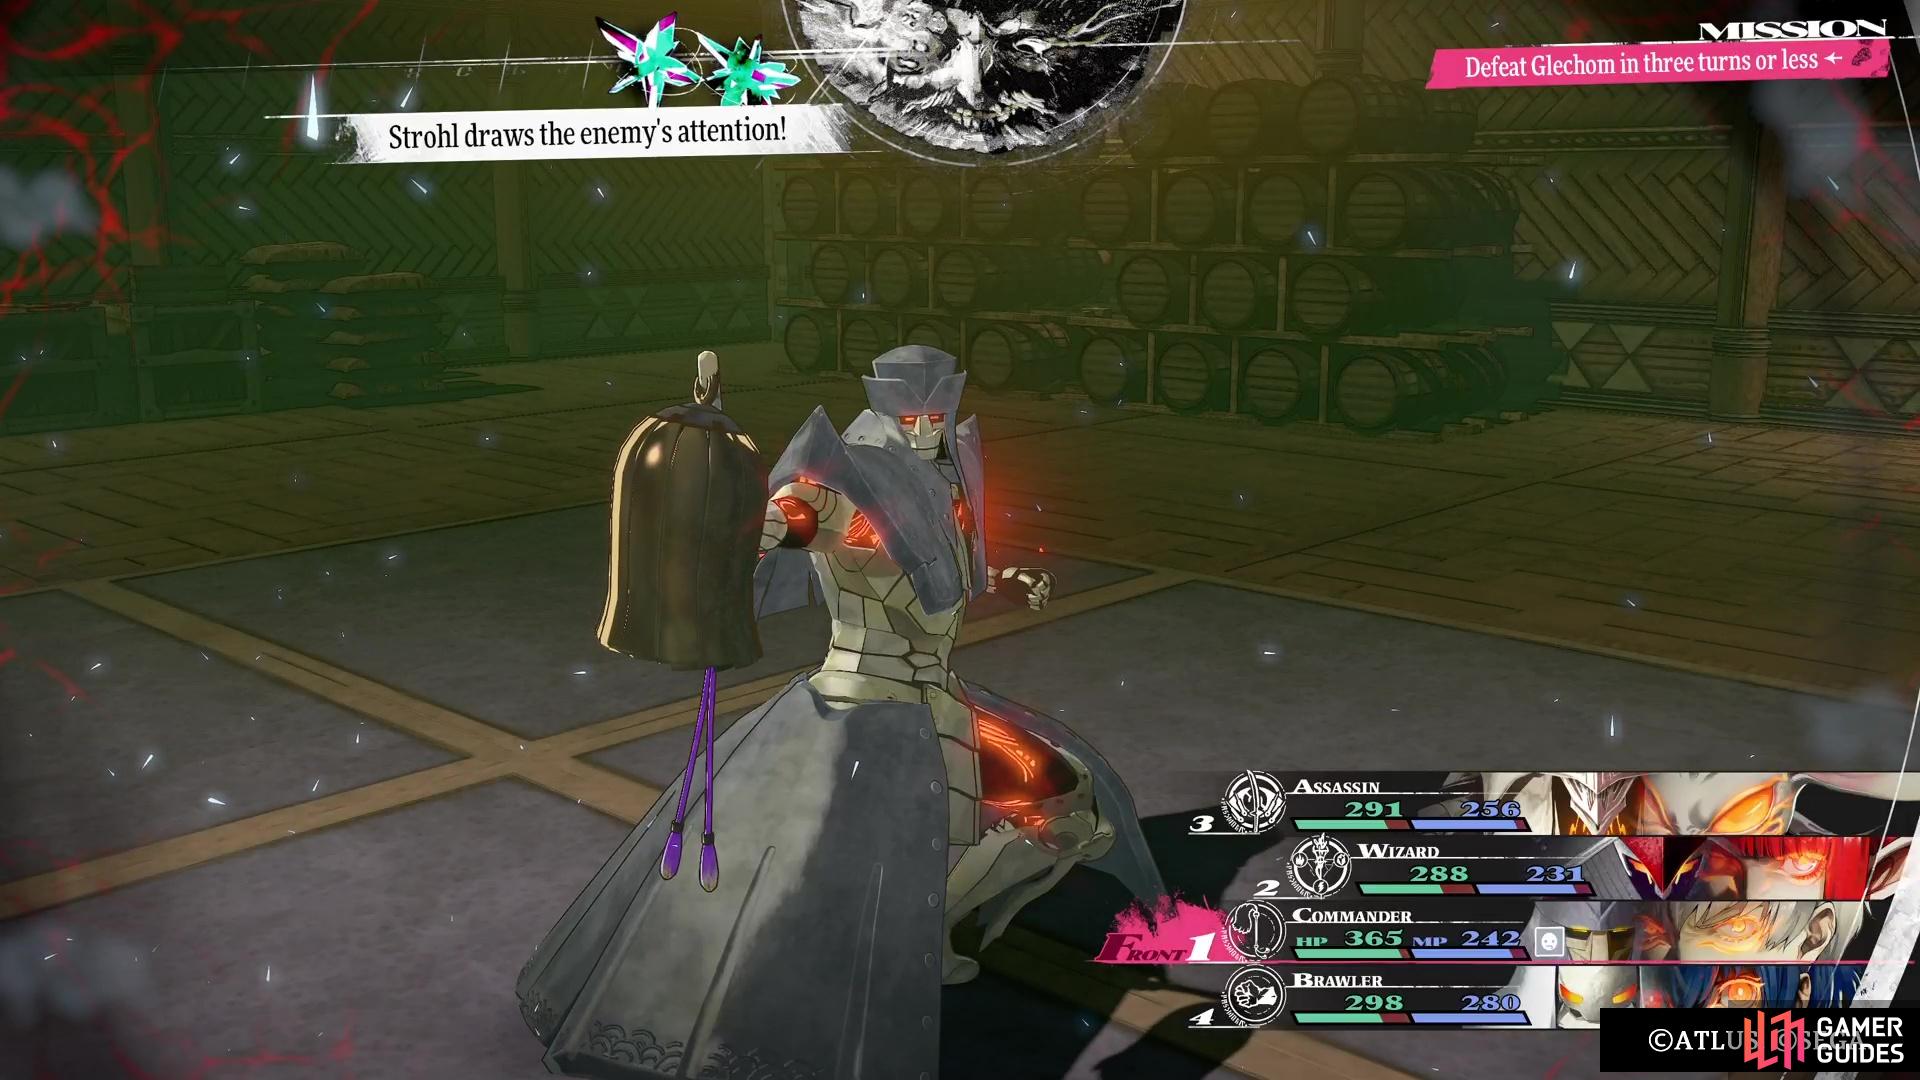
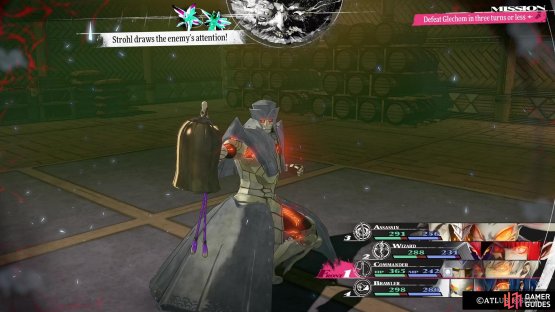
Glechon opens the battle by trying to inflict Daze on your party. (left), Use Knight’s Proclamation to provoke Glechon into doing nothing but basic attacks. (right)
The catch with this boss is that you can make it really easy by having a specific skill from the ![]() Knight,
Knight, ![]() Knight’s Proclamation. If the character that has this is Dazed, then you don’t need to worry about healing it. Once you have provoked the boss with this move, he will do nothing but normal attacks on that character. In fact, perform the move and place that character in the back row to make them take less damage. Remember that you only have three rounds to defeat the boss, but it’s just a matter of dealing enough damage with the other three characters.
Knight’s Proclamation. If the character that has this is Dazed, then you don’t need to worry about healing it. Once you have provoked the boss with this move, he will do nothing but normal attacks on that character. In fact, perform the move and place that character in the back row to make them take less damage. Remember that you only have three rounds to defeat the boss, but it’s just a matter of dealing enough damage with the other three characters.
Charadrius’ Bridge
Upon defeating either Glechom or Ceiba, you will gain access to the Bridge of the Charadrius. There’s a safe room at the northern end, but before you actually go to the bridge, you can nab a few more items. On the southern side of this area is an exit that takes you to the Front Deck. There are two items out here, a White Moon Mask just west of the exit, as well as a Superior Enigmatic Accessory in the southwest corner. That’s all that is out here, so return to the inside of the ship.
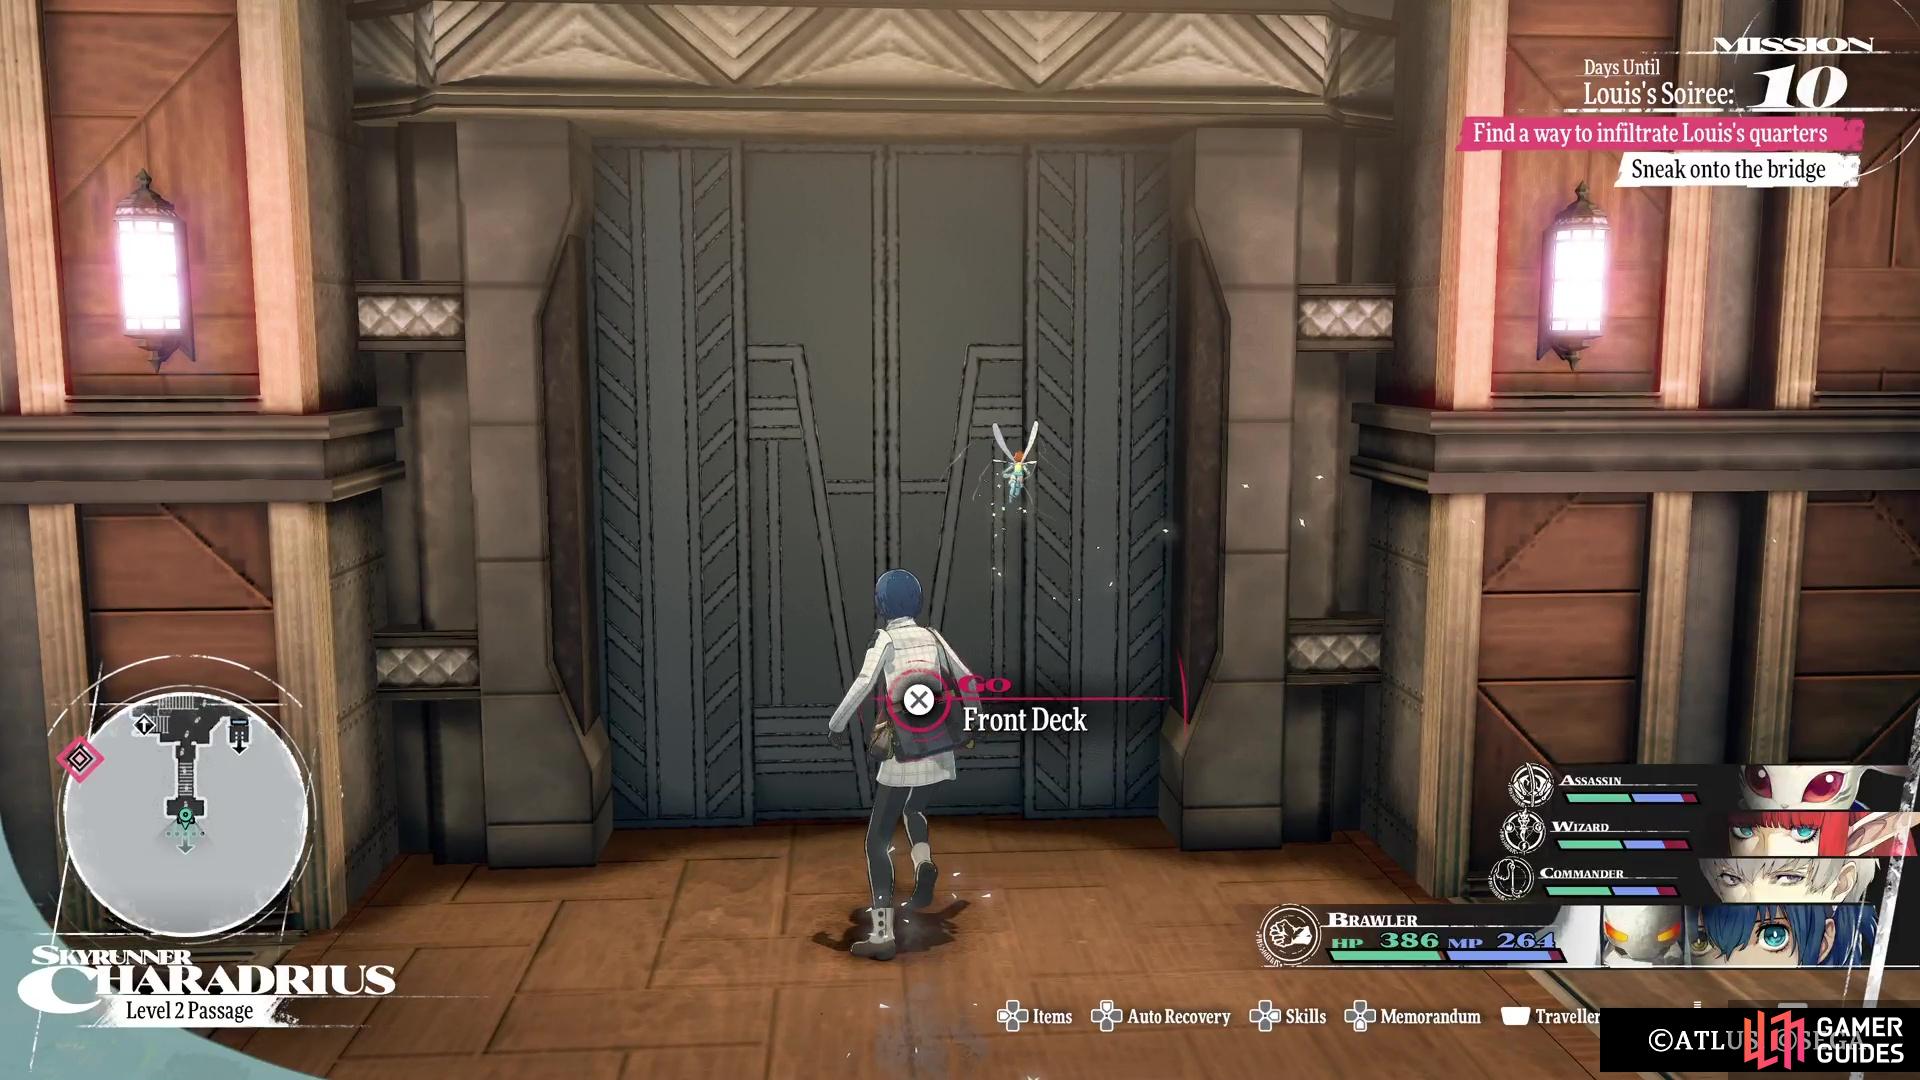
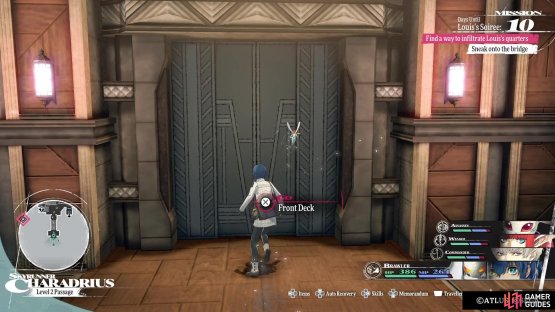

(1 of 2) This door in the final area will lead to the Front Deck.
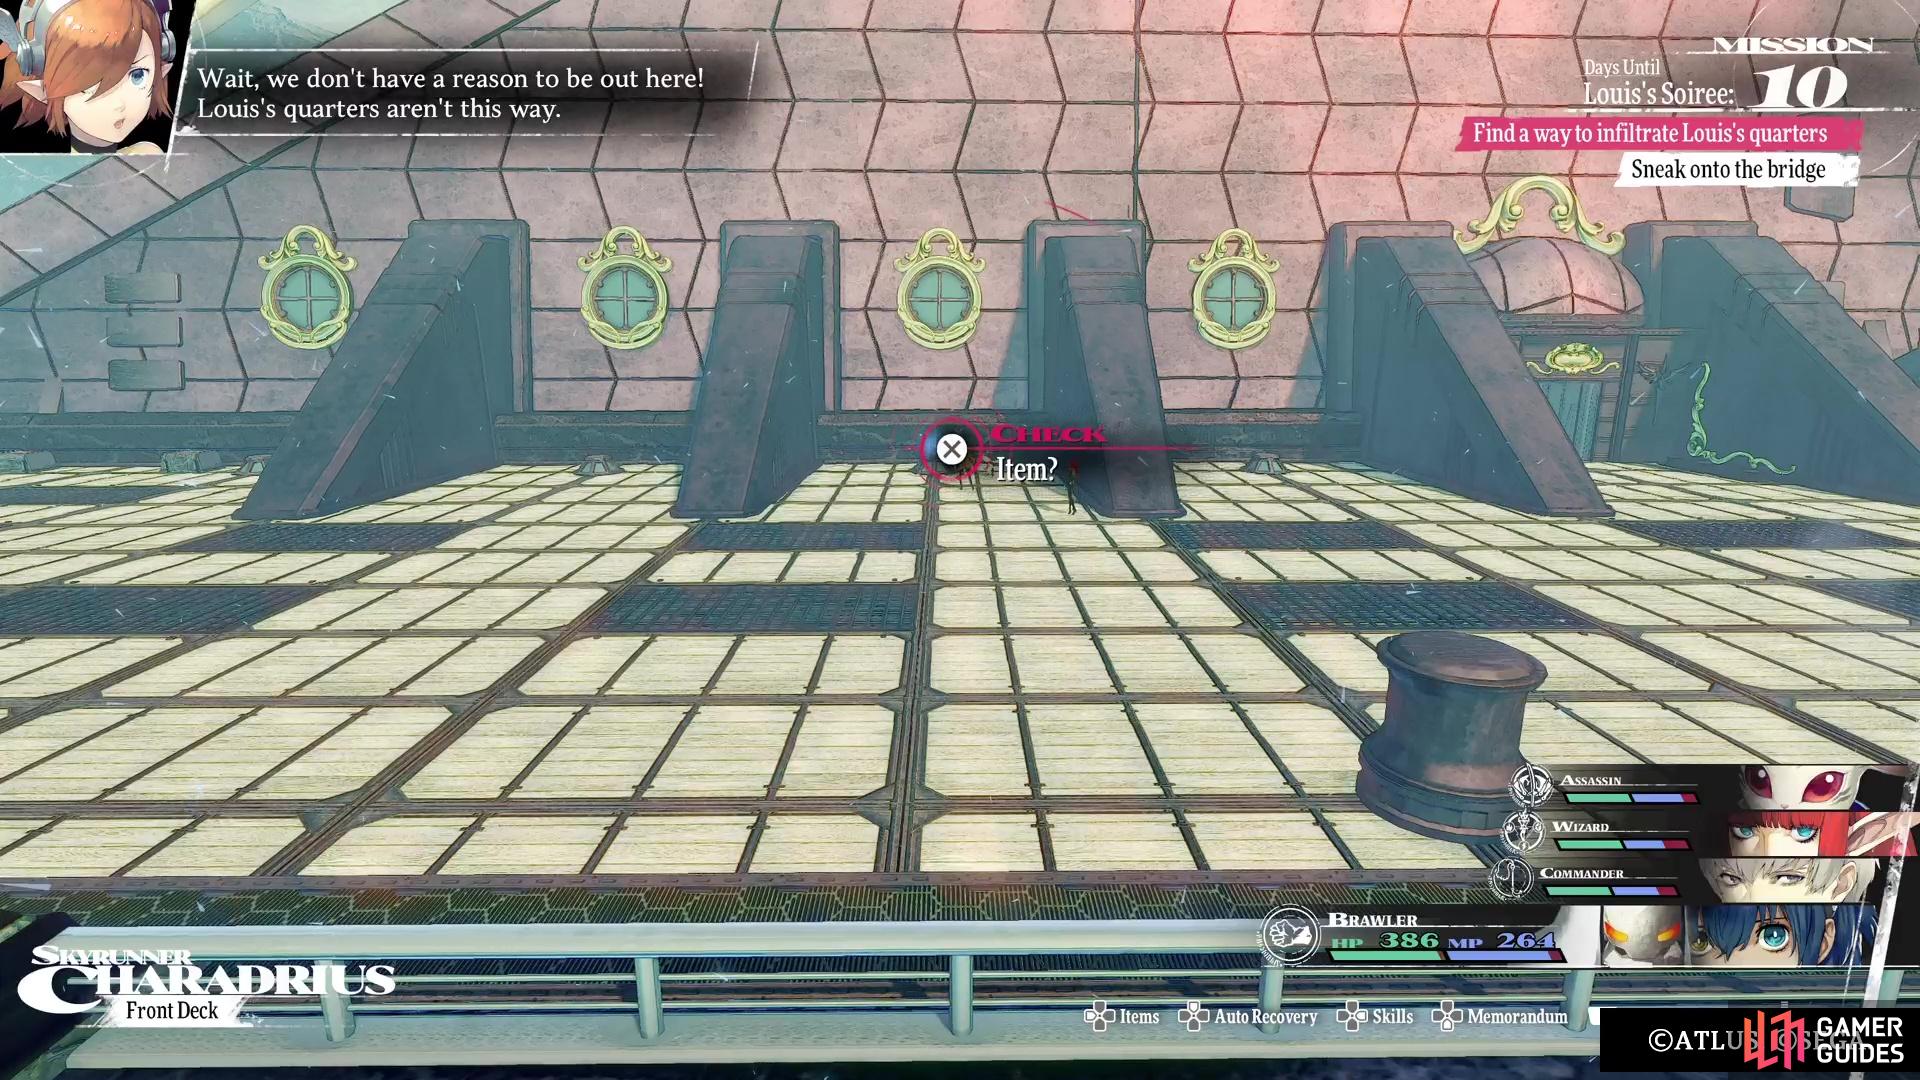
This door in the final area will lead to the Front Deck. (left), You will be able to find two items out there, so don’t forget them. (right)
Do a little preparing for the upcoming encounter, as you want to make sure you have some lightning attacks on your characters. Pierce is another option you want, as you will soon see why. Enter the Bridge and check the door on the right side to notice a bunch of guards inside. Use the lone ladder in the room to reach an exhaust vent, allowing you to sneakily get inside the Bridge. Simply exhaust all of the options when asked a question to get a fourth choice, which will trigger a scene. Eventually, all of the guards will leave and you’ll be stuck with just Cabio, but during your conversation, Salva appears and it’s time to take them both down at once!
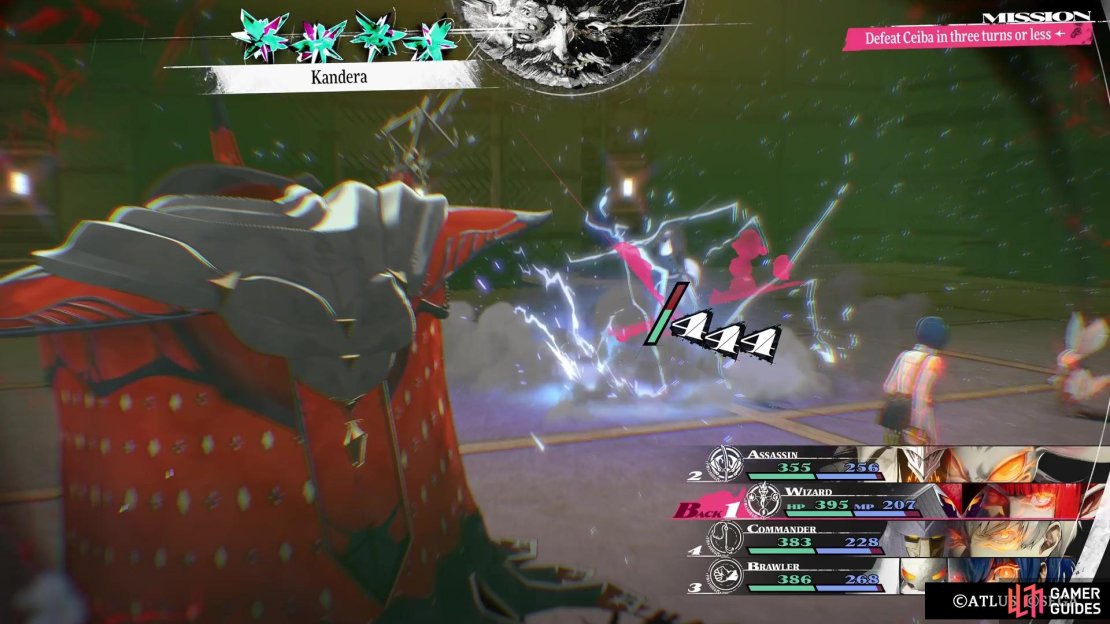
Cabio and Salva Boss Strategy
The same rules apply here, as you need to take both bosses down within three rounds, or else it’s game over. Thankfully, both of them have weaknesses to exploit, so you’ll be able to get extra Turn Icons. Cabio is weak to lightning, while Salva will be weak to pierce, which is why you wanted both before triggering this battle. Cabio also seems to have pretty weak defenses, so he’ll be taking a lot more damage from your attacks. Depending on the strength of your characters, you might even be able to take him down in the first round.
As for Salva, he’s a little beefier, so it will take a little long to defeat him. He will use nothing but Mage Almighty to hit all of your characters with an almighty attack. You won’t be able to do anything about this, so just take it and heal if you need to do that. Otherwise, hit him with pierce attacks and your strongest moves to hopefully win within the time limit.
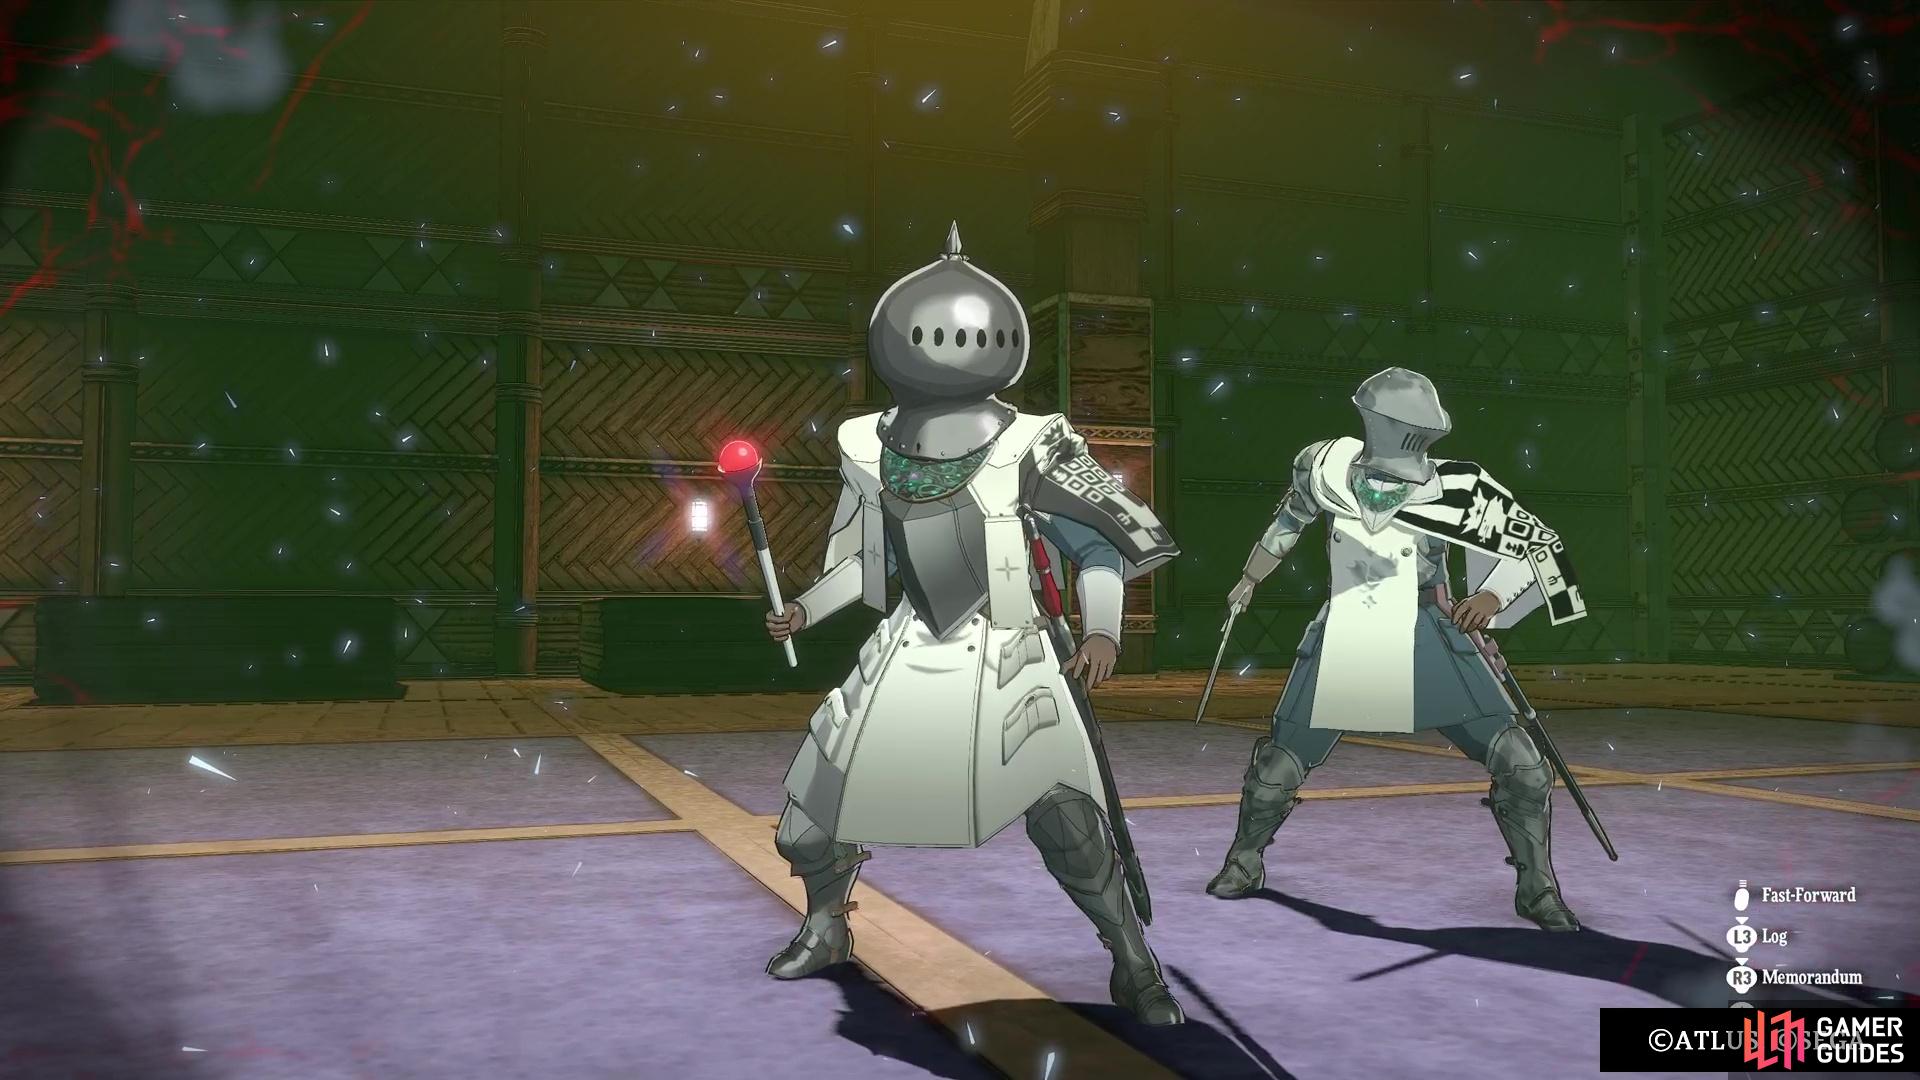

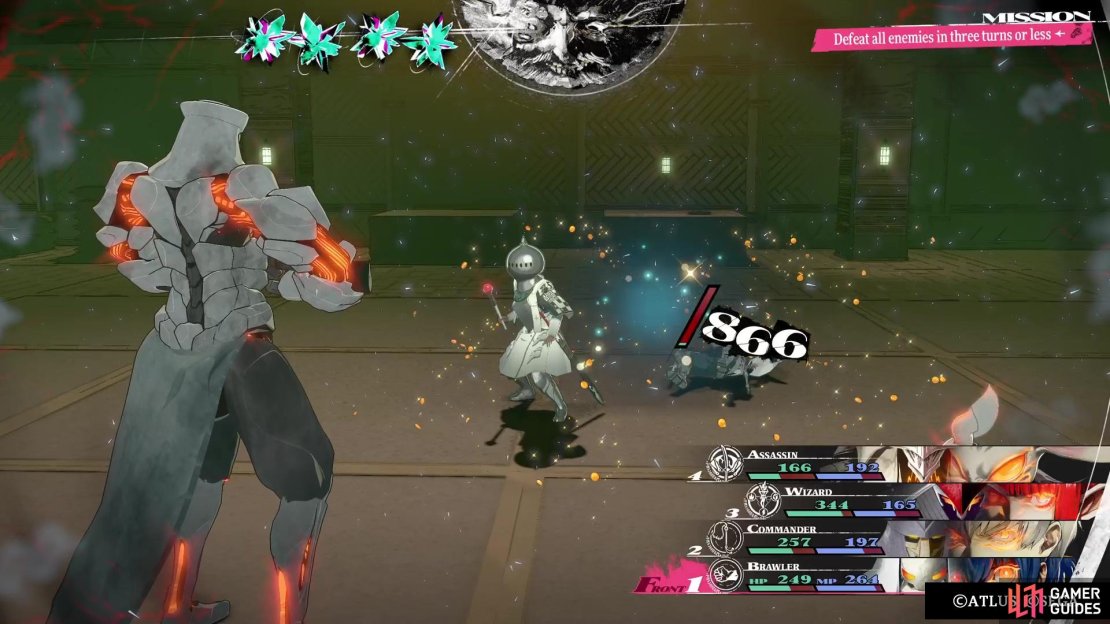
(1 of 3) The final fight when infiltrating the Charadrius is against two bosses.
With both of them down, you retrieve the key to Louis’ private chambers, so double back to the area with the safe room. Use the key on the door up above, but before you can go inside, you have some unwanted company. Thankfully, you don’t have to fight anyone else right now, so the party decides to head back to town. The plan is to wait until the night of the soiree to get the curse book from Louis’ chamber, so you’ll be done until the night of August 13th.
No Comments