
There are plenty of optional dungeons in Metaphor: ReFantazio, some of which are linked to side quests. The Abandoned Tomb is an optional dungeon that becomes unlocked after you get the side quest named A Dagger, a Ring, and a Rake. You get this side quest from the Pompous Man in Martira, but you need your Imagination at Rank 2 to actually get it.
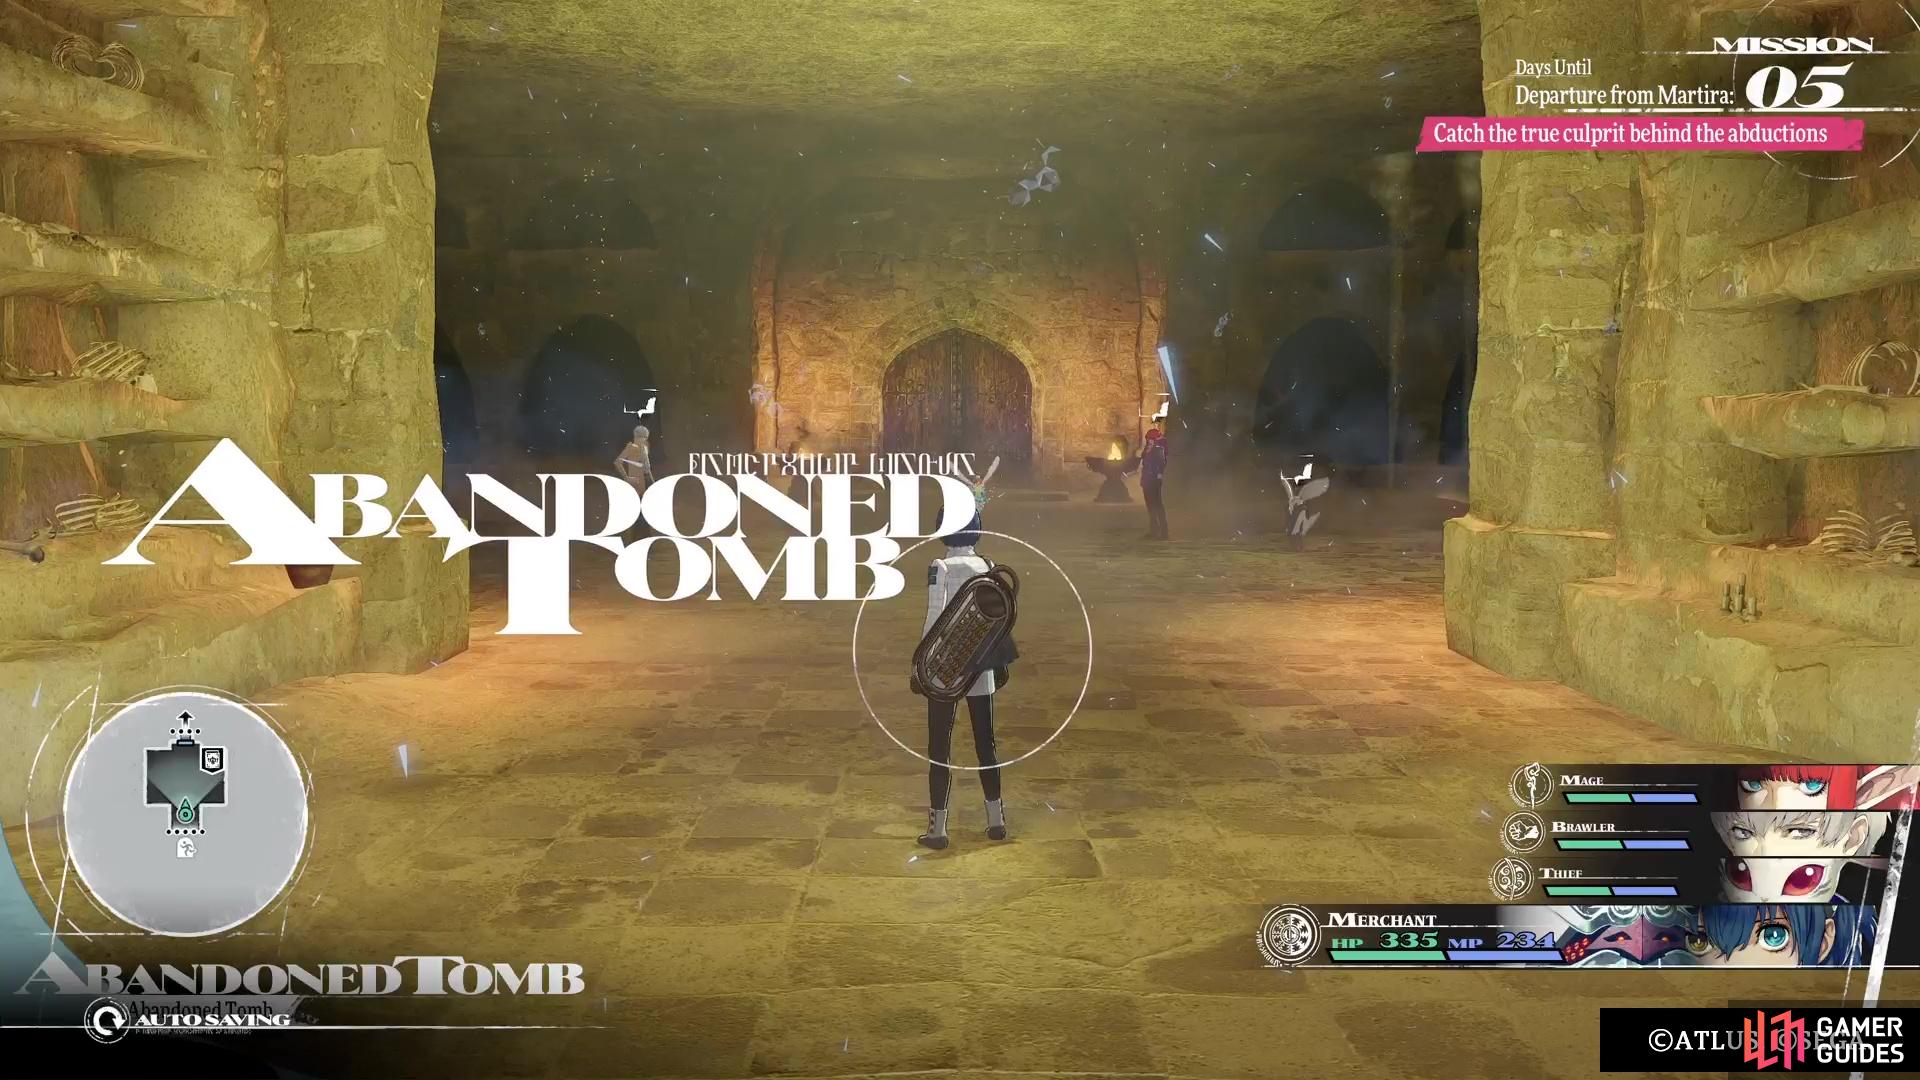
The Abandoned Tomb is another optional dungeon that opens for a side quest.
Abandoned Tomb Enemies
These are all of the enemies found in Abandoned Tomb, including their level, weaknesses, and strengths.
| Enemy | Level | Weak | Strong |
|---|---|---|---|
| Pyrite Imitec | 28 | Light | Dark (Resist) |
| Soldier Morneto | 9 | Fire, Light | Dark (Resist) |
| Monk Morneto | 11 | Fire, Light | Dark (Resist) |
| Kadablich | 31 | Light | Slash/Pierce/Strike (Reflect) |
| Spear Noble Malmorta | 25 | Strike, Dark | Slash/Pierce (Resist), Lightning (Block) |
| Sword Noble Malmorta | 25 | Strike, Dark | Slash/Pierce (Resist), Lightning (Block) |
| Bow Noble Malmorta | 25 | Strike, Dark | Slash/Pierce (Resist), Lightning (Block) |
Abandoned Tomb Treasures
The following list are all of the treasures you will find in the Abandoned Tomb, including the blue orbs and chests.
| Item |
|---|
| Gritty Scented Bag |
| Magla Injection |
| Blessed Water |
| Rejuvenation Bell |
| Superior Gritty Light Armour |
| Apprentice’s Abacus |
| Hero’s Fruit (x2) |
| Scintillating Marble |
| Superior Gritty Armour |
| Twinkling Crystal |
| Enigmatic Accessory |
| Spiked Gloves |
| Scrap Metal |
| Gritty Polearm |
| Gold Beetle |
| Graced Water |
| Noble Sun Hat |
| Balm of Life |
| Crimson Fangs |
| Sandsilk Blouse |
| Sage’s Staff |
Exploring the Abandoned Tomb
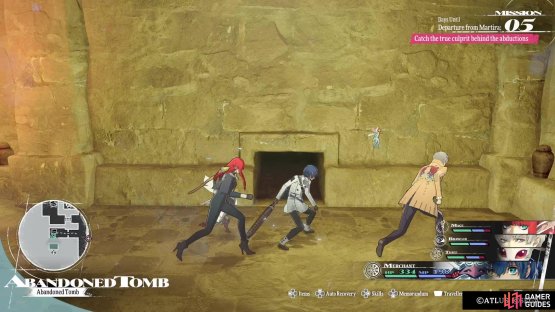
It will take two days to arrive at the tomb, so this is a multi-day endeavor. When you first enter the dungeon, go forward and speak to the NPC against the wall, who will mention the wall opposite of him being odd. You can go up and inspect, but you won’t be able to do anything with it right now. Just north of the NPC is a path leading west, but ignore it for now and continue north a little bit more. There is a small dead end with an item on your left, which is a Gritty Scented Bag that you can appraise when back in town.


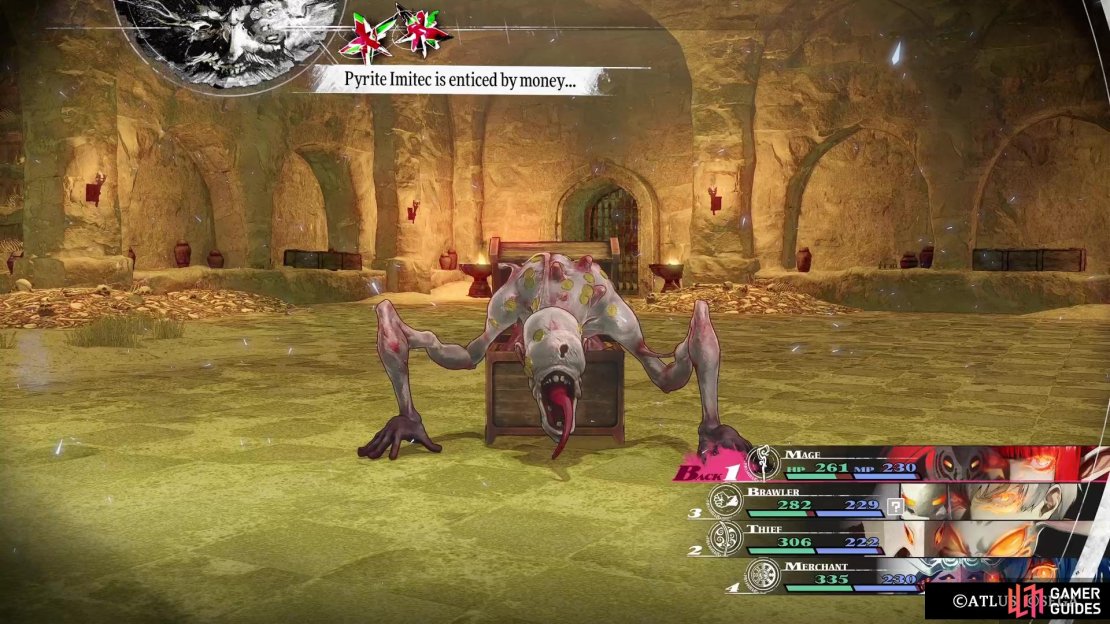
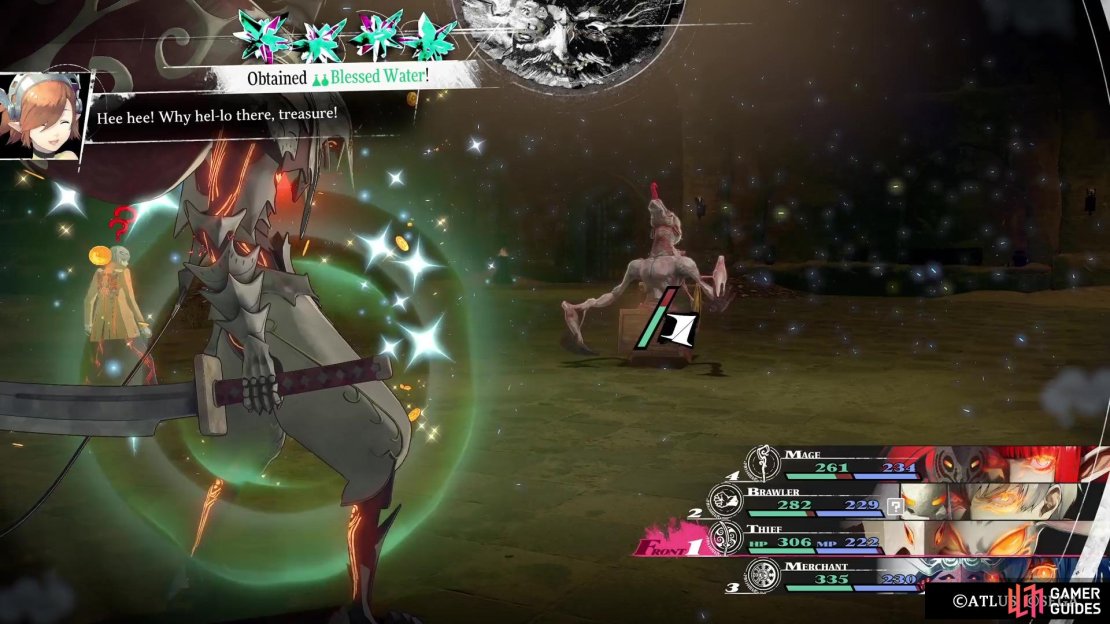
If you head down the hallway to the east, you will encounter a treasure chest in the middle of the hallway. Go to open it and you will see it’s actually a demon in disguise! The Pyrite Imitec is a mimic and can be an annoying enemy, as they try to put your party to sleep with Sleepy Air. Other than that, they use a bunch of physical attacks, which will instantly crit anyone who is sleeping. They are weak to light and it’s a good idea to try to steal off of them, as you can get Blessed Waters. If you have the Merchant Archetype, you can use Gold Attack to make the mimic waste one of its two actions on each of its turns.
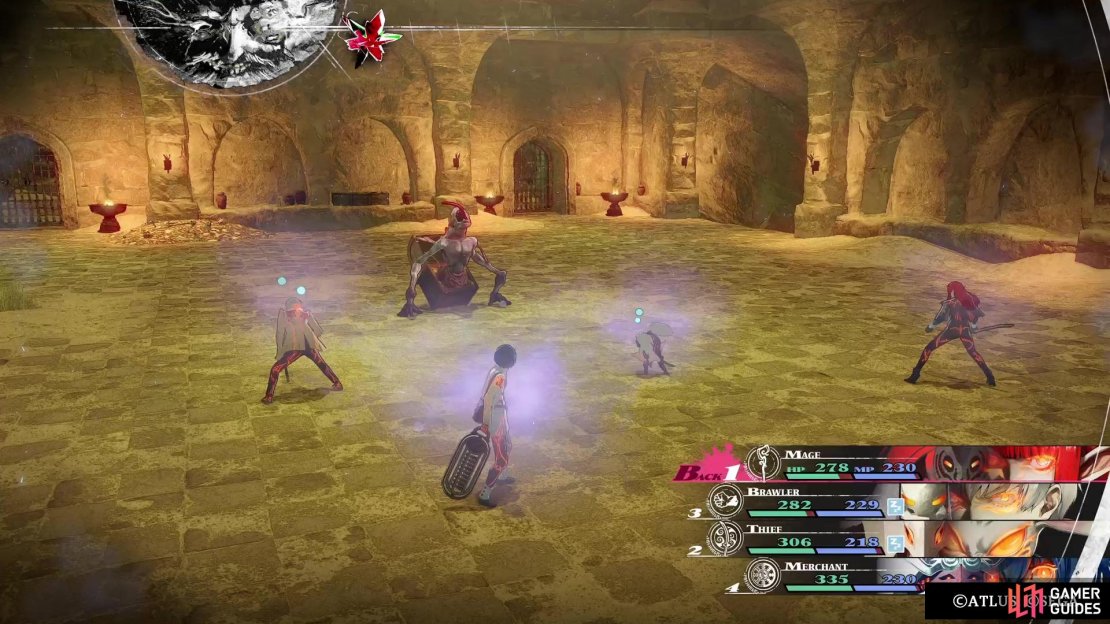
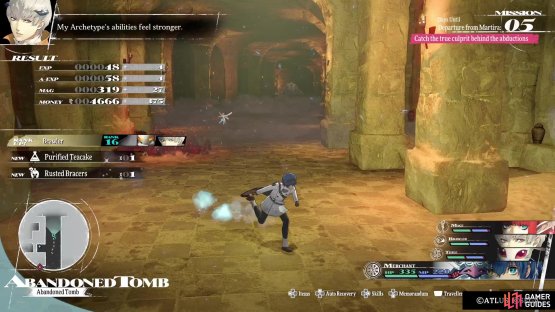
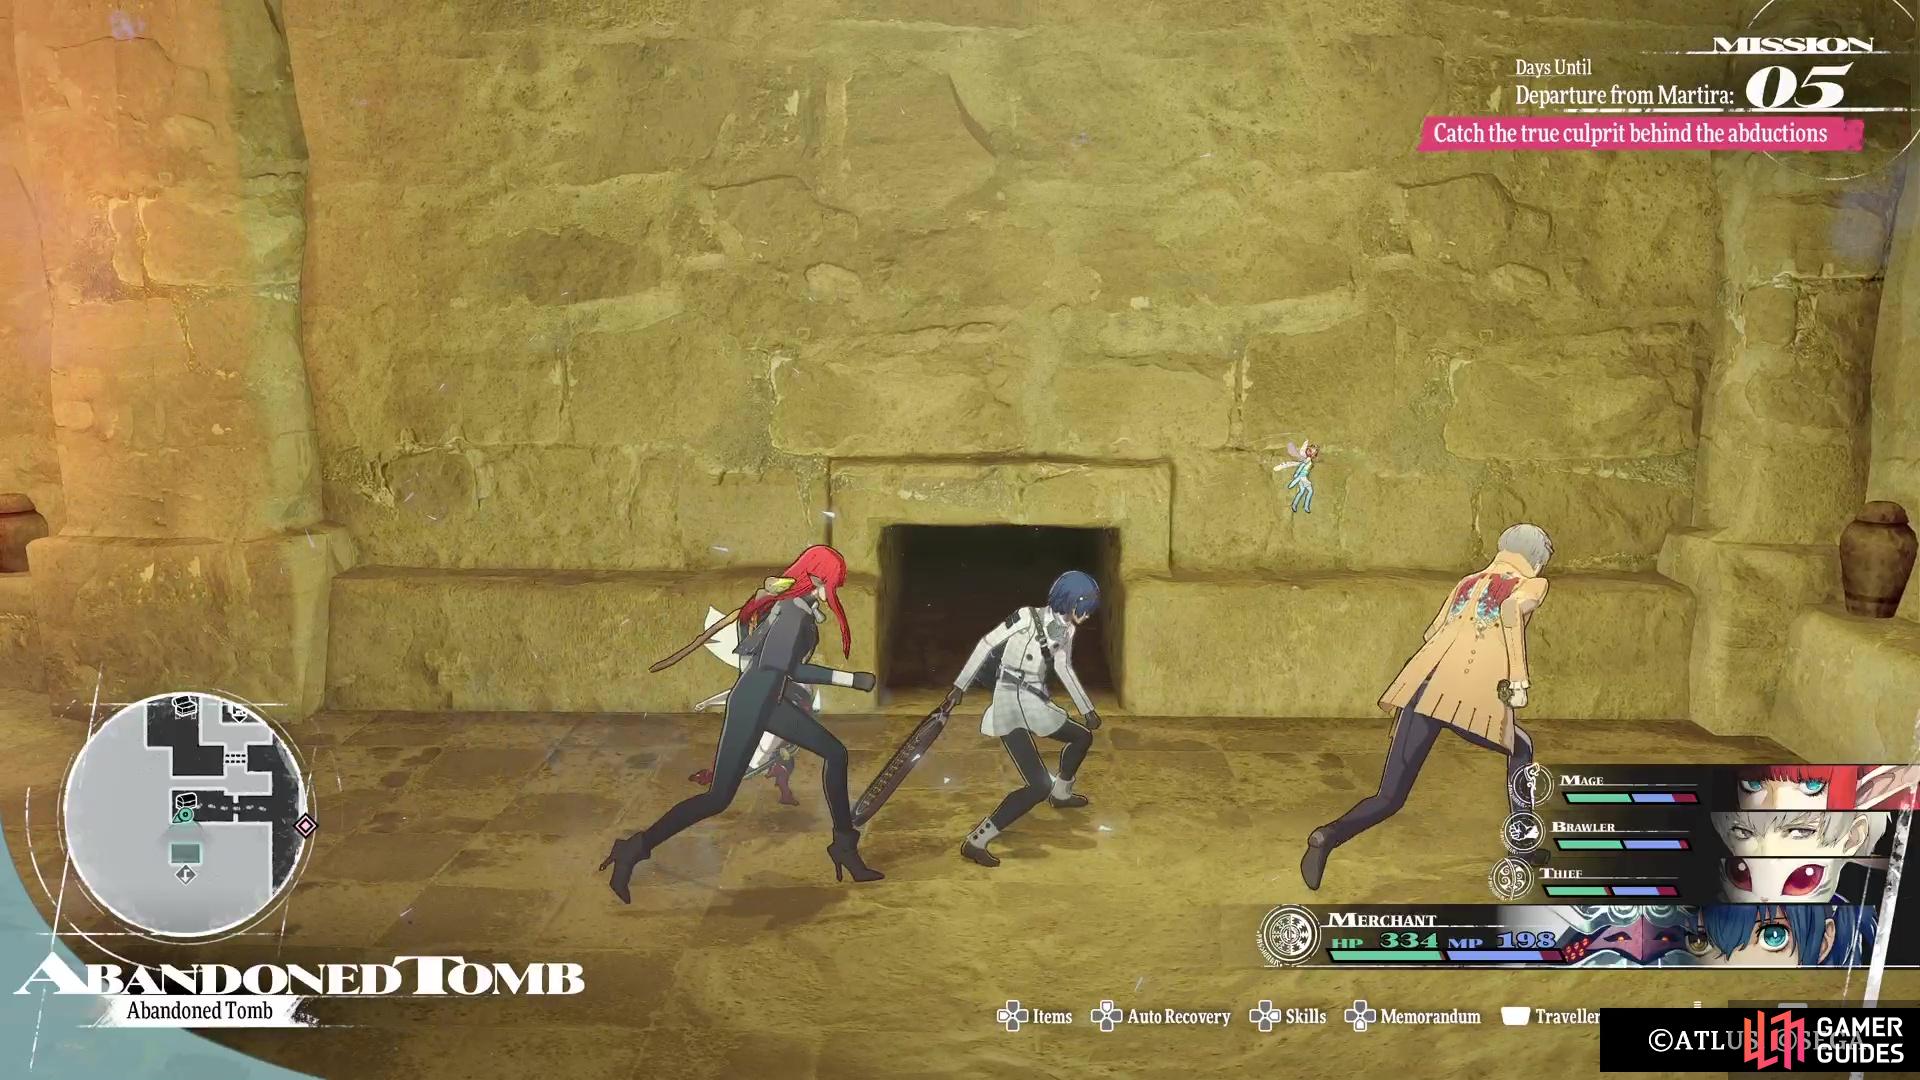
After defeating the mimic, you’ll receive a Magla Injection. Continue east and ignore the ladder in the corner, instead going to the north. You’ll see a mass of enemies in this hallway, but they are all low-level ones, so you can mow through them with your overworld attacks. In a little alcove off to the left, there is an item (Blessed Water), so make sure to pick it up. To the north of the group of enemies will be a larger one, who will teleport around as it chases you. This is a Kadablich, which can Hex you with its Curse Chant, as well as blast you with dark spells.
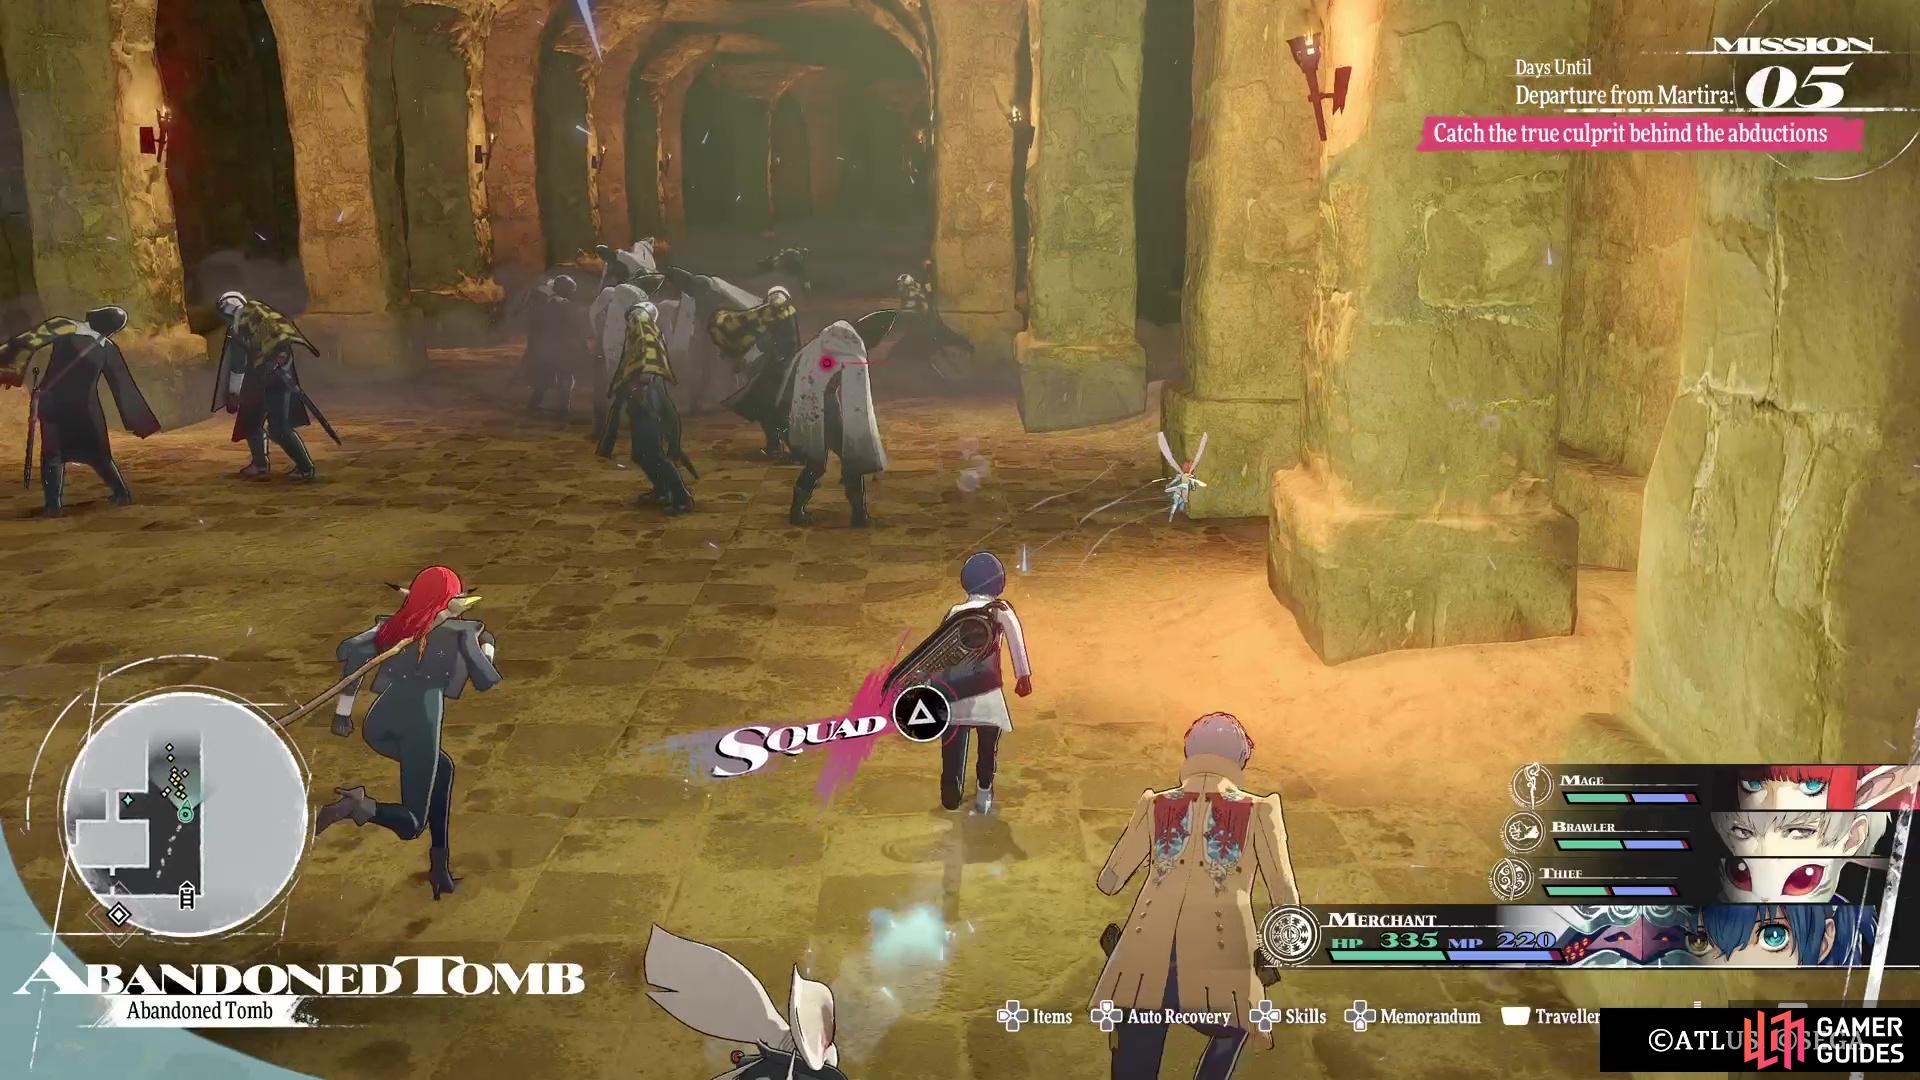

(1 of 2) There is a large group of enemies in the eastern hallway.

There is a large group of enemies in the eastern hallway. (left), Use the Merchant on your protag to score a lot of money from these enemies. (right)
Defeat it, then keep going north to find a chest, which contains a Rejuvenation Bell accessory. To the west of the chest will be the Talkative Tooth NPC, as well as another item on the ground (Superior Gritty Light Armour). Return south a little bit and go west when you see the opening. There will be another NPC here, who mentions that a treasure chest almost ate him, but we already know there are mimics here, so it’s a little too late for that. A little north of him will be a monster guarding a chest, so take it it and then loot it for an Apprentice’s Abacus. A path can be found just to the side of that chest, leading to a save point.
If you go west from the save point, you will see a huge chest, which is the boss of this place, so ignore it for now. East of the save point is a ladder, so climb it and keep going west up here (south is a gate you cannot open). At the end of the corridor is another ladder going down, so use it to arrive in another part of the tomb. Loot the item right across from you (Hero’s Fruit), then head south and look for a chest in the corner to find another Hero’s Fruit. Further south, you will be in a room with an item in the corner (Scintillating Marble) and next to it is a hole you can crawl through to get another item (Superior Gritty Armour). However, the door here you can’t open right now, since it’s the same as the one door near the beginning of the dungeon.

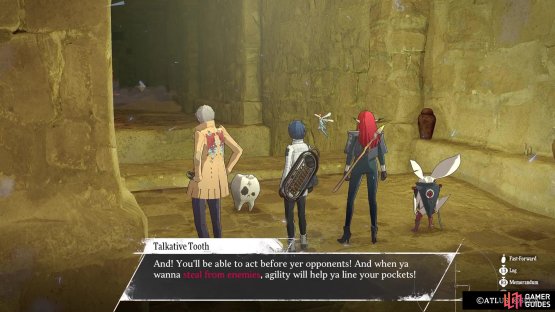
(1 of 2) The tooth NPC in this dungeon talks about the importance of Agility.
The tooth NPC in this dungeon talks about the importance of Agility. (left), There are plenty of holes to crawl through in this dungeon. (right)
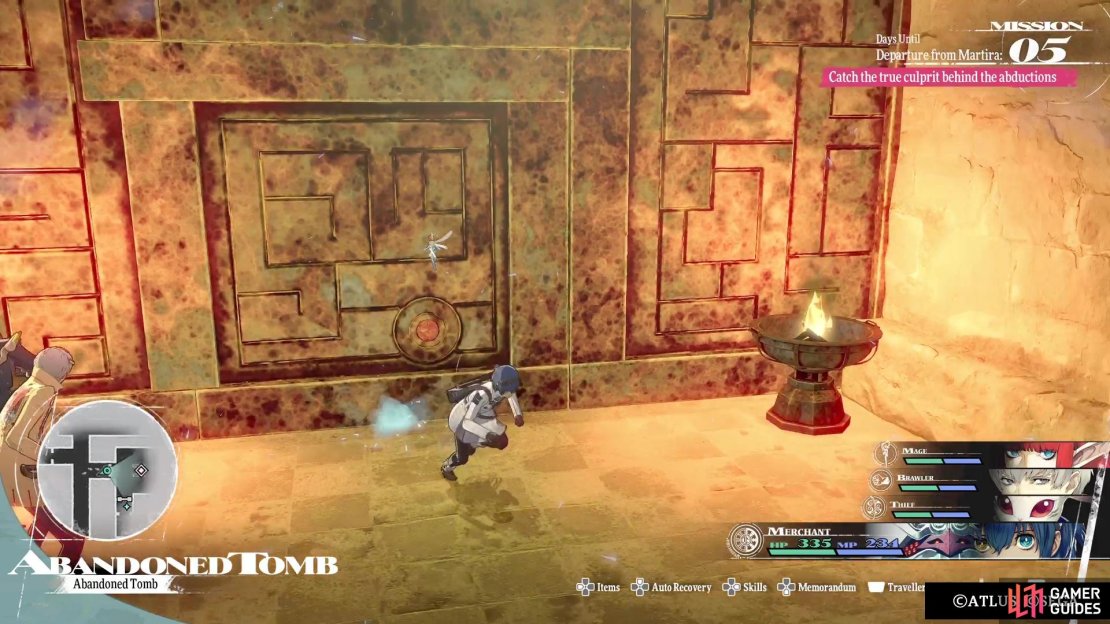
Double back to the previous room and look for a switch on the southern wall, which will create an opening. There is a chest just past the new opening, which contains a Twinkling Crystal accessory (boosts all stats by two points). The hole you can squeeze through at the end of this path will bring you back out near the beginning of the dungeon. Across from the door you couldn’t open is a dead end, with a chest, but this one turns out to be another mimic. Defeat it to obtain an Enigmatic Accessory, then crawl through the hole just south of where the mimic was located.
You can jump down here to find more enemies guarding another chest, so take them out and open the chest for some Spiked Gloves. There’s another hole in the southwest corner, leading to a hallway that ends with you jumping down again. The chest right next to you upon landing is another mimic, with this one yielding a Scrap Metal upon defeat. Follow the hallway to the end and climb the ladder, which will bring you out not too far from the beginning of the dungeon. As you can see from the map, there are still a few things you haven’t gotten to on the base floor here.
Remember the first hallway you went down, where you encountered the first mimic? Head down it again and take the ladder in the bottom right corner. Defeat the enemies to the north first, then loot the item on the western path (Gritty Polearm). There’s another ladder to the northeast, but it just brings you back to the base floor. Double back a little bit and head south this time, where you should find a Red Elmenta, as well as another ladder. This will take you to the area south of the objective marker and a gate you can’t open. However, there is an item here, a Gold Beetle to be exact.


(1 of 2) The Elmenta is easy to get in this dungeon, due to the small corridor.

The Elmenta is easy to get in this dungeon, due to the small corridor. (left), The Gold Beetle is found at the dead end, just south of the side quest objective. (right)
Make your way all the way back to the main floor and start moving north along the eastern hallway. Just past the horde of enemies, as well as the little alcove, there will be a hole in the wall (this is before the Kadablich). Loot the item on the other side for a Graced Water, then climb the nearby ladder. There is a Kadablich at the top, so be mindful of it and defeat it. Loot the chest after for a Noble Sun Hat, then double back to the save point. Run past the large chest and to the dead end beyond to loot another, normal chest (Balm of Life).
When you feel like you’re ready, go ahead and open the big chest now, which is a big mimic and the boss of this dungeon. Check out the Trove Imitec boss page for more information on that fight. You will receive a key after the battle, though, which will now open those doors you’ve seen throughout the tomb. With that out of the way, return to the entrance, as we have some treasures to still grab here. From the entrance, go north to the second intersection, then look west for a hole in the wall.


(1 of 2) The locked door in the center of the dungeon leads to three treasure chests.

The locked door in the center of the dungeon leads to three treasure chests. (left), The other door near the beginning is where you’ll find the quest item. (right)
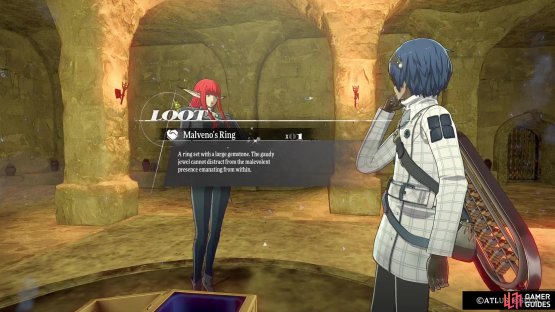
Pass through this hole, then continue north, past a door you previously opened with the switch on the northern side. There’s another hole here, on the eastern wall, putting you right in front of one of those locked doors. Inside will be three chests, containing some Crimson Fangs, a Sandsilk Blouse, and a Sage’s Staff. That’s about most of everything, with the only remaining thing being the locked door near the entrance. The chest in there contains the Malveno’s Ring, the quest item that you came here for the Pompous Man.
That wraps up this dungeon, but you can stay here for a bit and farm some money, if you want. Otherwise, leave the dungeon and return to town.
No Comments