
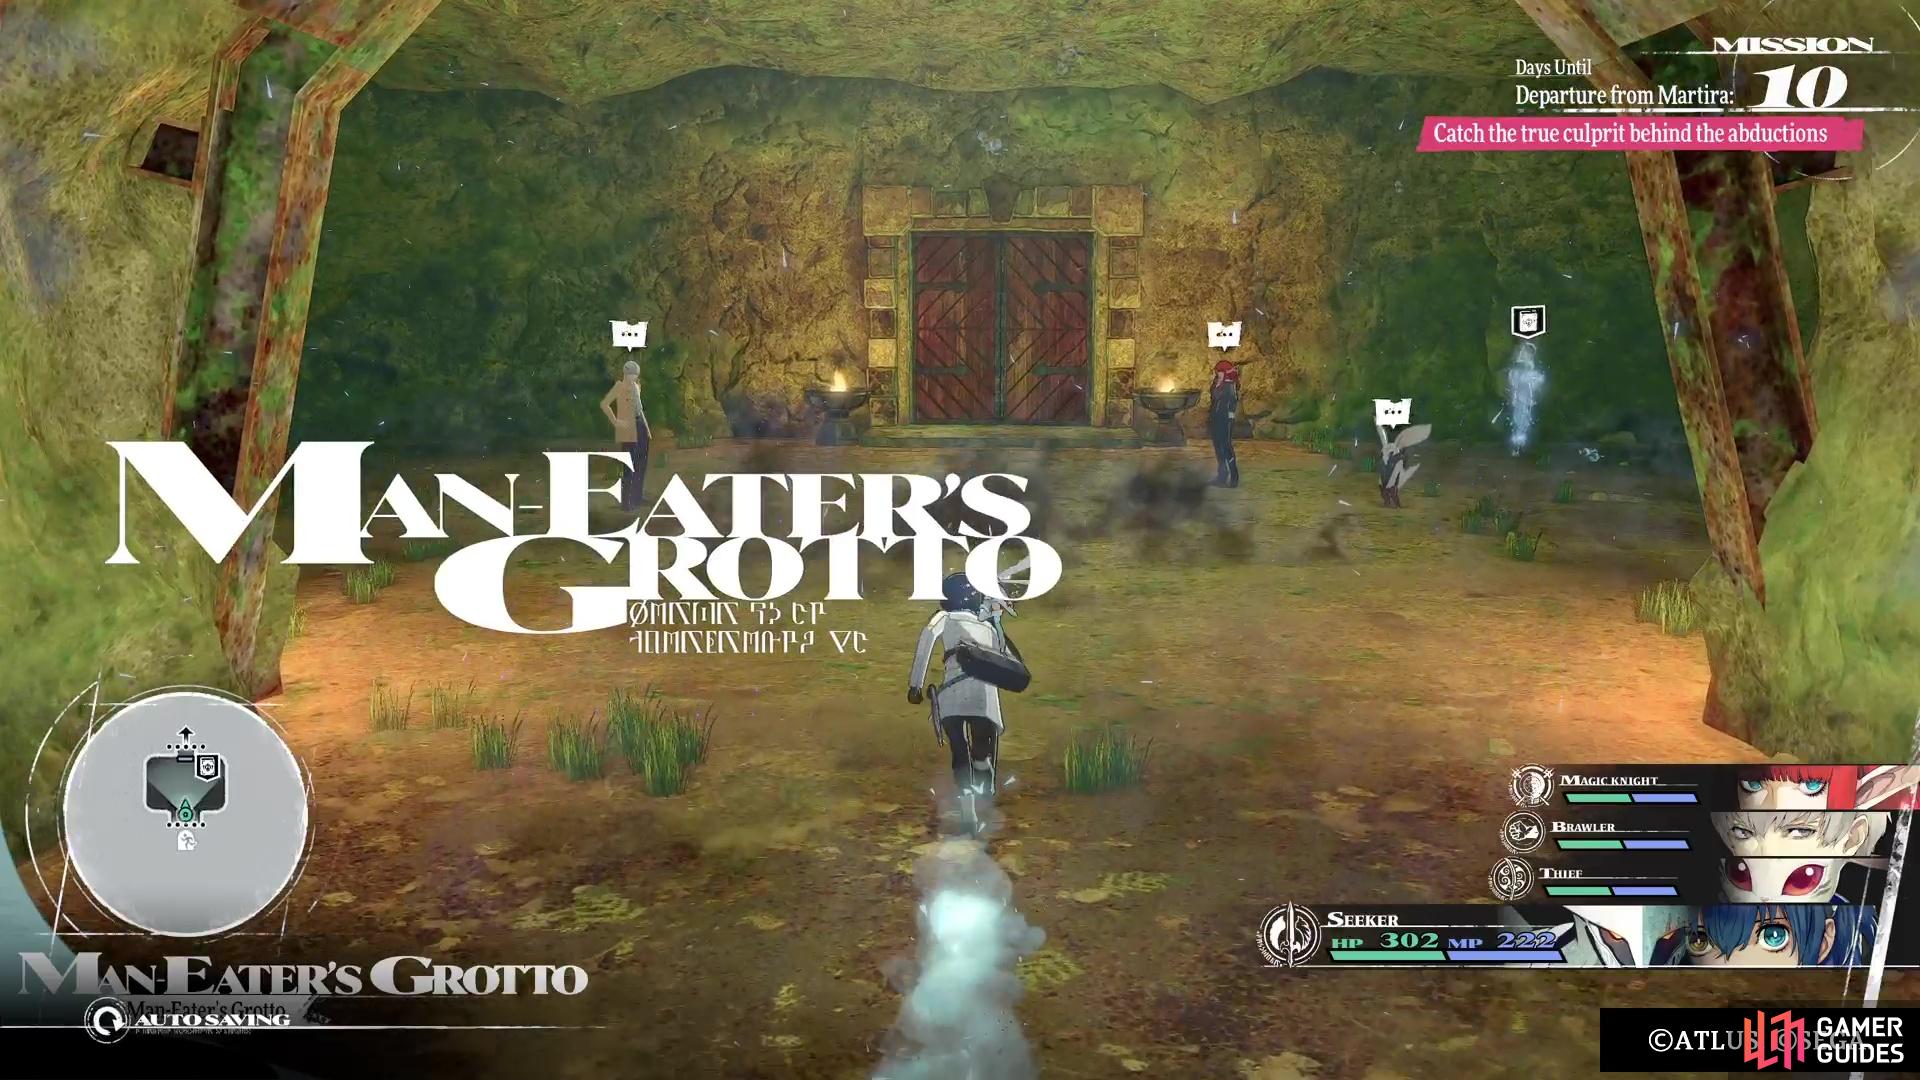
There are plenty of dungeons in Metaphor: ReFantazio, some of which are part of the main story and some that are optional. The Man-Eater’s Grotto is an optional dungeon that unlocks once you accept the bounty for the Alpha Rockworm Valmo, which is gotten from Martira on July 5. You’ll have to go through this dungeon in order to reach the bounty, and the place can be a little confusing to get through, so this page will attempt to walk you through it.
Man-Eater’s Grotto unlocks when you go after the Alpha Rockworm Valmo bounty.
Man-Eater’s Grotto Enemies
These are all of the enemies found in Man-Eater’s Grotto, including their level, weaknesses, and strengths.
| Enemy | Level | Weak | Strong |
|---|---|---|---|
| Juvenile Rockworm Valmo | 22 | Ice | Slash/Pierce/Strike (Resist) |
| Gangaflo | 23 | Fire | Ice (Block), Lightning (Resist) |
| Vampiric Gelatinos | 20 | Ice, Lightning | Slash/Pierce/Strike (Block), Fire (Absorb) |
| Nocpur | 15 | Wind | – |
| Chimenza | 28 | Wind | Fire (Resist), Lightning (Block) |
Man-Eater’s Grotto Treasures
The following list are all of the treasures you will find in the Man-Eater’s Grotto, including the blue orbs and chests.
| Item |
|---|
| Scrap Metal (x3) |
| Graced Water |
| Cushy Clay (x2) |
| Screwed-Up Mineral |
| Hero’s Fruit |
| Onyx (x2) |
| Grand Iron (x2) |
| Magic Incense |
| Aquamarine |
| Peridot |
| Gold Beetle |
| Hero’s Leaf of Light |
| Amethyst |
| Energy Incense |
| Blessed Water |
| Quartz Mace |
| Turquoise |
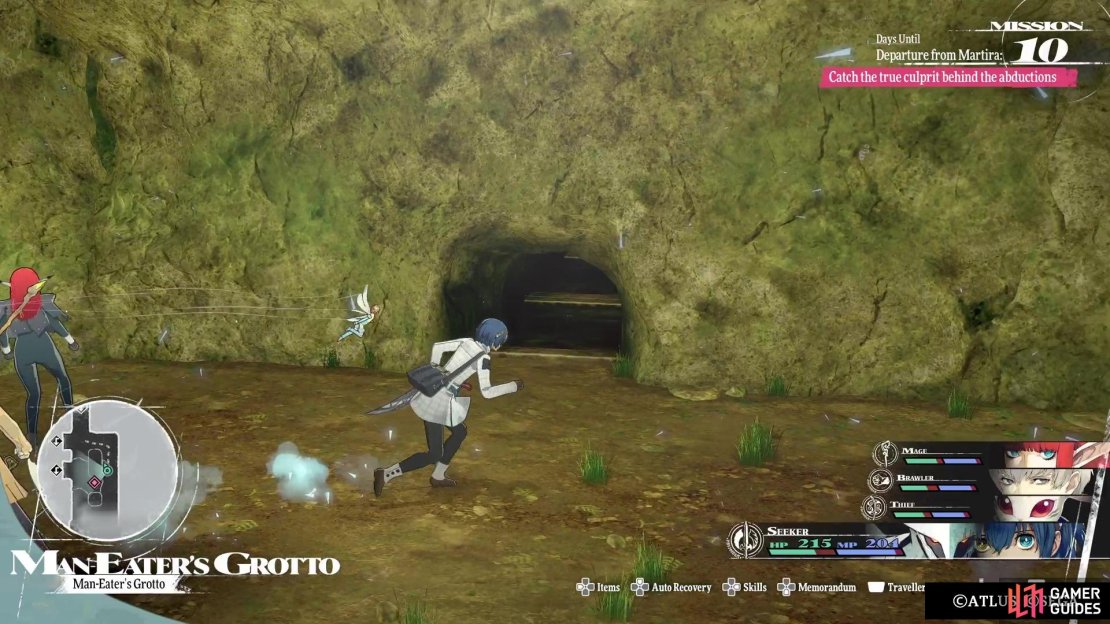
Exploring Man-Eater’s Grotto
When you first enter Man-Eater’s Grotto, you will see some ledges to the side and in front of you. For the most part, other than the beginning, you should never really have to jump down to proceed in this dungeon. Drop down straight ahead and take out the enemies here, if you want. The Juvenile Rockworms pretty much operate like all of the others, where they tend to stay underground and pop up to try and ambush you. They can decrease your hit rate/evasion, as well as paralyze you, so try not to get them a chance to act.
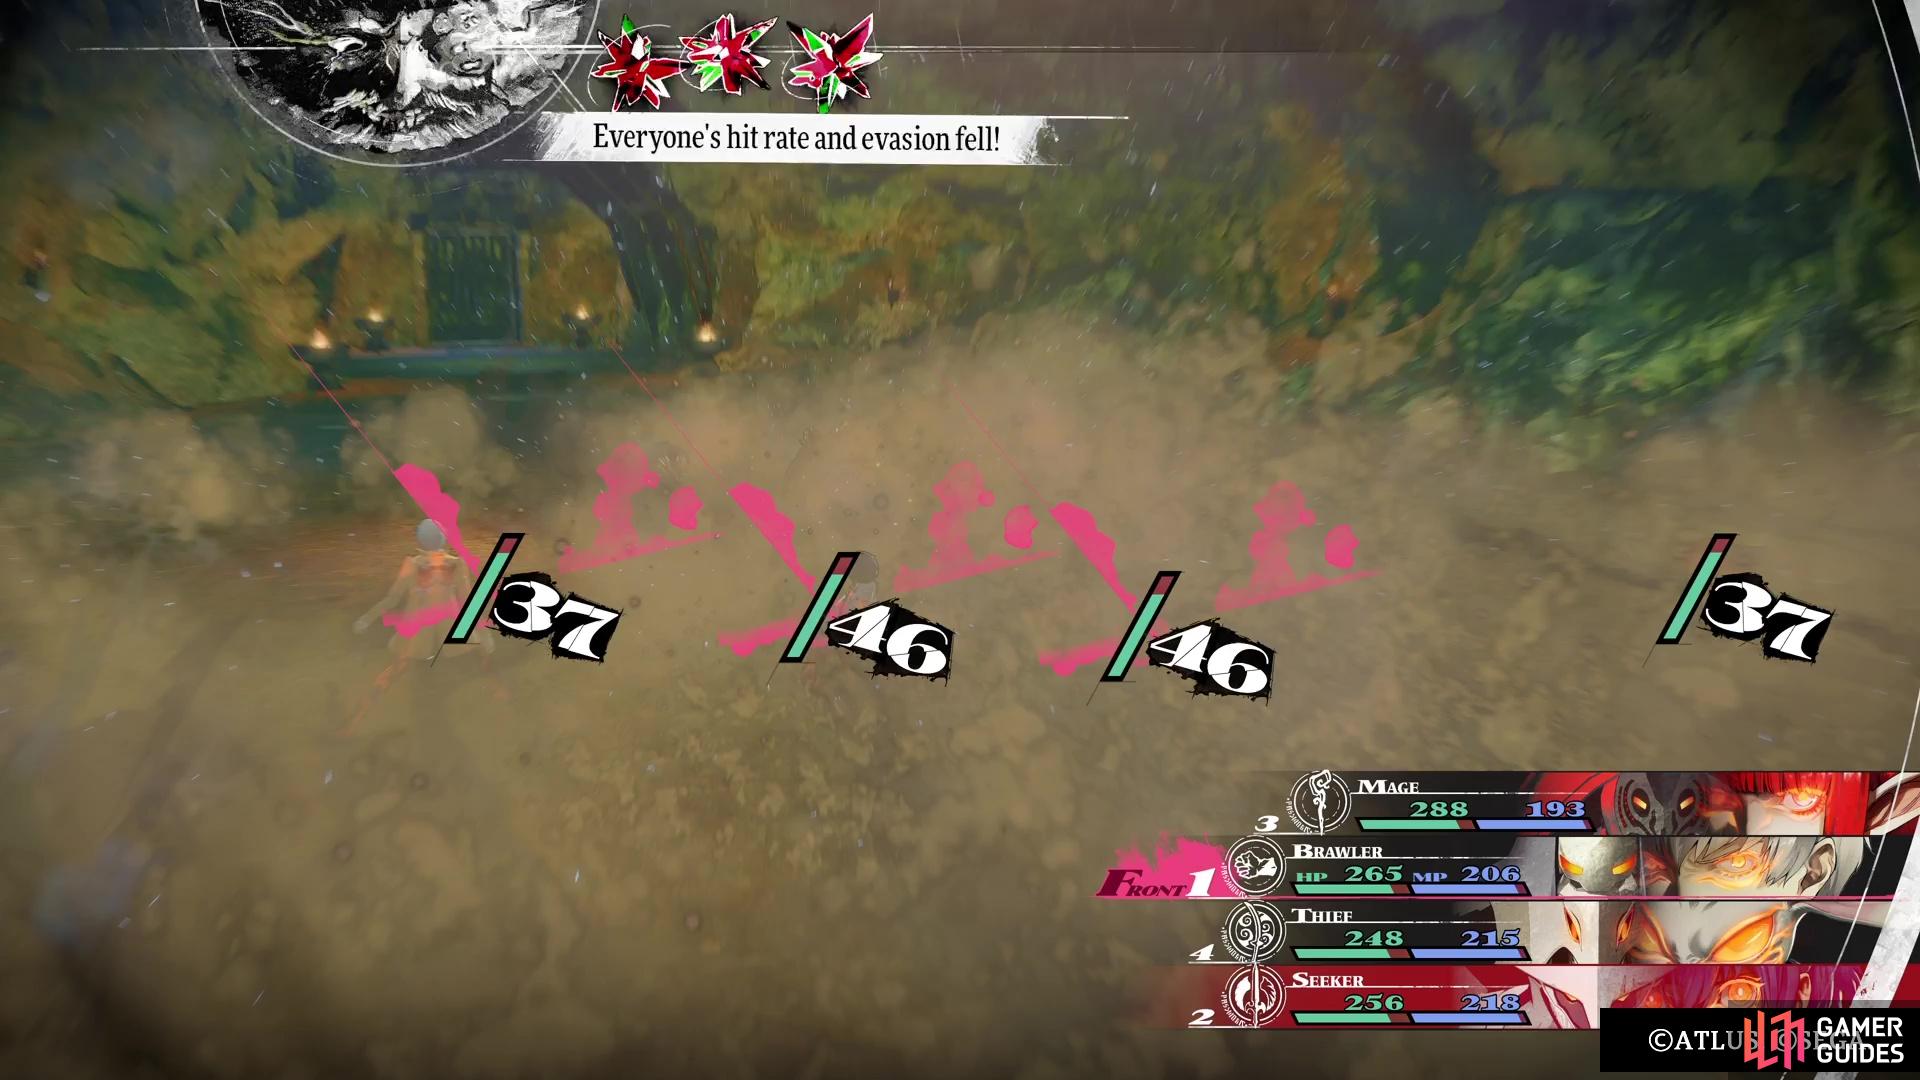

(1 of 2) The Juvenile worms can reduce your hit rate with their sand attack.

The Juvenile worms can reduce your hit rate with their sand attack. (left), They are also able to paralyze characters, so be on the watch for them. (right)
In this same room will be an item behind a pillar on the northern end (Scrap Metal), so loot it and exit to the northwest. Look past the NPC for another item (Graced Water), then head south. At the top of the hill is one more item (Cushy Clay) and there is a ledge to drop off of at the end. Ignore that and return to where the NPC was located, running north this time. The next room will have two exits, one to the east and the other to the north. Loot the item in the room first (Cushy Clay), then take the exit to the east.
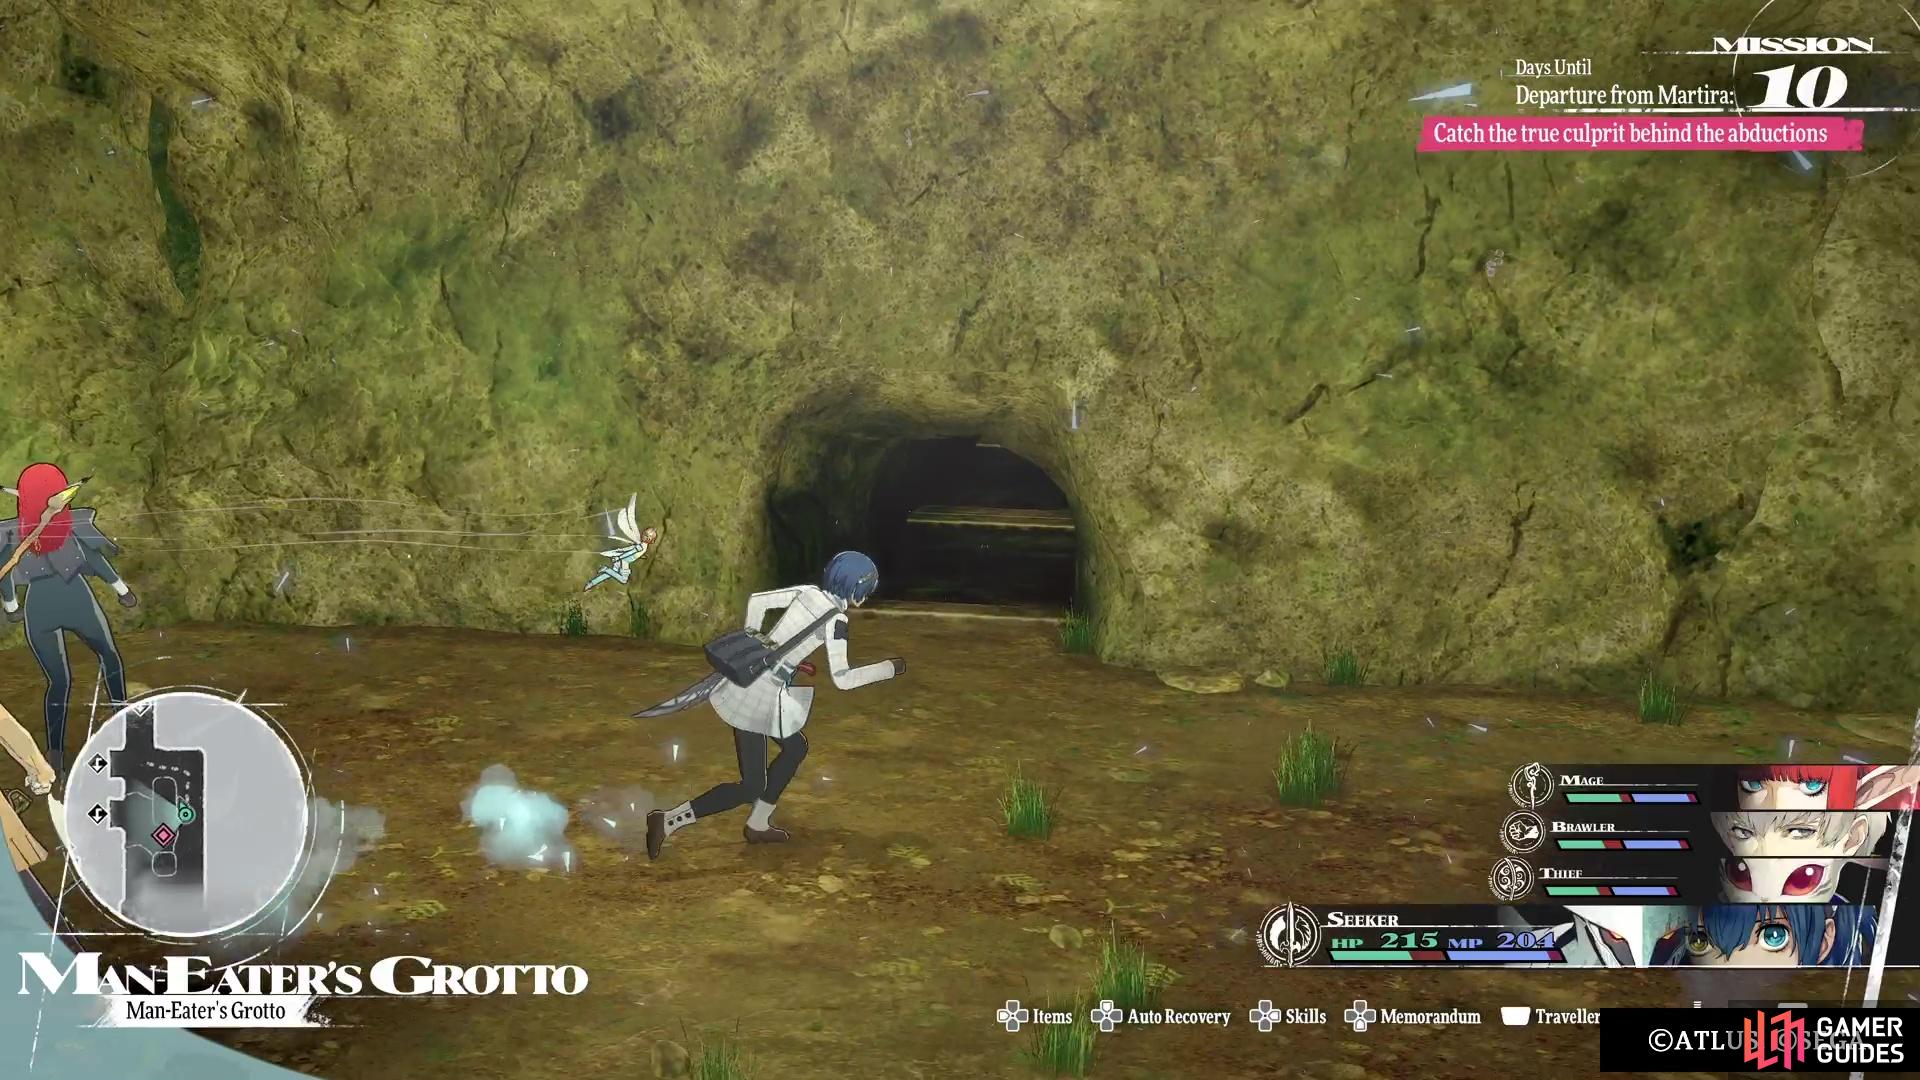
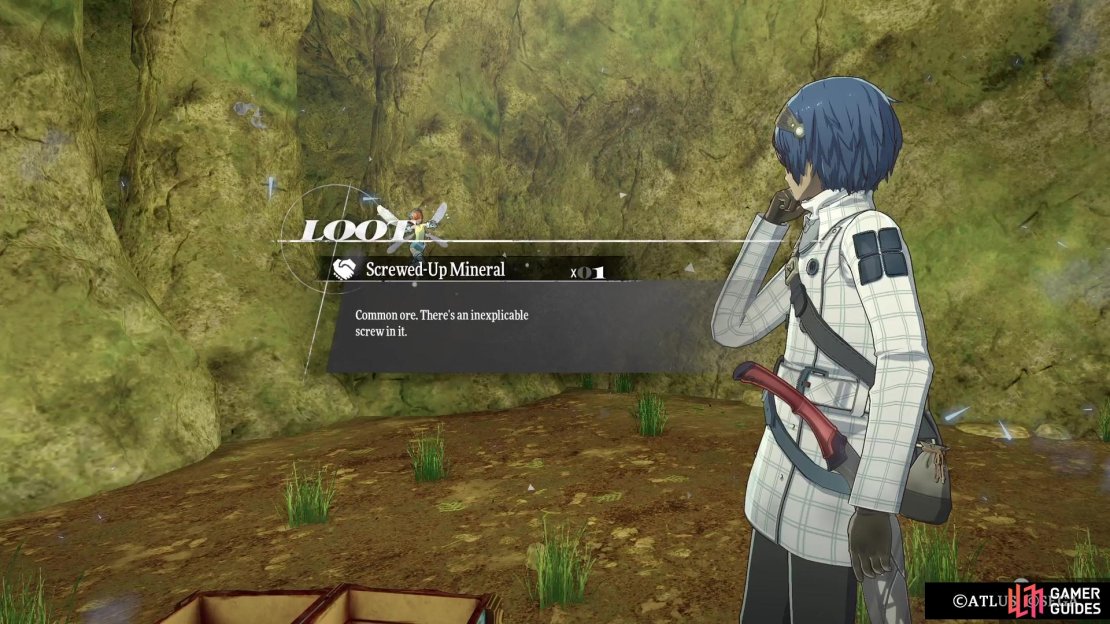
You will arrive in a small room where you go down the eastern side. Here, about halfway through, look along the western wall to spy a hole you can crawl through. Do that and look for the chest here to find something called a Screwed-Up Mineral. If you have the bond with Neuras already, then this is the first relic you can find to level up with him. Go back through the hole, then head to the southern end of the room to find a new enemy here, the Nocpur. They are level 15, so you should be outclassing them at this point and can easily dispatch them on the overworld.
In this room will be an item in the southeast corner (Hero’s Fruit), then a chest in the southwest corner (Onyx). Double back to the previous floor and take the northern stairs now to go down a level. To the north, some enemies will be surrounding an item, so defeat them and loot it after (Grand Iron). Return to the previous room and go south a little bit, where you’ll have a split. For now, continue south (Magic Incense along the way) and then east, where you’ll find a chest at the dead end (Aquamarine). Double back to the split just mentioned and head west this time, looting the item at the corner (Scrap Metal).
(1 of 4) Go through this one hole to gain access to a small area with a chest.
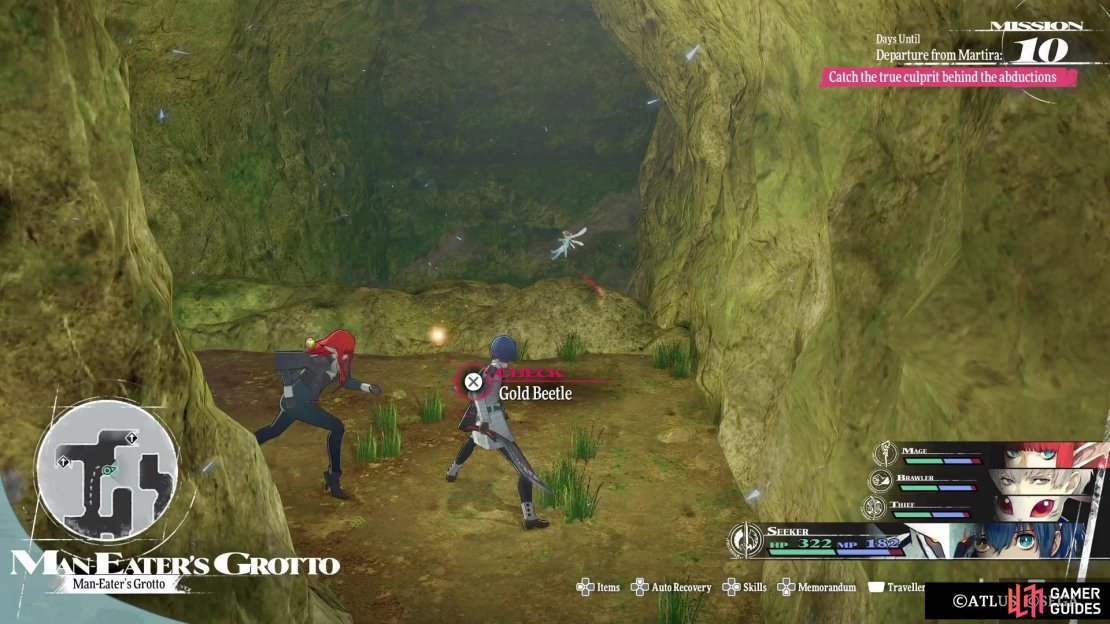
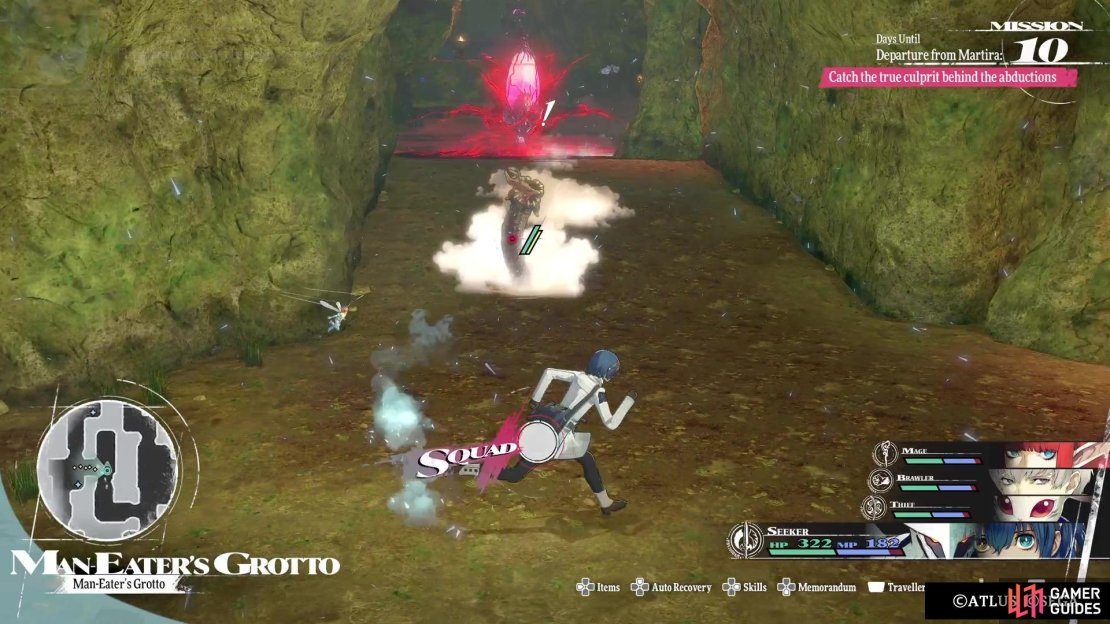
To the far north are more enemies surrounding another item (Peridot), then west will have one of those crystals that spawns a bunch of enemies. Fight some enemies, if you want, or stun them and go after the crystal. If you break the crystal while enemies are still on the field, they will disappear. In the corner by that crystal will be another item (another Grand Iron), and to the north will be two different ways to go. Before taking a path here, look in the bottom right corner for yet another item, but this one will be a Gold Beetle. Both of the hills here will lead to treasure at dead ends, although the eastern one has no enemies.
The eastern “exit” has a chest with a Hero’s Leaf of Light, while the western “exit” leads to a small area with two chests. The southern one contains an Amethyst, while the other is holding an Energy Incense. In the previous area, as you head towards the southwestern corner, you will encounter another of the enemy-spawning crystals. Beyond that will be a myriad of enemies waiting to block you from taking the exit here. There will be a NPC at the top of the hill from the exit, who mentions something about the Valmo bounty calling more enemies.
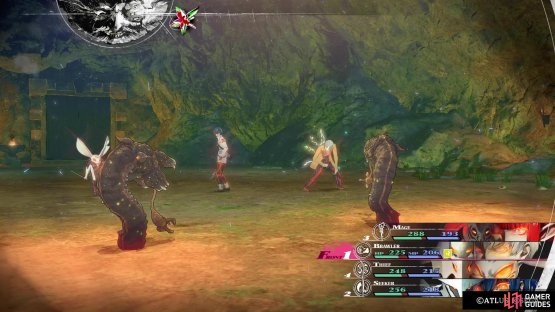
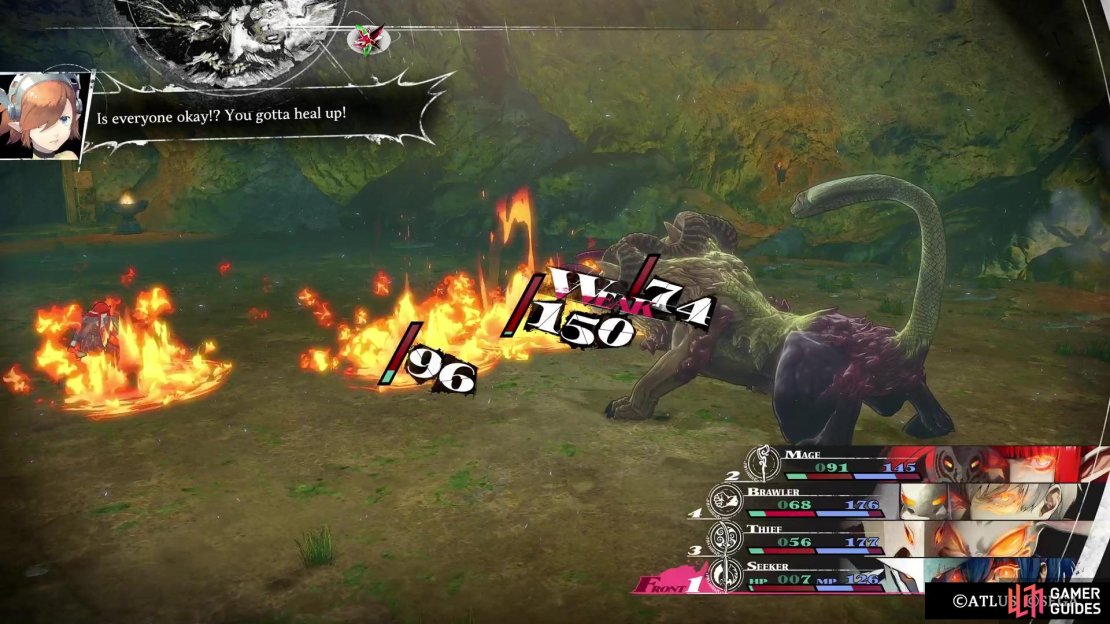
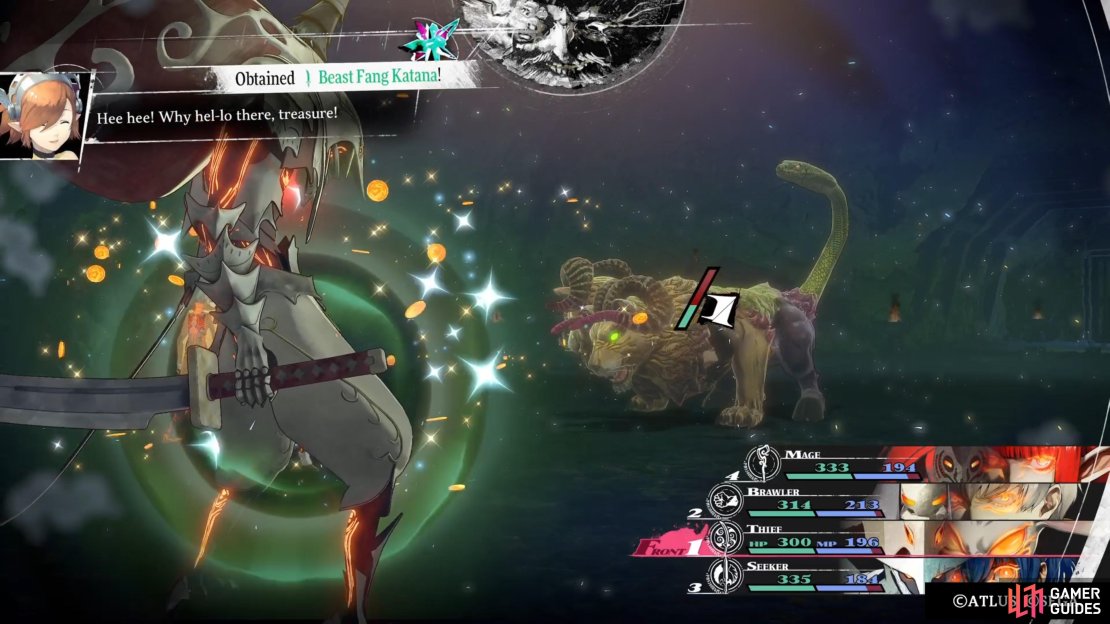
Definitely something to take in, when you get to that enemy soon. The southern path here will lead to a large enemy, called a Chimenza, which might be a little too large for the small cave. Wait until its back is turned before you try and get an ambush against it, as its overworld attack is quite large and hard to avoid. This thing is quite strong and has a lot of attacks, but it is weak to Wind (avoid Fire and Lightning) and if you have the Thief Archetype, you can steal a Beast Fang Katana from it. The path beyond the Chimenza will lead back to that one blocked door you likely saw near the beginning of the dungeon.

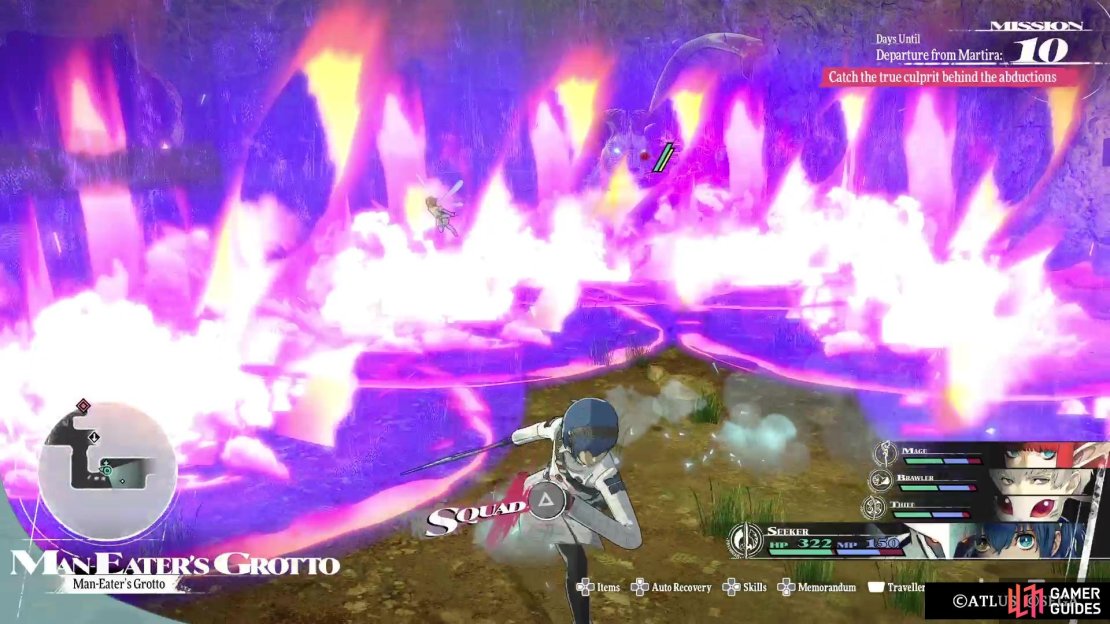
(1 of 3) The Chimenza’s overworld attack covers a big area, so it’s hard to escape once it’s spotted you.
So, before you head there, pick up the item in the corner (Scrap Metal) and return to the NPC you just met. Go north from him, dispatch the enemies in the room, then loot the item in the corner (Blessed Water). The bottom of the two eastern paths takes you to a chest (Quartz Mace weapon for a Healer), while the upper one is just an Onyx. The northwestern trail takes you to a save point and a door that leads to the bounty here.
The full breakdown of the Alpha Rockworm Valmo fight is found at the link there. Once you’ve defeated the bounty, return to where the Chimenza was (likely respawned, too) and take the eastern exit there. You’ll be on the other side of the clearly not-so-hidden rock wall that is a door, but there’s a chest in here that contains a Turquoise. Hit the switch on the wall to open the shortcut, then make your way back to the entrance. You can finally leave the dungeon now and return to the city.
No Comments