
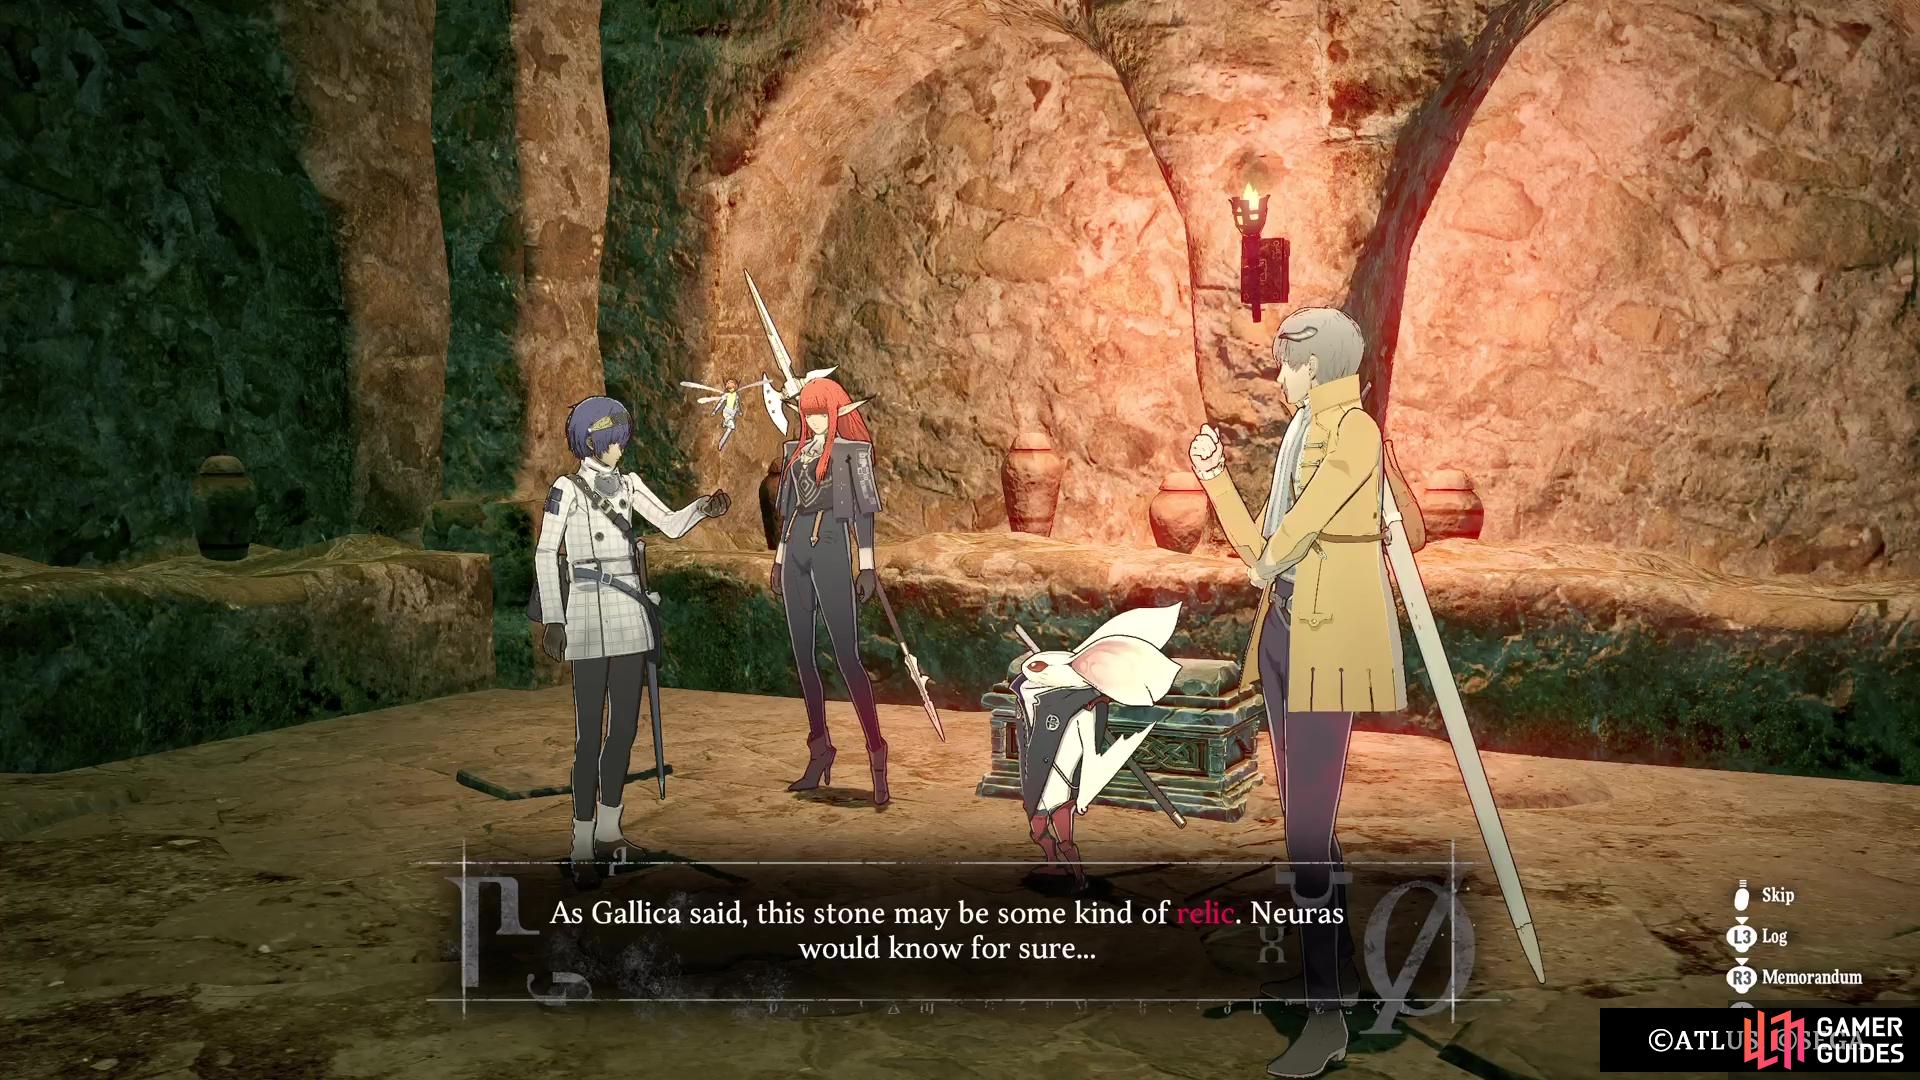
The Tomb of Lament is an optional dungeon that you can visit in Metaphor: ReFantazio. Not only is it home to one of the bounties you want to defeat, the Fatolich, but you will also need to visit the tomb to finish two side quests. You will uncover the location of the Tomb of Lament once you accept the Fatolich bounty. It will be found northwest of Brilehaven, so it’s a good idea to get all other quests from the town and do one round of the various dungeons to visit, instead of doing one at a time and returning to the town.
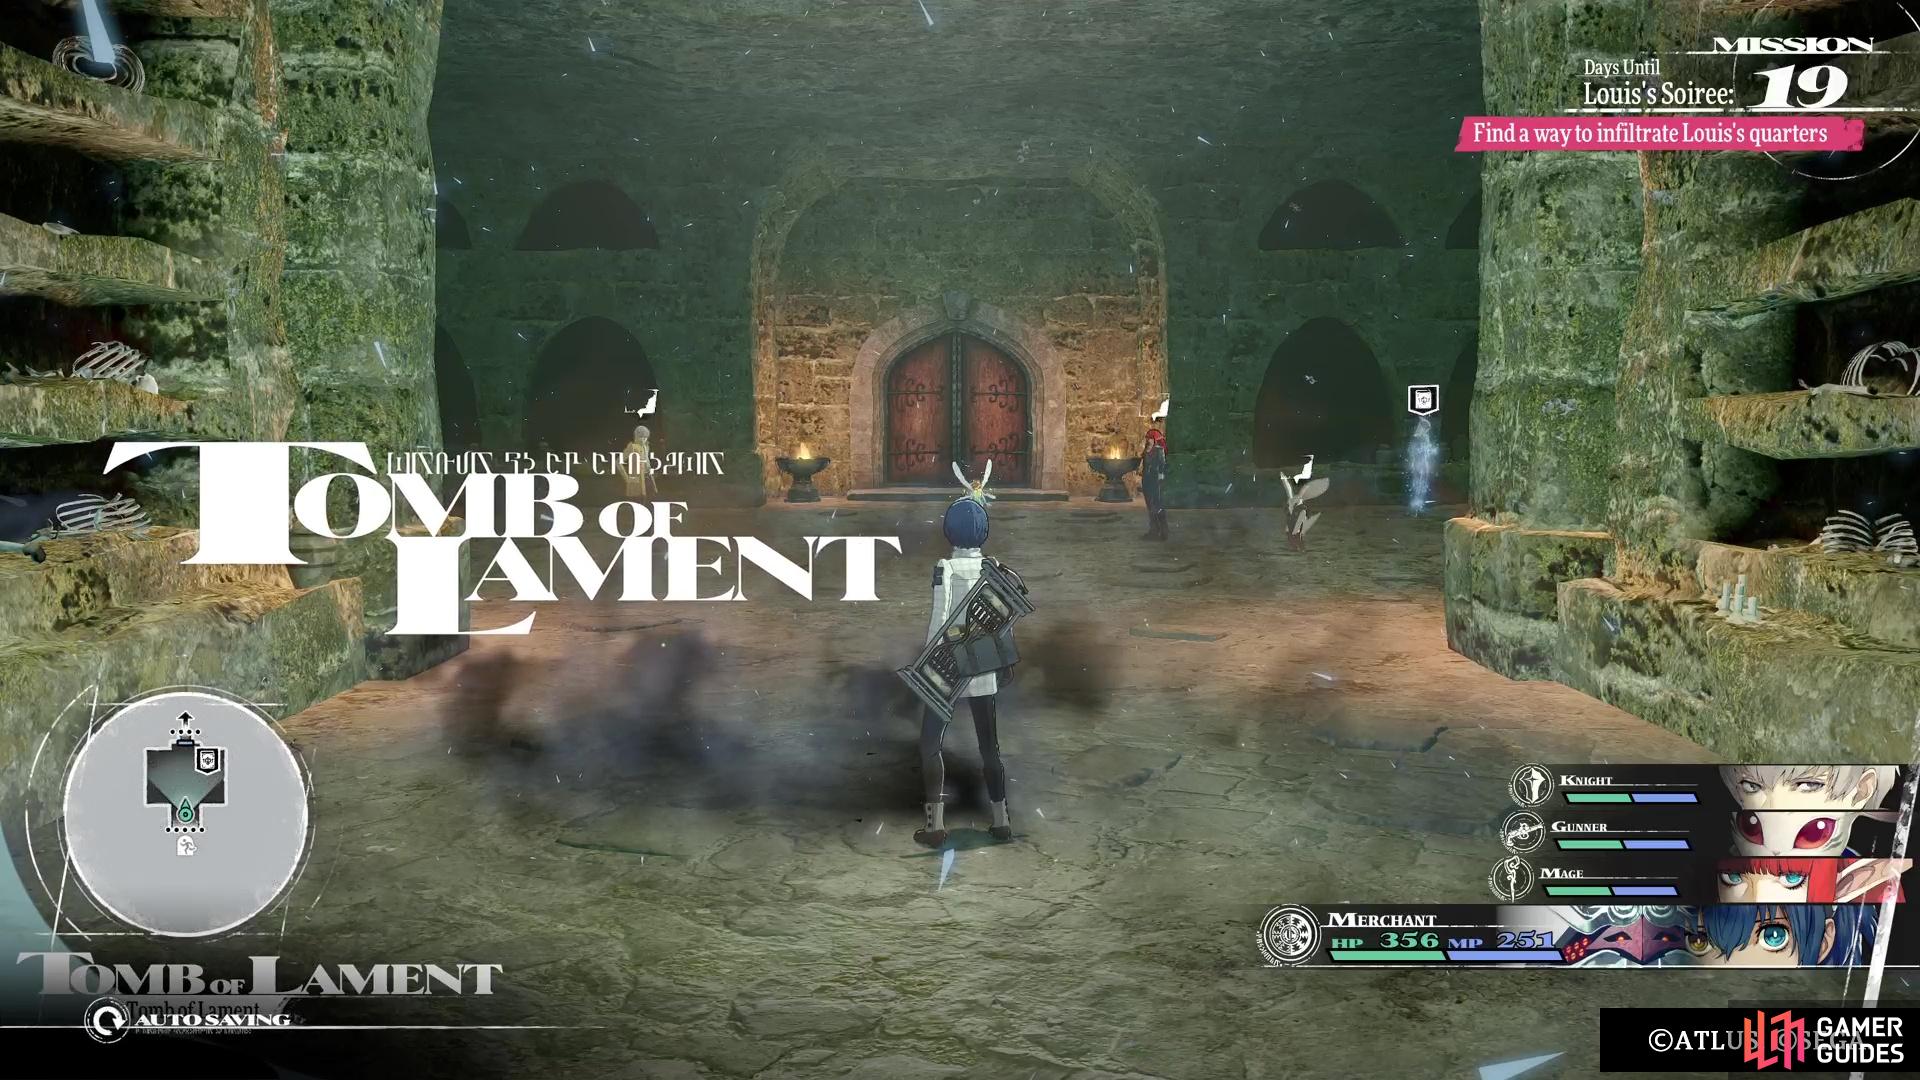
Tomb of Lament is an optional dungeon that opens when going after the Fatolich bounty.
Tomb of Lament Enemies
Here are all of the enemies you will find in the Tomb of Lament, including their levels, weaknesses and any resistances they may have.
| Enemy | Level | Weak | Strength |
|---|---|---|---|
| Pyrite Imitec | 28 | Light | Dark (Resist) |
| Sword Slave Malmorta | 17 | Strike, Light | Pierce/Dark (Resist), Lightning (Block) |
| Spear Slave Malmorta | 17 | Strike, Light | Pierce/Dark (Resist), Lightning (Block) |
| Bow Slave Malmorta | 17 | Strike, Light | Pierce/Dark (Resist), Lightning (Block) |
| Cursewight Magileto | 15 | Strike, Light | Pierce (Resist), Lightning (Block), Dark (Reflect) |
| Guptauros | 35 | Pierce, Ice | Fire (Resist) |
| Green Elmenta | 30 | Lightning | Wind (Resist) |
Tomb of Lament Items
Here is a list of all of the items you can find in the Tomb of Lament, including those from the blue orbs, as well as treasure chests.
| Item |
|---|
| Broken Igniter (x2) |
| Superior Briny Light Armour |
| Gypsum Cube |
| Blink Baselards |
| Spider Lily Katana |
| Briny Threads |
| Garnet |
| Matterbreak Hammer |
| Opal |
| Fortune White Mask |
| Coral Guard Lance |
| Bone Crushers |
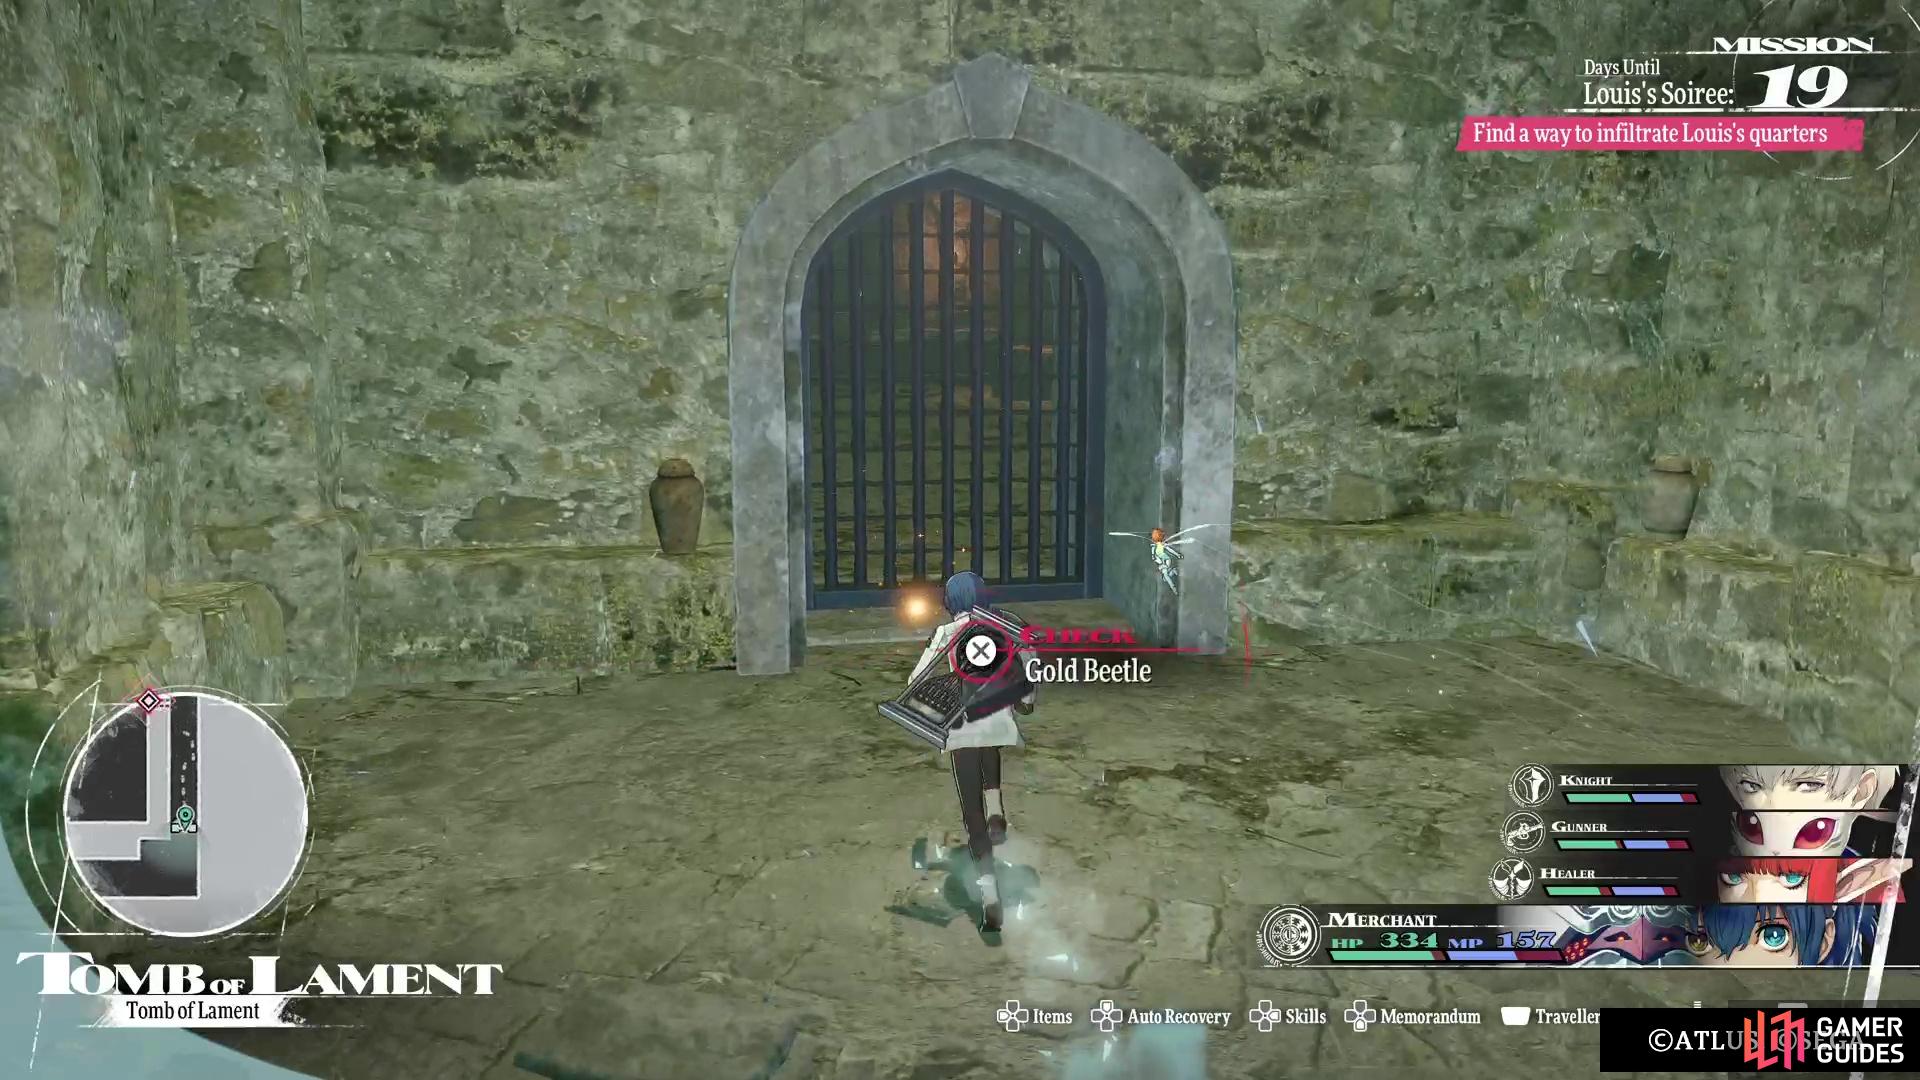
| Gold Beetle (x2) |
| Mindbreak Hammer |
| Graced Water |
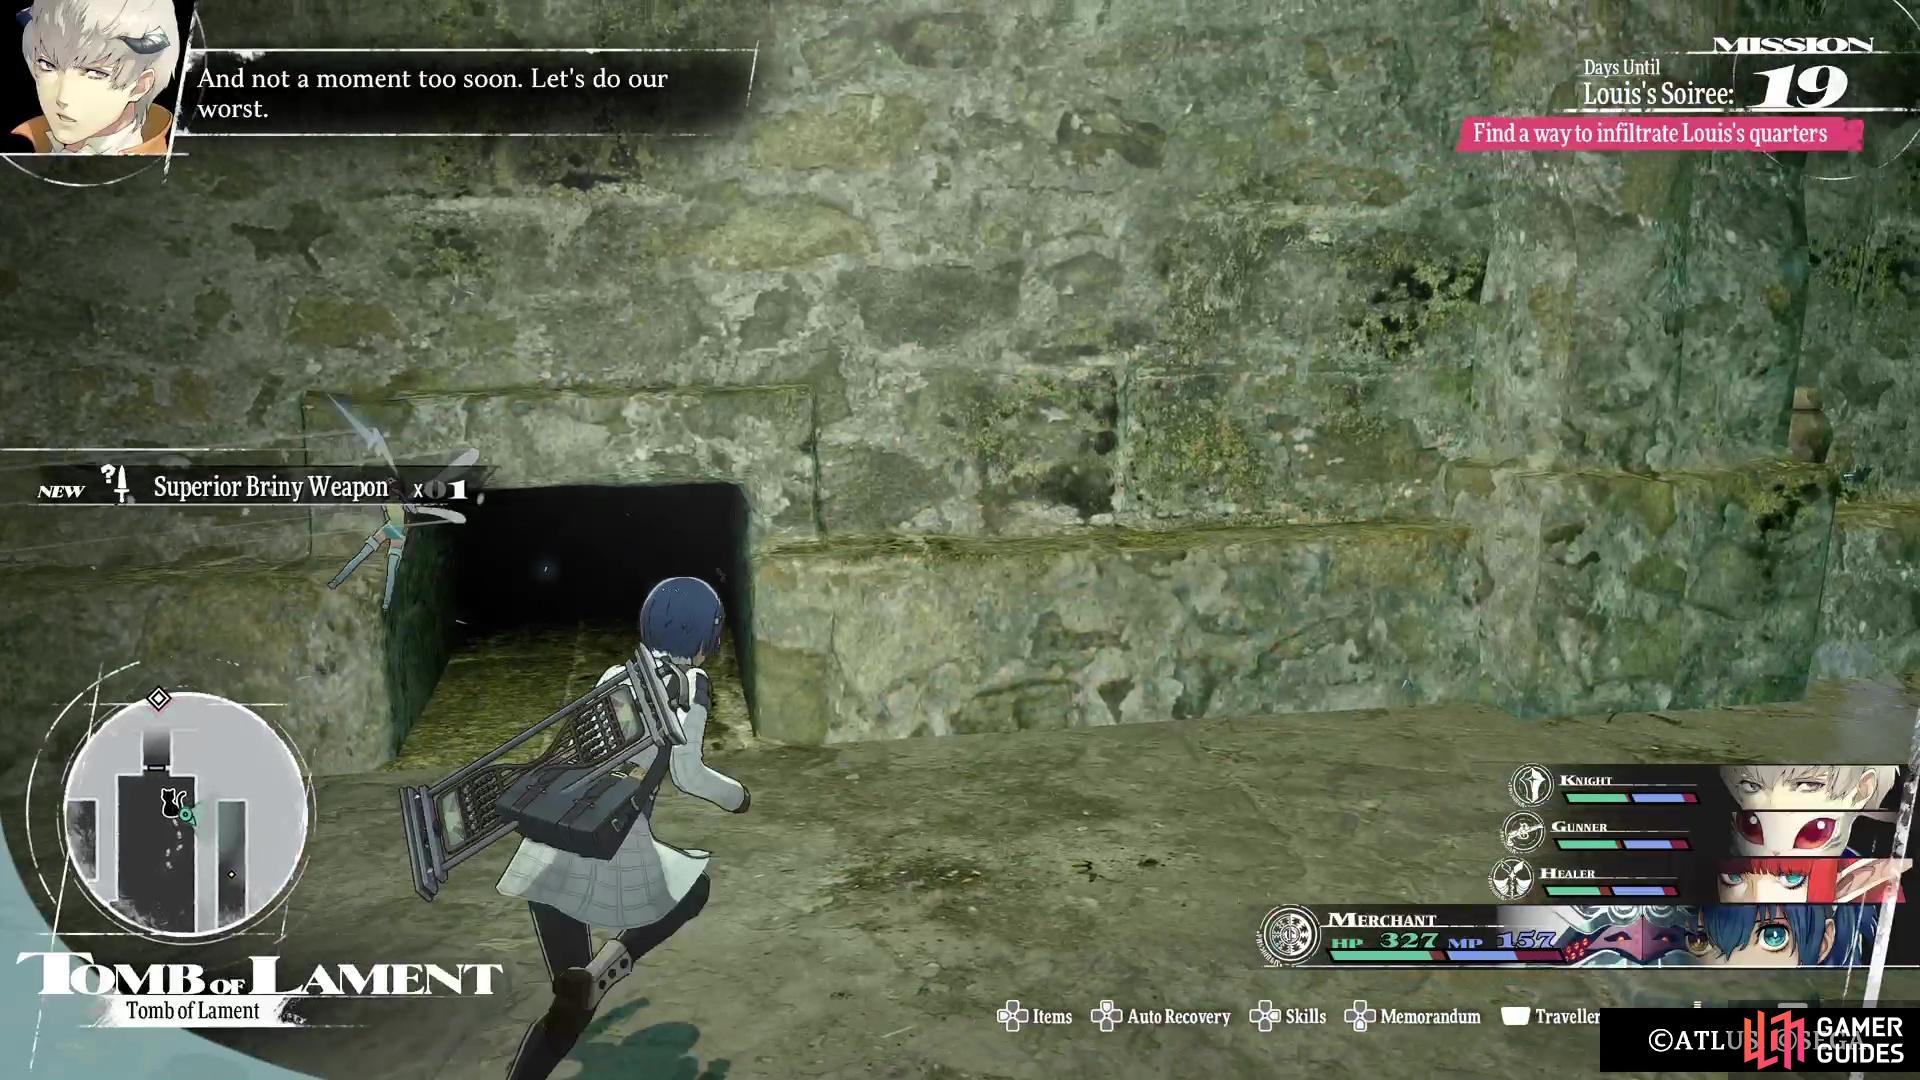
| Superior Briny Weapon |
Exploring the Tomb of Lament
If you’ve done the Abandoned Tomb, then you remember that there were mimics in there, disguised as treasure chests. Well, they are back here, but instead of being hidden, the Pyrite Imitecs are in the open, although they still try to ambush you. In the initial hallway of the dungeon, as you move forward, there will be one of these enemies in the room on the right. Wait for them to try and attack, dodge accordingly, then stun and fight them. As always, steal from the mimics, as they will yield a Blessed Water upon being successful.


(1 of 2) Some of the mimics in this dungeon will be hiding in cells to ambush you.
Some of the mimics in this dungeon will be hiding in cells to ambush you. (left), There are plenty of treasures in here that require you to crawl through these holes. (right)
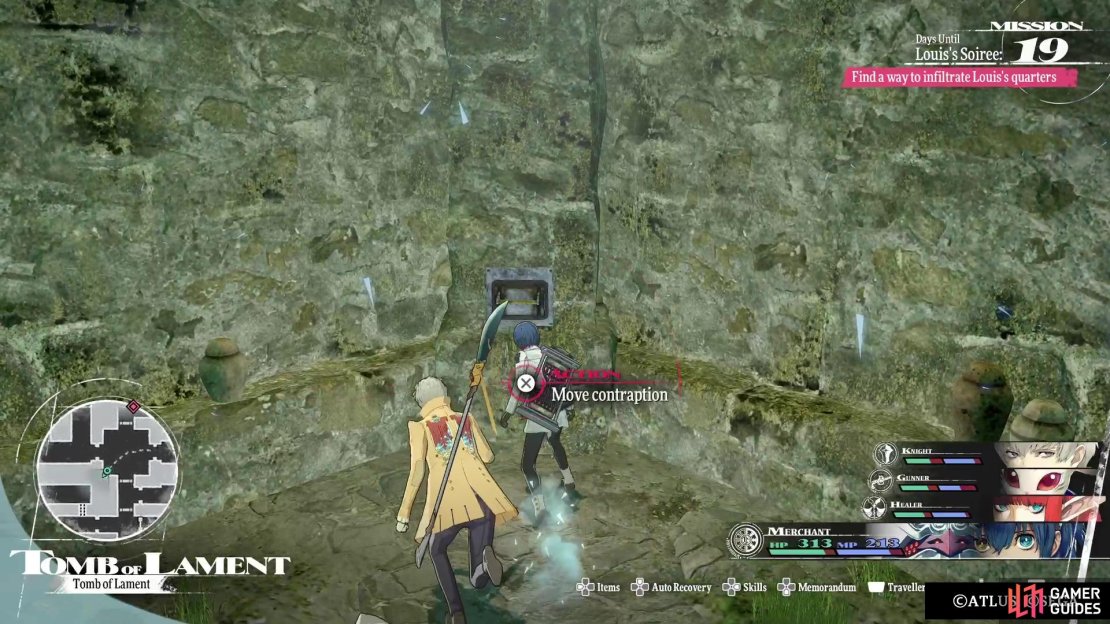
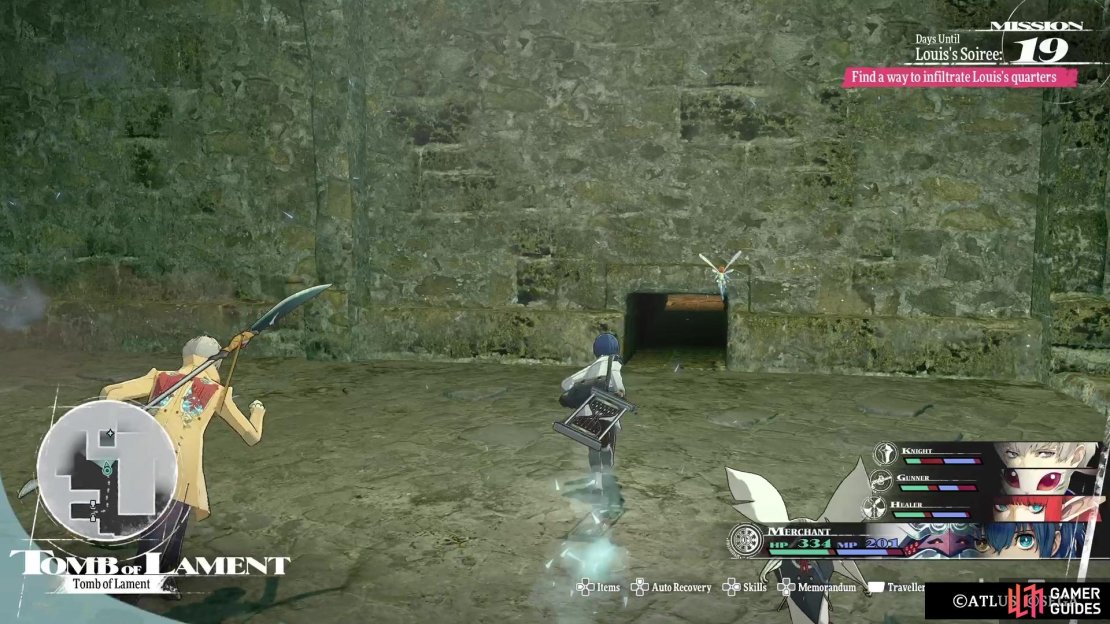
You can see some items locked behind the barred doors, but you can’t reach them by conventional means. There are a lot of little tunnels that you will have to crawl through in this dungeon, in order to reach various pieces of treasure. When the path goes west, follow it until it starts going south, but stop at that spot. Along the northern wall will be the first hole to crawl through, so do that and go to the end to find a Broken Igniter. Of course, as soon as you grab the item, the nearby gate opens up and three enemies will pop up to bumrush you. These skeletons are low-level, though, so you should be more than fine just crushing them on the field.
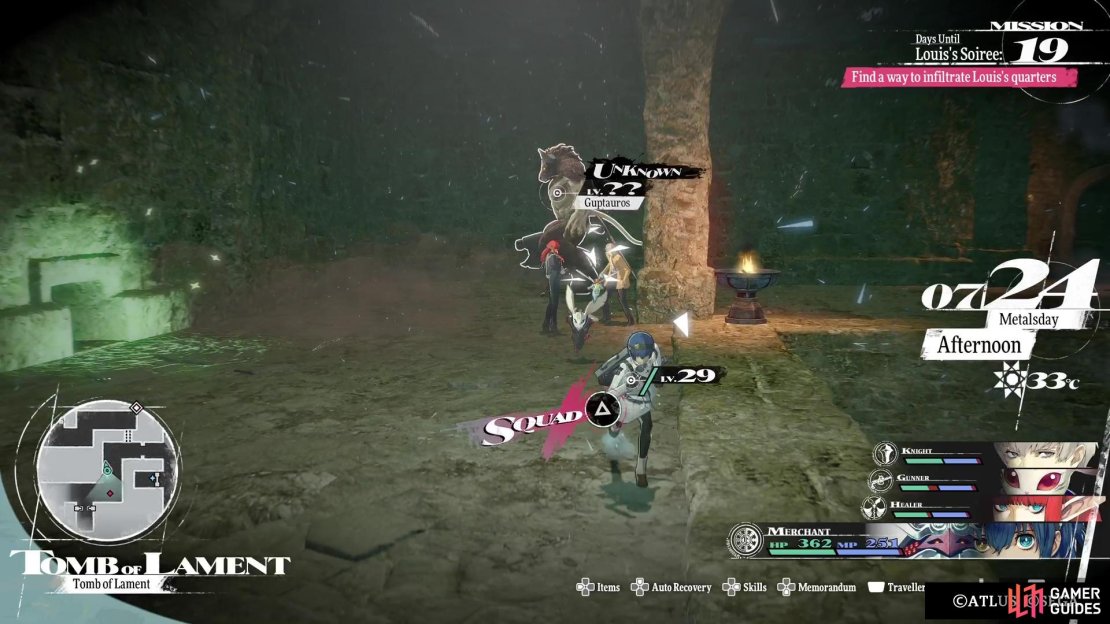
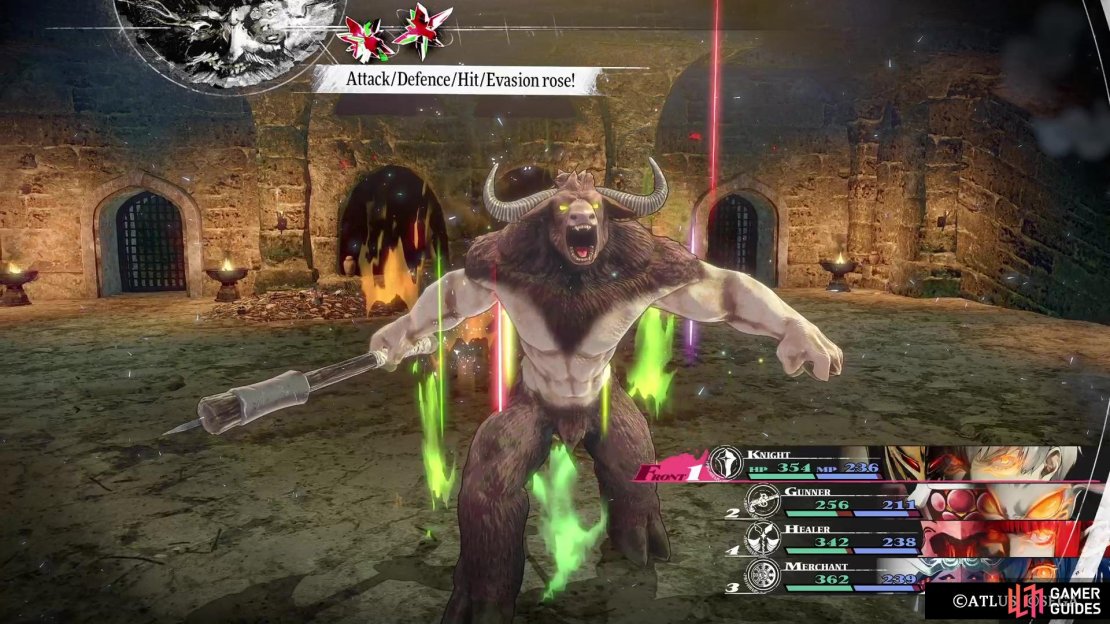
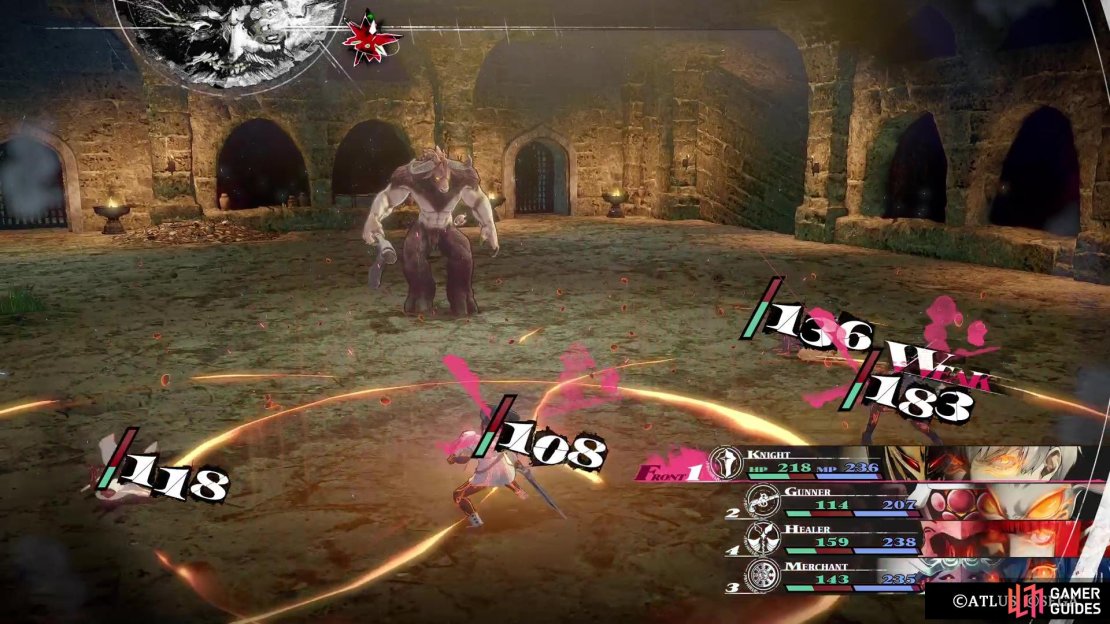
Return to the previous path and continue southward, where you’ll find another hole on the eastern wall, allowing you to grab the item in that locked cell in the initial hallway (Superior Briny Light Armour). Continue down the main corridor and you’ll see one of the main hindrances in this dungeon, the Guptauros. These are very similar to the Grotesque Guptauros you fought in the game’s first optional dungeon, but they are obviously stronger. They also have access to Heat Riser, a move that buffs their attack, defense and agility all at once, and they pretty much use it as their first move in battle.
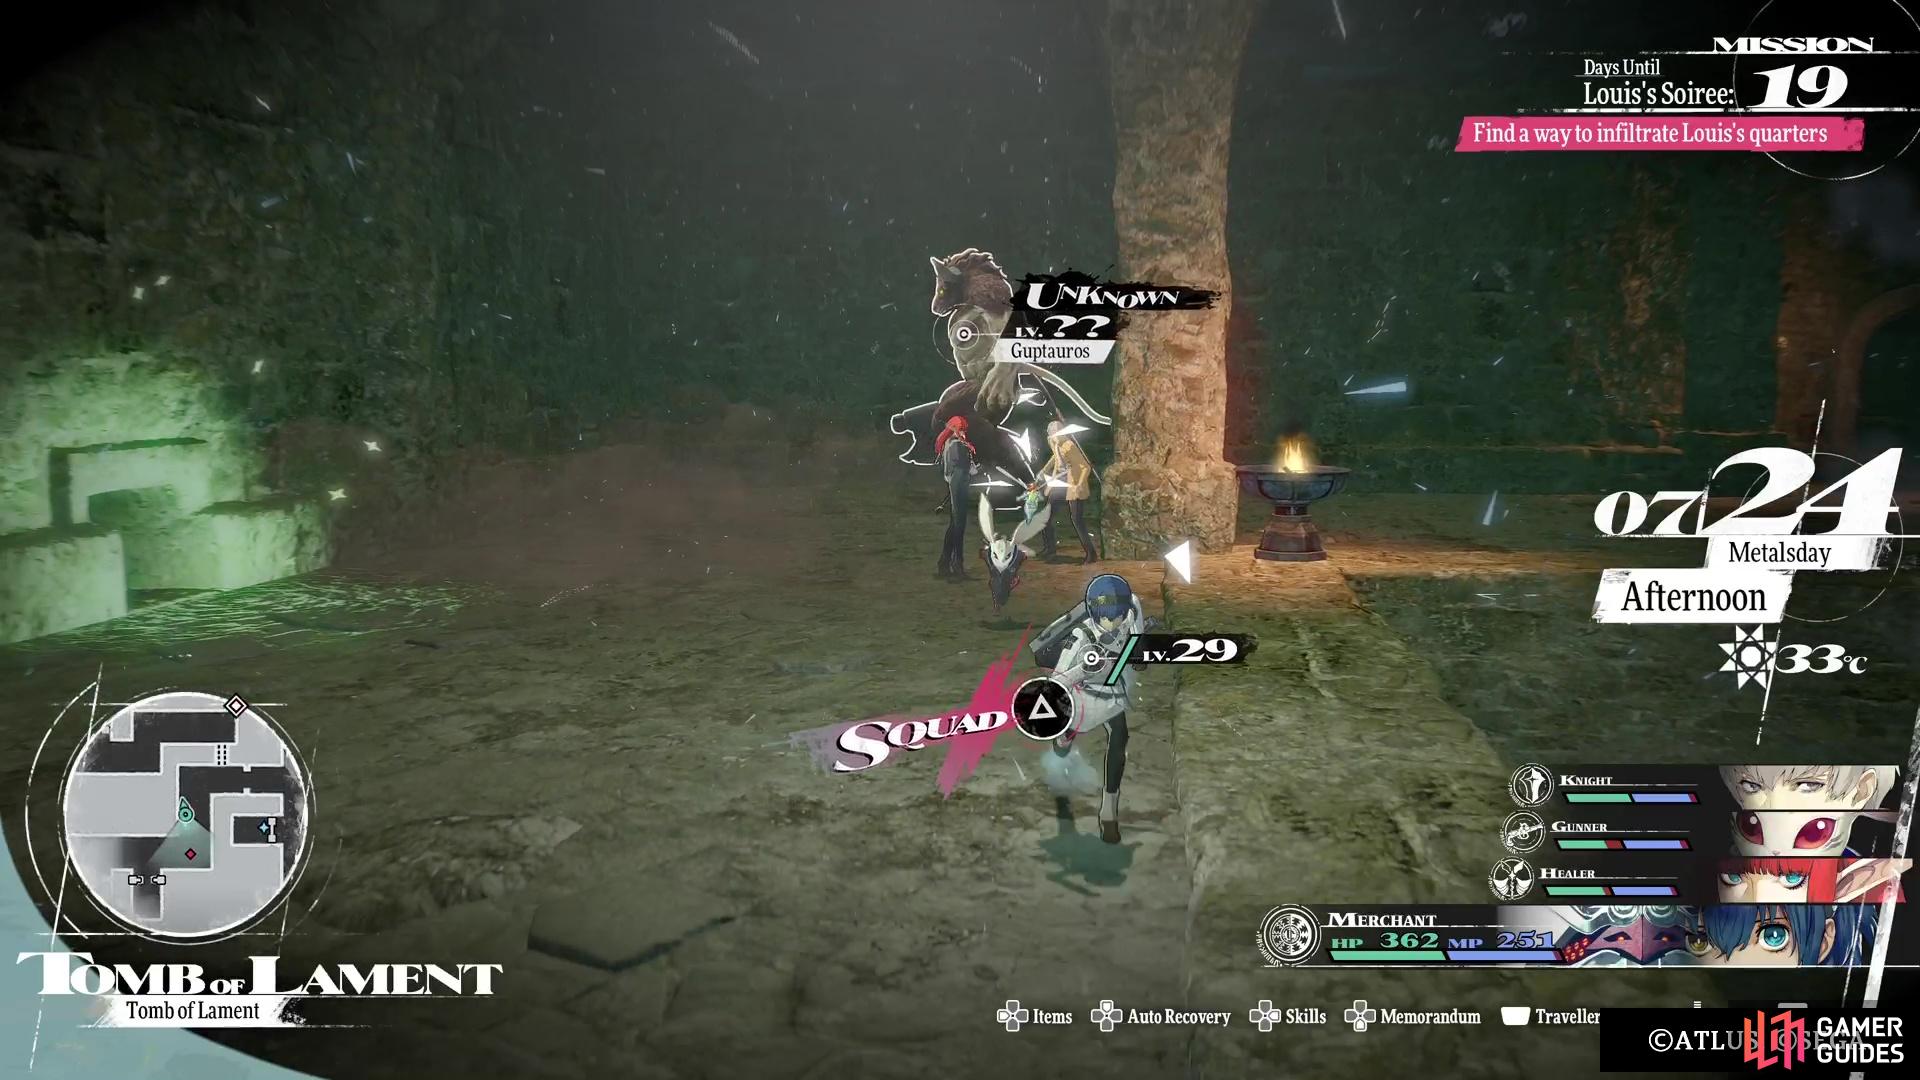
(1 of 3) The Guptauros will be roaming many halls in this dungeon.
They are weak to both Pierce and Ice, so definitely utilize those to help take them down. Once you clear the one roaming the hallway, continue to the end to find stairs leading to the next floor.
Second Floor
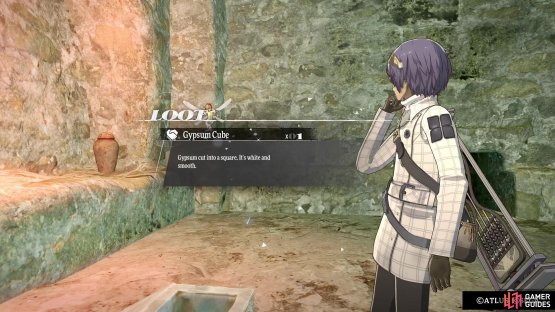
As soon as you’re on this floor, go north a little bit and look along the eastern wall for a hole. Go through it and at the end of this little bit, there will be another hole that leads to the locked cell. The treasure chest in here contains a Gypsum Cube, which is one of the relics that helps rank up Neuras’ Bond with him. Return to the main path and in the next area, two Guptauros will be patrolling the section. The eastern side will have another mimic in the middle cell, then more skeletons in the northern one.
Go to the northern end of the area and to the dead end, where you can pick up another Broken Igniter. Of course, this opens all of the cells with the skeletons, so dispatch them as best as you can. The southernmost cell on the western side in this hallway has an item in it, so loot that (Blink Baselards), then go into the cell just north of it. This one will have a hole you can use to reach the chest on the western side of the main room, which contains a Spider Lily Katana. Return to the jail cells and locate the northernmost one on the eastern side for another hole.


(1 of 2) You can find the Gypsum Cube as soon as you arrive on the second floor.
You can find the Gypsum Cube as soon as you arrive on the second floor. (left), This item is one of the relics that Neuras is wanting, which helps increase his bond. (right)
This one leads to some Briny Threads for you to appraise back at town. The southernmost cell on the eastern side leads to one final item here, which is a Garnet; it’s finally time to use the stairs you found earlier to go to a different section of the first floor.
First Floor Revisited
This is another rectangular hallway, with a Guptauros walking around it. There are some cells on the western side, two have enemies and the southernmost one allows you to reach an earlier item (Matterbreak Hammer). In the southeastern room, you can use the switch on the side to open some giant walls, essentially allowing you to get a shortcut, as well as the way forward. As you step into the hallway just south of the first wall door, you can look on the southern side for a hole that lets you grab the item in the locked cell (Opal).
There is another item in the hallway itself (Hero’s Fruit), then some stairs at the end. When you return to the second floor, you can either go south at the start, or north. For now, just head north and then at the next split, go up the eastern side. At the dead end, crawl through the hole to enter a room with two chests, as well as an item sitting at the end. The item is a Fortune White Mask, which is something you can’t use right now, while the two chests contain a Coral Guard Lance and some Bone Crushers.

(1 of 3) The switches on the wall in two of the rooms will open up shortcuts and the paths forward.
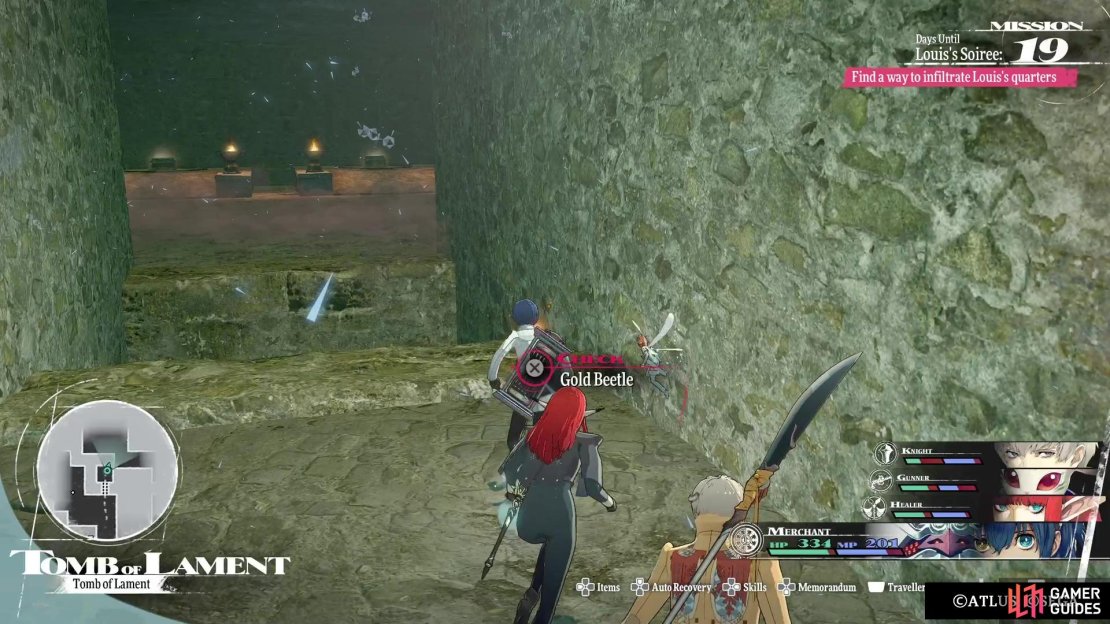
Double back to the split and go along the western path at it continues north. Immediately past the cell with the skeletons, along the northern wall, you can crawl through a hole to reach a Gold Beetle. Back in the main hallway, there will be a group of skeletons walking along with the Guptauros, so be careful. All the way to the north, you will probably be enticed by the Wind Elmenta, but there’s also a Guptauros right behind it, and you don’t want to be ambushed by that. The stairs up here are the way forward, but there’s still more treasure to be found to the south.
Being mindful of the Guptauros and more skeletons waiting to ambush you, head down the western side of this big circle. Near the southern end, look along the eastern wall for yet another hole, which brings you to the cell with the item (Mindbreak Hammer). Back outside, go to the southern end and then west to another dead end, where you can find a Graced Water. That’s all of the treasure in this section, so head all the way north and take those stairs just mentioned previously.

(1 of 2) There is one final hole right next to the save point near the end of the dungeon.
There is one final hole right next to the save point near the end of the dungeon. (left), Fight past the mimic in this hallway to grab the second Gold Beetle. (right)
You’ll emerge in a large room that has nothing in it, except for a switch in the southeast corner that opens the hidden gates. You now have direct access back to the entrance, if you feel like you need to leave to recover. If not, head east and loot the item just south of the save point here (Superior Briny Weapon). Along the eastern wall, by the save point, is another hole to crawl through, leading to a mimic guarding a second Gold Beetle.
Feel free to save your game, then pass through the door to fight the Fatolich bounty! Remember that you will want access to both light and wind for this upcoming battle, while not having a weakness to dark on any characters.
No Comments