
You’ve finally uncovered the truth about the kidnappings in Martira and you have to give chase after Morris, who has slipped his way deeper into Kriegante Castle. You only have so much time, though, before you are leaving for the Exhibition of the Brave, so the clock is ticking. This page will guide you through Kriegante Castle, including detailed breakdowns of every enemy, as well as where to find all of the treasures.
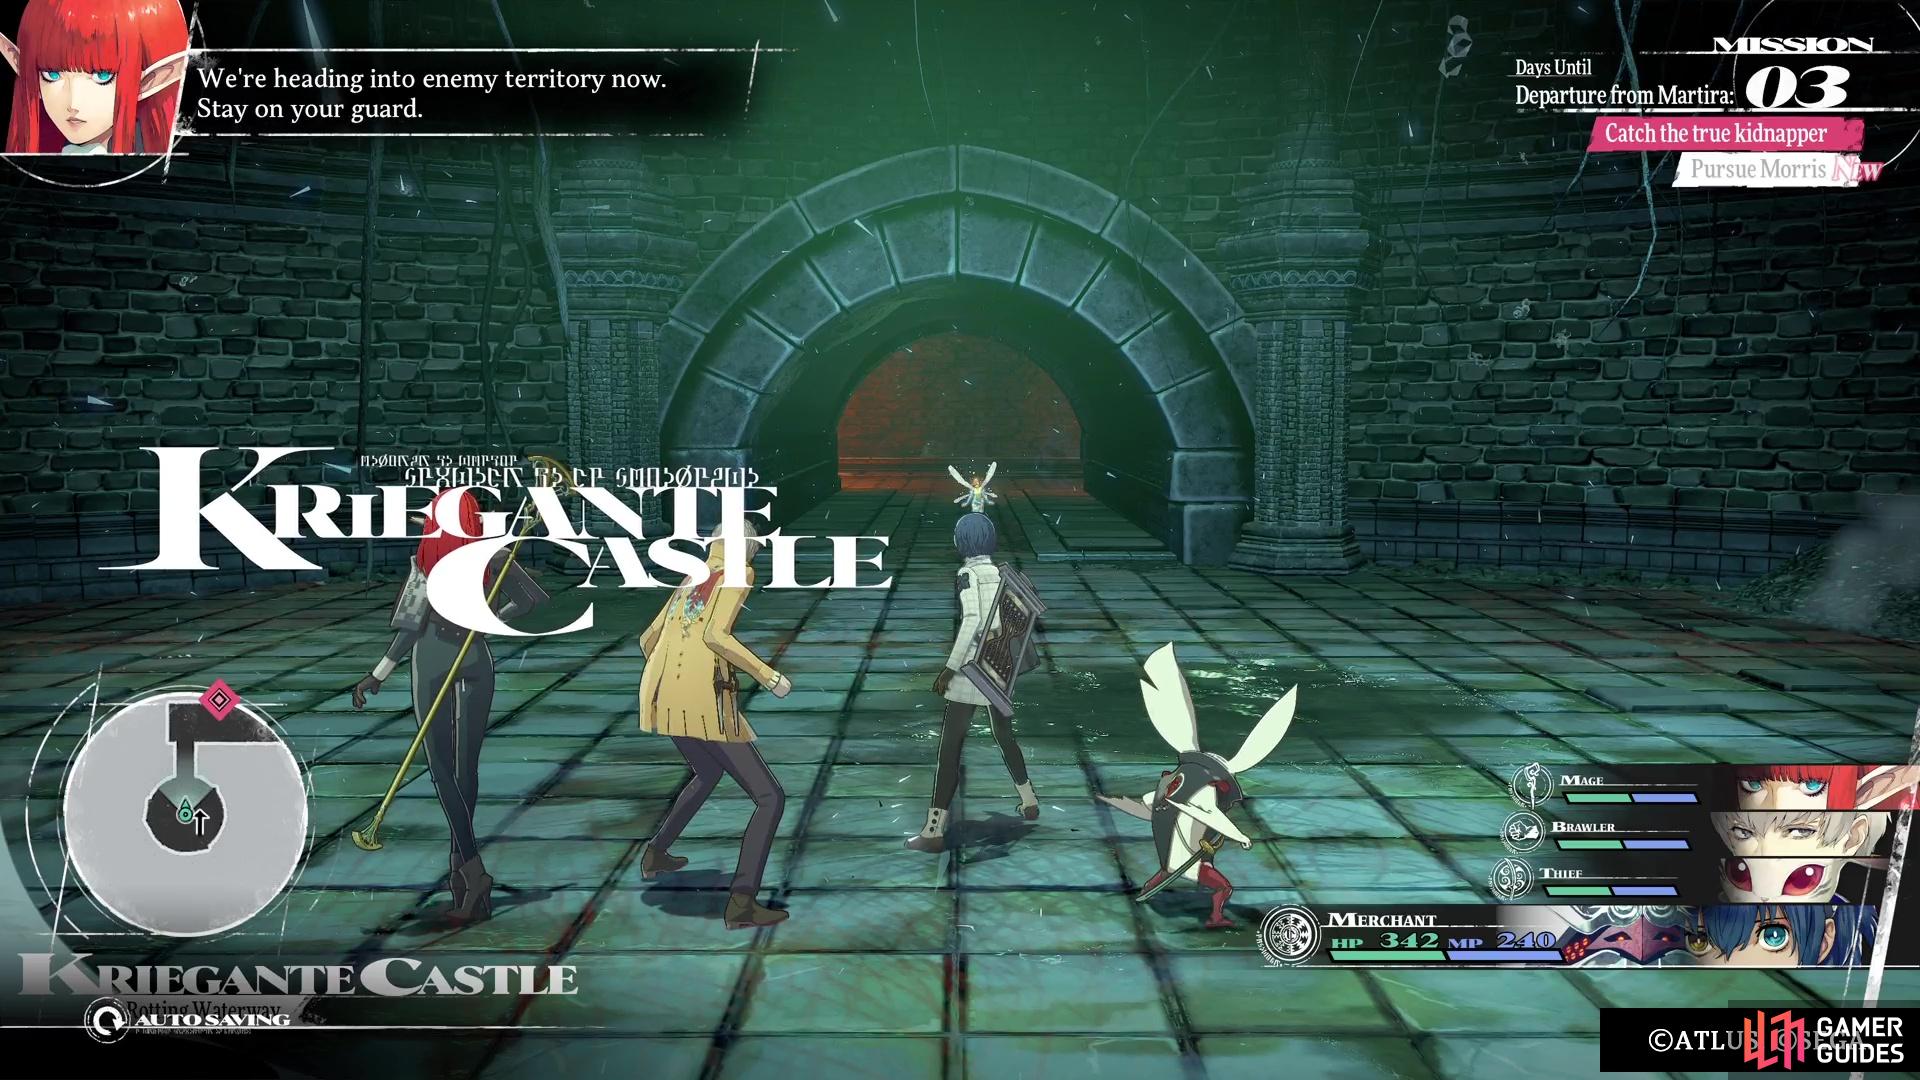
Kriegante Castle is the story dungeon for the Martira chapter of the game.
Kriegante Castle Enemies
These are all of the enemies found in Kriegante Castle, including their level, weaknesses, and strengths.
| Enemy | Level | Weak | Strong |
|---|---|---|---|
| Nocpur | 15 | Wind | – |
| Kapcerto | 23 | Lightning, Dark | Fire (Resist), Ice (Block) |
| Hellhound Diabundo | 20 | Fire, Ice | – |
| Homo Fios | 22 | Fire | Lightning/Wind/Light/Dark (Resist), Ice (Reflect) |
| Pyrite Imitec | 28 | Light | Dark (Resist) |
| Ochre Homo Tenta | 21 | Pierce, Ice | Strike (Resist), Fire (Reflect), Lightning (Block) |
| Homo Casco | 26 | Strike, Lightning | Slash/Pierce (Reflect) |
| Gelatinos | 4 | Fire, Ice, Lightning | Slash/Pierce (Resist), Strike (Block) |
| Colossal Gelatinos | 20 | Fire, Lightning | Slash/Pierce/Strike (Block) |
| Chimenza | 28 | Wind | Fire (Resist), Lightning (Block) |
Kriegante Castle Treasures
The following list are all of the treasures you will find in Kriegante Castle, including the blue orbs and chests.
| Item |
|---|
| Calendula Cotton (x3) |
| Thrilling Tintinnabulator |
| Iron Sand |
| Gritty Longarm |
| Nightlong Candle (x3) |
| Gritty Polearm |
| Magla Injection |
| Blessed Water (x4) |
| Prowler’s Pipe |
| Fermis Ointment (x2) |
| Damascus Ore (x4) |
| Magla Potion (x2) |
| Desert Oak Hardwood (x4) |
| Giant Worm Meat |
| Matterbreak Hammer |
| Orison Xiphos |
| Hero’s Incense (x3) |
| Spirit Dust |
| Rockbeans |
| Amnesty Talisman |
| Broken Igniter |
| Graced Water |
| Magla Pill (x2) |
| Old Coin (x2) |
| Lava Crystal |
| Divine Speed Clothes |
| Superior Gritty Polearm |
| Gluemoss (x3) |
| Wriggling Vine |
| Beast Slayer |
| Sulphurous Salt |
| Ambrosia (x2) |
| Sapper Pendant |
| Antumbra Pendant |
| Sleepy Eyed Katana |
| Revival Medicine |
| Miraculous Medicine |
| Balm of Life |
Exploring Kriegante Castle
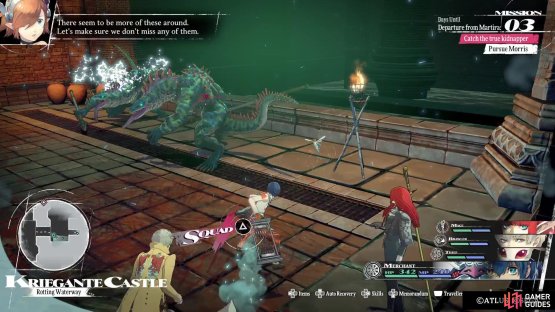
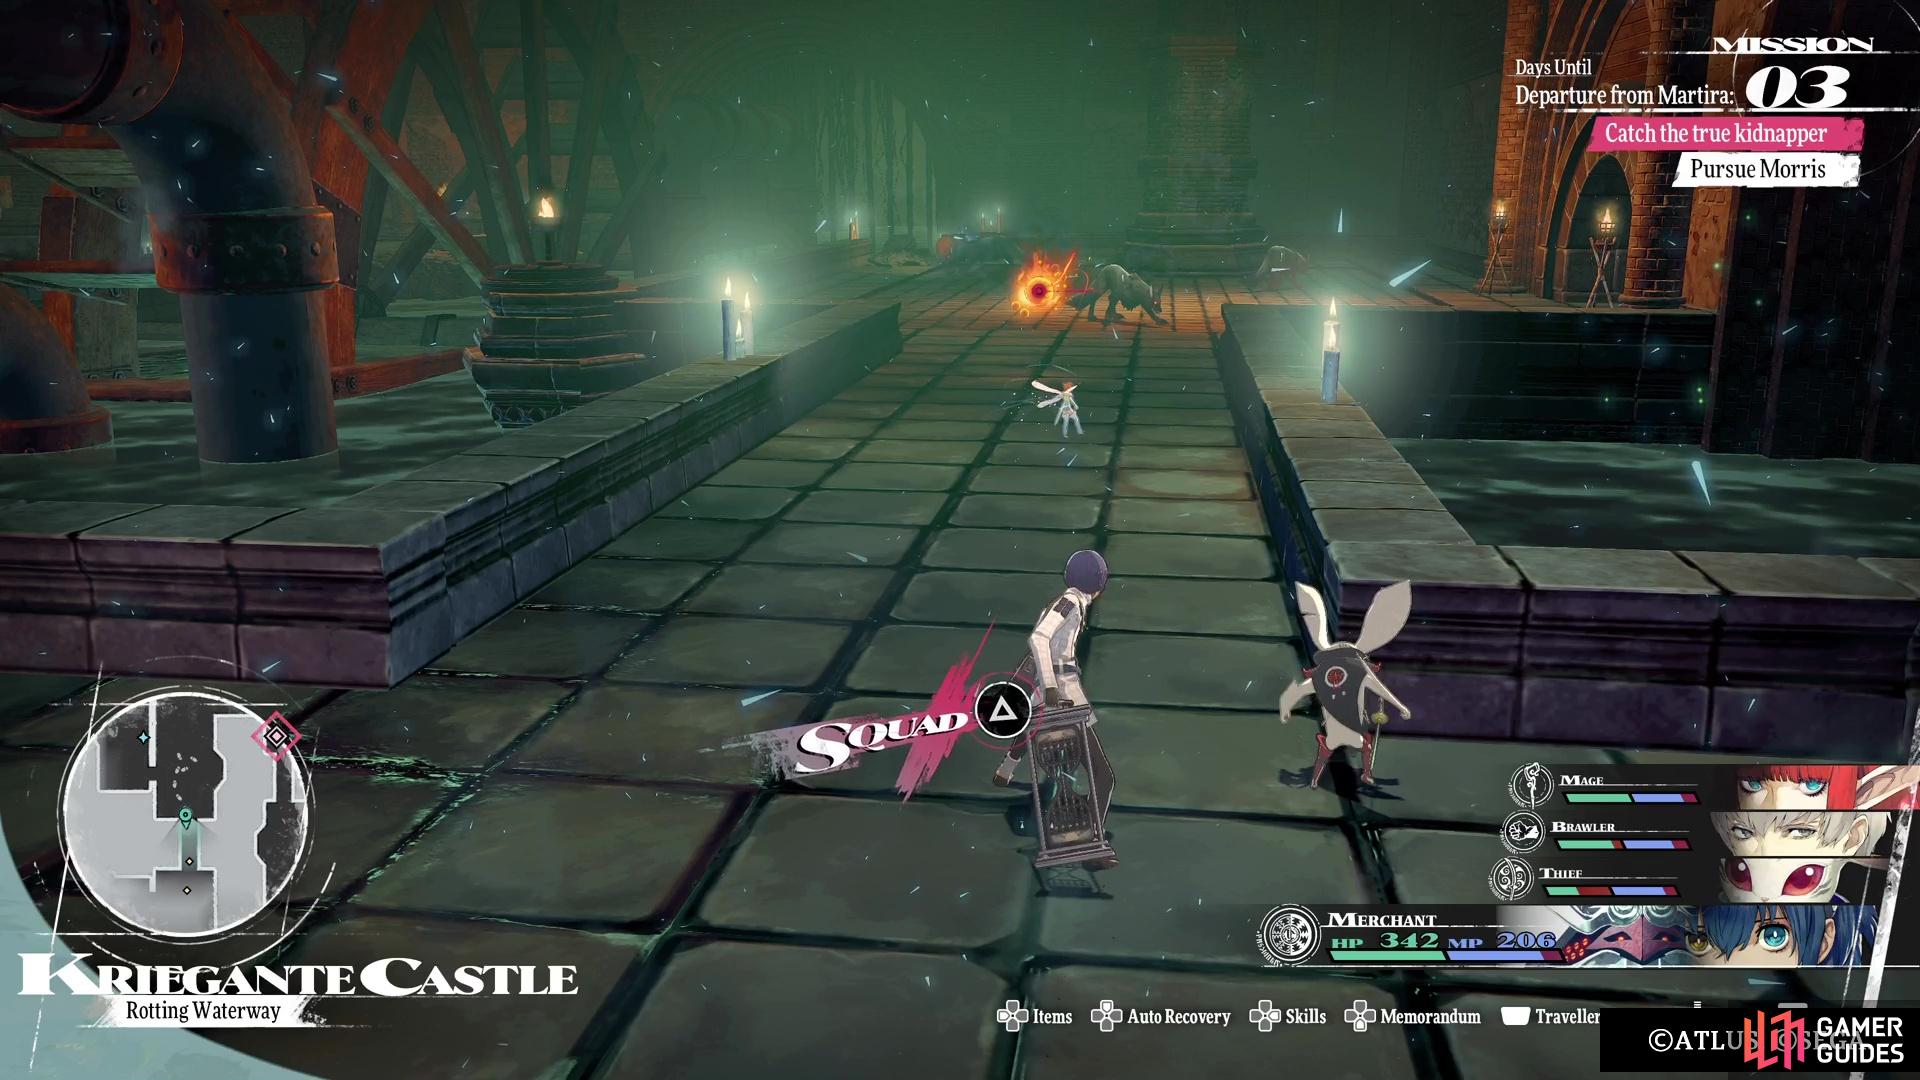
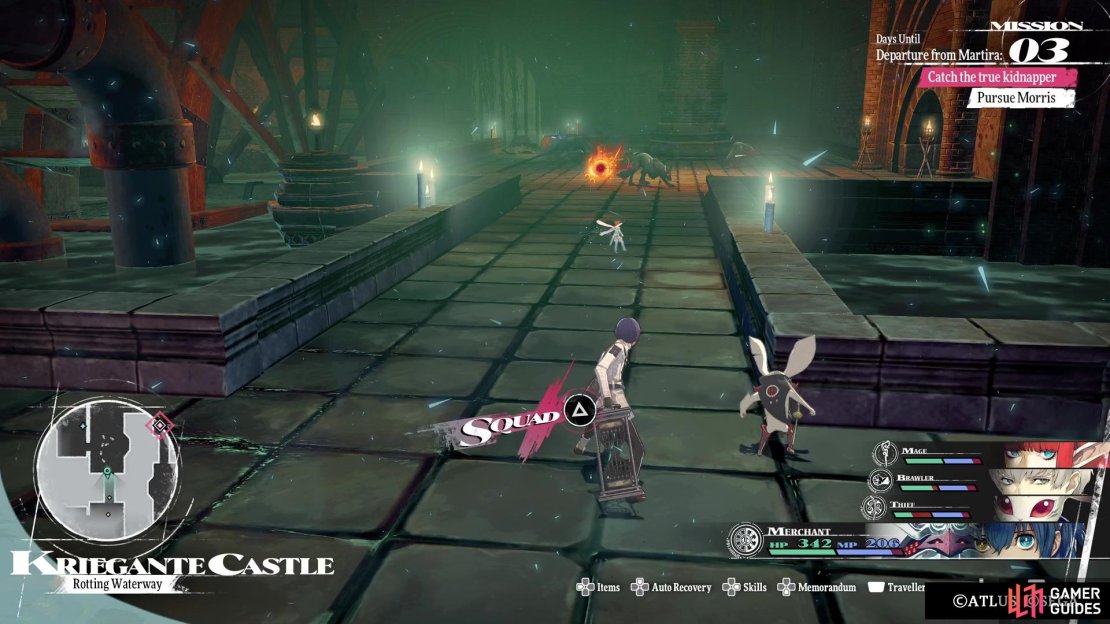
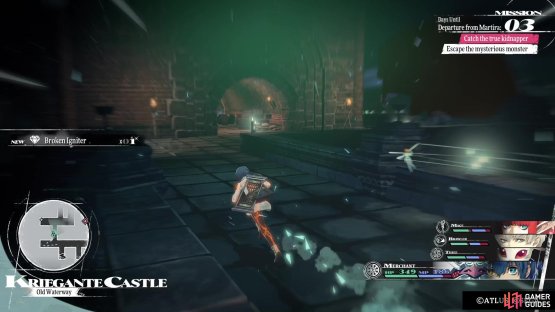
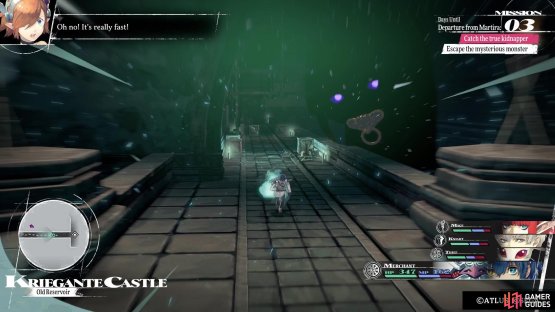
When you first arrive, follow the path ahead of you until you view a cutscene of some large, shadowy figure. Ignore it for now and continue along, where you will eventually arrive at some dead end. There will be a switch here that lowers the floodgate, allowing you to go through to the other side. On the opposite side, some enemies will jump out of the water, named Kapcertos. Depending on how much optional content you’ve done up until now, it’s possible you can just defeat them on the overworld.

(1 of 2) You will be lowering the floodgates to progress throughout this dungeon.
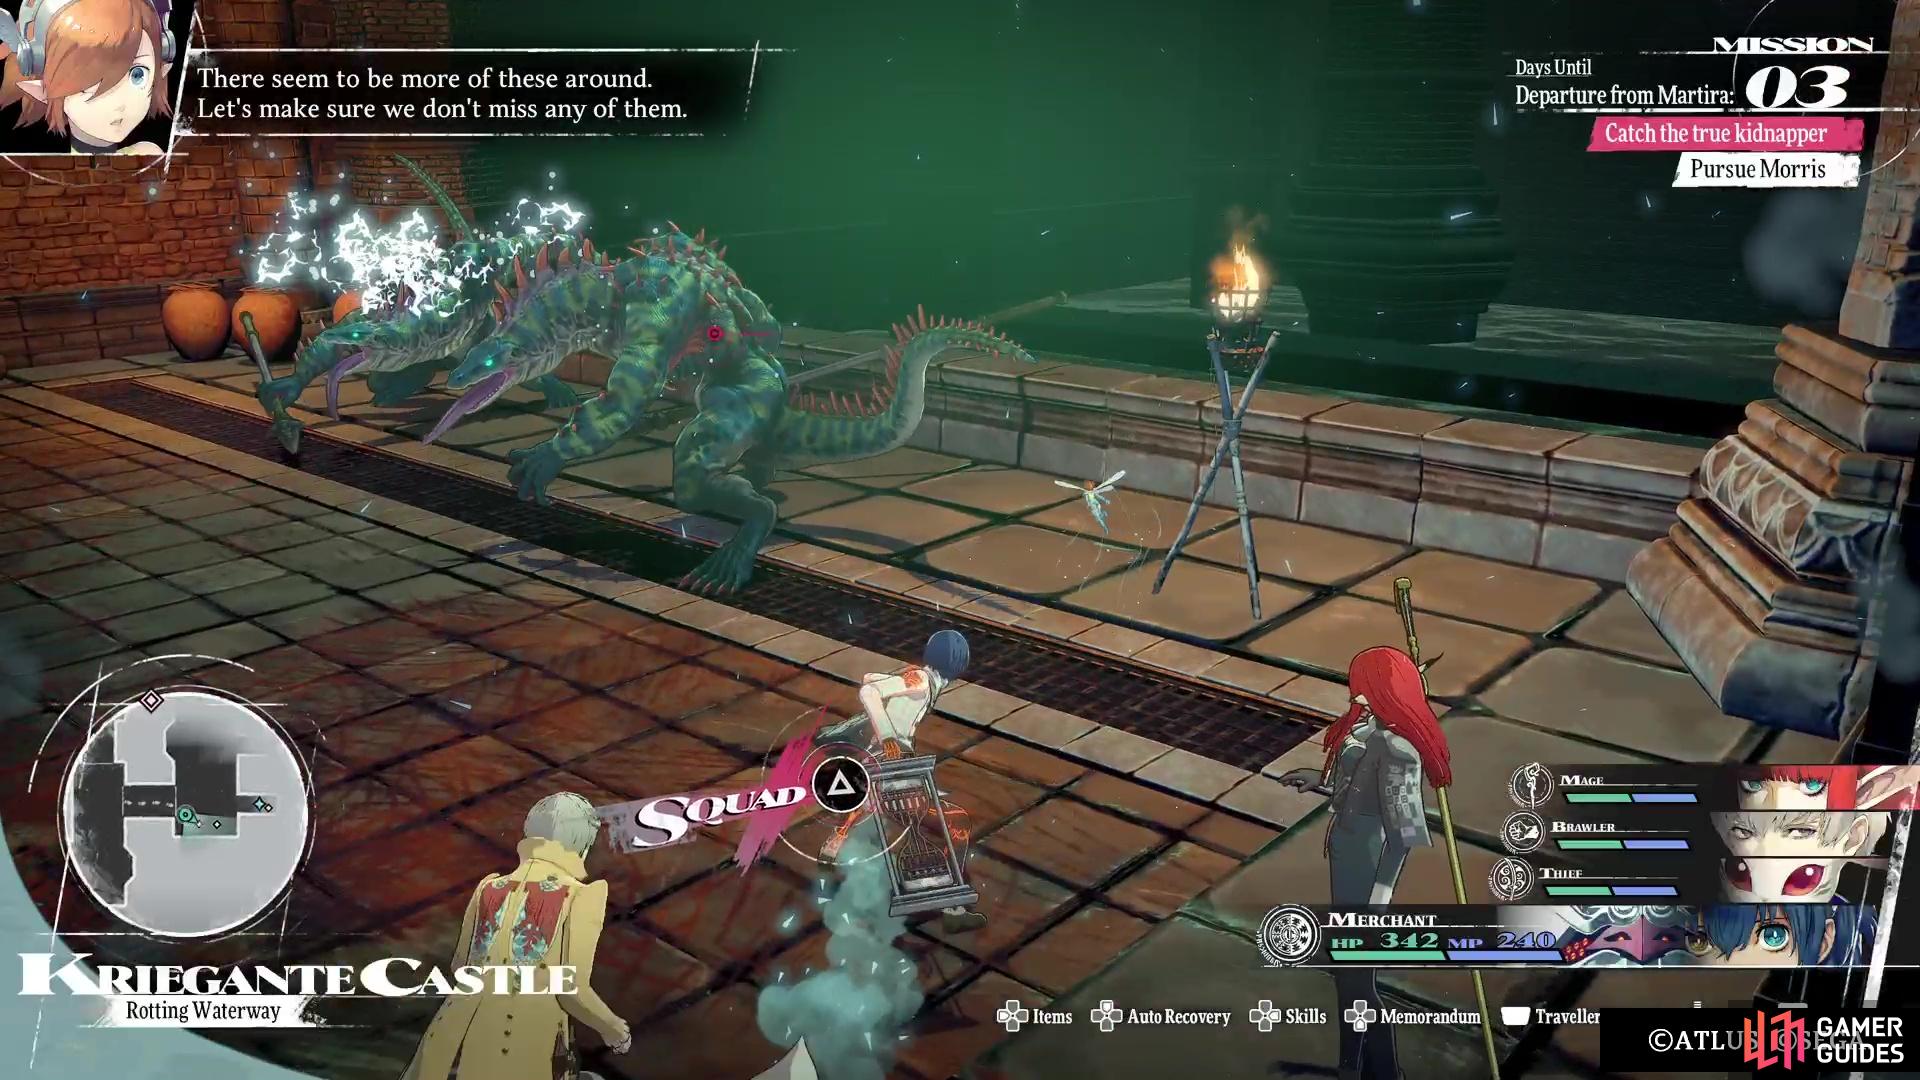
You will be lowering the floodgates to progress throughout this dungeon. (left), The Kapcerto enemies will always jump out of the water when you approach their locations. (right)
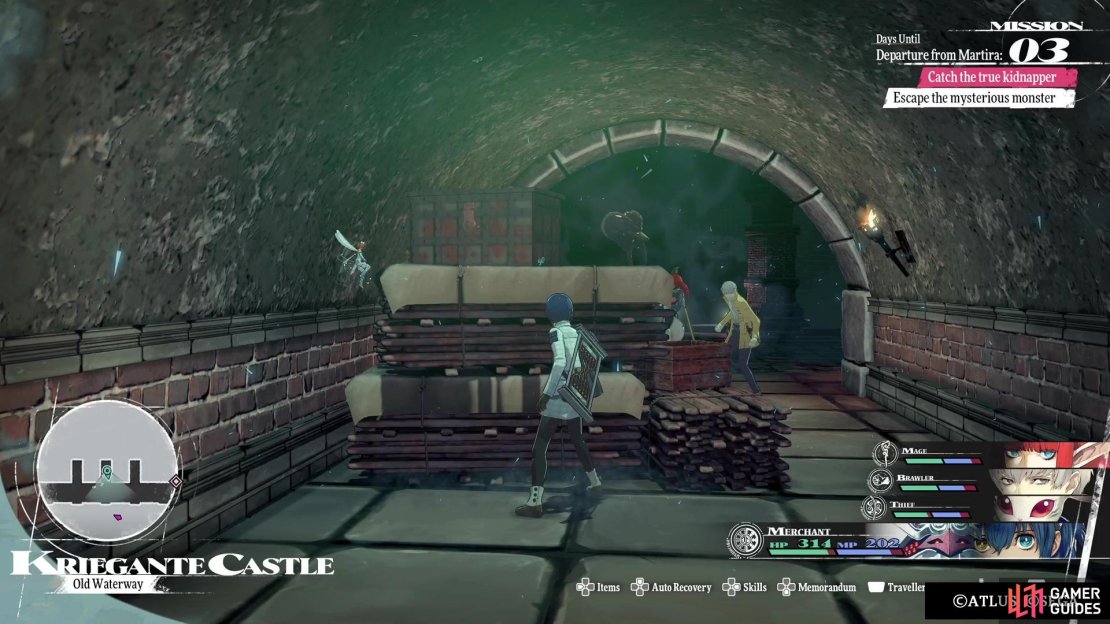
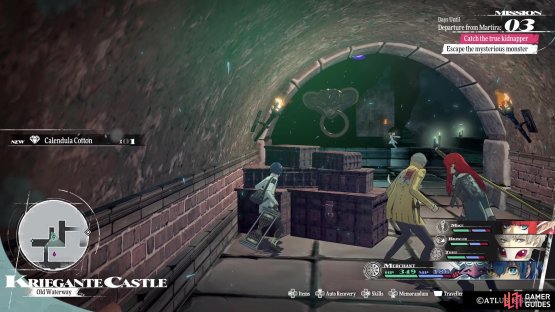
After that enemy is vanquished, check out the nearby little tunnel for an item (Calendula Cotton), although there are also enemies here, too. There’s another item in the dead end just north of this one (Thrilling Tintinnabulator), so loot it and continue north. There will be some butterfly-like enemies here, as well as more dogs, so pick them all off and grab the item at the northern end (Iron Sand). Cross the bridge now and pull the lever on the other side to lower the floodgate, creating a shortcut.
A cutscene will occur to the north and after it’s over, snag the item hidden by the jars (Gritty Longarm). Pass through the tunnel and keep going past the influx of enemies, where you’ll meet a new one, the Homo Fios (basically a fish walking on human legs). These things can be a little annoying, but their weakness to fire-type attacks can make shorter work of them. Beyond that enemy will be an item in the corner (Nightlong Candle), then another bridge to cross to the west. Once you do, you can either head north or south, with the northern path being the intended way.
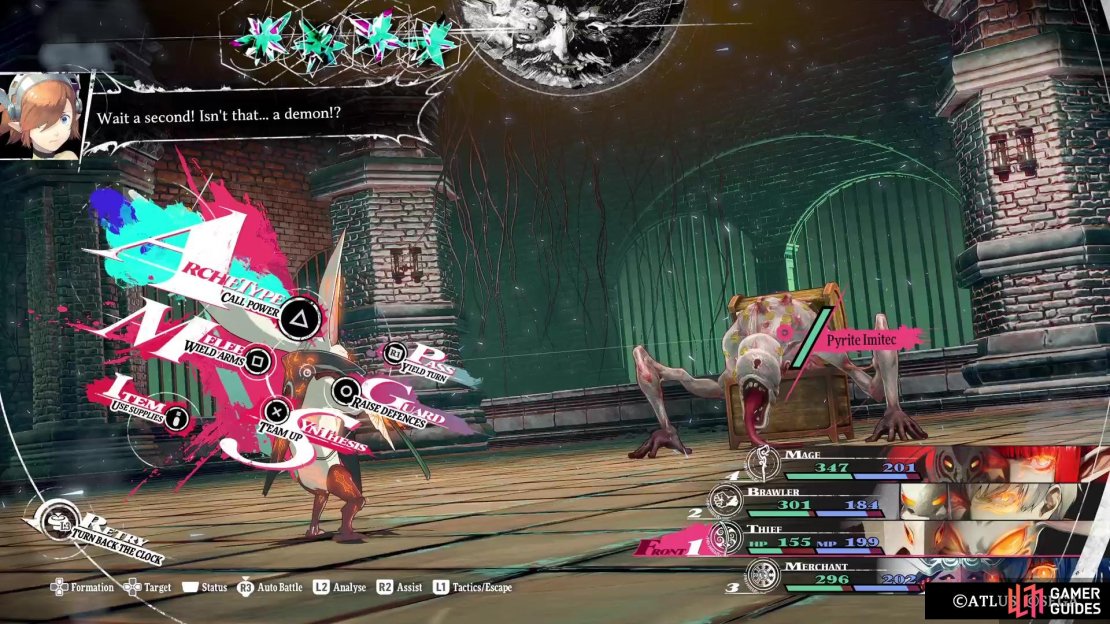
If you go all the way south, you will encounter a Red Elmenta, as well as some other enemies. There is an item in the corner down here, too, which is a Nightlong Candle. The side path to the far south has another item sitting there (Gritty Polearm), as well as a chest in the corner (Magla Injection). The northern of the two side paths here has an item next to some pots (Blessed Water), but the chest here is actually a mimic! If you’ve done the Abandoned Tomb dungeon, then you should be familiar with these, as it’s the exact same type of mimic.
(1 of 3) You will find a few Elmentas inside this dungeon.
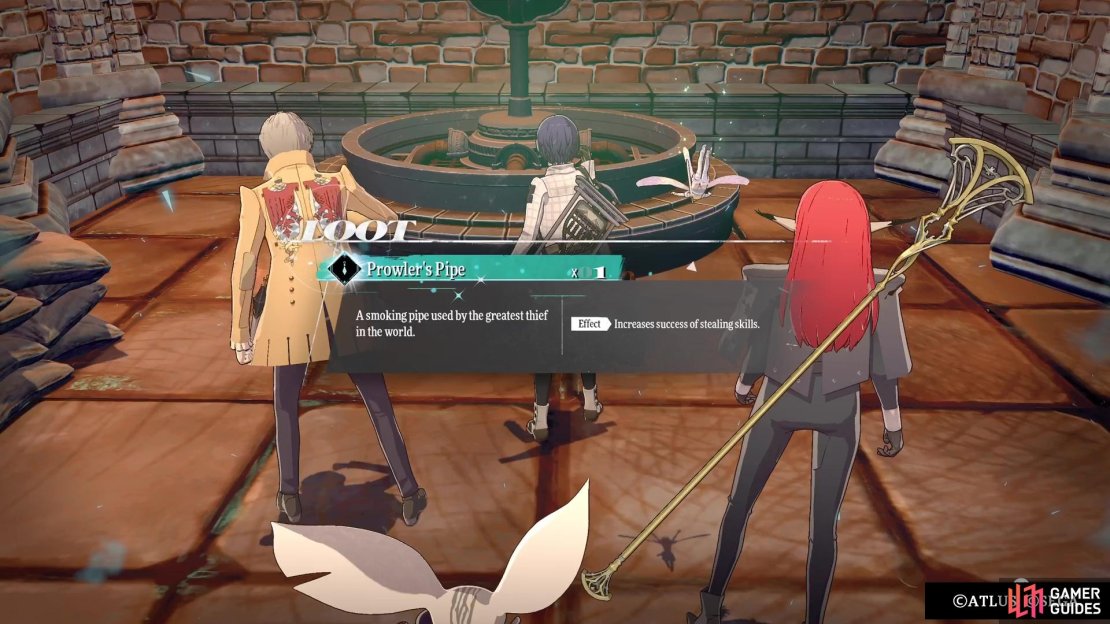
If not, then these mimics can be a little challenging to fight, as they like to use Sleepy Air to put all your characters to sleep, then use physical attacks to get crits. It is weak to Light-based attacks, though, and you can use the Merchant’s Gold Attack to make it do nothing on one of its actions per turn. The prize for beating this mimic is the Prowler’s Pipe, an accessory that increases the success of any stealing skills, so it should immediately go on anyone using Steal. Return to the main hallway and head to the stairs to the north, looting the item on the side before climbing them (Fermis Ointment).
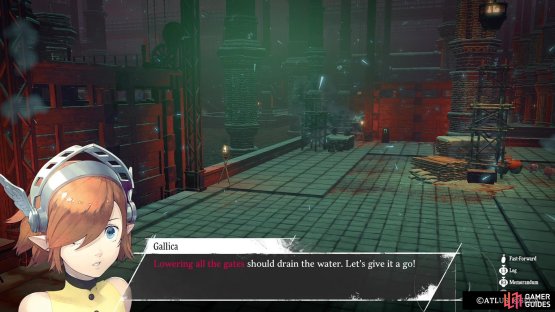
Up the stairs, you will find a safe room, so dip in if you wish to save your game or visit Akademia. Continue to the east, looting the item along the way (Damascus Ore), and into the next area. You will catch up to Morris here, but he will sic the big monster on you, triggering a stealth section.
Escape the Monster
As the party mentions, you do have the ability to fight the creature here, but there is really no purpose. Should you do this, the monster will run away upon bringing its health to zero, and will be back in later segments. You do get some experience and money, but the fight is far from easy and you might use up more resources than necessary. Of course, if you get caught, you can simply run away and restart the stealth section all over again.

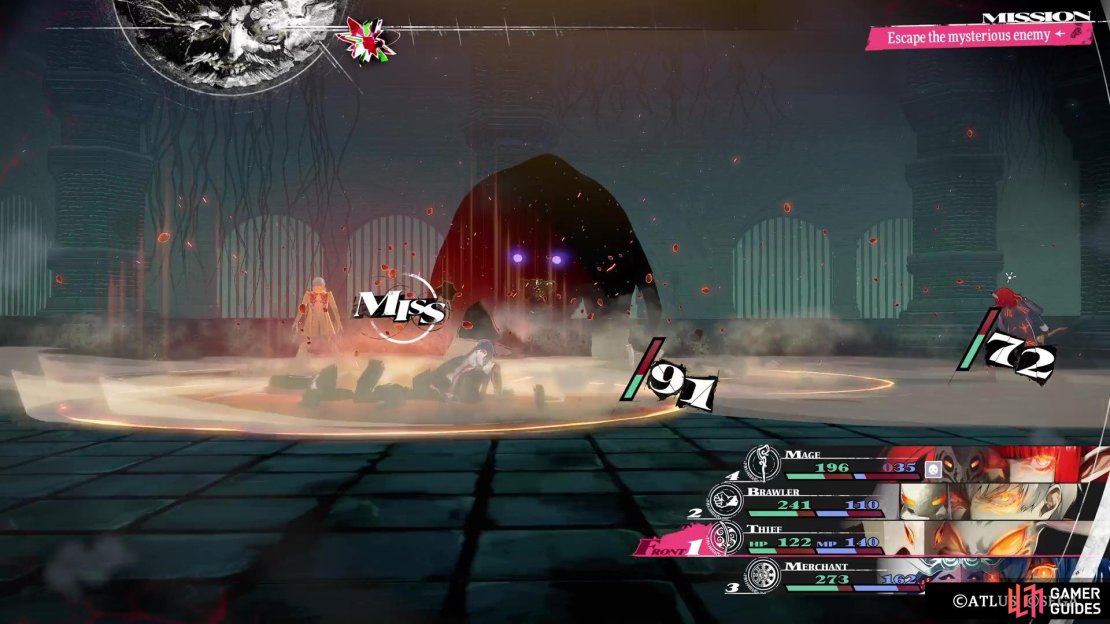
(1 of 3) The game will force you into a stealth section with the large creature.
There is an item in the first tunnel where you start (Magla Potion), as well as another one in the second tunnel (Desert Oak Hardwood). You will also want to quickly grab the item that’s in the open, since it’s a Blessed Water, as you don’t want to get caught by the creature. Once you reach the marker on the far side, you will see the creature run away and the lights will turn back on here. You could just go straight to the marker first, then double back for the items after, since the monster won’t return.
In the next room, check the corner as soon as you enter for an item (Damascus Ore), then head north to find a new enemy, the Ochre Homo Tenta. There are two more items on this level, just past the enemy, which are a Giant Worm Meat and another Nightlong Candle. Cross the bridge to your east, ignoring the entrance to the side room to the south, as it leads to nothing. The true entrance is a little more north and you will find two chests in here. The southern one contains a Matterbreak Hammer, while the northern chest is another mimic.
Defeating it nets you a Seeker weapon, the Orison Xiphos. Exit this room and cross the northern bridge, checking the corner for an item (Hero’s Incense), then go a little north for second item (Desert Oak Hardwood). You noticed you skipped the stairs before, but you can still go up the ones to arrive in the same spot. A group of those teeth enemies are up here, dancing around an item, so take them out and grab it after any battles (Spirit Dust). Now, run all the way north to trigger another scene with Morris, who gets the creature to appear once more.

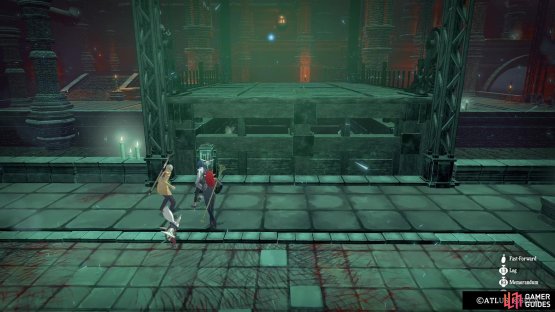
(1 of 2) The second stealth section is similar to the first one

The second stealth section is similar to the first one (left), except that there is a lot more ground to cover while you’re going from one spot to the next. (right)
The second stealth section is similar to the first, except the monster has a bigger area to cover, so there will be more chances you can be seen. When you regain control, loot the item behind you (Rockbeans), then get to the second tunnel for a chest (Amnesty Talisman). The item at the end of the first path is a Broken Igniter, while the one at the end of the northern path is a Graced Water. The tunnel in the north is housing a Calendula Cotton, so grab it and wait for an opportunity to make it to the next marker. That’ll end the stealth segments here in this dungeon, so you won’t have to worry anymore after this. Proceed through the doors shown to arrive in the Old Reservoir.
Old Reservoir
You’ll meet up with Morris once more here, but you won’t be able to reach him, due to the sewage blocking access to the ladder. In order to get to the ladder, you’ll have to lower a total of six floodgates in this area. Once you regain control, go to the northern edge and loot the item there (Hero’s Incense), then start off by going to the east first by lowering the first floodgate. There will be a new enemy here, the Homo Casco, so take care of it and snag the two items nearby (Magla Pill and Desert Oak Hardwood).

(1 of 2) In the Old Reservoir area, you have to lower all of the floodgates to continue.

In the Old Reservoir area, you have to lower all of the floodgates to continue. (left), There are a total of six of them, but they aren’t too far apart. (right)
You should see another lever to lower the second floodgate, but don’t do that just yet. Instead, go up the stairs and use the raised floodgate to go to the north, with another item on the way (Old Coin). At the end of this section, you will be able to lower another floodgate (Damascus Ore along the way), so do that and return to the previous area down the stairs. Lower the floodgate from earlier and cross it to the north. There will be two items in this area (Blessed Water and Lava Crystal), so grab them and you’ll be able to access the chest here, thanks to the upstairs lever.
The chest contains some Divine Speed Clothes, which are nice because of the Agility boost. Return to the starting point of this giant area and lower the floodgate to the west now. You’ll find a Calendula Cotton in the middle of the room, then a Fermis Ointment in the southern corner, by the stairs. Climb the stairs and nab the Old Coin off the railing, then go north, noticing the Red Elmenta here, although it might run away thanks to the other enemy. A Blessed Water can be picked up by the pots.
Go down the stairs, into the final area here, where there’s one item amongst the jars (Superior Gritty Polearm). Clean out the enemies, then lower the final two floodgates, which should now completely drain the sewage. You will teleport back to the ladder near the start of this area, so slide down it and to the lower portion. You will find a number of enemies down here, but you should be able to strike them all down with ease. Whichever ones you can’t, simply stun and battle them normally.
After the coast is clear, feel free to loot all of the items, which include a Gluemoss (x3), Wriggling Vine, and Hero’s Incense. The chest is a mimic and it’ll drop a Beast Slayer greatsword upon beating it. You’re getting close to the end, but there’s still a little more left of this dungeon. Ascend the ladder and you’ll find a safe room here, so make sure you head inside to get a moment’s reprieve. When you’re ready to continue, go north to find two enemy-spawning crystals. These ones will spawn the dog enemies from this dungeon, so be careful, as they can easily lunge to attack.

(1 of 2) The crystals here will spawn the dog enemies you’ve encountered in this dungeon.

The crystals here will spawn the dog enemies you’ve encountered in this dungeon. (left), The chase sequence is easy, as long as you avoid hitting the crates. (right)
Once the coast is clear, head to the southeastern corner for a Sulphurous Salt, then to the northern end for a Damascus Ore and Desert Oak Hardwood. Double back to the middle of the room, where you should see a path to the east on your map, which requires crawling through a small space. As soon as you do, the creature shows up again and you will have to run away from it. Make sure you don’t hit the crates, as they trip you up and slow you down. The party will escape by taking a lift to an upper part of the castle.
Another safe room will be right in front of you, so feel free to use it. Head through the door to the north, where you’ll finally catch up to Morris, except he springs a trap door and you’ll fall down.
Escaping the Prison
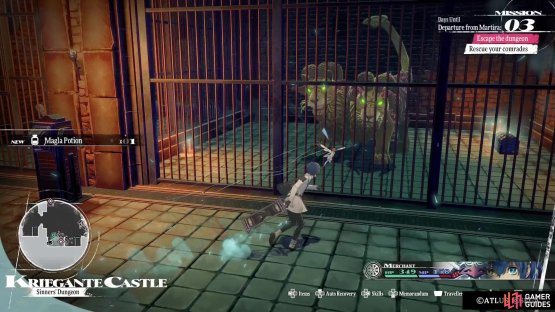
Your party will be imprisoned here, all separately, but Gallica’s small size will help you escape. However, this also opens the nearby cell, where some monsters are being held. You’ll be forced to fight three War Wulhas alone, but they are level 15 and weak to both fire and ice (or just obliterate them on the field). When they’re finished, you’ll meet up with the rest of the party, in their own cells. Here, you’ll want to be careful with the order in which you open their cells, since you’ll be forced to fight the enemies in the adjacent ones.

(1 of 2) You’ll want all of your party members together to tackle the Chimenza.

You’ll want all of your party members together to tackle the Chimenza. (left), Don’t forget to open the chests in the cages where the enemies were located. (right)
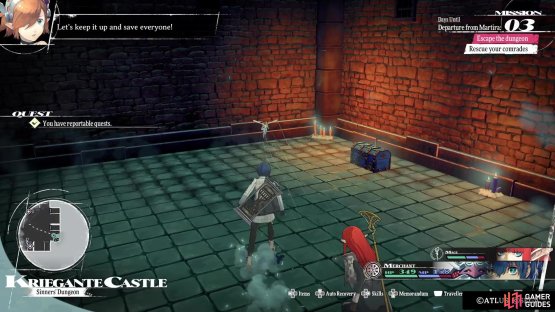
Before doing that, though, run around the room and loot the items you can access, which include a Magla Pill, Ambrosia and Magla Potion. You can free the others in the order of Heismay, Hulkenberg and then Strohl. You definitely want to save Strohl for last, as the monster freed with him is a Chimenza, and you’ll want the rest of your party to help with the battle. The other two have enemies from this dungeon, so they should be easy to defeat. With all the monsters gone, go into their cells to find chests, which will contain a Sapper Pendant, Antumbra Igniter, and a Sleepy Eyed Katana.
Double back down the hallway, stopping by the cells to grab a Revival Medicine and learn the fate of someone else. The stairs lead to an upper floor, where you can dip into the side room for a Miraculous Medicine and an Ambrosia in the chest. Feel free to use the safe room again, then pass through the large room where you fell through the trap door. Check out all of the green dots to learn what happened here, then grab the Balm of Life on the one end. Approach the door and enter for some scenes, which will then lead into the boss fight with Homo Jaluzo!
No Comments