Some of the optional dungeons in Metaphor: ReFantazio can be quite challenging, especially if you go after them as soon as possible. The Forsaken Tower is a dungeon that is unlocked as part of a side quest in Port Brilehaven, called ![]() Superior Scrimshaw. Technically, you have to get the info from the
Superior Scrimshaw. Technically, you have to get the info from the ![]() Informant to unlock the dungeon. You need to come here to defeat some monster and retrieve its
Informant to unlock the dungeon. You need to come here to defeat some monster and retrieve its ![]() Ebony Horn, which is found near the top of the tower.
Ebony Horn, which is found near the top of the tower.
Forsaken Tower is a linear dungeon that has some challenging enemies inside it.
Forsaken Tower Enemies
The following is a list of enemies you will find inside the Forsaken Tower, including their levels, weaknesses, and any resistances.
| Enemy | Level | Weak | Strength |
|---|---|---|---|
| Goborn Ligo | 32 | – | – |
| Goborn Esto | 18 | – | – |
| Manhunter Goborn Esto | 18 | – | – |
| Archer Goborn Esto | 18 | – | – |
| Hexer Goborn Esto | 18 | – | – |
| Potolpo | 30 | Lightning | Fire/Ice (Resist), Strike (Block) |
| Trove Imitec | 33 | Light | Dark (Resist) |
| Green Elmenta | 30 | Lightning | Wind (Resist) |
| Orgo | 36 | Dark | Slash/Pierce/Strike (Resist) |
Forsaken Tower Items
The following table will list all of the items you can find in the Forsaken Tower, including those from the blue orbs, as well as the treasure chests.
| Item |
|---|
| Magician White Mask |
| Superior Enigmatic Accessory |
| Briny Accessory |
Climbing the Forsaken Tower
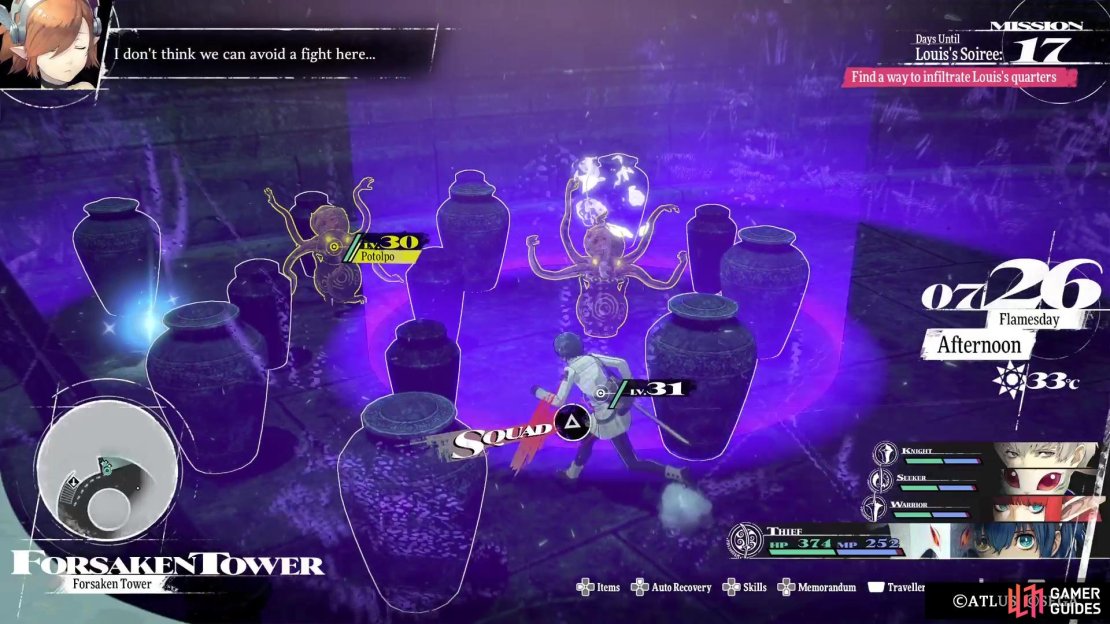
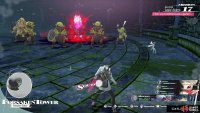
The Forsaken Tower is pretty linear, so you’re not going to really get lost while exploring it. However, it does house quite a lot of enemies and introduces one of the more annoying foes you’ll come across in the game, the Potolpos. These creatures will sometimes like to hide amongst other breakable pots, or even just around a corner. When you get close to them, an attack range is shown, but they don’t do normal attacks, instead they will just explode. Unless you trigger Squad Battles with them, you won’t really be able to stun them.
(1 of 3) The Potolpos pretty much trigger their self-destruct as soon as you get close to them.
Note that you will encounter Goborns here, so the usual gimmick with them will still apply. That means no ![]() Healers or
Healers or ![]() Mages, since they will trigger the Goborns going berserk. You will also run into mimics here, specifically the Trove Imitecs, which was the boss you faced in the Abandoned Tomb dungeon. They are weak to Light and also hold
Mages, since they will trigger the Goborns going berserk. You will also run into mimics here, specifically the Trove Imitecs, which was the boss you faced in the Abandoned Tomb dungeon. They are weak to Light and also hold ![]() Graced Water as a rare item, so make sure you use
Graced Water as a rare item, so make sure you use ![]() Steal on them to get one. There are even tougher enemies on the higher floors, but we’ll get to that in a moment.
Steal on them to get one. There are even tougher enemies on the higher floors, but we’ll get to that in a moment.
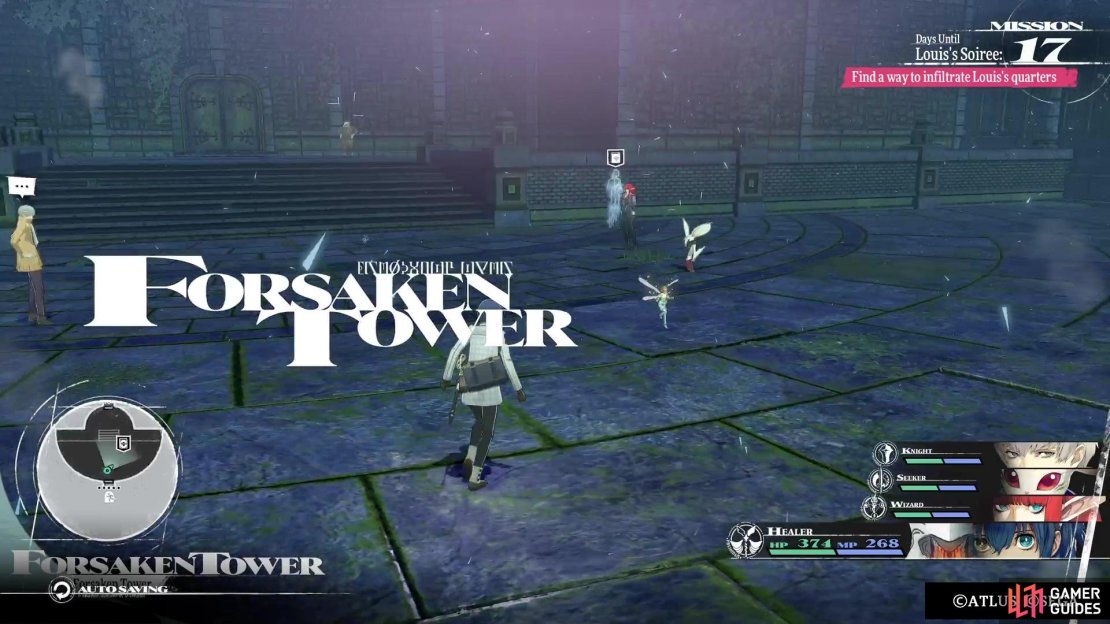
When you start out, speak with the NPC in front of the door to learn that mimics and Goborns are in this tower. Proceed inside and go up the first set of stairs to find some Goborns. The Estos should be fodder here, as you clearly outlevel them, but the Goborn Ligo will likely require Squad Battles. You also get your first taste of the Potolpos here, so approach them enough to set off their self-destruct, then quickly move away to avoid it. Once you clear them all, loot the lone blue orb here for a Magician White Mask.
As you approach the stairs to the next level, you’ll see a chest and you can guess this is a mimic, which is true (you receive a ![]() Turquoise for defeating it). Defeat it and head up to the second floor. This one is more of the same, except that there will be four chests on the floor, two of which are mimics. Clear the floor of all enemies first, then loot the three orbs in the middle for a Graced Water,
Turquoise for defeating it). Defeat it and head up to the second floor. This one is more of the same, except that there will be four chests on the floor, two of which are mimics. Clear the floor of all enemies first, then loot the three orbs in the middle for a Graced Water, ![]() Golden Goblet, and
Golden Goblet, and ![]() Topaz. As for the mimics, the one in front of the stairs is obvious (Superior Enigmatic Accessory drops from this), and the one in the middle of the pathway is the other (
Topaz. As for the mimics, the one in front of the stairs is obvious (Superior Enigmatic Accessory drops from this), and the one in the middle of the pathway is the other (![]() Hero’s Leaf of Light from this one).
Hero’s Leaf of Light from this one).
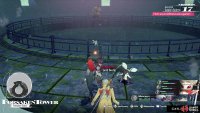
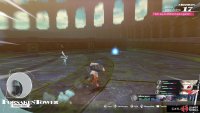
(1 of 2) The crystals in this dungeon will spawn some Goborns.
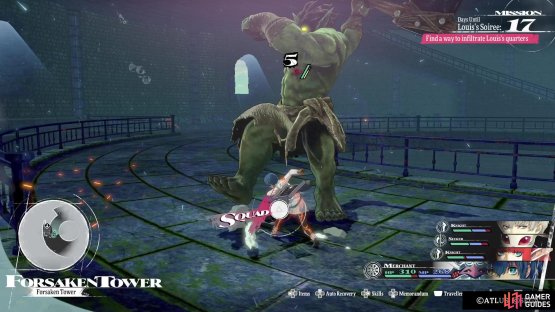
The crystals in this dungeon will spawn some Goborns. (left), The Orgo is quite tough to stun, so be wary of getting ambushed by them. (right)
The other two chests contain a ![]() Sailcloth Cape and a
Sailcloth Cape and a ![]() Sage’s Semaphore (
Sage’s Semaphore (![]() Commander weapon). The next floor has a shut room, where you will find two crystal spawners. These will create some Goborns, including the Ligo one, so be careful to not get ambushed. You can inch inside the room via either side to avoid triggering both crystals, allowing you to go one-on-one with each one. After clearing the room, loot the Briny Accessory from the side and go to the next floor. You will meet the Orgo enemy here, which is basically a big, hulking brute.
Commander weapon). The next floor has a shut room, where you will find two crystal spawners. These will create some Goborns, including the Ligo one, so be careful to not get ambushed. You can inch inside the room via either side to avoid triggering both crystals, allowing you to go one-on-one with each one. After clearing the room, loot the Briny Accessory from the side and go to the next floor. You will meet the Orgo enemy here, which is basically a big, hulking brute.
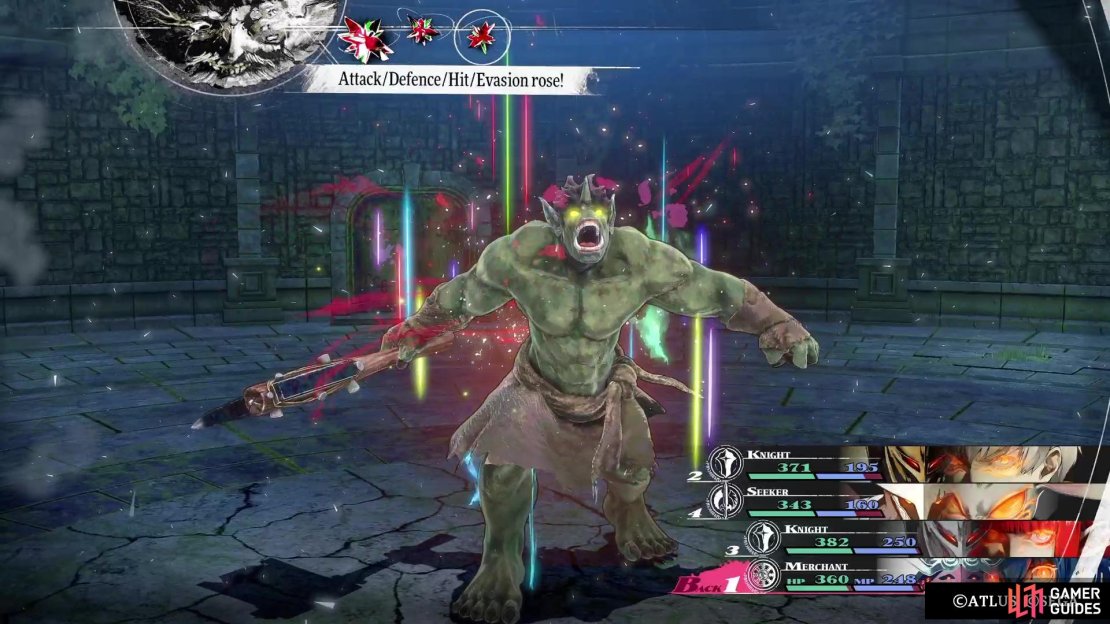
They have a whopping 4,500 HP and are only weak to Dark, so your extra turns are going to be limited. The worst part about them is they will do a combination of buffs, starting with Soul Cry (gains two Turn Icons), then doing ![]() Heat Riser and finally
Heat Riser and finally ![]() Charge. That’s also not mentioned the fact they can try to inflict Daze on everyone with their one skill. Either way, this enemy can be quite a burden on resources, so it might be better to ignore them. The only thing of note on this floor is a
Charge. That’s also not mentioned the fact they can try to inflict Daze on everyone with their one skill. Either way, this enemy can be quite a burden on resources, so it might be better to ignore them. The only thing of note on this floor is a ![]() Gold Beetle on the northern side, right next to the central hole.
Gold Beetle on the northern side, right next to the central hole.
For the next floor, you’re entering another room, with this one having two Orgos on the other side, guarding a door, along with some more Potolpos in the middle of the room. Unless you can beat them without much trouble, it’s best to run past the big brutes and quickly pass through the door on the other side. Past that, the next floor will be the final one before the boss, with it containing a few more “landmines” and another enemy-spawning crystal (spawns more Goborns). The area is quite small here, so just concentrate on avoiding the explosions from the pots, as well as the Goborn Ligo.
(1 of 4) The Orgo has a set pattern it follows to try and deal heavy damage to your party.
When you reach the top, you will have your normal save point, so do what you need to do and go through the door to find your menacing boss, the Orgas. After defeating it, make sure you don’t go back to the entrance and choose to keep exploring. There is a door on the opposite end of where you entered, which leads to one final floor. While there are no enemies up here, there is an item, so make sure you loot it for the ![]() Ragaraja’s Helm. You can return to the save point and use it to return to the entrance, as you’re now finished with the tower.
Ragaraja’s Helm. You can return to the save point and use it to return to the entrance, as you’re now finished with the tower.




No Comments