
Some of the bosses in Metaphor: ReFantazio can be a little tricky, as there might be a gimmick to it that presents it as more of a puzzle than a fight. The battle with Heismay is one of those bouts, who you will encounter in the Giant Sandworm’s Nest dungeon. He can be quite difficult to hit because of his gimmick, with this page detailing how to find the real Heismay in his bunch of clones.
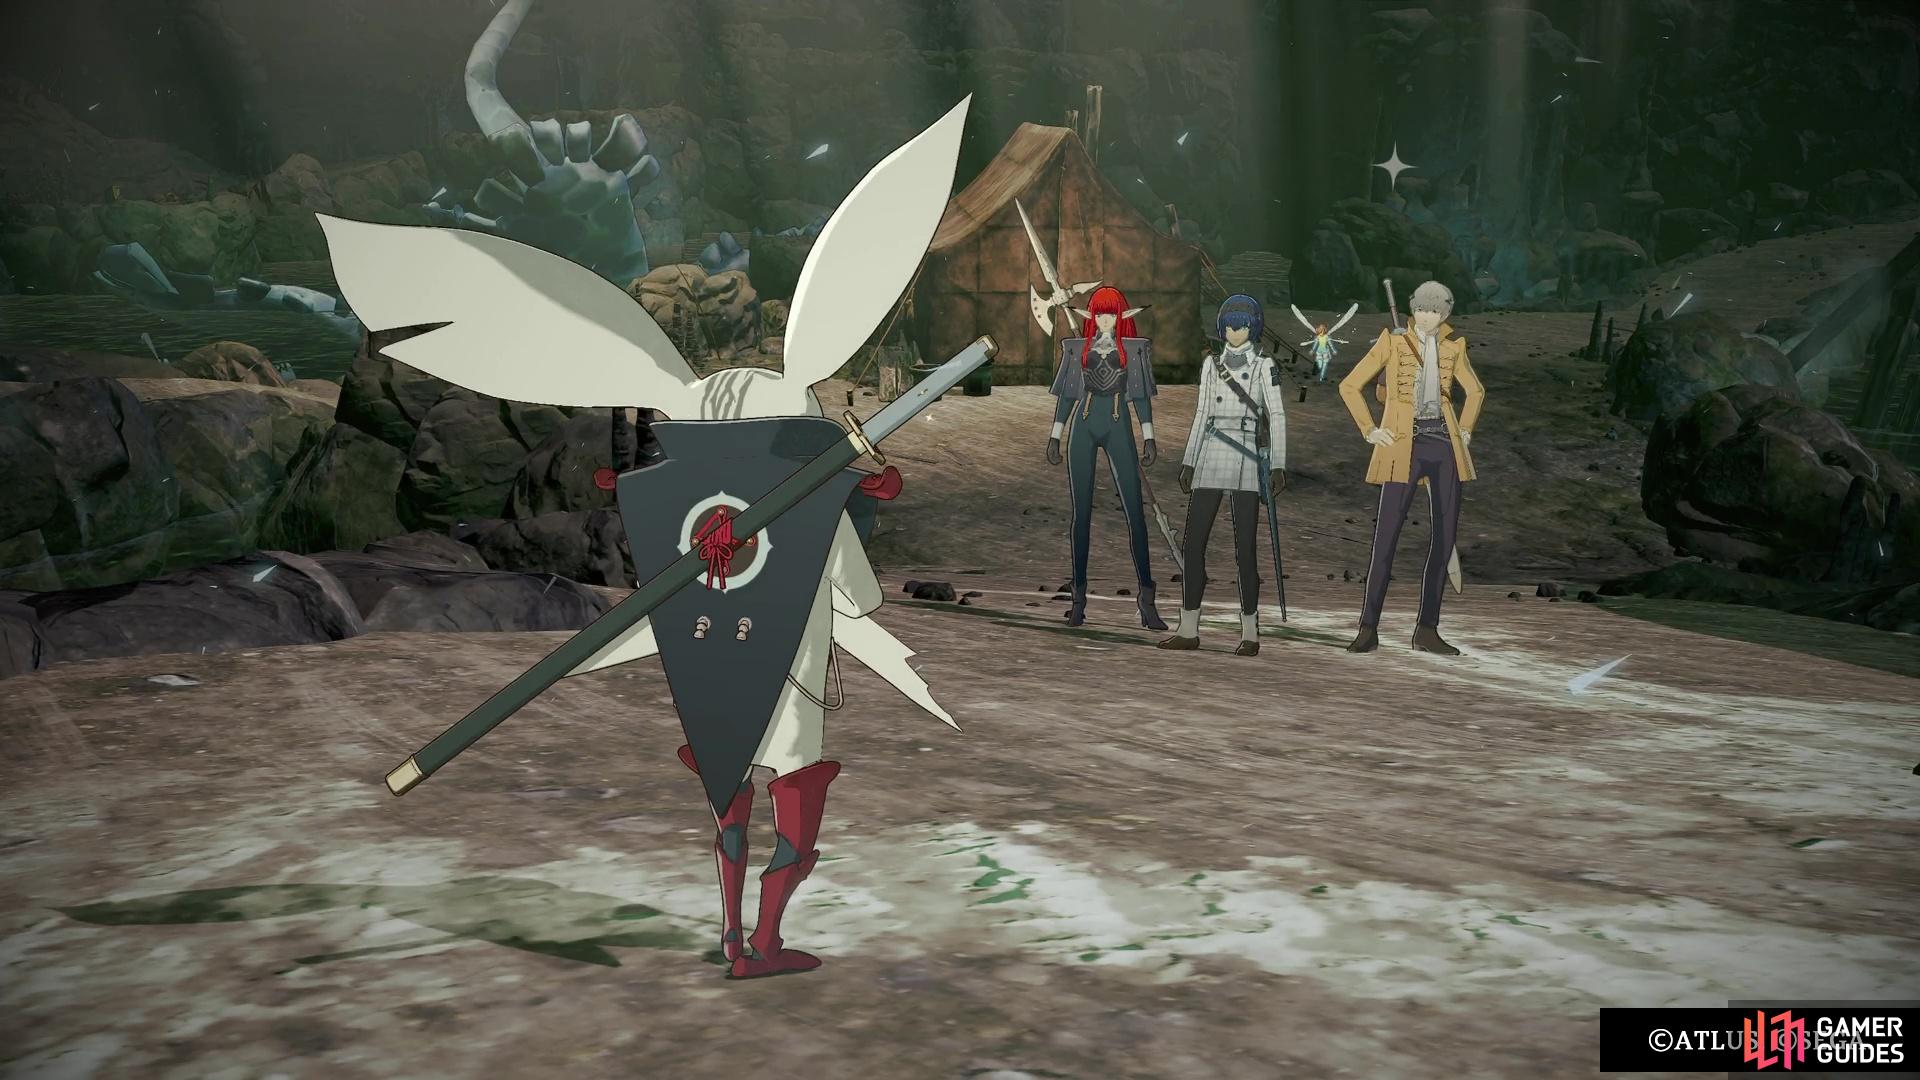
You will fight Heismay twice in the Giant Sandworm’s Nest.
All of Heismay’s Attacks
The battle with Heismay will take place over two different fights, with the first one ending when you’ve gotten his health down low enough.
-
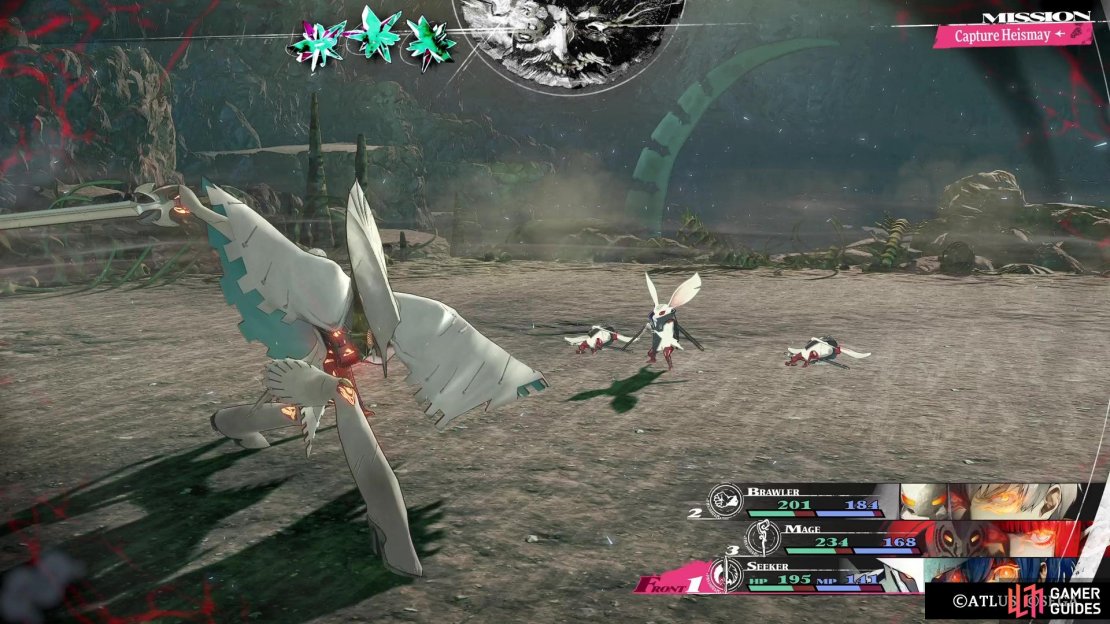
Clone Art: Heismay will create three clones, essentially making four different targets for you. The clones will block all damage if you attack one of them, but they will immediately disappear.
-
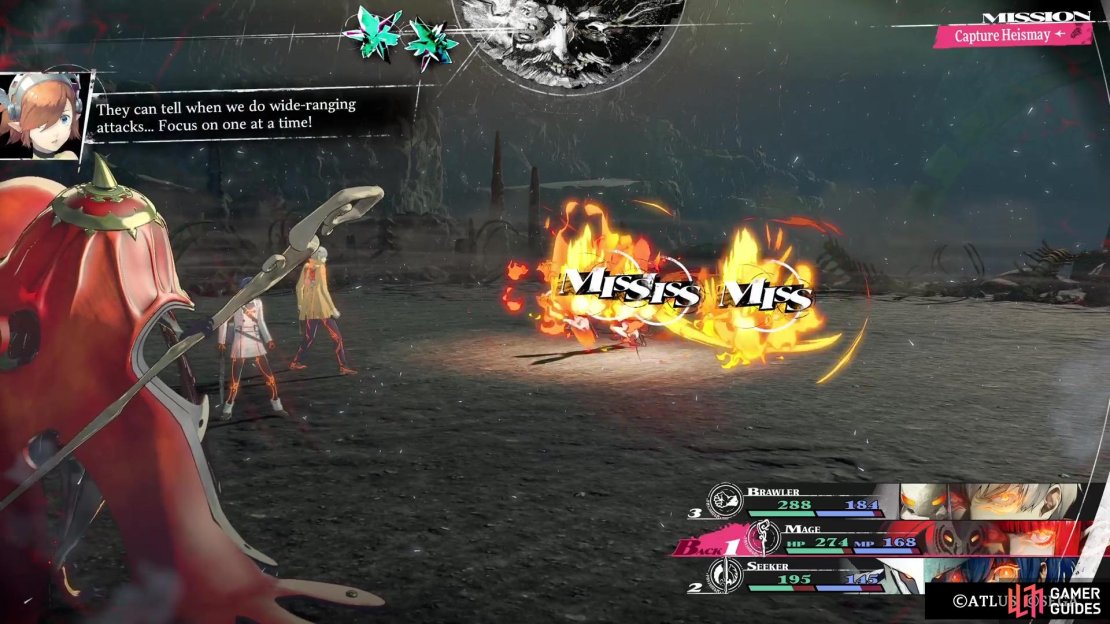
Sand Throw: He will throw sand at all of your characters, which doesn’t do any damage, but it will lower your hit rate and evasion.
-
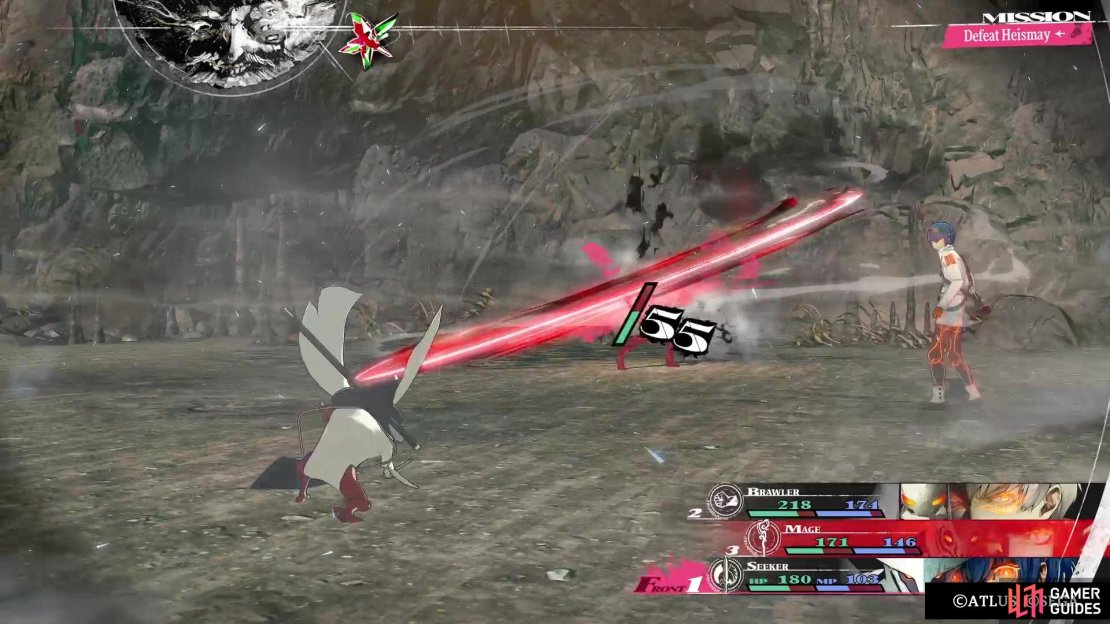
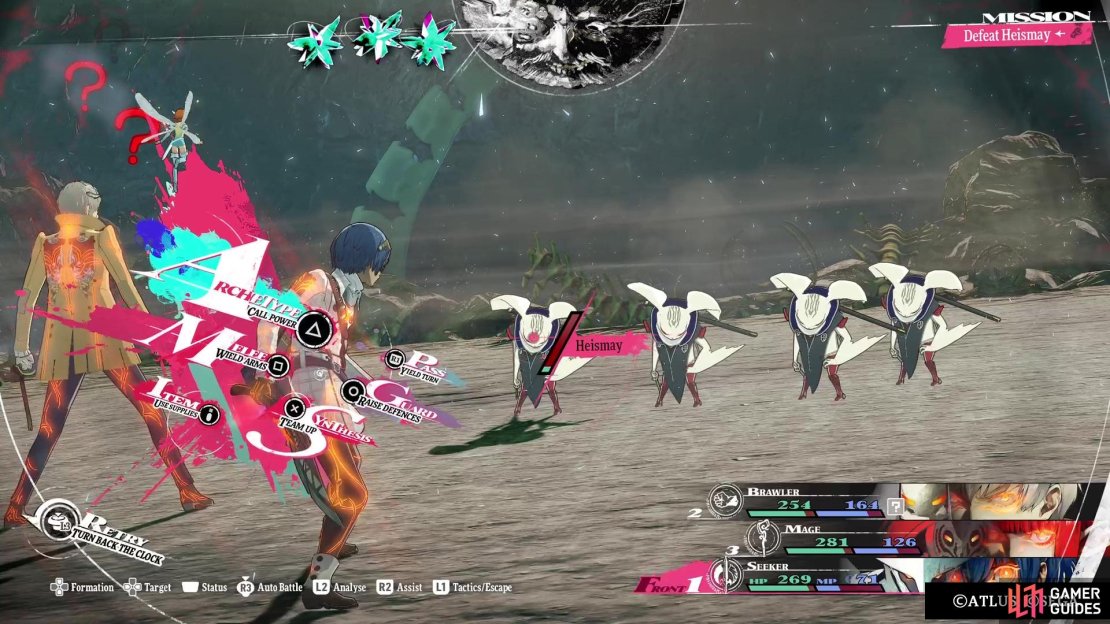
Dark Sword: Only used in the second fight, with Heismay infusing his sword with darkness, then attack you with it. Only seems to do a little more damage over his normal attack. Can inflict Forget.

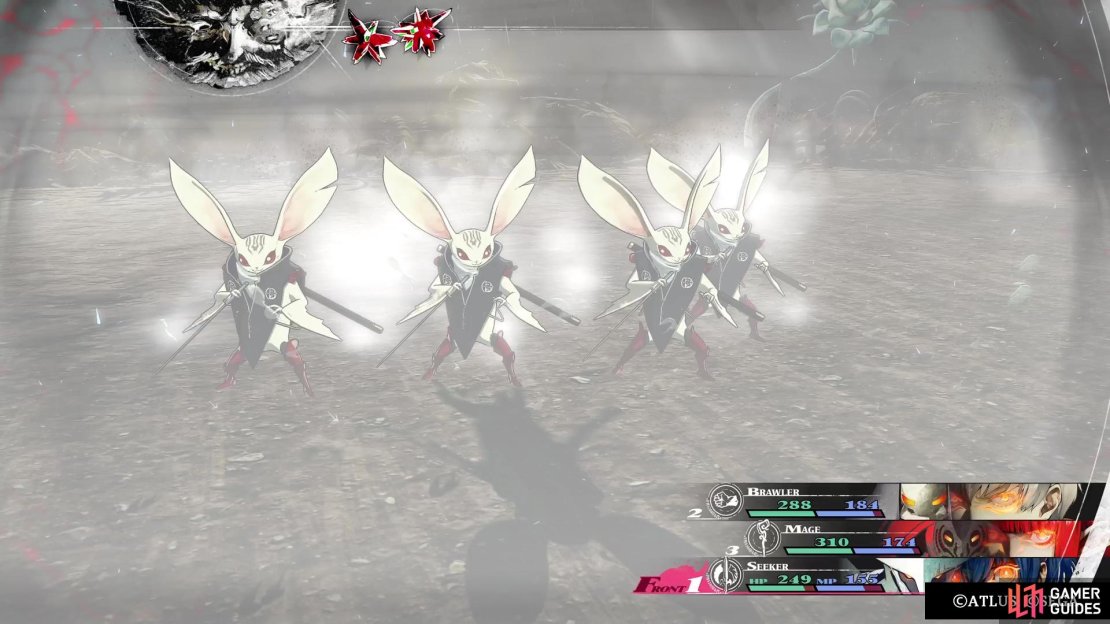

(1 of 3) Heismay will summon three clones throughout the entirety of the fight.
Heismay Boss Strategy
This can be quite the annoying fight, as there is a gimmick attached to it, plus he will constantly be debuffing your hit rate/evasion with Sand Throw. The first thing that Heismay will do is perform Clone Art, creating an extra three copies of himself. If you attack one of the clones, then it will block your damage and disappear. Of course, you will lose your turn icons due to the damage being blocked, so you want to avoid that at all costs.
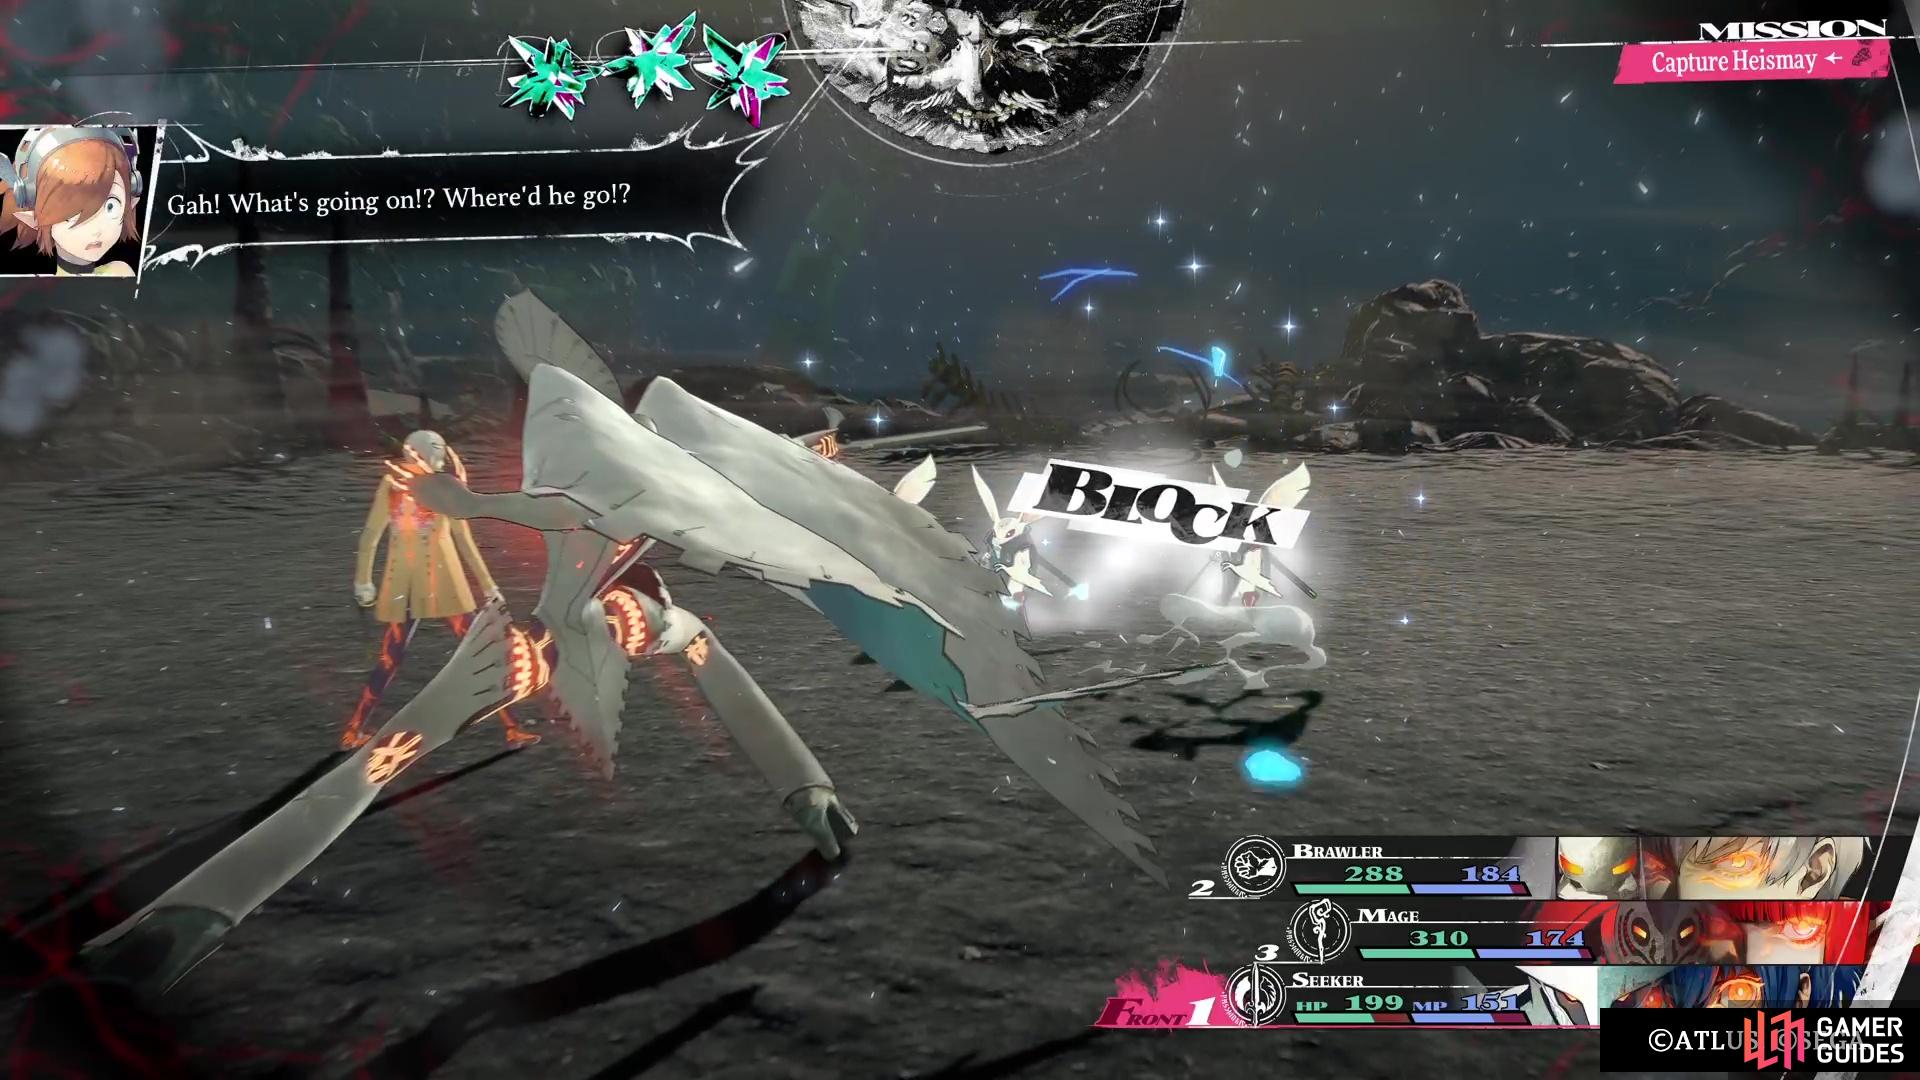
All of the clones will have their own action on the subsequent turn, so you are getting hit by four enemies at once. If you hit the real Heismay, though, he will take damage and all of the clones immediately disappear. However, you can’t cheat here and try to use multi-target attacks, as Gallica will warn you to concentrate on one target at a time. To make matters worse, Heismay will constantly be using Sand Throw to mess with your hit rate, so it will be even tougher to connect with attacks.
The first fight will end after you get his health low enough, or enough time passes, with Heismay running away. There will be a little thing inside the hut, where you investigate, but it’s mostly just checking the marked spots. Once the second fight begins, Heismay will add one new move to his repertoire, Dark Sword, but this isn’t really anything special to worry about here. If you don’t get the whole gimmick with the clones, Gallica will eventually reveal it as the fight goes on.

(1 of 4) You don’t want to attack the clones, as they block all damage and you’ll end your turn.
It’s really simple, too, as the real Heismay is the only one that is casting a shadow, as the clones don’t do that. This means you simply need to attack the one with the shadow every time that Heismay summons his clones. There’s not much else past that gimmick, so heal when necessary and keep attacking the one with the shadow.
For winning the battle, you will receive a Speed Incense, as well as some Sandsilk Gloves. Some more scenes will occur, then you will be back in the Martira inn.
No Comments