
There are many dungeons in Metaphor: ReFantazio, some of which are optional. One of these optional dungeon is the Belega Corridor, which you’ll have to go through in order to complete the A Bullish Embargo side quest. The dungeon can be quite challenging, as it’s available early and the enemies found within can be quite brutal, especially on harder difficulties. This page will give a walkthrough on getting through the entirety of the dungeon, including getting every single treasure.
Belega Corridor is an optional dungeon that can be quite rough towards the beginning of the game.
Belega Corridor Enemies
Here are all of the enemies found in the Belega Corridor dungeon, along with their weaknesses and strengths.
| Enemy | Level | Weak | Strengths |
|---|---|---|---|
| Goborn | 9 | – | – |
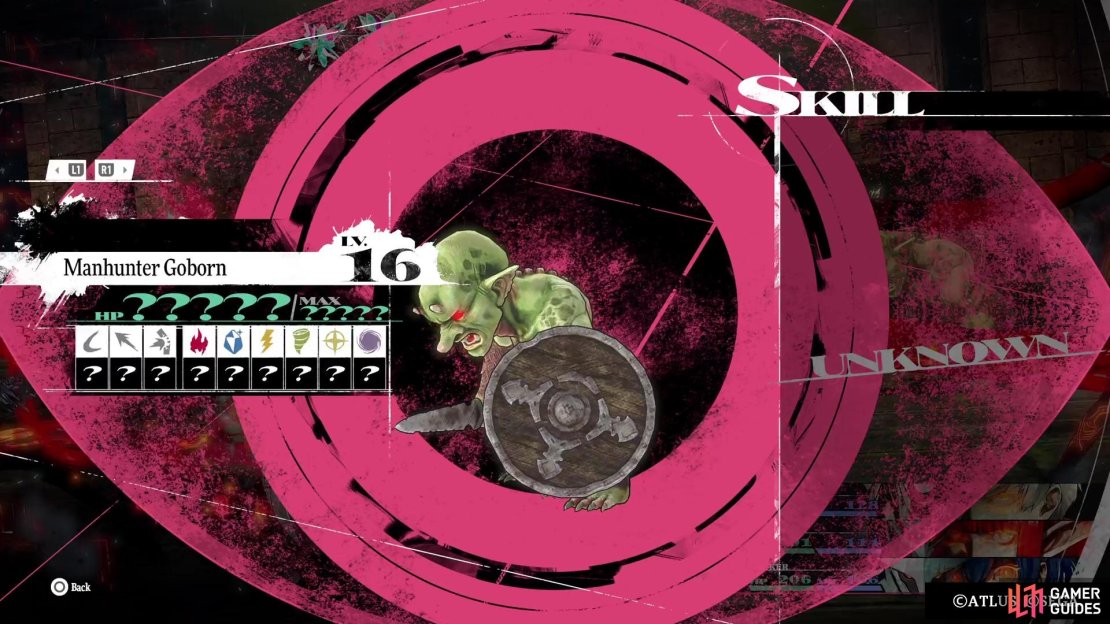
| Manhunter Goborn | 16 | – | – |
| Archer Goborn | 16 | – | – |
| Hexer Goborn | 16 | – | – |
| Vicious Hundo | 9 | Fire, Ice | – |
| Nocross | 3 | Wind | – |
Belega Corridor Items
The following is a list of all the items you can find in Belega Corridor, which are the blue orbs, as well as treasure chests.
| Item |
|---|
| Scintillating Marble (x2) |
| Balm of Life |
| Fairy Dust (x2) |
| Strength Incense |
| Onyx |
| Damascus Vest |
| Shiny Stone |
| Great Fairy Dust |
| Hero’s Incense |
| Gold Beetle |
| Witch’s Earring |
| Aquamarine |
| Magla Pill |
| Blessed Water (x2) |
| Imp-Ending Pike |
| Guard’s Chausses |

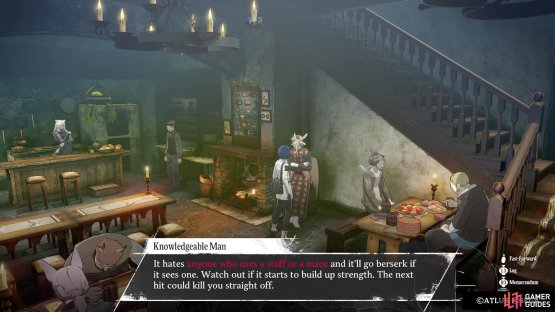
(1 of 2) Go to the inn in Grand Trad to purchase some info on the dungeon.

Go to the inn in Grand Trad to purchase some info on the dungeon. (left), The info basically tells you that you don’t want to use Mages or Healers inside Belega Corridor. (right)
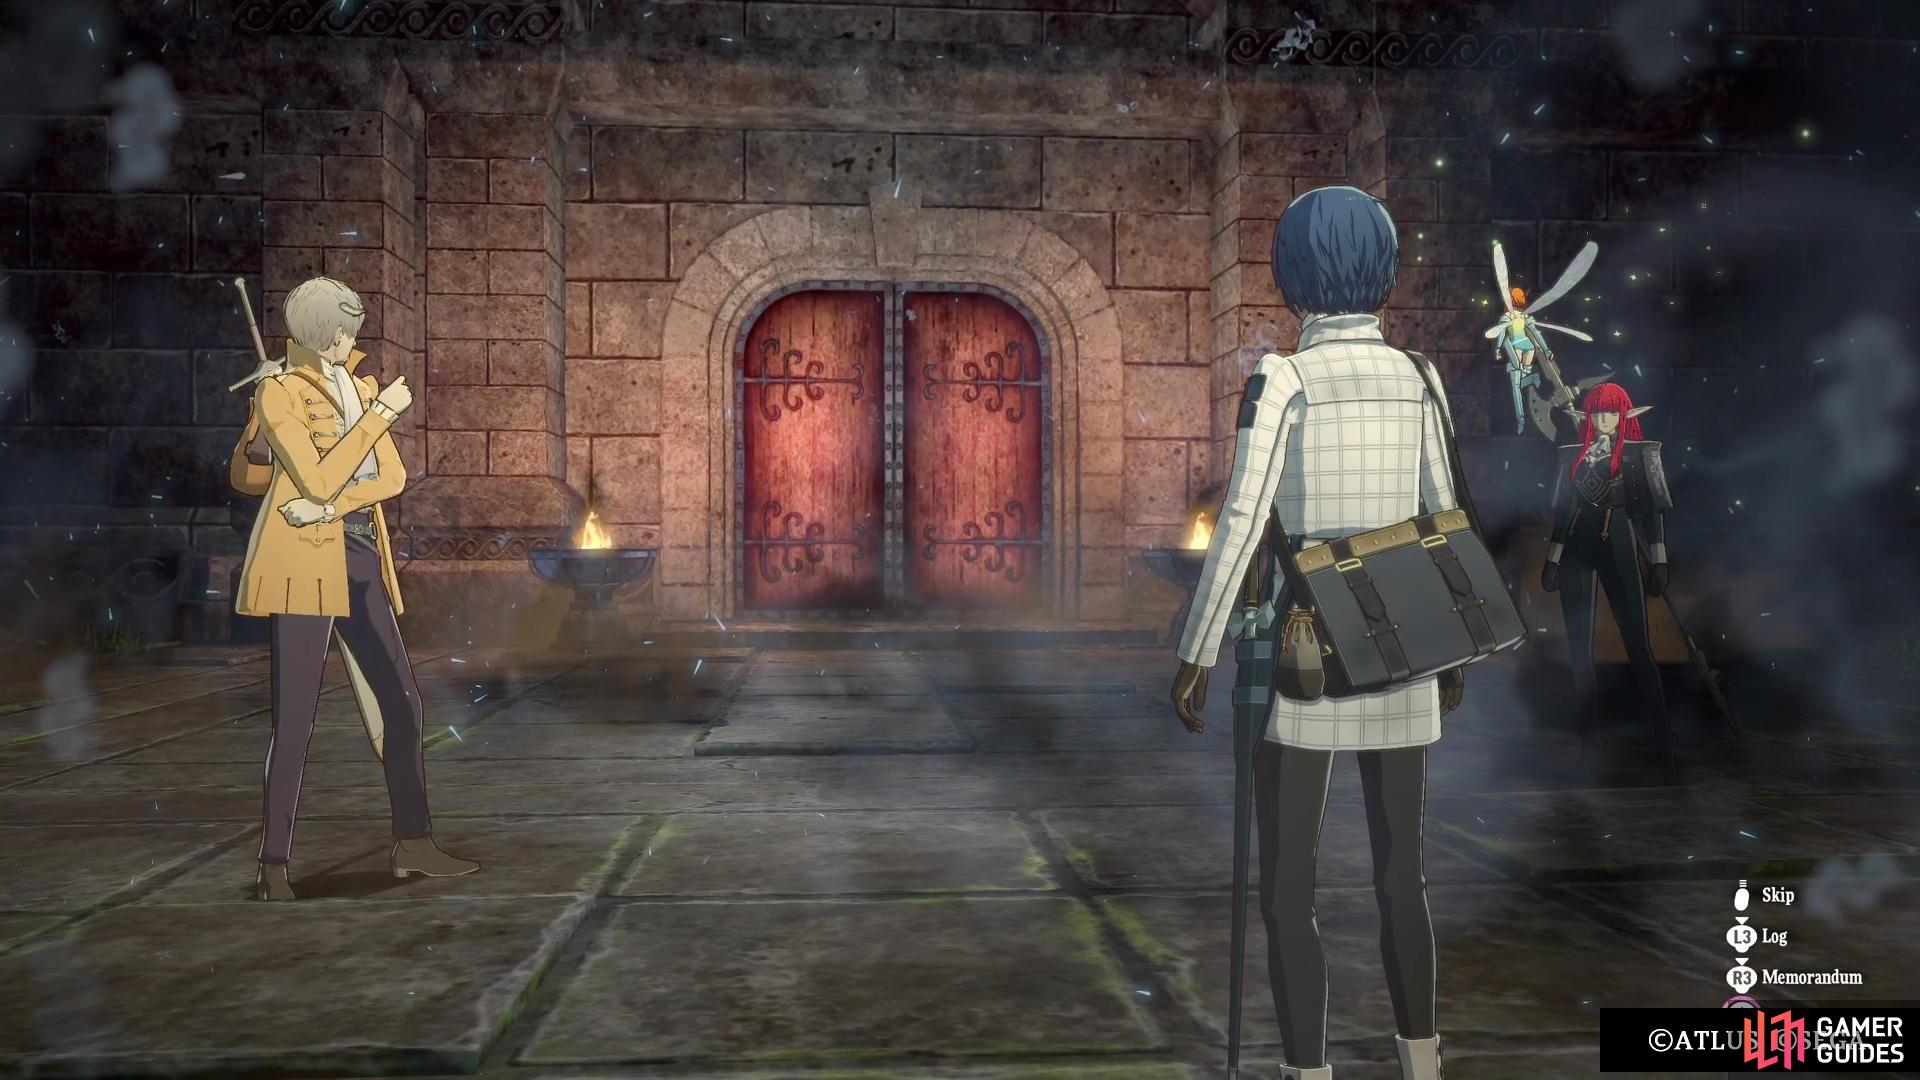
Into the Belega Corridor
At the entrance to this place, feel free to speak to the NPC to the side of the main door, although he has nothing to really say. When you’re ready, enter the main doors and follow the hallway to the first large room, where you should check the southeast corner for a Scintillating Marble. There is another NPC standing next to a pillar who doesn’t have much to say, so ignore him and look to the north. There are some stairs going down here, but pay no mind and locate the hallway to the right of it. This is where you’ll find the first enemies in this dungeon, the Goborn.

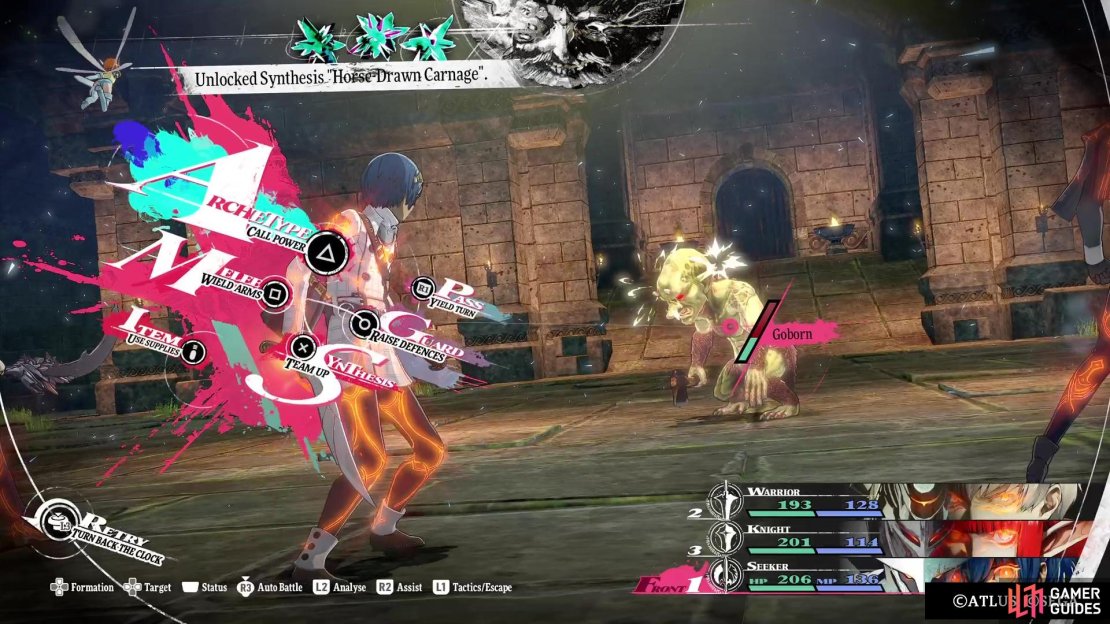
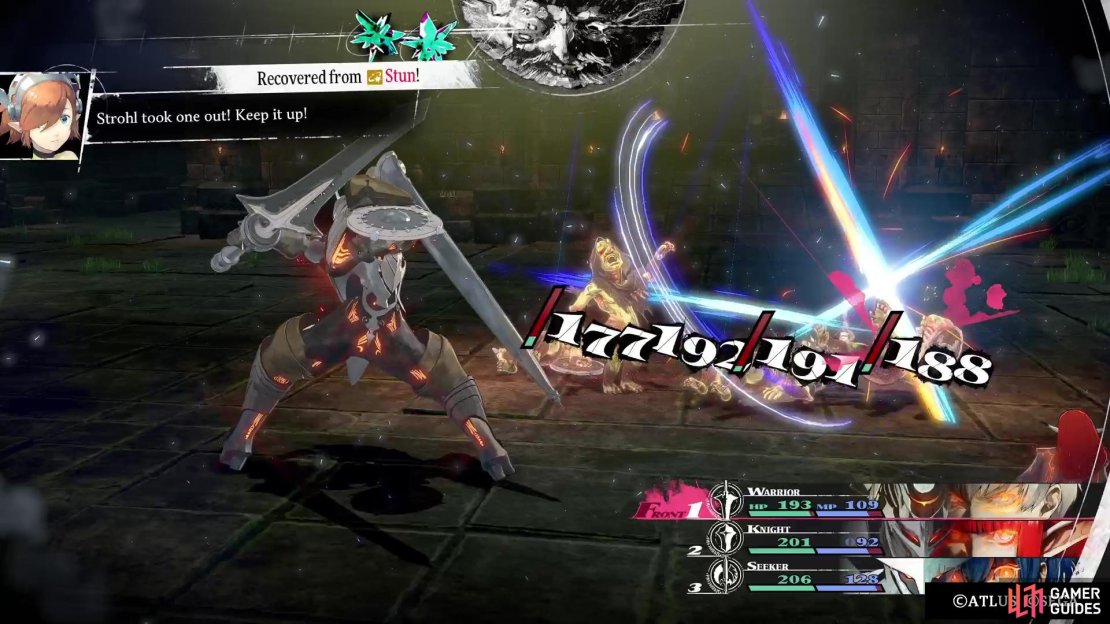
(1 of 3) You will want to always ambush the enemies on the field, so they’re stunned at the start.
These ones wield only hatchets and are level 9, so they aren’t too dangerous, but still be on your guard. Get the jump on them to have an easier time defeating them, then continue past their location. There is a path off to the east here, so go there to find some more Goborns, only these ones are a higher level and much more brutal. The Manhunter Goborn is equipped with a sword and shield, while the Archer Goborn should be self-explanatory. The latter has an attack that can hit your entire party, so they should definitely go first.
After defeating the enemies, open the chest for a Balm of Life. Return to the main hallway and head north to find a Talkative Tooth NPC, who talks about weapons and how they can change your strengths. Either way, crawl through the hole next to it to find some enemies huddled around an item in the corner. These enemies are ones you’ve seen in a previous dungeon, so they are low-leveled and can be easily dispatched with your weapon. However, before picking up the item, deal with the Hexer Goborn nearby. After doing that, loot the item for a Fairy Dust. Take the stairs after you’re done to get to the next floor (both stairs lead to the same place).
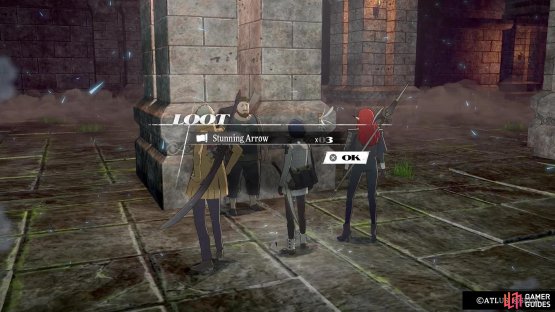
There is another NPC right by a pillar, who will reiterate that you shouldn’t be using a Mage or Healer here, since the Goborns will go crazy. He also gives you x3 Stunning Arrows, since the enemies “fall apart” when faced with poison or paralysis. Right where you came down the stairs, there is a doorway off to the west, so go in there. The one side is blocked by a gate, with some Vicious Hundos in front of it, but you can ignore them if you want. Head around the other side to find some Goborns past the doorway, so take them out and loot the item there for a Strength Incense.


(1 of 2) The last NPC you run into will give you some free items.
The last NPC you run into will give you some free items. (left), Running down this one hallway will trigger a pack of Vicious Hundos to come after you. (right)
Double back to the main hallway and continue past the NPC encountered before, where you’ll happen upon more Goborns. South of them will be another item (Onyx), as well as some stairs going up to the side. This will lead to a small room with a few enemies, which was blocked off from the main path. There is also a chest here, so open it for a Damascus Vest, a nice piece of armor for any of your characters. Return to the previous room now to continue with the dungeon.
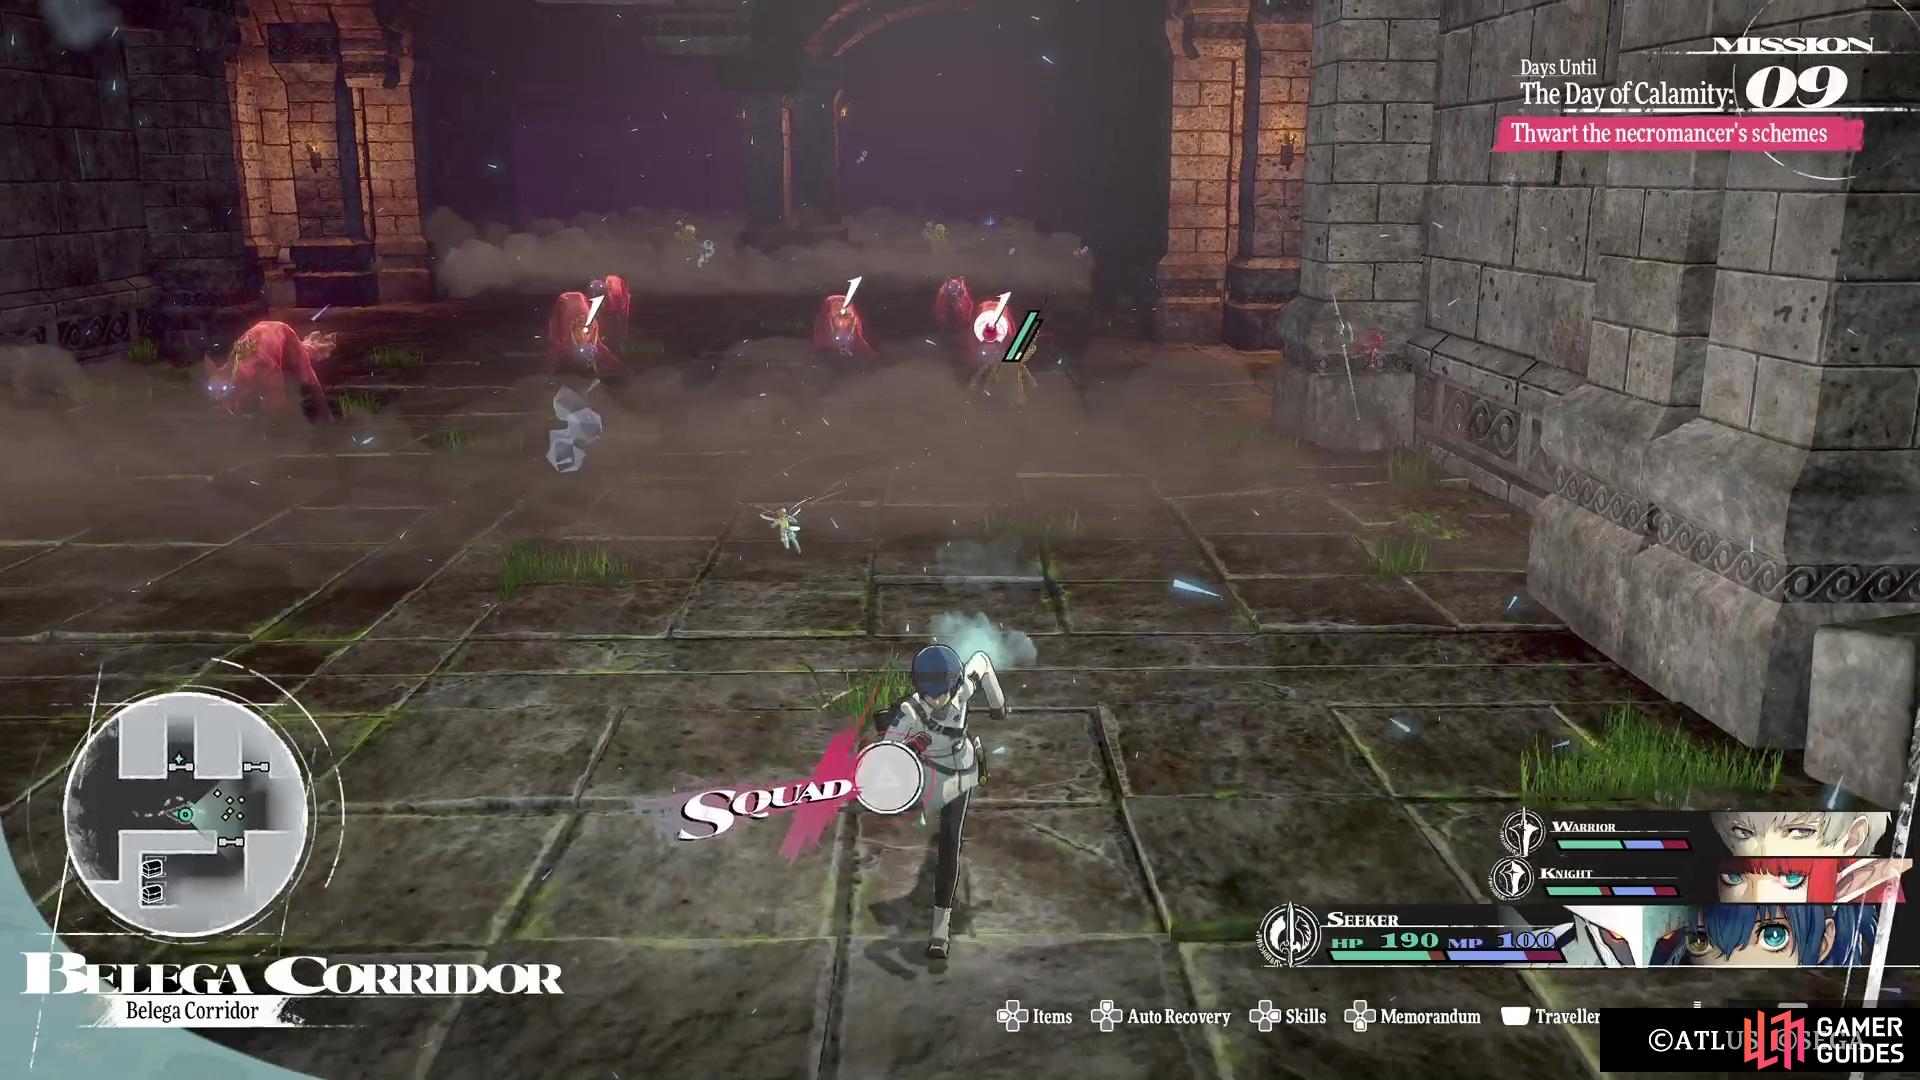
If you head down the hallway to the east, a large pack of Vicious Hundos will be sicced on you, so try to retreat or get the jump on them first. If your level is high enough, you can easily dispatch them with overworld attacks, which is actually a good source of rewards. Just behind them will be two normal Goborns, so be wary of them. In the southeastern corner past the horde of Vicious Hundos will be an item slightly hidden by barrels (Shiny Stone). North of there will be some more Goborns, who seem to be dancing in a circle.

(1 of 2) Look along the western wall in the dancing Goborns room for a hole into which you can enter.
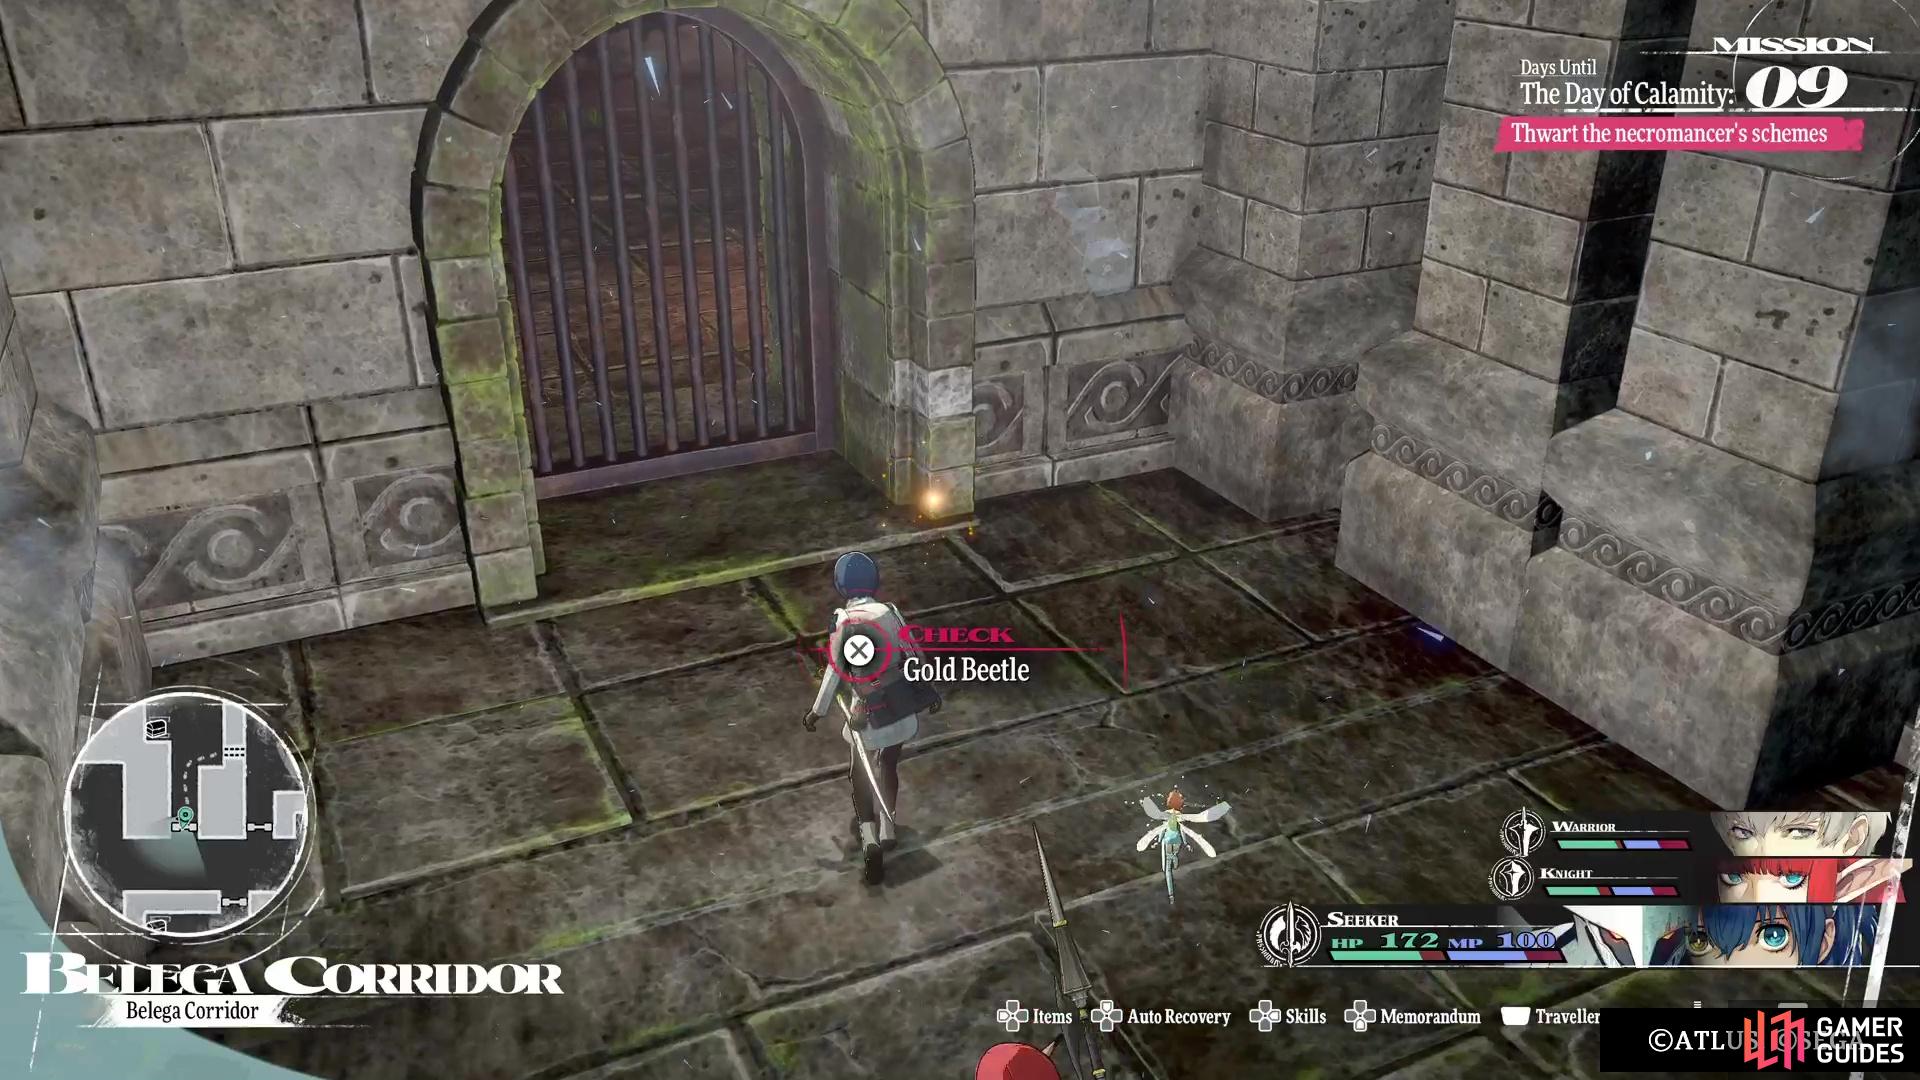
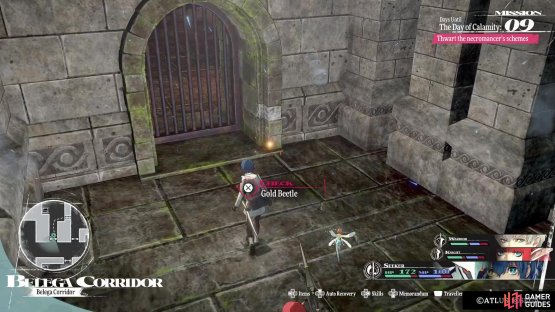
Look along the western wall in the dancing Goborns room for a hole into which you can enter. (left), One of the things you’ll find in that area is a Gold Beetle. (right)
Ignore them for now and look for another item surrounded by some enemies on the eastern side of the room (Great Fairy Dust). On the western side of the room is yet one more item (Hero’s Incense), as well as a hole in the wall right next to it. Crawl through it, then look south first for a Gold Beetle at the dead end. Elsewhere in the room, loot the two chests (Witch’s Earring and Aquamarine), as well as the other item on the north end (Magla Pill). Back in the main portion, look for the path up the western side, with another item surrounded by some enemies (Fairy Dust).
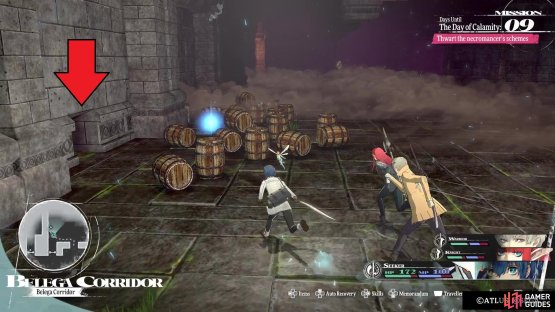
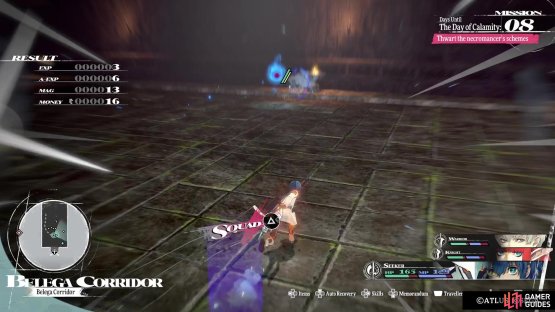
If you headed up the eastern side of the room, you’d have to contend with more Goborns, but there will be one more item in the northeastern corner (Blessed Water). On the northern end of the room is more stairs leading deeper into the dungeon, so take them to arrive in a large room. There are a bunch more Goborns here, so fight through them, should you feel like it. Note the blue orb-like thing that runs away when you get close to it. This is a Blue Elementa, a rare creature that can be fought for some decent money and MAG.
There is an item to the left of the stairs at the far end (Scintillating Marble), so loot it and climb the stairs. The hallway here will have some Goborns with their backs turn, slowly walking down it, so they are quite easy to ambush. Before taking the stairs, look along the north wall for another hole you can crawl through, with this one bringing you to those two blocked off chests. One contains an Imp-Ending Pike, a new weapon for the Knight Archetype, while the other holds some Guard’s Chausses. Both items can be purified (upgraded) at the church.


(1 of 2) The blue orb that runs away from you is actually a rare enemy.

The blue orb that runs away from you is actually a rare enemy. (left), In the room with the line of walking Goborns, there is another hole that leads to treasure. (right)
Don’t forget to loot the item by the stairs, which is another Blessed Water. The stairs in the main hallway bring you to the bottom floor, where there is a cat sitting on an object. This is Plateau, the cat found with More, and basically functions as a save point in dungeons. It also allows you to visit Akademeia and the third option lets you return to the entrance of the dungeon, should you feel the need to return to town. The door down here will lead to the boss, the Grotesque Guptauros!
No Comments