
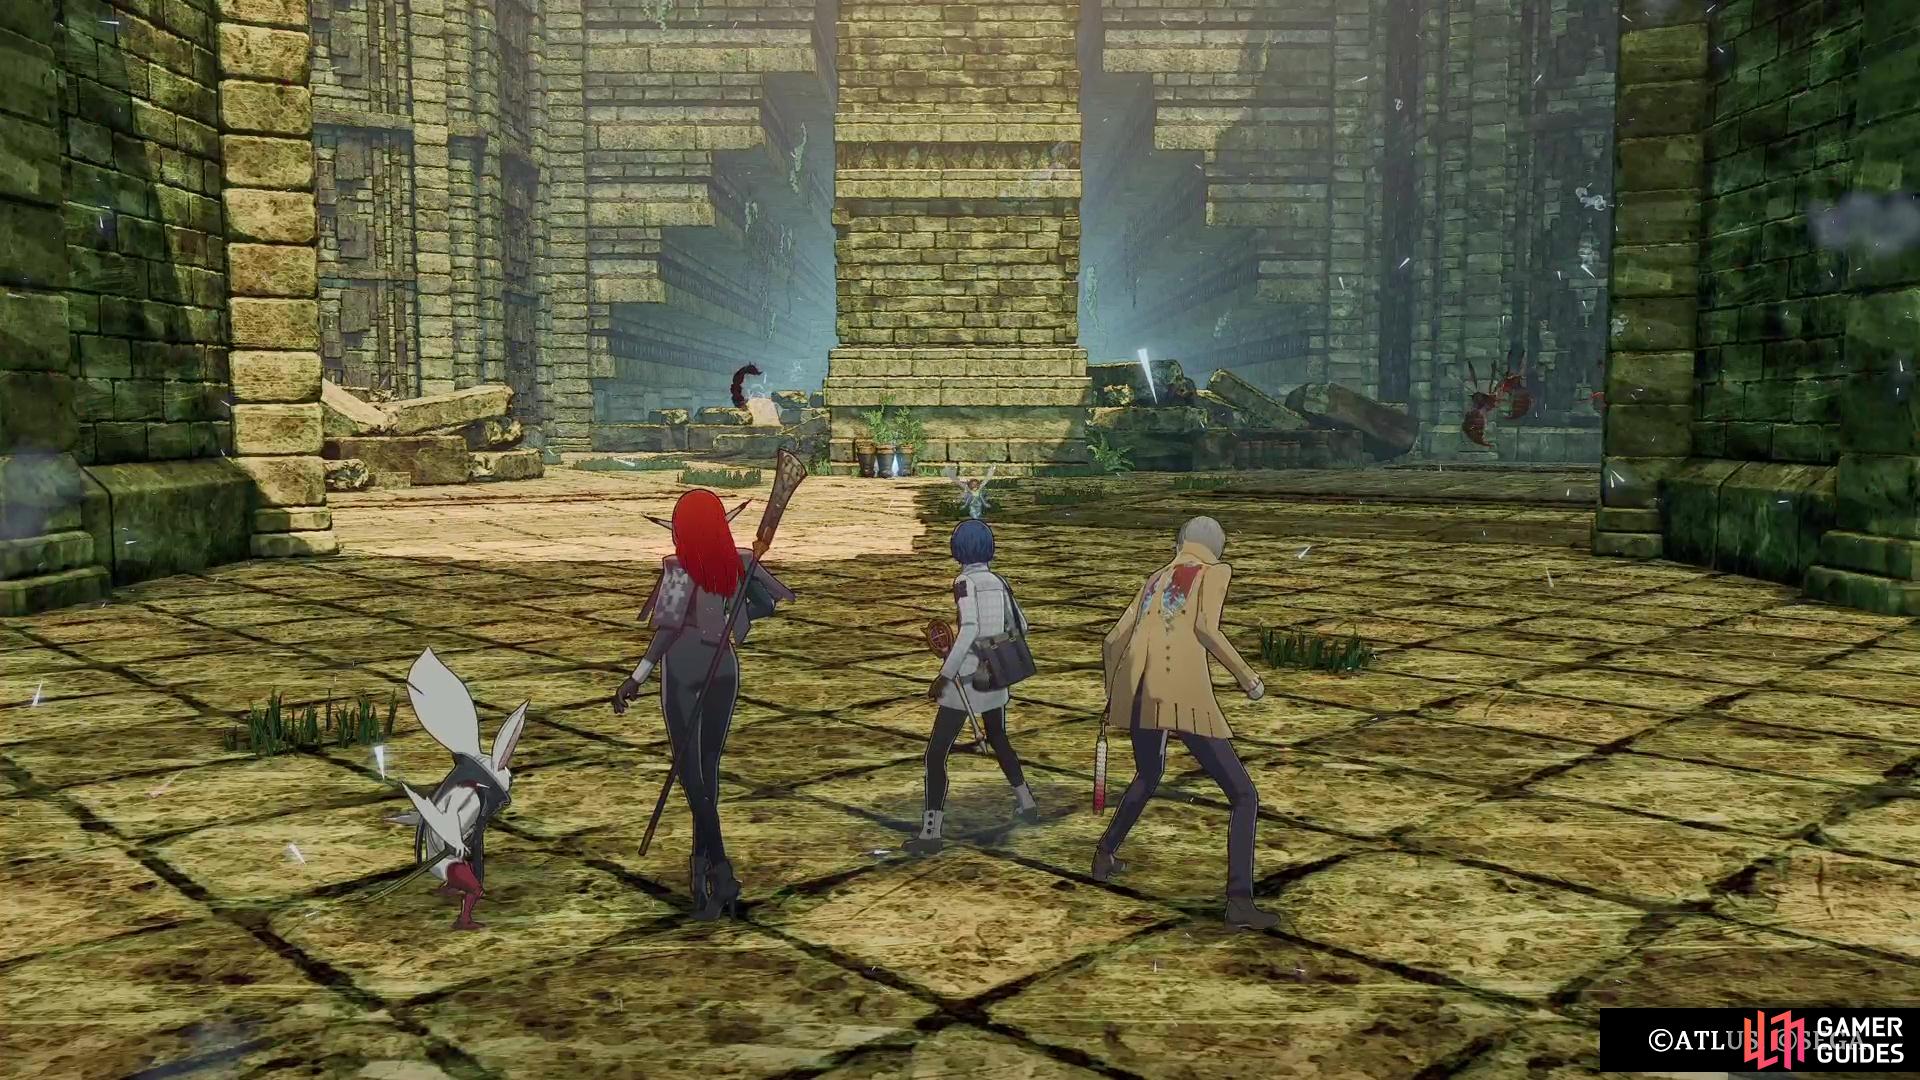
The main story dungeon for the Virga Island portion of Metaphor: ReFantazio will have you visiting the mustari’s Dragon Temple. You will first visit it as part of the story, but won’t be able to enter it, due to some tree blocking the entrance. After obtaining the ![]() Potion of Blight, you can then find your way back to the temple, but not without fighting the Treebeast Alento first. Upon doing that, you will finally be able to start exploring the Dragon Temple.
Potion of Blight, you can then find your way back to the temple, but not without fighting the Treebeast Alento first. Upon doing that, you will finally be able to start exploring the Dragon Temple.
The Dragon Temple is a pretty long dungeon, as it’s split into two parts.
Dragon Temple’s Enemies
The following list will contain all of the enemies you will find in the Dragon Temple, including their levels, weaknesses, and any resistances they have.
| Enemy | Level | Weak | Strong |
|---|---|---|---|
| Vesp | 19 | Pierce, Wind | Lightning (Block) |
| Papyros | 20 | Pierce, Wind, Dark | Fire/Ice/Lightning (Resist), Light (Reflect) |
| Canibaflo | 29 | Fire | Lightning (Resist), Ice (Block) |
| Manjula | 35 | Strike, Ice | Fire (Block) |
| Spellwrought Gargosta | 36 | Wind | Lightning/Dark (Resist), Slash/Pierce (Block) |
| Spekto of Lament | 35 | Fire, Light | Slash/Pierce/Strike (Reflect), Ice/Wind (Absorb) |
Dragon Temple’s Items
The table below will have all of the items you can find inside of the Dragon Temple, including those from the blue orbs, as well as the treasure chests.
| Item |
|---|
| Strength White Mask |
| Magician White Mask |
| Mossy Hard Armour |
Dragon Temple - Corridor
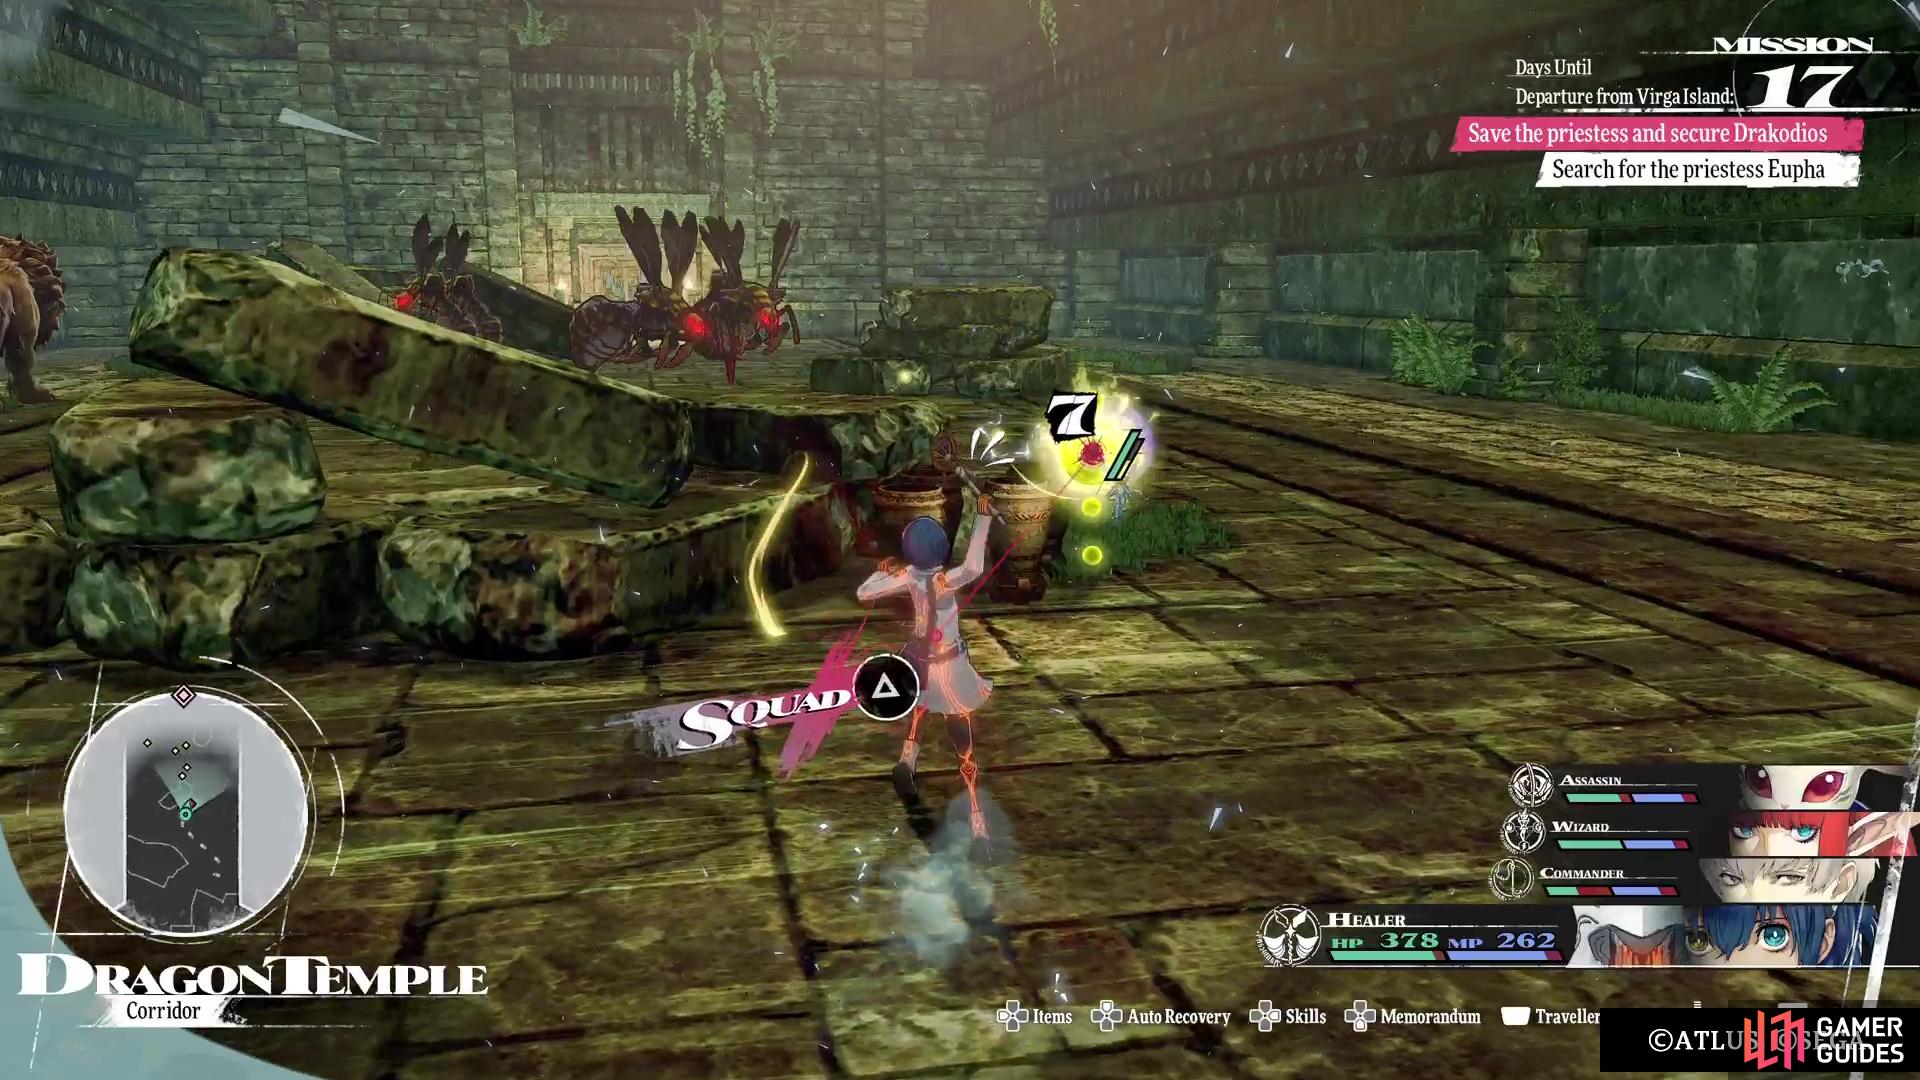
The first area of the Dragon Temple is pretty simple, as it’s a fairly open area that has a fair number of enemies present. Most of the enemies here are probably low enough level that you can defeat them on the field, without the need to go into a Squad Battle. The only one that won’t be that low is the Manjula, who’ve you faced on a number of occasions now. If you’ve gotten the side quest, ![]() A Guiding Gift, from the town, then the first
A Guiding Gift, from the town, then the first ![]() Polar Stone is on the right side prior to the Manjulas. On the southern side of the pillar in the center is another item (
Polar Stone is on the right side prior to the Manjulas. On the southern side of the pillar in the center is another item (![]() Scintillating Marble), so grab it and head to the western side.
Scintillating Marble), so grab it and head to the western side.

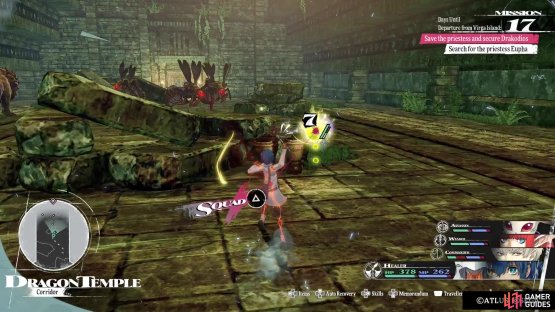
(1 of 2) The Manjula is weak to both Strike and Ice, so use those to quickly defeat it.
The Manjula is weak to both Strike and Ice, so use those to quickly defeat it. (left), Probably best to leave the Gold Elmenta alone, to avoid getting ambushed by other enemies. (right)
Clear the enemies over there, then look by the breakable vases to loot another item (![]() Spirit Dust). You can now continue to the north, where you probably want to go after the Manjulas first. They are weak to both Strike and Ice, so if you have a
Spirit Dust). You can now continue to the north, where you probably want to go after the Manjulas first. They are weak to both Strike and Ice, so if you have a ![]() Brawler, their attacks will work great here. Just be mindful to get the jump on them, as they can both poison and paralyze you with their attacks. There is a Gold Elmenta also here, but getting it can be a bit tricky, because of the other enemies in the vicinity. There is one more item by the rubble near the northern exit, which is a
Brawler, their attacks will work great here. Just be mindful to get the jump on them, as they can both poison and paralyze you with their attacks. There is a Gold Elmenta also here, but getting it can be a bit tricky, because of the other enemies in the vicinity. There is one more item by the rubble near the northern exit, which is a ![]() Graced Water.
Graced Water.
That’s all there is to do here in the Corridor, so take the northern exit to arrive in the Labyrinthine Path.
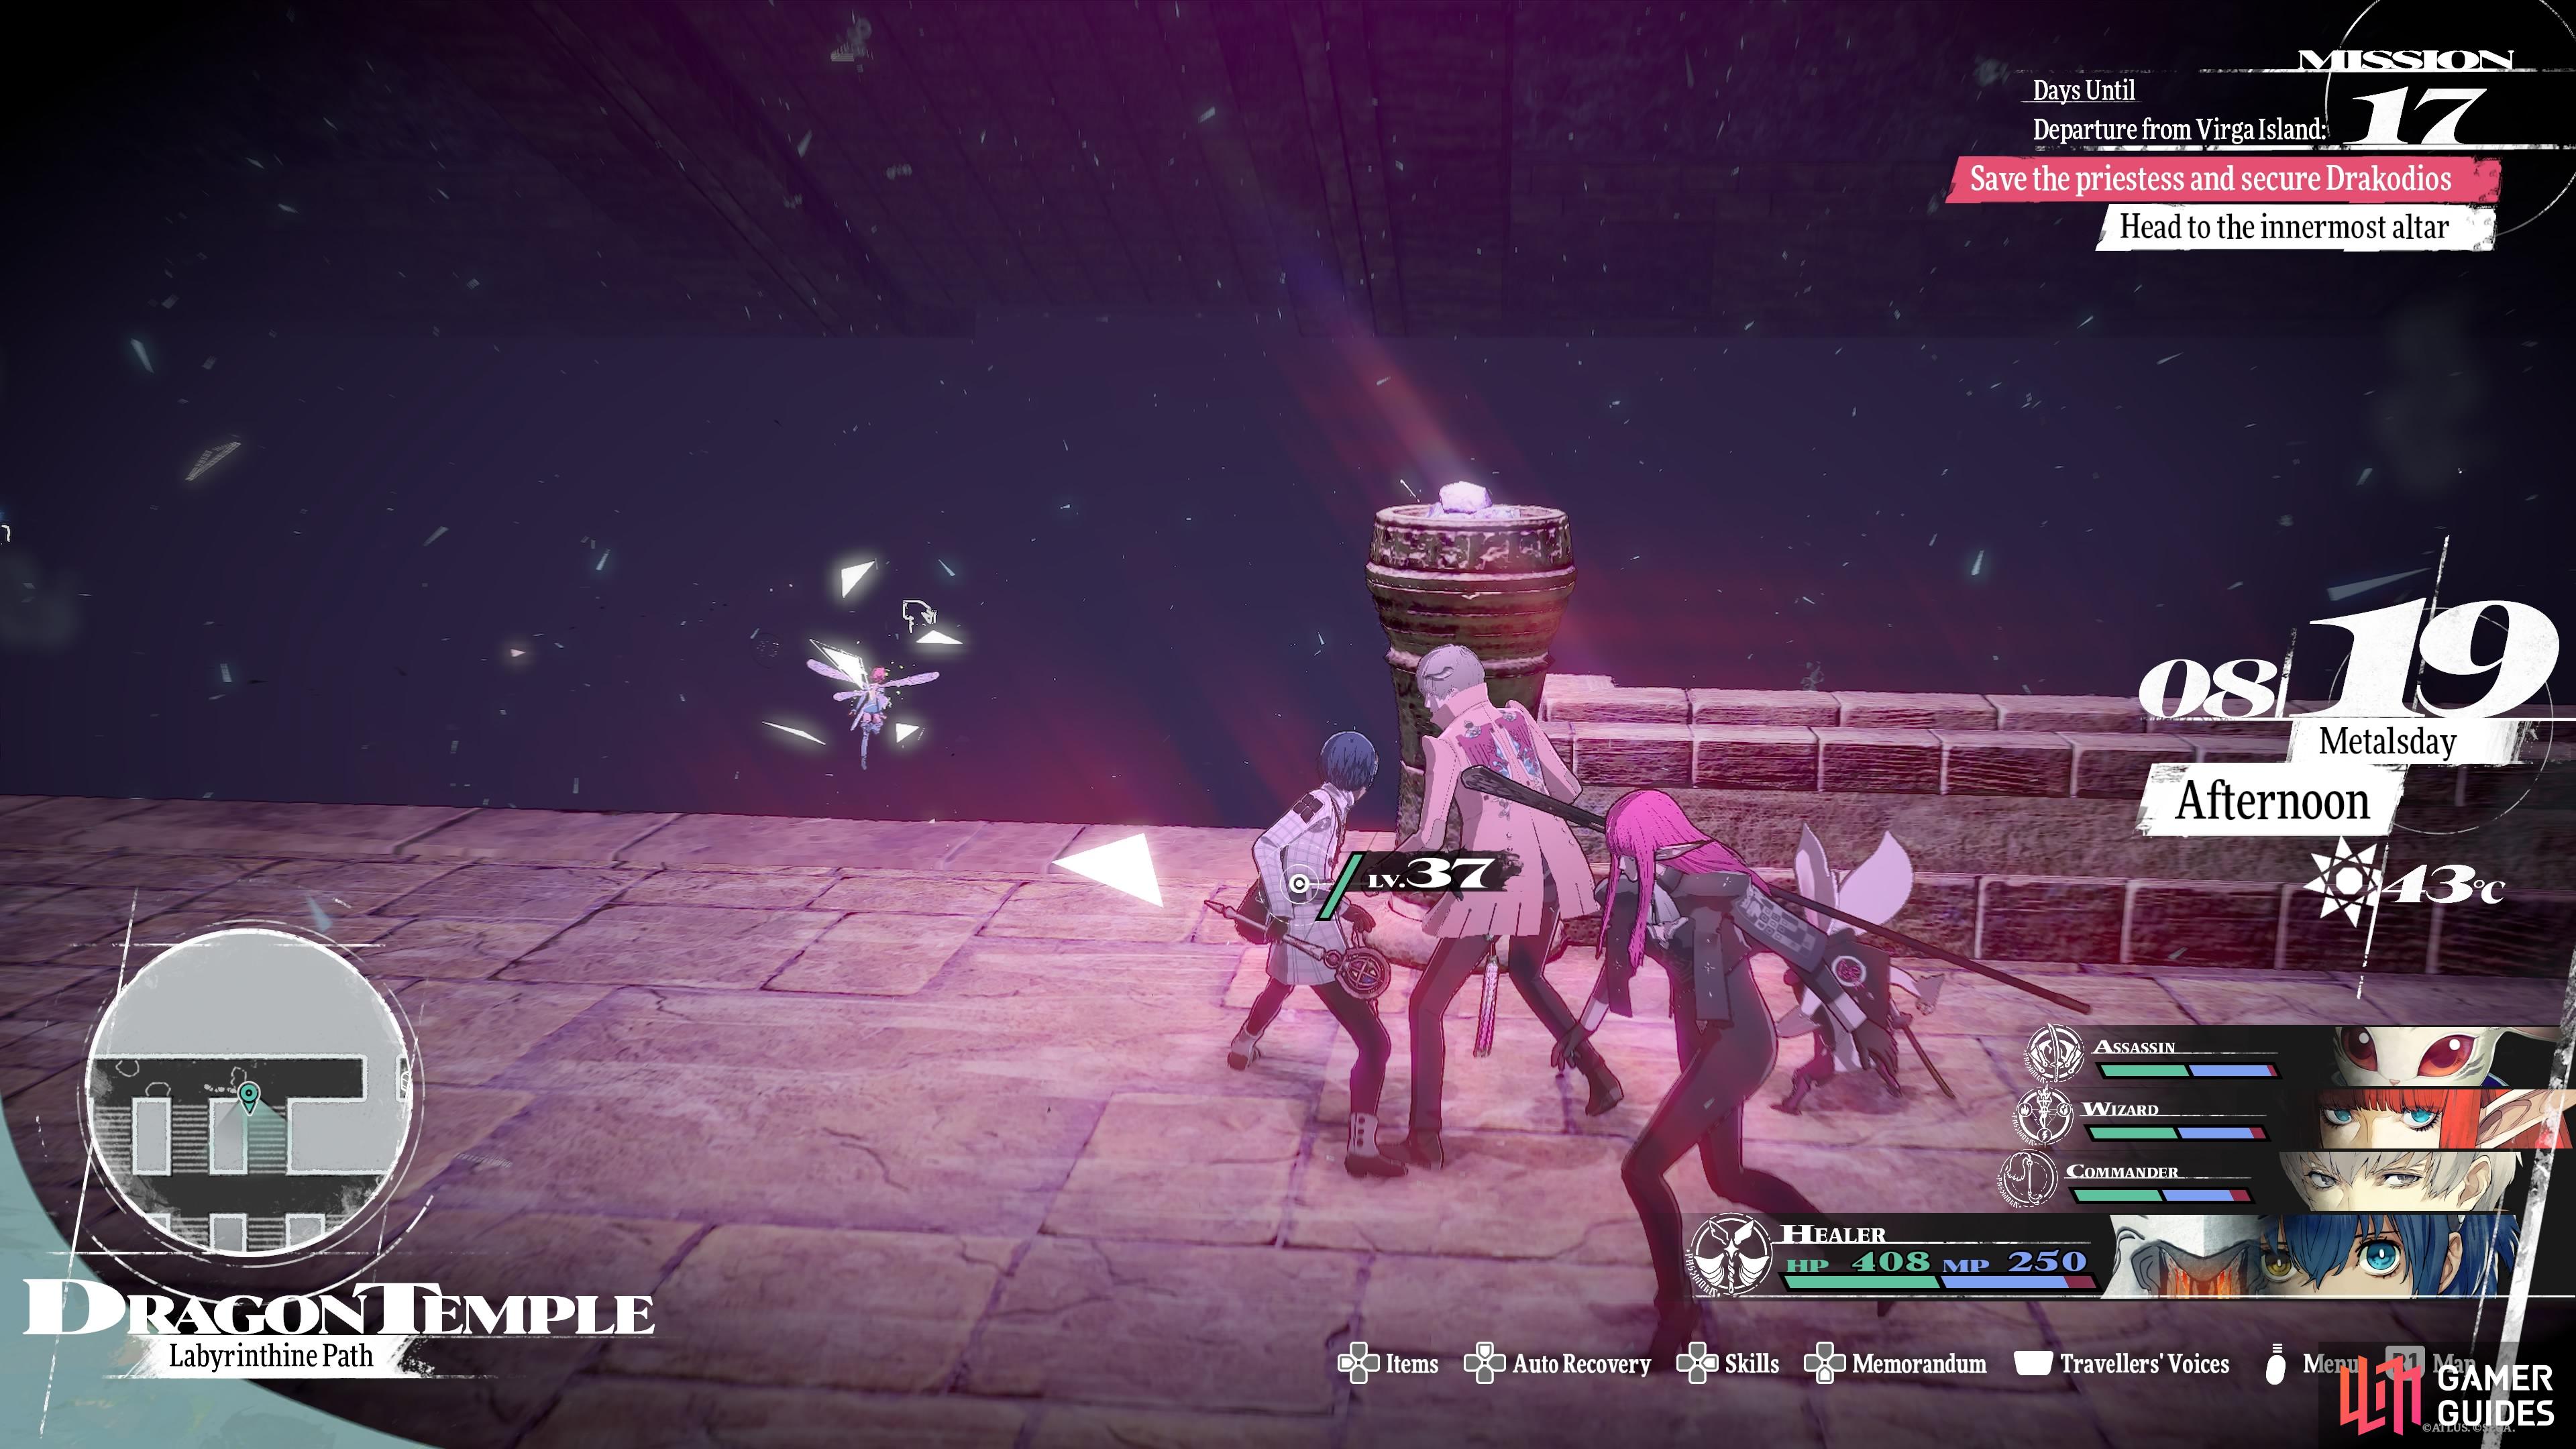
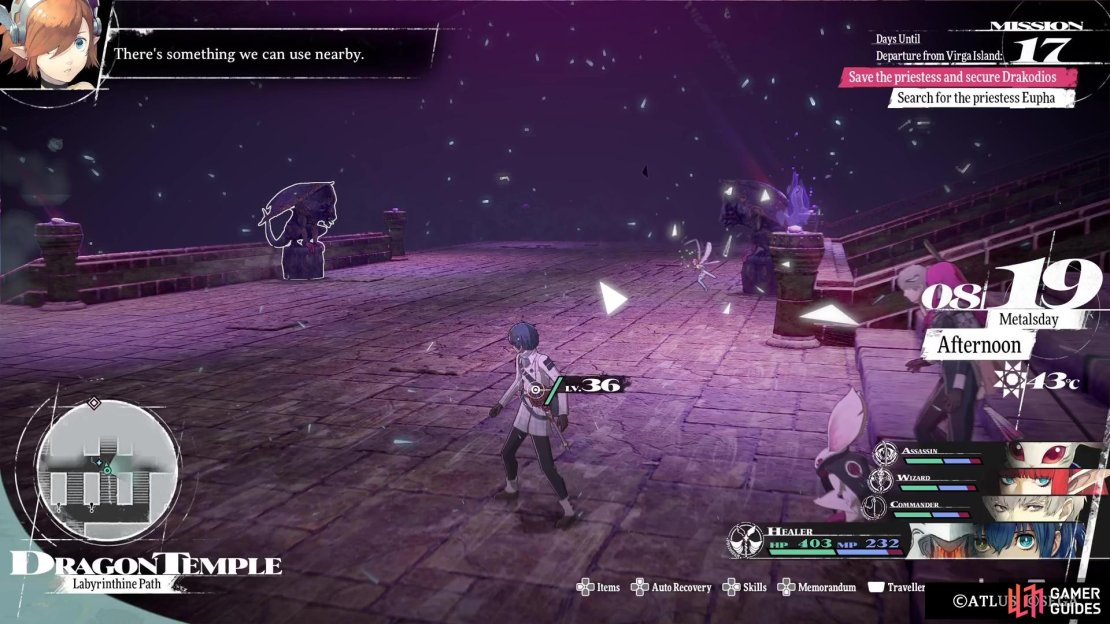
Dragon Temple - Labyrinthine Path
While this area doesn’t necessarily look like a maze, you will soon find out that it’s structured like one. The Labyrinthine Path area is set up so that you cannot go down/up any set of stairs. If you try this, then you will see the screen get very foggy and dark, and if you try to use that path, then you will be teleported back to the beginning/checkpoint. There are three ways to tell which way to go, though, with the first being just using the stairs and not seeing the fog. This is a bit tedious, though, since you will have to try every set of stairs.
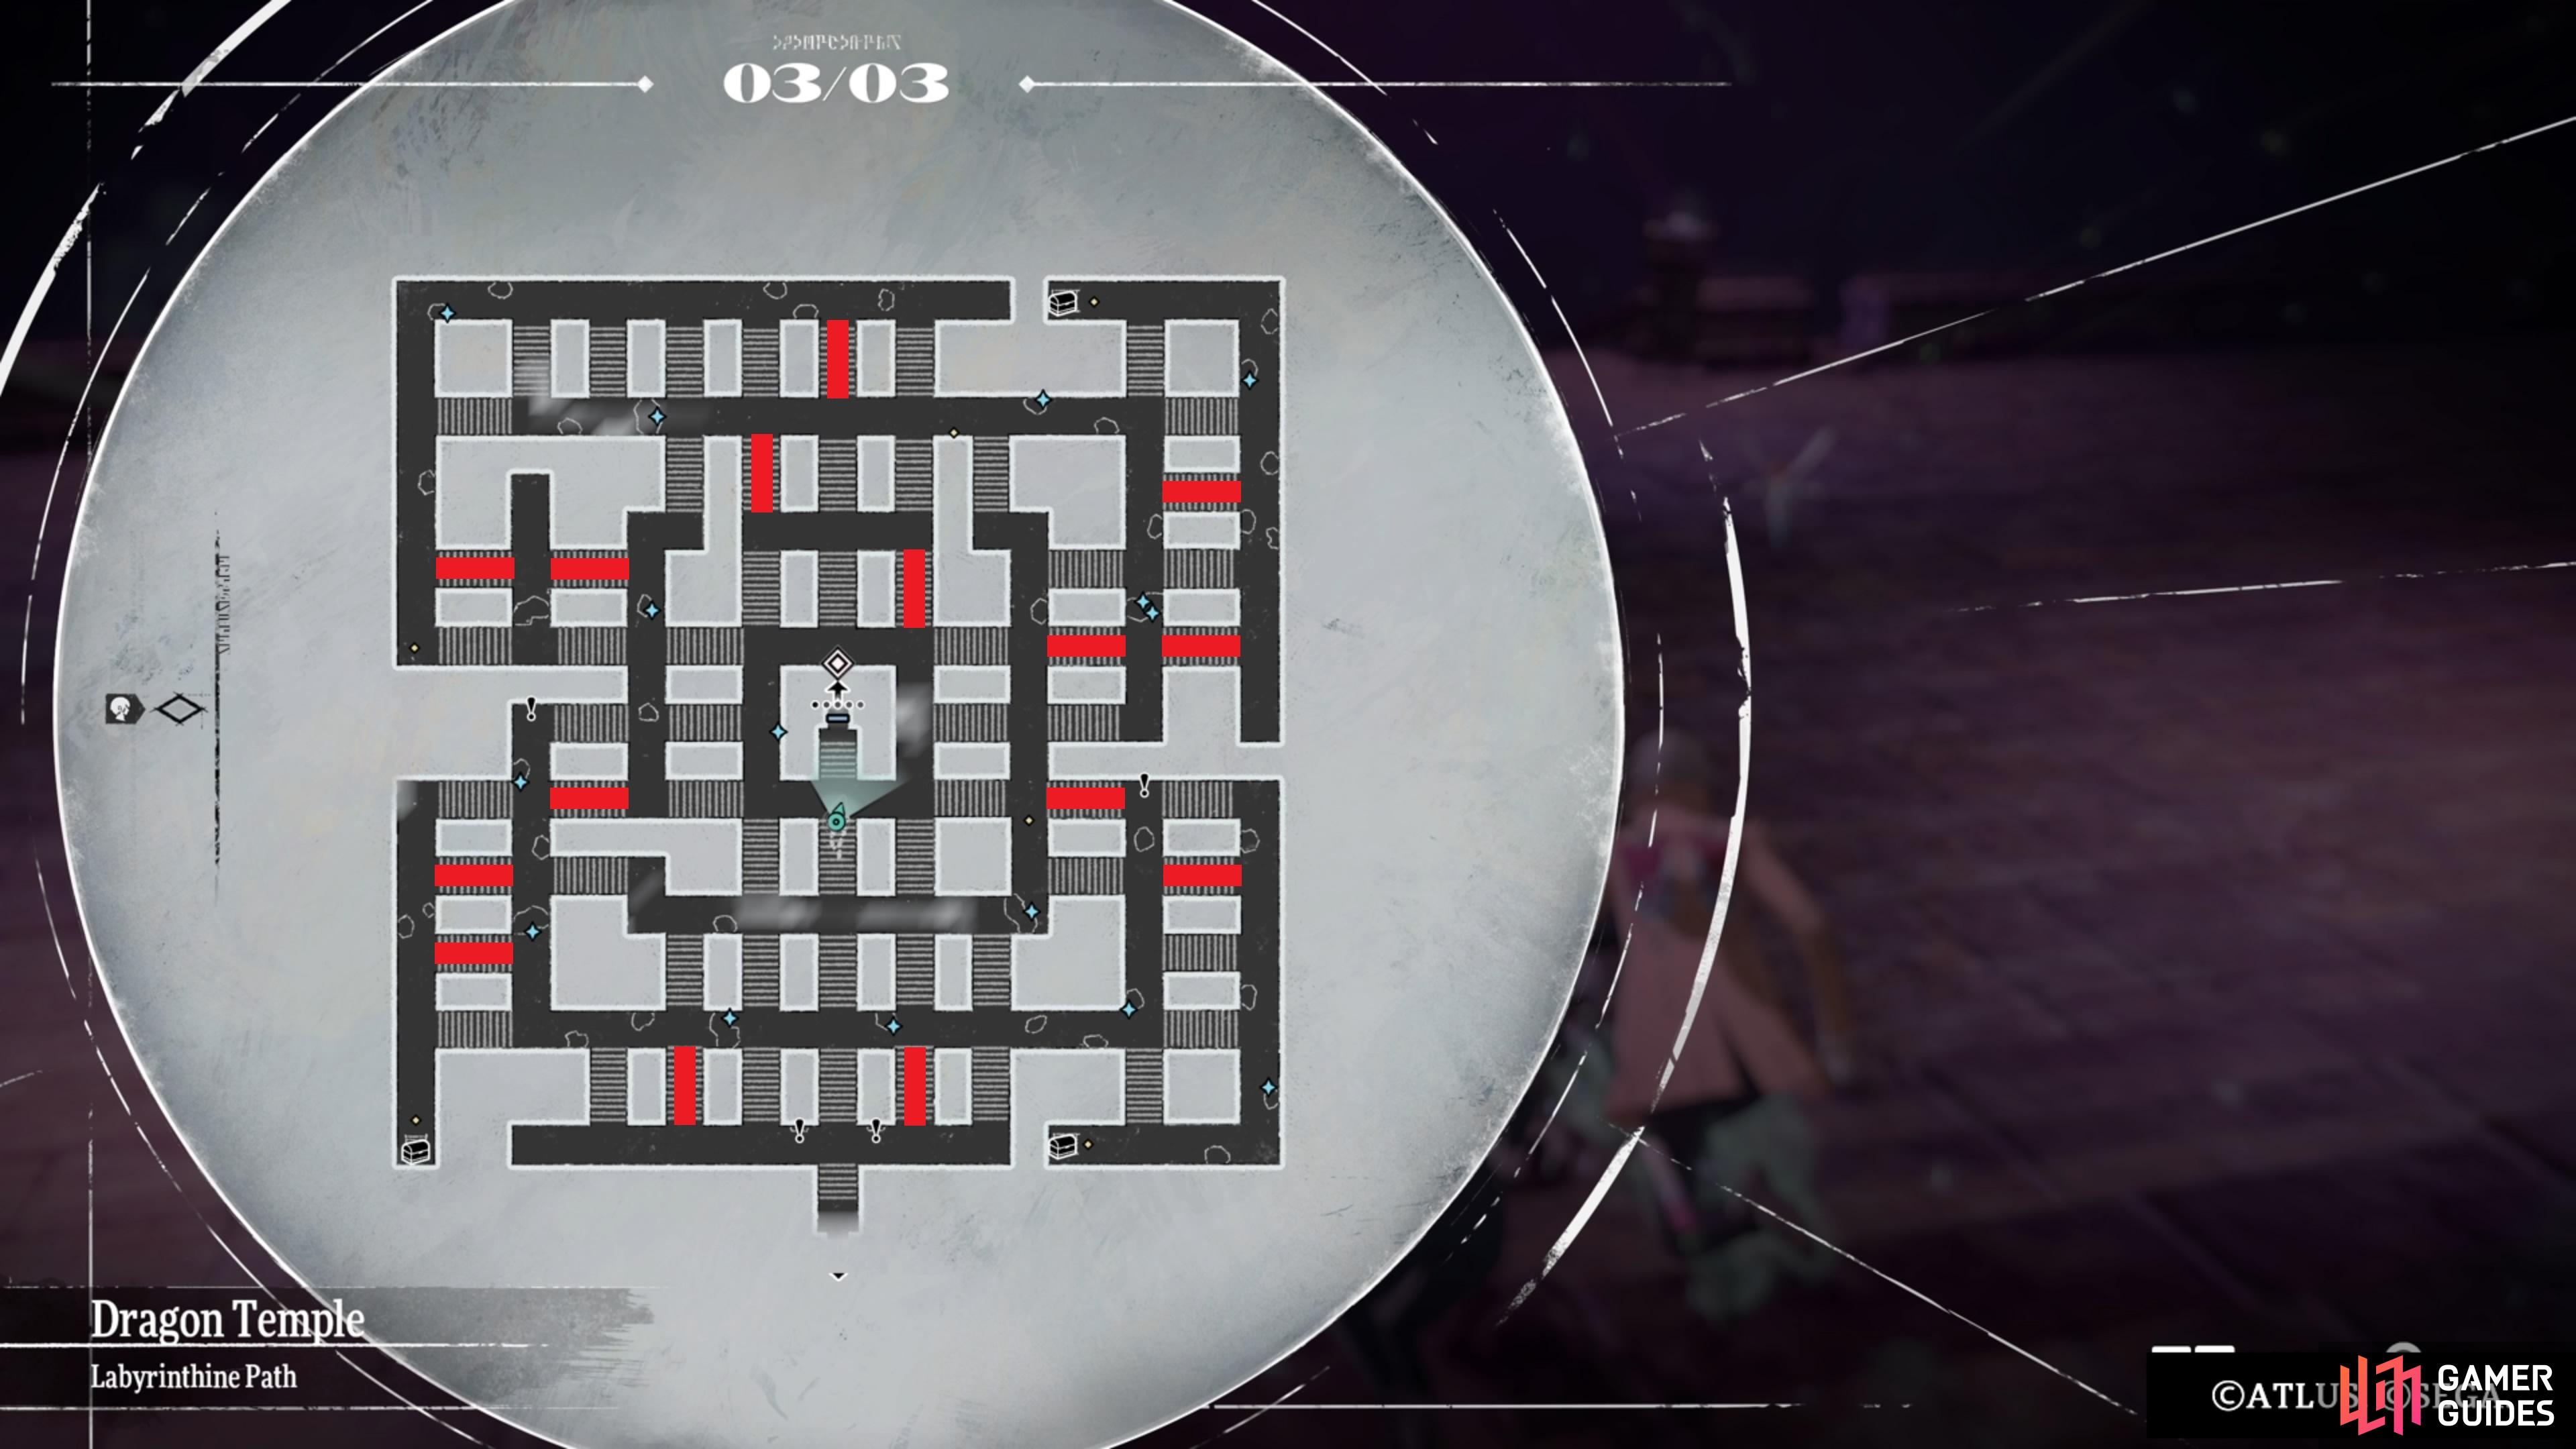
A map of the Labyrinthine Path area of the Dragon Temple, with the correct paths marked in red.
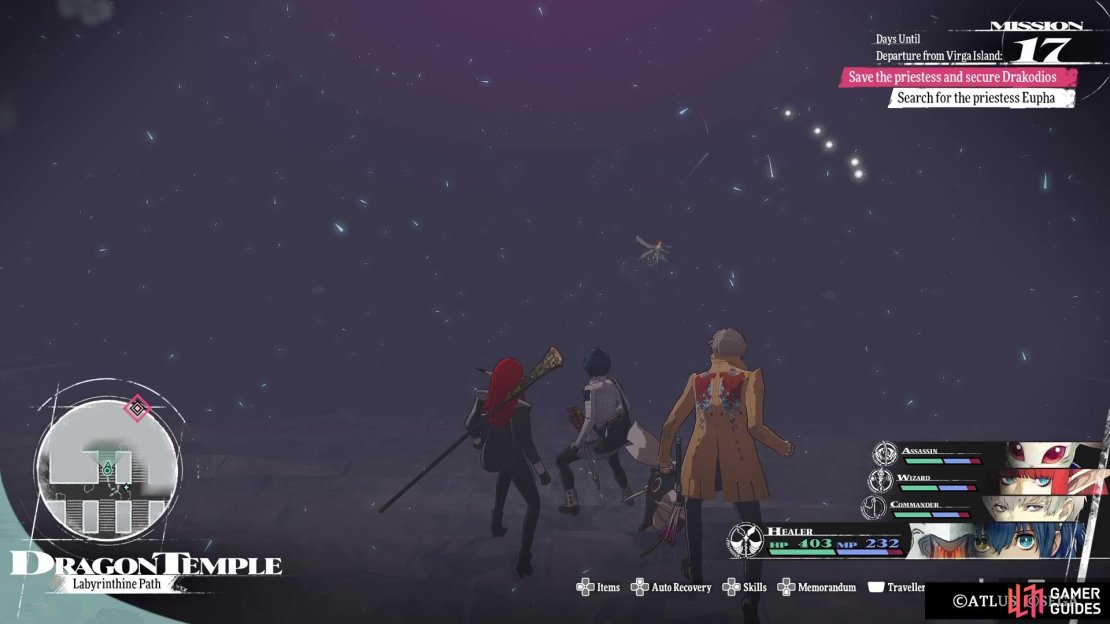
Another way to tell the correct path is by using Fae Sight (R2/RT). Every single set of stairs will have two torches at the entry points, but if you use your Fae Sight and the torches aren’t lit, then that’s the incorrect path. That means if you use Fae Sight and the torches remain lit, then you can use those stairs. For the third method, you simply have to look up on the ceiling inside the labyrinth. There is a highlighted line that will show you which path to take, and it actually carries you throughout the entire area. There is only one secret path that isn’t marked like this, though, that’s towards the southeastern corner.
There are only two enemies in the Labyrinthine Path area, Spellwrought Gargostas and Spektos of Lament. The latter will usually explode if you strike them on the field, making it pretty much impossible to ambush them. It’s best to just do this, instead of trying to fight them normally. The Gargostas are hidden, usually perched and trying to act like a normal gargoyle. However, you can use Fae Sight to see a white outline on the fake gargoyles, which are enemies. You can generally avoid the gargoyles, though, by simply hugging the opposite side of their location, should you wish not to fight them.

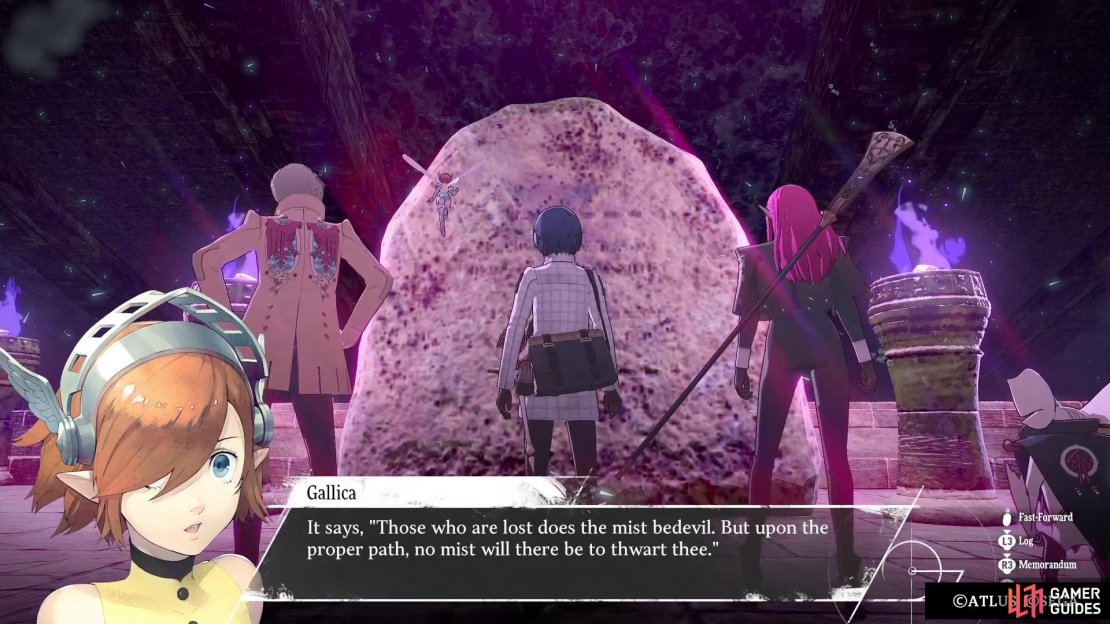
(1 of 3) The monuments throughout the area will give clues on how to navigate the labyrinth.
The map screen above shows all of the paths you can take that are safe, which are marked in red. Obviously, you have to get all of the treasures (one or two might not be marked on the map, since they were accidentally grabbed, but most are there), so run around and do that. You will find monuments at the beginning of the area, as well as a few more throughout, which give you hints on how to navigate the labyrinth. Additionally, there are some murals that will trigger cutscenes upon approaching them, but these are just some story segments.
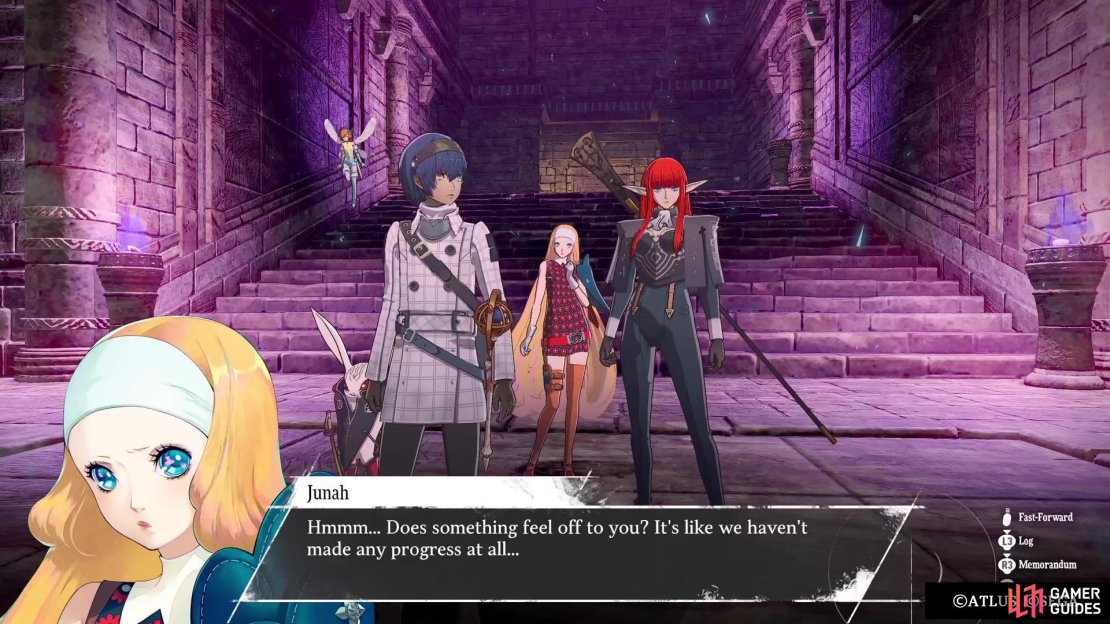
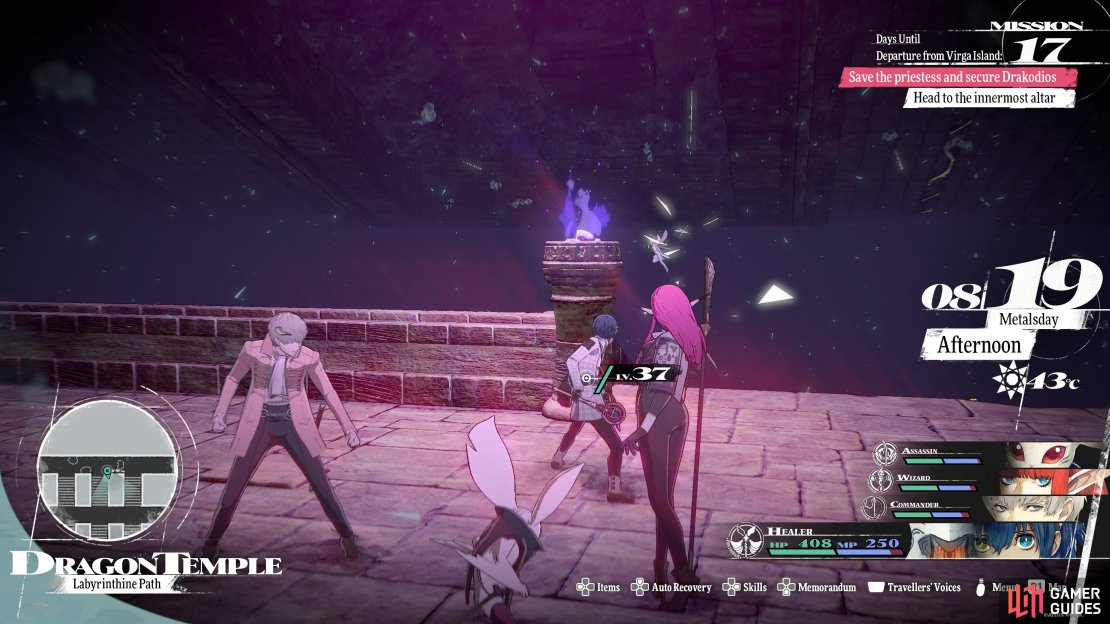
Upon reaching the middle, be aware that one side will have a few Spektos, while the other side will have a row of Gargosta enemies. If you have A Guiding Gift, then the two other Polar Stones can be found in the Labyrinthine Path. The first will be just west of where you first enter the area, on the railing. The second one is found near the center, on the western side, and is a little hidden by some jars there. The central stairs will lead to a small room, where you will finally meet up with the priestess, named ![]() Eupha. Despite making the dangerous journey into the temple, she still wants to do the whole sacrifice thing, so you decide to escort her to the altar, at least.
Eupha. Despite making the dangerous journey into the temple, she still wants to do the whole sacrifice thing, so you decide to escort her to the altar, at least.
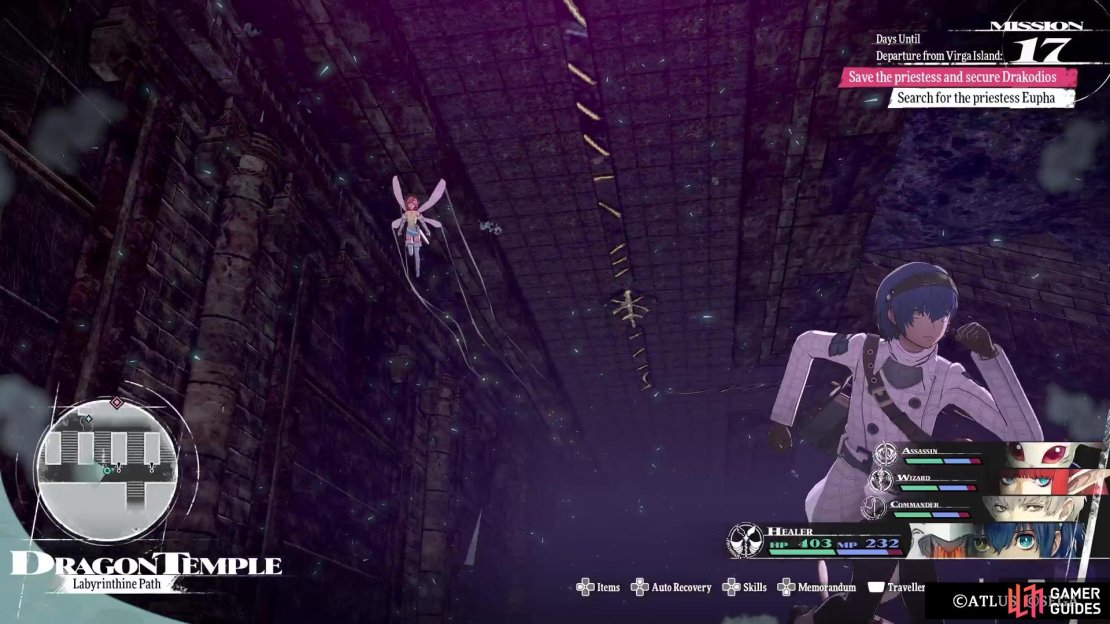
(1 of 4) Fae Sight can also help you navigate the labyrinth, as no torches means the wrong path.
Canopy Chamber
The rest of the way is linear, so simply go behind where you met Eupha and down the stairs. The enemies along the way should be low enough to defeat on the overworld, except for the lone Gargosta. The items are all pretty much in the open, too, so it’s hard to miss anything here. Once you get all the way to the bottom, pass through the doors and you will find yourself in a new area, the Drakongrace Shinjuku, which is essentially a brand new dungeon.
No Comments