
Bounties are powerful enemies that are wanted in Metaphor: ReFantazio. Some of these bounties require you to go through dungeons, like the Alpha Rockworm Valmo. This one is found at the end of the Man-Eater’s Grotto dungeon and is actually a pair of worms. This fight can be a bit tricky, as there is something you have to do to avoid prolonging it.

The Alpha Rockworm Valmo is a bounty that will first become available on July 5th.
Alpha Rockworm Valmo Location
In order for the bounty for this enemy to show up at the recruiter, you simply need to wait until it’s July 5. Once it is, head to Martira and get the bounty, which will open up Man-Eater’s Grotto just east of Komero. It’s a good idea to pair up the trip to Komero for the Hatching a Plan and Providing a Spark side quests with this bounty, since it will save you time. Of course, you’ll have to get through the dungeon in order to reach the bounty, which is found at the end, and there are some preparations that can make the battle easier on you.
Whether you want to wait until Idlesday or not, since all of the stores will have 20% off their goods, is up to you. The bounty can paralyze your characters, so you can counter this by heading Gloamhall in Grand Trad, which is only open at night. They sell accessories there that prevent Paralysis, although they might be a tiny bit expensive. You will also want to make sure you have access to ice attacks, so put everyone on Mage and grind out the small experience to get them Blizz. From here, you can inherit that skill onto other classes, but you still want one Mage.

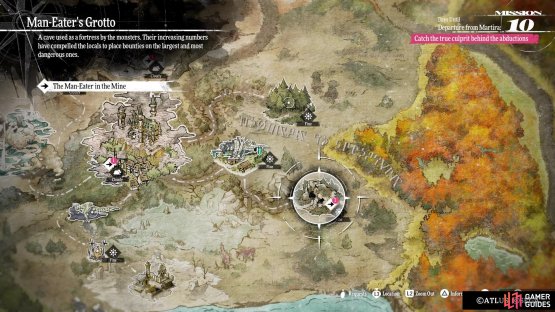

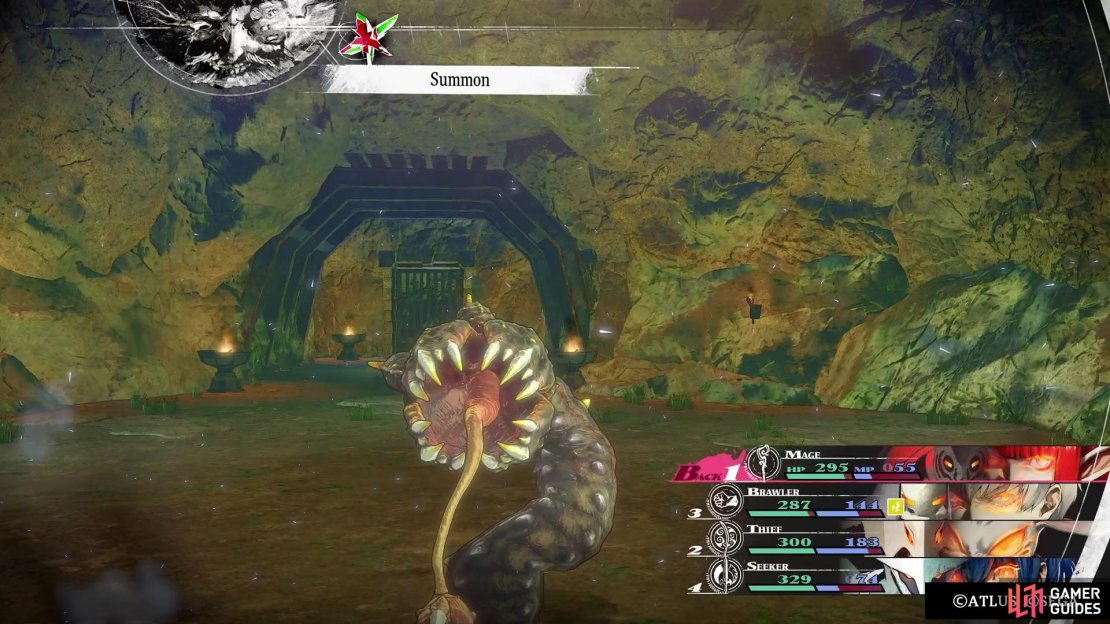
(1 of 2) You will have to go through Man-Eater’s Grotto to find the Alpha Rockworm.

You will have to go through Man-Eater’s Grotto to find the Alpha Rockworm. (left), It’s a good idea to purchase accessories that prevent Paralysis before going after this bounty. (right)
Pair the Mage with a Seeker to gain access to Gablizz, an area-of-effect version of the basic Blizz spell, for only two more MP (it’s a Synthesis skill). When you have prepared with the above, then you are ready for this bounty fight.
Alpha Rockworm Valmo Strategy
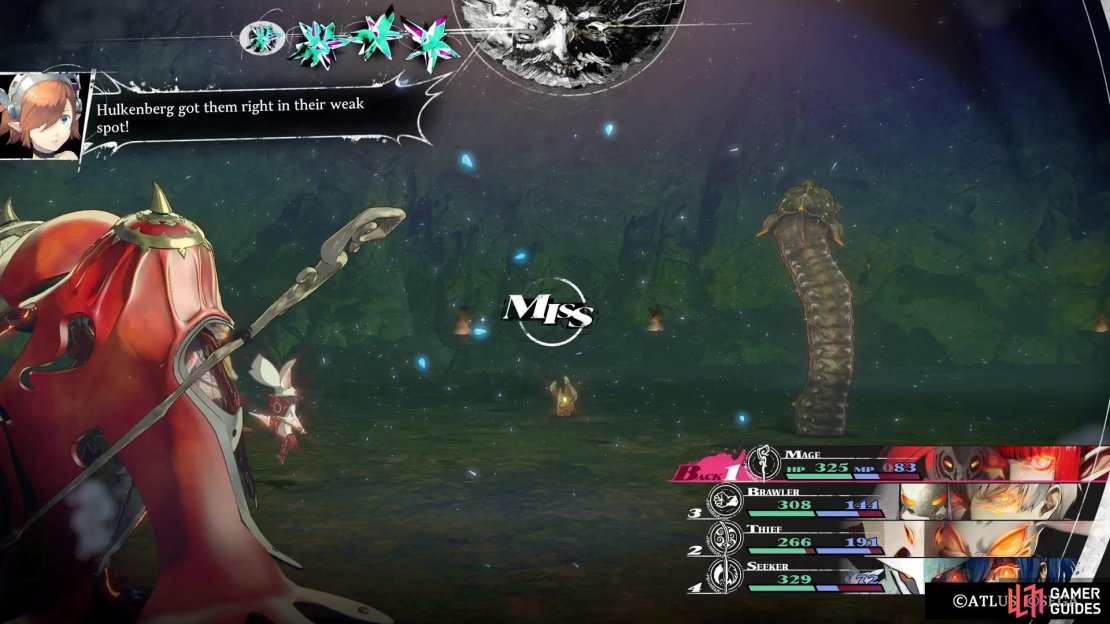
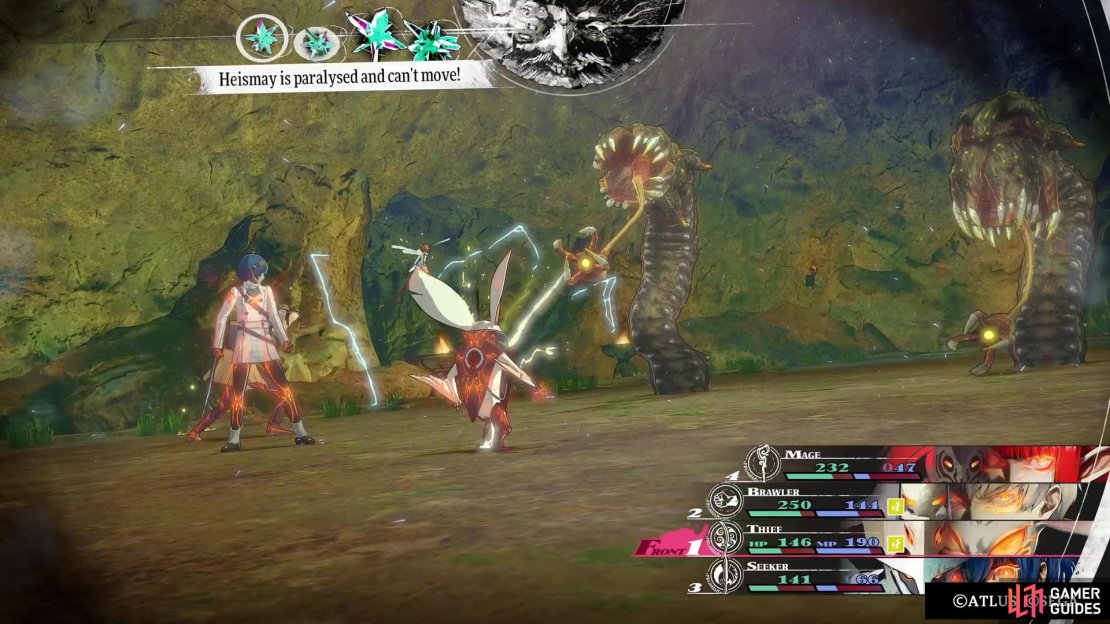
The first thing you will notice is that you’re not just fighting one Valmo, but two at the same time. If you try to concentrate on a single one, the horror of this battle will present itself after defeating one. That’s because the other will summon another Valmo, which means that you need to defeat both on the same turn, before they get a chance to summon another one (at full health, too). Of course, you will have to fend off the attacks while trying to be careful with both of their health bars.
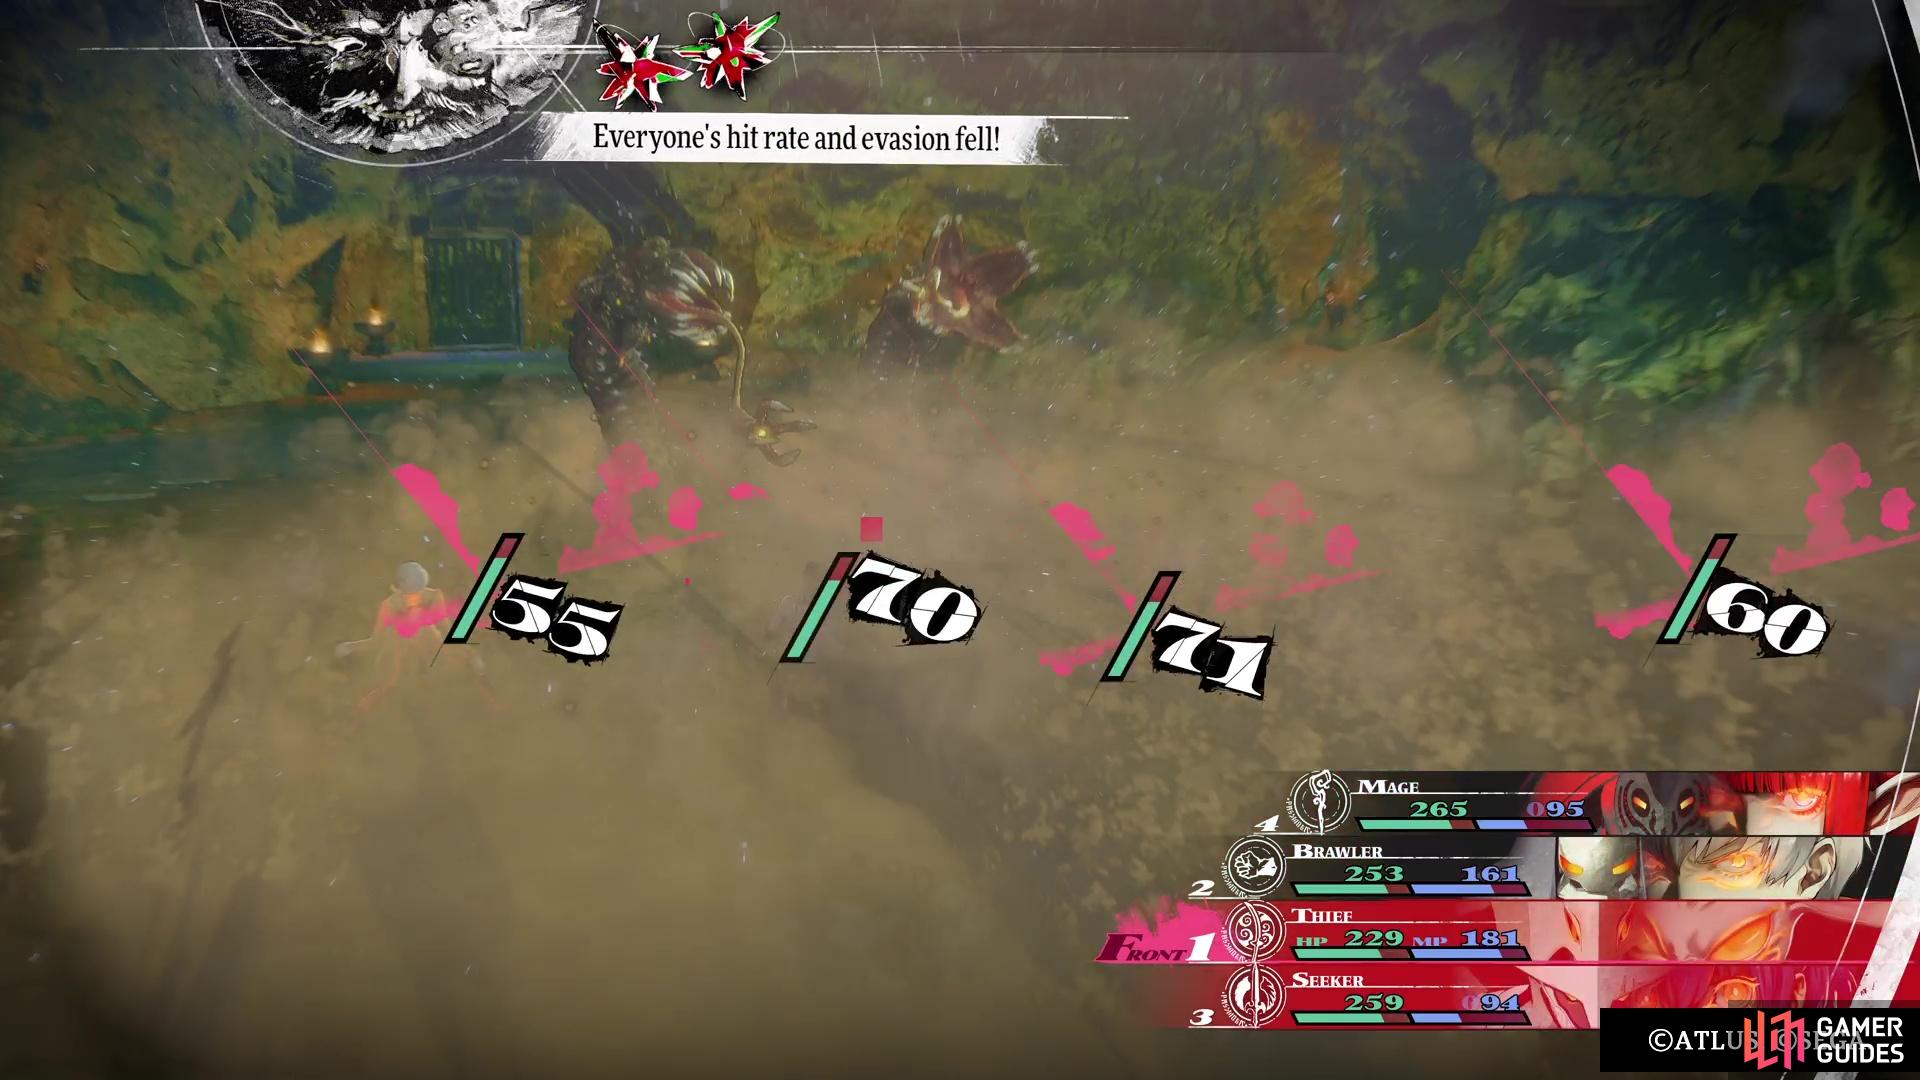
Gablizz will do wonders here, since the Alpha Rockworm Valmo is weak to ice, so you will gain your turn icons back for striking that weakness. That does present another problem, as they can use Sandstorm to not only deal damage to the entire party, but also debuff their hit rate and evasion. So, you may run into the problem with using Gablizz and having one of the two hits not connect, thus losing precious turn icons. Your characters might be forced to waste more actions, due to Paralysis Fang, unless you have protection from that ailment.

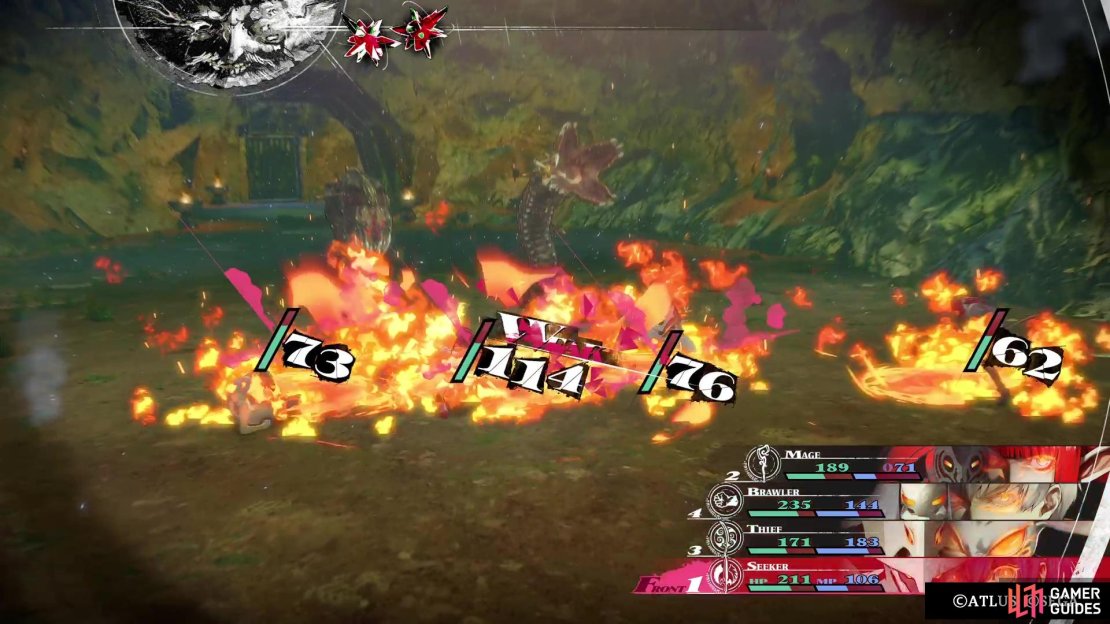

Fire Breath can also deal a lot of damage, while also targeting the weakness of the Seeker, should you have one. So, you’re faced with a very problematic boss here. You have to kill both at the same time, while not trying to perish from all of their attacks. Medi will help with healing a lot and it won’t hurt to have it on two characters, just in case. Use Gablizz as the majority of your damage, then spread out any single-target strikes between the two. You definitely don’t want your party defeating one of them and the other summoning a fresh one, since you then have concentrate on the new one to get it to the same health point.
Upon defeating both of them in the same round, then you will be done with this bounty and can leave the dungeon. Either use the chance right after to return to the entrance, choose the option to leave from the save point just outside the room, or make the trek back to the entrance yourself (in case you missed any treasures).
No Comments