During the main quest Cloak and Dagger you’ll traverse Central Dhalmekia before ultimately reaching your goal - the besieged Free Cities of Kanver. Your allies, including Mid and Byron are trapped within and you’re here to ensure they get out safely, a nice change of pace from all the mothercrystal smashing you’ve been doing. This page will provide a walkthrough for the main quest Evenfall in Final Fantasy 16 (XVI), including information on the Akashic Tognvaldr, the Akashic Sveithvaldr and the Orcish Warlord minibosses and the location of the The Favor of Light (Flare Breath) accessory.
How to Start the Main Quest Evenfall - FF16 Main Quest Evenfall Walkthrough
You’ll need to cross the wastes to reach ![]() Tabor, then continue southeast to find The Gilded Path obelisk, from which you can exit to the world map and fast travel to the aforementioned Kanver. When you arrive you’ll trigger some scenes detailing your rendezvous with your allies, after which you’ll be left with the familiar duo of Clive and
Tabor, then continue southeast to find The Gilded Path obelisk, from which you can exit to the world map and fast travel to the aforementioned Kanver. When you arrive you’ll trigger some scenes detailing your rendezvous with your allies, after which you’ll be left with the familiar duo of Clive and ![]() Torgal. This quest will begin once the cutscene ends, and you’ll take control of Clive on the streets of Kanver.
Torgal. This quest will begin once the cutscene ends, and you’ll take control of Clive on the streets of Kanver.
All Enemies Encountered During the Evenfall Quest
| Enemies in this Area |
|---|
| Akashic Gandfreyr |
| Akashic Osfreyr |
| Akashic Sveithvaldr |
| Akashic Tognvaldr |
| Orcish Fodder |
| Orcish Mesmerizer |
| Orcish Warlord |
| Revenant |
| Royal Mastiff |
| Specter |
| Wraith |
All Items Found During the Evenfall Quest
| Items in This Area |
|---|
| 2,000 |
| The Favor of Light ( |
Evenfall all but begins with a minboss fight, as an !Akashic Tognvaldr awaits beyond the first bridge.
How to Defeat the Akashic Tognvaldr - FF16 Main Quest Evenfall Walkthrough
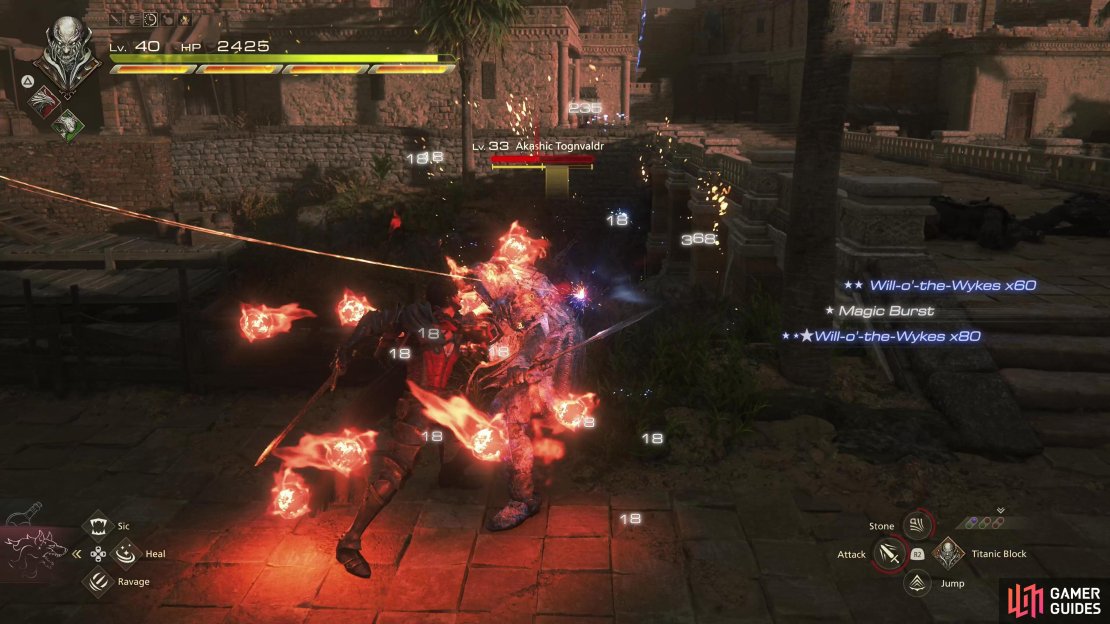
From where you regain control of Clive, head forward, down some stairs, then turn right to trigger a brief scene. Crawl under an awning and make for a bridge, where you’ll find your first enemies in this quest - some Orcish Fodder. Dispose of them, then cross the bridge to meet some familiar - albeit long absent - foes with a twist. The Waloeders are back, and you’ll be fighting ![]() Akashic variants of them, including an Akashic Tognvaldr (a variant of the Midnight Raven enemy, and by now a familiar miniboss), an Akashic Gandfreyr (mage) and Akashic Osfreyr. Try to focus n the weaklings - especially the Akashic Gandfreyr - and isolate the Akashic Tognvaldr, after which he should be easy to dispose of.
Akashic variants of them, including an Akashic Tognvaldr (a variant of the Midnight Raven enemy, and by now a familiar miniboss), an Akashic Gandfreyr (mage) and Akashic Osfreyr. Try to focus n the weaklings - especially the Akashic Gandfreyr - and isolate the Akashic Tognvaldr, after which he should be easy to dispose of.
Once the first batch of Waloeders are smote, head upstairs and grab a Potion, then continue down some more stairs to encounter a large group of enemies, grabbing 2x Chunks of Wyrrite along the way. While these foes look formidable, it’s just several Orcish Fodder accompanied by Akashic Gandfeyrs. Once again, single out the mages to prevent them from buffing their allies and pelting you with magicks, and be wary of reinforcements - more of the same, really.
Shortly afterwards you’ll encounter a new variant of Akashic Waloeder - the Akashic Sveithvaldr.
How to Defeat the Akashic Sveithvaldr - FF16 Main Quest Evenfall Walkthrough
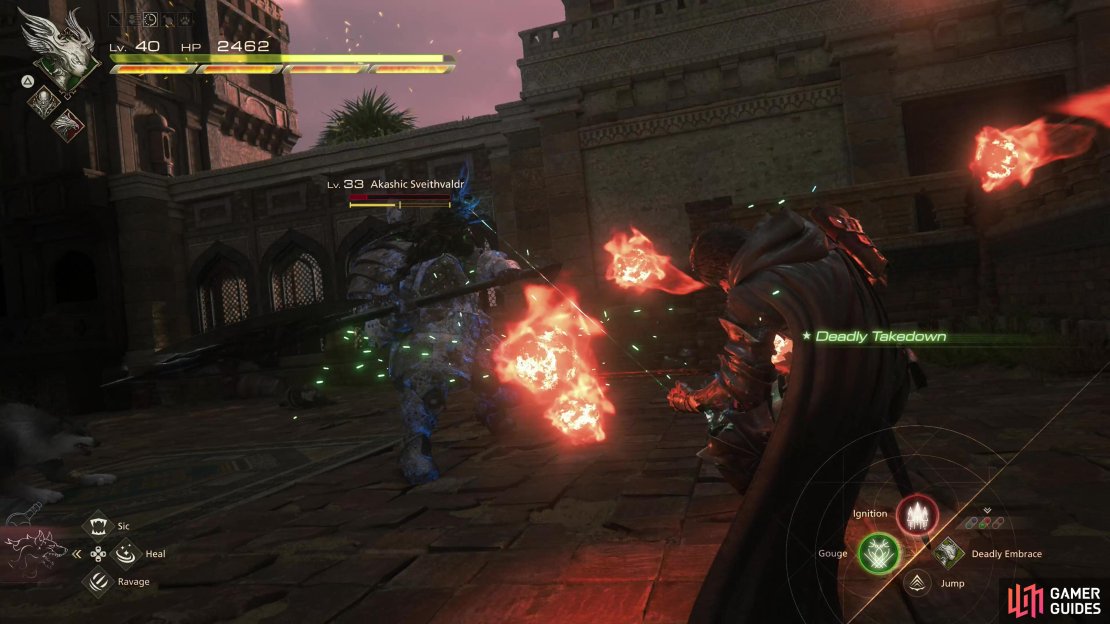
Go through the gate the Waloeders guarded, loot a chest to the left for 10x Spools of Steelsilk, 10x Bloody Hides, 10x Sharp Fangs, snag a Sharp Fang to the right, then head upstairs, picking up another Potion as you go. Up here you’ll find this quest’s second miniboss, an Akashic Sveithvaldr, who is joined by two Royal Mastiffs. This is another familiar miniboss, essentially the royalist version of the Imperial Champion. Instead of Divine Hammer, this variant will perform a charge attack; most of its attacks can be blocked and countered with the Titan Eikon, but don’t bother blocking the charge attack, as you won’t actually interrupt the charge and will take damage following the block. Instead, dodge the charge, block and counter everything else, and this brute should fall in short order.
Once the Akashic Sveithvaldr is down, loot the area for some Magicked Ash and another Potion, then continue down the street to trigger another encounter. We’ve already seen the royalists collaborating with beastmen, and you’ll find more of the same here, albeit this time with Orcish Mesmerizers serving as the casters and Akashic Osfreyr as the meatshields. Cut them down and search around for a yet another Potion and search to the right of where you fought this latest battle to find a chest containing 2,000 gil.
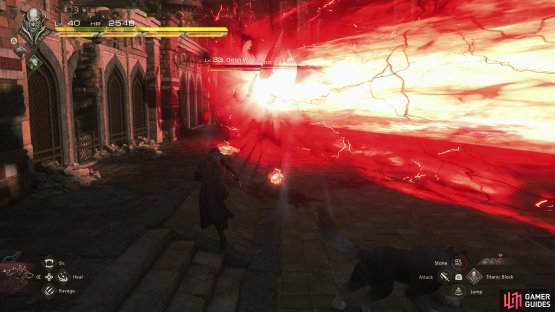
(1 of 2) Near the end of the quest you’ll be ambushed by an Orcish Warlord - be wary of the potent beam attack he’ll perform at low health.
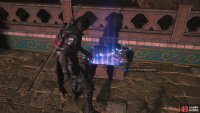
Near the end of the quest you’ll be ambushed by an Orcish Warlord - be wary of the potent beam attack he’ll perform at low health. (left), Just after defeating the Orcish Warlord, go through a gate and turn right to find a chest containing The Favor of Light (Flare Breath) accessory. (right)
How to Defeat the Orcish Warlord
When you’re ready to move on, go through the gate the royalists and their beastmen allies guarded to encounter more beastmen and beasts - Royal Mastiffs and Orcish Fodder, but don’t get too complacent, as an Orcish Warlord will appear when you’ve dispatched the trash mobs. This enemy isn’t too different from the one you fought earlier, his magic missiles can be countered with ![]() Heatwave, his staff attacks can be blocked and countered with
Heatwave, his staff attacks can be blocked and countered with ![]() Titan, and he’s generally easy to bully around and stagger. When his health is low, this Orcish Warlord can perform a potent beam attack which you can neither safely counter with Heatwave or block with
Titan, and he’s generally easy to bully around and stagger. When his health is low, this Orcish Warlord can perform a potent beam attack which you can neither safely counter with Heatwave or block with ![]() Titanic Block - dodge and try to flank him to get some cheap shots in. Put this miniboss back in its place, then go through the gate it guarded. Grab a High Potion to the left, loot a chest to the right to score The Favor of Light (
Titanic Block - dodge and try to flank him to get some cheap shots in. Put this miniboss back in its place, then go through the gate it guarded. Grab a High Potion to the left, loot a chest to the right to score The Favor of Light (![]() Flare Breath), then head upstairs and pick up a Potion. This loot dump should scream “boss fight”, so be ready when you go through the door atop the stairs.
Flare Breath), then head upstairs and pick up a Potion. This loot dump should scream “boss fight”, so be ready when you go through the door atop the stairs.
Through the door you’ll find a courtyard, where you’ll end up fighting the common fodder found when ![]() Ultima is afoot - first Wraiths, then a mixed group of Revenants and Specters. After you dispatch these creatures, a scene will trigger, and the expected boss fight soon follows. Check out the Sleipnir Boss Guide for strategies for defeating this boss - after you win, you’ll trigger a lengthy series of scenes, after which this quest will end and the next main quest A Song of Hope will begin… once you travel back to
Ultima is afoot - first Wraiths, then a mixed group of Revenants and Specters. After you dispatch these creatures, a scene will trigger, and the expected boss fight soon follows. Check out the Sleipnir Boss Guide for strategies for defeating this boss - after you win, you’ll trigger a lengthy series of scenes, after which this quest will end and the next main quest A Song of Hope will begin… once you travel back to ![]() The Hideaway, anyways.
The Hideaway, anyways.


No Comments