Final Fantasy XVI features a few boss battles that take place over multiple fights, where each one is like an entirely new scrap. The second ![]() Bahamut battle is just like that, where you will take to the skies once more to hopefully put an end to his raging ways. There are no breaks in between the previous fight with !Bahamut and this one, so you will have to make do with your previous amount of healing items.
Bahamut battle is just like that, where you will take to the skies once more to hopefully put an end to his raging ways. There are no breaks in between the previous fight with !Bahamut and this one, so you will have to make do with your previous amount of healing items.
The second fight against Bahamut will immediately follow the first.
How to Beat Bahamut Phase 2 In Fire in the Sky in Final Fantasy 16
As mentioned in the opening paragraph, you will be fighting Bahamut in the skies, with a little added twist. You will see a number of similar moves to the first battle, but there will be a number of new moves also. Of course, you will have a few new tricks up your sleeve, too. Apart from that, though, the boss battle is pretty standard, in terms of what’s going on during it.
All Bahamut Phase 2 Attacks in Fire in the Sky in Final Fantasy XVI
Bahamut in this second fight is going to follow a pretty standard structure, in terms of moves and everything. He’ll gain new attacks after the first stagger, than some more once he uses Teraflare.
Wing Shockwaves
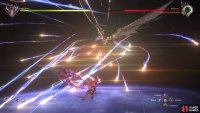
This is the same ability that Bahamut used in the first fight, where he’ll shoot off shockwaves from his wings. Considering your increased mobility in this battle, you shouldn’t really have any trouble dodging these at all. He will fire three of them in a row.
(1 of 3) You will see some familiar attacks from the first fight.
Aura Burst
Another ability that’s carried over, Bahamut will start gathering energy whenever you are close to him for a prolonged period. While charging, a circle will appear around his body, which is the range for Aura Burst. You will want to get outside the circle, as after a few seconds, there will be a huge explosion. After the first stagger, Aura Burst will have some stationary lasers that get shot as the explosion occurs.
Supernova
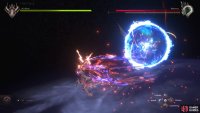
Bahamut will unleash a large energy orb, which will follow you around as you move. Note that he will do other moves while Supernova is still in effect, so be wary of that. The orb doesn’t exactly move very quickly, so it’s not particularly difficult to avoid.
Megaflare
Megaflare is pretty much the same attack as it was in the previous battle. Bahamut will fire off a bunch of smaller projectiles, which will home in on your position. Your mobility in this battle is much better than on the ground, so it shouldn’t be too difficult to actually avoid all the shots.
(1 of 4) Supernova is just a big energy ball that chases you for a bit.
Light Dash
Bahamut will just do a dashing maneuver, straight at your position. There’s really not much else to say about this, since you’ve seen it in most of the bosses by now, so you should know how to handle it.
Sweeping Lasers
Bahamut will fire lasers, that he will sweep across the screen. There will be three of them, with the first two coming from opposite directions, horizontally. The third beam will be fired diagonally, from your left to the right. You will likely need to dodge through the beams, which is easier said than done, but it might be possible to go above them, too. There is a variation on this attack, where the beams are golden in color, but it still remains similar.
Dashing Shots
Before you stagger him for the first time, you might have seen Bahamut fly off to the sides, although he didn’t do anything then. However, after you stagger him for the first time, he’ll fire some energy projectiles at you upon flying to the sides. Avoiding them should be pretty easy, though.
(1 of 2) Bahamut’s dash will have him shooting energy at you after the first stagger.
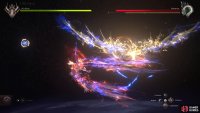
Bahamut’s dash will have him shooting energy at you after the first stagger. (left), Radiance will be two rotating sets of lasers that you need to dodge through to avoid them. (right)
Radiance
Put into his arsenal after the first stagger, Radiance can be a challenging attack to dodge. Bahamut will summon two tiers of lasers that shoot in all directions, with one tier rotating clockwise and another rotating counterclockwise. You will want to dodge through them as they approach your position, which is probably the best way to handle this attack.
Satellite Lasers
You saw the little satellite orbs that appeared after the first stagger, which fired all kinds of lasers that required a Cinematic Evasion. Well, they can also be used in a normal attack, although there’s not as many. Bahamut will have the satellites just appear and fire lasers in succession. There will be a sight that appears before they fire, though, and as long as you keep moving, you should be fine. It’s the follow up attack that is a pain…
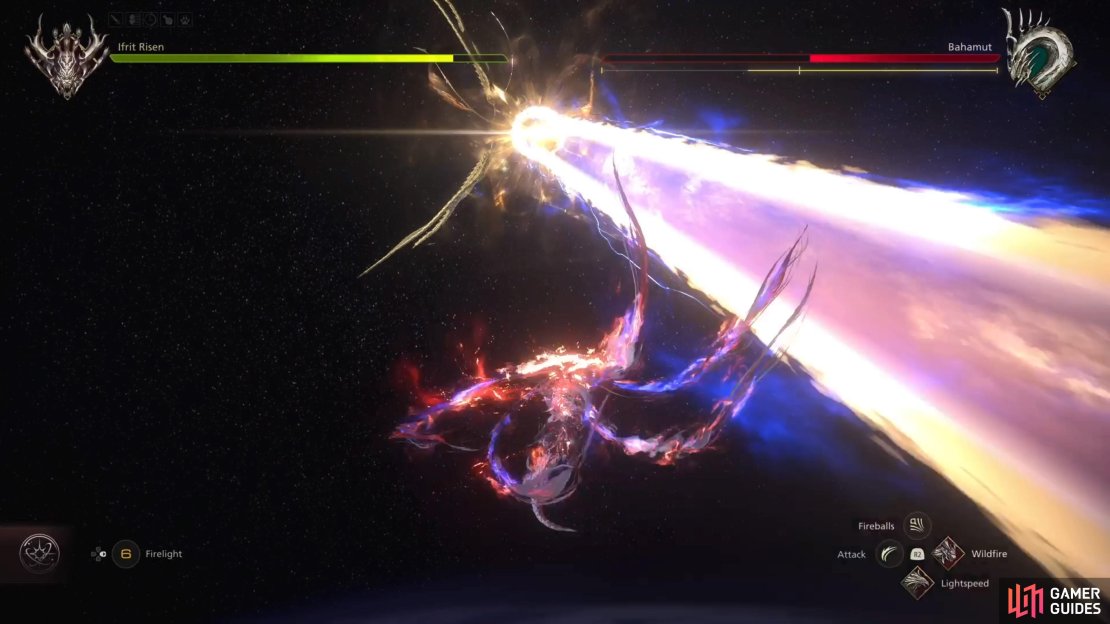
Gigaflare
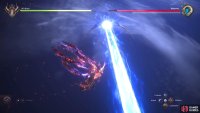
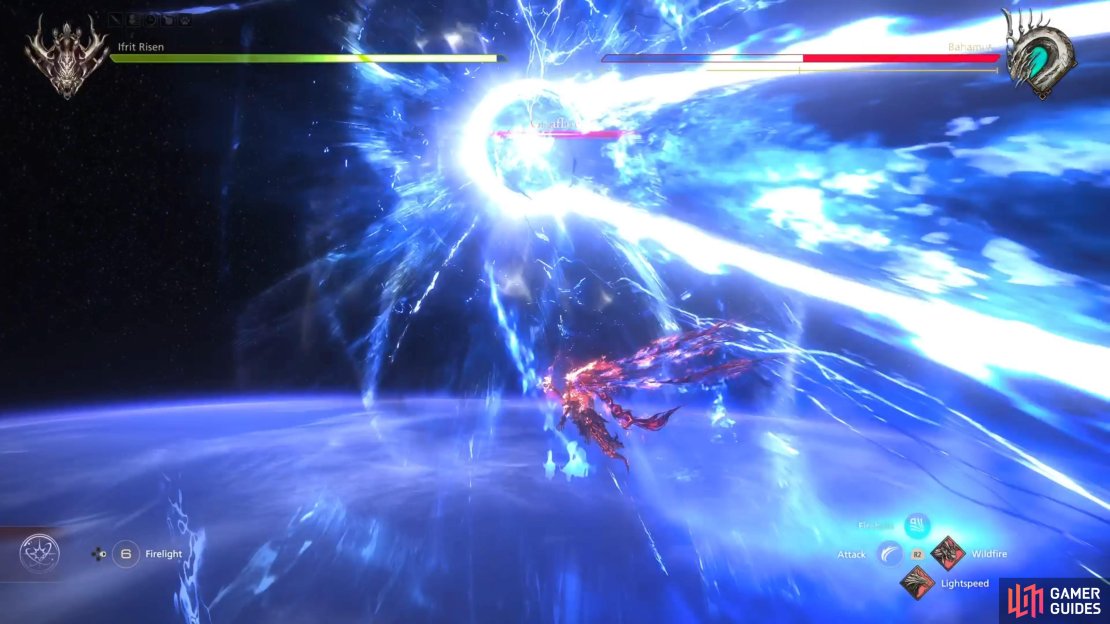
This attack seems to go hand-in-hand with the Satellite Lasers, as it follows them up. Bahamut will charge up while the above lasers do their thing, then fire a giant beam that will track your position. This beam moves pretty quickly, though, so you may not be able to outrun it, which means you will need a ![]() Precision Dodge to remain unscathed.
Precision Dodge to remain unscathed.
You won’t be able to outrun Gigaflare, so get ready for the Precision Dodge.
Celestial Foundry
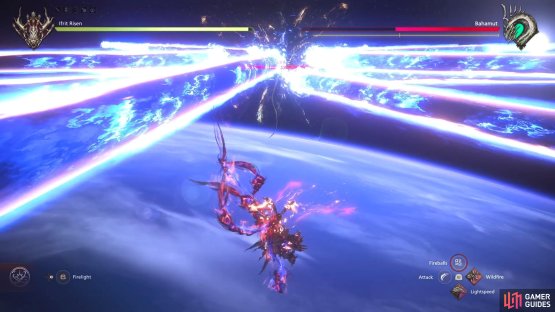
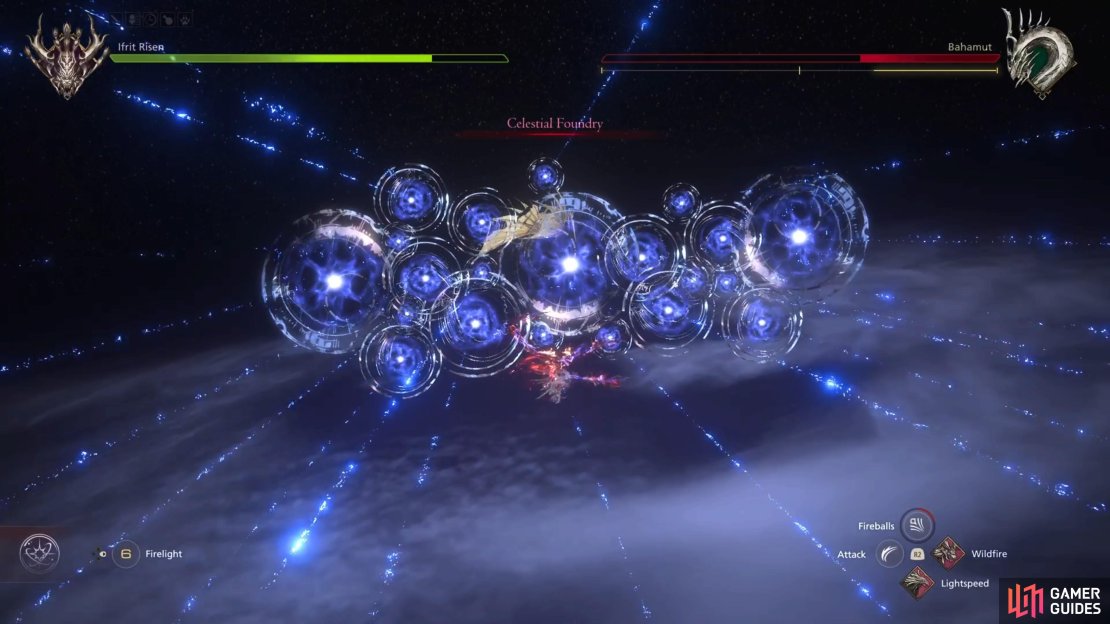
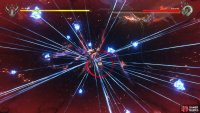
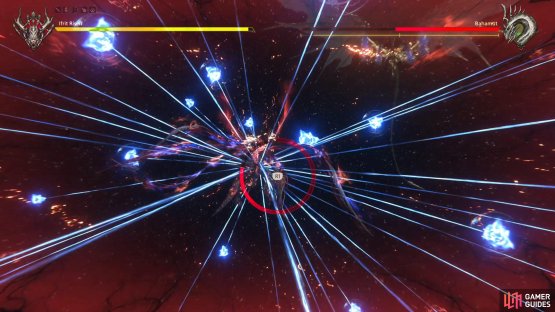
Bahamut will fly away from you and a large array of laser sights will appear in front of him. After a few seconds have passed, all of the circles will shoot a laser straight ahead. This covers the majority of the screen, too, so dodging is just about impossible (a Precision Dodge might work). However, as soon as you see this attack, you should use Lightspeed to get behind Bahamut, where it will be safe.
Teraflare
At some point, after the first stagger, Bahamut will begin charging up for this maneuver, complete with the purple bar in the upper right. As with any other attack of the same nature, you will need to deplete that bar before the move is executed. Of course, Bahamut won’t be doing anything while it’s happening, but lasers will appear sporadically rain down on you. Don’t forget that you can use Brimstone and Spitflare here for some major damage to the bar. Deplete the bar and you will not only stop the attack, but also stun Bahamut for a few seconds.
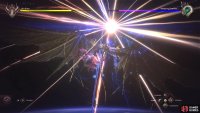
(1 of 3) Celestial Foundry looks scary from the front.
Alternating Lasers
This attack only seems to appear after Teraflare, with a row of lasers appearing and firing, then after that is done, another row will appear to do the same thing. You can easily go in between the first set, then move over when the second set and beyond appear.
Strategy for the Bahamut Phase 2 Boss in Fire in the Sky in FFXVI
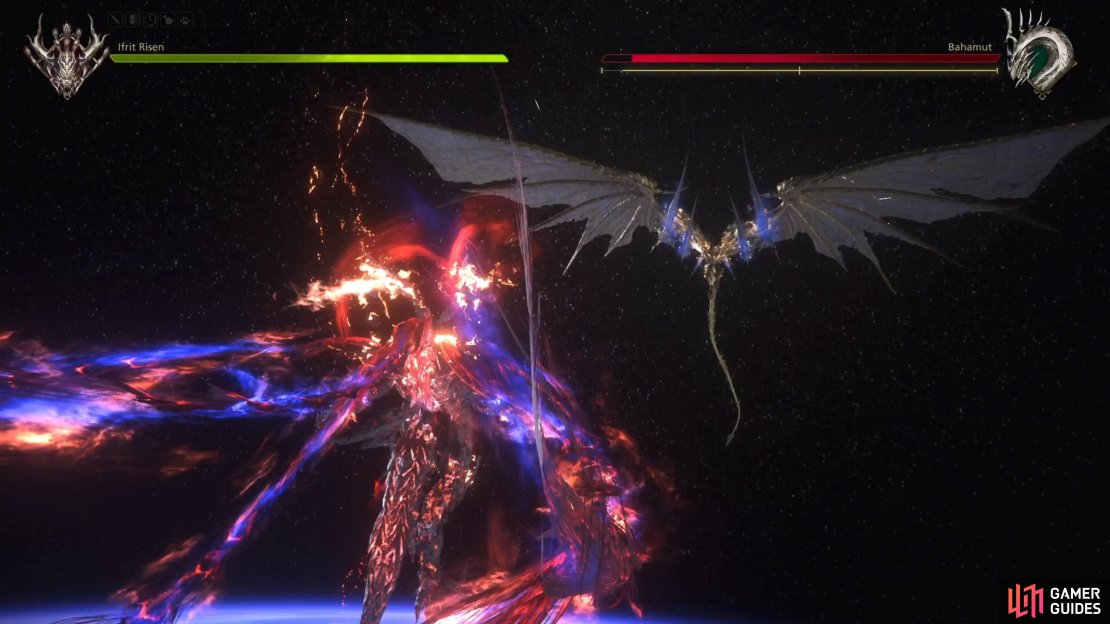
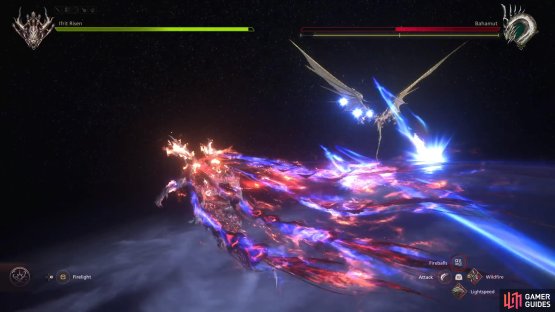
You will be controlling ![]() Ifrit Risen in this battle, which is basically just
Ifrit Risen in this battle, which is basically just ![]() Ifrit with wings, for the most part. You basically have some functions from Phoenix, but the rest of your abilities mostly come from Ifrit. The basic dash-in attack assigned to Circle is renamed to Wildfire, which basically is the same as the previous iteration. The one new ability you have is called Lightspeed, assigned to the X button, and it’s similar to
Ifrit with wings, for the most part. You basically have some functions from Phoenix, but the rest of your abilities mostly come from Ifrit. The basic dash-in attack assigned to Circle is renamed to Wildfire, which basically is the same as the previous iteration. The one new ability you have is called Lightspeed, assigned to the X button, and it’s similar to ![]() Phoenix Shift, as it allows for a swift approach to the target. You will be using Lightspeed quite a lot, so get used to it, as it’s great for getting into melee range.
Phoenix Shift, as it allows for a swift approach to the target. You will be using Lightspeed quite a lot, so get used to it, as it’s great for getting into melee range.
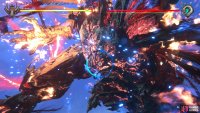
(1 of 2) There will be a Cinematic Strike to open the fight with Bahamut.
There will be a Cinematic Strike to open the fight with Bahamut. (left), as well as a Cinematic Evasion after the first stagger. (right)
There will be a lot of similar attacks during this battle with Bahamut, like Megaflare and Aura Burst, but there will be some new attacks, also. For example, Supernova is a large orb that Bahamut will conjure, which will slowly track you as you move around the battlefield. It isn’t particularly tough to avoid, as it moves rather slowly, but the boss can still use other moves while it’s chasing you. Keep fighting Bahamut and you will eventually stagger him for the first time, which will change up his moves some, as well as add some new ones.
Three of these new moves can be quite troublesome, too, if you don’t know what to do. Radiance will have two sets of lasers that rotate in different directions, and you just need to time your dodge so that you go through them. ![]() Gigaflare is a major problem, as it’s a very large beam that follows the Satellite Lasers, and it tracks you faster than you can outrun it. You could try to time the dodge, if you can, but you might just get hit by it. Celestial Foundry is the third attack, where Bahamut summons a wide array of lasers that pretty much cover the whole area in front of him.
Gigaflare is a major problem, as it’s a very large beam that follows the Satellite Lasers, and it tracks you faster than you can outrun it. You could try to time the dodge, if you can, but you might just get hit by it. Celestial Foundry is the third attack, where Bahamut summons a wide array of lasers that pretty much cover the whole area in front of him.
The best way to avoid this attack is to use Lightspeed to get behind Bahamut, before the lasers fire. Eventually, Bahamut will start charging an attack, with the purple bar and all, called Teraflare. Naturally, you don’t want to be on the receiving end of that, so your goal is to deplete that purple bar before the timer that appears, reaches its end. While you’re attacking the seemingly helpless Bahamut, lasers will appear and rain down on you. You will need to dodge them, as you continue your assault, and don’t forget about your abilities (Brimstone and Spitflare). Deplete the bar, and you will stop the attack, as well as stun Bahamut for a few seconds.
(1 of 3) Some moves will have variations later on in the battle.
After stopping Teraflare, you won’t see too much in the way of new moves, since there might only be one or two. You will find that Bahamut will start chaining stuff together, though, so make sure you wait until he stops, before you go on the offense. Upon bringing his health down to almost empty, a cutscene will take over and you will have one final Cinematic Clash, before you finish him off for good.
With the battle finally over, you will bear witness to a number of cutscenes, which will then bring you to the main world map. Select ![]() The Hideaway, watch the cutscene there, then you’ll automatically start the Things Fall Apart main quest.
The Hideaway, watch the cutscene there, then you’ll automatically start the Things Fall Apart main quest.





No Comments