
Notorious Marks are some of the toughest battles in the game, and you’ll unlock them by progressing the Main Quest. Some Hunts will also be required for completing certain, key, Side Quests and the Griffin Dozmare is one such Hunt. This page will show you where you can find ![]() Dozmare, and how you can defeat it.
Dozmare, and how you can defeat it.
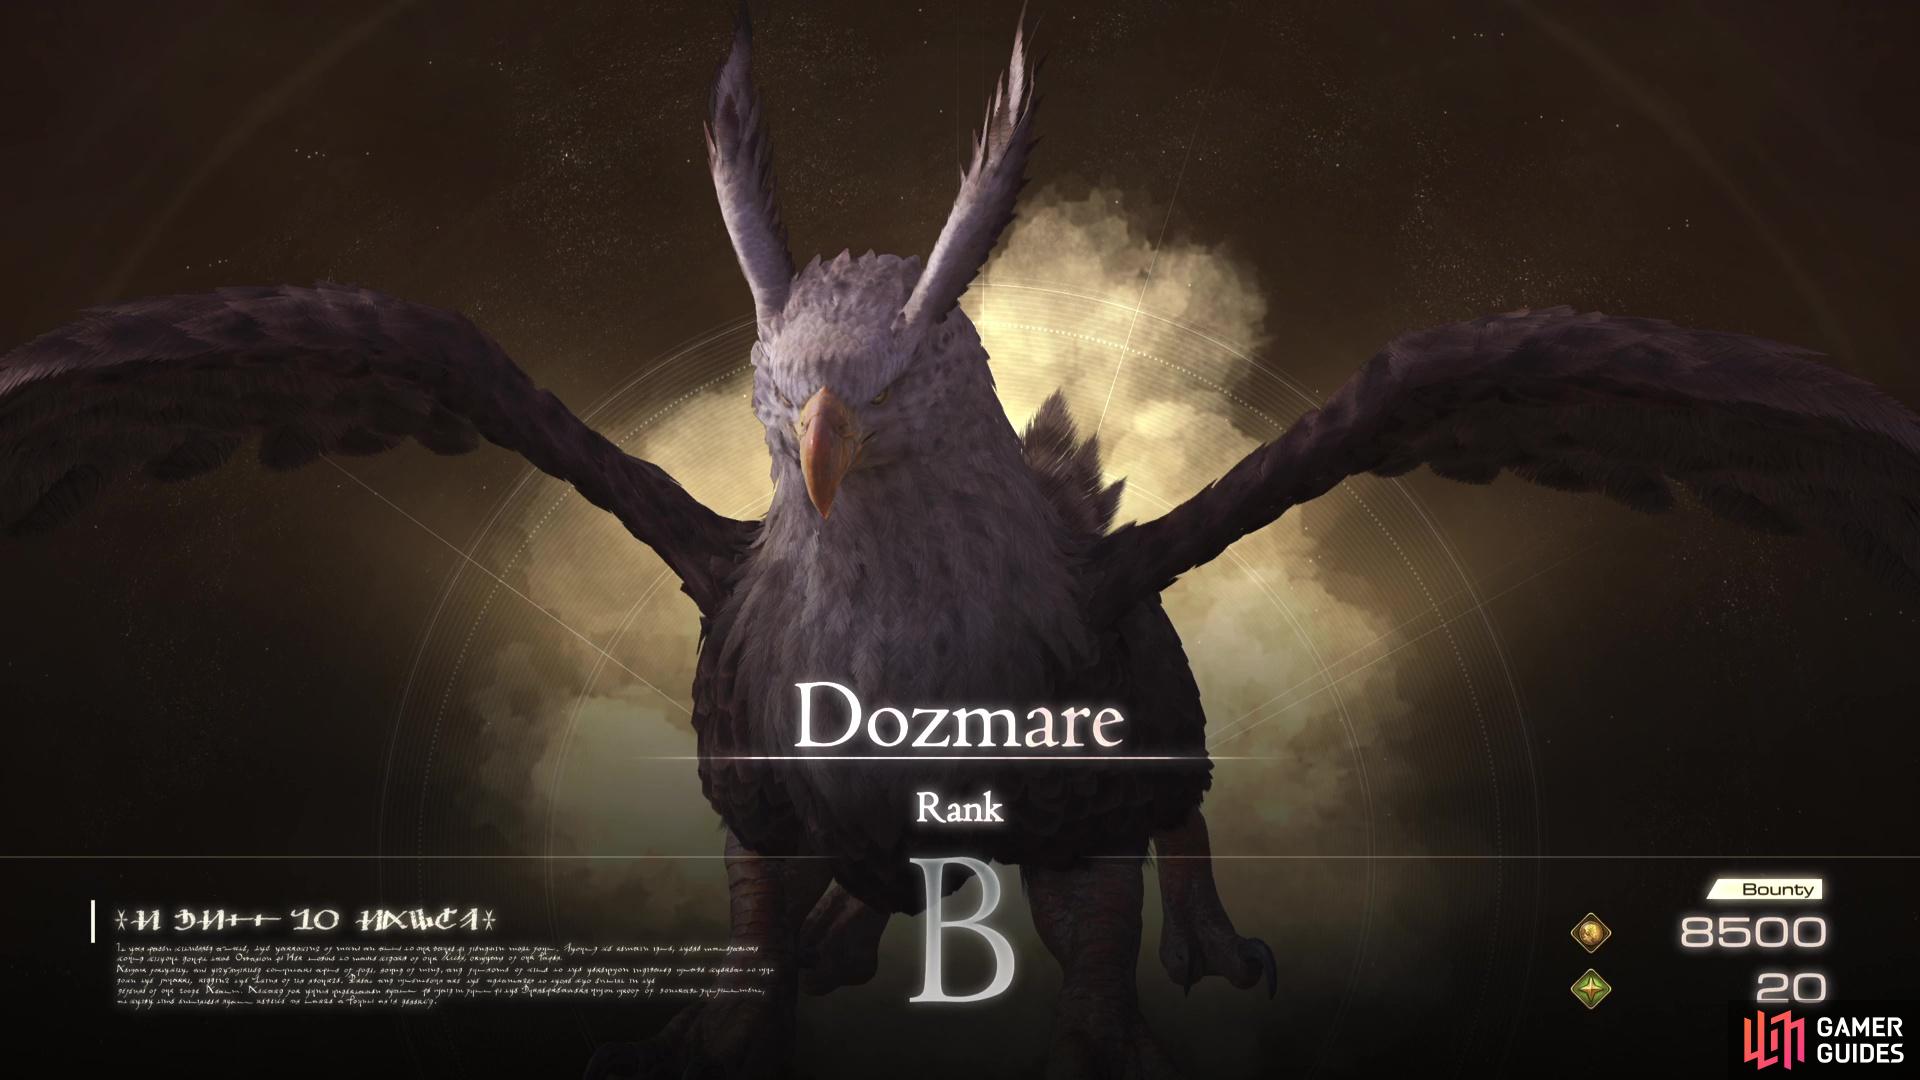
!Dozmare is a Griffin that is a Rank B Hunt in Final Fantasy XVI.
Where is the Griffin, Dozmare Mark Location?
| Location | Level | Bounty |
|---|---|---|
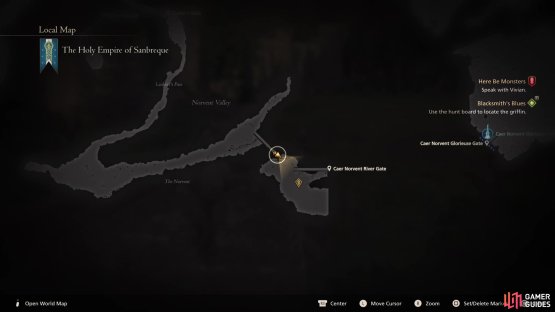
| Caer Norvent River Gate, Sanbreque | 28 | 8,500 Gil, 20 Renown |
You won’t unlock the Dozmare Hunt until you’ve reached the Here Be Monsters Main Quest, around the halfway point of Clive’s adventure. Once you do, a new + Side Quest will appear at the Hideaway, Blacksmith’s Blues. Speak with ![]() August to get it underway and follow the steps until you reach the point that you need to locate and defeat the Griffin.
August to get it underway and follow the steps until you reach the point that you need to locate and defeat the Griffin.
Return to the Hunt Board and you’ll see the bill for Dozmare on there now, alluding to its whereabouts near ![]() Caer Norvent in Sanbreque. Dozmare is located to the south of the western exit of Caer Norvent, unfortunately, there’s a good possibility that you won’t have the
Caer Norvent in Sanbreque. Dozmare is located to the south of the western exit of Caer Norvent, unfortunately, there’s a good possibility that you won’t have the ![]() Obelisk registered outside there.
Obelisk registered outside there.
If this is the case, return to the ![]() Lostwing Obelisk and make your way out of the village to the southeast via Cutter’s Gate. Follow this path as it winds around to Caer Norvent and then go towards the gate first to register the Obelisk if you don’t already have it. Make sure you’re prepared with full
Lostwing Obelisk and make your way out of the village to the southeast via Cutter’s Gate. Follow this path as it winds around to Caer Norvent and then go towards the gate first to register the Obelisk if you don’t already have it. Make sure you’re prepared with full ![]() Potions before heading into the open area to the south.
Potions before heading into the open area to the south.

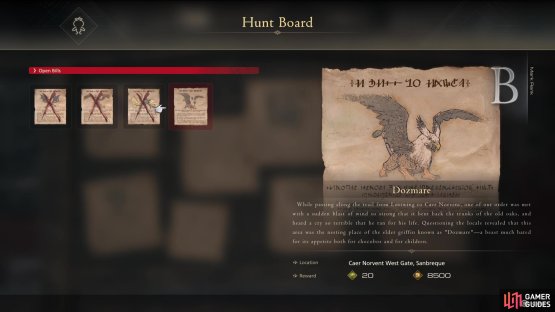
(1 of 2) Check the hunt board at the Hideaway for details

Check the hunt board at the Hideaway for details (left), then head here in Sanbreque to begin the griffin hunt. (right)
Dozmare’s Attacks
Below you’ll find all the attacks that Dozmare has in its arsenal:
| Attack | Description | Counter |
|---|---|---|
| Aero Mine | Dozmare will shoot a gust of wind that will persist where it lands, conjuring a small tornado in that location. | So long as you see this attack coming, you can simply keep your distance and then move away from it to direct Dozmare away from the affected area. If you have |
| Swoop | Dozmare will hover above the ground and swoop at speed towards you, dealing moderate damage should you be struck. | This is a key attack to use |
| Dive Bomb | Dozmare will rise higher into the ground and then come crashing down at you. | Like most of Dozmare’s attacks, Precision Dodge is your friend although the timing is a lot tighter this time around. If you’re not confident enough, keep your distance by dodging backwards. |
| Wing Slap | When in close range, Dozmare will attempt to jump forward and strike you with its wing. | Keep an eye out for when Dozmare takes a step back, and then dodge for a Precision Dodge, just be aware of the Pounce attack that follows. |
| Pounce | Usually followed on from Wing Slap, Dozmare will jump at you when in close range. | The most difficult part about dodging this attack is forgetting about it after avoiding Pounce, otherwise the same counter is true here. |
| Aerial Blast | Not to be confused with the |
This is the highest that Dozmare will rise, so as soon as you spot this, retreat to medium/long-range. |
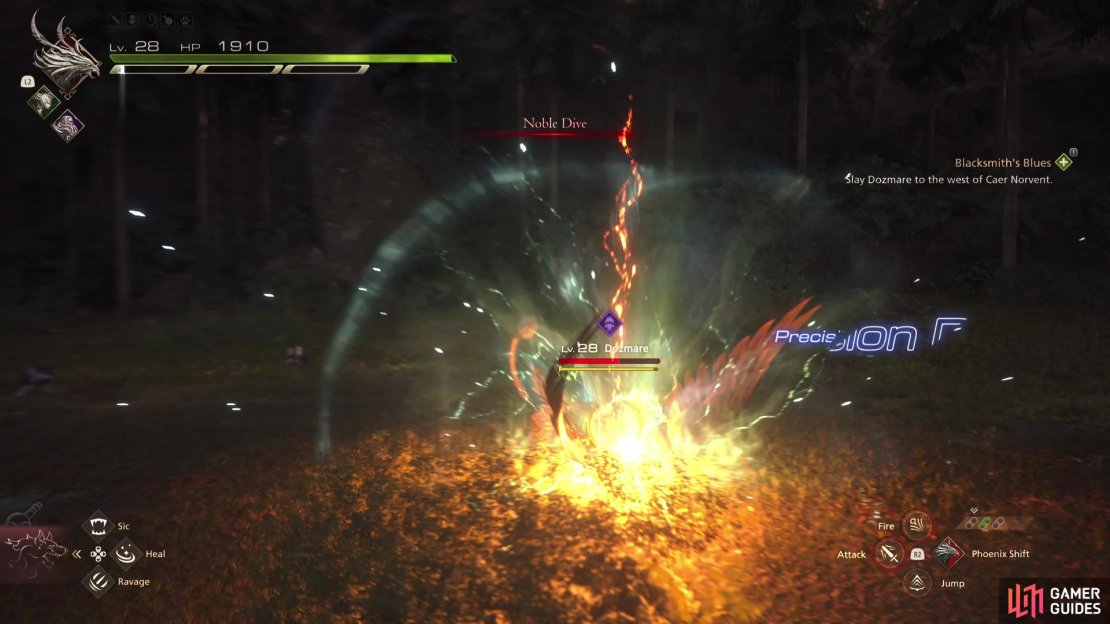
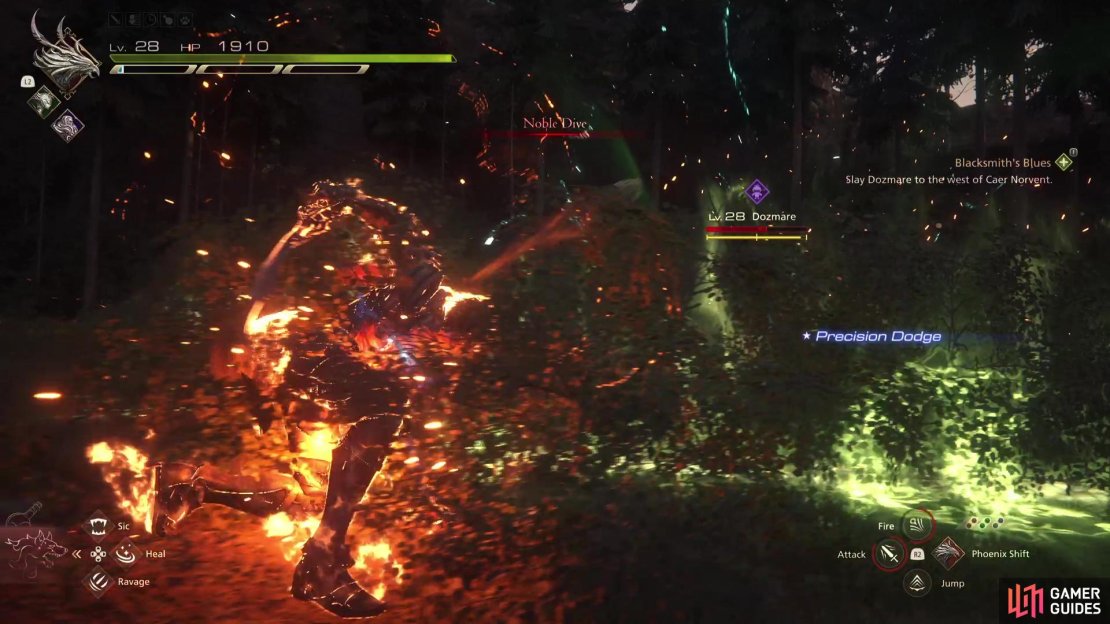
| Noble Dive | Dozmare’s signature attack will see it fly high into the air, then follow up with a Dive Bomb that unleashes a shockwave. | This is easier to Precision Dodge against than you may think, and if you do so, your invincibility frames will carry you through the shockwave part of the attack. |

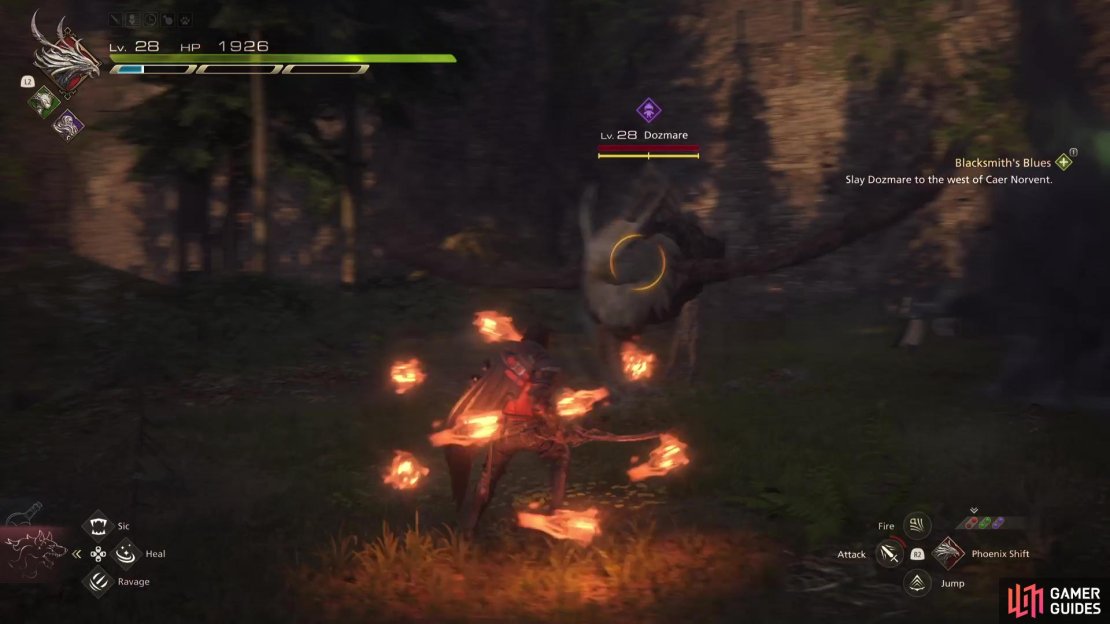

(1 of 7) Aero Mine will cause a small tornado to persist in the location it hits
Recommended Abilities for Dozmare
Here we will list our recommended ability set up to do this effectively:
| Eikon | Ability | Damage Type |
|---|---|---|
| Phoenix/ |
Damage (1 Star), Will (2 Stars) | |
| Phoenix/ |
Damage and Will (2 Stars) | |
| Damage (2 Stars), Will (5 Stars) | ||
| Damage (2 Stars), Will (4 Stars) | ||
| Damage (4 Stars), Will (3 Stars) | ||
| Damage (2 Stars), Will (3 Stars) |
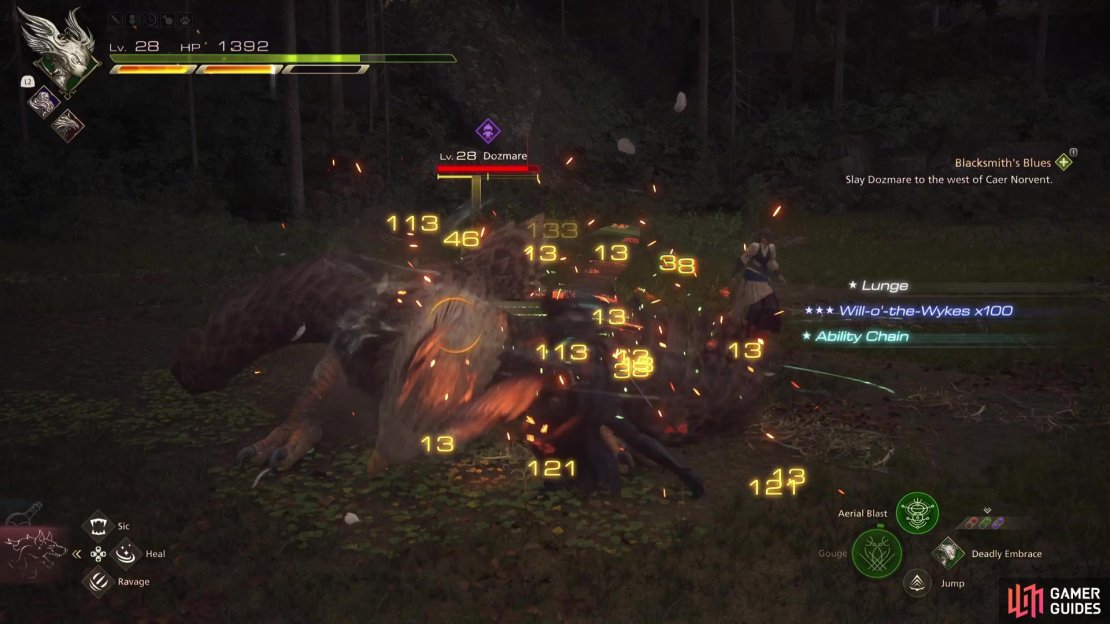
As has become a mainstay since unlocking it, ![]() Will-o’-the-Wykes not only offers protection from being hit, but it adds to the damage you do during a Stagger phase, and can help proc the fantastic
Will-o’-the-Wykes not only offers protection from being hit, but it adds to the damage you do during a Stagger phase, and can help proc the fantastic ![]() Lightning Rod. Seeing as Dozmare uses the Aero Mine attack, you can use
Lightning Rod. Seeing as Dozmare uses the Aero Mine attack, you can use ![]() Heatwave before the ball of magic hits the ground to dispel and then counter towards Dozmare, dealing massive Will damage.
Heatwave before the ball of magic hits the ground to dispel and then counter towards Dozmare, dealing massive Will damage.
When you deplete half of the Will gauge, that’s your time to pull Dozmare to the ground with ![]() Deadly Embrace and use
Deadly Embrace and use ![]() Gouge to hopefully bring Dozmare to Stagger. Likewise,
Gouge to hopefully bring Dozmare to Stagger. Likewise, ![]() Aerial Blast is useful for this, but it’s less reliable as Dozmare moves around a lot. Both
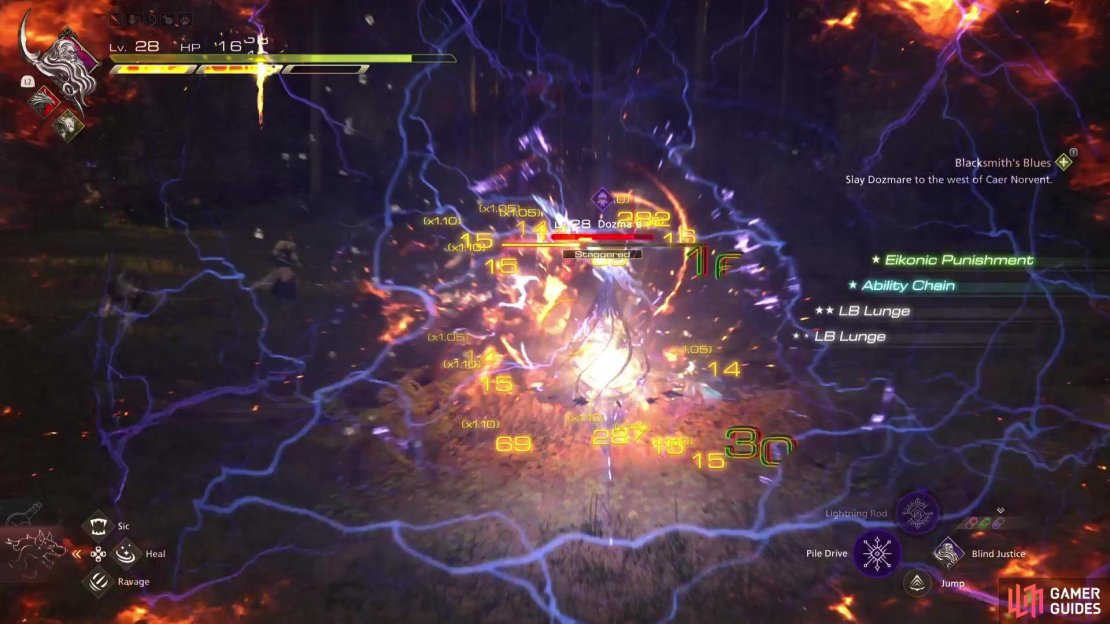
Aerial Blast is useful for this, but it’s less reliable as Dozmare moves around a lot. Both ![]() Judgment Bolt and Lightning Rod are your go-to abilities during a Stagger. Use Lightning Rod in front of the Staggered Dozmare and then follow up with a
Judgment Bolt and Lightning Rod are your go-to abilities during a Stagger. Use Lightning Rod in front of the Staggered Dozmare and then follow up with a ![]() Limit Break and Judgment Bolt, everything you do here will proc the shocks from Lightning Rod adding to the overall damage.
Limit Break and Judgment Bolt, everything you do here will proc the shocks from Lightning Rod adding to the overall damage.
Recommended Items and Equipment for Dozmare
Gear
For your Weapon, Belt, and Vambraces, you should have the following:
| Weapon | Belt | Vambraces |
|---|---|---|
If you don’t have what’s listed above, use the highest Attack for Weapon, and highest Defense and Health for the Belt and Vambraces.
Accessories
For your Accessories, this is more subjective, so here is what we used:
| Accessory 1 | Accessory 2 | Accessory 3 |
|---|---|---|
| Berserker’s Ring - Increase attack proficiency with each Precision Dodge | The Heat of Fire ( |
Items
Finally, we have items. This is more of a preference thing, but we chose the following items:
| Shortcut 1 | Shortcut 2 | Shortcut 3 |
|---|---|---|
More Healing is always a good thing which is why we went with ![]() Elixir for the third slot. These are costly, so if you don’t want to waste your Gil, take either a
Elixir for the third slot. These are costly, so if you don’t want to waste your Gil, take either a ![]() Strength Tonic to use when you knock Dozmare into the Stagger phase to maximize damage, or a
Strength Tonic to use when you knock Dozmare into the Stagger phase to maximize damage, or a ![]() Stoneskin Tonic to reduce damage by 30%.
Stoneskin Tonic to reduce damage by 30%.
The Griffin, Dozmare Boss Strategy
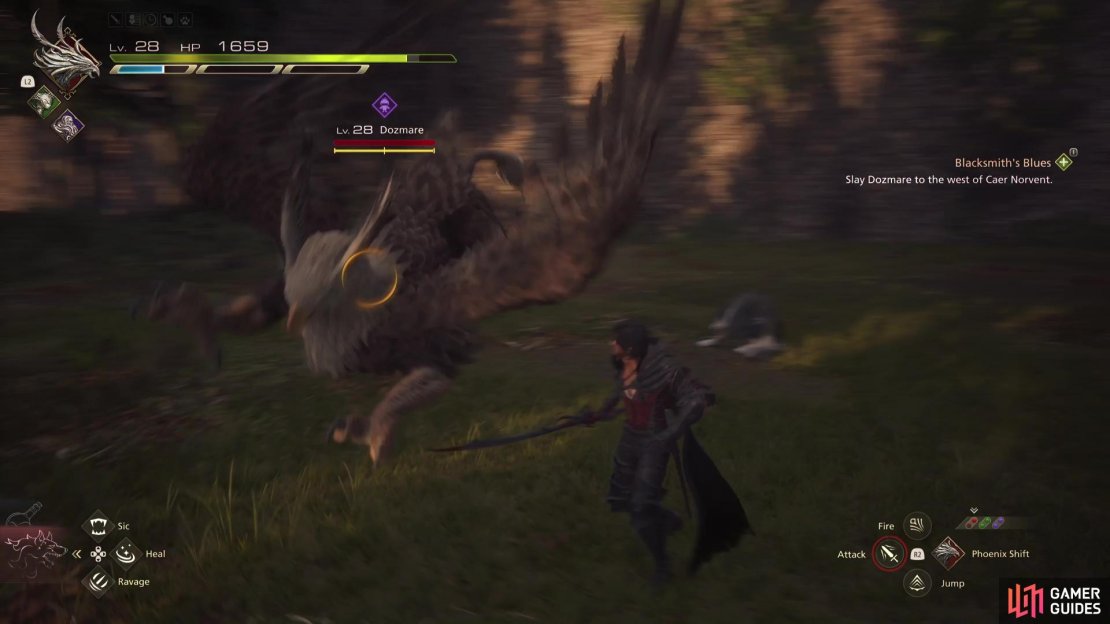
Dozmare is an odd one, it’s a B Rank Hunt, which you would expect should be a massive step up in difficulty over the C Rank Hunts you’ve done before. Truth is, Dozmare isn’t too much of a threat so long as you’re confident with Precision Dodge and is a much easier battle than the other B Rank Hunt you may have already done, Belphegor.
Those that are more aggressive may find the battle a little tougher, as you won’t have the time to react to the Swoop attack and you’ll also have to deal with Wing Slap and Pounce, which become deadlier when you don’t have the safety of distance between yourselves. If you are looking to Precision Dodge Wing Slap, just beware that often Dozmare will follow that up with a Pounce, so get ready for a second dodge.
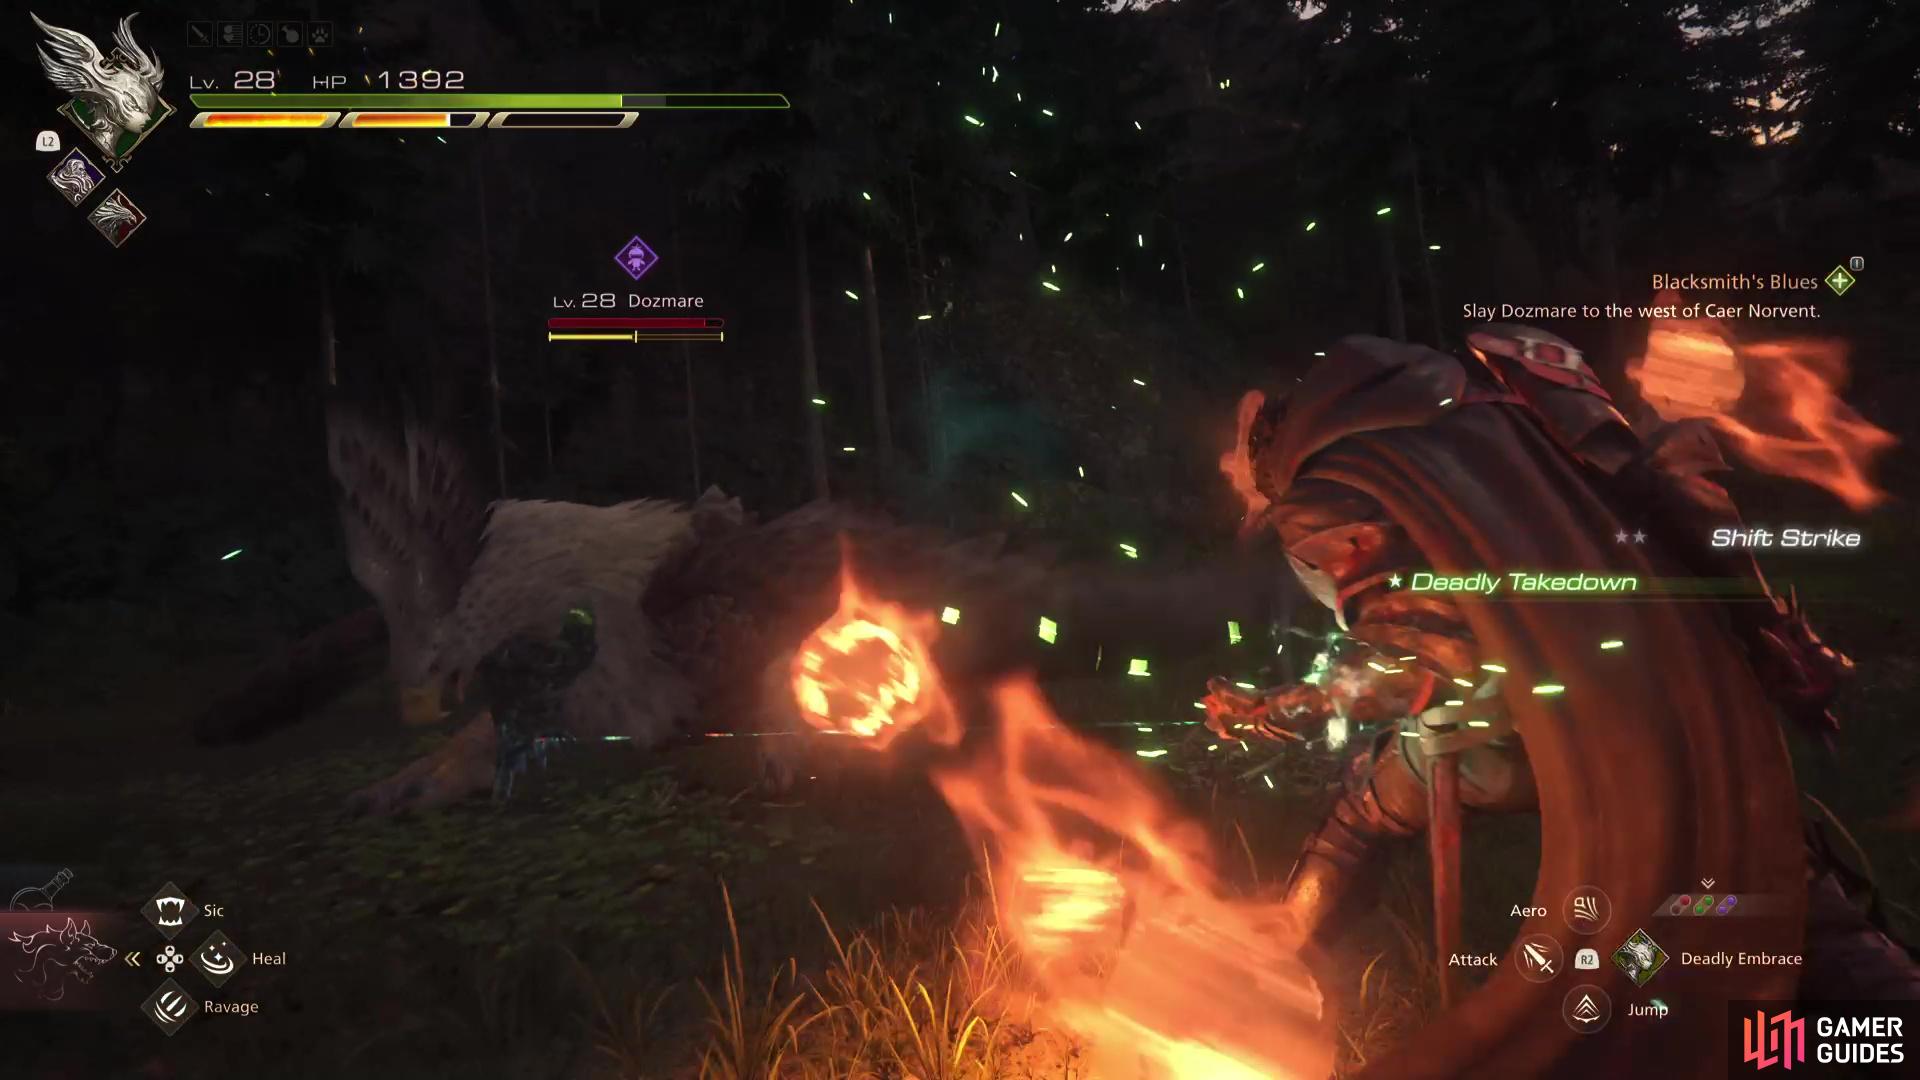

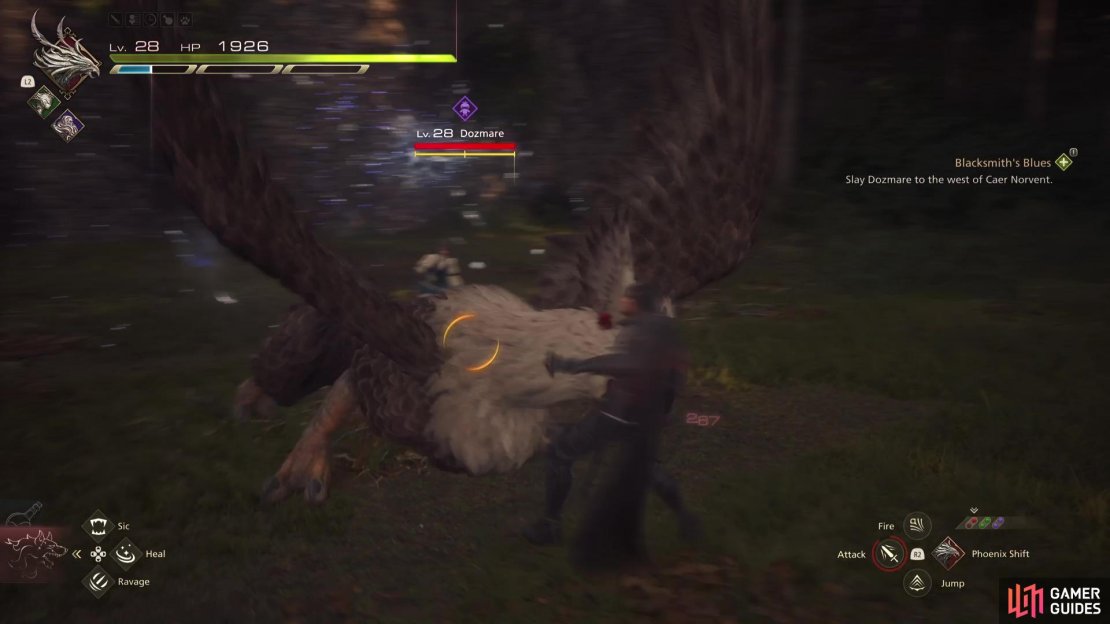
(1 of 4) Use !Deadly Embrace from !Garuda to cause a Takedown at half stagger
If you’ve become proficient with using the Heatwave counter, Dozmare has an attack you can use it on, Aero Mine. By its nature, Aero Mine isn’t much of a projectile, but it acts as one before it hits the ground and there is ample time to use Heatwave through it to deal massive Will damage to it.
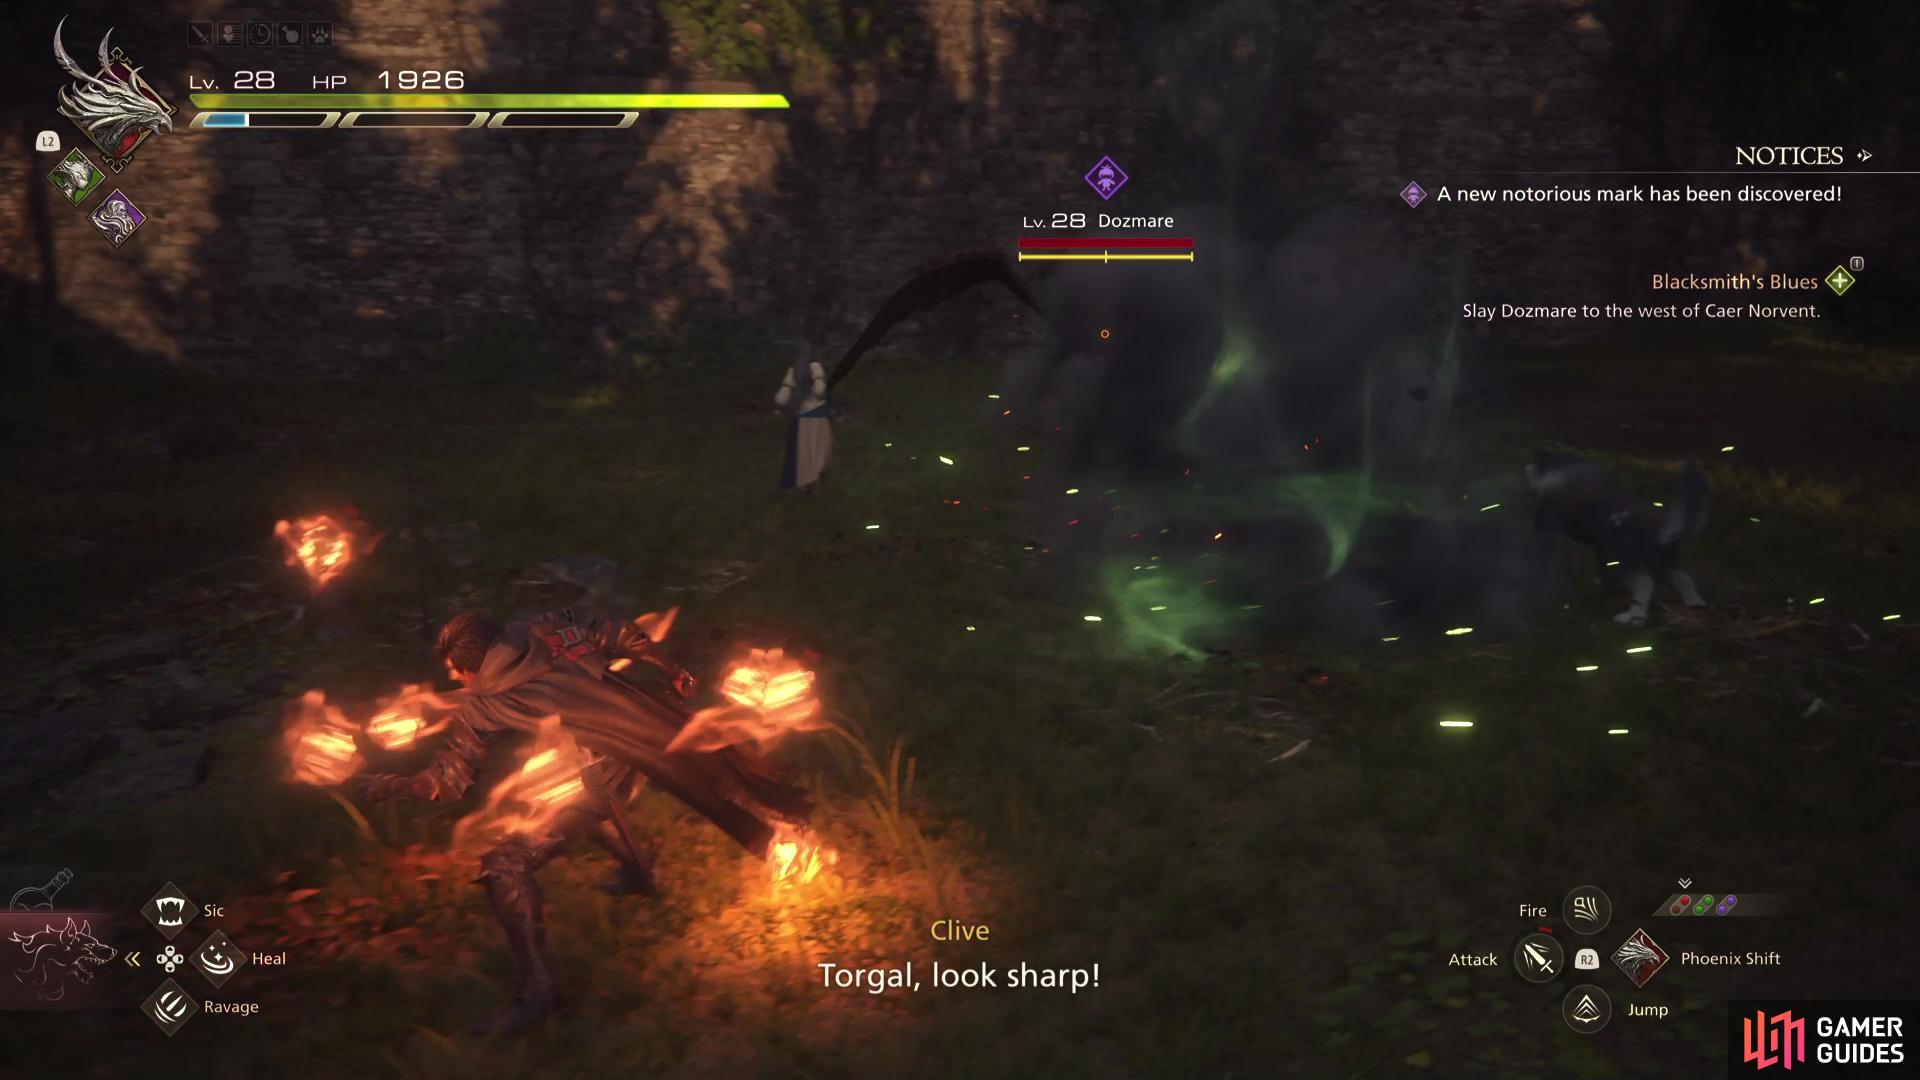
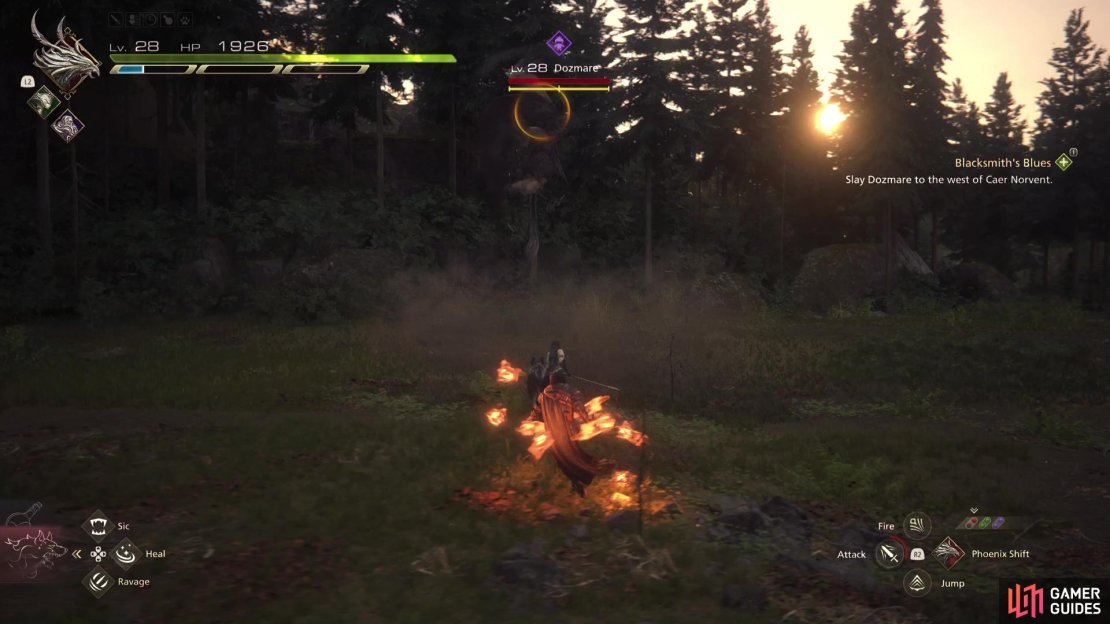
The best time to get your attacks in on Dozmare is by baiting the Swoop attack, at mid-long range you have plenty of time to prepare and use a Precision Dodge, this leaves Dozmare completely open and allows you to pull off some combos on it. Once you semi-stagger Dozmare, switch to Garuda and use Deadly Embrace ( ) to pull Dozmare to the ground and follow up with Gouge to hopefully Stagger it.
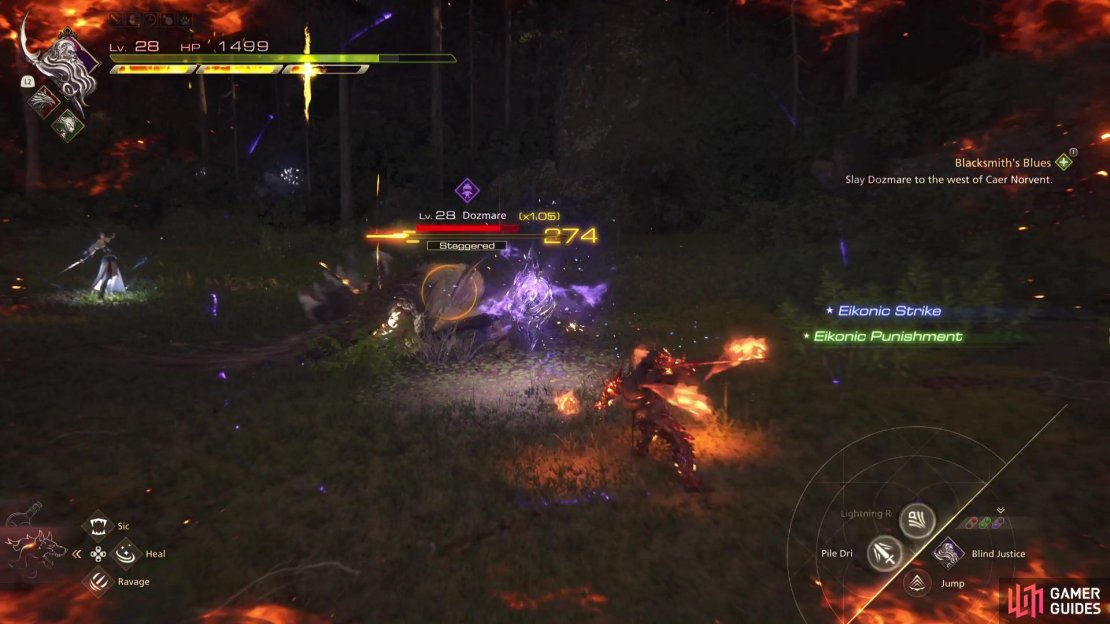
This is your chance to pop Limit Break, drop a Lightning Rod on Dozmare and then use Judgment Bolt. With the remaining time of your Limit Break you can use the ![]() Magic Burst combo while chaining
Magic Burst combo while chaining ![]() Torgal’s Sic and if the cooldown is up, drop Aerial Blast so that it deals damage during Dozmare’s recovery.
Torgal’s Sic and if the cooldown is up, drop Aerial Blast so that it deals damage during Dozmare’s recovery.
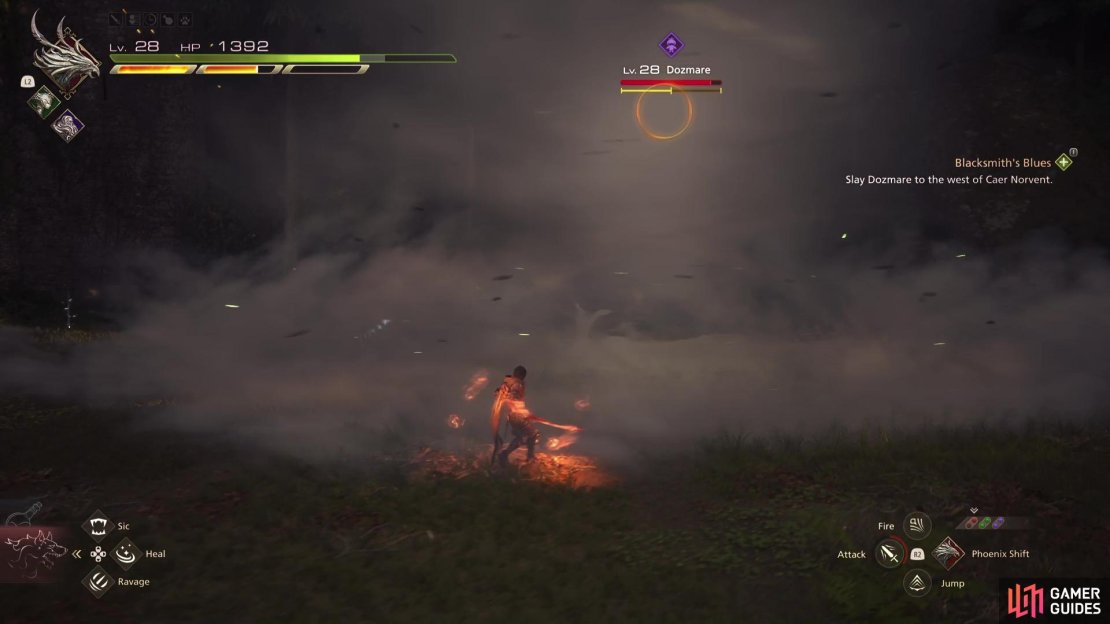
Usually, after your first Stagger phase, Dozmare will add its signature attack, Noble Dive, to its arsenal. This is a deadlier version of the Dive Bomb attack, but you’ll get plenty of warning as it flies into the sky. Your best option here is to Precision Dodge as Dozmare hits the ground, as Noble Dive will let out a shockwave that is otherwise hard to avoid. A Precision Dodge, however, will carry you through the shockwave with its invincibility frames.

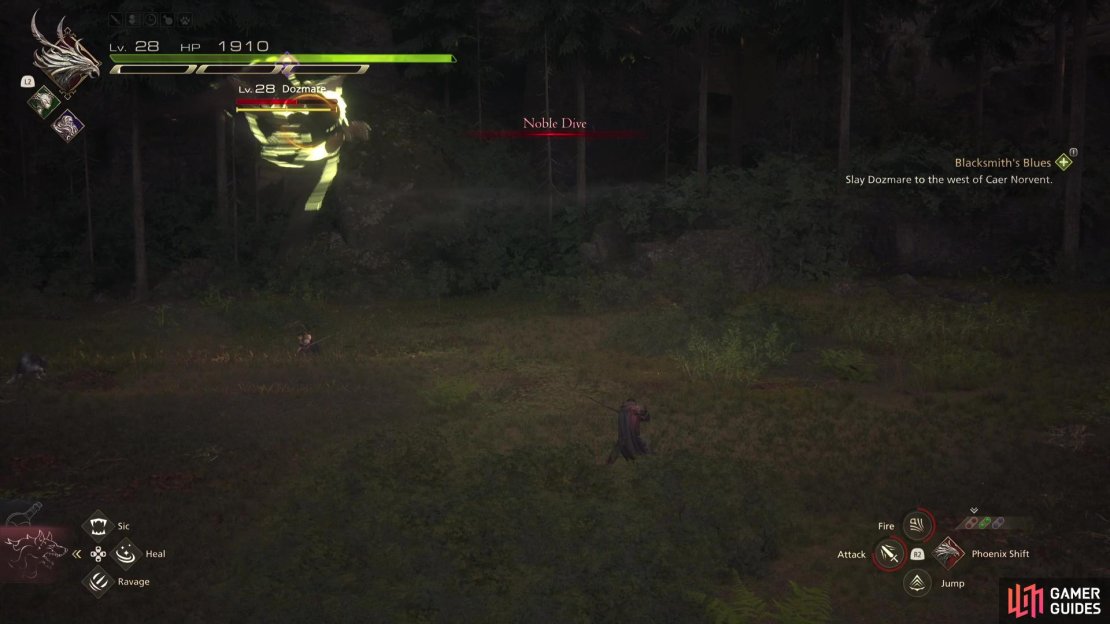
(1 of 3) Noble Dive will see Dozamre rise high into the air
Not much changes from this point, and so long as you keep up Will-o’-the-Wykes, there are very little opportunities for you to take too much damage from Dozmare. You’ll obtain 8,500 Gil and 20 Renown along with a precious ![]() Scarletite for defeating it, this is needed for crafting the recipes you unlock by finishing the Blacksmith’s Blue Side Quest that Dozmare is part of.
Scarletite for defeating it, this is needed for crafting the recipes you unlock by finishing the Blacksmith’s Blue Side Quest that Dozmare is part of.
More Final Fantasy 16 Hunts
For information on some of the other Notorious Marks you can take on in Final Fantasy XVI, check out these pages below:
No Comments