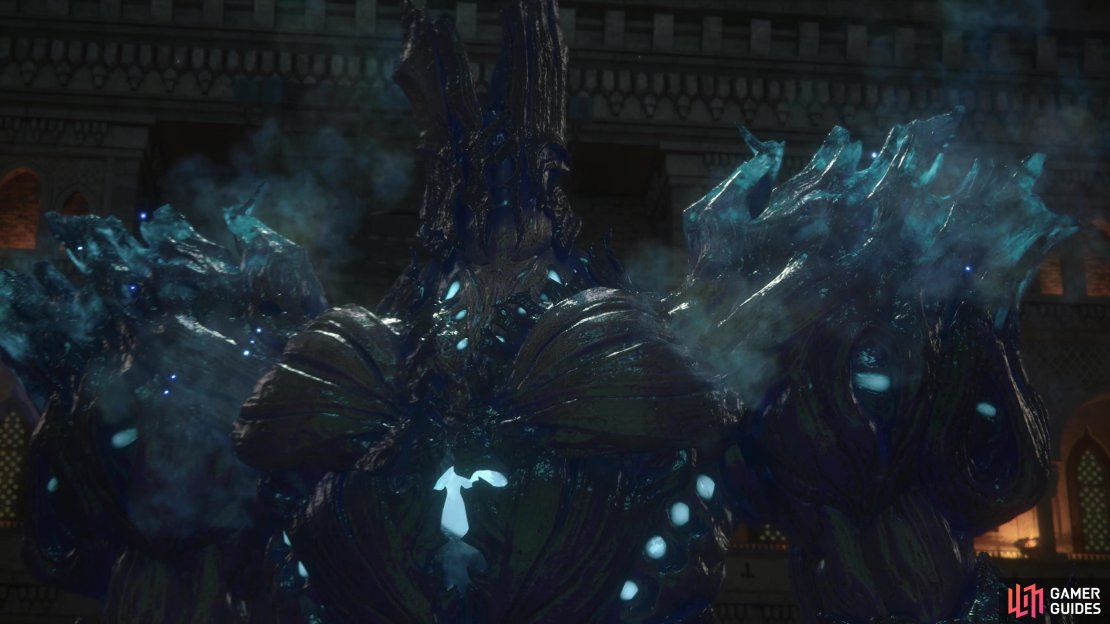
The first proper boss you’ll encounter during the main quest Into the Darkness (the Orcish Warlord is a miniboss, not a full, proper boss), the Undertaker guards the gate to ![]() Castle Dazbog. This page will provide tips and strategies that will help you put the Undertaker down for the count in Final Fantasy 16.
Castle Dazbog. This page will provide tips and strategies that will help you put the Undertaker down for the count in Final Fantasy 16.
The Undertaker guards the gates to !Castle Dazbog.
How to Defeat the Undertaker in Final Fantasy 16 (FFXVI)
Despite having a proper boss bar and the music to go with it, the Undertaker is only a step above many minibosses you’ve encountered. It only has two distinct phases (and even then, its second phase is mostly just the addition of a single new attack rather than a complete overhaul of its attack routine), so once you get this boss’s moveset down, the fight should be in the bag. The Undertaker does, however, have a respectable arsenal of attacks it can throw at you, as follows:
The Undertaker Move List
-
Undertaker Punch: A simple, reasonably quick (given the size of the golem throwing it, anyways) punch attack. Like its backhand swat and standing stomp attacks, it will use this sparingly, and only when you’re in close proximity. Like most of the Undertaker’s attacks, you can block it via
 Titanic Block.
 -
Backhand Swat: Used against opponents flanking it, the Undertaker will turn and swat at you. It’s another attack, like its punch and standing stomp, that it’ll only rarely use and only if you’re in the right position; melee range and flanking the golem. Easily blocked or dodged.
-
Standing Stomp: The less common and impressive of the automaton’s two stomp attacks, the Undertaker will only perform this if you stick in melee range, otherwise preferring to use the attacks listed below. Like its other rare melee attacks, the punch and backhand swat, this is easily dodged or blocked.
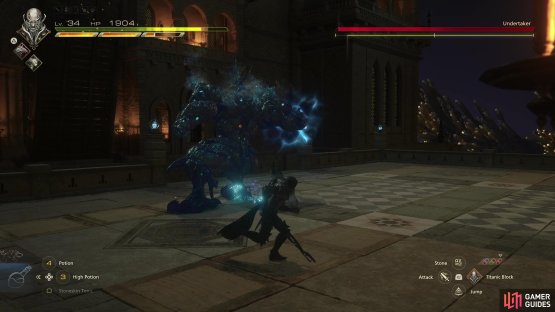
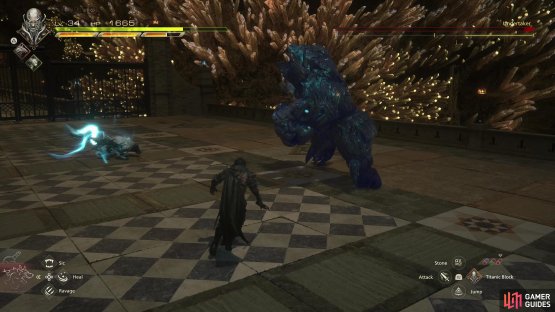
(1 of 2) The only unnamed attack that can’t be blocked is a charged energy slam; watch for when the Undertaker rears back its right fist and charges it with energy,
The only unnamed attack that can’t be blocked is a charged energy slam; watch for when the Undertaker rears back its right fist and charges it with energy, (left), as it will subsequently smash the ground, causing an eruption. (right)
- Charged Energy Slam: Arguably this boss’s most dangerous attack, it’ll rear back its right fist, charge it with blueish energy, then punch the ground in front of it, emitting the stored up energy in a blast centered on the offending fist. As a general rule, you can block all the Undertaker’s non-energy attacks with Titanic Block, trivializing this fight, but this is one of the Undertaker’s three energy attacks, and by far the quickest and least telegraphed of the three.
 Dodge away when you see it coming.
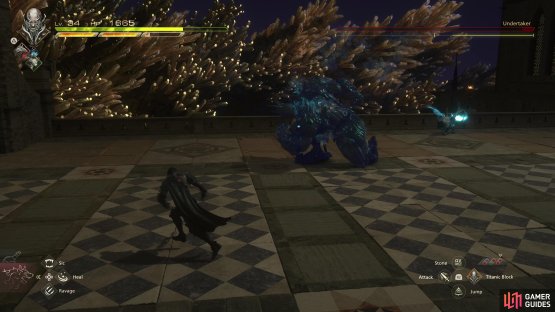
(1 of 2) Be wary when the Undertaker drops to one knee,
Be wary when the Undertaker drops to one knee, (left), as this indicates it’s about to perform a charge. (right)
- Undertaker Shoulder Tackle: One of the Undertaker’s favored attacks, it’ll lower its shoulder for a moment before charging forward, performing a swat when it gets close enough. The Undertaker doesn’t have great course-correction while doing this, so you can easily dodge the charge, but it can also be countered with Titanic Block. This doesn’t always stop the charge, however, and the Undertaker may be out of range of Titanic Counter followups by the time the block animation ends. While on its own it’s not a hard attack to avoid, the Undertaker can perform this immediately after other attacks, or during the duration of Exhume, so you need to be wary of what the golem is doing, lest it catch you off-guard.
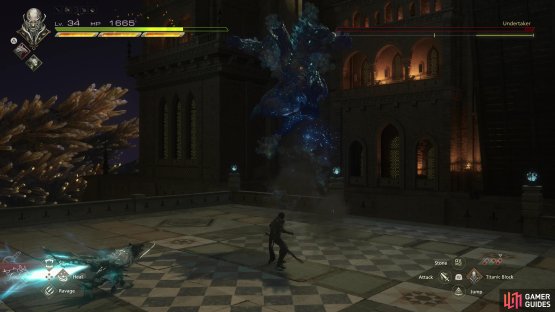
(1 of 2) When the Undertaker leaps into the air it’ll perform a massive stomp attack,
When the Undertaker leaps into the air it’ll perform a massive stomp attack, (left), which unleashes a shockwave pulse. Both the stomp and the pulse can be blocked, and successfully blocking the former will negate the latter. (right)
- Leaping Pulse Stomp: An odd attack, the Undertaker will leap into the air (achieving an impressive amount of airtime for such a massive construct) and stomp, emitting a pulse of energy in a ring that spreads across the battlefield. You can avoid the concussive force of the stomp by just not being nearby when the Undertaker lands, and you can also dodge through the pulse ring. Oddly enough, you can also block the pulse and, if you’re standing near where the Undertaker will land, you can block the entire attack sequence. Why this energy attack is blockable is a mystery, but you’re better off staying near the Undertaker and try to block when it lands; it’s very easy to time, and blocking the landing stomp allows you to ignore the pulse, too, and keeps you close enough to land some Titanic Counters, as well - something which might not be the case if you block the pulse at a distance.
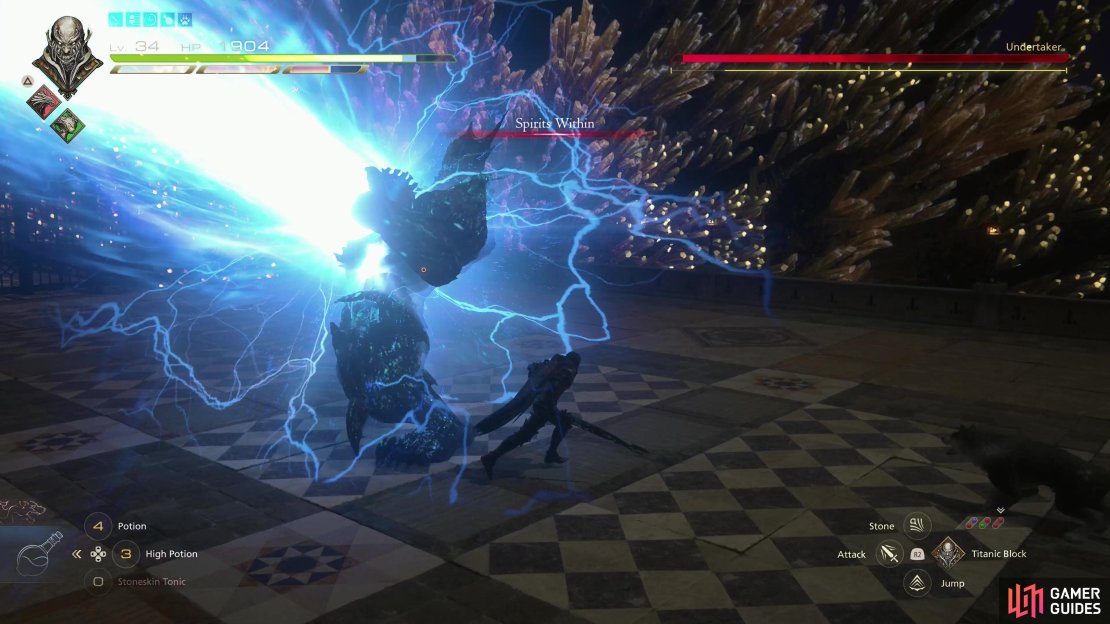
You can flank the Undertaker during Spirits within, scoring cheap and easy damage.
- Spirits Within: One of only two properly named attacks possessed by the Undertaker, the golem will unleash a beam of energy from its chest, sweeping it from right to left across the battlefield. You can dodge through the beam well enough - just be patient and don’t dodge as soon as the beam emits, as the attack will initially be high and center before the sweep from right-to-left begins. It’s during this sweep that the attack can actually harm Clive, and dodging early may put you in the beam’s path during Clive’s dodge recovery frames. Ideally, however, you won’t dodge this attack at all, as you can run behind the Undertaker while it’s channeling this beam and score some cheap hits on it - if you’re quick enough the silly construct may give you enough time to land two full regular combos during this attack. Easily this boss’s most exploitable attack.
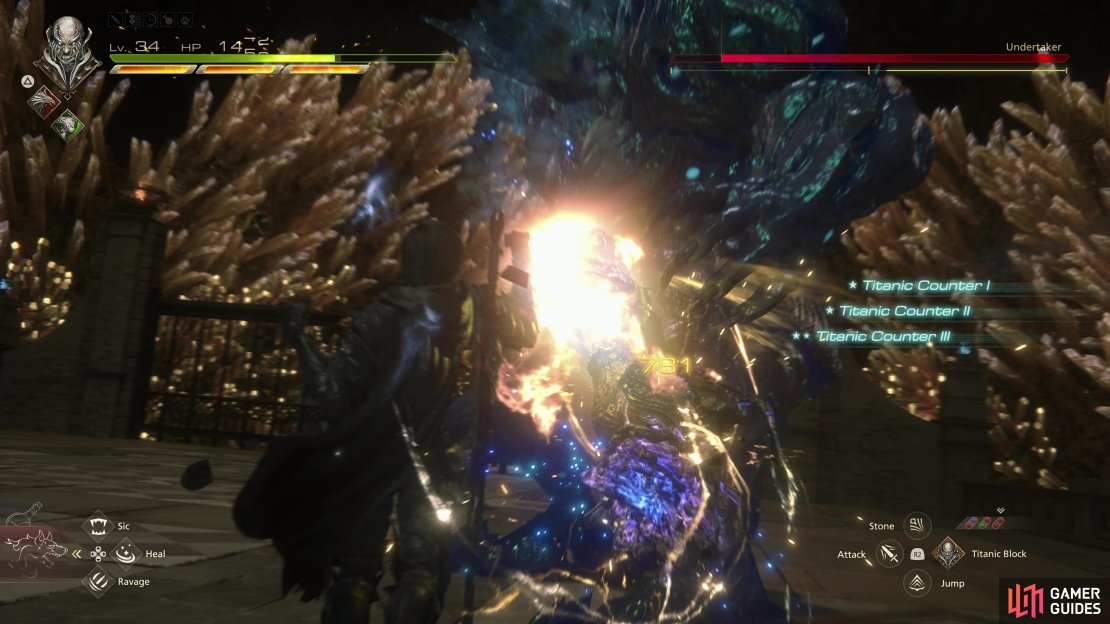
(1 of 3) Most of the Undertakers attacks can be blocked by !Titanic Block and subsequently countered with Titanic Counter.
The Undertaker Boss - How to Beat the Giant Construct
As you can see, the Undertaker utilizes two types of attack - energy and physical. Some of its attacks are a combination of both, like its Charged Energy Slam and its Leaping Pulse Stomp, but as a general rule you can use ![]() Titan’s Titanic Block to block all non-energy attacks (including Leaping Pulse Stomp, but not Charged Energy Slam), negating a great deal of the Undertaker’s offense. Sticking close to the boss and blocking and countering most of its attacks (dodging the odd Charged Energy Slam) is a perfectly valid and surprisingly easy (and, in our opinion, satisfying) way of dispatching this enemy.
Titan’s Titanic Block to block all non-energy attacks (including Leaping Pulse Stomp, but not Charged Energy Slam), negating a great deal of the Undertaker’s offense. Sticking close to the boss and blocking and countering most of its attacks (dodging the odd Charged Energy Slam) is a perfectly valid and surprisingly easy (and, in our opinion, satisfying) way of dispatching this enemy.
Aside from the Charged Energy Slam - which you’ll need to dodge away from - the only attack in the first phase that you need to really worry about (i.e. it can’t be blocked by Titanic Block) is Spirits Within. This rare named attack is an energy attack that takes a bit to charge and has a huge commit cost for your enemy. You can dodge through it, but if you see the “Spirits Within” text appear on your screen, it’s a better idea to run towards the Undertaker’s left flank, as the attack starts out high and center before being leveled and sweeping from right to left. By the time the Undertaker can actually start threatening you with this attack, you should be behind it, happily and safely chipping away at the golem while it uselessly shoots a blue beam of futility.
Between Titanic Block and Titanic Counter combos and the free hits afforded by Spirits Within, it should be easy to halve the Undertaker’s Will Gauge, at which point the standard ![]() Deadly Embrace and
Deadly Embrace and ![]() Gouge combo can all but deplete the remaining half of the boss’s Will Gauge. Deal what damage you can while it’s staggered, and once the automaton recovers it’ll likely begin phase two, kicking things off with a new attack:
Gouge combo can all but deplete the remaining half of the boss’s Will Gauge. Deal what damage you can while it’s staggered, and once the automaton recovers it’ll likely begin phase two, kicking things off with a new attack:
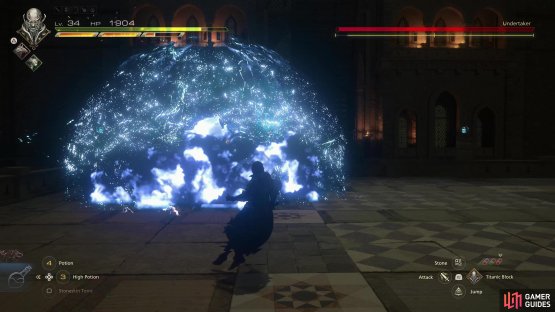
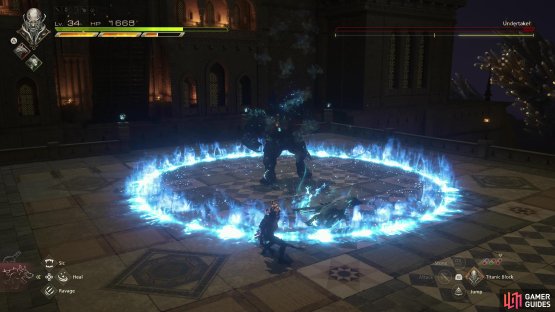
(1 of 2) Starting after staggering the boss, Exhume will knock Clive back and down to one knee,
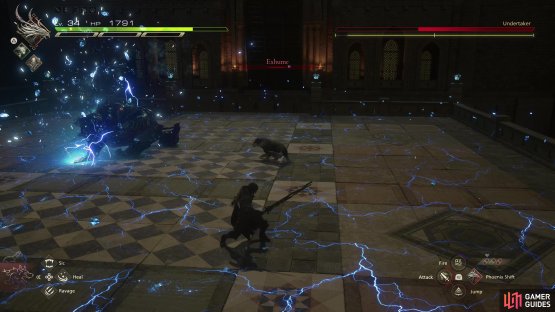
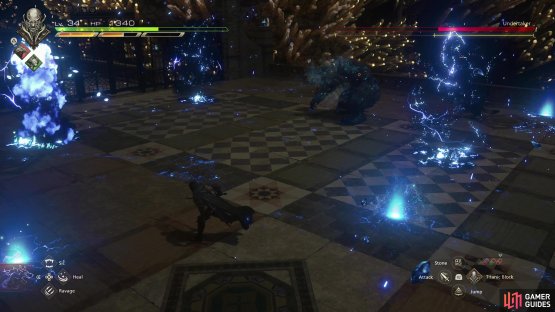
Starting after staggering the boss, Exhume will knock Clive back and down to one knee, (left), before spawning glowing patches of ground that explode after a moment so keep moving and avoid the marked sections of ground. (right)
- Exhume: Another energy attack, the Undertaker will smash its fists into the ground, knocking Clive back and down to one knee. Momentarily, spots of the floor (invariably including under Clive) will start to glow before erupting. Break Clive’s lethargy by dodging off the glowing tile of floor, then run around avoiding the other imminent explosions. New hotspots will appear and erupt over the course of a few moments, and the Undertaker will resume his assault before this attack fully ends, so be wary. Mostly a distraction/area denial attack meant to make the next few moments of the fight more difficult, there aren’t many opportunities to exploit this attack so you will just have to weather it.
After the first stagger period, the Undertaker will begin its normal attack routine as per normal, mixing in Exhume once in a while. Its attack frequency doesn’t really otherwise change much, you just have one more somewhat annoying attack to deal with, albeit irregularly (but expect the Undertaker to use it when it recovers from stagger).
We prefer just slugging it out with this boss, using Titanic Block to negate most of its attacks, dodging away from its Charged Energy Slam, and trying to get behind it to attack during Spirits Within. We suspend our offensive during Exhume, and resume when that attack ends, minding the glowing sections of floor and dodging the Undertaker’s attacks rather than trading with it until it’s safe to focus on the golem again. With our normal offense supplemented regularly by Titanic Block and Titanic Counter, this boss should be surprisingly easy to dispatch.
When you vanquish the Undertaker, you’ll obtain ![]() The Favor of Lightning (Thunderstorm), 18x
The Favor of Lightning (Thunderstorm), 18x ![]() Sharp Fangs and 18x
Sharp Fangs and 18x ![]() Magicked Ash. You’ll also be free to enter and explore Castle Dazbog, which will ultimately lead to a showdown with Titan.
Magicked Ash. You’ll also be free to enter and explore Castle Dazbog, which will ultimately lead to a showdown with Titan.







No Comments