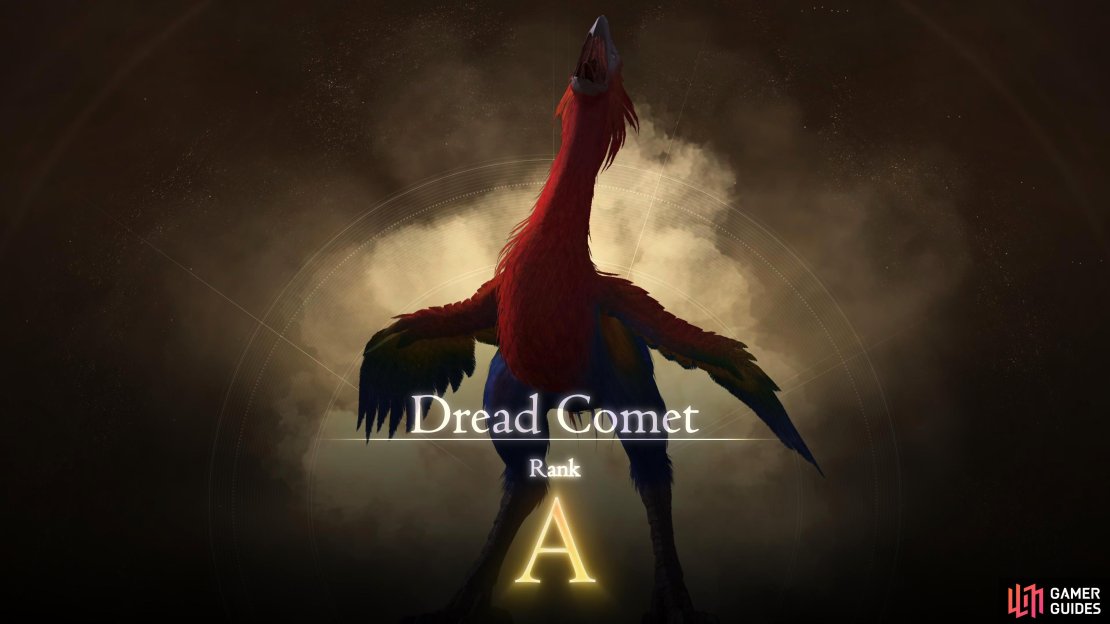
One of the more difficult A-Rank Hunts in Final Fantasy 16 is the Dread Comet. The vicious chocobo will bring back some bad memories if you’ve played previous entries, as Dread Comet is for all intents and purposes, a Red Chocobo, and we all know what Red Chocobo’s love to do in Final Fantasy games, right? Meteors. Read below to find out Dread Comet’s location, and how to avoid getting melted by Meteors.
Dread Comet becomes available during the Song of Hope main story quest.
Where is the Dread Comet Notorious Mark Location?
| Location | Level | Bounty |
|---|---|---|
| The Sickle, Dhalmekia | 38 | 17,550 |
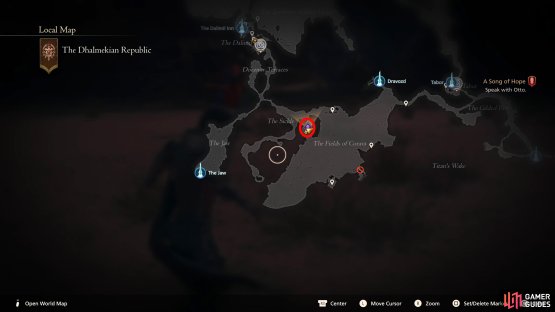
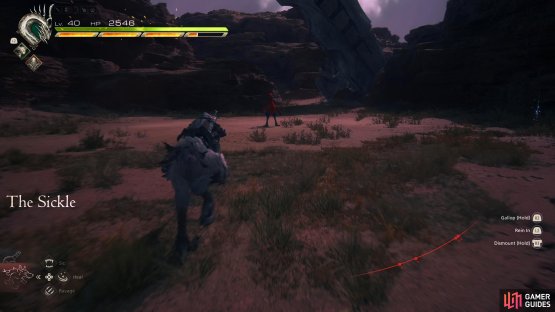
The Hunt Bill for Dread Comet becomes available during the “Song of Hope” main story quest, and the Bill will mention that you can find it in The Sickle, Dhalmekia. The location, although correct, is slightly misleading, as one would believe it would be in The Sickle proper, but instead it’s on one of the paths leading to it instead. Teleport to ![]() Dravozd which is west of
Dravozd which is west of ![]() Tabor, and head southwest across the desert. If you zoom out on the map, Dread Comet can be found on the stretch of land above the “T” on “The Fields of Corava” text.
Tabor, and head southwest across the desert. If you zoom out on the map, Dread Comet can be found on the stretch of land above the “T” on “The Fields of Corava” text.
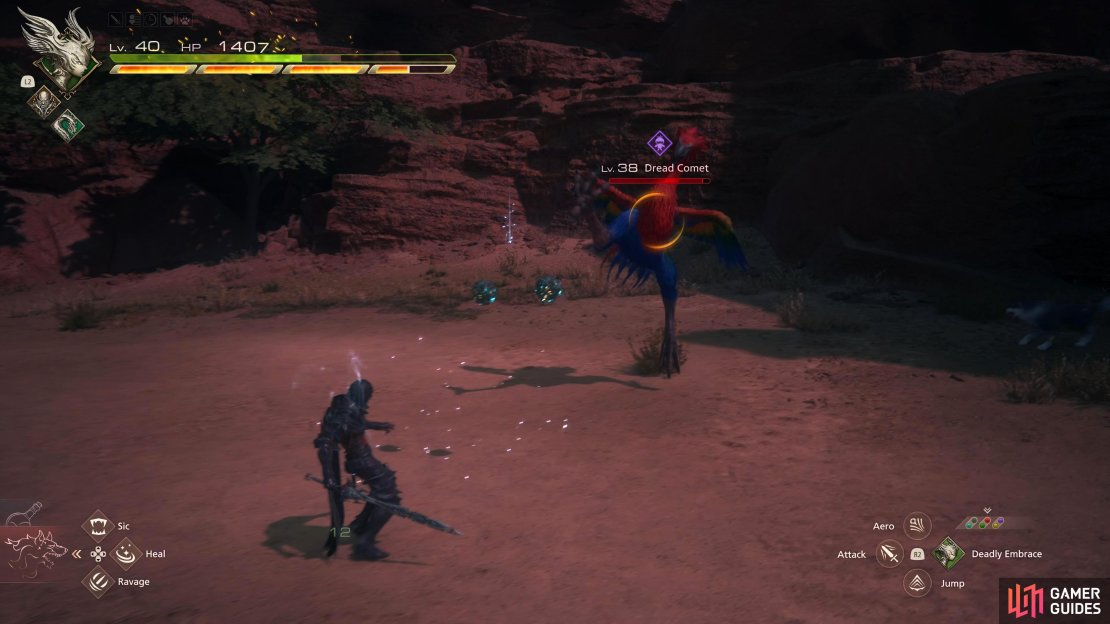
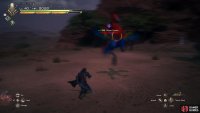
(1 of 2) Although Dread Comet is in The Sickle as the bill suggests, it is on a path leading into the main part of it.
Although Dread Comet is in The Sickle as the bill suggests, it is on a path leading into the main part of it. (left), When you get to the center of the path, you’ll see a red and blue chocobo. This is your quarry. (right)
Dread Comet Attacks
Below you’ll find all the attacks that Dread Comet has in its arsenal:
| Attack | Description | Counter |
|---|---|---|
| Stamp | Dread Comet will lunge forward and slam its foot on you, and follow it up with another Stamp which can knock you down. This attack can be used by either foot, although it’s usually with its right foot (Clive’s left). | You’ll only get hit by this if you’re playing too aggressively, and miss the cue. Dread Comet will lean back and lift its leg up before the lunge, and stamp. Simply move either side of it, or wait until the foot comes down before dodging for a Precision Dodge. |
| Peck | Dread Comet will lean its head back before lunging forward and attempting to peck at you. This is a twofold attack. | Similar to Stamp, you’ll only get hit by this if you’re in mid-combo, and you miss the cue. When it leans its head back, just back away. |
| Stunning Blast | Dread Comet will expel a large blue blast that stuns you briefly. | This attack does no damage and is more of a precursor for its stronger attacks such as Bicycle Kick, or the Meteors. You’ll most likely get hit by this a lot, but you have ample time to react to the incoming attacks, so you can safely ignore this attack. |
| Bicycle Kick | This is the first strong ability that Dread Comet has. It is a multi-hit attack that can deal substantial damage. Dread Comet will jump into the air before kicking you multiple times similar to riding a bicycle, hence the name. | When Dread Comet rises to the air, be ready to get to the side of the chocobo, or dodge the incoming flurry of attacks. If you use dodge, a second after the jump it does, you can gain a Precision Dodge. |
| Choco Meteor | Staple attack for Red Chocobos in Final Fantasy games. Dread Comet will mark the floor where it’ll drop the meteor. When the impact is had, it will send out a shockwave. This can send out 1–3 meteors. | When Choco Meteor is cast, a small orange marker will appear on the floor. This indicates where the meteor will land. As it hits the floor, it will send out a shockwave that covers a large radius. The best way to avoid this attack is to move away from the impact site and jump over the shockwave. You can dodge the shockwave, but the timing can be difficult to judge. |
| Choco Meteorain | The meaner version of Choco Meteor. This is exactly the same as Choco Meteor other than it will cast up to 15 meteors, yes, 15. | When Choco Meteorain is cast, get as far away from Dread Comet, and completely focus on avoiding the meteors. This version covers a lot more ground, and you’ll have to avoid a lot of meteors. When you see the orange mark on the floor, move to the side of it to avoid the impact, then jump towards it to avoid the shockwave. Repeat this for every meteor. Will-o’-the-Wykes is a must-have ability for this part just in case you mistime the blasts. |
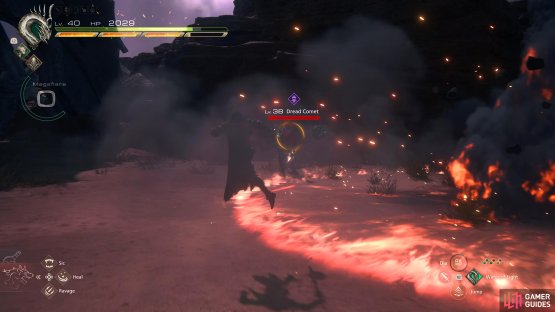
(1 of 5) Stamp as the name implies has Dread Comet raise its foot before attempting to stamp at you. Two of these will force you to the ground.
Recommended Abilities for Dread Comet
Here we will list our recommended ability set up to do this effectively:
| Eikon | Ability | Damage Type |
|---|---|---|
| Damage (3 Stars) Master the ability and place it on Garuda. | ||
| Damage (2 Stars) Will (3 Stars) Master the ability and place it on Garuda. | ||
| Damage (4 Stars) | ||
| Will (2 Stars) Master the ability and place it on Titan. | ||
| Damage (4 Stars) Master the ability and place it on Bahamut. | ||
| Damage (5 Stars) |
The above abilities are chosen for either their defensive utility (Will-o’-the-Wykes), or direct damage due to the fact that Dread Comet has no Will-Gauge. Because of this, you can safely ignore abilities like Gouge. Pile Drive and Lightning Rod, are brought along due to Pile Drive having decent damage while also being on the shorter end of animation spectrum which won’t leave you open as this battle is quite movement intensive. On top of that, it works well with Lightning Rod. Lightning Rod on the other hand can be used to supplement the damage you deal with ![]() Pile Drive, Judgment Bolt, and Gigaflare.
Pile Drive, Judgment Bolt, and Gigaflare.
Recommended Items and Equipment for Dread Comet
Gear
For your Weapon, Belt, and Vambraces, you should have the following:
| Weapon | Belt | Vambraces |
|---|---|---|
| Brightburn / |
If you don’t have what’s listed above, use the highest Attack for the Weapon, and the highest Defense and Health for the Belt and Vambraces.
Accessories
For your Accessories, this is more subjective, so here is what we used:
| Accessory 1 | Accessory 2 | Accessory 3 |
|---|---|---|
Items
Finally, we have items. This is more of a preference thing, but we chose the following items:
| Shortcut 1 | Shortcut 2 | Shortcut 3 |
|---|---|---|
Dread Comet can deal a lot of damage, especially with Bicycle Kick, and its Meteors, so more healing items are always a good thing. For the other slot, bring along ![]() Stoneskin Tonics to reduce damage by 30%, or
Stoneskin Tonics to reduce damage by 30%, or ![]() Elixir’s, although the latter is too expensive for an A Rank.
Elixir’s, although the latter is too expensive for an A Rank.
Dread Comet Boss Strategy
For the first half of the battle, you’ll mainly be dealing with its regular attacks such as Stamp and Peck with the occasional Choco Meteor and Bicycle Kick. You want to be aggressive as the quicker you defeat it, the fewer attacks you’ll need to avoid, but you don’t want to be too aggressive otherwise you will get hit by Peck, and Stamp with the latter being able to knock you down. What you want to do is, use your high-damage abilities such as Windup, Judgment Bolt, and Gigaflare off cooldown while placing Lightning Rod next to Dread Comet whenever you can then attack with short combos and Pile Drive.
If you see Dread Comet sprinting towards you, be ready for its powerful Bicycle Kick attack. You will want to avoid this attack at all costs as it will take a large chunk of your health. Wait for it to close in on you, and when it jumps (feet will be near your head), hit dodge to activate a Precision Dodge and punish it with a combo. Although it can, and will do this at any time, it prefers to do the attack after a Choco Meteor.
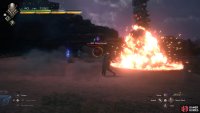
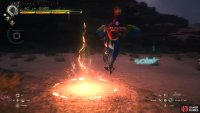
(1 of 2) Move away from the meteor marker to avoid the impact of the meteor then jump over the following shockwave.
Move away from the meteor marker to avoid the impact of the meteor then jump over the following shockwave. (left), Hit dodge just as Dread Comet jumps into the air for Bicycle Kick to gain a Precision Dodge. (right)
Talking of Choco Meteors, this is the bread and butter of the battle. Throughout the fight, Dread Comet will continuously drop meteors across the battlefield where there will be an orange mark on the floor indicating the point of impact. When the meteor hits the floor, it will send out a large shockwave around the impact site which covers a lot of ground. When you see the mark, move to the side of it, and be ready to jump towards it to avoid the shockwave. The shockwave can be dodged, but the timing can be difficult to get right, so jumping over it is the easiest way to avoid it.
When the second half of the battle starts (half of its health), you’ll have to deal with a lot more meteors as it will start casting Choco Meteorain which is Choco Meteor on steroids. This attack will pepper you with up to 15 meteors in quick succession, and until it’s finished, you’ll want to jump over the shockwaves that each one leaves behind. Fortunately, when this attack is happening, you only need to worry about Choco Meteorain as Dread Comet is too busy casting the attack.
This will repeat until you finish off Dread Comet with the attacks coming at you quicker and quicker, so you’ll want to weave some attacks on Dread Comet while avoiding its attacks. Thankfully, Judgment Bolt and Gigaflare have invulnerability frames when going through the animation, so you can use them to slowly chip away at its health. Once you defeat Dread Comet, you’ll receive 5,300 XP, 90 AP, 17,550 Gil, and 30 Renown. On top of that, you’ll receive a Comet Feather crafting material from the spoils.
Dread Comet Video Guide
More Final Fantasy 16 Hunts
For information on some of the other ![]() Notorious Marks you can take on in Final Fantasy XVI, check out these pages below:
Notorious Marks you can take on in Final Fantasy XVI, check out these pages below:


No Comments