Once you complete Holding On, you will arrive back at ![]() Phoenix Gate and go into another dungeon during the sixteenth main story quest,
Phoenix Gate and go into another dungeon during the sixteenth main story quest, ![]() Buried Memories. This dungeon is full of new enemies, so you will need to learn how to fight each of them. There is also a tricky boss fight with an Iron Giant and several chests you will want to open to get new accessories. The guide below goes over how to navigate The Hall of Ancestors, when all the chests appear, and how to defeat the Iron Giant in Final Fantasy 16.
Buried Memories. This dungeon is full of new enemies, so you will need to learn how to fight each of them. There is also a tricky boss fight with an Iron Giant and several chests you will want to open to get new accessories. The guide below goes over how to navigate The Hall of Ancestors, when all the chests appear, and how to defeat the Iron Giant in Final Fantasy 16.
How To Complete Buried Memories in FF16’s Main Quest
Enemies in The Hall of Ancestors
| Enemies in this Area |
|---|
| Fallen Bugs |
| Defense Nodes |
| Fallen Hunters |
| Fallen Guardians |
| Lichs |
| Spectors |
| Wraiths |
Items in The Hall of Ancestors
| Items in This Area |
|---|
| 1,200 Gil |
| The Favour of Wind ( |
| The Favour of Wind ( |
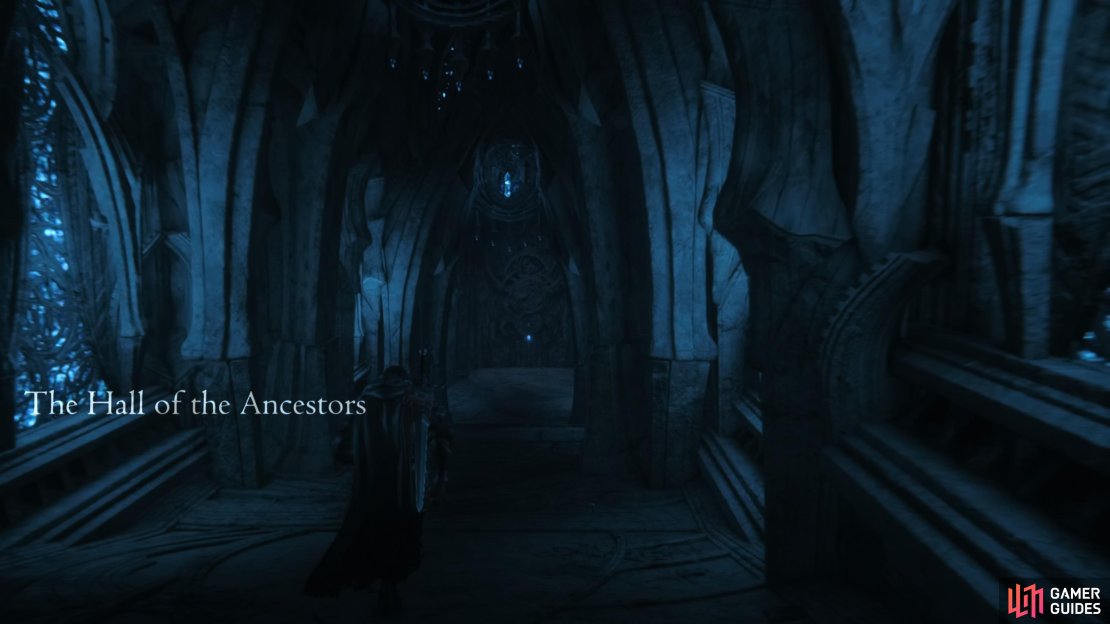
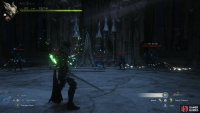
Entering the center of The Hall of Ancestors.
How to Complete The Hall of Ancestors
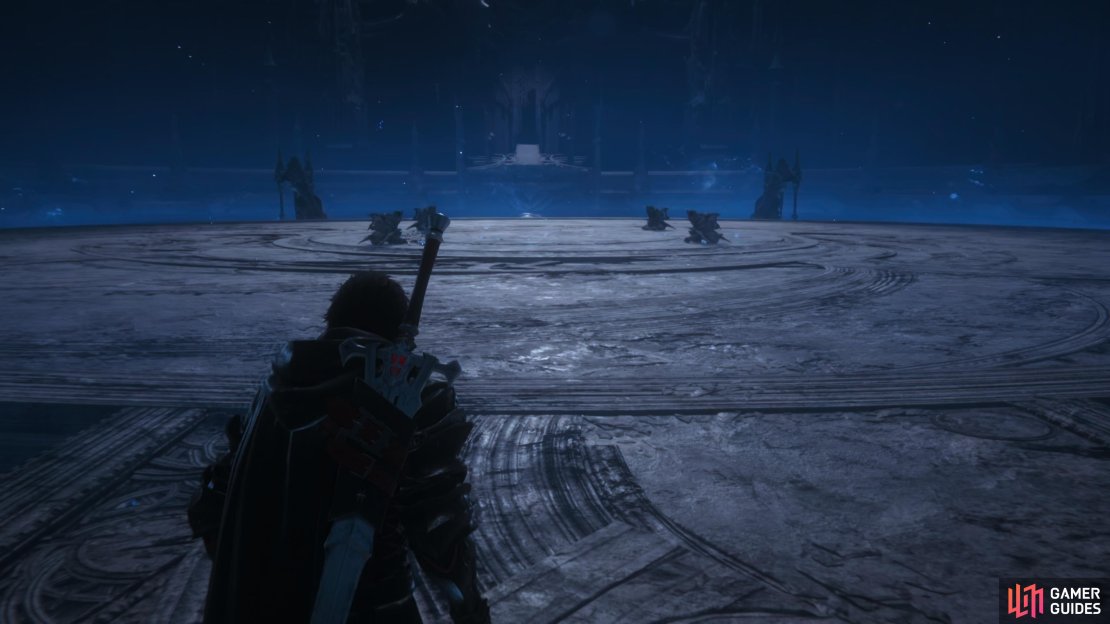
When you first get to Phoenix Gate all you will see around you is rubble. Follow the path forward down into the basement, it’s here that you will open and start exploring The Hall of Ancestors. You will want to open the door in front of you and proceed into the center of the large room. Once you do a cutscene will play and the platform you’re on will begin to descend downward. The statues that were surrounding Clive and Jill will come to life. These are a new type of enemy called Fallen Bugs, they aren’t very tough so go ahead and take them out. When the platform reaches the bottom two more new enemies will attack you, Fallen Hunters, who have beam swords and Defense Nodes that have ranged attacks. Once these enemies are clear proceed through the door, you will follow a bridge to the next area which contains a single enemy, the Fallen Guardian.
This enemy is a bit tougher and has a larger health bar. It has a few close-range attacks, including the ability to spin and hit you from all angles. ![]() Dodge when it begins to lunge or spin and use your combos to cut down its stagger bar and defeat it. You will want to grab the chest near the door before proceeding onward, it contains The Favour of Wind (
Dodge when it begins to lunge or spin and use your combos to cut down its stagger bar and defeat it. You will want to grab the chest near the door before proceeding onward, it contains The Favour of Wind (![]() Gouge). The next hallway will have a
Gouge). The next hallway will have a ![]() Potion that you can use to heal yourself. In the next room, you will fight Bombs. These are a series staple and after a while will enlarge and explode, usually when they have a third of their health left, so you will want to take them out quickly.
Potion that you can use to heal yourself. In the next room, you will fight Bombs. These are a series staple and after a while will enlarge and explode, usually when they have a third of their health left, so you will want to take them out quickly.
Once they are dealt with, proceed through the door, there should be another Potion here. You will now go into a room with an elevator, and walk to the center of the platform to activate it. Upon reaching the top, there will be another chest with 1,200 ![]() Gil be sure to grab it before going through the next door. Inside here, you will find the Fallen Guardian, only this time Defense Nodes will appear as well. Once you are about halfway done with the fight, Fallen Hunters will also spawn in. Take out the weaker enemies first, and then use the same strategy as before to take out the Fallen Guardian. Once this is done, proceed through the door to the next room, where you will be fighting a mix of Fallen enemies and some
Gil be sure to grab it before going through the next door. Inside here, you will find the Fallen Guardian, only this time Defense Nodes will appear as well. Once you are about halfway done with the fight, Fallen Hunters will also spawn in. Take out the weaker enemies first, and then use the same strategy as before to take out the Fallen Guardian. Once this is done, proceed through the door to the next room, where you will be fighting a mix of Fallen enemies and some ![]() Bombs. There will also be another chest, this one contains
Bombs. There will also be another chest, this one contains ![]() The Will of Wind (Rook’s Gambit). Be sure to grab it and then head on to the next room where you will face the mini-boss Iron Giant.
The Will of Wind (Rook’s Gambit). Be sure to grab it and then head on to the next room where you will face the mini-boss Iron Giant.
How to Defeat The Iron Giant and Reach The Mural
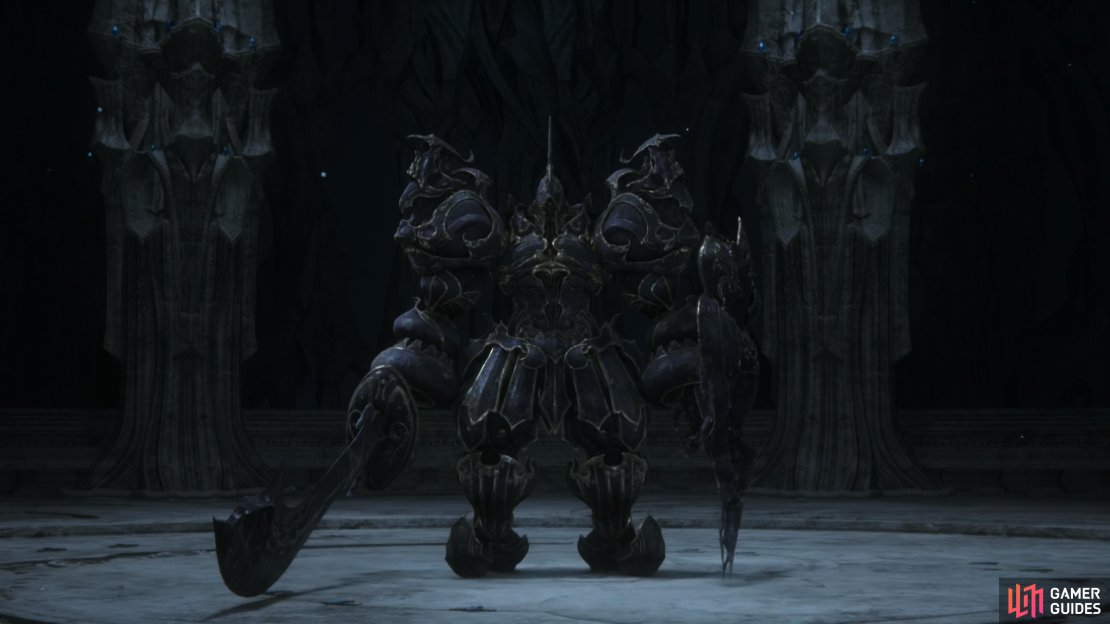
Despite the Iron Giant’s large size, it isn’t actually all that slow, so you will need to keep an eye on its movements to keep from getting hit. It can lunge, spin, and will slash directly in front of it with powerful attacks. The Iron Giant will have a warm-up animation that is easily recognizable during each of these, so you will know when to dodge. Be careful of the shockwaves it can send out from a distance as well, as long as you’re not standing directly in front of it, these should be easy to dodge. If you stay close too long, it can also stomp the ground causing an AoE attack that will deal damage to Clive.
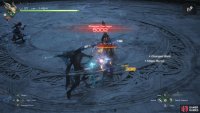
Once you do stagger the Iron Giant, you will want to keep a close watch on his bar. When it recovers his attack, Readying Atomic Ray will trigger. While he’s charging up he’s vulnerable, so knock his stagger meter back down and keep him from heavily damaging your team. Keep at this until you completely deplete its health and then proceed in the room ahead. Here you will find a ![]() High Potion and another chest containing
High Potion and another chest containing ![]() The Favor of Wind (Wicked Wheel). Once you have these, head down to the platform. Another cutscene will play and you will engage a Lich. This fight is nowhere near as tough as the Iron Giant, you just need to watch out as the Lich is able to teleport around quite a bit. It does have both ranged and close-range attacks, just watch out for when it swings its scythe and you should be ok. Once the Lich is defeated, you will have two new rooms open up.
The Favor of Wind (Wicked Wheel). Once you have these, head down to the platform. Another cutscene will play and you will engage a Lich. This fight is nowhere near as tough as the Iron Giant, you just need to watch out as the Lich is able to teleport around quite a bit. It does have both ranged and close-range attacks, just watch out for when it swings its scythe and you should be ok. Once the Lich is defeated, you will have two new rooms open up.
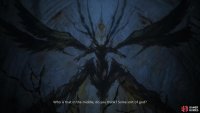
In one room you will take on a group of Spectors and in the other a group of Wraiths. These are both relatively easy to deal with. You just need to activate the switch in both rooms to get the bridge to rise up. Once this is done, head across it into the room with the mural. A long cutscene will play and then you will go into a battle with the Infernal Eikon and the shadow version of Clive. This boss battle also contains another ![]() Eikon fight, and you will unlock
Eikon fight, and you will unlock ![]() Limit Break during these events, a handy tool that has been present throughout the series. After this you will proceed to the next main quest, The Meaning of Life.
Limit Break during these events, a handy tool that has been present throughout the series. After this you will proceed to the next main quest, The Meaning of Life.




No Comments