The ![]() Iron Giants are one of the more famous enemies in the Final Fantasy series, and you will fight one as a boss during the Buried Memories main story quest. They are mostly known for being very defensive creatures, as well as for their immense strength. Let’s take a look at how the Iron Giant fights in Final Fantasy 16.
Iron Giants are one of the more famous enemies in the Final Fantasy series, and you will fight one as a boss during the Buried Memories main story quest. They are mostly known for being very defensive creatures, as well as for their immense strength. Let’s take a look at how the Iron Giant fights in Final Fantasy 16.
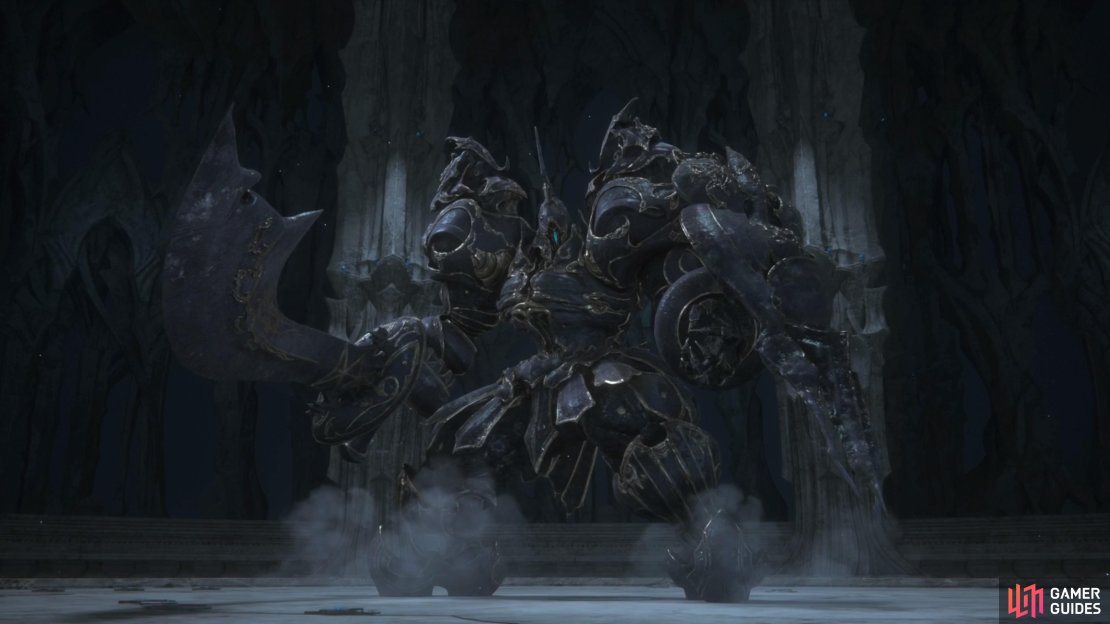
The Iron Giant boss in FF16 definitely looks imposing.
How to Beat the Iron Giant in FF16
Despite its size, the Iron Giant can move fairly quickly, especially as it closes the gap between you and it. Also, some of its attacks have a little bit of a wind-up to them, which can make it a little tricky to avoid taking damage. That’s why it’s important to know your enemy before you go crazy with offensive attacks. There are also a few attacks that are more than one strike, so being patient is also key in this battle, as you might be in the middle of attack when the second hit of a combo comes out.
All Iron Giant Attacks in Final Fantasy XVI
The following list is all of the attacks you will see from the Iron Giant during its respective boss fight.
Dashing Overhead Strike
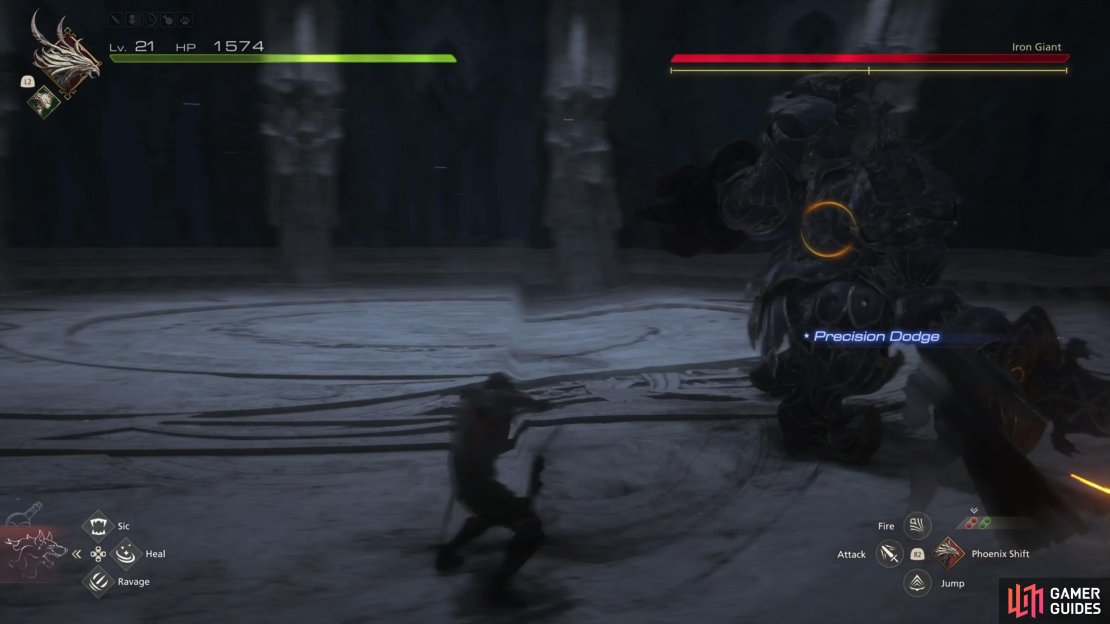
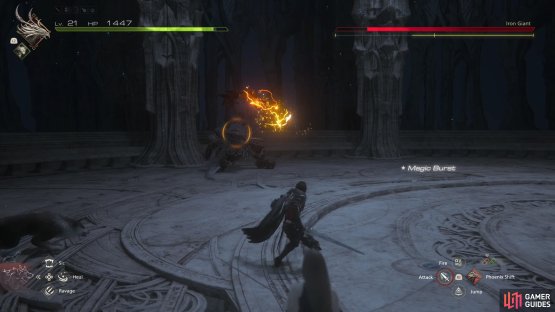
When far enough away, the Iron Giant will stomp its foot on the ground, then do a quick dash towards you and perform an overhead slash with its sword. As there is a tell the attack is coming, you will want to dodge to either side to avoid it.
(1 of 3) The dashing overhead swing will probably be the first attack you see.
Sword and Shield Combo
The Iron Giant will bring its sword to the opposite side of its body, then perform a sweeping slash with it. After this is done, it will complete the rotation, charge up its shield, then thrust it towards you. The slash will need to be dodged, but it seems you can avoid the shield hit by sticking close enough to the boss, or just to the sides.
Shield Shockwave
Sometimes, you will see the Iron Giant hop backwards, away from you, then charge up its shield. That is when you know it’s doing the shield beam shockwave attack, which goes in a straight line, towards you. While the beam is fairly quick, the fact that it telegraphs the attack makes it easier to avoid.
Big Stomp
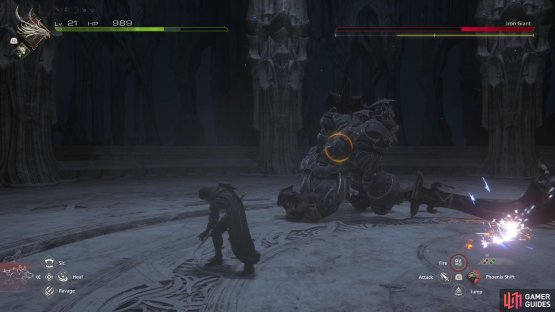
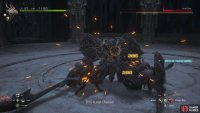
The Iron Giant will lift one of its legs up, then do a big stomp with it. You will only see this attack if you’re up close for a longer time, so just be prepared for it as you’re attacking the boss.
Sword Combo
Similar to the one dashing sword strike, the Iron Giant will perform an overhead strike, then combo into a sweeping sword slash. As long as you can remember that it’s actually two hits instead of one, then you should be more than fine. As always, it’s a melee set of strikes, so you can also simply just dodge away from the boss to avoid it.
(1 of 2) When the boss raises its leg up close, get ready for the Foot Stomp.
When the boss raises its leg up close, get ready for the Foot Stomp. (left), Far away, the shield charging with energy means the shockwave. (right)
Shield and Sword Combo
Not to be confused with the other similarly named attack, the Iron Giant starts this one with a shield bash, then performs an overhead sword slash. There is a little wind-up to the attack, so if you see him getting his shield ready, then you will know it’s coming. As with the other multi-hit attacks, you will want to wait until both attacks are done before going back on the offensive.
Atomic Ray
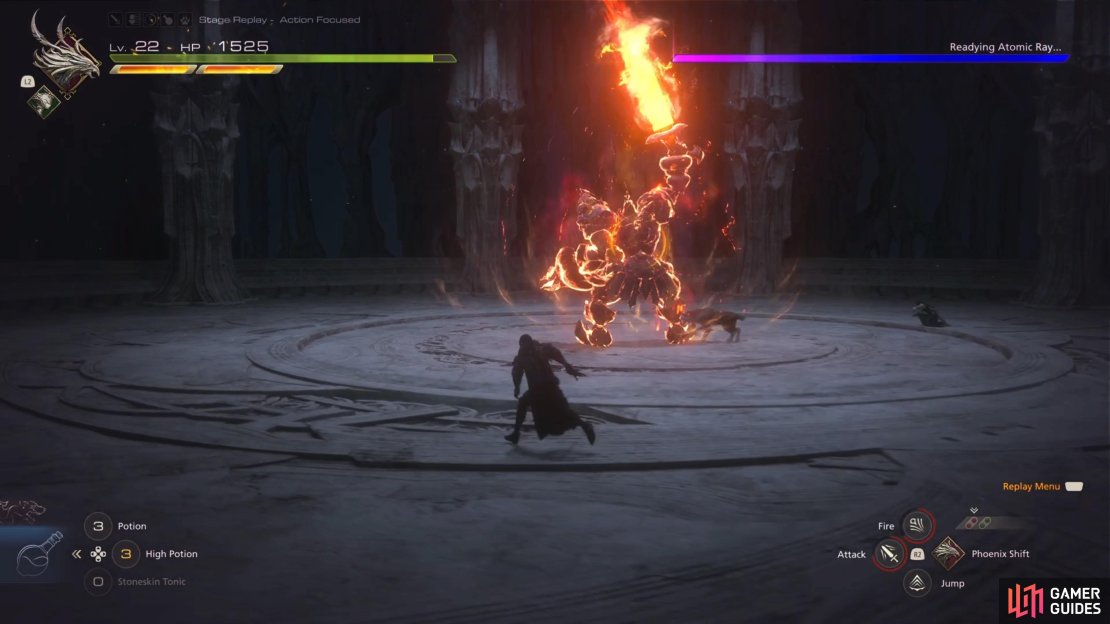
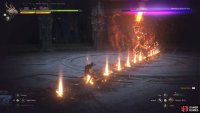
Once you get the Iron Giant’s health to about 50% or so, it will jump into the middle of the arena and begin gathering energy. This will be displayed with a bar in the upper right, with the text, Readying Atomic Ray… Your goal is to keep attacking the boss, therefore depleting that bar. While doing this, little eruptions will appear in a line on the ground, so be mindful of those. When the boss is going to perform the move, a countdown will appear. Should you not deplete the bar in time, then you will suffer major damage (around 1/2 your health or so) from the resulting explosion. If you do deplete the bar, then the attack will be stopped and the Iron Giant left staggered. It only does this once.
Sword Spark Combo
The Atomic Ray will transition the battle into the second phase, with the boss gaining some new attacks, like this one. It will be similar to the above Sword Combo, as it starts with an overhead swing, but the follow up attack is a little different. Instead of just a normal sweeping swing of the blade, the Iron Giant will place its sword on the ground, then perform a spinning motion, causing sparks to fly up. The only problem is that the second attack is a bit delayed, so you want to time your dodge.
(1 of 2) The sword spark 360 attack can be difficult to dodge correctly.
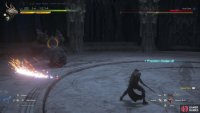
The sword spark 360 attack can be difficult to dodge correctly. (left), The charge sword spark attack is just another dash attack. (right)
Sword Spark Dash
The Iron Giant will do a little hop back, then place its sword on the ground and dash across the screen, dragging the weapon. At the end of the dash, the boss will perform a 360 degree slash to finish. Most likely, you will just need to dodge the dash portion, as the Iron Giant will be far enough away for you to avoid the spinning part.
Strategy for the Iron Giant Boss in FFXVI
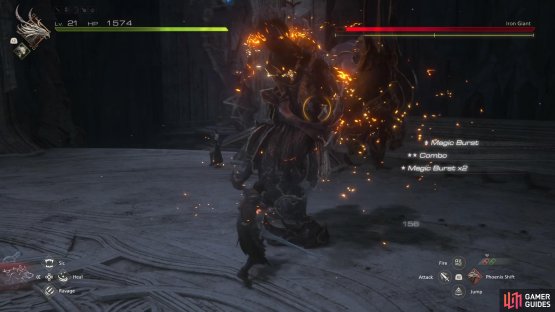
As previously mentioned, don’t let the size of the Iron Giant fool you, as it is quite nimble and can close the gap between you and it fairly quickly. Learning when to dodge for its attacks is key, as some of the moves have more than one strike, plus there’s the annoying bit that some have a little bit of a wind-up, so you might end up dodging earlier than needed. That’s the biggest key to limited your damage intake in the battle, learning the timing for dodges on the Iron Giant’s attacks.
Once you get its health down to a certain point, he will jump to the middle of the arena and start charging for Atomic Ray. It will stop attacking normally here, and a bar will appear in the upper right corner of the screen. Your goal is to keep attacking, which will reduce the gauge, and should you completely empty it, then the boss will be staggered and you’ll stop the attack. If not, then you will take some major damage that is completely unavoidable. The only slight problem is that there will be little eruptions that come out of the ground periodically, so you will need to dodge those.
(1 of 3) The Iron Giant will gather energy to unleash a powerful attack.
The second phase begins after the Atomic Ray, no matter if it was successful or not, and one of the two new attacks is annoying. The one with the second attack that involves it spinning around can be a little tough to dodge, as the little delay will make the timing a challenge. If you can handle that, though, the battle isn’t so bad, and you don’t really have to worry about any cutscenes or cinematic attacks/dodges.





No Comments