
All told there are around a dozen structures you can build at your Hideout, not including connective Engawa or cosmetic rooms, and while you’re forced to build the Kakurega first, after that you’re largely allowed to upgrade and build as you please. Resources can be tight in the early game, however, so you may want to pick your projects carefully to maximize your game, and this page will help by suggesting the best structures to build and upgrade in Assassin’s Creed Shadows.
Page Breakdown
The Stables - Cheaper Scouts, More Smuggling!
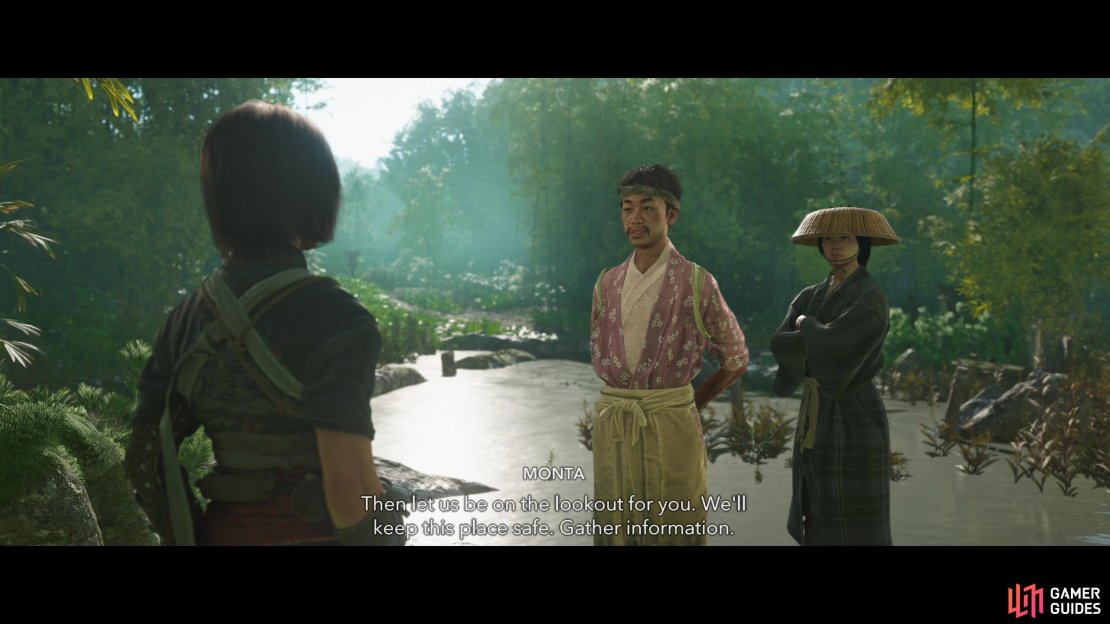
The Hideout starts with some Stables and the Hiroma, and you’ll need to build a Kakurega with local resources as part of the quest From Spark to Flame. The Kakurega gives you many boons, including the ability to fast travel and a solitary scout to use on finding main quest objectives. Scout have another function, however - smuggling. Find pallets of resources in enemy camps and castles and you can assign a scout to smuggle them back for you at the end of the season. This can result in you gaining hundreds of resources, which of course, means more building, so getting more scouts is going to be a priority. You will unlock two more scouts (for a total of three) when you leave the Hideout as part of the quest Finding New Allies, but improving your number of scouts and their efficiency will be an early priority.
The cheapest way to do this is by upgrading the Stables as soon as possible - a rather painless option considering a Lv2 Stables only costs 70x Crops, 50x Wood and 20x Minerals. This will allow one scout to smuggle a pallet of resources instead of the standard two, doubling their efficiency! Upgrade your Stables to Lv3 isn’t terribly expensive (350x Crops, 260x Wood and 90x Minerals), but it will increase your Smuggling Gains by 20%, so you may want to complete this upgrade before long - perhaps after building a Forge?
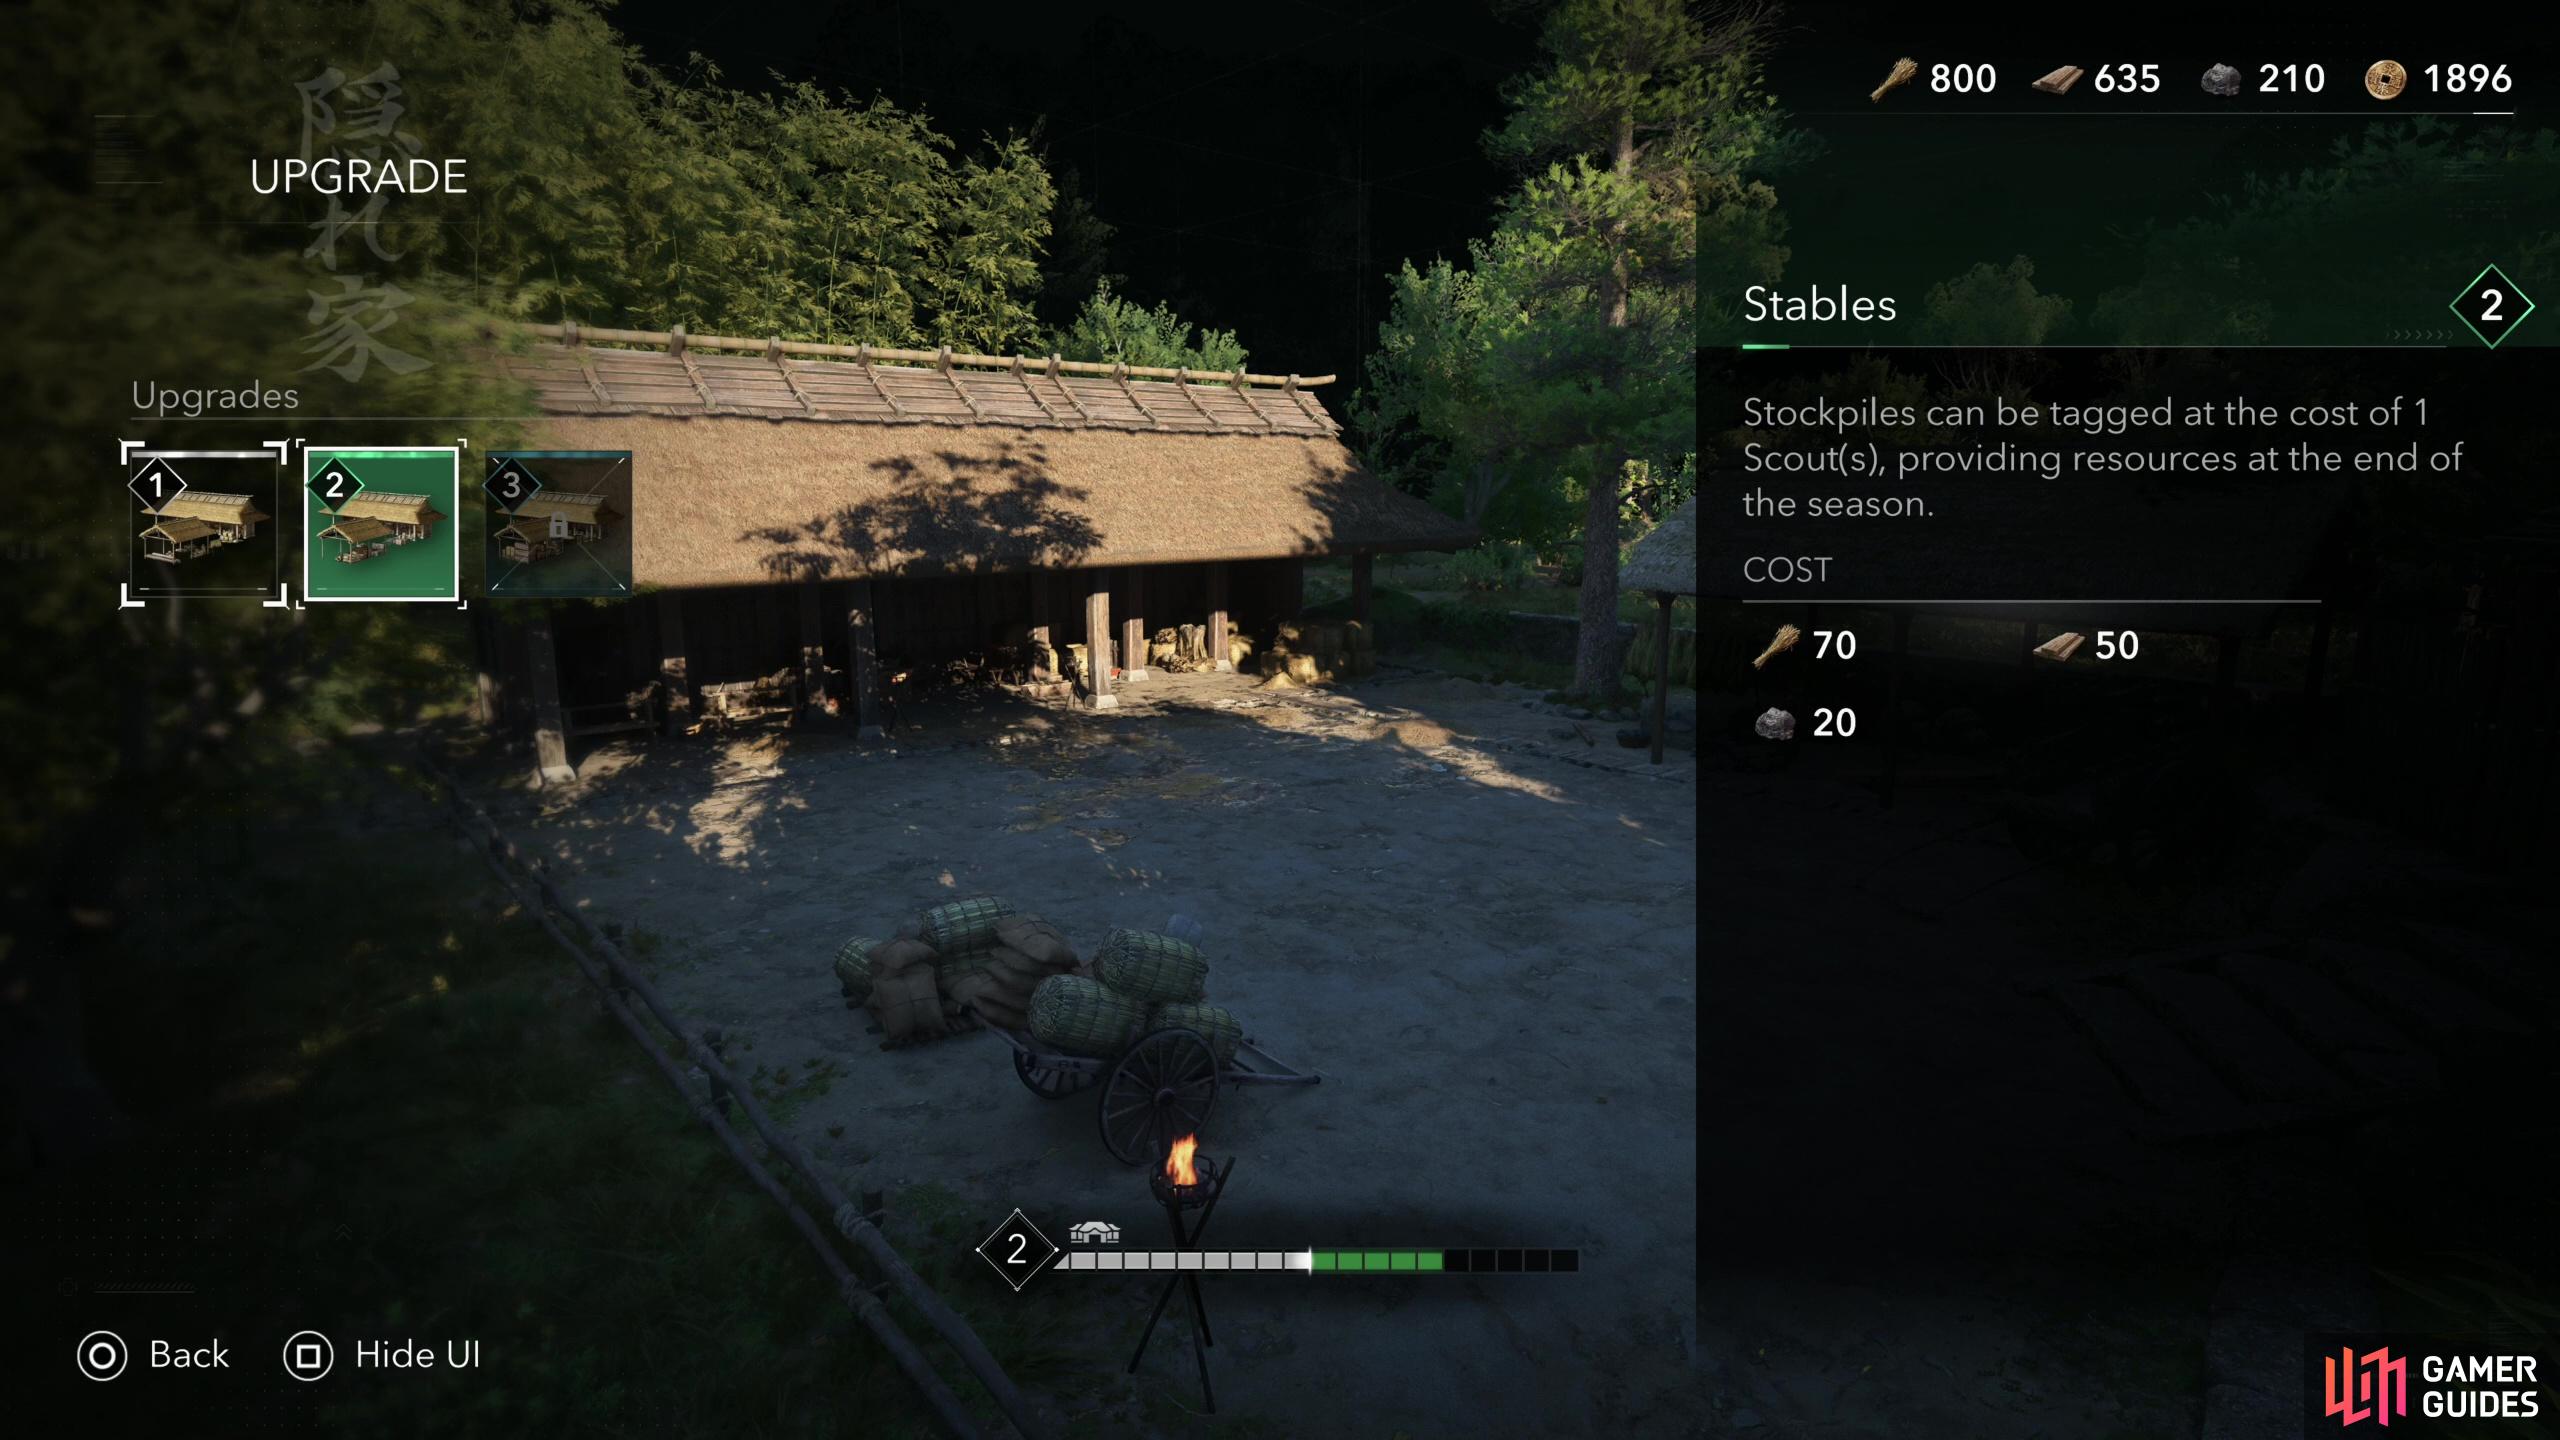
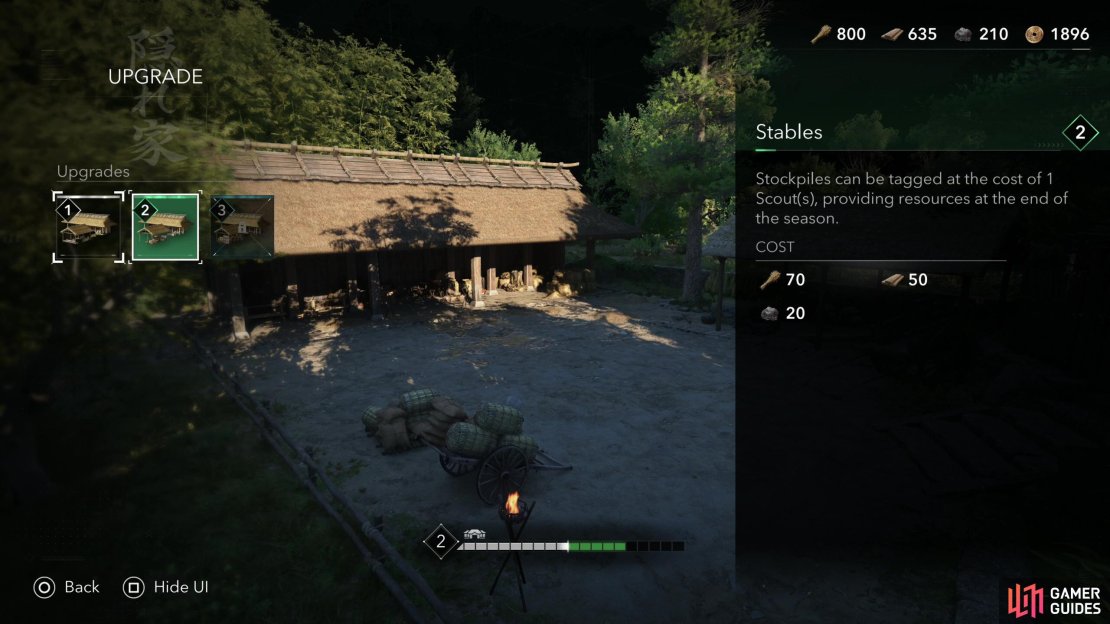
(1 of 4) You can upgrade the Stables to Lv2 to upgrade the scout’s efficiency when smuggling,
The Study - More Scouts, More Smuggling!
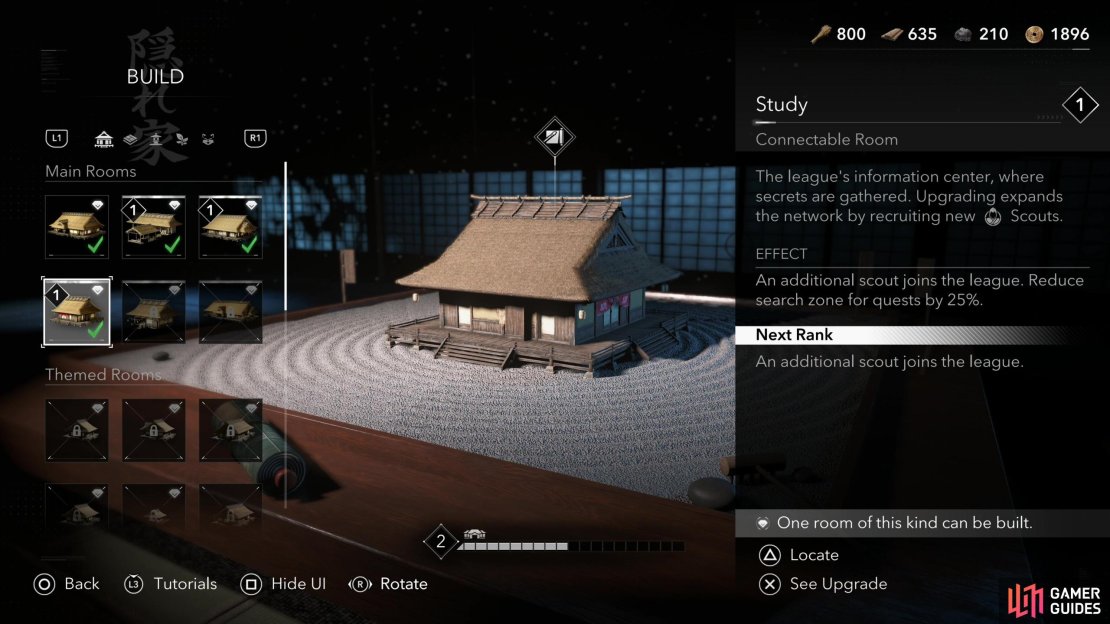
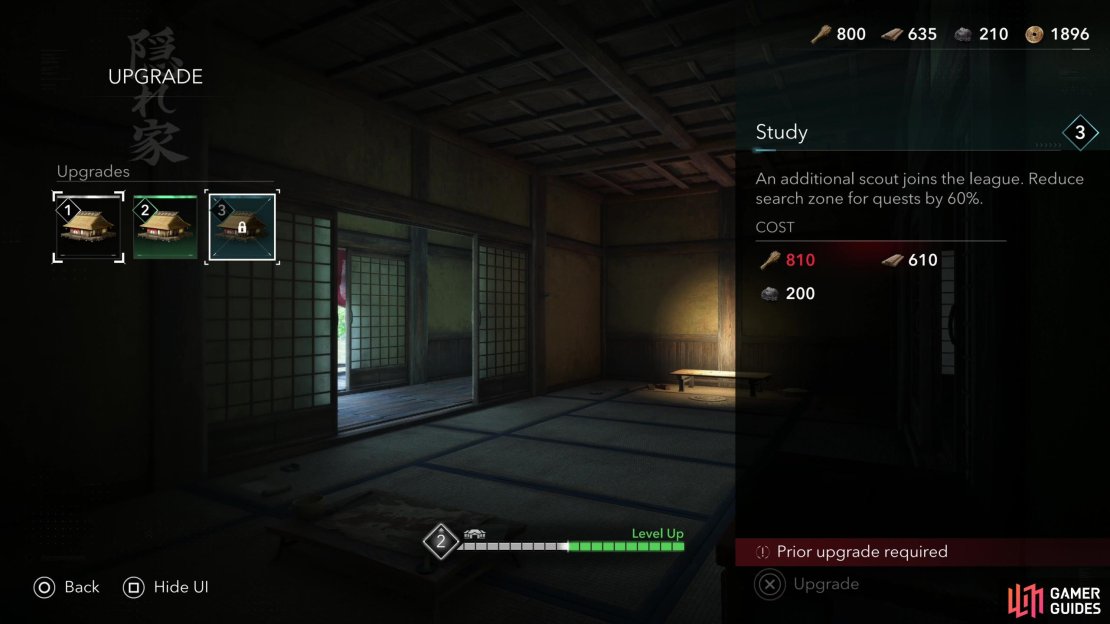
More efficient smuggling is nice, but it’s no substitute for more scouts, and you can get this by building a Study. At Lv1 you’ll get another scout - a steal at 60x Crops, 40x Wood and 10x Minerals. Each subsequent upgrade will get you another scout, but the prices are considerably steeper each time. The scouts pay for themselves, however, either with more smuggling, more objective finding or idle gathering of loot if you fail to use them before the season changes, so the sooner you build and upgrade a Study, the better off you’ll be. Clearing a single resource-rich contract should suffice to get you a Study Lv2, after which you may wish to hold off on a Study Lv3 to build a few more things.
The Forge - No More Obsolete Gear
More scouts, better scouts has been our mantra so far, and that’s held true while doing so was trivially cheap. But at some point you’re going to need to getting into combat, clearing enemy camps and castle for Contracts and to gain access to pallets full of resources you can smuggle. You’ll find new gear as you go about this, of course, but relying on enemy drops for arms and armor is something you should tolerate as little as possible… especially once you start getting your hands on legendary gear, which you’ll probably want to keep using. The solution? Build a Forge. Complete the quest Way of the Blacksmith to gain the services of Heiji, after which you can build a forge for a measly 40x Crops, 30x Wood and 10x Minerals. Doing this will allow you to upgrade arms and armor up to Lv20, which is a fine start, and once you start nearing Lv20 you can always upgrade the Forge to Lv2 (350x Crops, 260x Wood, 90x Minerals) to raise the gear upgrade cap to Lv40. It may be a good idea to fast track this upgrade, however, as it also allows for you to use non-legendary engravings, which will dutifully start to drop after you get a Forge Lv2. The sooner you get a Forge Lv2, the more engravings you’ll end up with, faster.


(1 of 2) Complete “Way of the Blacksmith” to recruit Heiji, after which you can build a Forge.
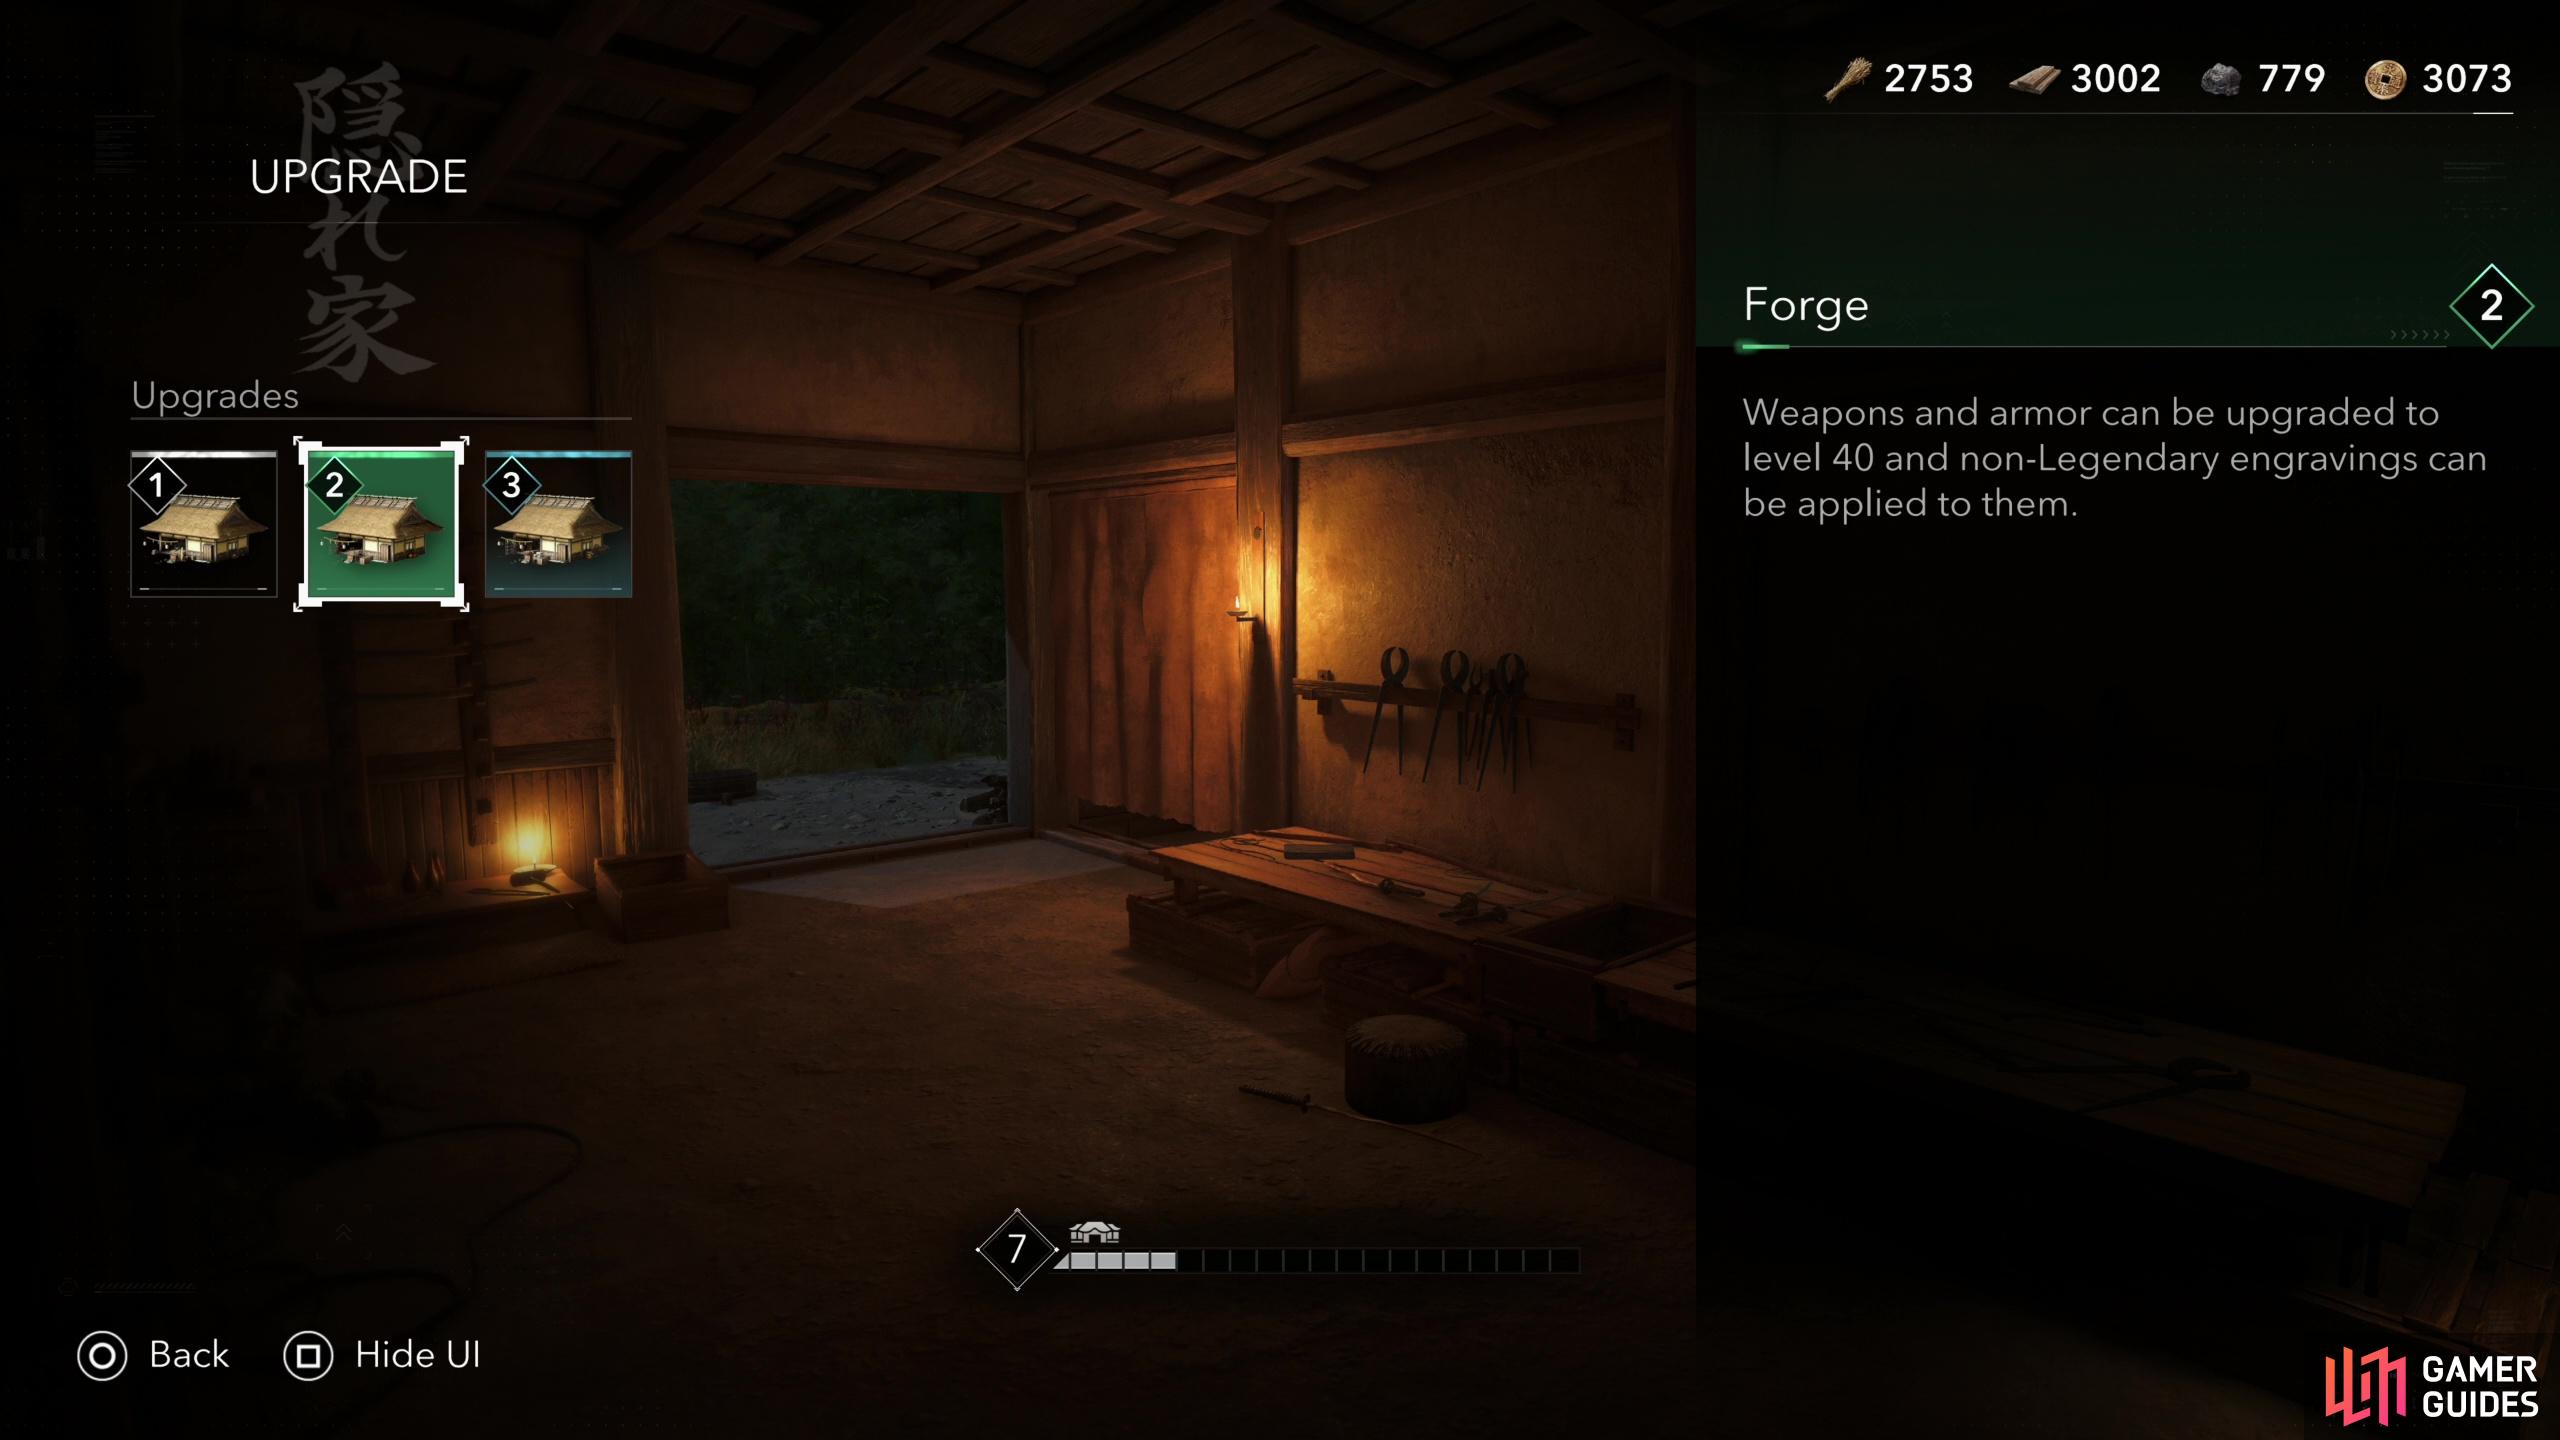
Complete “Way of the Blacksmith” to recruit Heiji, after which you can build a Forge. (left), Building a Forge will allow you to upgrade gear, and upgrading it to Lv2 will allow you to start finding Engravings. (right)
Finishing the Stables and the Study - Maximum Scouting!
At this point you’ve done all the cheap upgrades and buildings, so it’s time to finish some things off and delve into the mid-tier build territory. As mentioned earlier, upgrading the Stables to Lv3 will increase your smuggling gains by 20%, which is a no-brainer. Meanwhile, unlocking that third Scout from the Study is also tempting, but doing so will set you back 810x Crops, 610x Wood and 200x Minerals. A squadron of six Scouts might be overkill, but you’ll never have to skimp on searching for objectives or pass up a pallet again!
Tera - EXP Gains
At this point you should have plenty of Scouts and the ability to upgrade your gear, so it’s not a bad time to advance the main questline. Doing so will eventually give you the ability to unlock the Tera, the first nonupgradeable room on this list. It’s more expensive than the others, by far, but burn 740x Crops, 550 Wood, 180x Minerals and 1930 Mon and you’ll gain a permanent +10% EXP boost for the rest of the game. The sooner you build this, the more you’ll benefit.
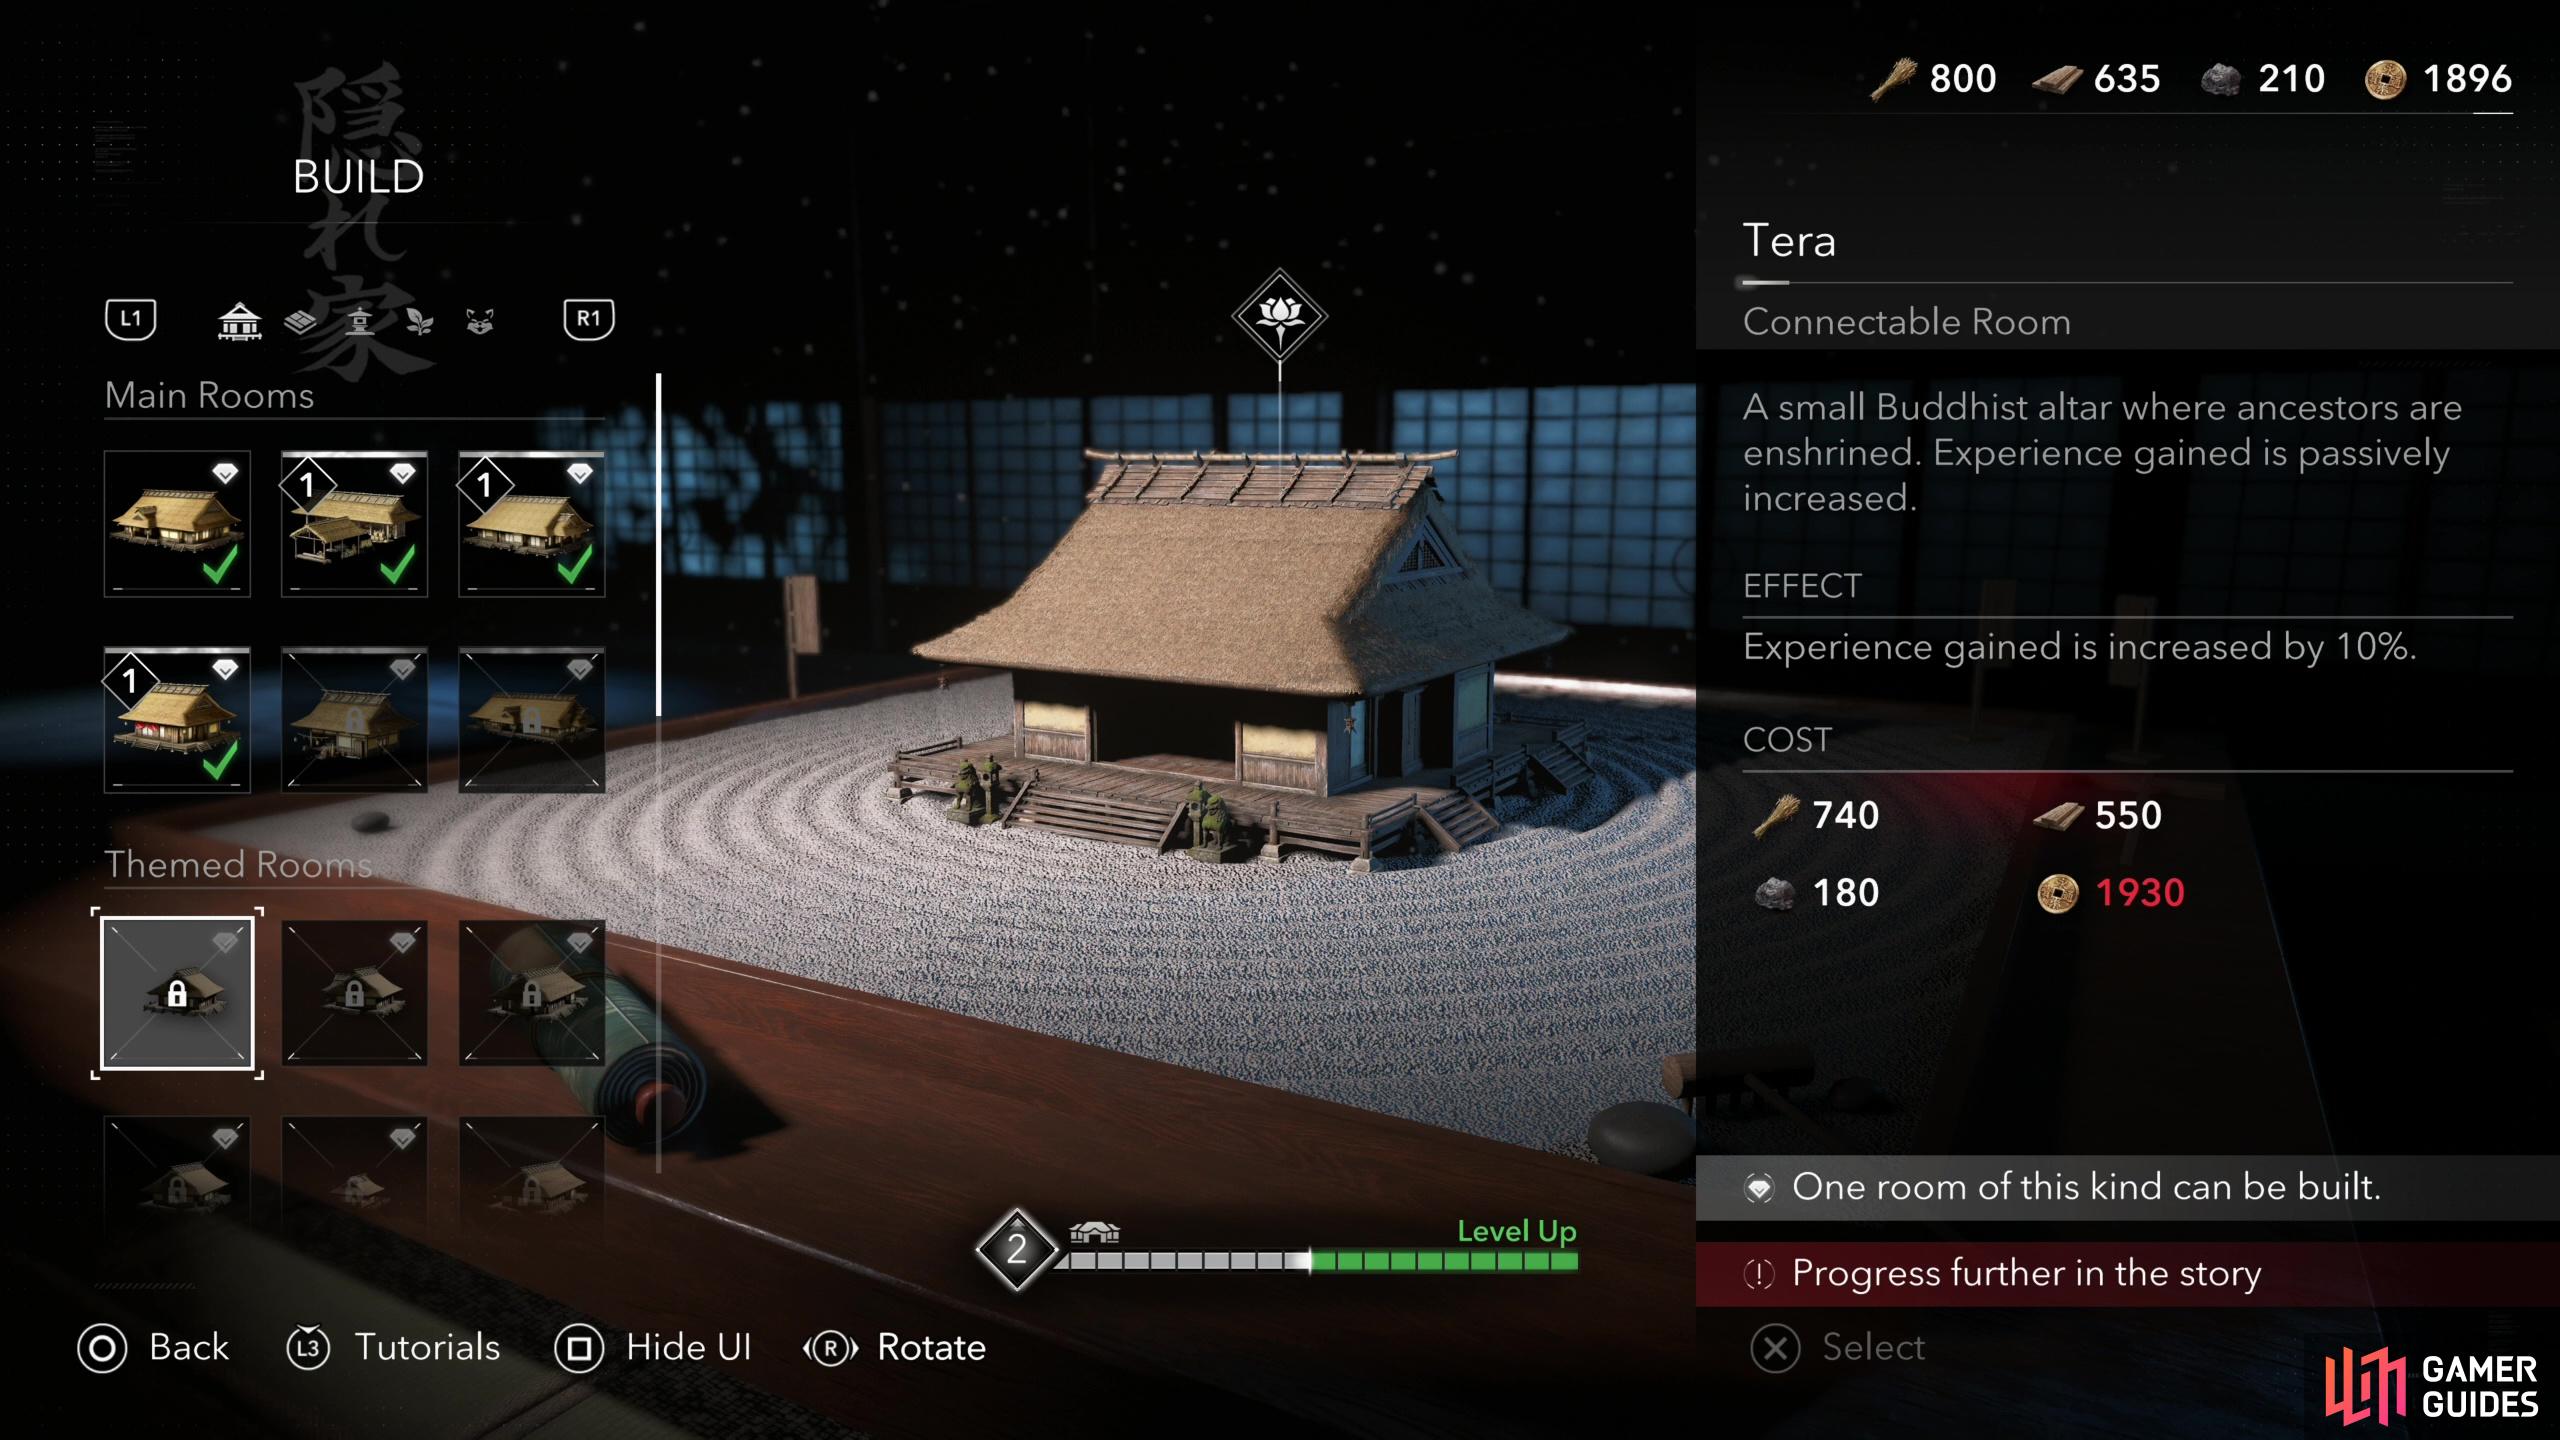
Building a Tera will increase your EXP gains by +10% for the rest of the game.
Nando - Cheaper Scout Replenishment
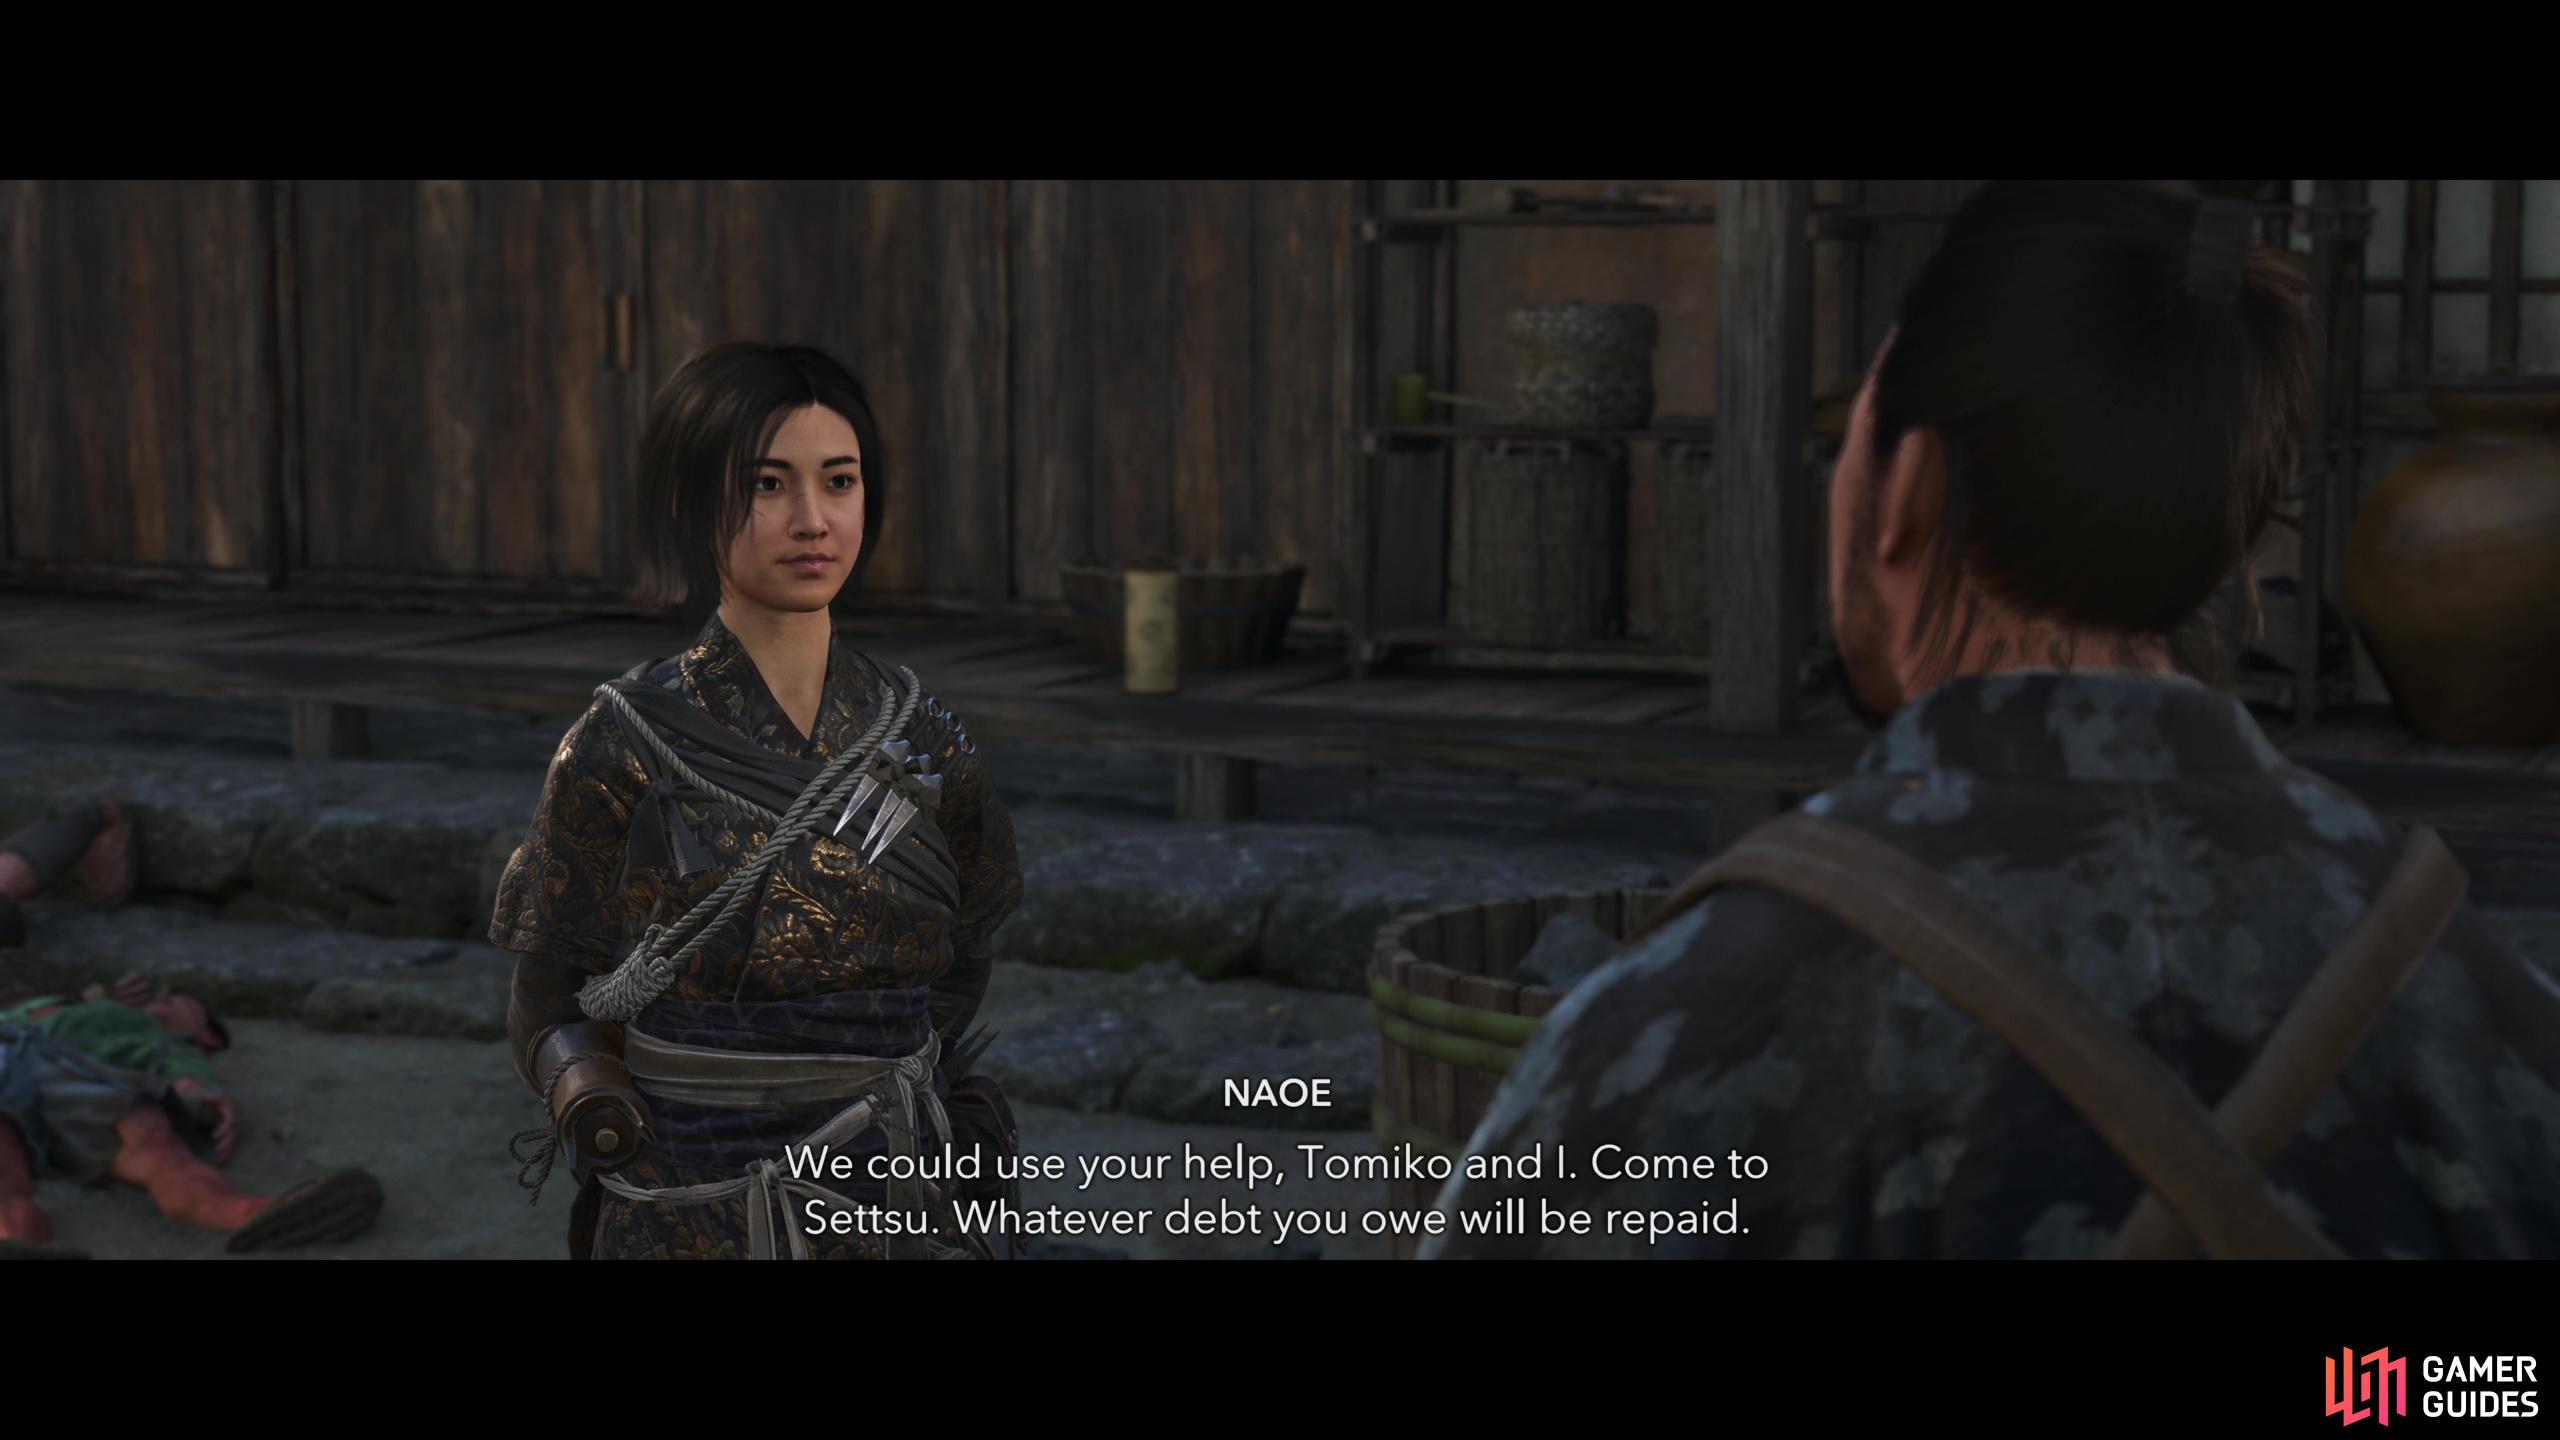
Less important perhaps than the Tera, the Nando may well be something you build earlier, depending on how many materials you gather and how quickly you upgrade the Study to Lv3. Sometimes you just end up doing a lot of Scout-heavy business, and even six won’t be enough. In those situations, you can always hire more via a Kakurega, at the expense of Mon. This reduces Mon costs by 30%, making it less painful to keep your Scouts topped off.
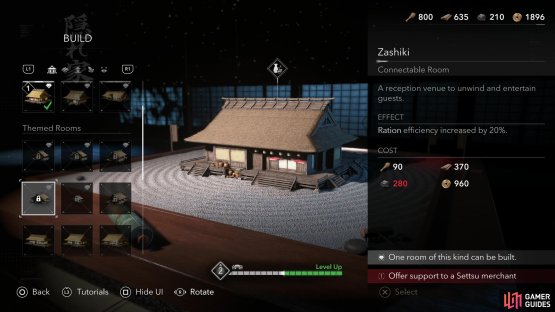
Zashiki and Tea Room - Better Rations!
At the start of the game your rations will heal only a paltry 40% of your health, which will keep you alive in a pinch, but if you take heavy damage you’ll end up chewing through your stock of supplies. You can unlock more rations by finding food vendors, but to ensure you’ve got plenty of healing, that 40% just has to get higher. The solution? Build a Zashiki and Tea Room. Both improve your ration’s healing by 20%, and when rations are healing double, you need to use half as many. Pretty sure that’s how math works.
Unfortunately both of these buildings are hidden behind quests, the Zashiki requires you to complete the Iron Hand Guild questline and the latter requires you to advance the main story, then complete Tea Bowls for Rikyu. The former is easier to do, earlier, and the cost of the Zashiki is suitably lower to account for this. Build both these structures when you can and enjoy the superior rations!

(1 of 2) Start the Iron Hand questline,

Start the Iron Hand questline, (left), and you’ll be able to build the Zashiki, increasing the potency of your rations by 20%. (right)
List of Hideout Buildings and Upgrades
Now that you’ve got our reasoning, let’s put it all together and list an order of operations for you non-reading types out there. Or folks who would rather not have to re-read to remember what comes next. Keep in mind, this is a loose suggestion - we’re confident up until the Tera that this is a good build order, but the heart wants what the heart wants, and the more Contracts you complete and more smuggling you do, the less your resources will limit what you can build, freeing up your build order:
| Build Order | Reasons | Cost |
|---|---|---|
| Hiroma | Starting structure | n/a |
| Stables Lv1 | Starting structure | n/a |
| Kakurega Lv1 | Quest objective, Scout +1 | 60x Crops, 30x Wood, 5x Minerals |
| Stables Lv2 | 1 Scout to Smuggle instead of 2 | 60x Crops, 40x Wood, 10x Minerals |
| Study Lv1 | Scout +1 | 70x Crops, 50x Wood, 20x Minerals |
| Forge Lv 1 | Upgrade and dismantle gear | 40x Crops, 30x Wood, 10x Minerals - Recruit a Blacksmith |
| Stables Lv3 | 20% more smuggling gains | 350x Crops, 260x Wood, 90x Minerals |
| Study Lv2 | Scout +1 | 350x Crops, 260x Wood, 90x Minerals |
| Study Lv3 | Scout +1 | 810x Crops, 610x Wood, 200x Minerals |
| Tera | +10% EXP | 740x Crops, 550x Wood, 180x Minerals, 1930 Mon - Main Story Progression Required |
| Forge Lv2 | Gear upgrade cap Lv40, unlocks Engravings | 350x Crops, 260x Wood, 90x Minerals |
| Nando | -30% Scout replenishment cost | 40x Crops, 330x Wood, 110x Minerals, 1160 Mon - Recruit more Allies and Scouts. |
| Zashiki | Ration healing +20% | 90x Crops, 370x Wood, 280x Minerals, 960 Mon - Offer support to a Settsu merchant |
| Tea Room | Ration healing +20% | 640x Crops, 480x Wood, 160x Minerals, 1670 Mon - Offer support to a Yamashiro tea master. |
Now that you know what to build, when and why, all that’s left is to get out there and start collecting resources!
No Comments