
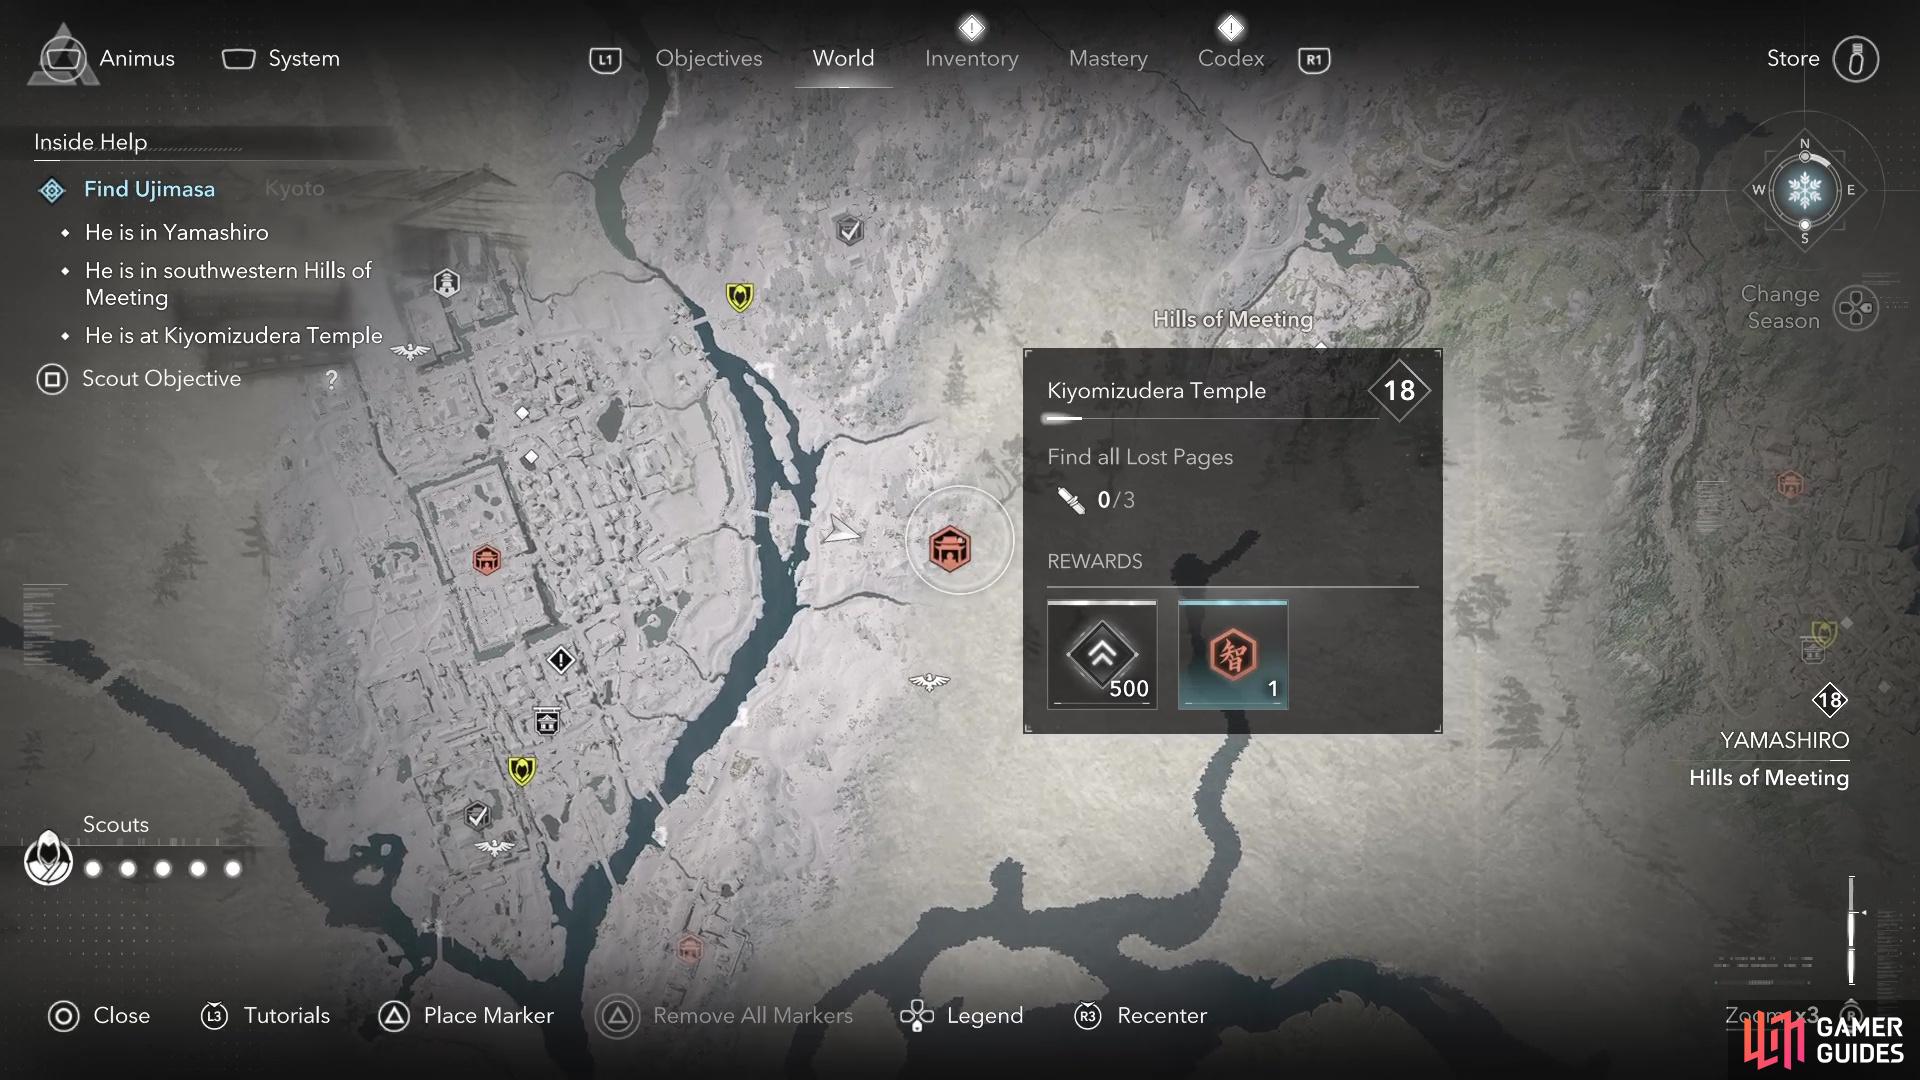
You’ve met with Ise Sadatame at Byodoin Temple, who mentions some help in the form of of his friend, Ujimasa, who can help you infiltrate Yamazaki Castle. The game mentions that you will find Ujimasa at Kiyomizudera Temple, in the Yamashiro Region. This can be a longer mission, due to you having to kill the members of the Twisted Tree Objective Board. This page will detail where to find Kiyomizudera Temple, as well as Ujimasa and all members of the Twisted Tree board.
Kiyomizudera Temple Location
To get started, you will first have to find Kiyomizudera Temple, as that is where you have to travel to find Ujimasa. The only real clue you have for its location is that it’s in the southwestern Hills of Meeting sub-region. The Hills of Meeting sub-region is to the east of Kyoto and north of Ogura Pond. It’s much easier coming from Kyoto, specifically where Honnoji Temple is located in the center/southern side of the town. From where Honnoji Temple is located, look to the east of there on the map to see two bridges with a small island in the middle of them.


(1 of 2) Kiyomizudera Temple is pretty much straight east from Honnoji Temple in Kyoto.
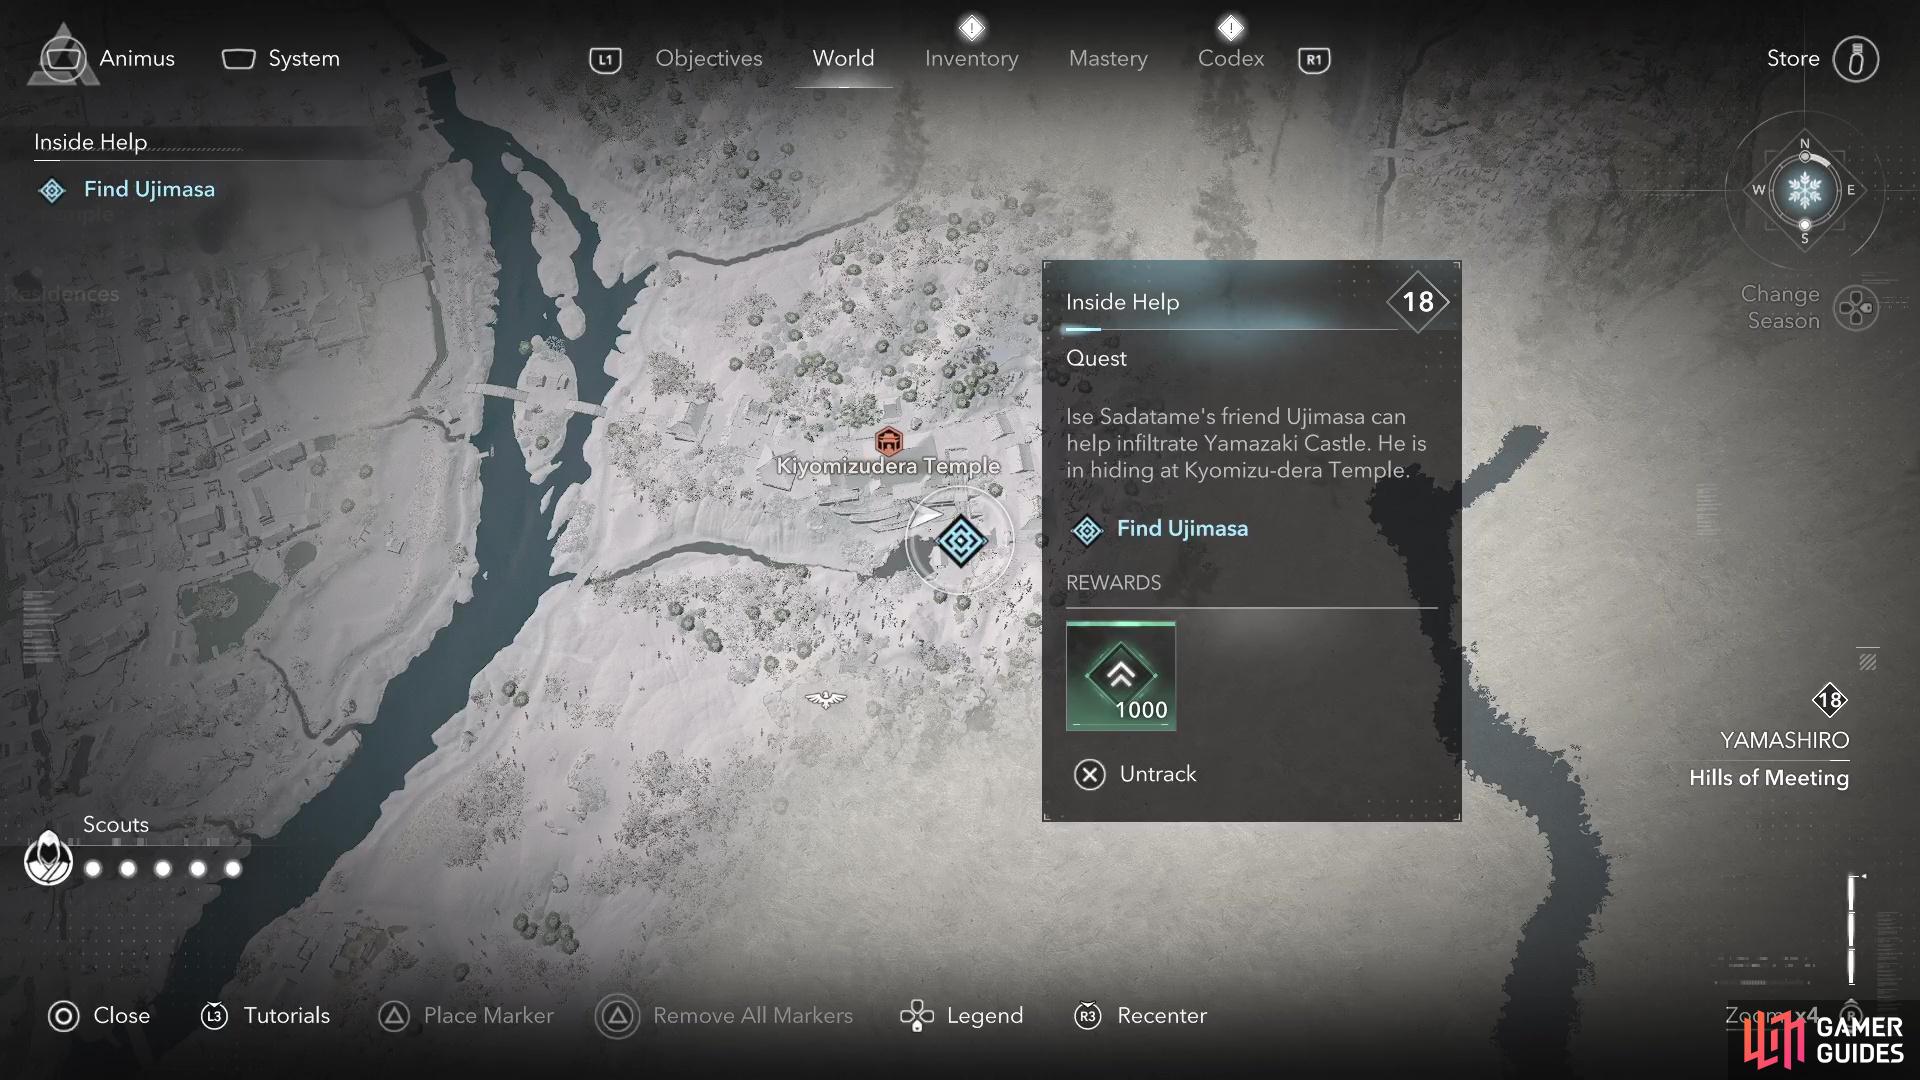
Kiyomizudera Temple is pretty much straight east from Honnoji Temple in Kyoto. (left), Look towards the southeastern corner of the temple to find Ujimasa. (right)
Cross both of the bridges and the stairs leading to the temple will be right in front of you. Go to the southeastern side of the temple, in the lower area, to find Ujimasa. While talking to him, he will present a choice of three different things, although it doesn’t really matter what you choose here, as it doesn’t affect anything. He doesn’t trust you quite yet, so he asks you to take care of some rogue samurai harassing people near Kyoto. He’ll send you over to a merchant in Kyoto who has been harassed by them, hoping he has more information.
Twisted Tree Quest Guide
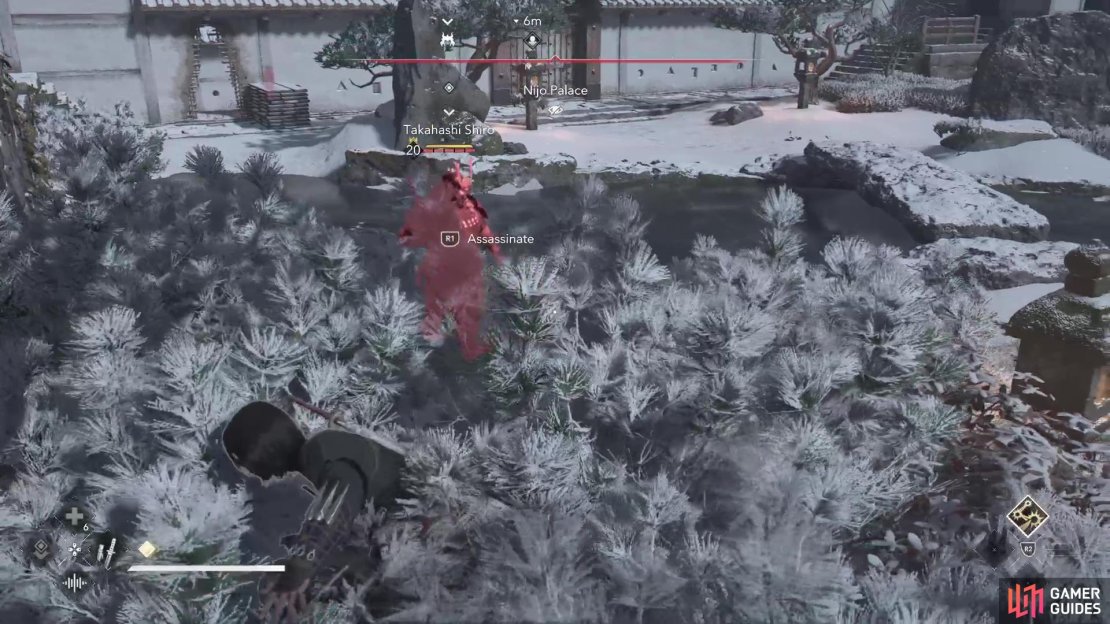
This will start the Twisted Tree quest, as well as putting two targets from them on the Objective Board. In order to get the rest, you’ll need to speak with the merchant mentioned previously. First, head north of the Honnoji Temple until you discover Nijo Palace, but don’t go inside it. Instead, wander around to the west of the castle while using Observe, until you see a blue dot. If this is a cart, then you’ve found the merchant. Speak to him to learn more about the Twisted Tree and get the rest of the members to appear on your board.
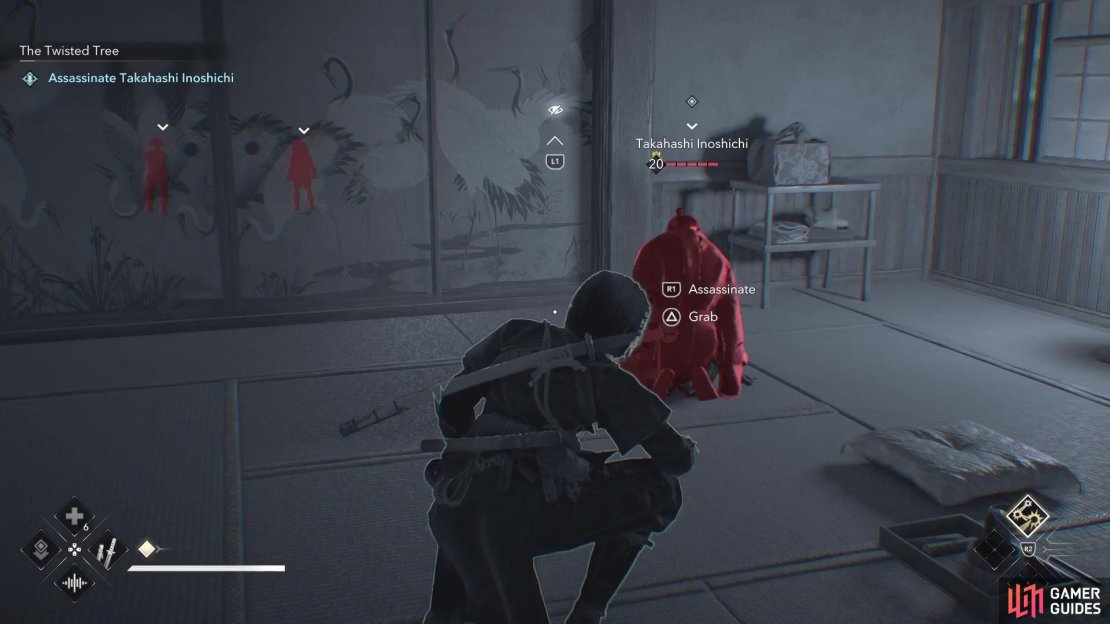
Rather than dive deep into their locations and how to kill them, head on over to the Twisted Tree Walkthrough page for all of the details. You have a few options here on how to handle the Twisted Tree, as you don’t technically need to kill all seven of them. Both Goro and Ichi-hime can be spared, and you’ll receive the full rewards from doing that, so there’s no reason to go after them. You can either go to their locations, holding down the Observe button and approach them for the option, or simply kill Inoshichi. Killing the father will let those above two children go, without you even having to meet them.


(1 of 5) The location of the merchant that adds the other family members to the Twisted Tree board.
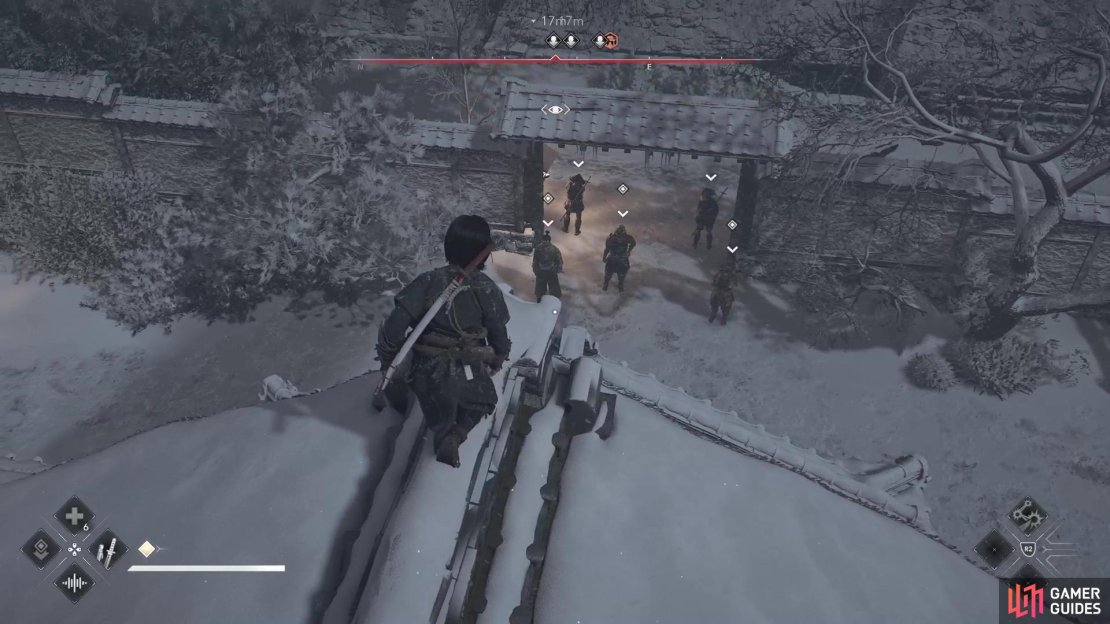
As for the other four children, you can go after them individually, which would make things a lot easier on yourself. However, if you decide to assassinate/kill the father first, then those four children will gather at the same place as his father. This can lead to a tough battle, since they will likely just stay together in one spot. The father is definitely the most challenging target here, as he’s found in a restricted area and has a lot more guards around him. Taking out the guards is recommended, no matter what, since it’s much less likely you’ll be seen.
When you’ve taken care of all the targets, you can return to Ujimasa at the Kiyomizudera Temple to receive a key and complete the quest.
No Comments