
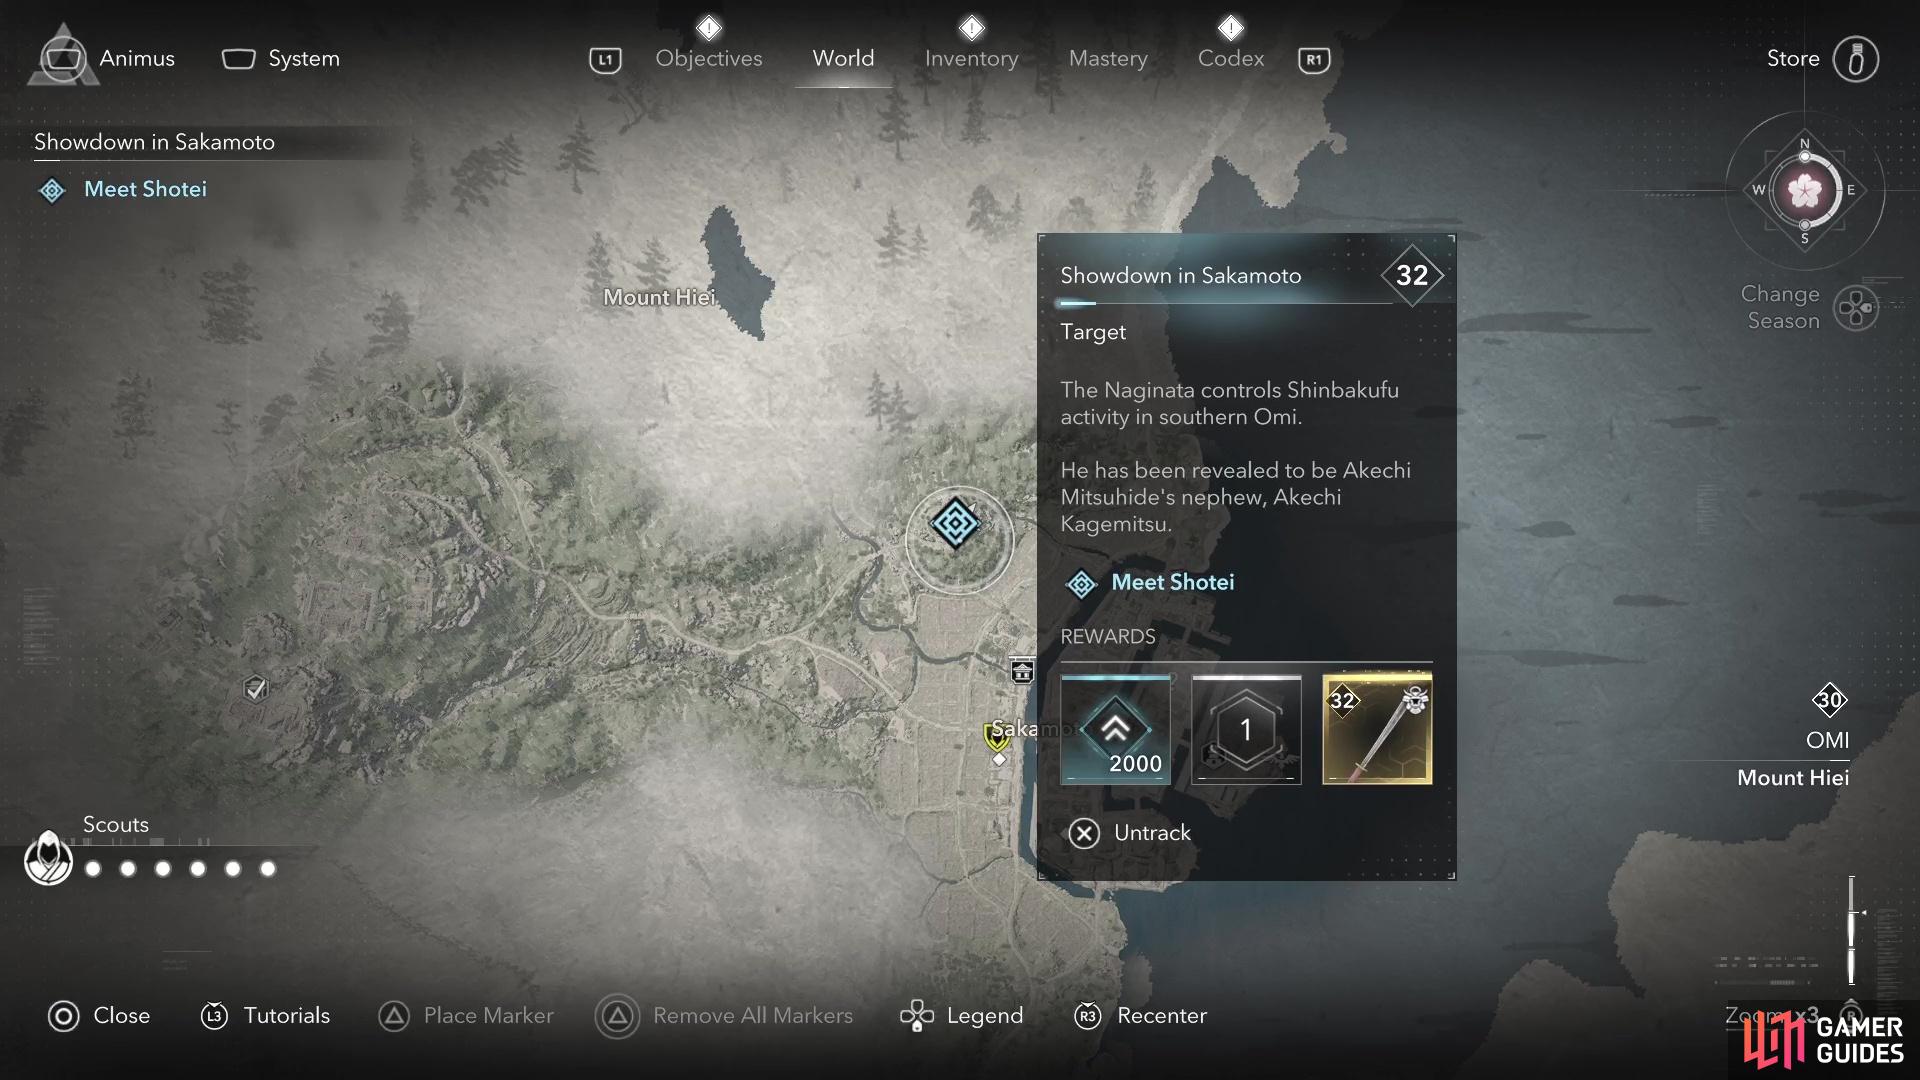
You’ve tracked down Shotei and attempted to get Katsuhime on your side to help infiltrate Sakamoto Castle. Despite the lack of committment on her part, it’s time to finally put your plan into motion and go after Akechi Kagemitsu, or The Naginata, now. Your first order of business on this quest is to meet up with Shotei, who will be waiting outside of Sakamoto for you.
Where to Find Shotei
The first step for this mission is to meet up with Shotei, although it can be a little tricky to find him. The in-game clues mention he’s at a tower near Sakamoto and the tower overlooks the town. You might think the tower is right next to Sakamoto, but it’s a little bit outside of it. When looking at the map, Sakamoto is right on the waters of Lake Biwa. If you stand there and look northwest, you should be able to spot a tower on top of a hill.
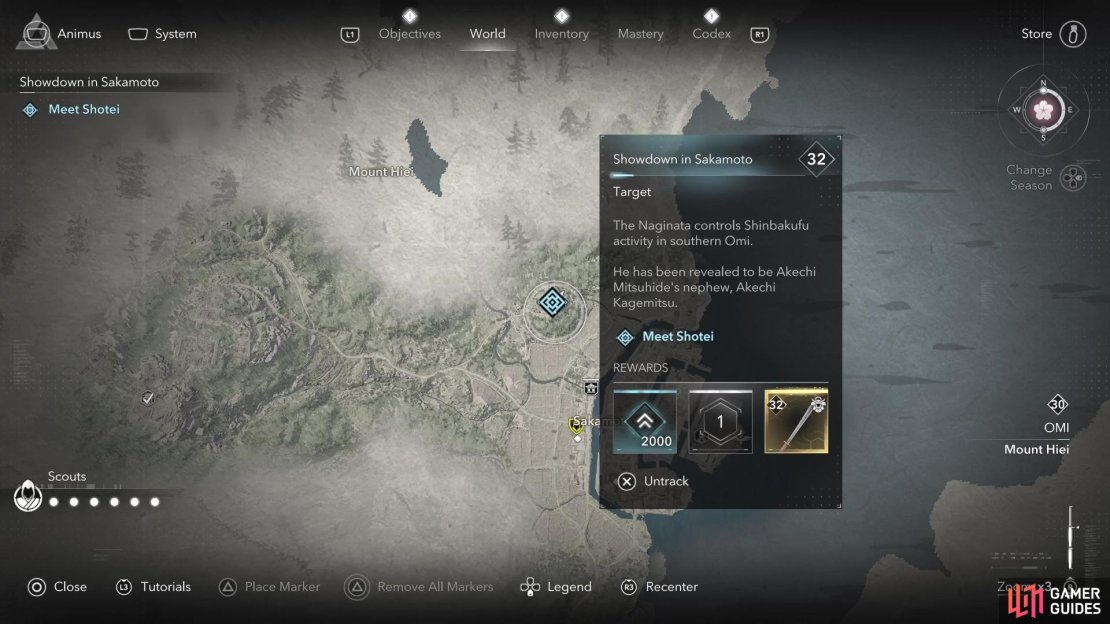
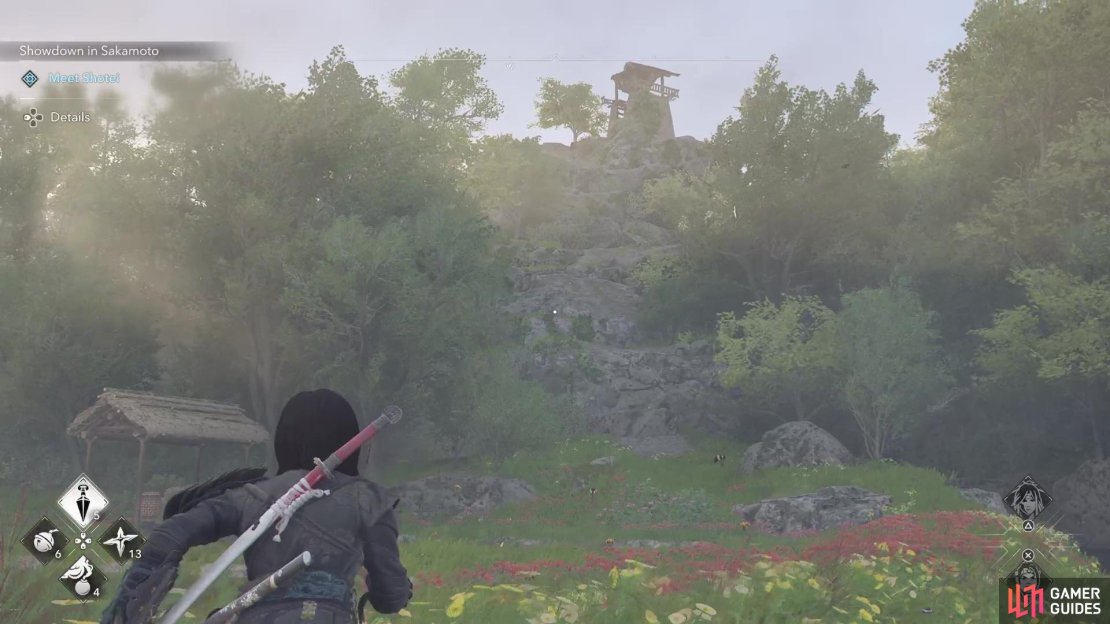
(1 of 3) Shotei will be found northwest of Sakamoto.
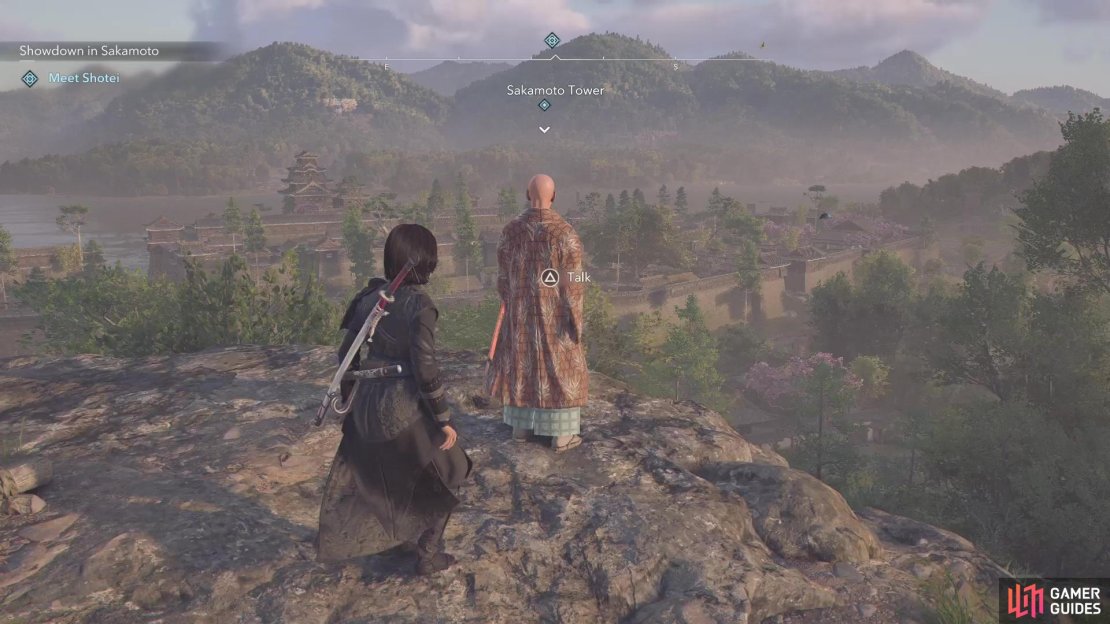
That is where Shotei will be located (an actual location called Sakamoto Tower), so it’s only a matter of getting to him. Either climb the rocks on the side to reach the tower, or find the path that leads to it. Before speaking to him, it should be noted that this quest will require you to use both Yasuke and Naoe, so make sure to check their equipment and skills first. Once you are ready, speak to Shotei and tell him you’re good to go. This will start the infiltration of Sakamoto Castle, where you will start with playing as Yasuke.
Kill Gamo Yoshimitsu
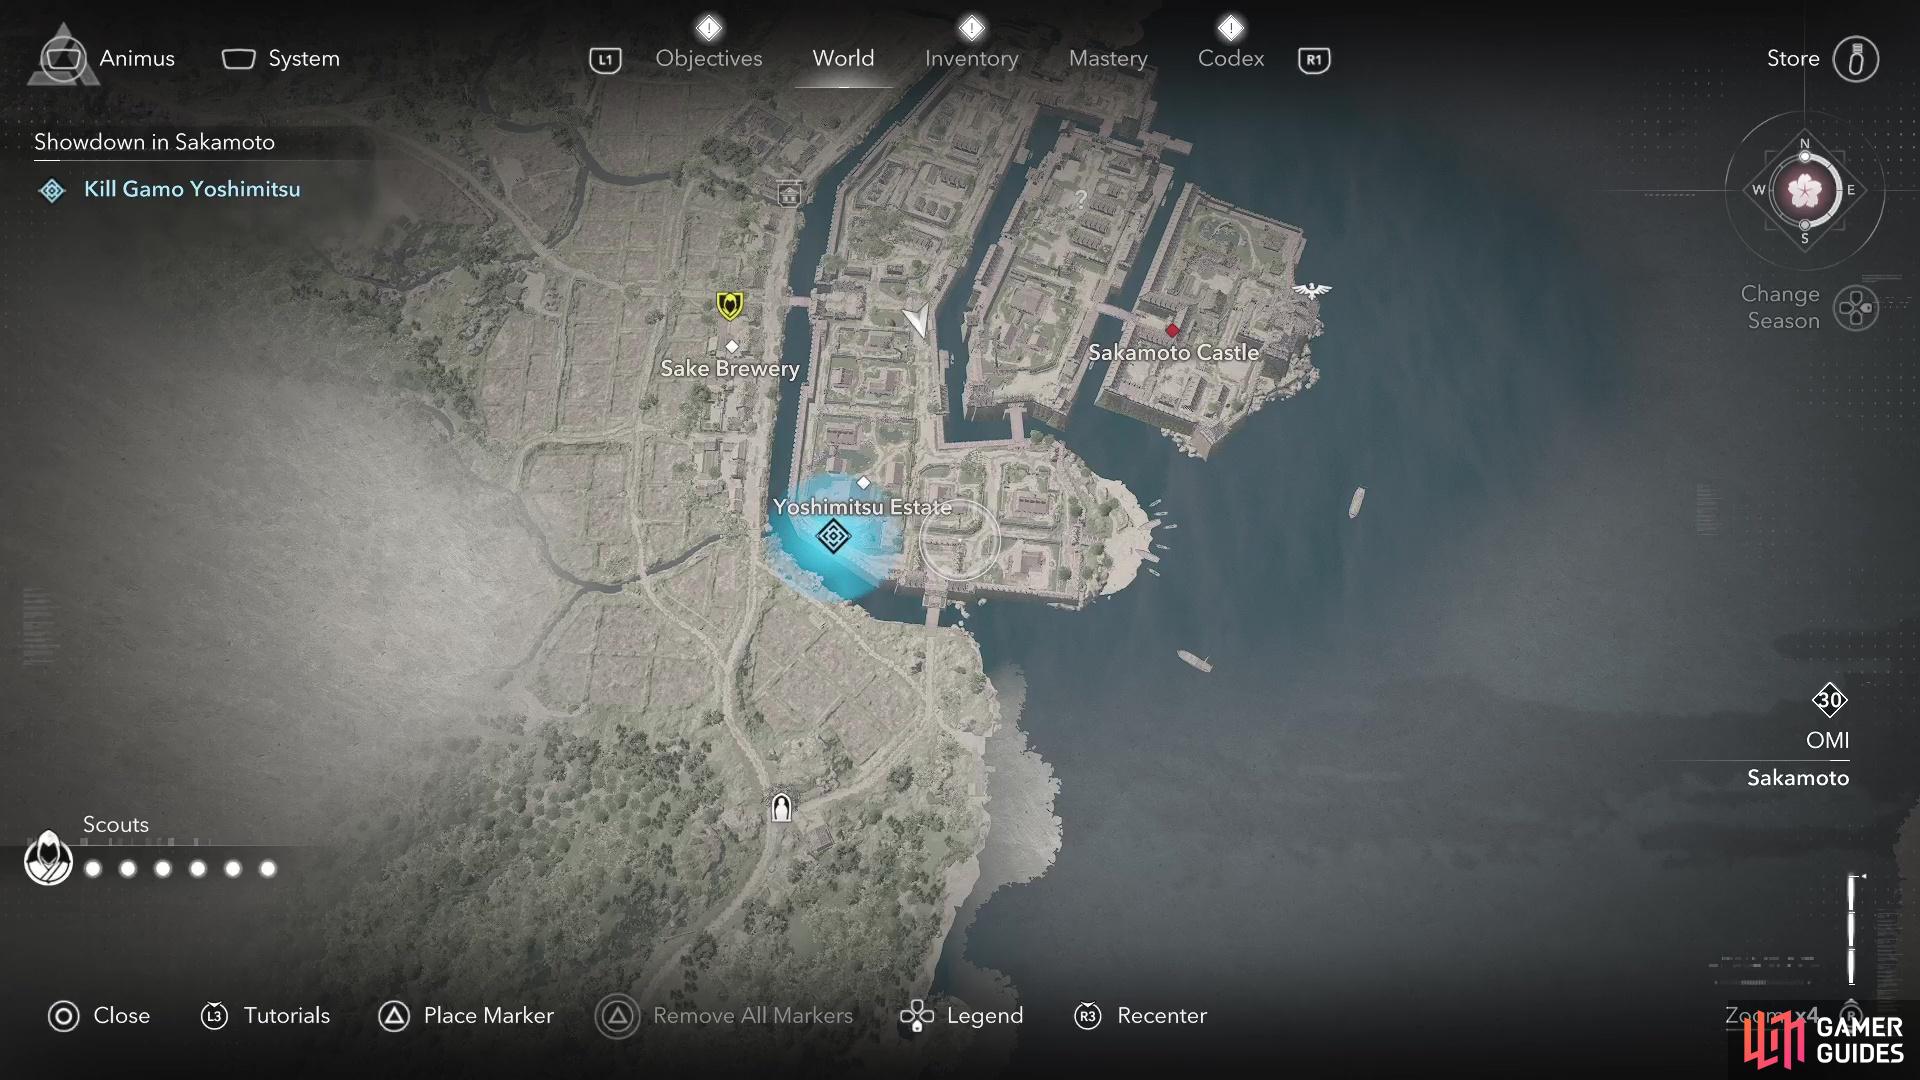
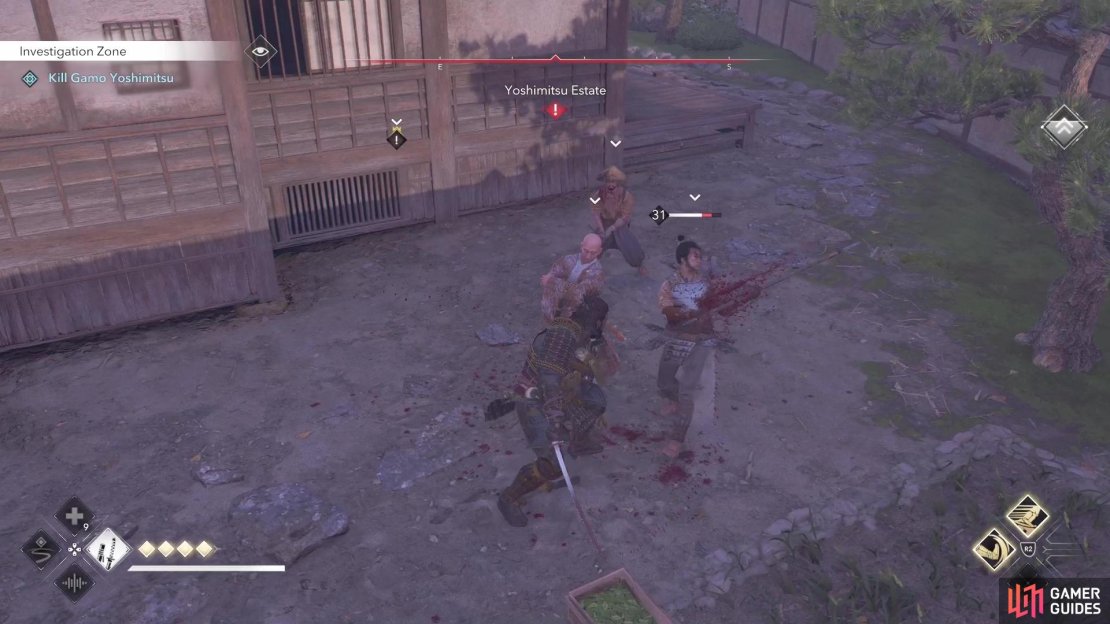
Yasuke’s task is to kill Gamo Yoshimitsu, the strongest fighter that is employed under Akechi Kagemitsu. When you gain control of Yasuke, look at your map to see that Gamo is located in the southwestern corner of Sakamoto, in the Yoshimitsu Estate section. Naturally, this area is off-limits, but you’re free in the town, so you have one of two ways to do things here. The first one is to just charge right in and make a big fuss, which isn’t going to be too difficult for Yasuke. The second is to go around the back and climb the wall to enter the compound.
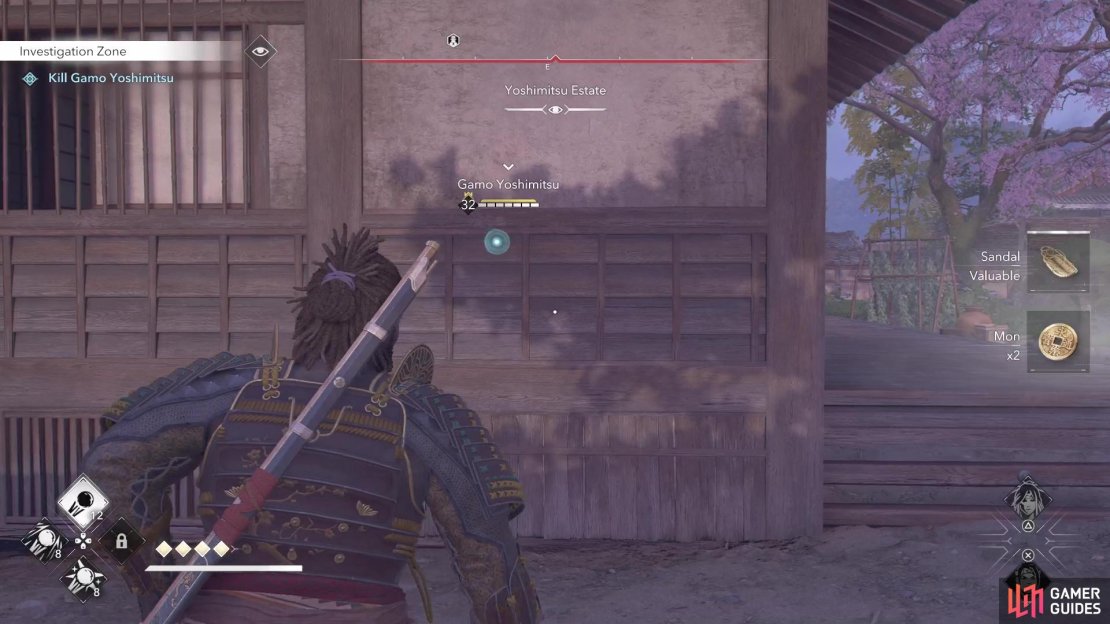
It should be noted that once you get close enough to Yoshimitsu, a cutscene will occur and you’ll enter a duel after it. So, with that in mind, you could simply just rush straight towards him to initiate that scene. You can also sneak to the side, but you need to watch out for some of the other enemies in the area. Without something like Eagle Vision, Yasuke is kind of going in blind, so it might be easier to just go full throttle and rush the objective.


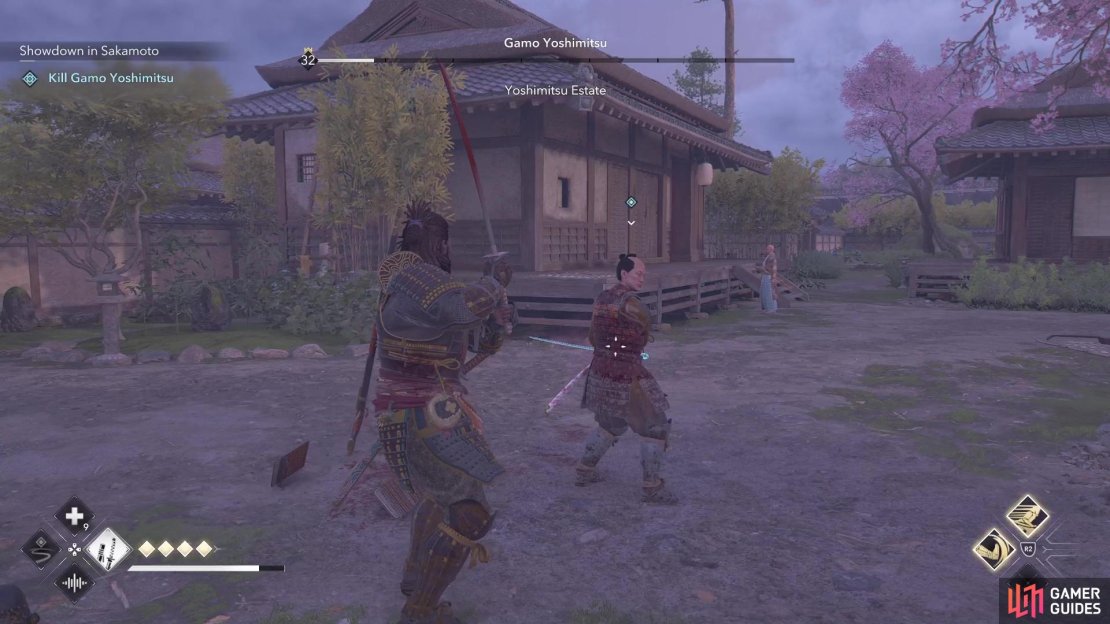
As for the fight with Gamo Yoshimitsu, he wields a poisoned katana, so you want to make sure you don’t get hit very often in quick succession. He will have a myriad of combos, including a three-hit unblockable one, a two-hit normal combos, and a two-hit blue-colored one. That last one is definitely tricky, too, as it only looks like a single strike, since the second one is quite delayed. You will also want to be extra careful when you make him vulnerable, as he can sometimes lash out with an unblockable attack while you’re attacking.
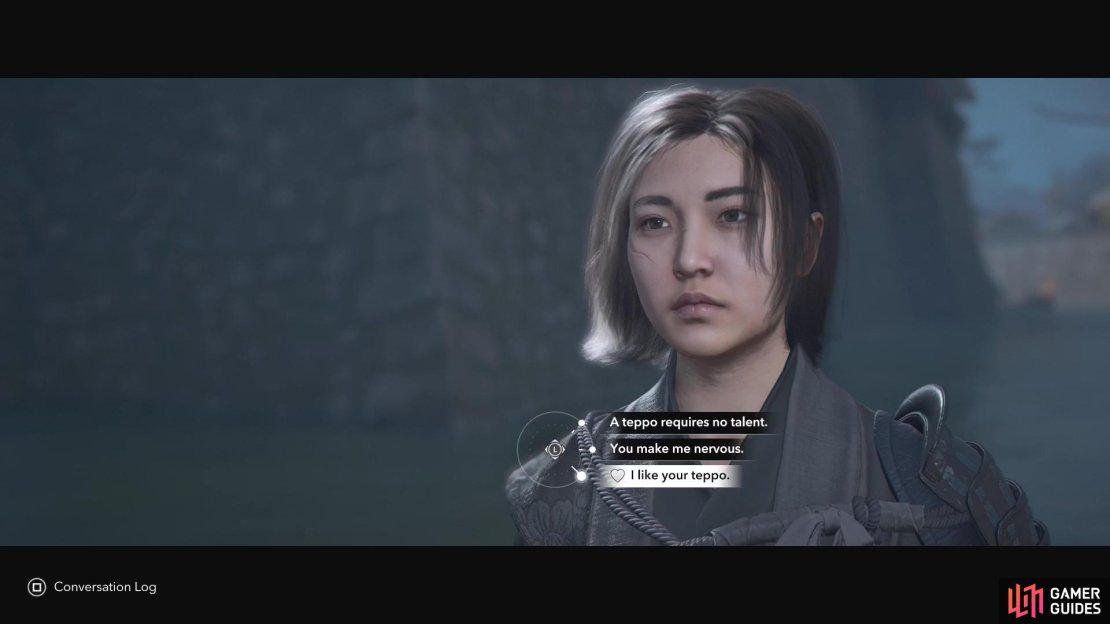
With Yoshimitsu dead, the game will switch over to Naoe and Katsuhime, with your first chance to flirt with her being during this scene. If you wish to start flirting with her, choose the I like your teppo option.
Destroy the Explosives
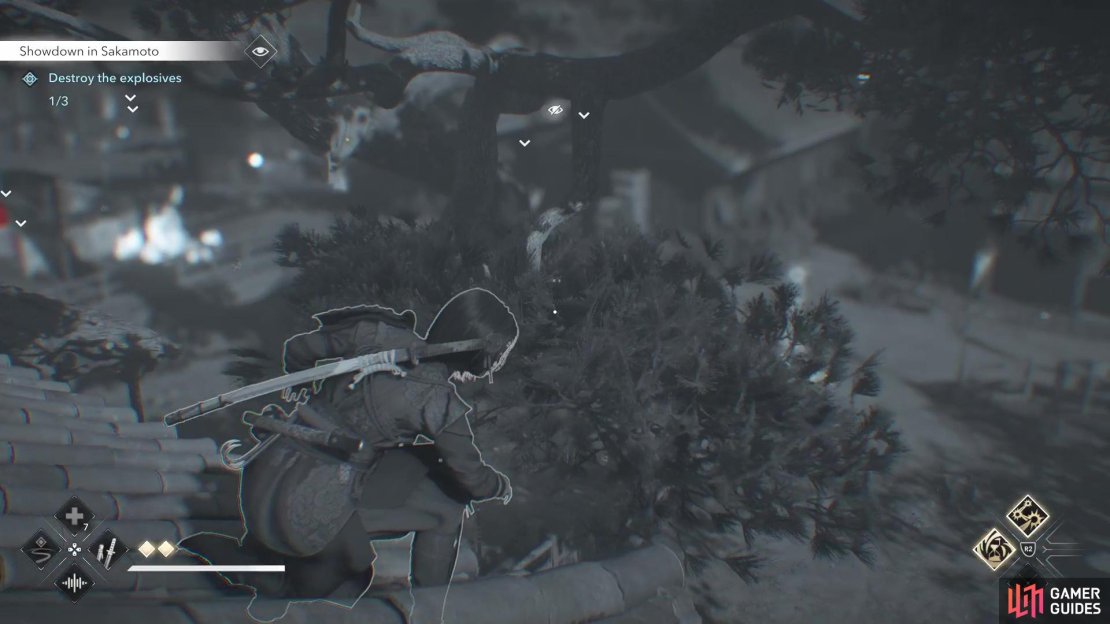
When you gain control of Naoe, start entering the castle grounds by using the scaffolding straight ahead of you. You just need to be mindful of the enemy at the top, so make sure you climb up opposite of where he’s looking to get the jump on him. From there, you want to use Eagle Vision to tag the enemies in the compound, as well as look where the blue dots (explosives) are located. There are three explosives you need to trigger, which are nothing more than the small explosive pots you’ve seen throughout the game thus far, so you can simply throw a kunai at them.
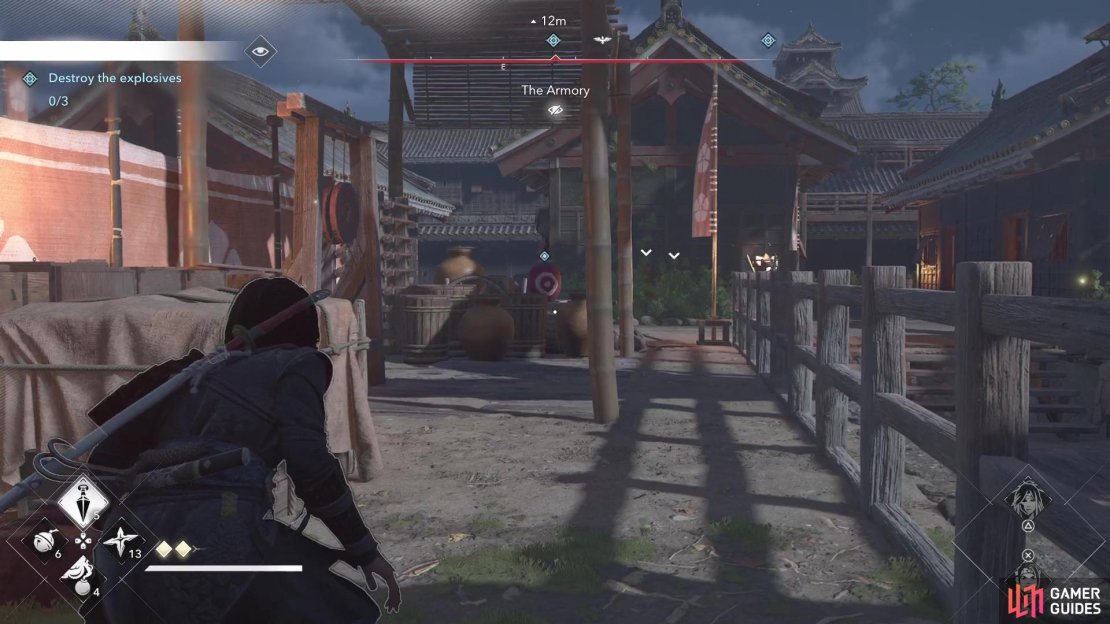
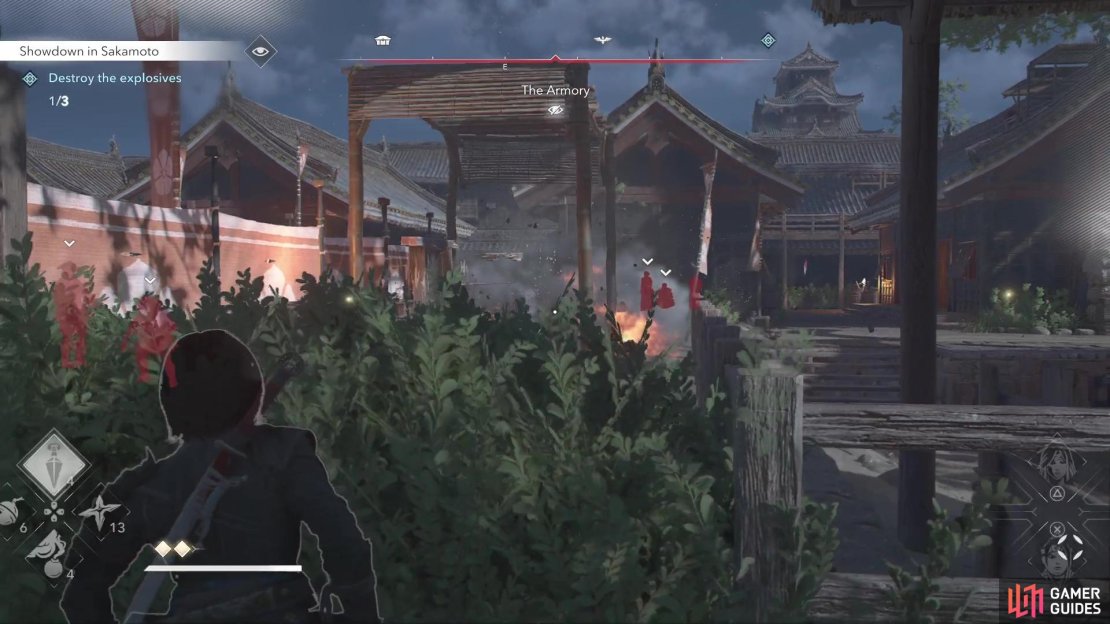
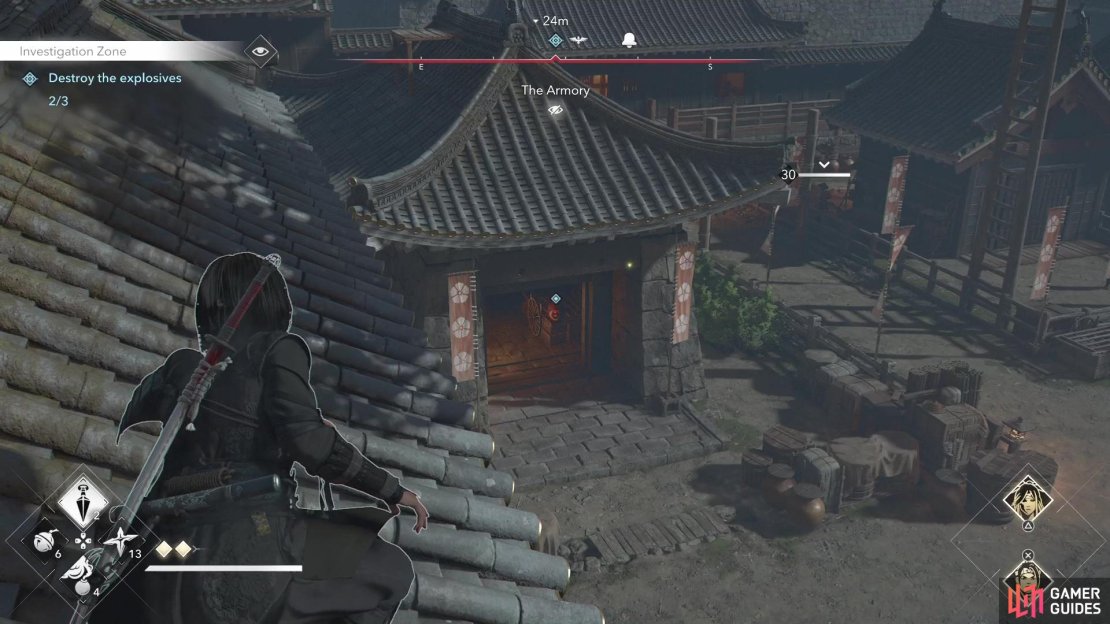
Two of them will be to the south, while the third is on the northern side of the compound. Other than enemies on the outer walls, you shouldn’t really have to confront any other enemy on the ground, since you can hit all of the pots at range. For the southernmost one, you can climb onto the rooftop, then jump onto the nearby tree (right by the box that replenishes your tools). The middle one is accessible by jumping down to the lower roof and hitting it from there. Save the northernmost one for last, since it’s closest to the next objective after finishing with the explosives.

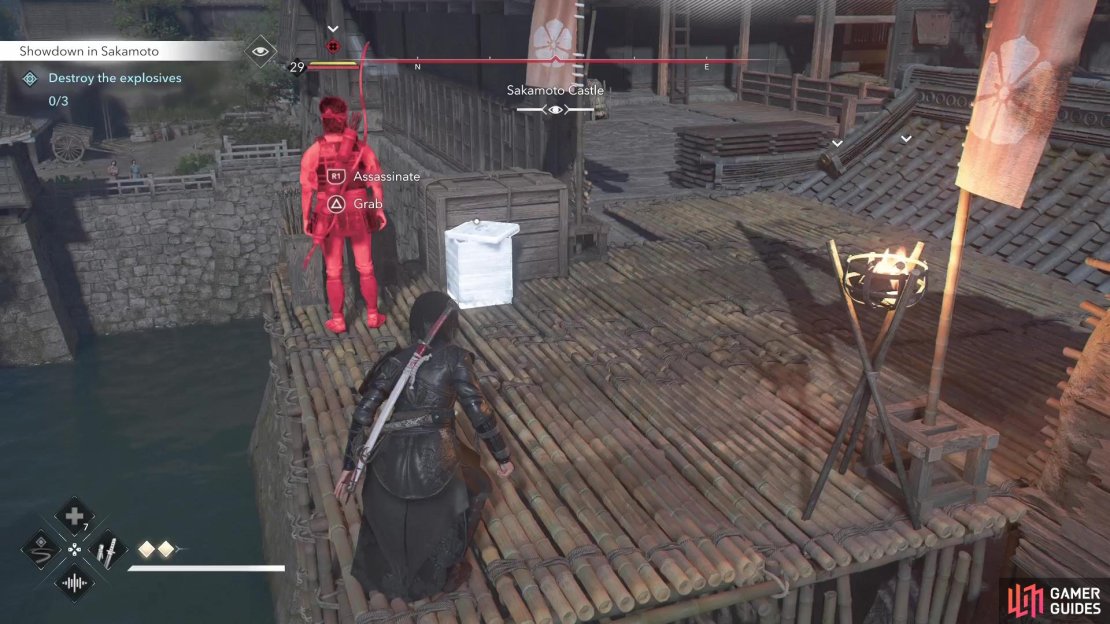
(1 of 5) Be wary of the guard at the top of the scaffolding once you gain control of Naoe.
After triggering all of the explosives, you’ll be asked to regroup with Katsuhime, who will be on a rooftop in the northern part of the area. Watch the scene, then you’ll be thrown into the last portion of the quest, to assassinate Akechi Kagemitsu. You will be able to choose between the two characters here, with Naoe having a much easier time.
Assassinate Akechi Kagemitsu (Naoe)
Naoe will have a much easier time in killing Kagemitsu, due to her maneuverability and stealth. You’ll begin right next to a hidden area with a ladder, next to a bamboo wall. There will be a lot of enemies nearby, but they hardly matter, since you have another avenue in which to reach the tenshu. Drop down into the passage right next to where you begin, following it to the opening on the other end. From here, you should be able to jump out and grab onto the outer wall, where you can then shimmy over to the tenshu.
Note that you can also go in the area behind the opening, wait for the servants to go inside the building, then sneak through to the little section with the pile of hay. Once you get over to this spot, look above to see a ledge right below an open window. That window is your goal, so use your grappling hook to reach it and go inside. If you used Observe prior to entering the tenshu, you should have noticed that there were two blue dots in there. The higher one is your target, but the lower one is a bit of an anomaly.


(1 of 3) There is an open window to climb through if you use Naoe.
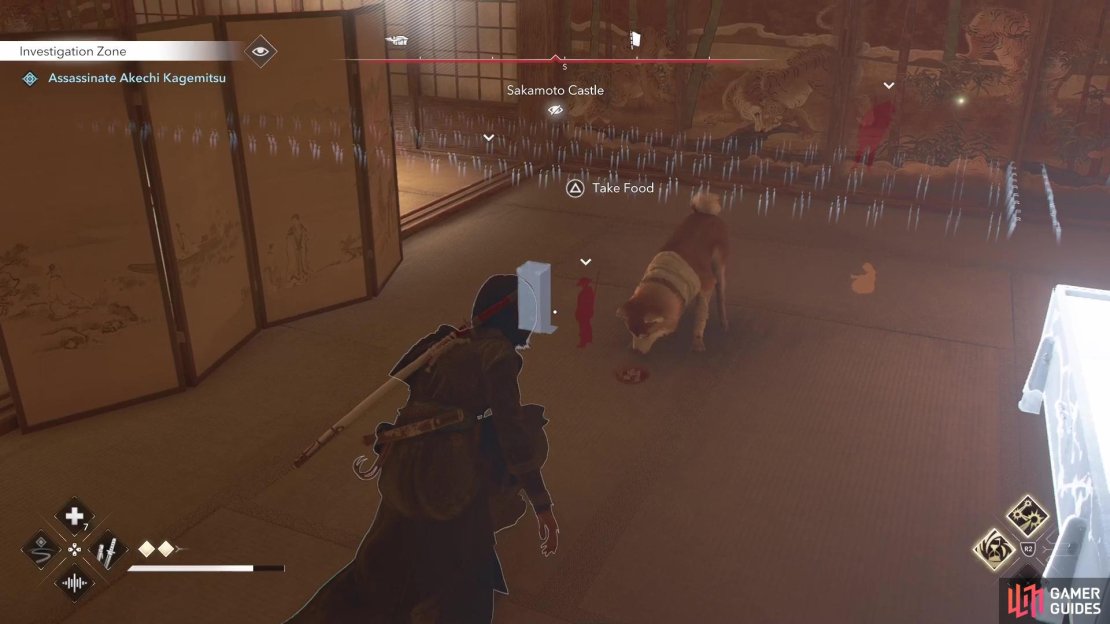
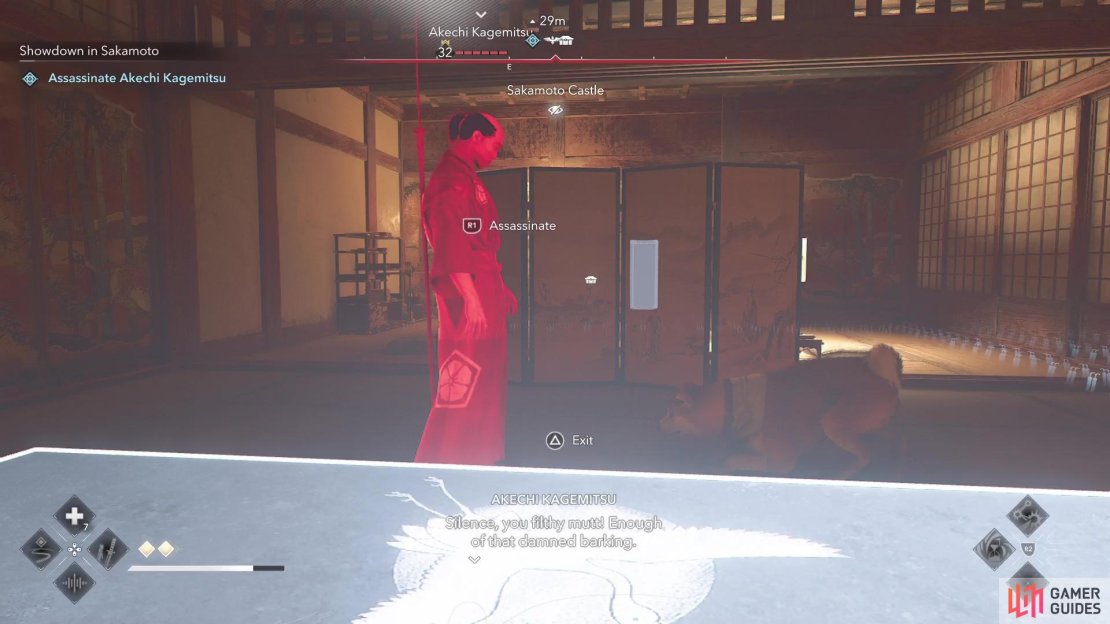
However, entering the window described above will put those worries to rest. You likely overheard some guards while sneaking about earlier mention a dog, and that second blue dot will be that canine. Enter the room straight ahead after reaching the inside of the tenshu to see the dog eating some food. Note the chest you can hide in right next to the dog, and approach it to see a prompt to take away its food. Do this and the dog will start barking, sparking Kagemitsu to come down to investigate. While he’s doing this, quickly hide in the chest and assassinate him when prompted.
If you can’t kill him outright, which might be tough to do without the right skills/equipment, then you’ll have to fight him. He can be tricky, since he wields a naginata and uses a lot of sweeping unblockable attacks. This is made even worse, when you consider that Naoe isn’t meant for direct combat, either. Once you kill him, though, the mission will be over.
Assassinate Akechi Kagemitsu (Yasuke)
Yasuke will have a much more difficult task in reaching Kagemitsu, since he isn’t able to use a grappling hook, nor sneak around efficiently. The best thing to do when you gain control of him is to sneak through the back way, similar to the suggestion above for Naoe. Note that you won’t be able to really climb the outer wall, so don’t go through the secret passage down the ladder. Stop behind the wall to allow the servants to clear, then go prone and crawl past the open door (if it’s open). Once you get to the area near the pile of hay, things will have to go in a different direction.
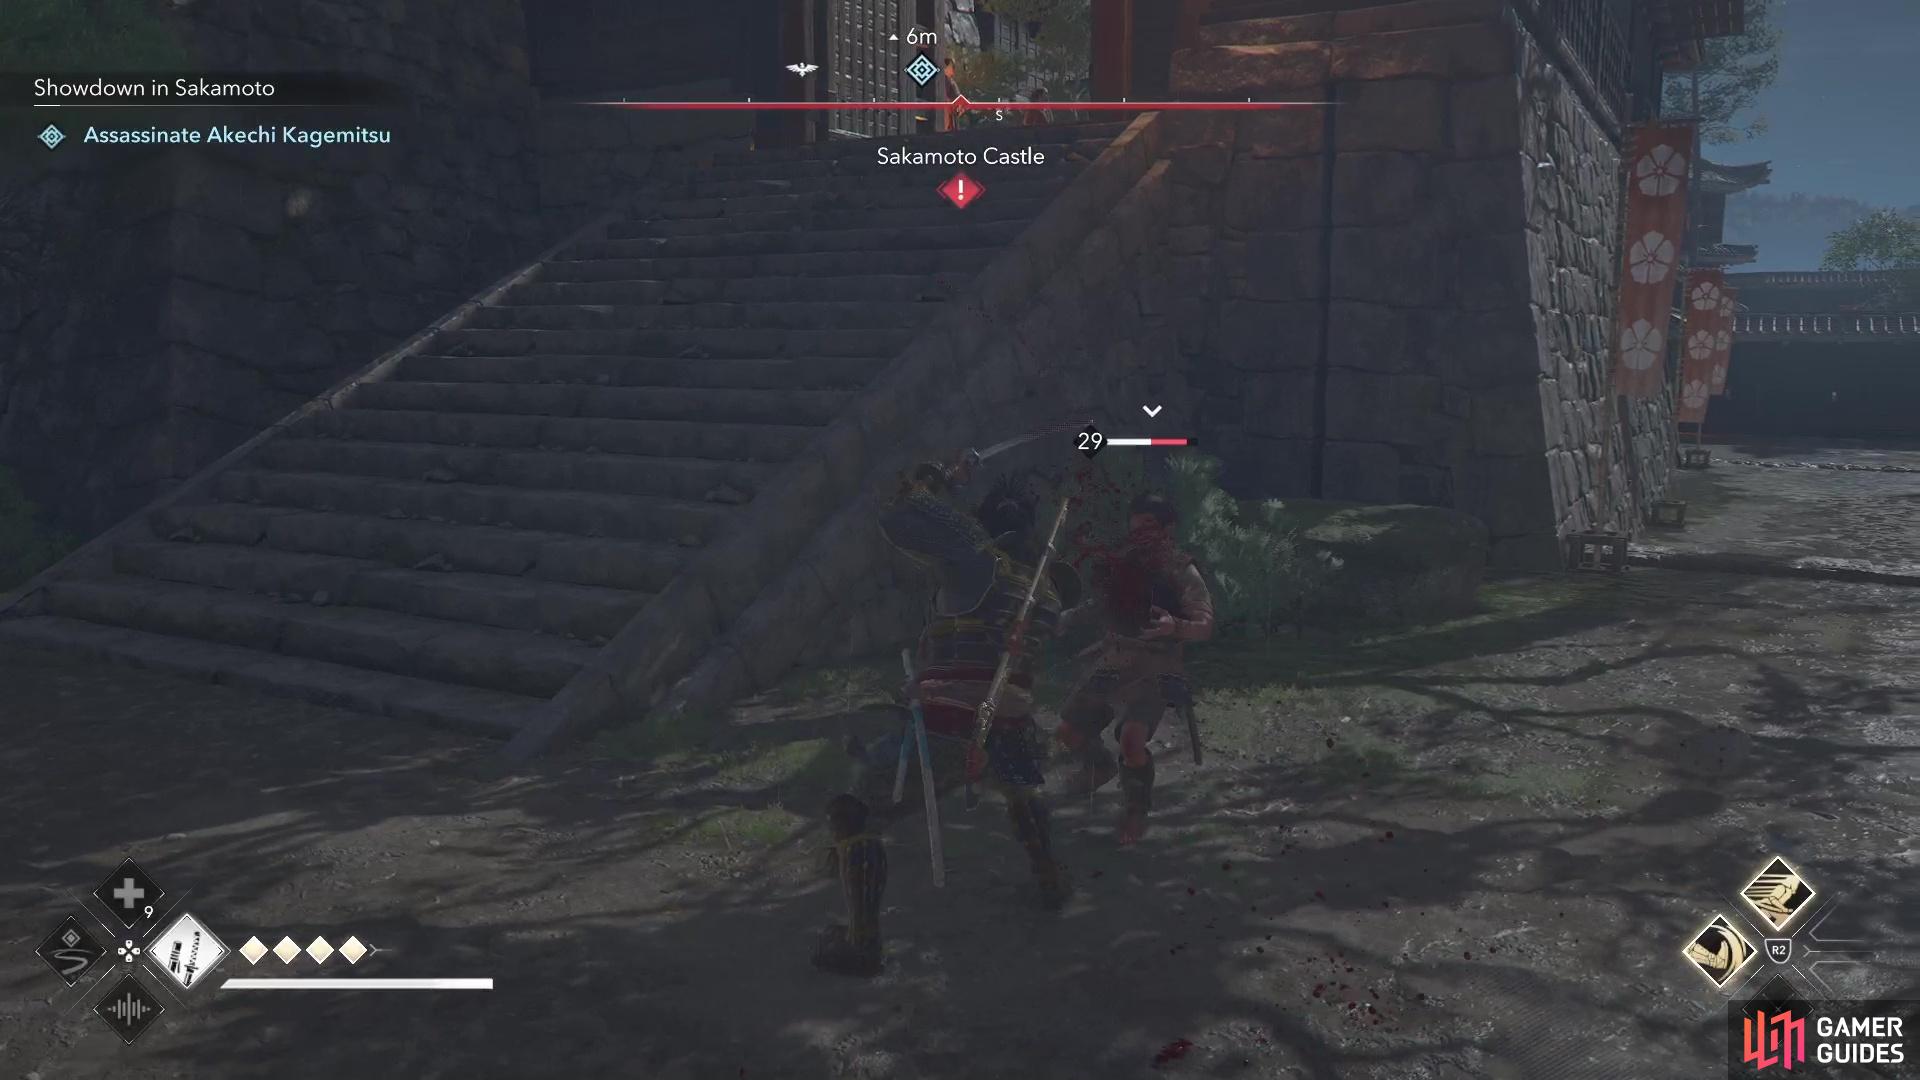

(1 of 3) If you use Yasuke at the end, you’ll need to most likely fight your way to the tenshu.
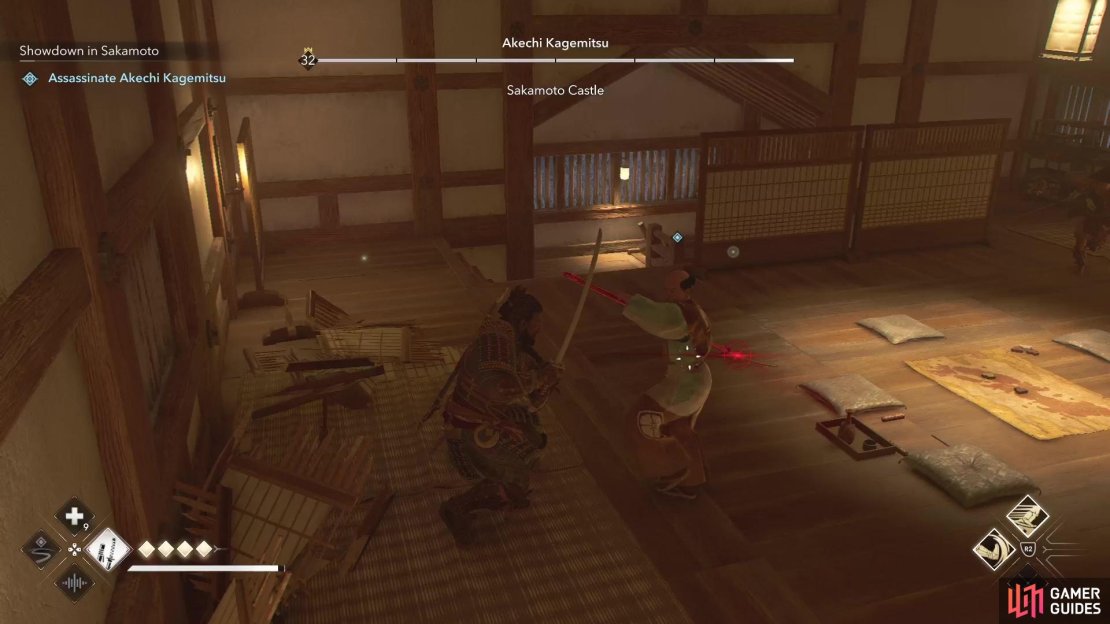
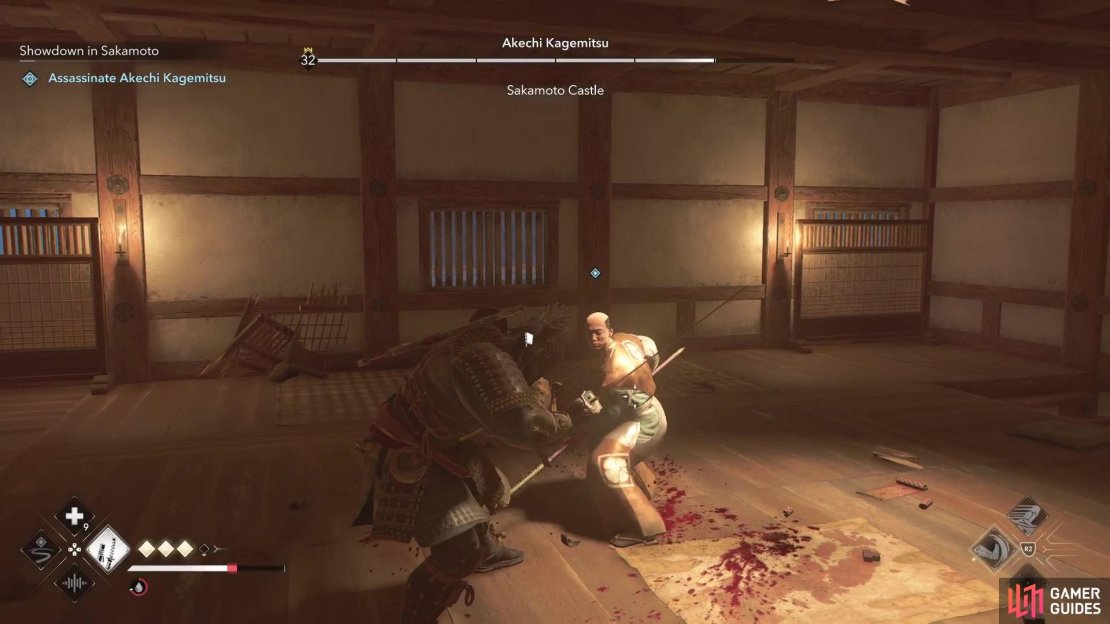
There is really no way for Yasuke to sneak into the tower unnoticed, unless you happened to get the Viewpoint on top. Otherwise, you’re going to be doing direct combat to get into the tenshu. None of the enemies really should give you much trouble, other than a heavy one near the entrance to the tower. Upon entering the tenshu, go up to the second floor if you wish to do the dog thing above, but should you want to fight Kagemitsu directly, then you’re in for a tough fight.
He uses a lot of unblockable attacks, some of which are actually oddly timed on his part, so they can be difficult to dodge. Thankfully, he doesn’t have any armor, so it’s just his six health segments to deplete. Once you finish him off, watch the scene that follows, bringing you to the end of the quest and The Naginata.
No Comments