
There are many optional activities throughout Japan that’ll give Naoe and Yasuke Knowledge upon completion, usually marked with an orange map marker. These include Kuji-kiri, paying respects at shrines, finding lost pages at temples, practicing kata or horse archery and, for some reason, pillaging tombs and kofun. In the case of some light tomb raiding, you can also gain some legendary gear out of it, which makes the endeavor more than just spiritually rewarding. This page will provide a walkthrough for the Ancient Tomb of Nanjo in Assassin’s Creed Shadows.
Page Breakdown
| Quick Search |
|---|
| Ancient Tomb of Nanjo Location |
| Solving the Ancient Tomb of Nanjo Maze |
| First Choice: North |
| Second Choice: South |
| Third Choice: South |
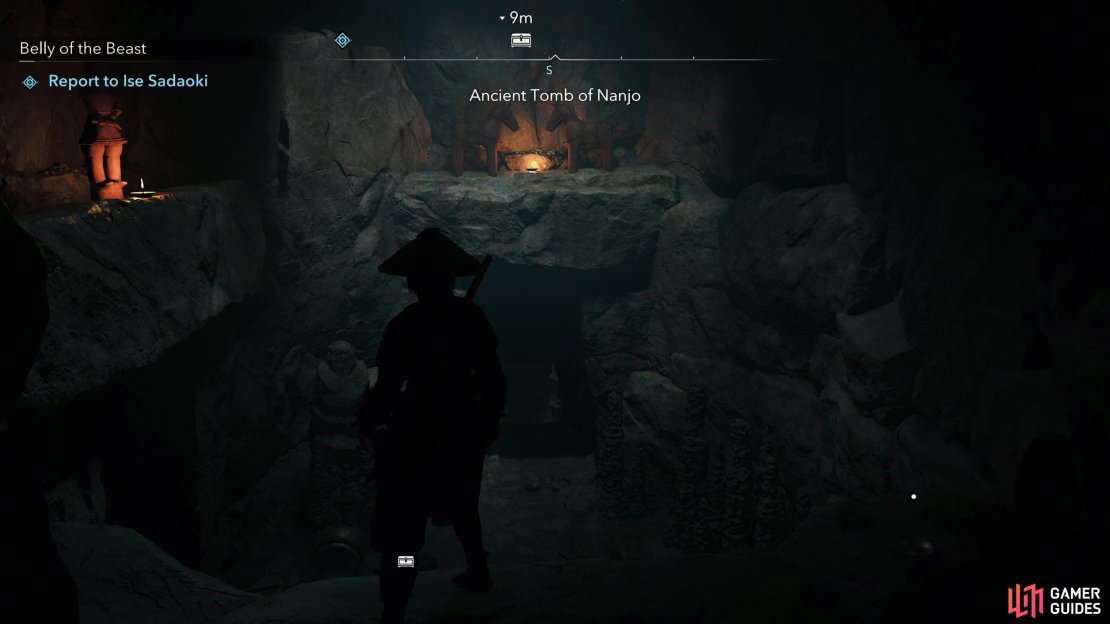
Ancient Tomb of Nanjo Location
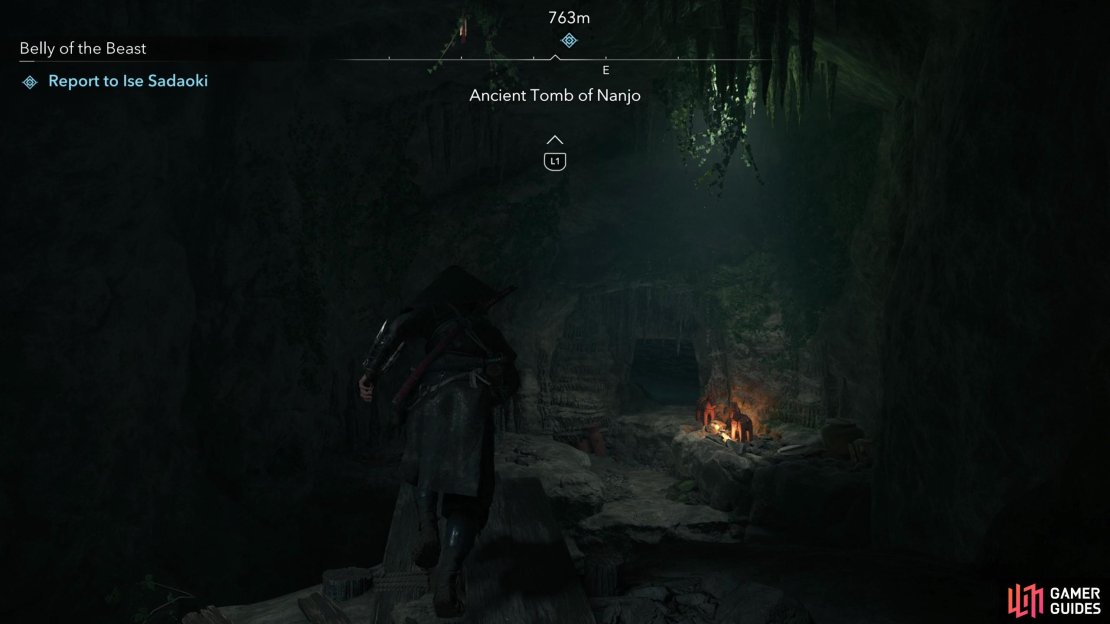
The Ancient Tomb of Nanjo can be found in the southwestern corner of the Yamshiro region, and while you may think you need some levels to go after this tomb, there are no enemies present - if you can slink to the location without getting into a fight, there’s no reason you can’t complete it at any level. The tomb is southwest of Kyoto, and if you’re coming from Izumi Settsu you’ll can head north from Takasuki to reach Yamazaki Castle, north of which is Shoryuji, and from there follow the river northwest until you find the Ancient Tomb of Nanjo overlooking the river.
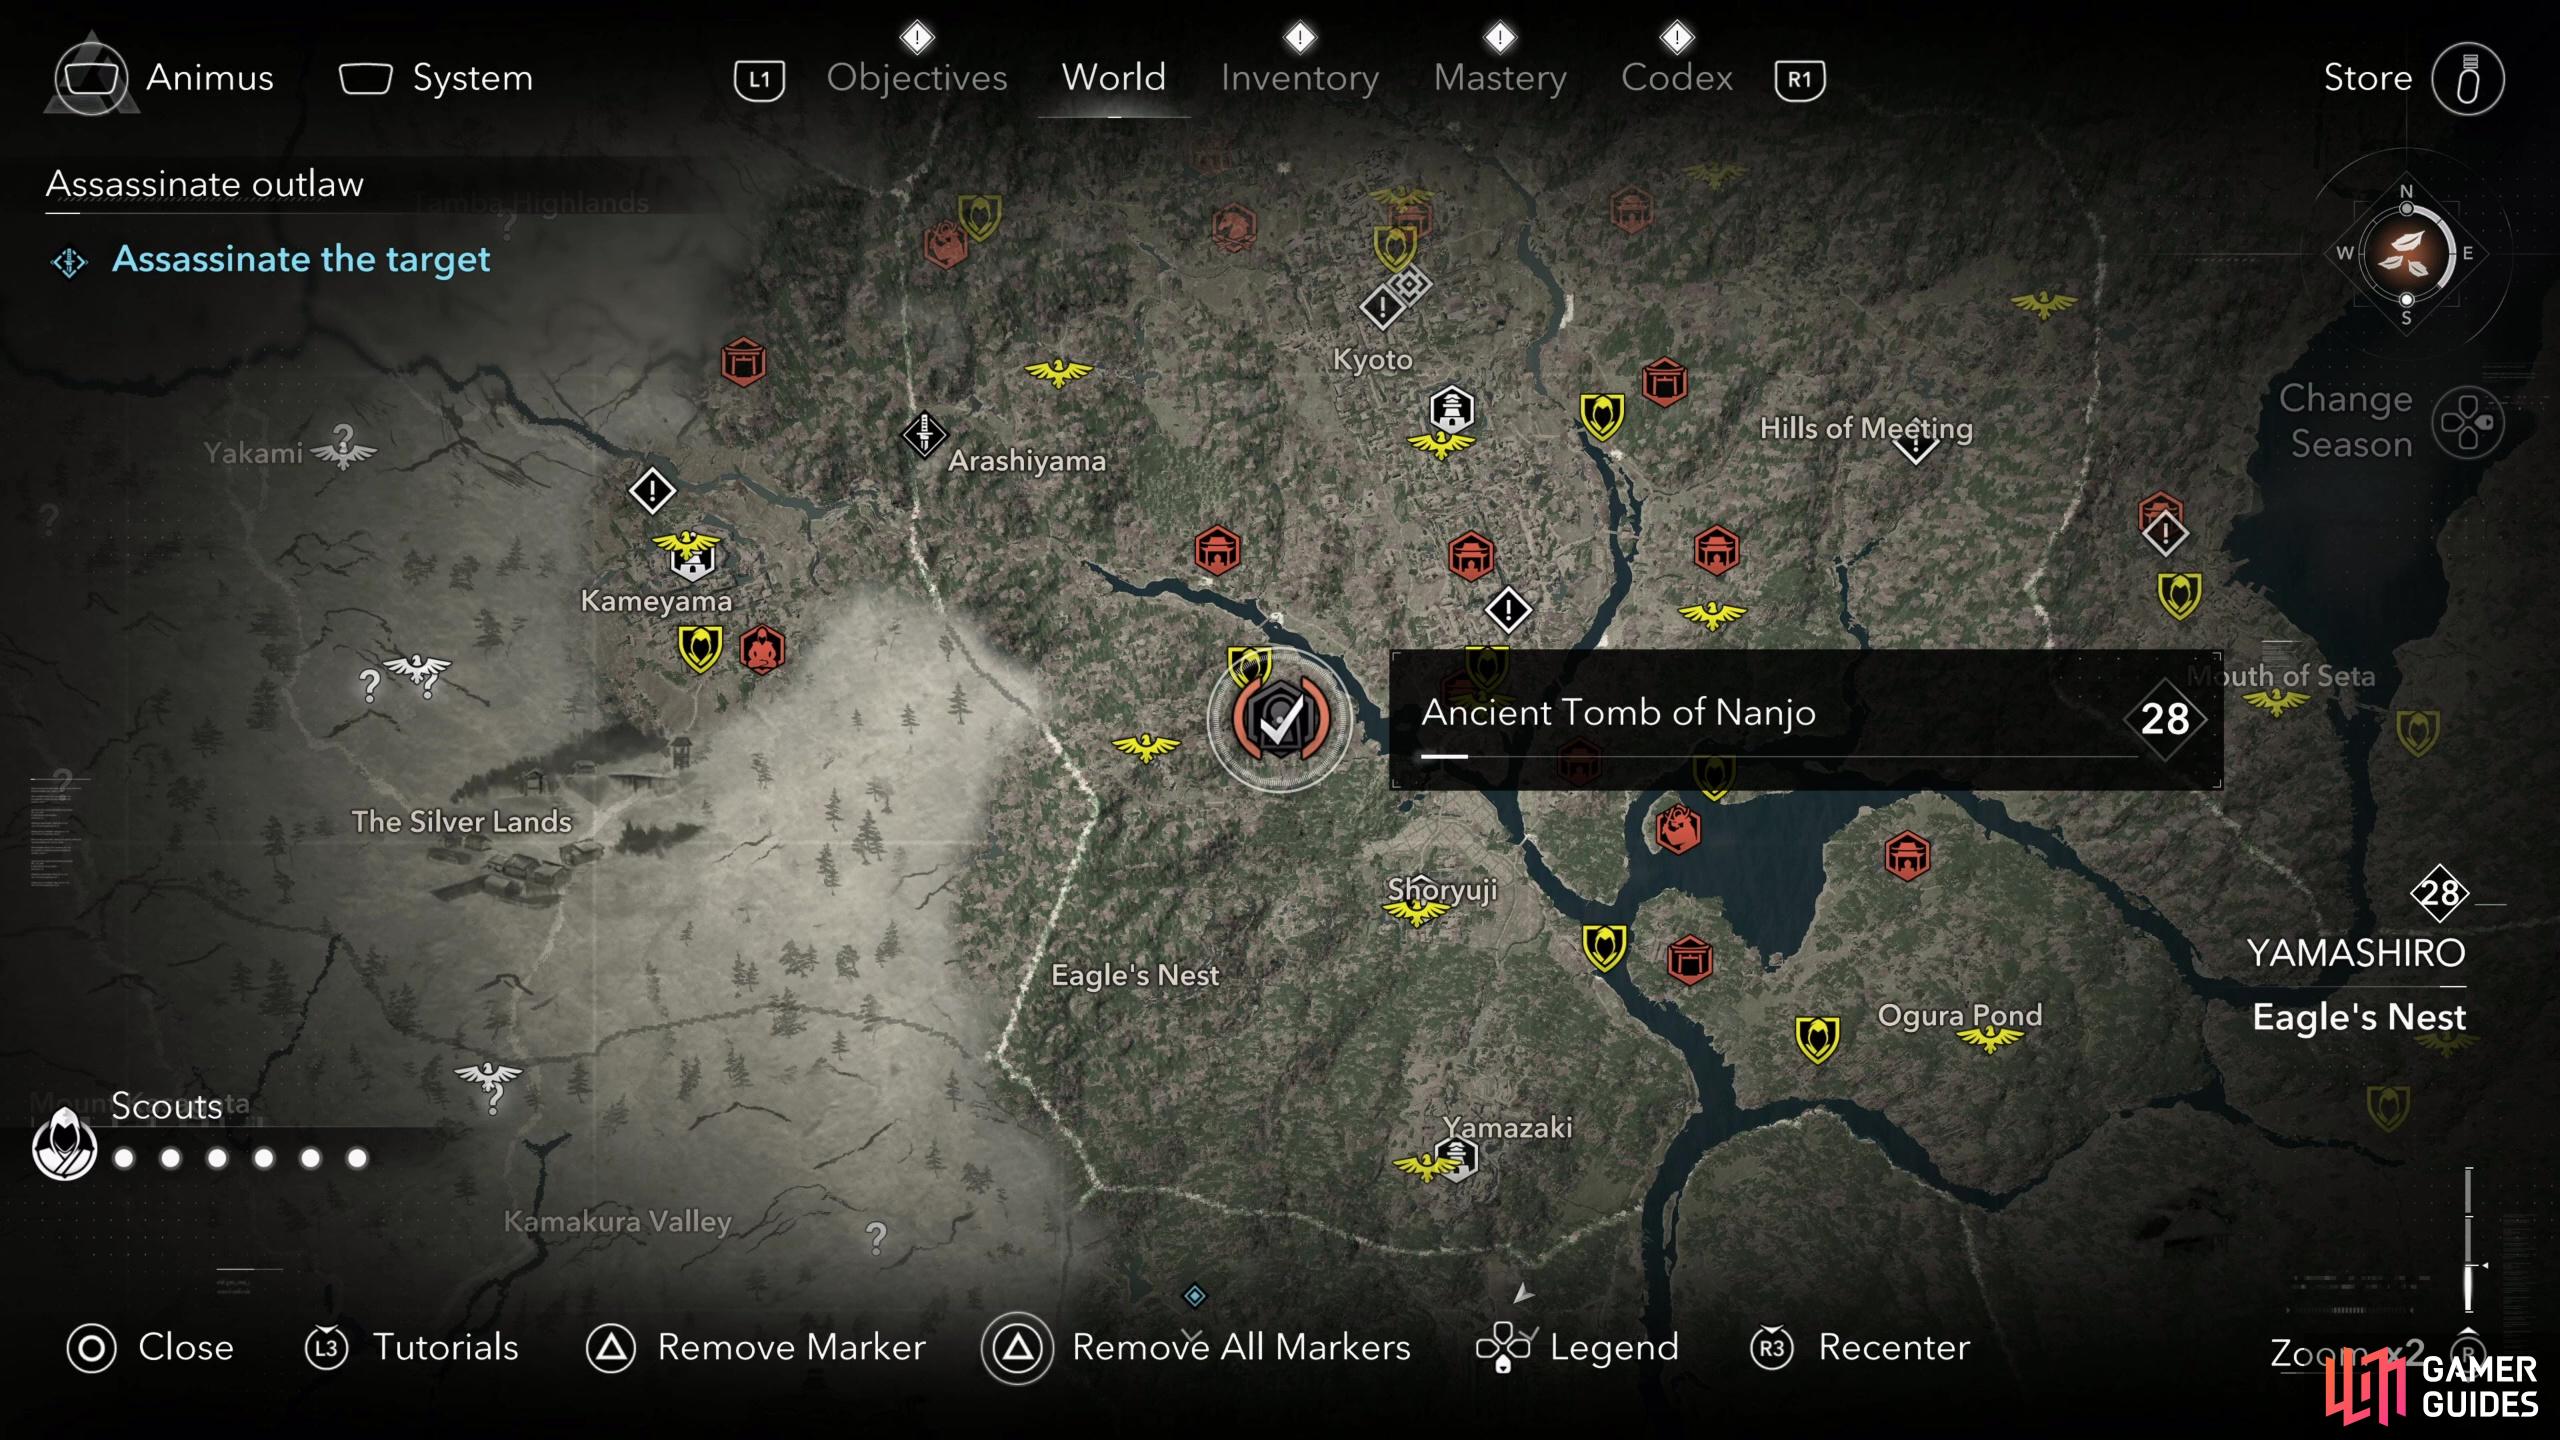
The Ancient Tomb of Nanjo is along the southwestern edge of the Yamashiro region, southwest of Kyoto.
Solving the Ancient Tomb of Nanjo Maze
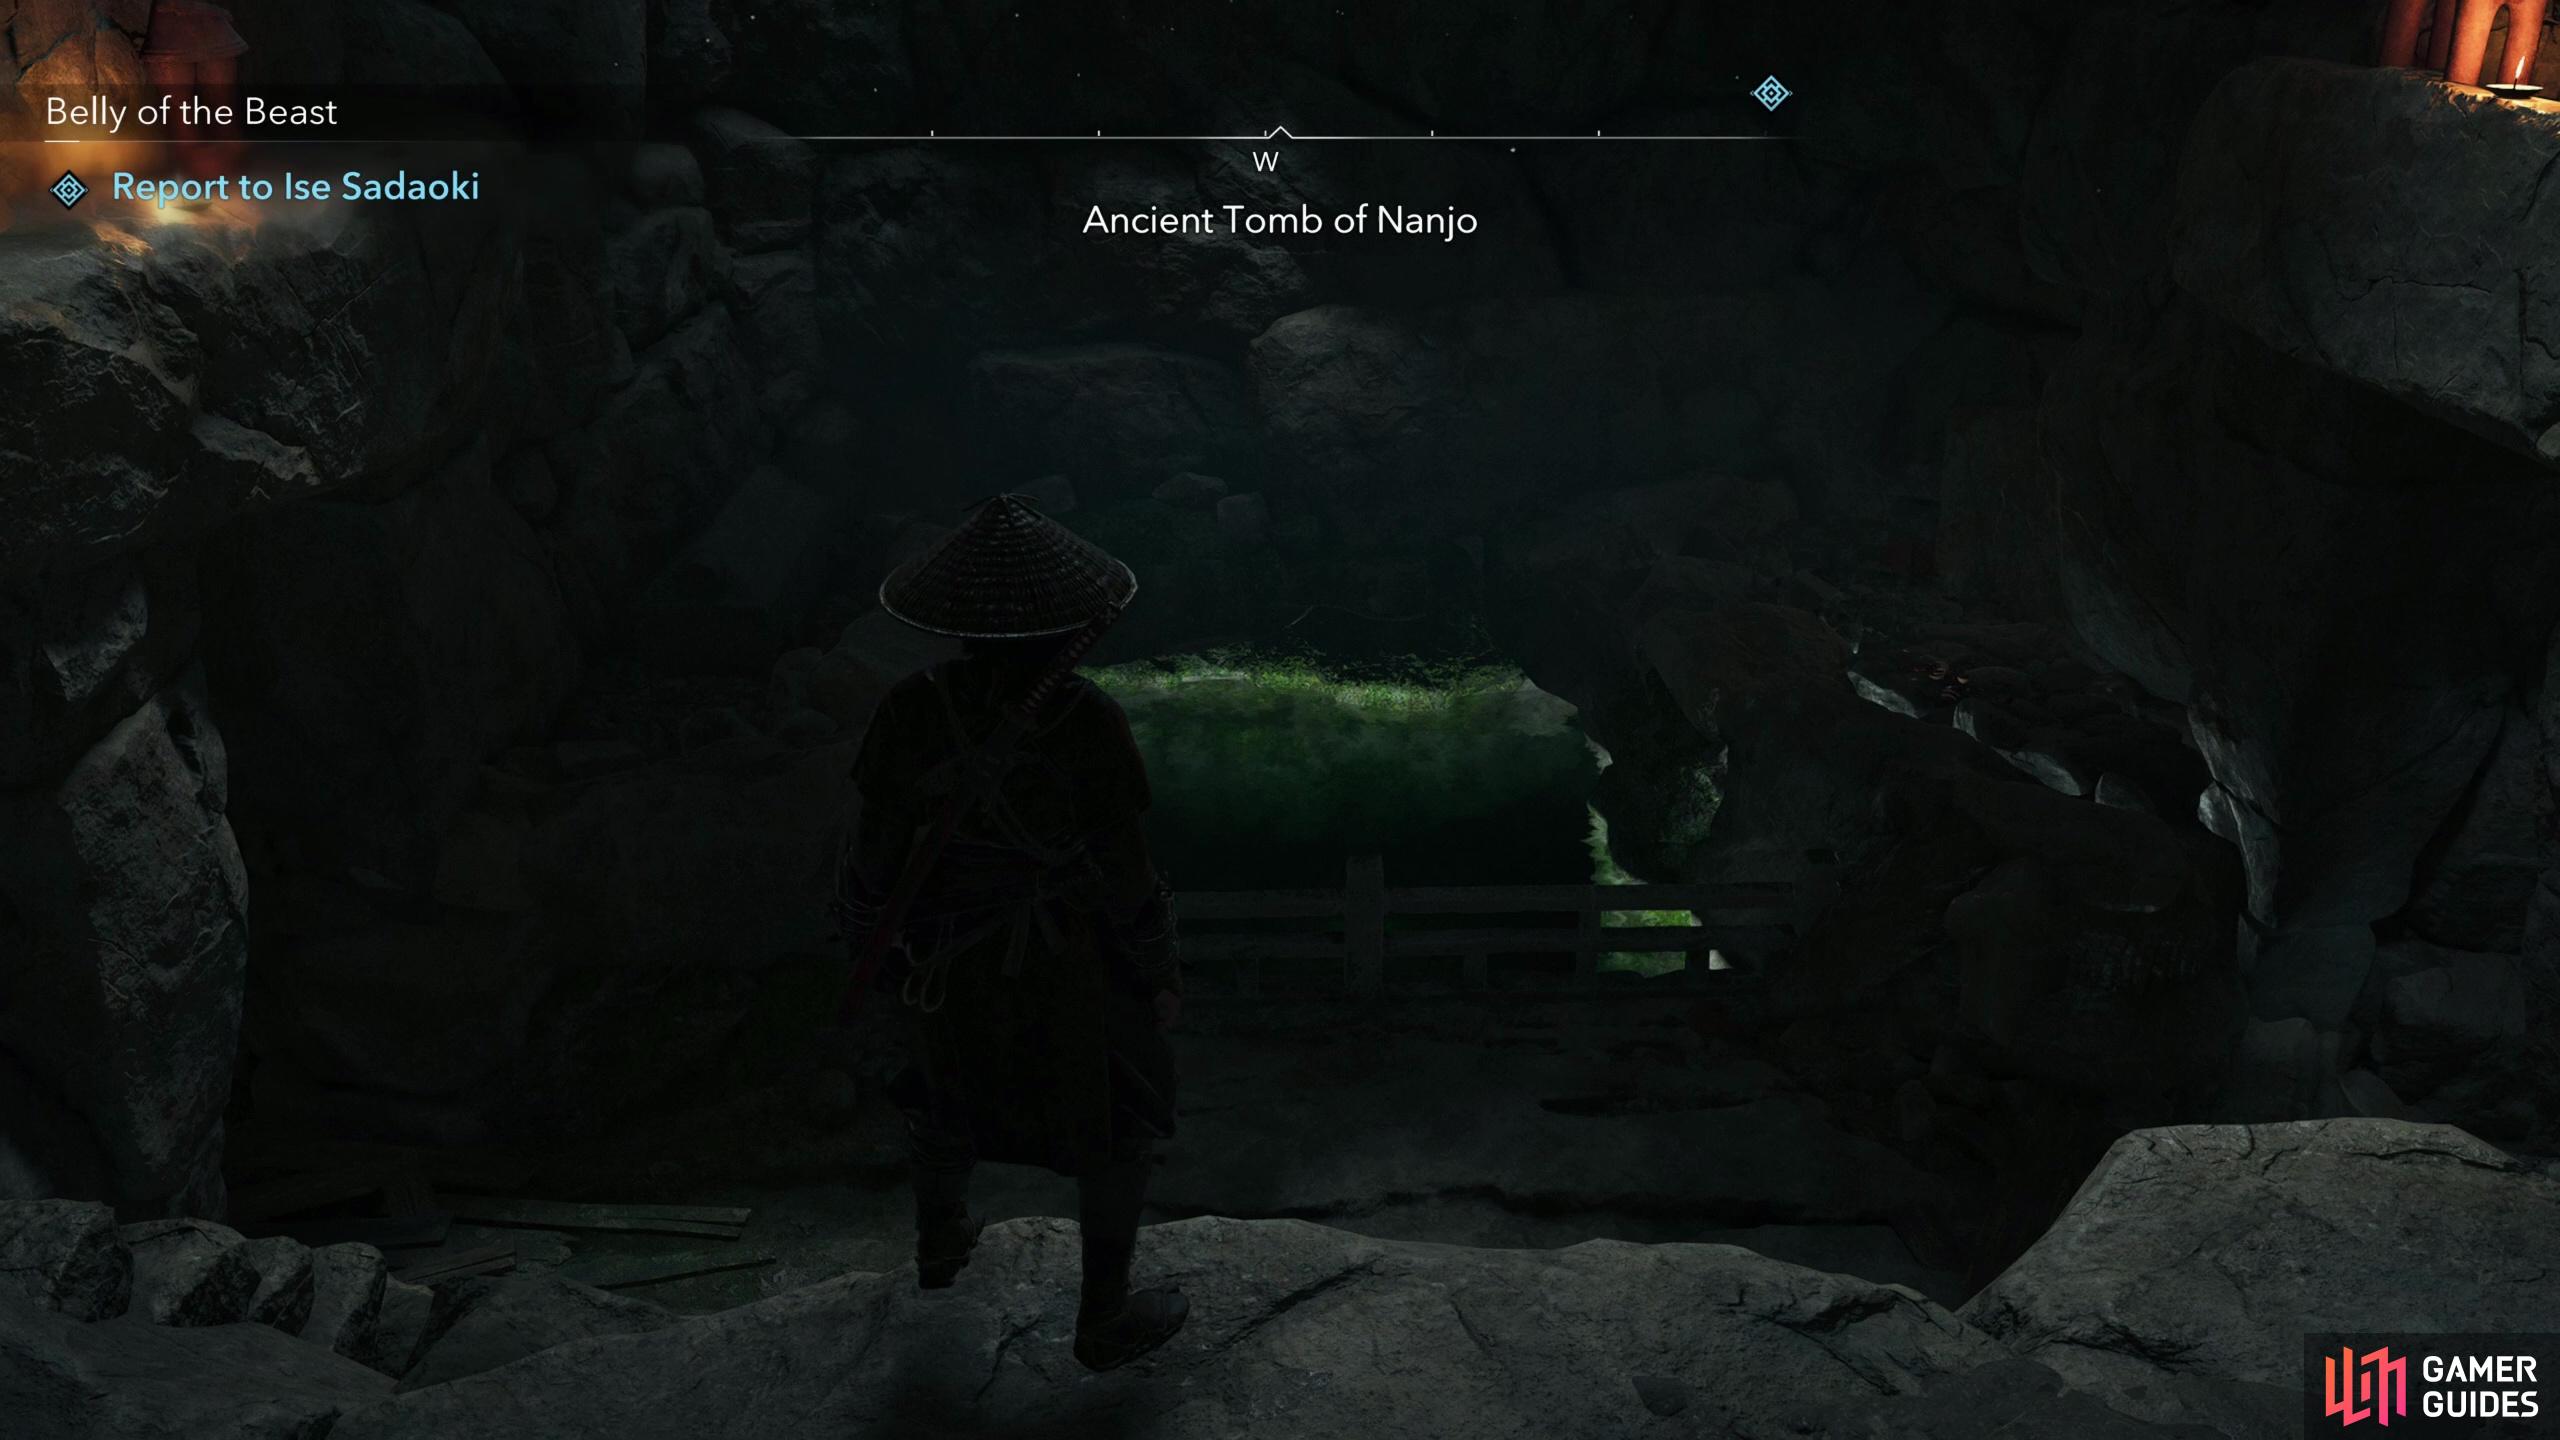
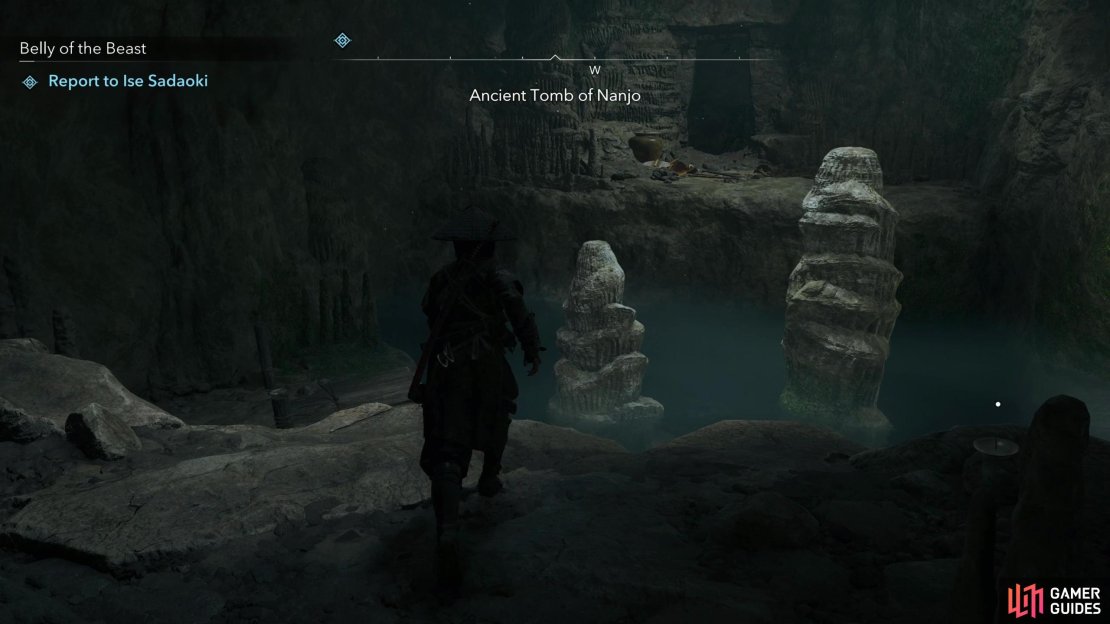
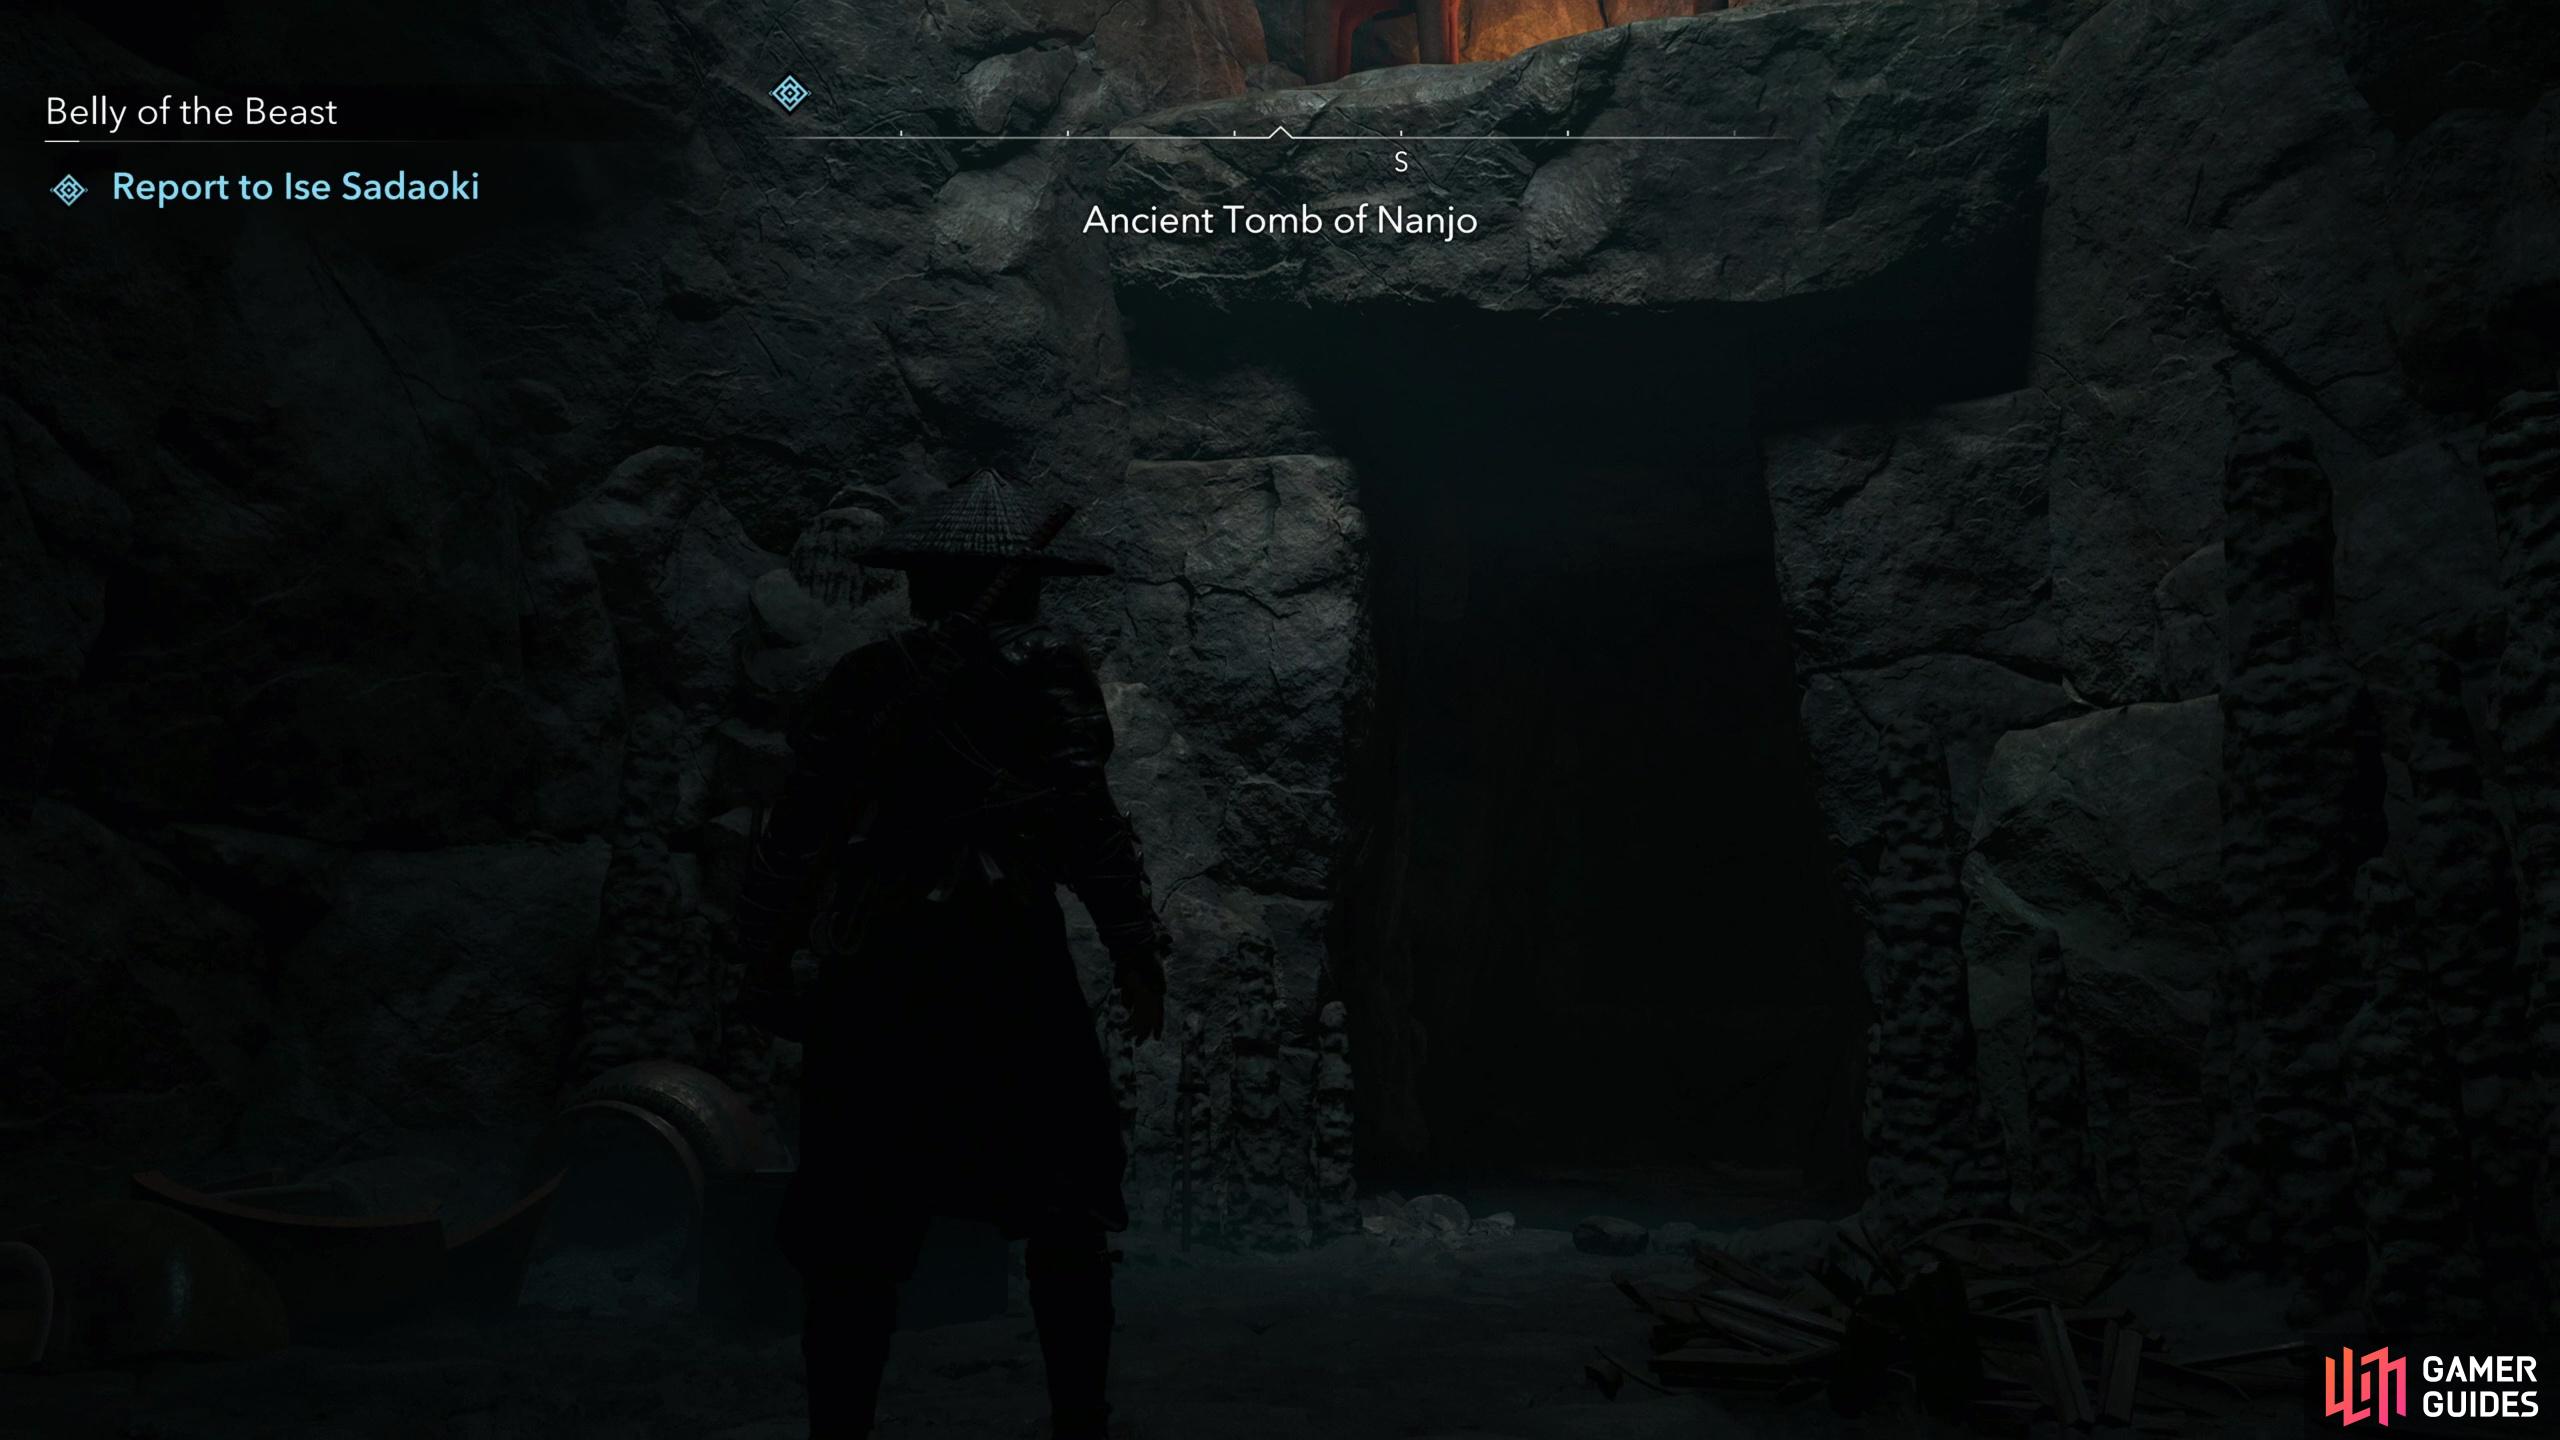
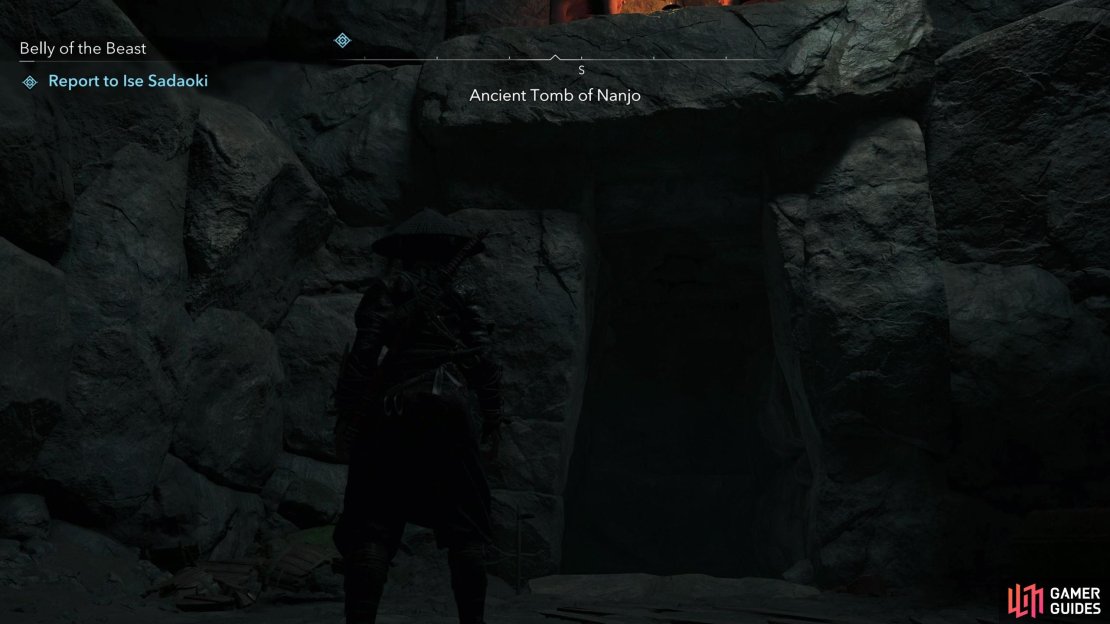
The exterior of the Ancient Tomb of Nanjo, whatever it used to be, is now little more than an exposed staircase leading underground. Descend into the darkness and slide through a crack in the wall, pass a sarcophagus and loot a chest off to the left if you wish - it’s not the chest we’re looking for, but some extra loot along the way never hurt anybody. Plus, the more chests you loot now the less distractions you’ll have while searching for the objective chest, although side chests will appear gold when viewed via the observe button, while the objective chest will be white.
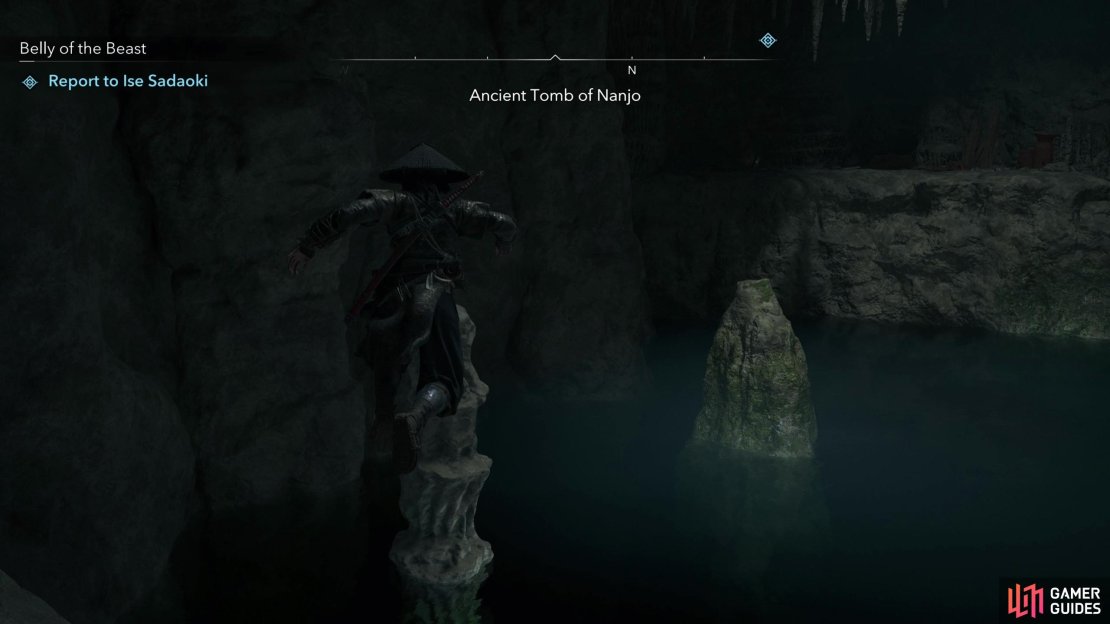
Continue west and use your grappling hook to descend into a pool of water - or just take a leap of faith and jump down. Either way, climb up onto a ledge to the west, descend some stairs, climb up another ledge, then drop down into a chamber notable for the square pool of water along the western edge of the room. This room is the “hub” of this tomb - if you make a mistake while exploring and go the wrong direction, you’ll end up sliding down a slope back into this room. That said, once you know what you’re doing and where to go, there’s only three real choices to make.
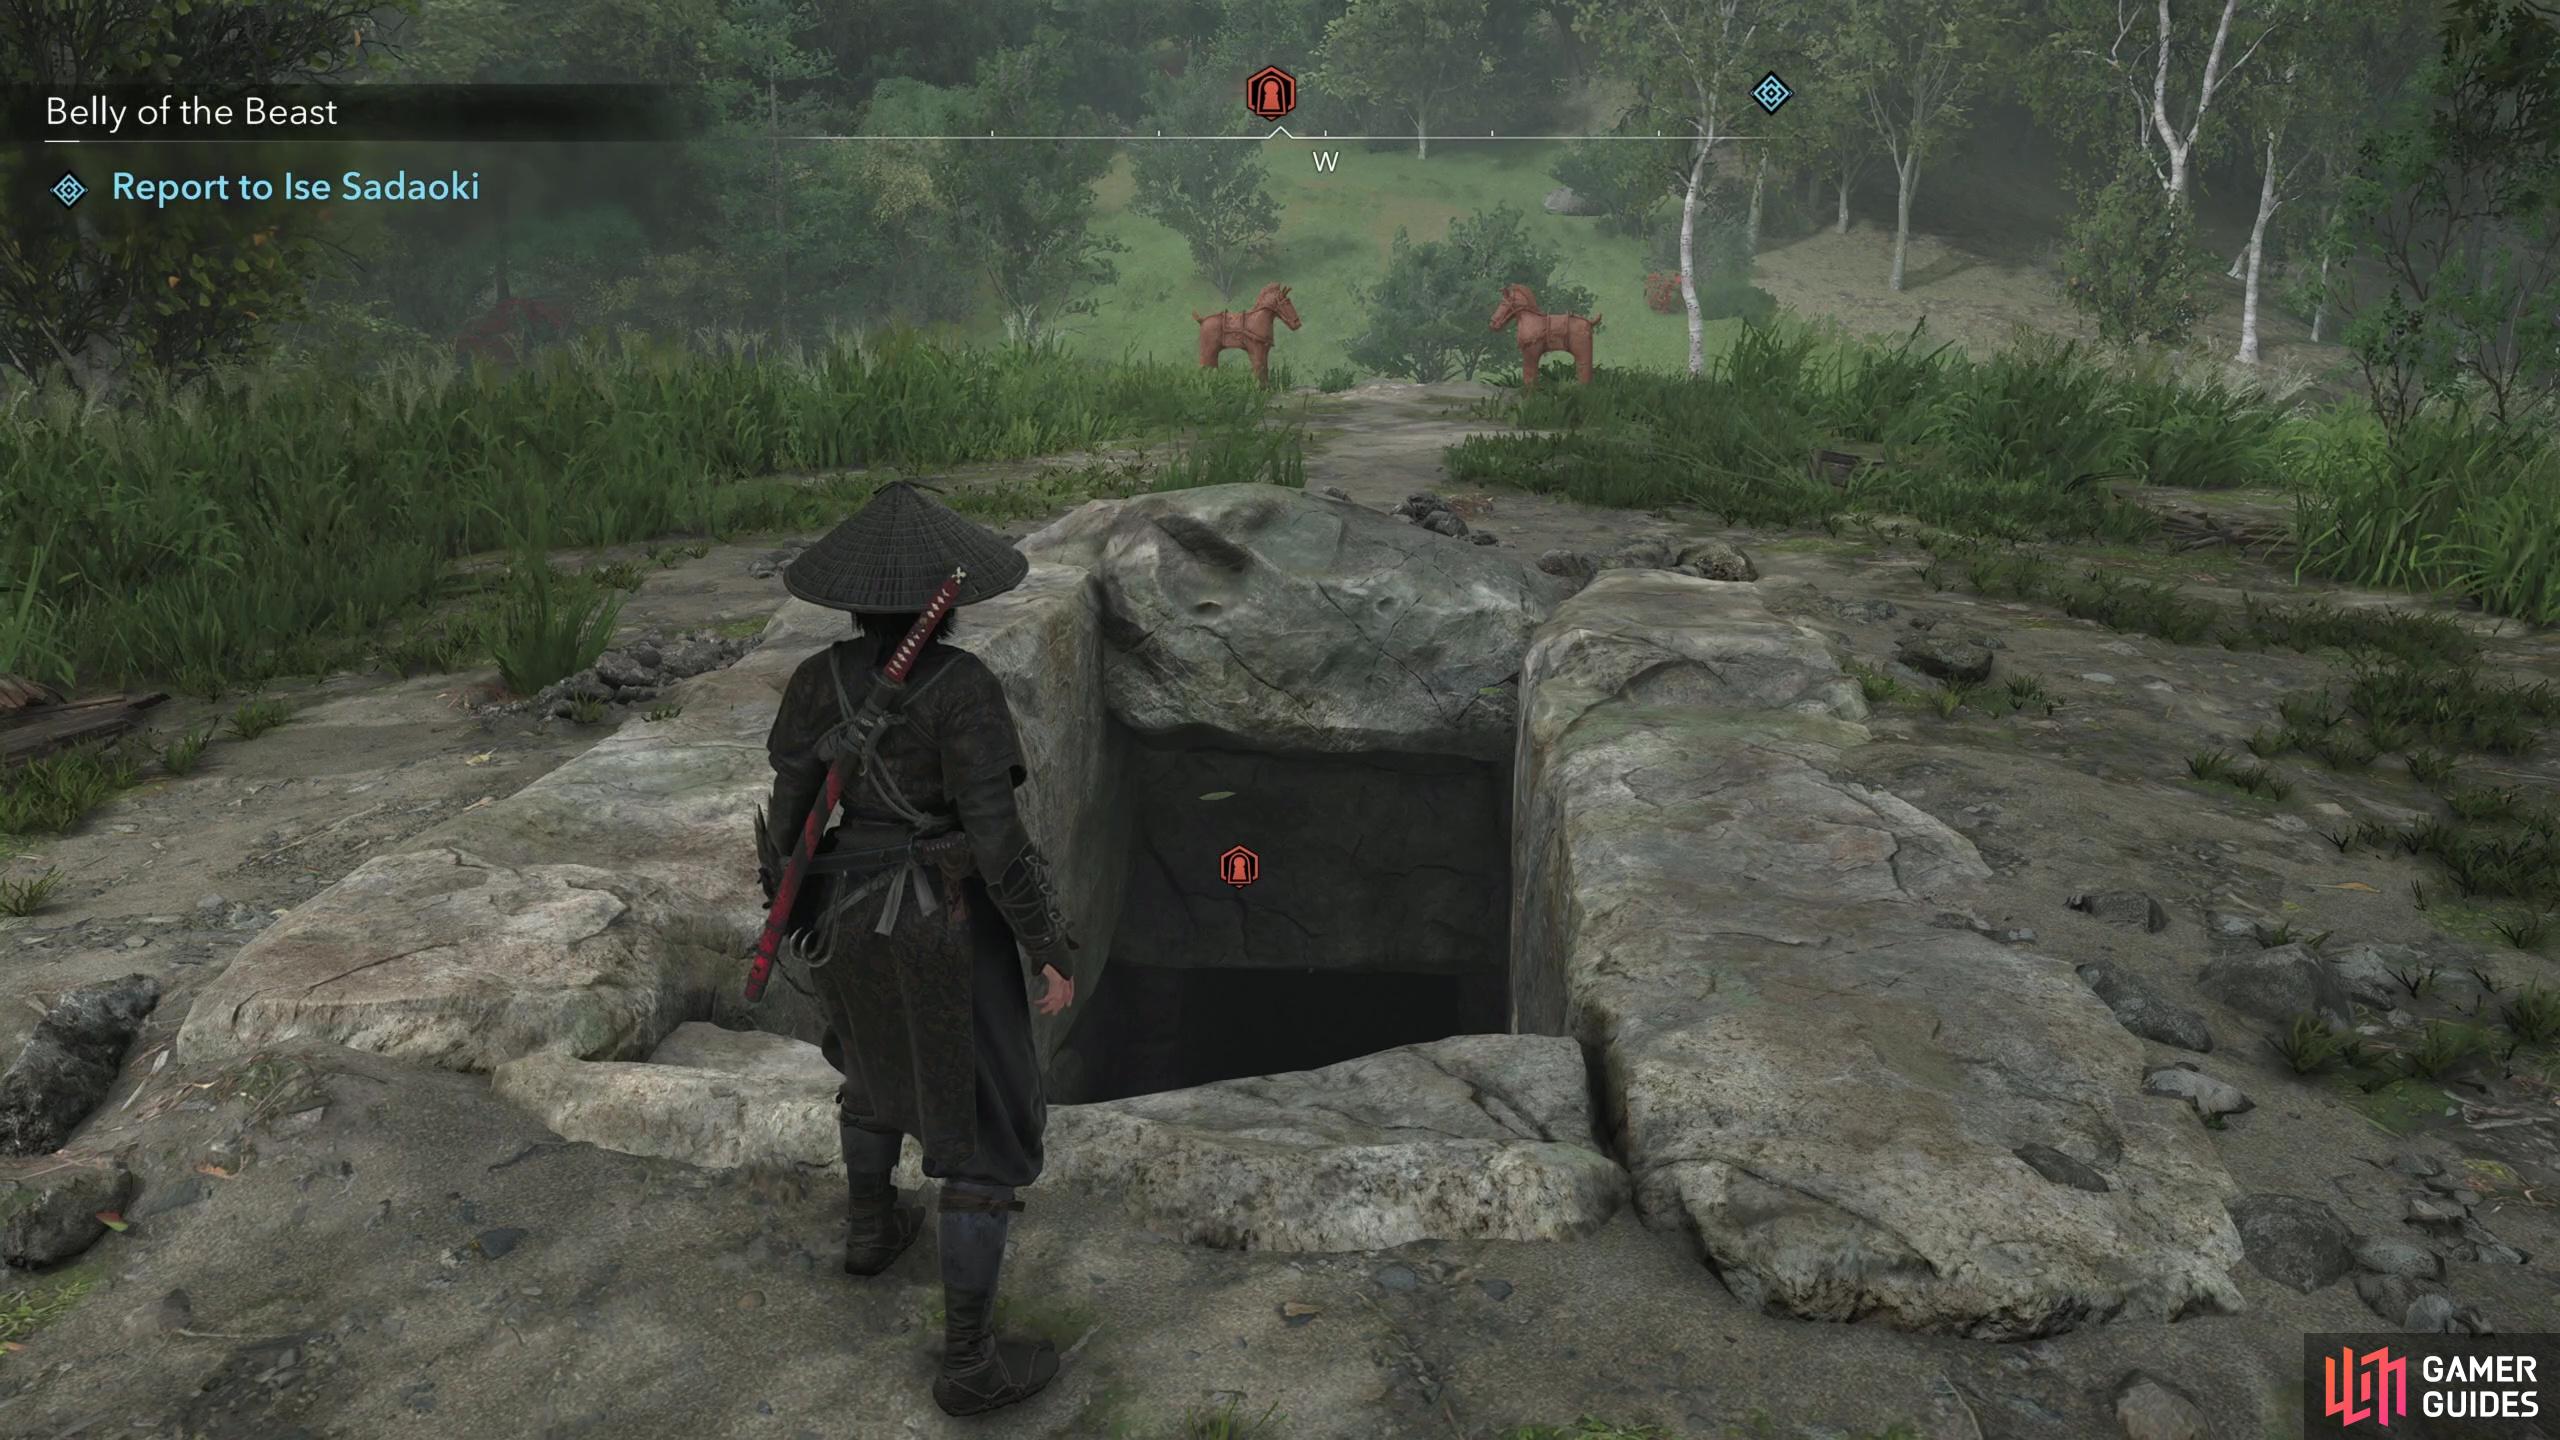


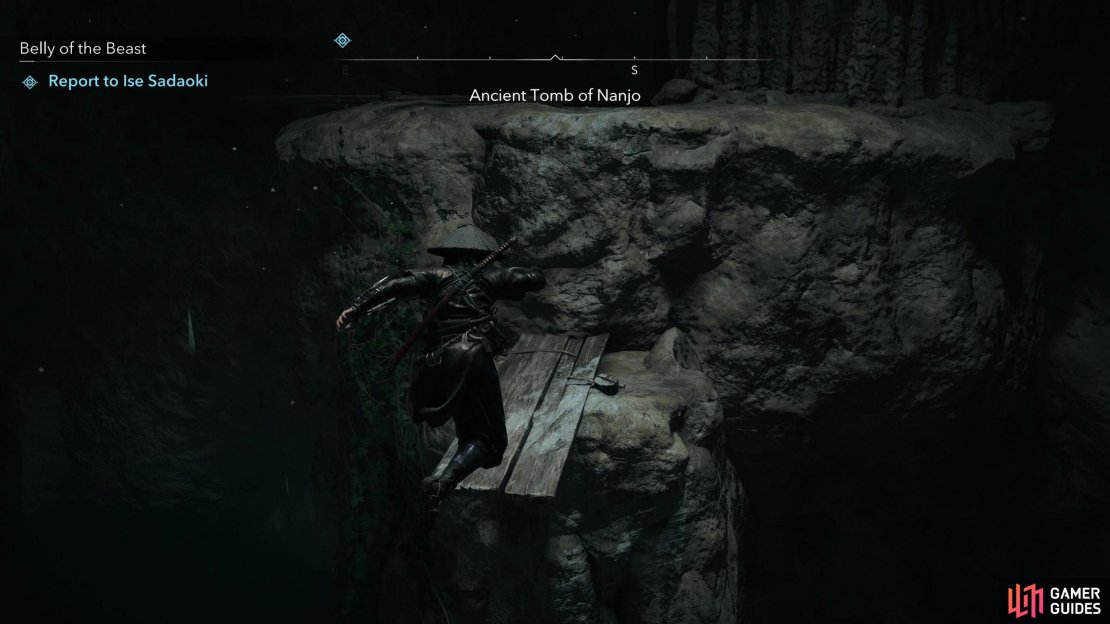
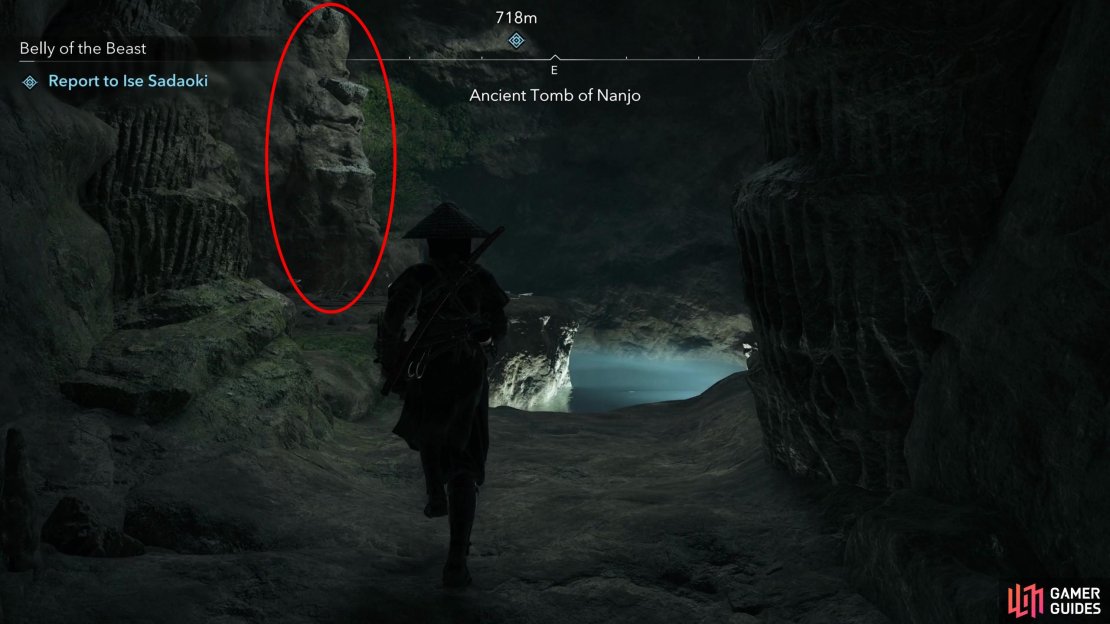
(1 of 2) Find the exposed entrance to the tomb atop a hill,
Find the exposed entrance to the tomb atop a hill, (left), and descend into the depth until you find a square pool, marking the hub room. (right)
First Choice: North
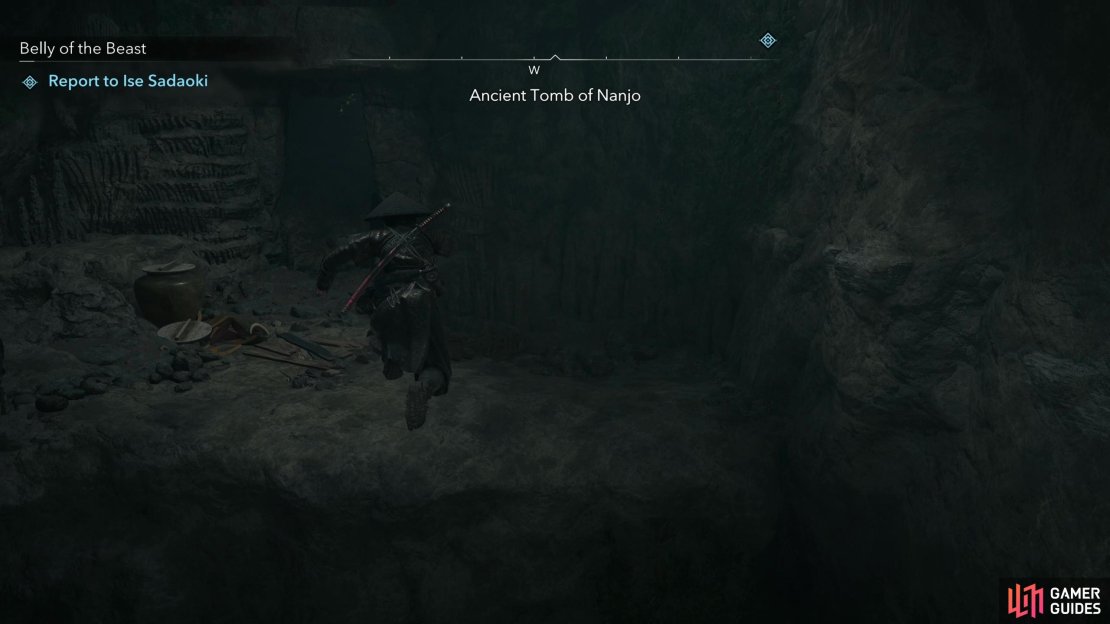
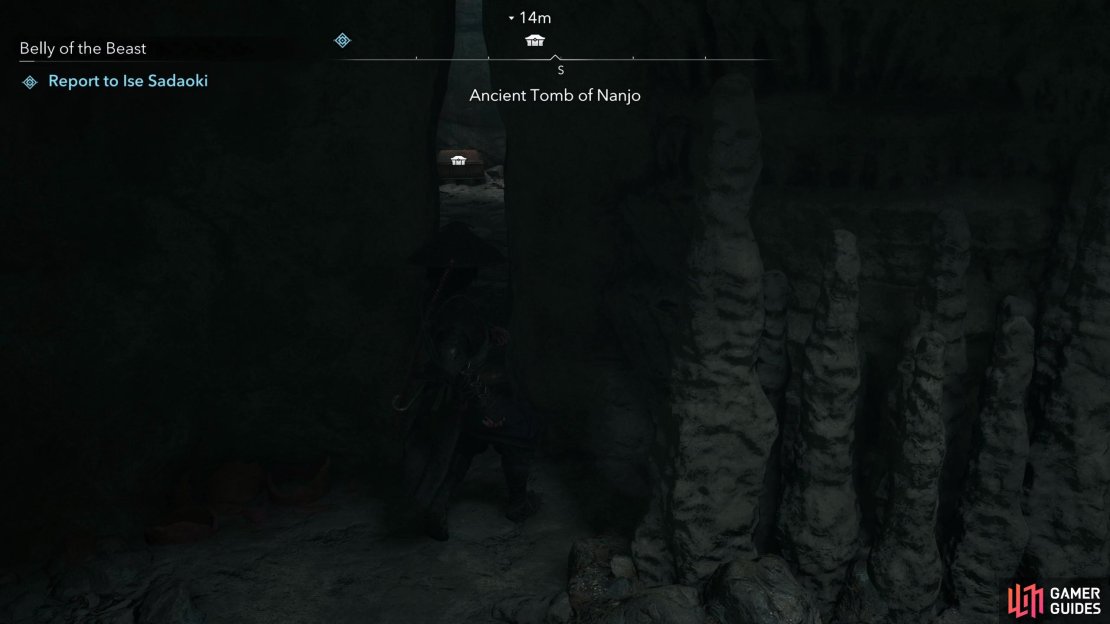
Anywho, jump down into the hub room and you’ll find a slope leading up to the south and soem stairs leading down to the north, and since Naoe is surprisingly soap-footed for a shinobi, there’s no way she’s climbing up an incline (to say nothing of Yasuke), so head north and west, then drop down into a chamber to reach the first choice of this maze. You have a path leading south and another leading north - both take you down slopes, so there’s no going back once you decide. Loot a chest, then go down the north slope first.
Slide down the northern slope, go west into a chamber split in half by a pool of water. Jump onto two stalagmites emerging from the pool, then from the taller one jump west onto a ledge. Go through a doorway and you’ll reach another watery pit - drop down into it, swim south onto a partially submerged ledge, then crawl through a hole along the ground (hold down  to crawl) /
  to ultimately emerge in a chamber with two staircases rising to the east. Ascend them, go through another doorway, follow the winding tunnels beyond, then you’ll find yourself in another watery chamber.
Look southwest to spot a ledge with a textured stalagmite embedded into the nearby cliff. Jump down into the water, swim over to this ledge, and climb up the stalagmite to reach the southern edge of the room. Go through a doorway to the south and drop down into another chamber where your second choice awaits.

Second Choice: South
You once again have two choices - down a slope to the south or to the east. Loot another chest, then continue down the slope to the south and eventually you’ll reach… you guessed it, another watery passage! This one’s a bit more complicated than the rest, but still not too bad. Look up to the east to spot your destination, but the route to get up there isn’t straightforward. Turn west and you’ll find a humble dock that allows you to jump onto a stalagmite, then jump west onto another stalagmite embedded into a cliff. Follow some planks up to the northeast, turn west, then jump a gap to reach a ledge above where you entered, then jump across some planks to the south. Once on this southern ledge, slide through a crack in the wall to the south to reach a chamber with a chest in it, then sidle back out, advance to the edge of some planks to the northeast and use your grappling hook to swing across to the distant ledge to the east.
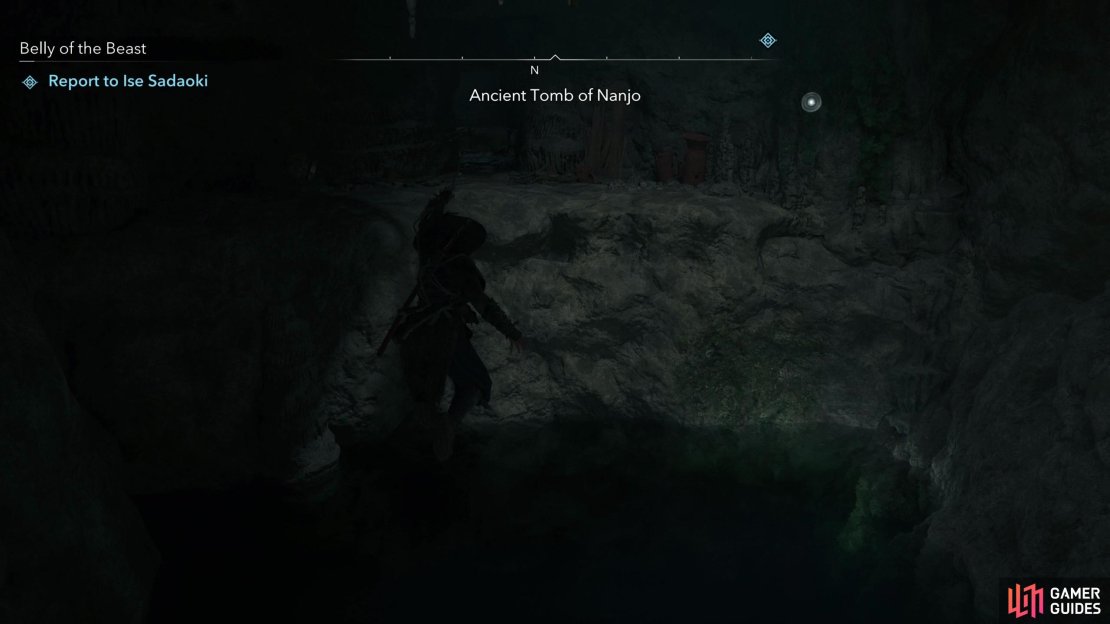
First room down - climb up to the east and head uphill to reach yet another watery chamber. No need to get your feet wet this time, work your way around to the northern edge of the pool and climb the cliff in the northeastern corner of the room (not one of the embedded stalagmites) and when you reach the top you’ll find some stairs beckoning you upwards. Heed their invitation, turn west, then drop down into another chamber, where you’ll need to make your third and final choice.

Third Choice: South
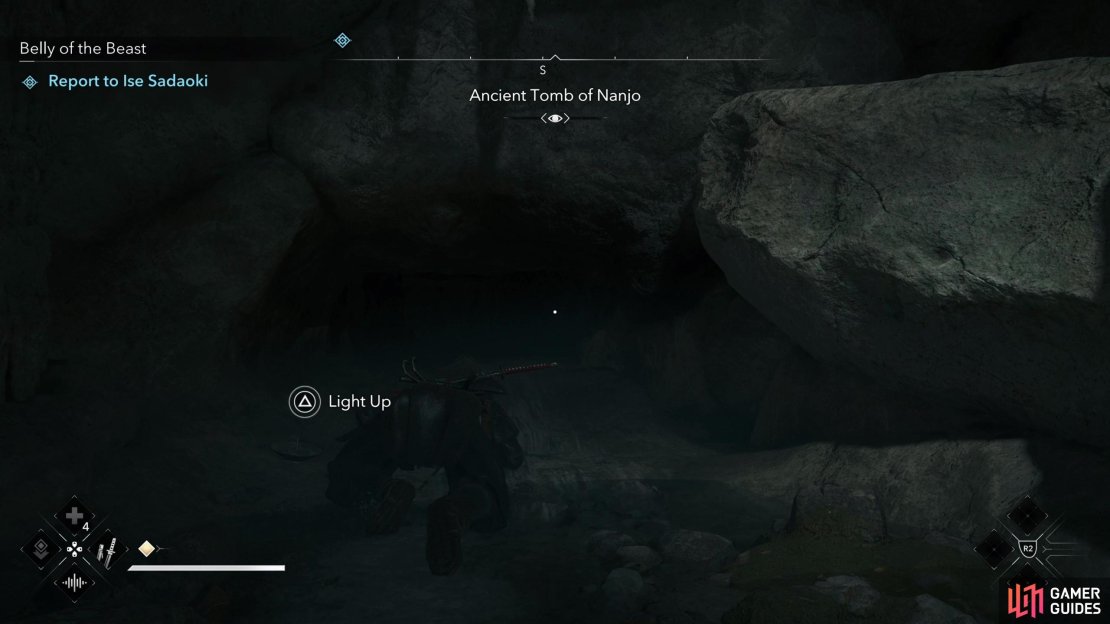
Drop down into the next room where you’ll find two more slopes: one to the south and another to the north. This time, however, the game gives you a clue. Enter observe mode and you should see the white objective marker just off to the north… going down the northern slope obviously is the wrong answer. Slide down the southern slope instead, follow the tunnel ahead, go upstairs, climb a ledge, then crawl through a hole near the ground to the southwest. Once through the hole, continue west and north through an L-shaped chamber to find another pool of water. Jump onto a stalagmite to the northwest, then jump onto a rock to the north, and from here use your grappling hook to swing over to the ledge to the north.
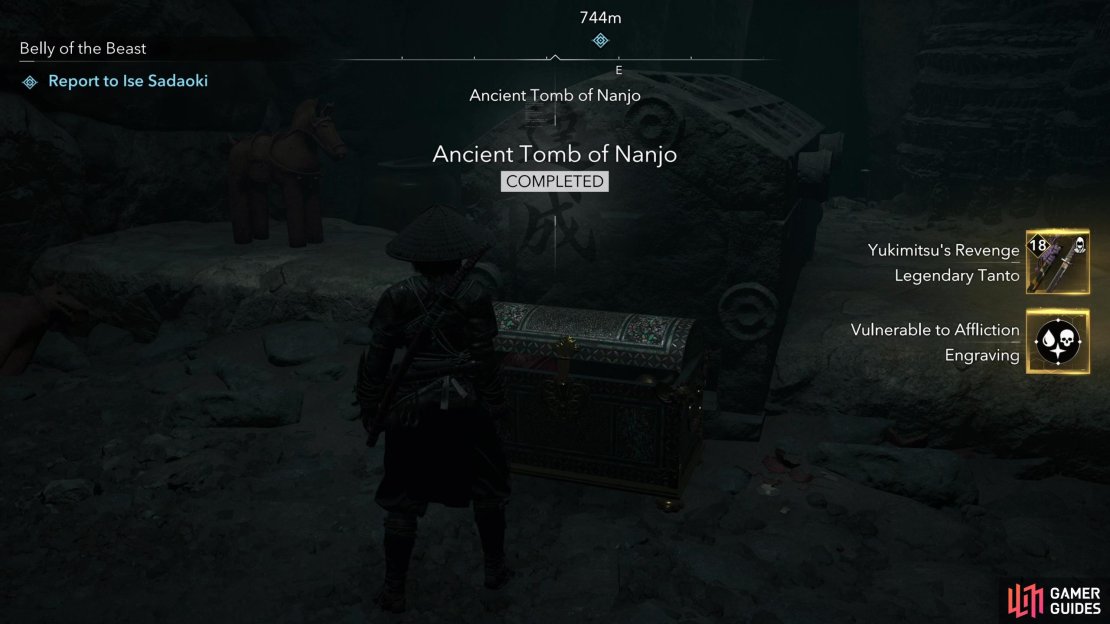
Continue north, vault over a rock, climb some stairs, then slide through a crack to the east to reach the chamber housing the legendary chest you seek at the end of this tomb. See? Taking the obvious path north was, in fact, the wrong way to go. We know your game, Ubisoft. Loot the chest to obtain the Yukimitsu’s Revenge legendary tanto and the Vulnerable to Affliction engraving, along with +1 Knowledge.

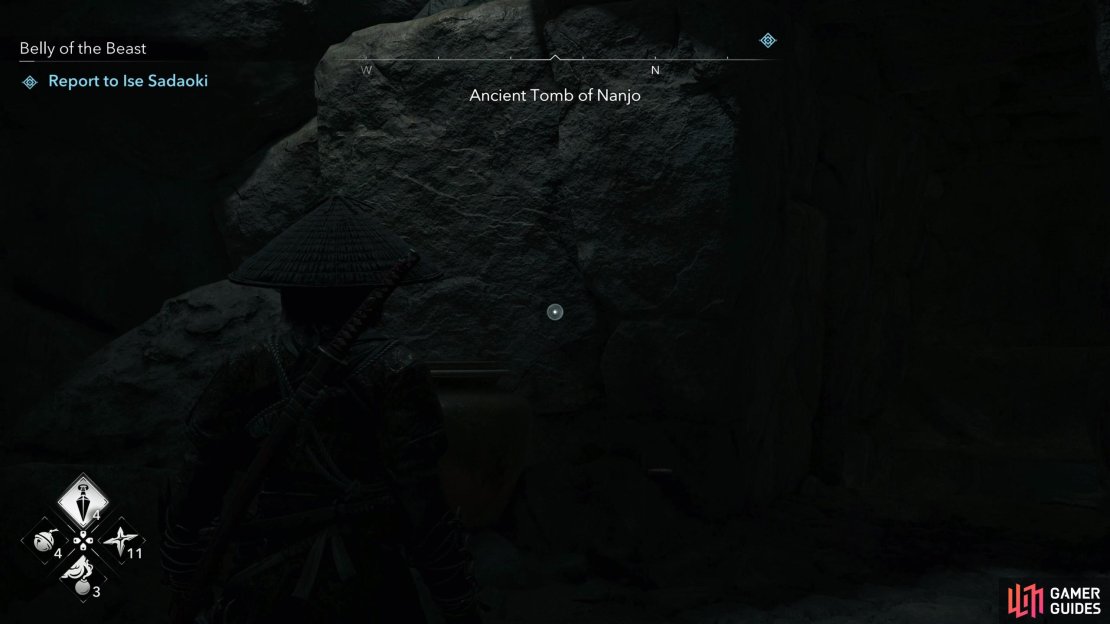

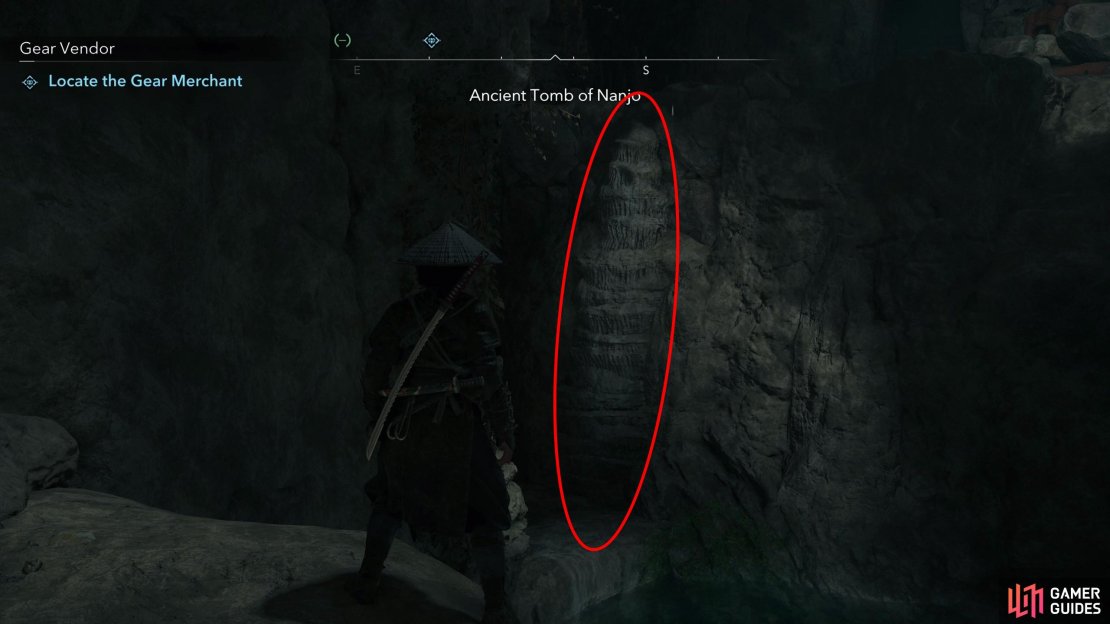
(1 of 6) Use your Observe ability to spot the white objective marker to the north,
Loot the chest, then continue east and you’ll find yourself back in the hub chamber, albeit on a previously inaccessible ledge along the western side of the room. Drop down into the square pool that served as this room’s landmark and with any luck this will only be your second time visiting this room. From here, just backtrack up the stairs to the east to reach the tomb’s first watery chamber, climb to the top of a stalagmite to gain enough height to use your grappling hook, and use it to climb up to the chamber with the sarcophagus. Climb through the crack in the wall to the east to return to daylight and escape the tomb.
No Comments