
Meet the Family
To start the quest “Remove the Heart” you’ll have to complete the quest “Meet the Family”, which is… well, basically a nothing quest. To do this, just talk to Buxil in Techiix Station and she’ll thank you for your heroics at the end of “Stage a Rescue”. Afterwards, she’ll check out the intel you rescued along with Niilj and inform you of a rather dangerous, time-sensitive opportunity. This ends “Meet the Family” and starts “Remove the Heart”, and you’ll earn 270 XP for your trouble.
Breaking Down the Barrier
There are no easy ways to reach the Kett stronghold on Voeld, no main gates to drive up to… not that you’d want to attempt such an obvious frontal assault, anyways. Instead you’ll need to traverse some rough terrain and aim to reach a Forward Station relatively near the base. The Kett base itself is southeast of Techiix Station, east of the eastern-most Remnant monolith. East of here, however, is a Forward Station, one of three Forward Stations that form a line along the eastern edge of the Voeld map. This Forward Station is nestled in between some Mining Zones, but more importantly if you drive west, northwest you’ll find a snowy path along the mountain you can drive the Nomad down to reach some Kett-infested caves.
When you approach the caves disembark from the Nomad and head inside - don’t linger, however, as there’s a level two cold hazard out here. Kill several Chosen as you fight your way in a southerly direction and when the coast is clear, check out a crate on the western wall, which so happens to be a Medical Cache. Kind of a silly place to hide one of these, a medical supply station on the doorstep of the main Kett base? No wonder the Kett are winning this war. Anyways, if you have the quest “Medical Caches” active, considering dealing with that now. Further southwest you’ll find an Element Zero Sample in the darkness of the cave, also against the western wall. Be sure to pay attention to the search area and scan for the sample’s exact location so you can make progress on “Task: Hitting Rocks for Science”.
In any event, continue southwest through a narrow cleft in the rocks ahead, turn in a westerly direction, scale some ledge and engage some more Kett. These ones are a bit more diverse, including some Destined, but it’s nothing you haven’t face before… although the Kett here are rather numerous. After the fight you’ll find out why, as Ryder contacts Buxil to gain the codes to the base. Simply make your way west to find a Console lazily attached to a Kett crate, which you can scan and interact with to drop the barrier blocking entry into the Kett base.
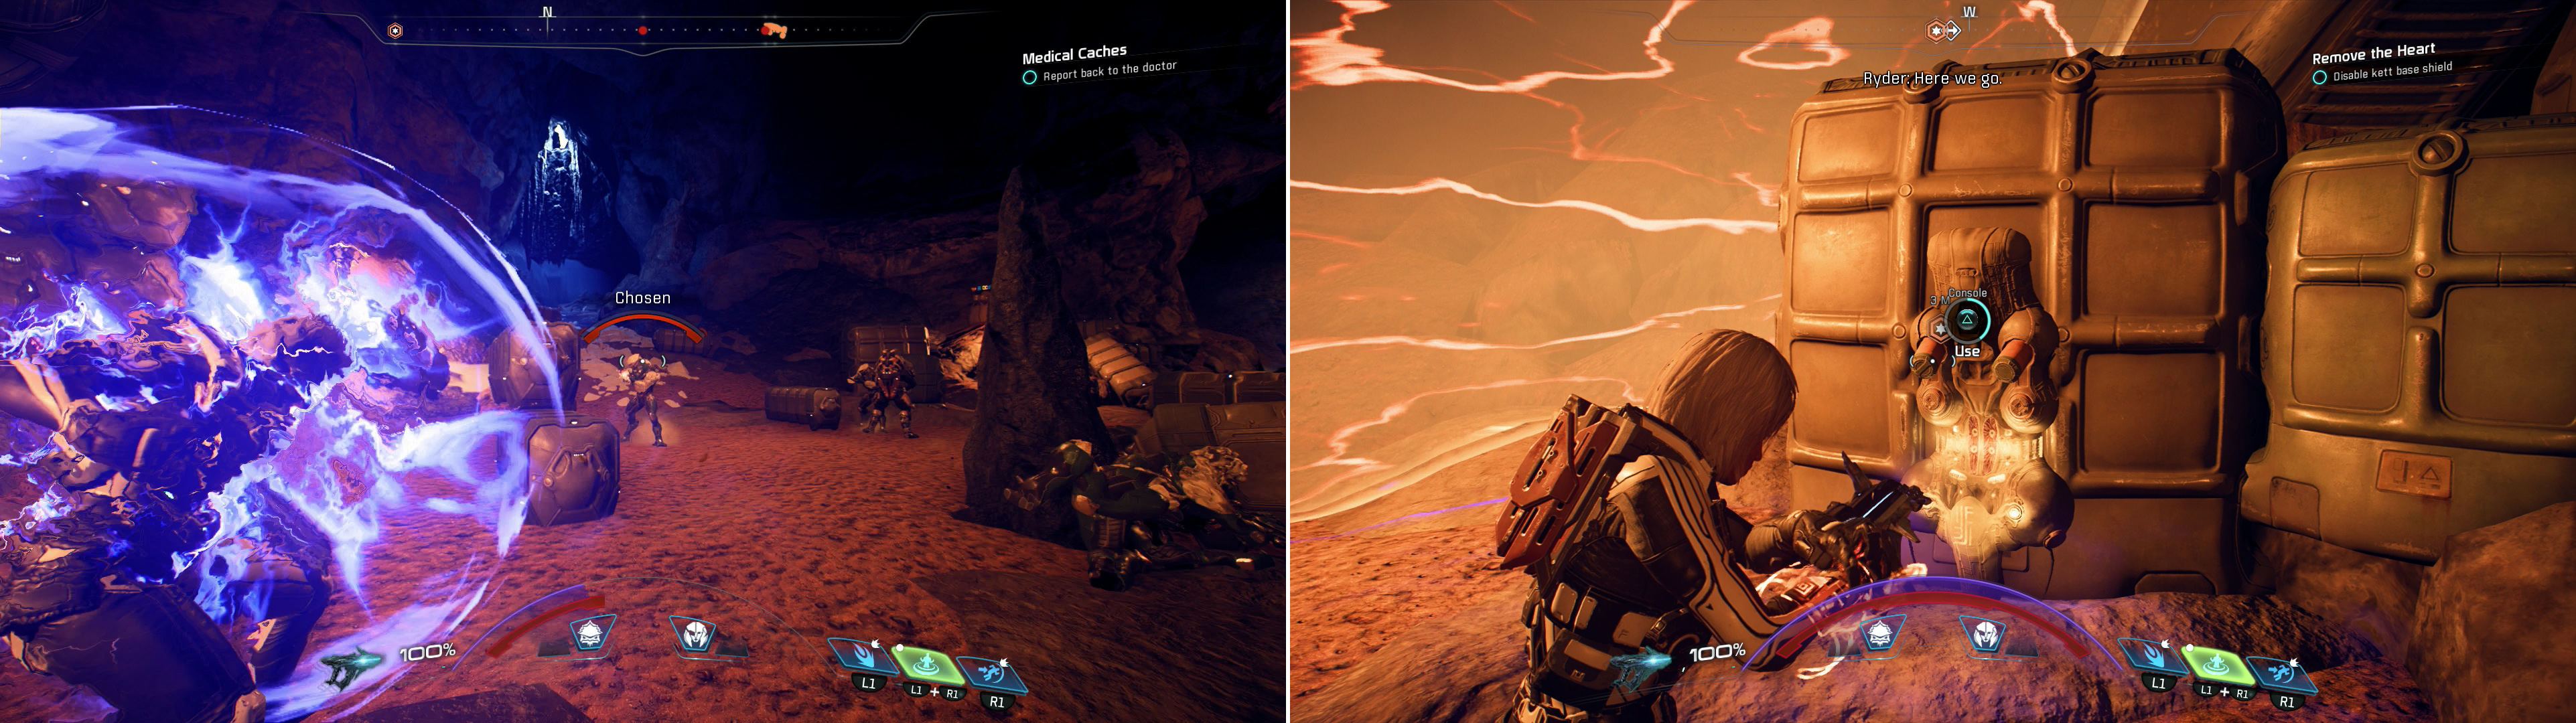
Fight through the caves near the Kett base (left) and disable the base’s shielding (right).
Disabling Security
Continue south past where the barrier once stood and shortly on you’ll encounter another group of Kett. Their sole tactical advantage this time around is distance and height, so… yeah, not really much to this encounter. Kill the Kett, jump on the ledge they were guarding, turn west, northwest, jump up more ledges, then turn north to reach a chamber occupied by more Kett. Kill them, then continue northwest through the caves until you reach sweet, sweet… freezing hellhole. Ah well.
Cross a bridge to the northwest, turn northeast, then fight your way up a slope, culling a number of Kett Chosen as you go. Climb ledges and continue uphill until you find the business end of the Kett base looming to the northwest. It shouldn’t surprise you that numerous Kett crawl across the structures ahead, so fight your way from cover to cover (fortunately the Kett were generous enough to leave plenty of indestructible crates lying around!) and to the north.
Broadly speaking your goal is to fight your way towards the navpoint, although progressing into the base in any direction should be enough to trigger the next phase. There’s plenty of cover you can hide behind as you advance, which is a good thing, as the Kett occupying this base are numerous. At first you can expect to find numerous Wraiths that’ll pester you, but after they’re depleted you’ll only have to contend with waves of Chosen, Anointed and Destined. Penetrate the Kett base and SAM will inform you of some Kett Generators you have to disable to access - and disable - a Security Terminal. If you cleared the Kett base on Eos, this should seem incredibly similar, but there are some key difference, namely the lack of an alarm and the fact that the Kett are more easily quelled this time around.
Let’s get to it, then; from the snowy ground outside the base head as far north as you can without setting foot on the Kett base, then turn west and head up the northern-most ramp. Immediately turn north again and head up another ramp to reach a roofed shelter. Go through a doorway to the east to return outside to find the first Kett Generator. Once that generator is down, turn north and head up a ramp to enter a natural stone cavern, then turn northwest to reach a platform upon which the second Kett Generator rests. Next turn south and head down a ramp to return to the roofed room you entered before hitting the first generator. Make your way through a doorway to the west and turn south at a Health Container, go up some stairs to reach another roofed Kett structure (be wary of the Turret on the roof!) then turn southwest and head past some stairs to find the third and final Kett Generator in the corner of this structure.
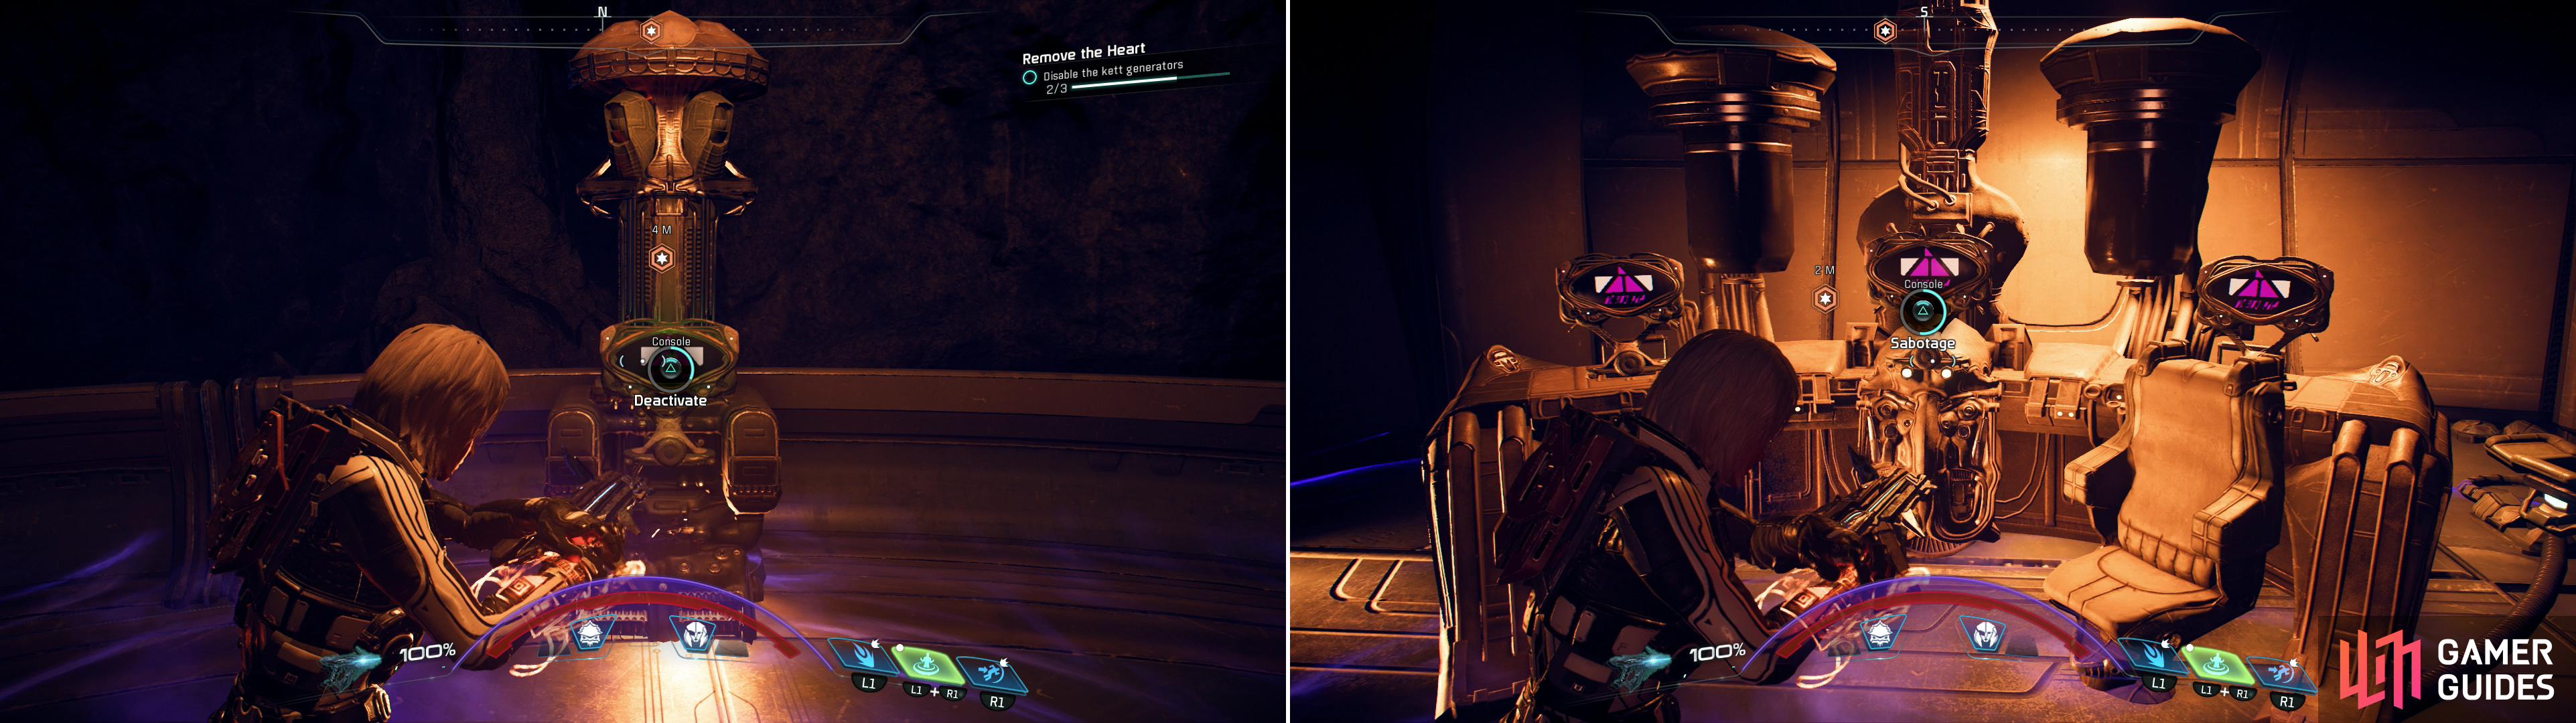
Survive waves of Kett to reach three Kett generators (left) after which you can disable the base’s security and open the way to the core (right).
Once the three Kett Generators are disabled mop up whatever Kett are around so you can get around to exploiting the Kett base at a more leisurely pace. Fortunately there’s plenty of interesting things in this structure; start out by using a Terminal near the Kett Generator to read some Kett correspondence. Apparently the leader of the operations on Voeld is one “Prefect”. Head upstairs and loot numerous containers, if you wish, but also note a Console in the southwestern corner, which contains the information Ari Vesjek wants as part of the quest “Fact or Fiction”.
Mess around with whatever containers, Console and Terminals you wish, but when you’re done head upstairs and sabotage a large, three-screen Console to the south to disable the base’s security and open the way to the outpost core. Leave the building and head north across a platform, continue down some stairs to the north, turn northeast and navigate some Kett crates then head north into some natural stone caverns. Fight your way through any Wraiths that dare show up and turn west to reach a building inside which you’ll find a console which opens up the hole in the floor nearby. You know there’s a fight below, so be prepared before you drop down.
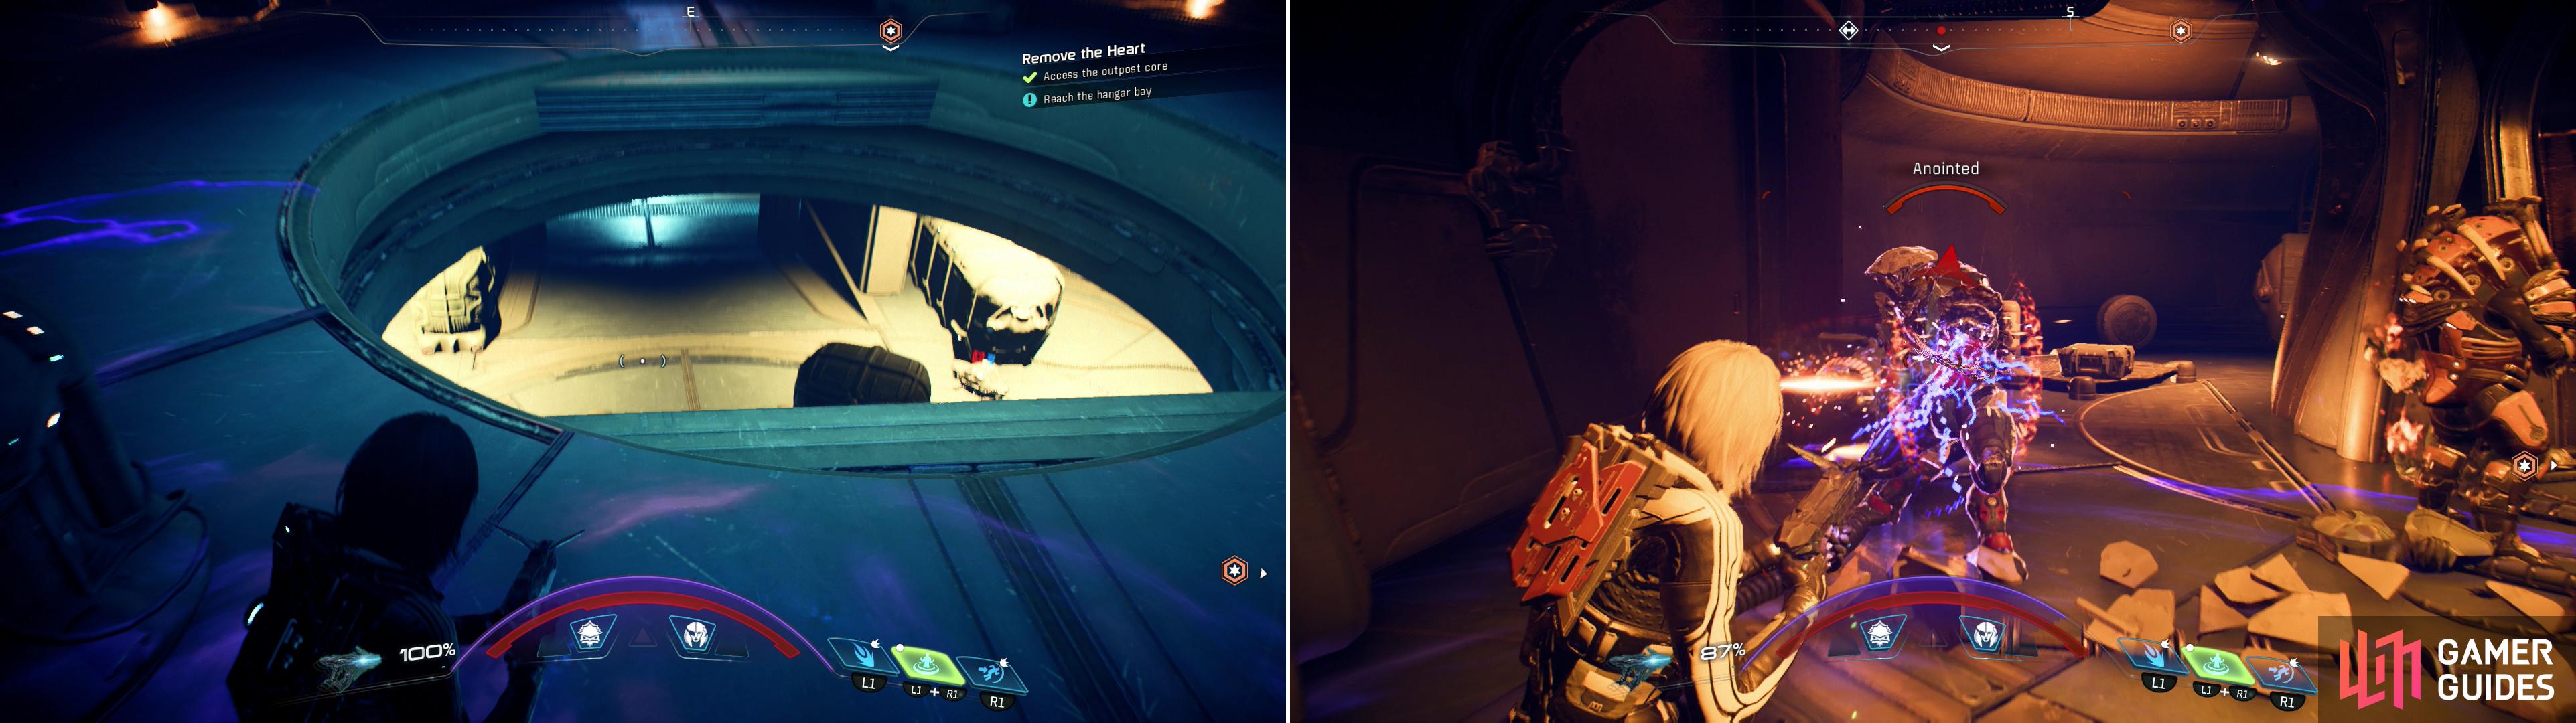
Drop down the hole to reach the base’s core facilities (left) and kill whatever Kett you find waiting for you (right).
Smashing Hangar Platforms
Drop through the hole in the floor and continue down some ramps to the east until some Kett dare to oppose your passage. Inform them that you’re the irresistible force, then turn south down another ramp, where more Kett wait for you to smite them. Open a door to the west, descend some stairs, then continue north through another door to reach a large chamber infested with Kett of all types; Chosen, Anointed and Destined, anyways.
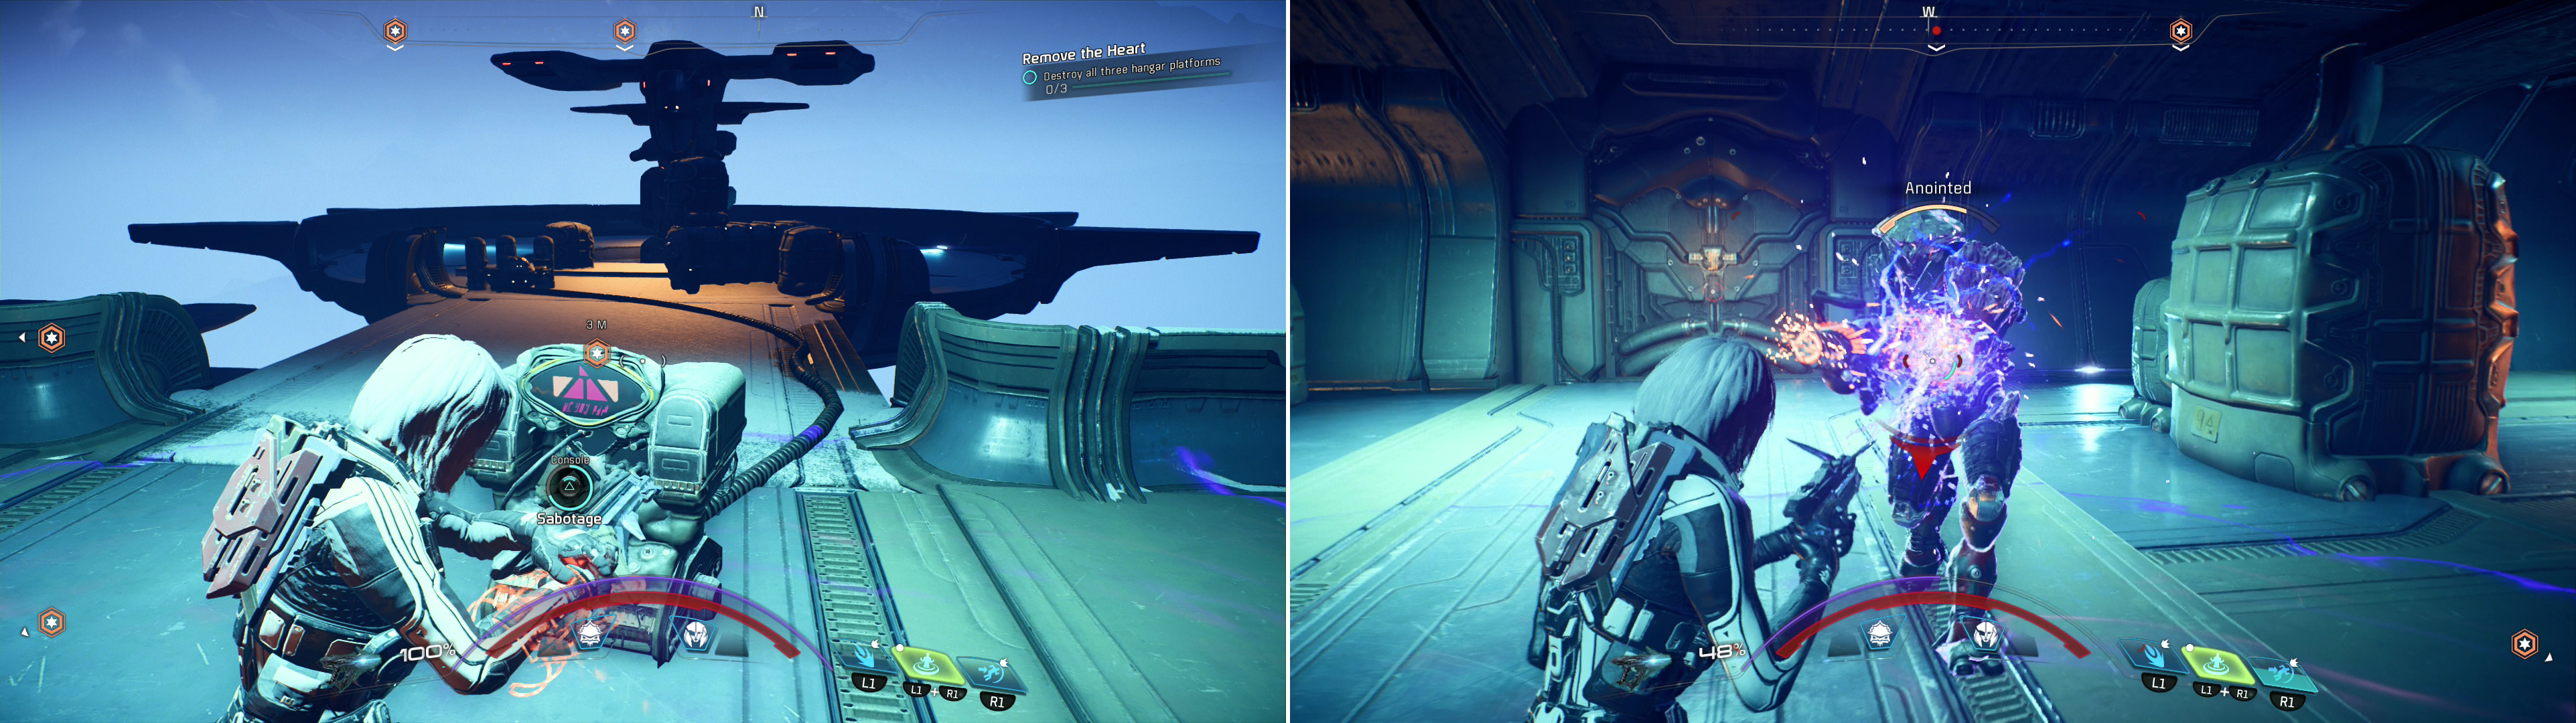
Activate consoles to destroy the base’s Hangar Platforms (left) but be wary, as Kett will spawn as you activate the consoles (right).
Start things out by clearing out the Kett. They’re endless, but they won’t continuously spawn in groups like they did on Eos, instead they’ll trickle in one at a time from the east and west. As fun as it is, however, your goal isn’t to kill Kett, it’s to destroy three Hangar Platforms scattered throughout the chamber; one on the bottom floor to the north, and two on the top floor to the northeast and northwest. Thin out the Kett and approach any one of the Consoles and activate it, then congratulate yourself on a job well done, right? Well… not so fast. Unfortunately the Kett here have fail-safes that complicate the task, as after you activate one of the hangar consoles you’ll have to reach one of many Override Consoles. Which one doesn’t matter, so just go to the most convenient one and activate it, after which you’ll need to return and activate another Hangar Console to destroy that Hangar Platform. Be wary, however, as every time you interact with a Hangar Console or an Override Console a group of Kett will spawn, rather than the normal trickle.
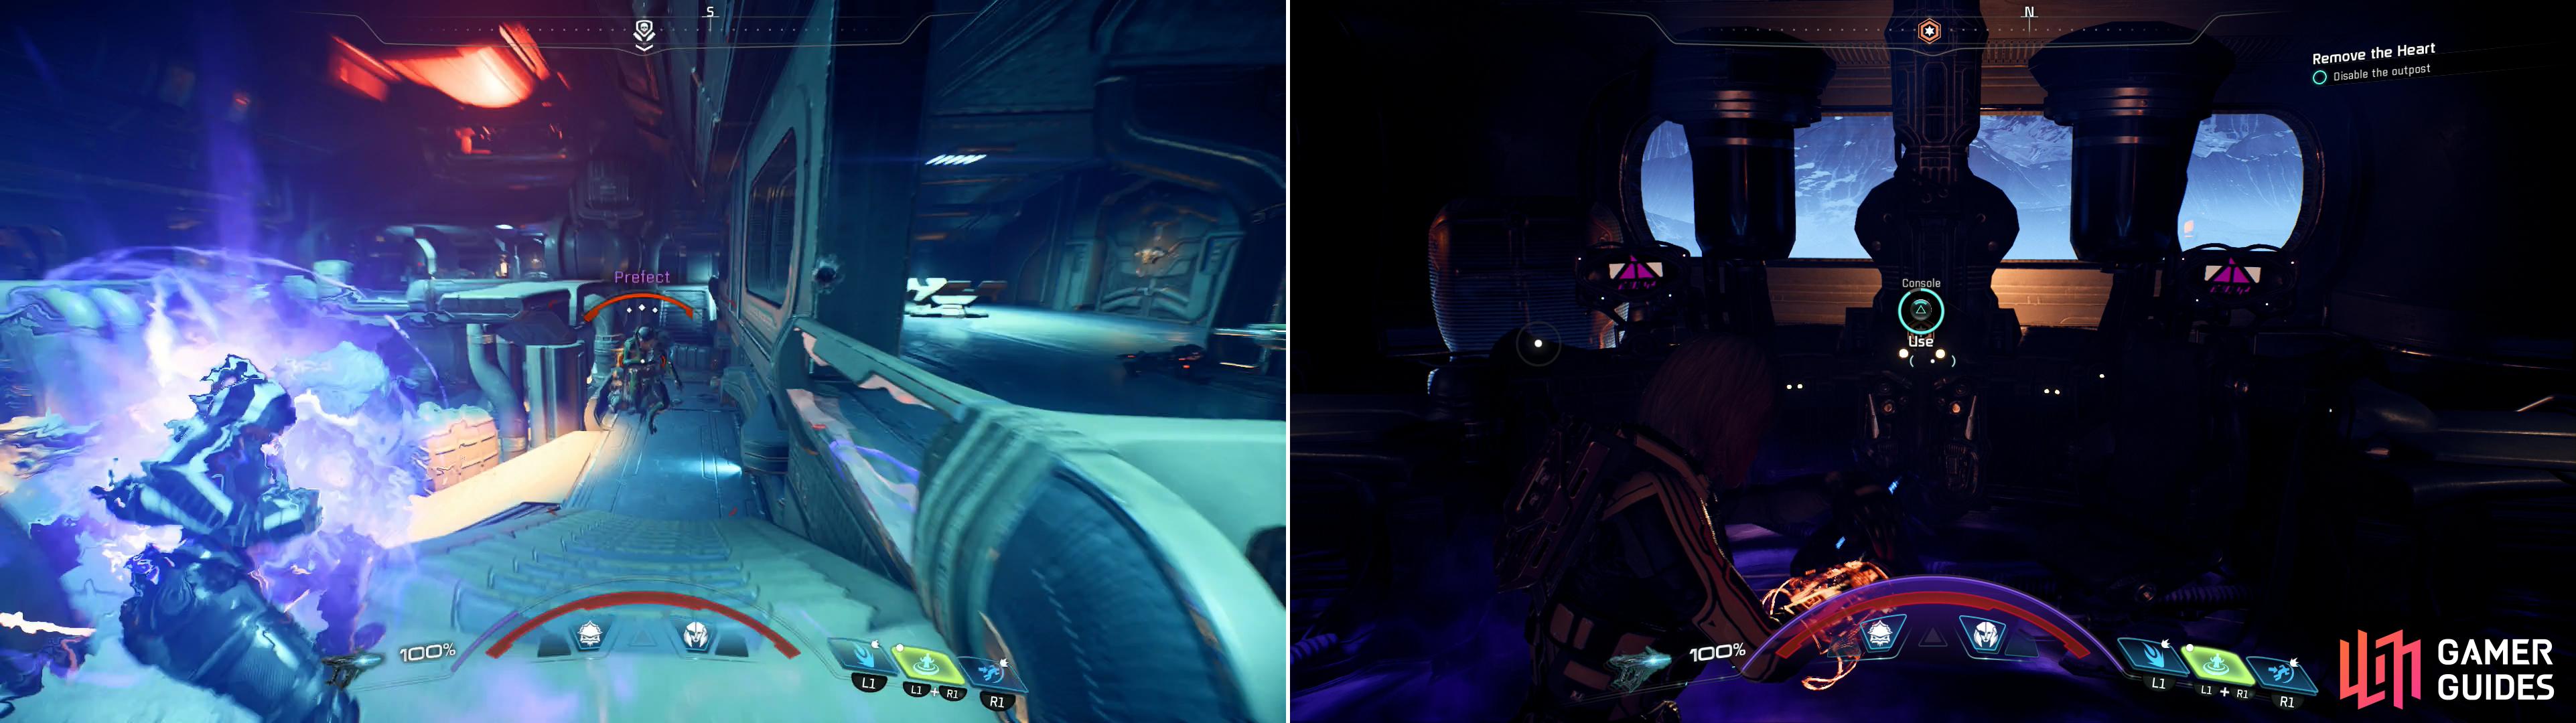
After destroying the Hangar Platforms, the base’s commanding officer - the Prefect - will show himself (left). Defeat the Prefect and ride an elevator to the base’s command center, where you can finally disable the outpost entirely (right).
Boss Battle - Prefect
After the three Hangar Platforms are destroyed, a few more lesser Kett will show up as a last-ditch effort to thwart your progress, this time joined by the base commander - the Prefect. The Prefect is another Ascendant and fights identically to the Invictor and the Cardinal, so you should need little instruction as to how to emerge victorious, especially since the Prefect only has a few lesser Kett to support him, and he won’t be getting reinforcements. When you’re victorious, loot the Prefect and enjoy a massive influx of 1,330 XP.
Return to the upper floor and head through a door to the west to find some Elevator Controls, which will take you up to the important-sounding Zenith Room. Sure enough, there’s plenty of juicy loot in here, as well as a Console that’ll disable the Kett base and mortally hinder Kett operations on Voeld… not that you’ll notice a down-turn of Kett activity outside, but never mind that pesky little detail. For your heroics you’ll earn 300 AVP and +10% Voeld AVP.
To complete this quest, ride the elevator back down to find yourself back in the main part of the Kett base, near the hole in the ground you used to reach the outpost core. Head through a doorway to the west then turn north south on a walkway to find Buxil standing near an Angaran dropship. Talk to her and she’ll congratulate your prowess and inform you that the barrier around Ja Niihk is down, which will allow you to continue on with the quest “Task: Gone Dark”. The quest “Uncovering the Past” will also begin. Oh, and you’ll score another whopping 1,330 XP reward.
No Comments