

Tutorials on Habitat 7
After a bit of a… rough landing… you’ll find yourself on Habitat 7, one of the Heleus Cluster’s supposed “golden worlds”. If this is a golden world, silver must be a real bitch. Floating rocks, constant lightning strikes, signs of alien civilization… not an ideal situation, but at least you’re not alone, as Liam will show up shortly and, after some chatter, join up with you.

While it may not be a golden world anymore, there’s still plenty of life to scan (left). Sprint to get through a field of lightning (right).
Bring up your scanner and scan the “Unknown Plants” in front of you to gain some Heleus Research Data points. Ten of them, to be exact. You can’t spend them just yet, but know that Research Data points are spent to research weapons, armor, upgrades and other goodies, which can then be crafted should you have the required resources. Scanning new objects, be it technology, structures, plants, animals, minerals or other objects of interest that your scanner highlights typically gives you ten Research Data points. Such opportunities are too numerous to bother pointing out individually, but it’s worth keeping your scanner up in new areas, and especially attempting to scan anything that looks remotely scannable. Credits and resources are easy to farm, Research Data points… not so much.
Continue northeast and scan an “OEC Communications Relay” and some Debris, each of which will give you ten Milky Way Research Data points, then scan some blue mushrooms further on to log another ten Heleus Research Data points. Further along on the linear path you’ll find your way impeded by repeated lightning strikes, which gives you plenty of incentive to learn how to sprint - simply press [L3] and run through the lightning. If you take damage, it shouldn’t be enough to bypass your shields (blue bar on the bottom of your screen), and you shields will regenerate in time, anyways, so just keep moving and you’ll be fine.
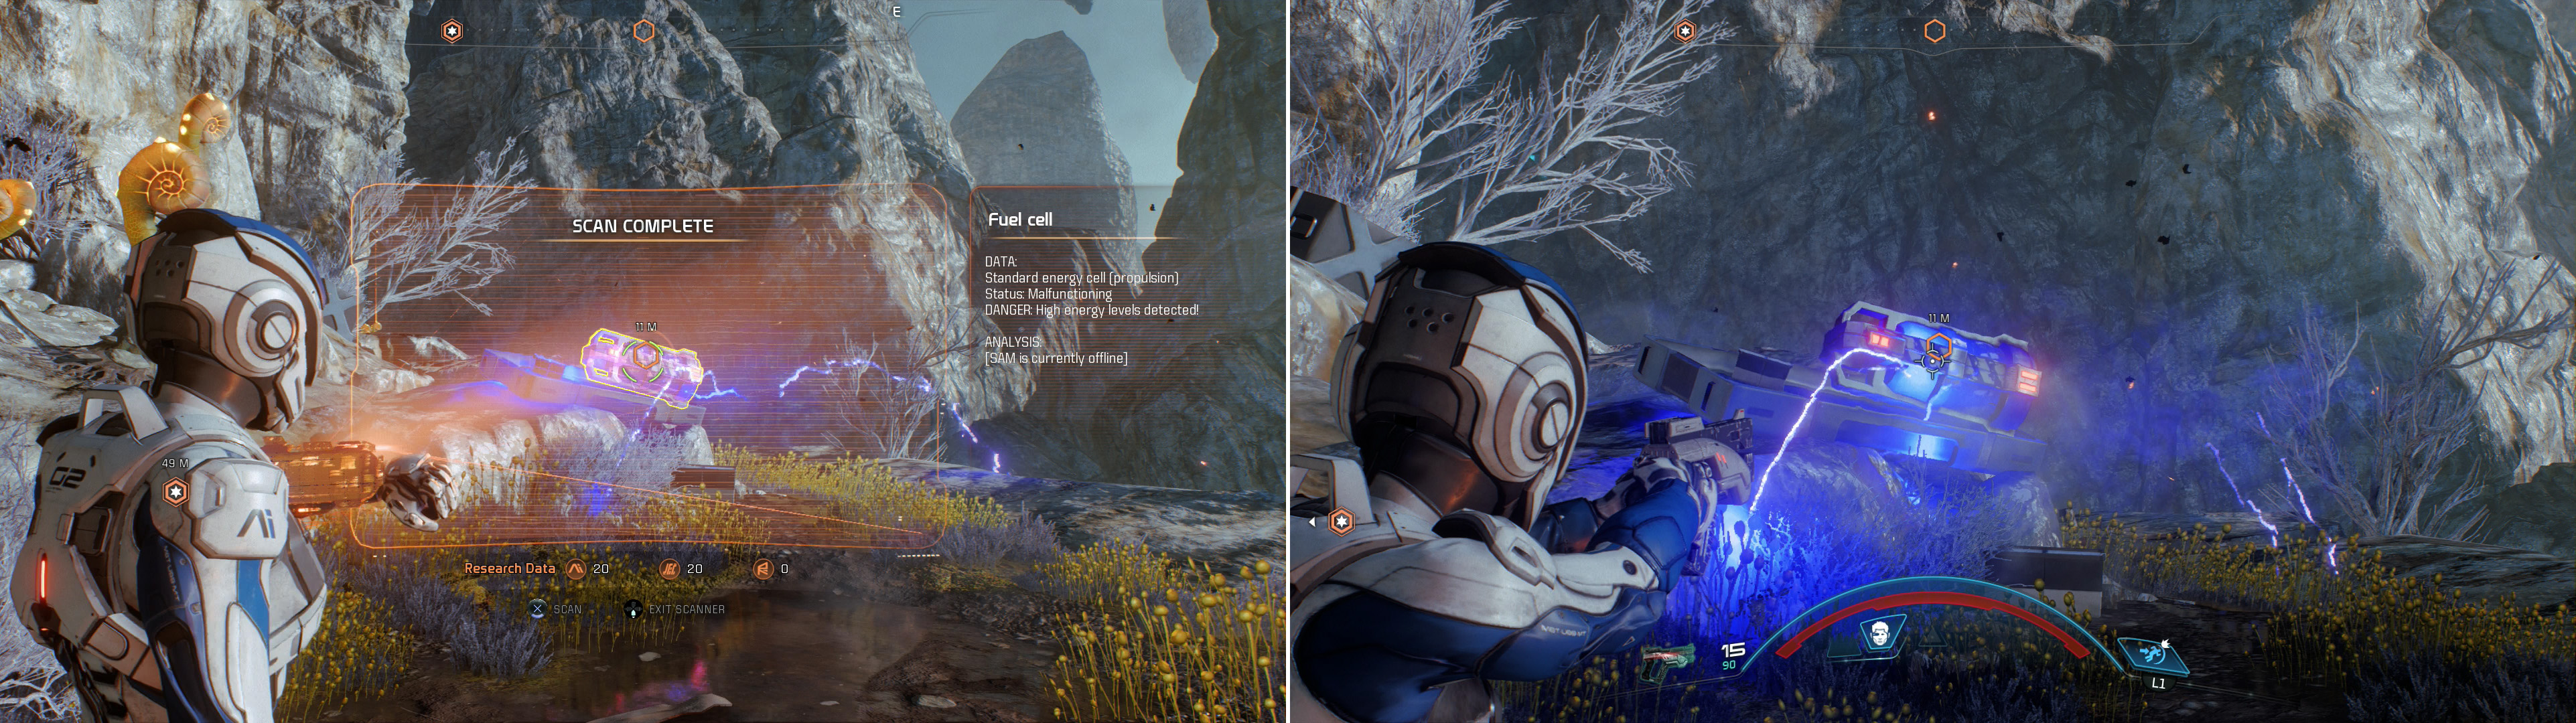
Scan (left) then destroy a malfunctioning Fuel Cell (right) to pass by safely.
After the lightning, keep heading east until Liam points out a malfunctioning Fuel Cell , which he thinks is a fine opportunity for some target practice. Scan the device to get some Milky Way Research Points, then indulge Liam by unholstering your weapon and aiming (hold [L2]/[LT]) at the device, then shoot it [R2]/[RT]. When you’re done punishing the poor Fuel Cell for malfunctioning, hold down the [Touch Pad] to holster your weapon, then continue on until you find an ammo box. Note the orange ammo marker and the yellow Power Cell markers above the box, and the blue capacity bars near them - these indicate how much of each the ammo box currently contains.
North of the ammo box you’ll find some uneven ground, which conveniently blocks the path ahead and gives you a chance to practice vaulting over such obstacles. Simply move forward and press [Circle]/[B] to mount the rock, then at a fork further north turn west into a mushroom-filled tunnel. Scan the wall to the north to find a “Crevice” with high energy readings emanating from it. It may be an interesting anomaly in an of itself, but scanning it will also net you ten Remnant Research Data points, making it a diversion well worth taking.
Leave the dead-end tunnel and head north, mounting another ledge and proceeding until you find a ledge you can’t vault over. Instead, press [X]/[A] to use your jump jets while pressing forward on your [Left Analog] stick to propel your way up to, and climb onto, the ledge. Turn east and leap a gap in the path, then jump up to another, higher ledge. From here you’ll need to turn north again to find another gap you must leap across, although you’ll need to get a running start to make it across this time. Once done, continue north a bit further and leap up to another ledge.
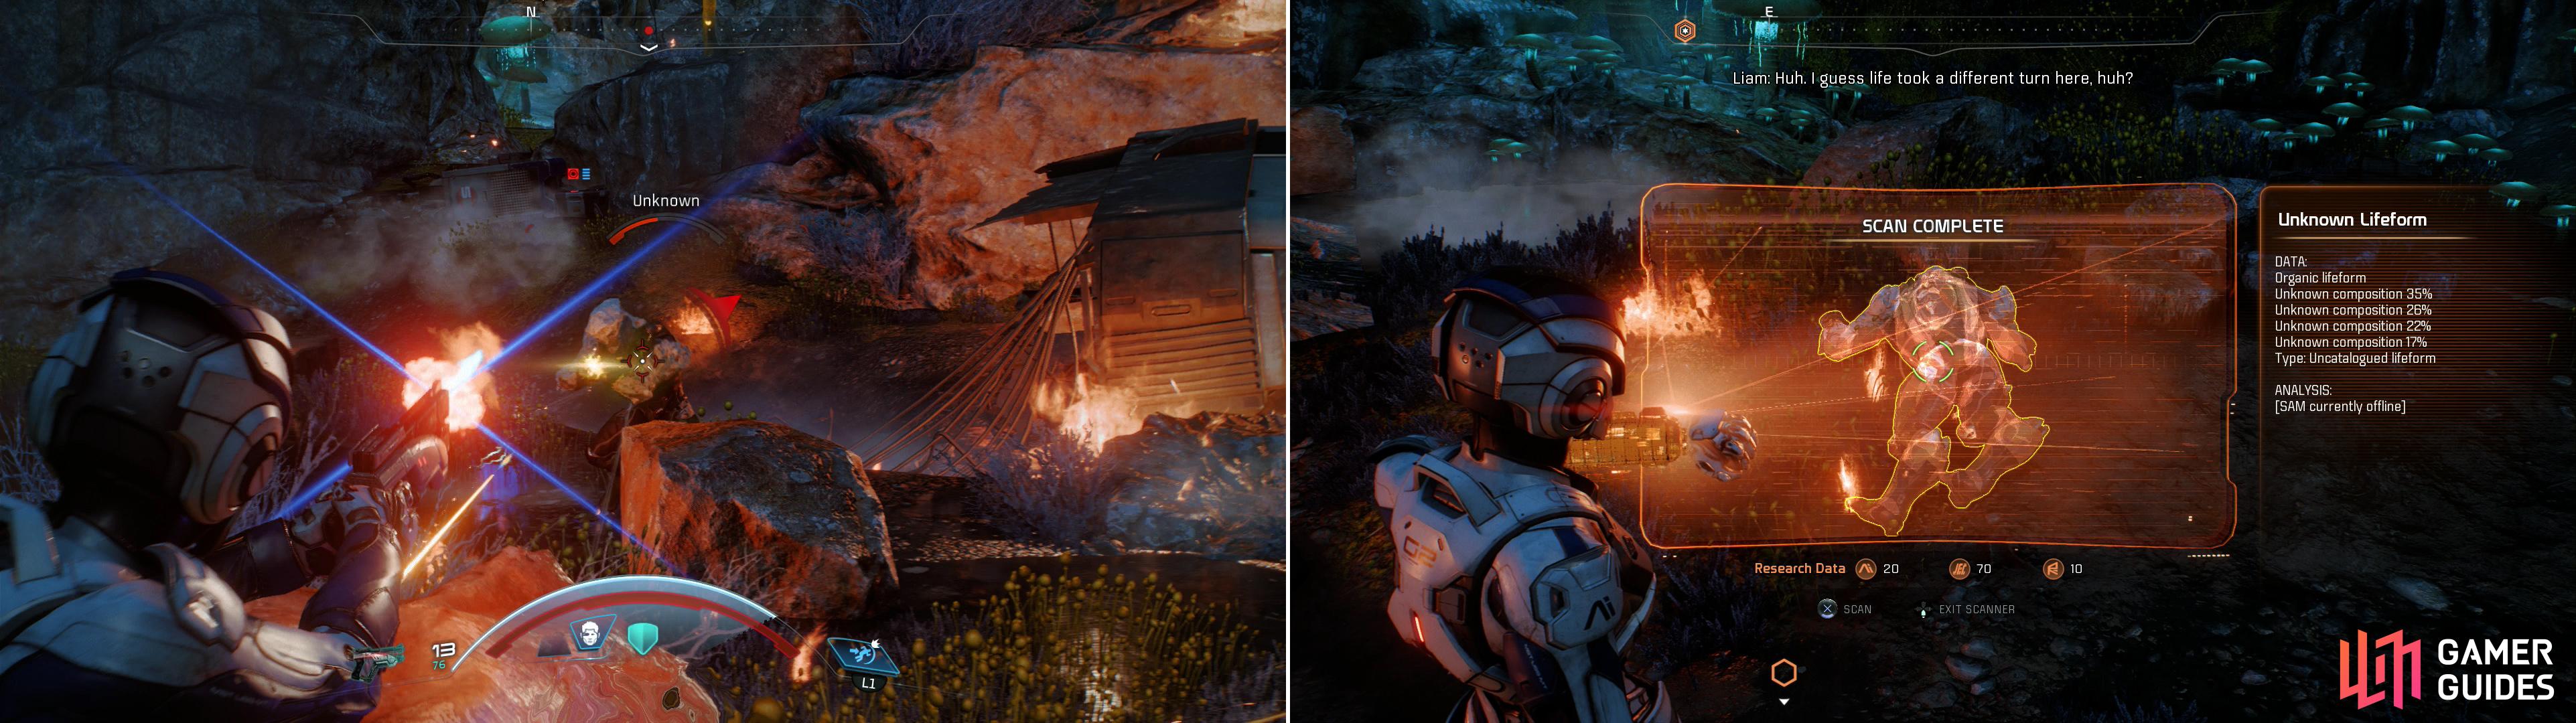
Engage the hostile aliens (left) then scan their corpses (right) for a massive amount of Heleus Research Data.
After some chatter with Liam you’ll locate Fisher - another member of the Pathfinder team. Unfortunately, you’re not the first sapient beings to spot him, as some aliens - which look like a lovely mix between a humanoid and a tonsilith - are closing in on him. Do your best to be peaceful… or not. Either way, the result is the same. The aliens will assault Fisher, and if you get to close, they’ll open fire. If “who shot first” matters all that much to you… well, you can absolve your conscience by drawing their fire, or by waiting long enough for Liam to take matters into his own hands.
When your weapon is unholstered you’ll automatically take cover near appropriate objects (as with all automated cover mechanics in games, it frequently leaves much to be desired), and if you avoid damage for a few seconds, your shields will recharge. Your health (the red bar at the bottom of your screen) is more fussy, and will only refill a certain amount (this amount can be raised by investing in the Combat Fitness skill in the Combat tree), although it can be recovered by finding a health container.
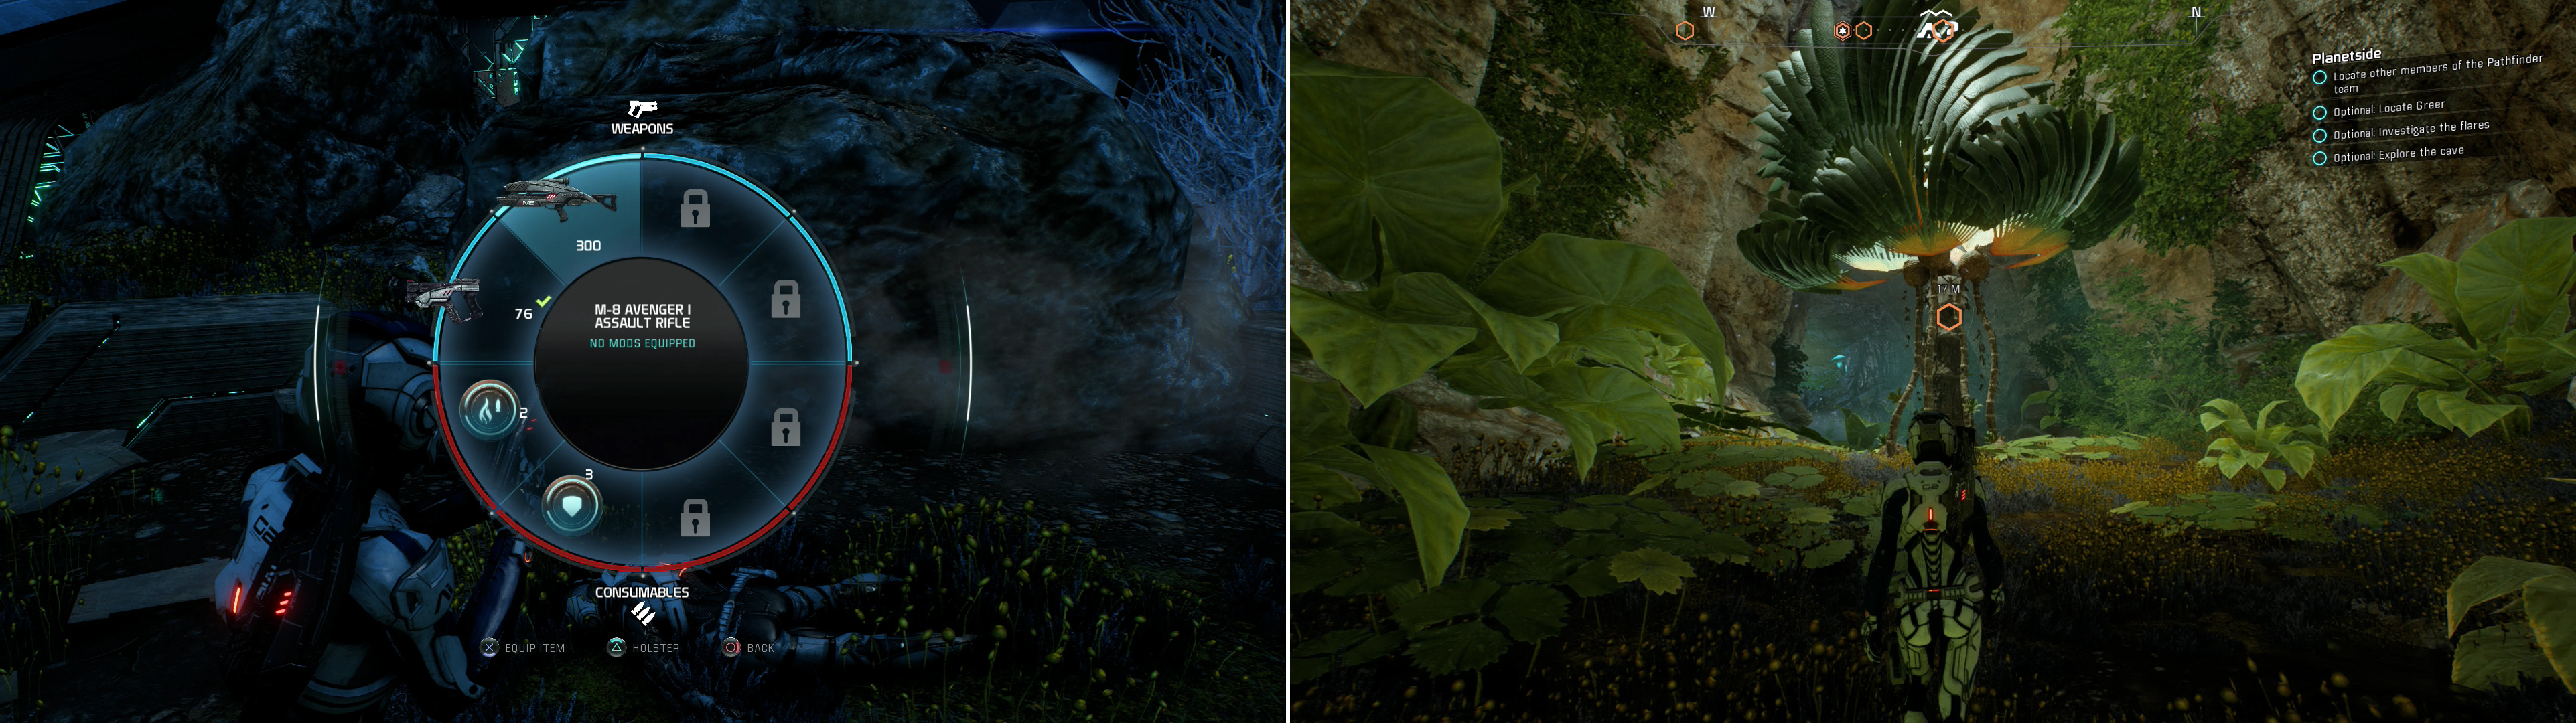
As for combat, right now there’s no need to get fancy. Just pretend they’re ugly, moving fuel cells and aim with [L2]/[LB], fire with [R2]/[RB]. [Square] will reload your weapon, and you can simply press [R2]/[RB] while in cover to blind-fire. If you need to switch which shoulder the camera orients over, press [R3] while your weapon is unholstered. Pressing [Triangle]/[Y] will cause Ryder to perform a melee attack, [X]/[A] jumps (aiming while jumping slows down time), while [Circle]/[B] will dodge in whatever direction you press the [Left Analog] at the time (default is to dash forward). Pressing the [Touch Pad] button will bring up a circular weapon/consumable wheel, which may prove useful later on when you obtain more weapons/consumables. Finally, depending on what specialization you picked during character creation you doubtlessly have one active skill right now, which can be activated by pressing [L1]/[LB]. Further skills can be mapped to [R1]/[RB] and [L1] + [R1]/[LB] + [RB]… you know, when you level up, get more skill points and invest in more skills.
Take down the aliens, then approach Fisher to engage in some dialogue about the unfortunate application of first contact protocols. Fisher will point you in the direction of some fellow Pathfinder crew members, but with his injuries, he’s not going anywhere. Before you abandon him, scan the bodies of the dead aliens to get a whopping 50 Heleus Research Data points. Once done, continue northwest from the crashed shuttle to find a container you can loot, likely with some consumables inside. Consumables, if you remember, can be displayed by pressing the [Touch Pad], and used from that circular menu. Ammo consumables enhance whatever gun you have currently equipped for a set number of clips, while Shield Capacitors fully recharge your shield and boost your maximum shield allowance until the next time your shields are fully depleted.
From the container turn northeast and you’ll find an ammo box and a health box. Health boxes work like ammo boxes - a red symbol indicates the contents, and the blue bar next to it indicates the remaining capacity. Make sure you’re fully healed and your ammo is fully stocked before you continue on.
Crewmate Rescue - Kirkland
Greer and Kirkland are still missing, and there are two paths you can follow. They loop up and link together far to the north, however, and given the loot, Research Data and XP you can earn, it’s well worth your while to explore both paths… even if it means a bit of backtracking.
Head north east first, moving uphill until you hear a commotion up ahead. Crest a hill and you’ll find some aliens pestering a member of the Pathfinder team, and when things go south, kill the aliens an examine Kirkland’s body. Seems like it’s safe to assume these aliens are hostile on sight, and doing otherwise might just result you ending up like poor Kirkland. On the plus side, you can recover his M-8 Avenger I Assault Rifle. While less accurate at a range (especially when firing full auto), at short and close range it can deal massive damage… and at this stage in the game, any variety is welcome.
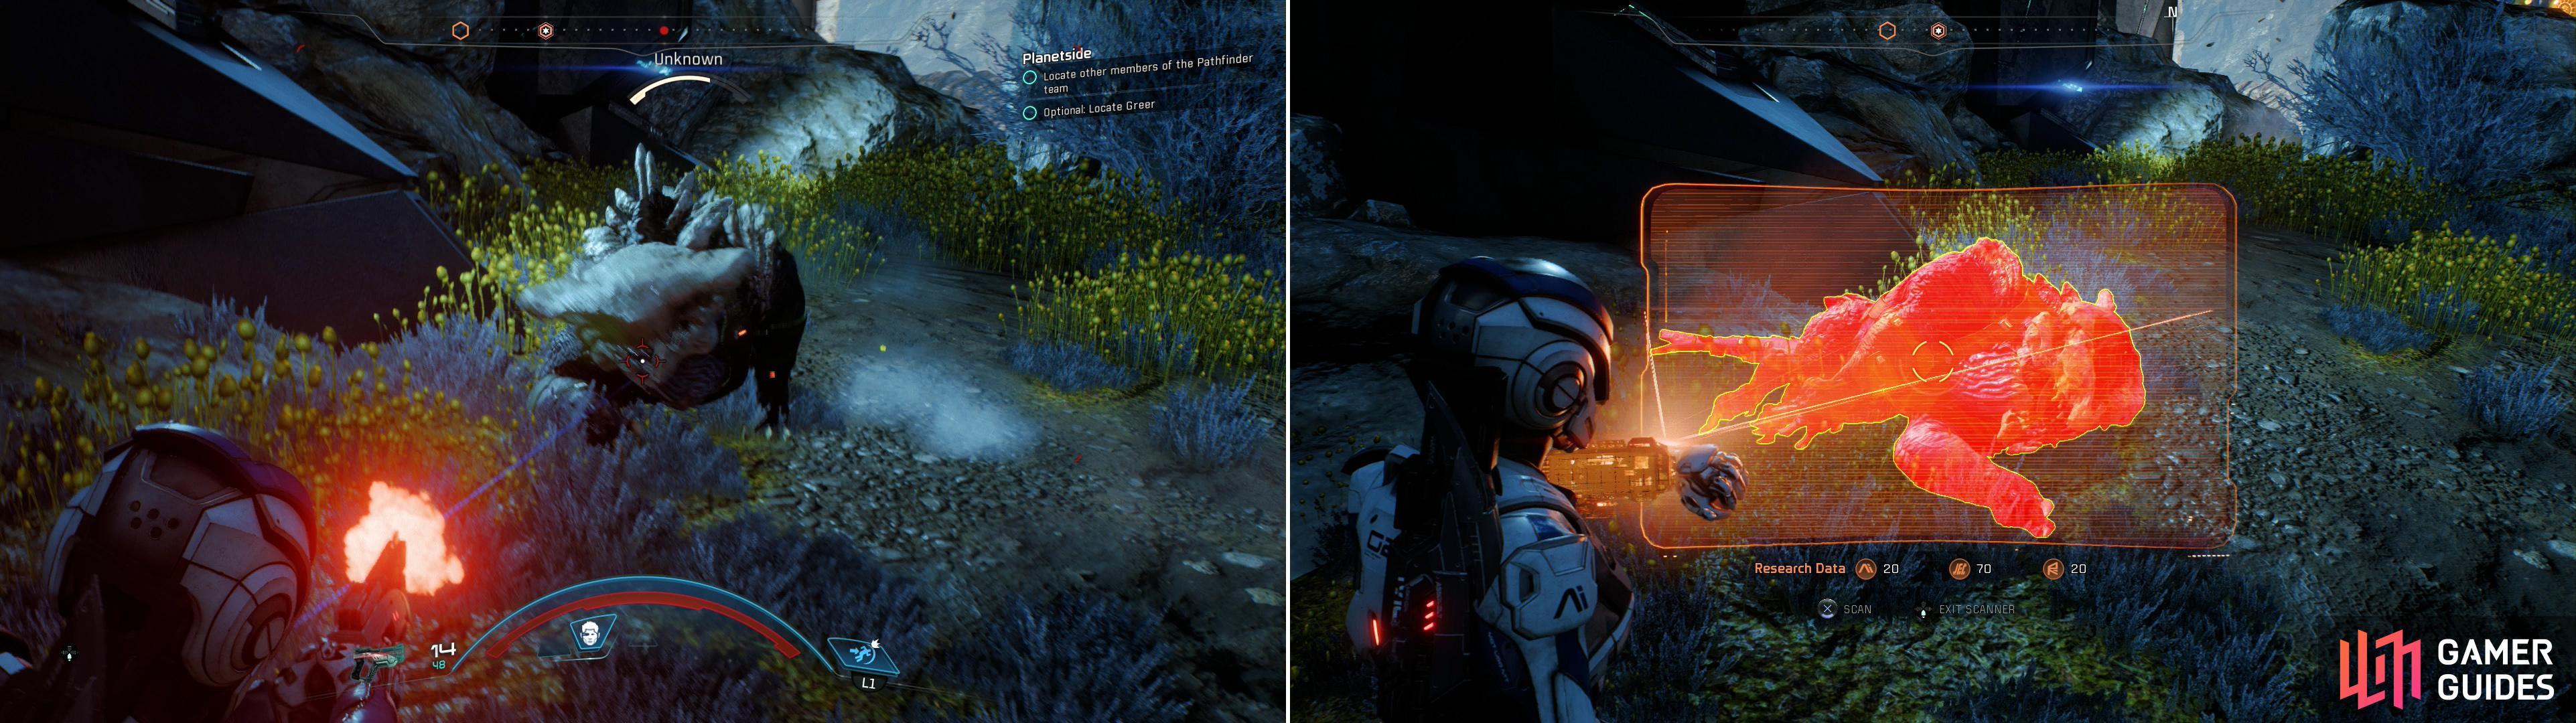
Be wary of a cloaked quadruped (left) which will attempt to ambush you. After it’s dead, be sure to scan it (right) for a great deal of Heleus Research Data.
Scan a door to the east to get more Remnant Research Data points, then continue to the northeast. Be wary, however, as a quadrupedal alien lurks along the pass ahead, and it’s capable of cloaking. Note the tell-tale shimmer effect that gives its location away, dodge its attack, then put it down and scan it to score another massive influx of Heleus Research Data points.
Crashed Alien Ship and the Golden Cave
Continue north and, when prompted, press [R3] to spot some flares in the sky, which will update your quest markers and direct you far to the northwest. All in good time. Make your way northeast to find a chasm, then follow the edge of this chasm northwest until you find an artificial platform overlooking the chasm. You can scan an alien device here, but it won’t get you any Research Data… you can also jump across the chasm by using some glowing platforms to the northwest, but there’s more loot to be had on this side of the chasm, first.
Instead continue following the edge of the chasm southwest, then west to find another artificial platform teasing the edge of the chasm, where another, different alien device can be found and scanned - this time for some Heleus Research Data. More glowing platforms await to the north, which you can use to traverse the chasm, but first turn south and head into a cave to find a mysterious machine scanning something. Fortunately it flies away when you approach, leaving you to loot two containers.
Return to the chasm and leap across one of the sets of glowing platforms - the westernmost one will lead to a landing on which you’ll find another lootable container, but otherwise they lead to the same place. Continue north until the paths converge, shortly after which you’ll encounter more aliens, including four of the bipedal soldiers and one quadrupedal alien. When the fight starts, wait for the later to charge you and take it out, then shoot down the rest. When you and Liam are the last sentient beings still standing, scan a crashed alien ship and three “Unknown Technology” units scattered to score some Heleus Research Data, then search an alien container to gain some logistical information about the aliens, and finally hit up an ammo box to replenish your stock.
Continue north from the crash site but keep your eyes peeled for a cave to the east, inside of which you’ll find a glimpse of the golden world promised by scans 600 years ago. The ideal habitat that once promised to provide the foundations for New Earth is now restricted to this cave. Scan the “tree” inside the cave and the trapped, dead alien bug to gain some Heleus Research Data, then exit the cave, returning back the way you came.
Search Kirkland’s body for an M-8 Avenger Assault Rifle (left). In a sheltered cave you’ll be able to catch a glimpse of Habitat 7 as it once was (right).
Outside the Alien Base
From the cave continue northwest until the path splits again. Ignore the western route for now and continue northwest until you find some alien technology scattered about, including some that is producing a toxic spill. If you stand in it, the life support systems on your hardsuit will start to drain - if these are fully depleted, you’ll lose your shields and start taking health damage. It’s a small spill, and unless you purposefully stand in the Toxic Environment (Level 2) for an extended period of time, it poses little danger. Simply leave the toxic zone to restore your life support.
Of course, alien technology usually means that there’s objects to scan, and so it is here, too. Proceed north and scan the Unknown Technology lying around, then scan some Unknown Alloy near a gate. Be on guard, however, as several aliens will come out of these gates and attack. Put them down, then go through the gate and scan another unit of Unknown Technology . Back south, you’ll find some ledges east of the toxic spill you can climb to get a view of a large alien base, but there’s nothing you can do there yet, so you may as well just ignore it.
Instead, keep heading northwest from the gate to receive a message from Cora and confirm the nature of the flares you saw earlier. Further northwest is a chasm you can leap across, but before you do, it’s best if you turn southwest, and explore the previously ignored western path, which will eventually loop around back to where you rescued Fisher.
Kill the aliens hassling Greer (left) after which he’ll be understandably thankful for the rescue (right).
Crewmate Rescue - Greer
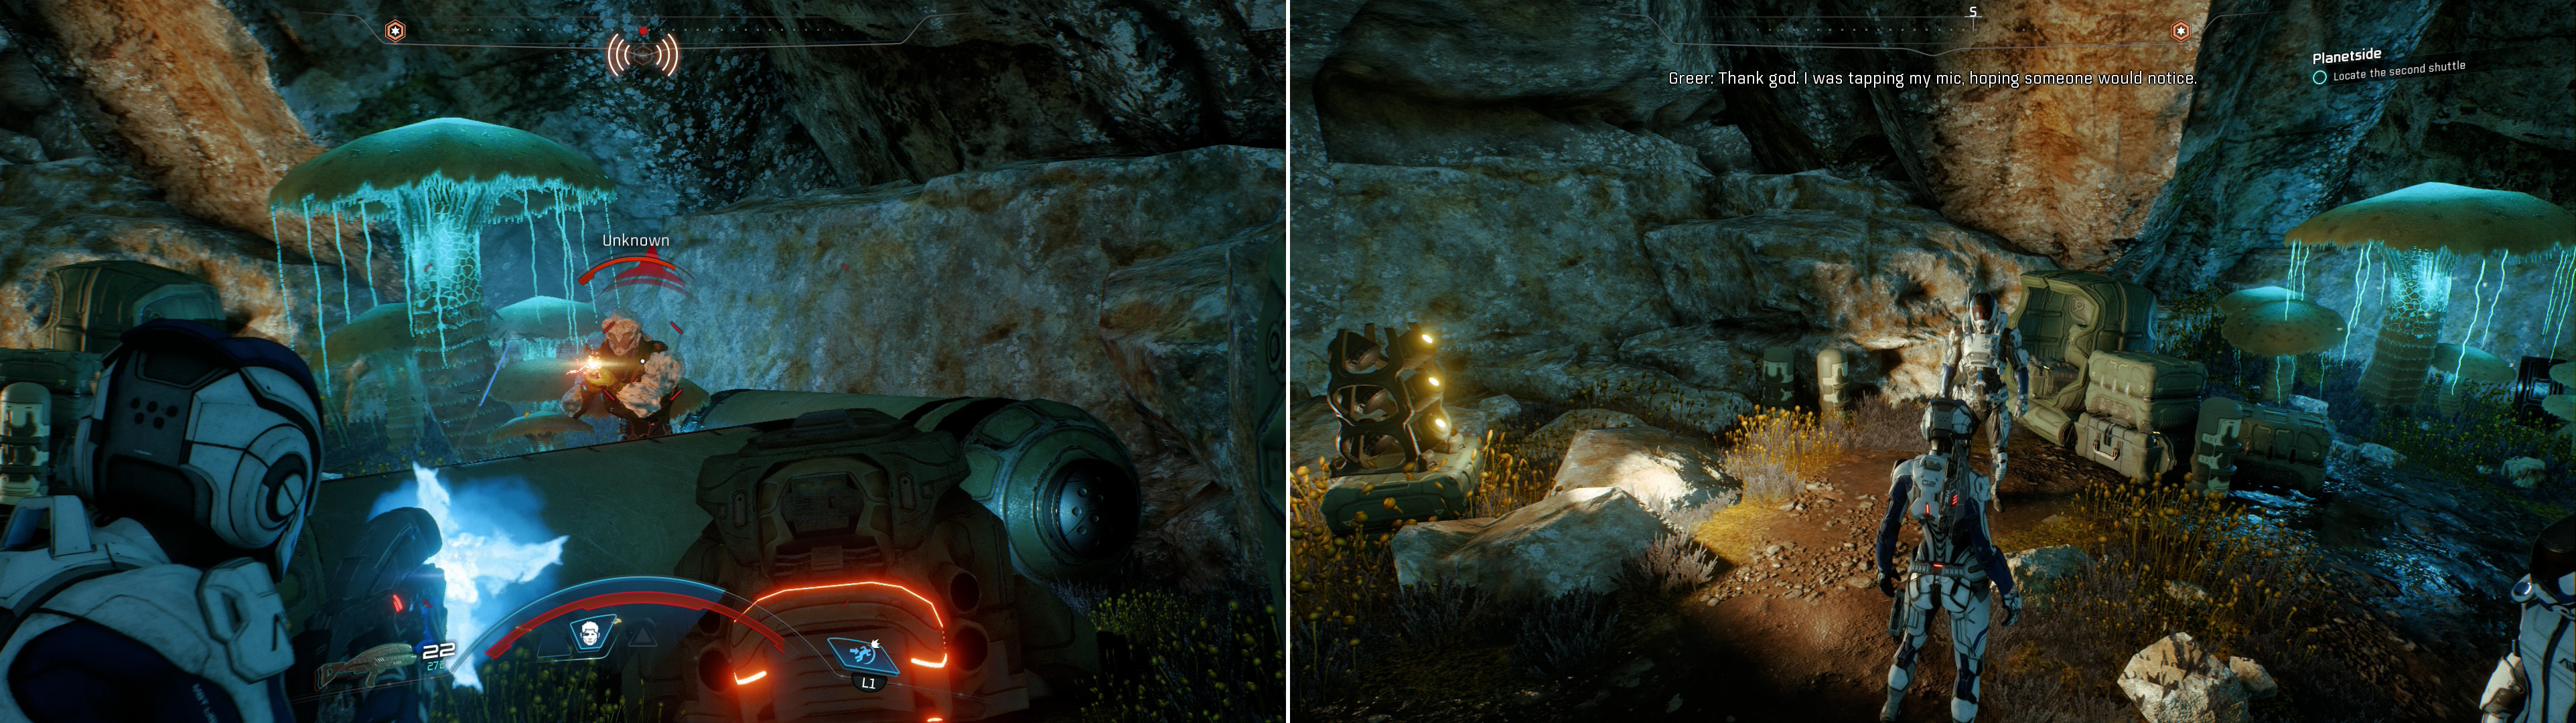
Make your way uphill to the west until you pick up some radio static, at which point you’ll encounter your first Search Zone, which basically works like a game of Hot and Cold. A hexagon will appear under your compass with three lines radiating from it on either side. The closer you are to the subject of the search, the more of these lines will light up. Continue west until you find a cave to the south, wherein two aliens are accosting another Pathfinder crewmember. Put the aliens down - you’re well past first contact protocols by now - and rescue Greer, who will ultimately decides to go attend to Fisher.
Exploring the Alien Excavation
Continue west until you find some alien technology lying abandoned outside of another alien structure to the west. Scan two units of Unknown Alloy for more Research Data, but be wary, as lightning activity is rampant here, especially on the platform around and on which most of the alien technology lies.
Bypass the lightning and make your way west up a ramp to reach the alien structure. A door beckons to the west, but before you enter the structure, climb up some stacked alien crates to reach the second level, which is exposed to the elements. Scan some dead aliens inside to come to the conclusion that the weather on this planet is no more hospitable to your foes than you, then loot a container and drop back down to the ground floor.
Go through the doorway to the west, then continue west, through another door and down a ramp. Loot two containers, scan some Unknown Technology , then hit up an ammo crate if you need more supplies. Once done, note that you’re in another search zone and continue up another ramp to the west. Scan some more Unknown Technology (a stasis pod?) on the wall, then turn south through a third doorway to reach a room full of alien devices. Scan all four devices, then activate the generator in the center of the room to power everything back up. Now that power is restored, circle the room and activate every alien device you come across, then leave the room and head back up the ramp to the east.

Interact with an alien device to get the power running again (left). Be wary, though, as not all alien technology is benign (right).
After scaling the mount to the east, turn north to notice a previously-sealed door has opened, a fact Liam is quick to point out. Head north through the doorway, loot two containers, use an alien device to listen to some unintelligible chatter, then continue north and scan two units of Unknown Technology , one of which will activate and attack! Put down the machine and if you didn’t scan it while it was dormant, make sure you do so while it’s destroyed, as it’s worth fifty Remnant Research Data points. Scan a broken console, then scan the door it once activated before leaving the alien compound entirely.
Back outside you may be discouraged to discover that your meddling had no effect on the weather, but this may turn out to be a bit of a boon, as a squad of aliens have shown up to contest your exit from the structure. Take cover near the ramp and force them to brave the lightning, but be wary of the two cloaking quadrupeds they’ll sic on you.
Completing the Loop
Defeat the aliens and continue back east, turning south at the lightning-blasted alien platform and using your jump jets to scale a cliff when it impedes your path. Continue south a short distance across rocky terrain to locate the remains of your shuttle, and by all appearances, getting sucked out of the thing was a blessing in disguise.
Ignore the shuttle momentarily and continue south past it until some aliens ambush you, at which point fall back, take cover, and fend them off. Once they’re gone, return back north to the shuttle, loot several containers then listen to the Flight Recorder to find out that the shuttle didn’t persist much longer after you took the quick way out.
When you’re done scavenging scraps from the shuttle, continue south (there are two routes you can take, but both get you to the same place), then turn southeast to look down upon an alien structure. On the low ground near this structure you’ll find several alien soldiers wandering about. Down down to the low ground and take out the three walking tonsiliths, after which Ryder and Liam will chatter some more. From here, there’s little left to do besides loot a container and backtrack northwest. If you continue south you’ll find an Atmospheric Analyzer which provides you with some info on the atmosphere, for what that’s worth, and further south you’ll find Fisher patiently waiting near where you left him. The loop is complete.
Rendezvousing with Cora
Return to the alien structure you explored earlier (where lightning activity abounds) and from there continue north until you reunite with the rest of the Pathfinder team. Unfortunately, you’re not the only ones to have located them, as a squad of aliens are attacking from the north. Aside from the grenades the aliens will throw, it’s nothing you haven’t faced before - expect to fend off several soldiers and a cloaking quadruped. Otherwise, the toxic liquid between the aliens and the shuttle you’re defending should keep this mostly a ranged encounter.
When the aliens are smote, Cora will encourage you to grab the M-23 Katana I Shotgun from near the shuttle, which will have to replace one of your currently equipped weapons or be stashed away for now. You’ll also find a health box and and ammo box nearby, which will prove useful shortly. The last encounter should have also given you enough XP to hit level two, and with it, three new skill points to distribute.
Gather what weapons and ammo you can and distribute your skill points, as more enemies will be dropping in shortly. From the north an alien dropship will arrive, out of which will pour forth more enemies. Before long a second dropship will arrive, further complicating matters. Aside from the cloaking quadruped(s), they’re not likely to be too aggressive, so staying behind cover and taking shots when your shields allow should work fine, just dodge any grenades lobbed at you in the meantime. The second batch is joined by a new, heavily-armed and shielded unit, which is obviously sturdier than its lesser fellows.
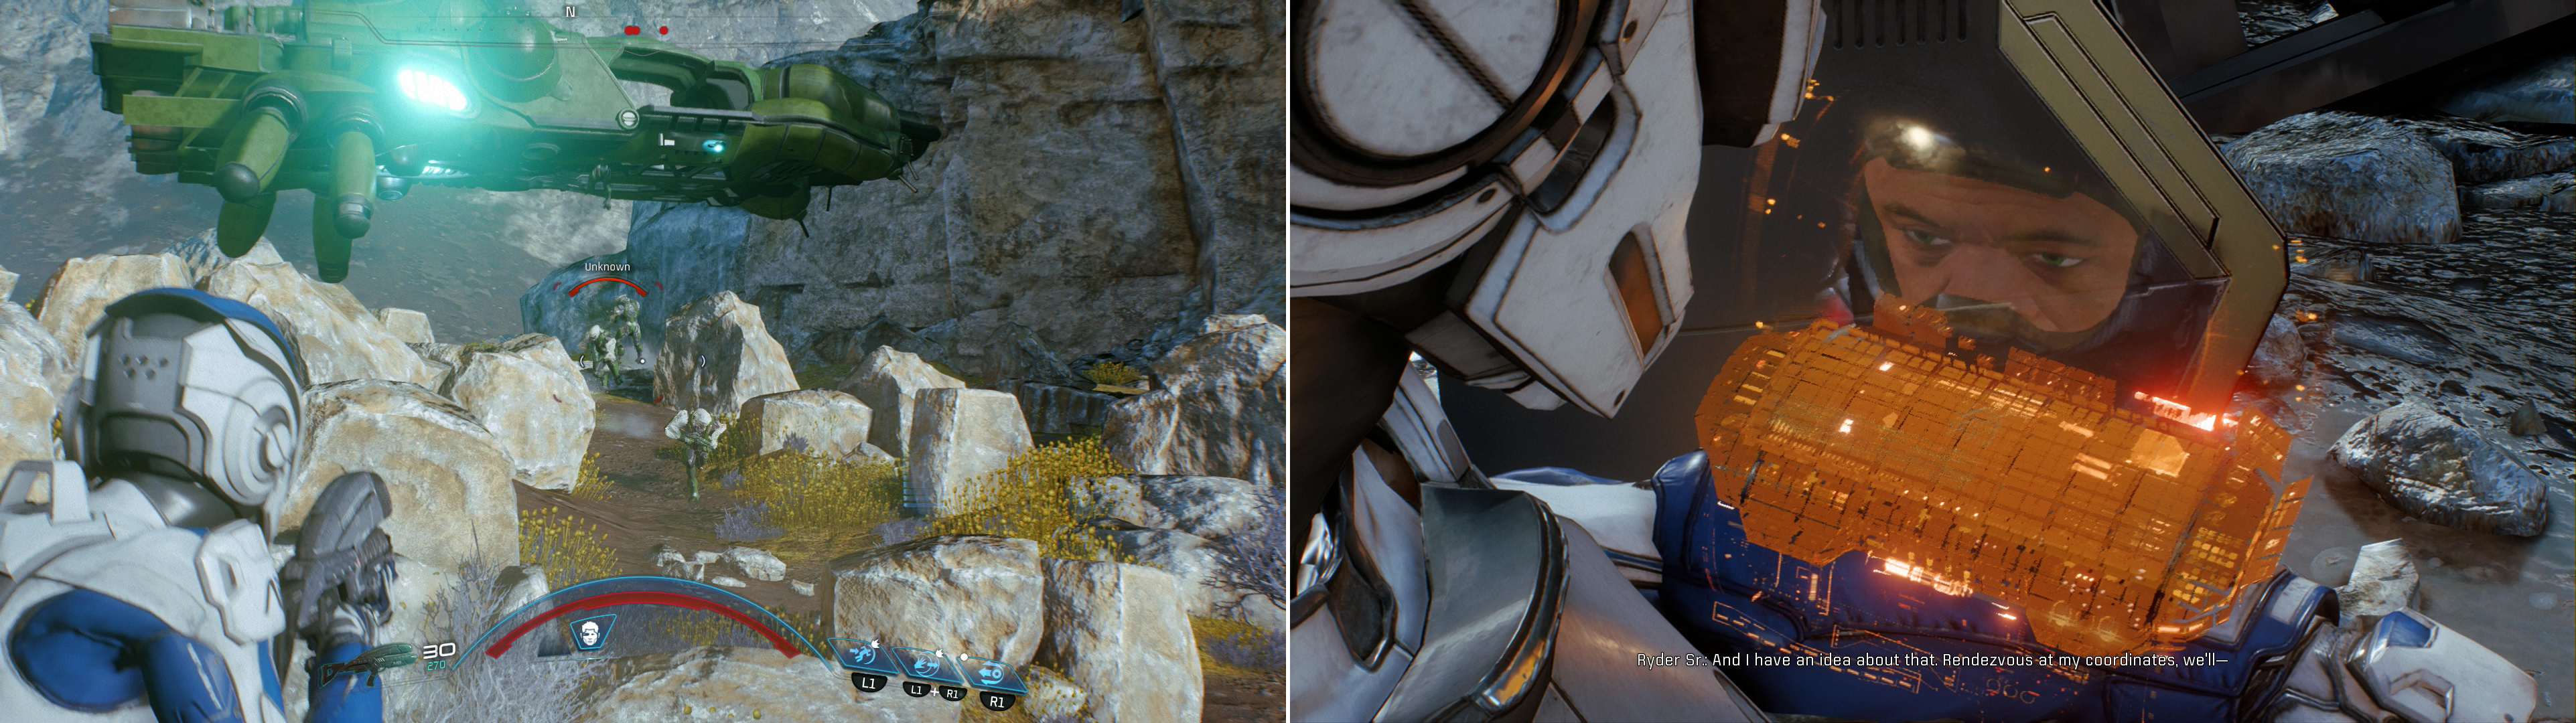
Dropships full of hostile aliens will complicate your rendezvous with Cora (left). After the hostilities die down you’ll get in contact with dad, who summons you to help further a scheme of his (right).
Shields are strong against biotic attacks like Pull, Throw and Singularity and tech skills such as Incinerate, Cryo Beam and Flamethrower, but is weak to the tech skills Overload and Energy Drain. You can also simply shoot the enemy until its shields are depleted, at which point it’ll have no defense against the aforementioned attacks.
Once you’ve triumphed over the alien horde, Liam will waste some ammo in a pointless bit of postmortem reprisal, Cora will show off her biotic powers, and you’ll get in contact with papa Ryder and SAM. Hayes may have repaired your comm links, but she didn’t manage to make it through the encounter unscathed, and if anybody is going to make it off this hellscape, you’ll need to rendezvous with the Pathfinder.
Assaulting the Alien Base
From the shuttle head northeast, then turn east at the toxic sludge and head downhill, dropping down ledges as necessary. Turn southeast when you must and leap a gap to return to the area north of the gate near which you were attacked earlier. Continue southeast to the gate and scan some alien bodies to determine you’re not the only member of the Ryder family to dust off some aliens here today, then continue south and keep your eyes to the east until you find some ledges you can climb, which will take you to the alien base.
On the ledge overlooking the alien base you’ll meet up with dad, who will speculate on the origins of the aliens, the celestial anomaly that seems to be the cause of many of your troubles, and the electrical storms that are keeping you grounded. Looks like you’re going to have to get access to the tower affecting the weather, and so much the worse for the aliens that they happen to be in your way.
After the chatter ends you’ll find yourself on the lower ground outside the alien base - Alec Ryder is a whirlwind of devastation, as befits an N7. He’ll largely manage to take care of the aliens on his own, you need merely keep up with his advance through the compound, looting what containers you find along the way, and picking off the odd straggler he can’t be bothered to murder.
Eventually you’ll need to jump a gap and enter the building beyond, in which are a high concentration of alien grunts. Put them down, loot the containers in the building, then exit to the north and make your way east, then southeast, killing aliens as you go until you reach a large platform with a control panel on it.
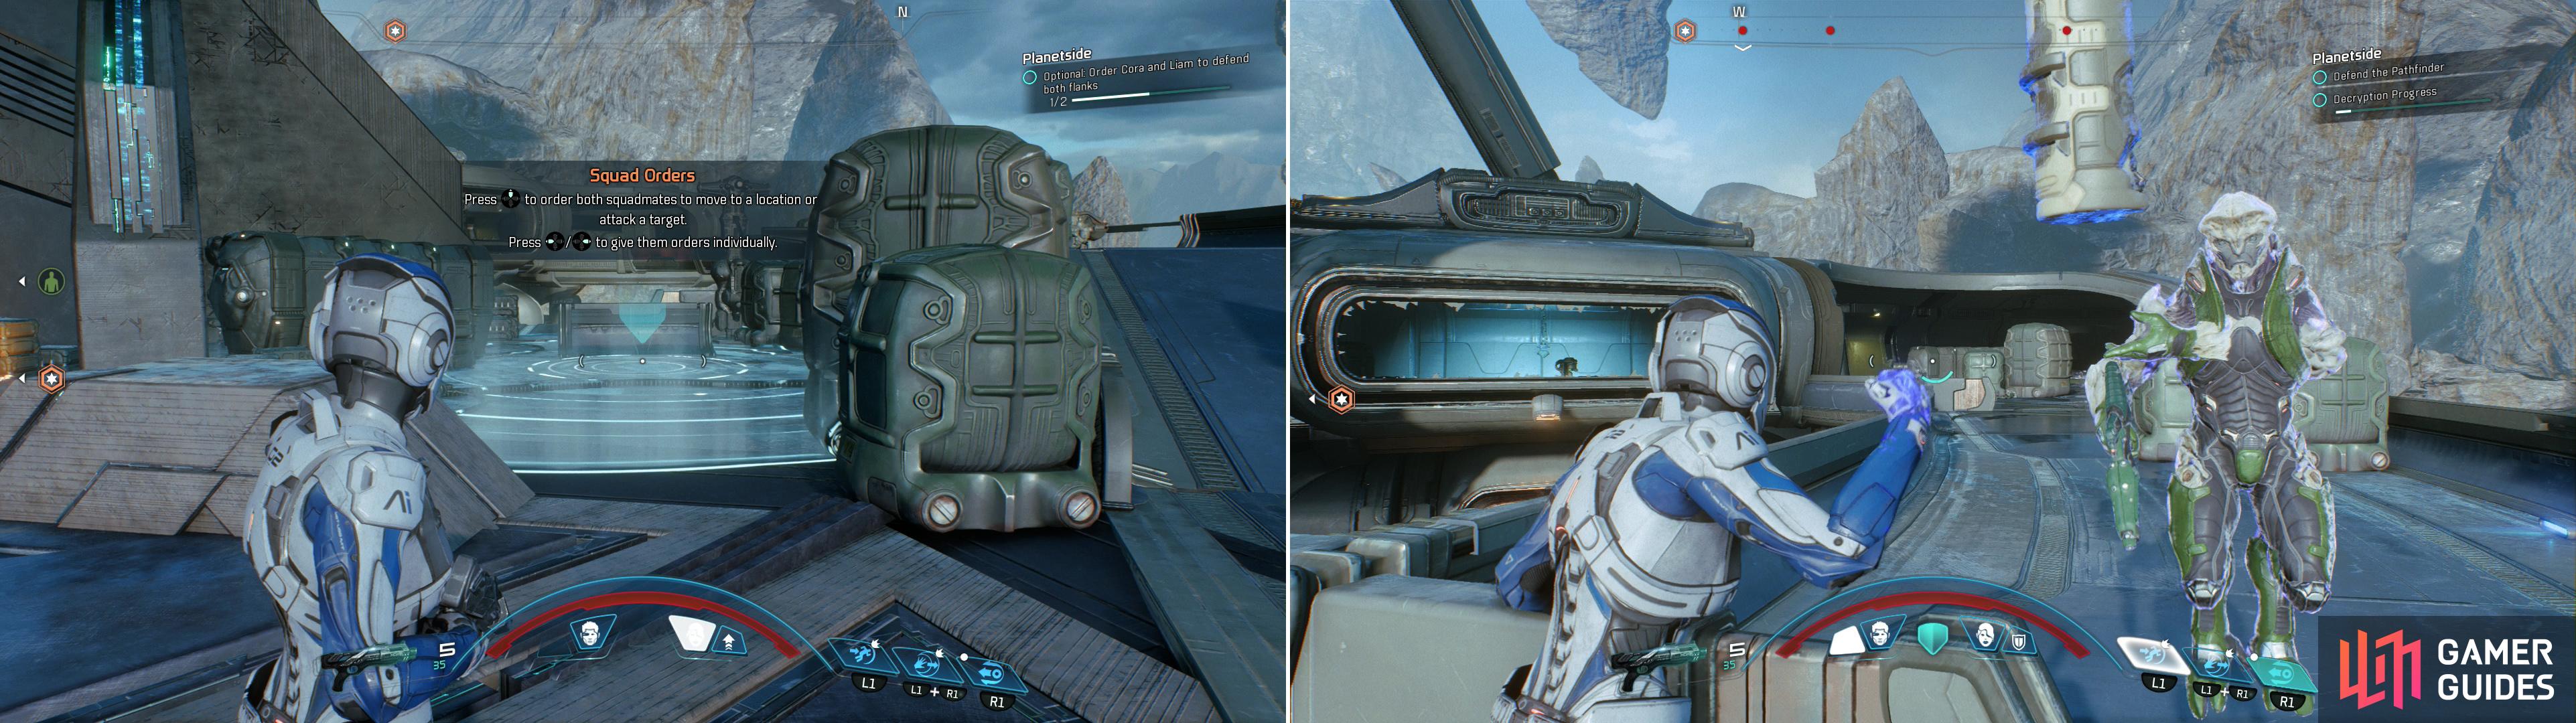
Assign your party members to strong defensive positions (left) then hold off the alien attack until your dad is done (right).
When the last alien falls, Alec Ryder will start messing with the control panel. Shortly thereafter, more aliens will show up, and you’ll need to buy the Pathfinder time while defending from two avenues of attack - use the [Right] and [Left] buttons on your D-pad to assign one character to the northwest and another to the south, then take up position near either. Your goal here isn’t to exterminate all the enemies - you need only survive until SAM is done decrypting the door. When the AI is done, return to your dad and when prompted, give him a hand at the door.
Afterwards, he’ll interface with some alien device, and after initially positive results, the Andromeda Initiative will face another, dire setback.

No Comments