
Contacting Evfra
Return to the Tempest and head for the Meeting Room, where the Vidcom console will finally be useful. Open it up and call Evfra de Tershaav, who takes an unreasonably adversarial tone concerning your past and future acts of martial charity on behalf of the Angara. Answer how you wish and he’ll reveal the location of the next mission, and a particular hurdle regarding it the Angara haven’t been able to leap. Naturally the game’s REAL protagonist - SAM - will make all the difference.

With the mighty power of SAM, you’ll be able to bypass the barrier around the Kett facility (left). Smash some vents to complete your infiltration (right).
Infiltrating the Kett Base
Land on Voeld and make your way back to the Angaran resistance camp, then talk to a Resistance Pilot, joined by Commander Heckt, who will be your ride to the Kett facility. Agree to set off and endure some chatter on the shuttle before finally setting down in front of the base. You’ve fought Kett before, even on their home turf, but you’ve never cleared a Kett installation of this size before.
First head south and loot a container, then make your way to the energy barrier and hack a Service Panel. SAM uses its space magic to make a barrier in the field - fortunately he’s not limited by bandwidth limitations between the Nexus, your implants/omni-tool, and the devices you interface with! - which you can head through to reach the base. Dispatch two Wraiths then continue east to find two tunnels decorating the exterior wall of the Kett base. Head into the northern tunnel first, then scan an Exhaust Vent, which you can smash by whatever means you find most convenient. Beyond this vent are two containers you can loot.

Exterminate the Kett in the first chamber (left) after which your Angaran allies will split up to cause diversions (right).
Now enter the southern tunnel, scan and smash another Exhaust Vent, then continue down the tunnel until it opens up into a room filled with Kett. Wraiths, Chosen, and the odd Destined await you below, but you’ve got plenty of firepower on your side. Just drop down onto the walkway below the tunnel you’re in and shoot down at the Kett below, turning your attention to any that dare to leap up to your walkway. When the Kett are dead, loot their remains and scan the room to find many discarded Angaran personal effects. Place is eerily similar to the processing/intake center of a concentration camp.
When you’re done ogling the warning signs of almost certain atrocities, continue south to find Commander Heckt and his crew gathered at a door. Chat with him and he’ll devise a strategy, after which his assistant - Skaelv - will get the door open. SAM will then give you a bit of useful info about his capabilities vis-a-vis the Kett base, and the unfortunate side effects it’ll have on the Angara within. Something to keep in mind for later, it probably won’t come up, though.
Cult of the Kett
Return back north then go up some stairs to the east, then south before heading through another door to the east to reach a decontamination chamber. Wait out the process, then head into the tunnel to the east, where Skaelv will contact you with an update. Kill the Wraith in the tunnel with you and note that you have a few doors you can go through.
Through the door to the northeast you’ll find a Kett gathering room, where you can scan some of the furnishing and Kett personal effects to learn that… well, they’re rather cultish, and perhaps originate from outside the Heleus Cluster, themselves. Or at the very least seem to get shipments comprised of materials not yet encountered in the Heleus Cluster. Loot a container, read some Datapads, then head down the hallway through a door to the southwest to find a Kett… classroom? Scan a Stasis Pod, read more Datapads, and loot another two containers. One of that Datapads suggests that the Wraiths you’ve been fighting are simply Challyrions which are… “exalted” by the introduction of Kett genetics? That’s a disturbing development.
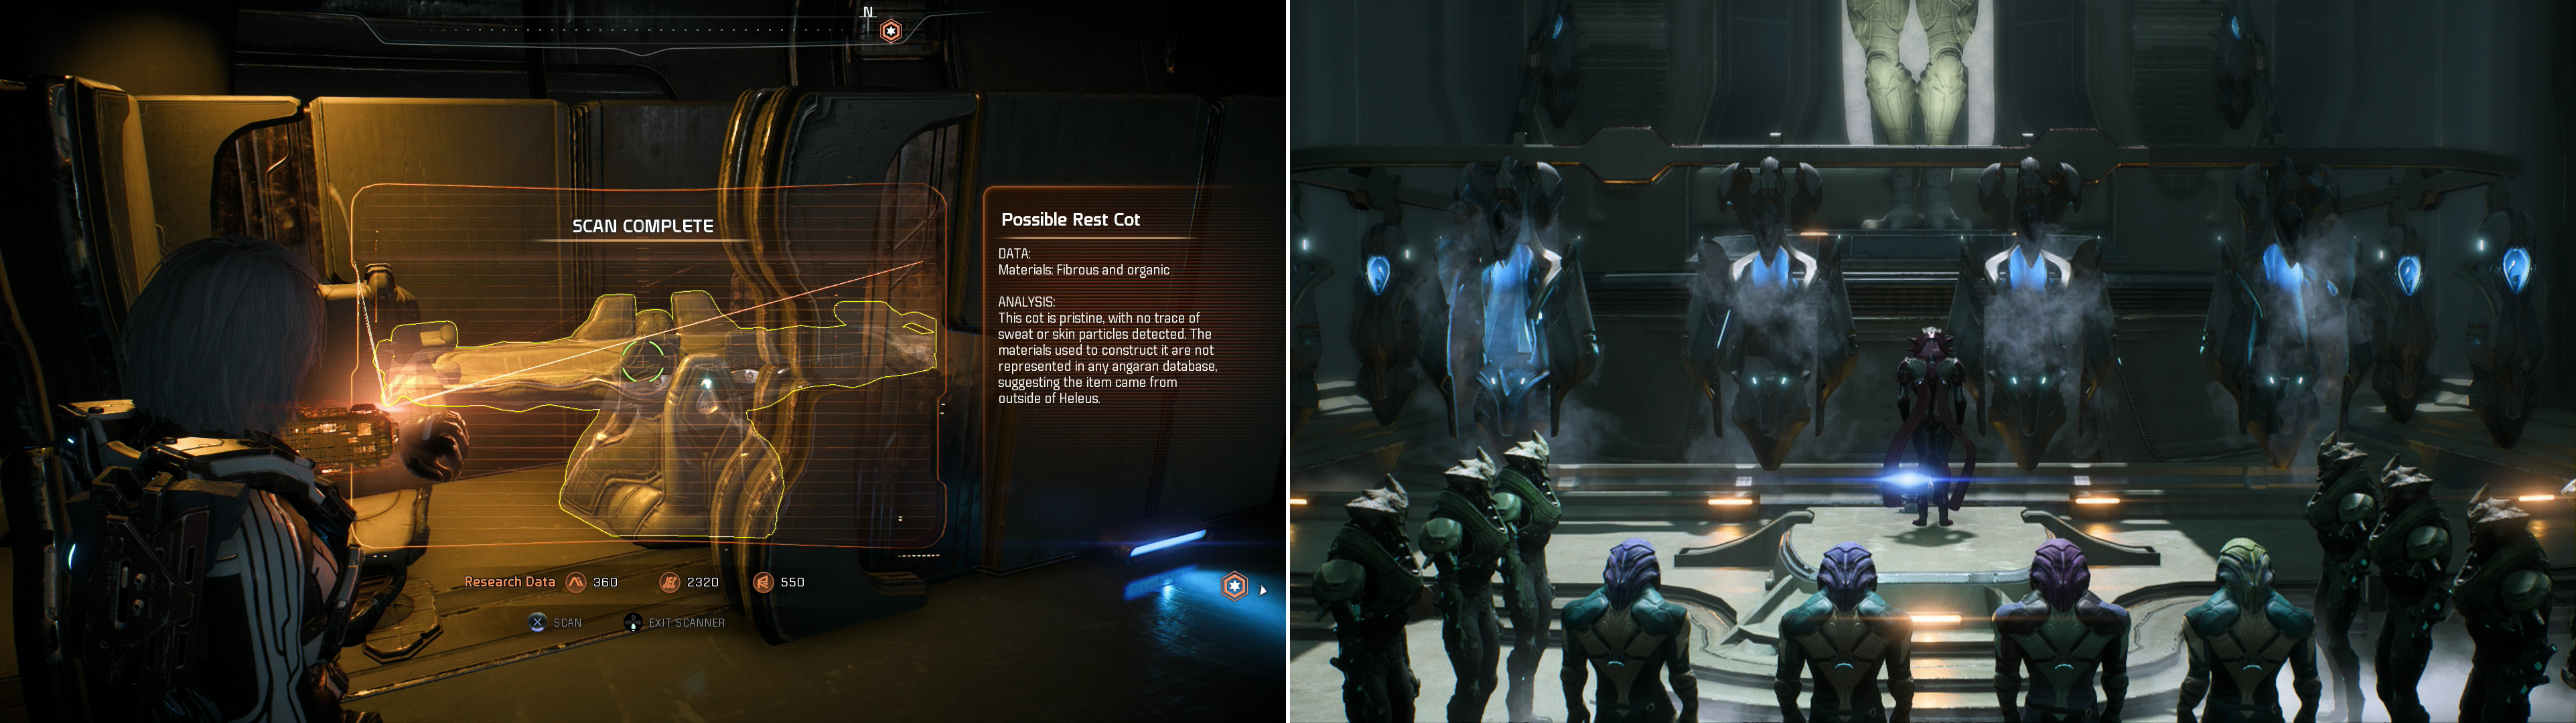
Keep your scanner handy throughout the Kett base, as there’s much to learn about these aggressive aliens, and many Research Data points to earn (left). Witness an odd interaction between what appears to be a Kett religious figure and some captive Angara (right), which foreshadows revelations to come.
Head back into the hallway and go through a door to the east and clear out the handful of Kett in the room beyond. Once done, scan a Kett Core Encryption Tech device to earn a massive boost to your Heleus Research Data, then go through a door to the north to find a communications room. Loot a container, then scan and interact with a Kett holographic Device and its console, respectively, before returning to the previous, larger chamber and using a console near a large window to the east.
Witness a scene involving some Angara and what appears to be a Kett religious figure. After Commander Heckt and his team cause a distraction, the ceremony will be disrupted and the Kett will move to “exalt” the Moshae on the quick. Once you’re back in control, head through a door to the south as an alarm blares - if the Kett weren’t aware of you before, they sure are now.
After spying on the Cardinal, kill some Kett in a corridor (left) then spot an elevated vent which will take you deeper into the complex (right).
They Are Us
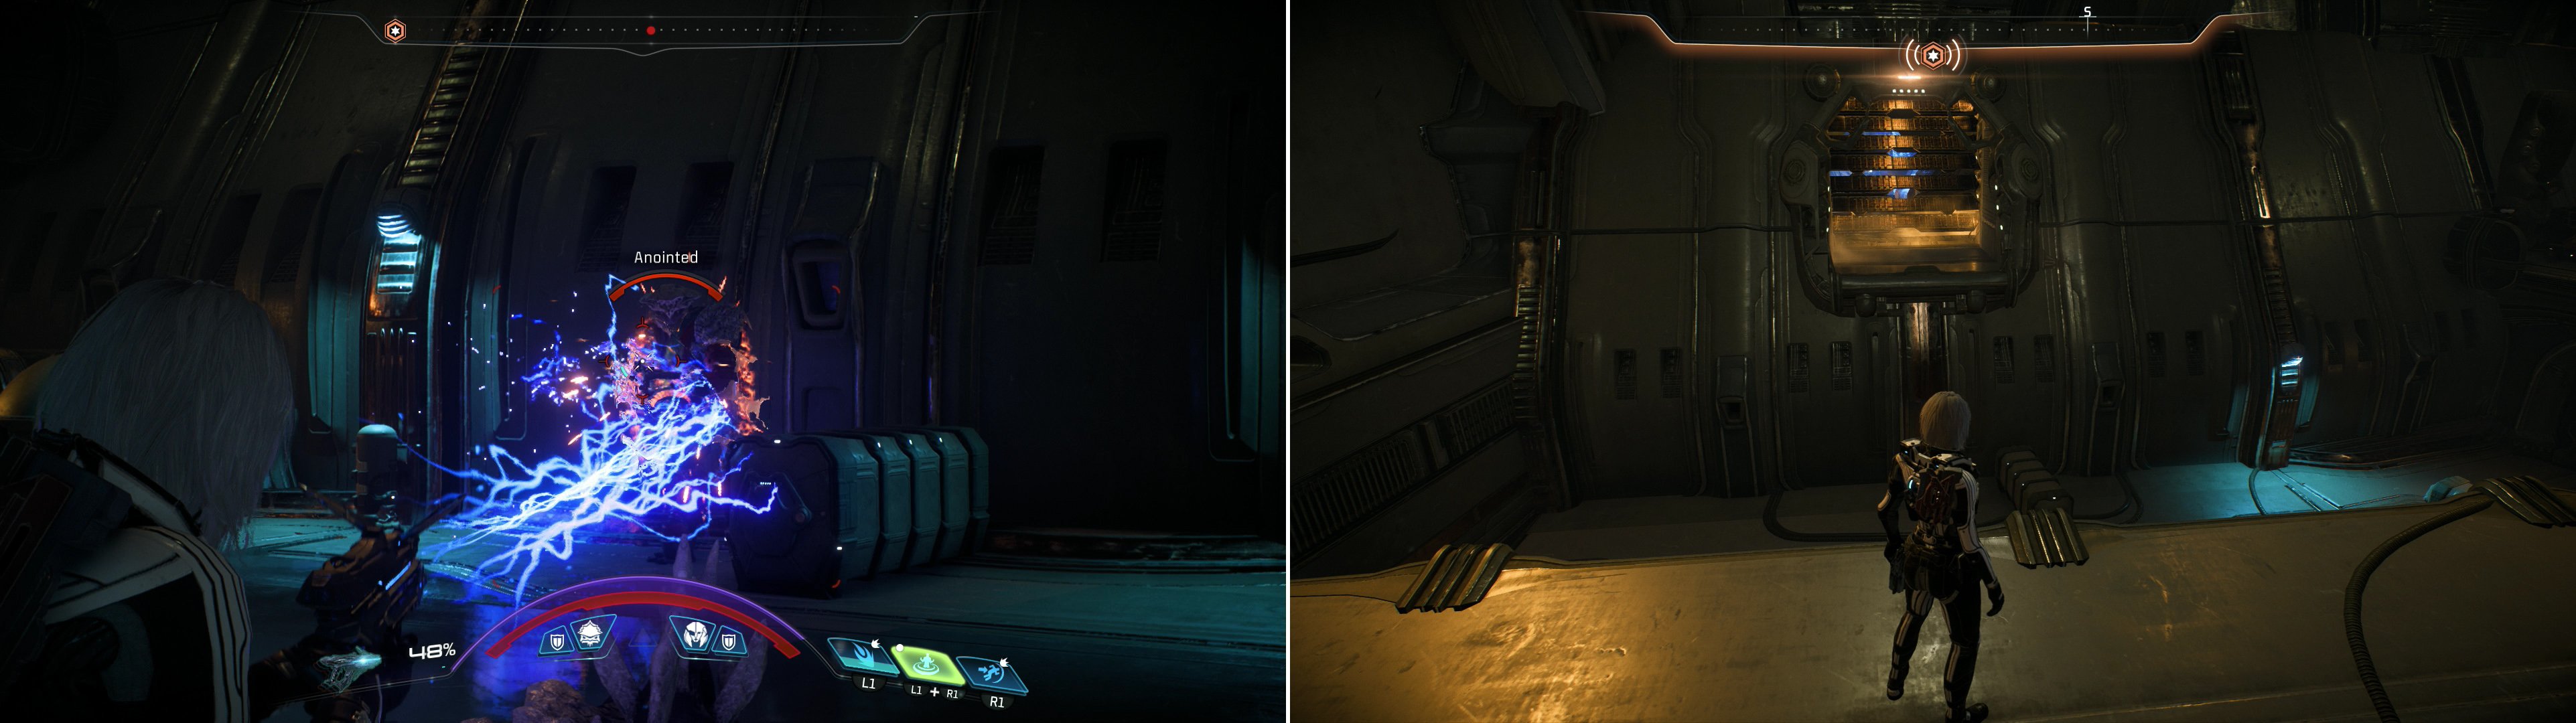
Go down a hallway to the south, turn east up some stairs, loot a container, then turn north up another flight of stairs. Continue east down two hallways connected by some stairs, stopping only to loot a container in a side passage to the south. Go through a door at the end of the hallway to the east to reach another, Kett-occupied, curving hallway running north/south. Defeat the Wraiths, Chosen, Anointed and odd Destined that fill the hallway, clearing the nearby Kett first before leaping up onto an elevated walkway and fighting your way north. Loot a container when the Kett have been smote, then make your way to the northern end of the hallway and turn southeast to find an exhaust tunnel across the hallway. Leap on over there, smash an Exhaust Vent, then interact with a console to take down an energy barrier.
In the room beyond you’ll find a massive chute filled with stasis pods, all presumably containing Angaran captives. Milky Way races enter stasis to voluntarily begin new lives in Andromeda, while the Angara are captured and Stockholm’d into a new life as part of some Kett cult. There’s irony there, somewhere. Loot some containers, scan a Kett Core Encryption Tech pylon for 100 Heleus Research Data, then scan the stasis pods. After the third one, SAM will give up and direct you to a console on the raised central platform to learn you just missed the Moshae. Damn resistance fighters and their bombs!
Continue northeast into a maintenance hallway, the barrier blocking which SAM thankfully removed. Shortly on you’ll come to a fork, and as Skaelv contacts you again, search the dead-end to the northwest to find a container, then head southeast to reach another Exhaust Vent you can smash, beyond which is another hallway.
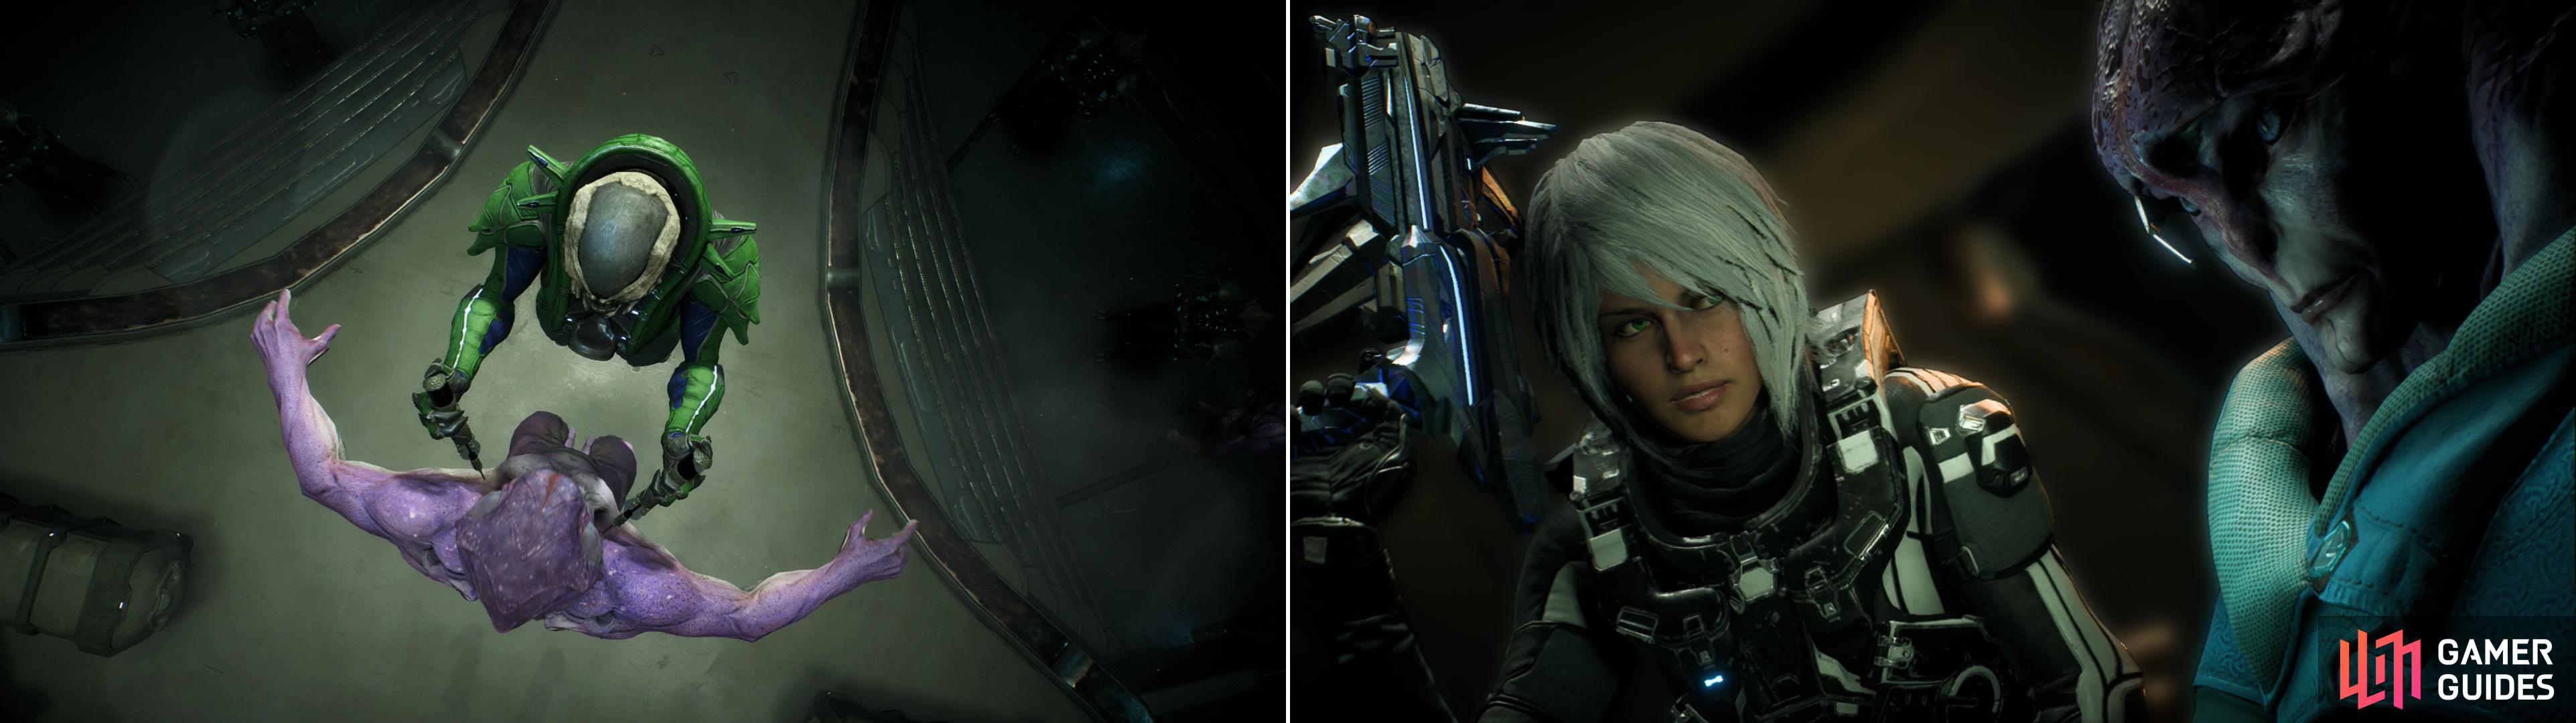
After witnessing exaltation (left) Jaal will be understandably upset (right).
There’s a three-way split, so let’s get the ancillary stuff out of the way, first. Head into a room to the northwest to find some Kett Pods and Kett Syringe Devices you can scan, as well as two containers. Once done in this room, go through the door to the northeast to find a decontamination chamber, where the Kett will show off exactly what those pod and those syringes are used for… to detrimental effect on the Angara involved.
After witnessing… that… Jaal is understandably unrestrained. Take cover when you’re back in control and fight off the numerous Kett Destined and the recently born Chosen, then talk to Jaal, who is… well, he’s had better days. After a quick chat you’ll find yourself chasing down the Moshae, whom the Kett are desperately trying to keep out of your hands. Kill two more Destined, loot the room, then continue through a doorway to the west and activate a lift to reach the Shuttle Bay part of the Kett base.
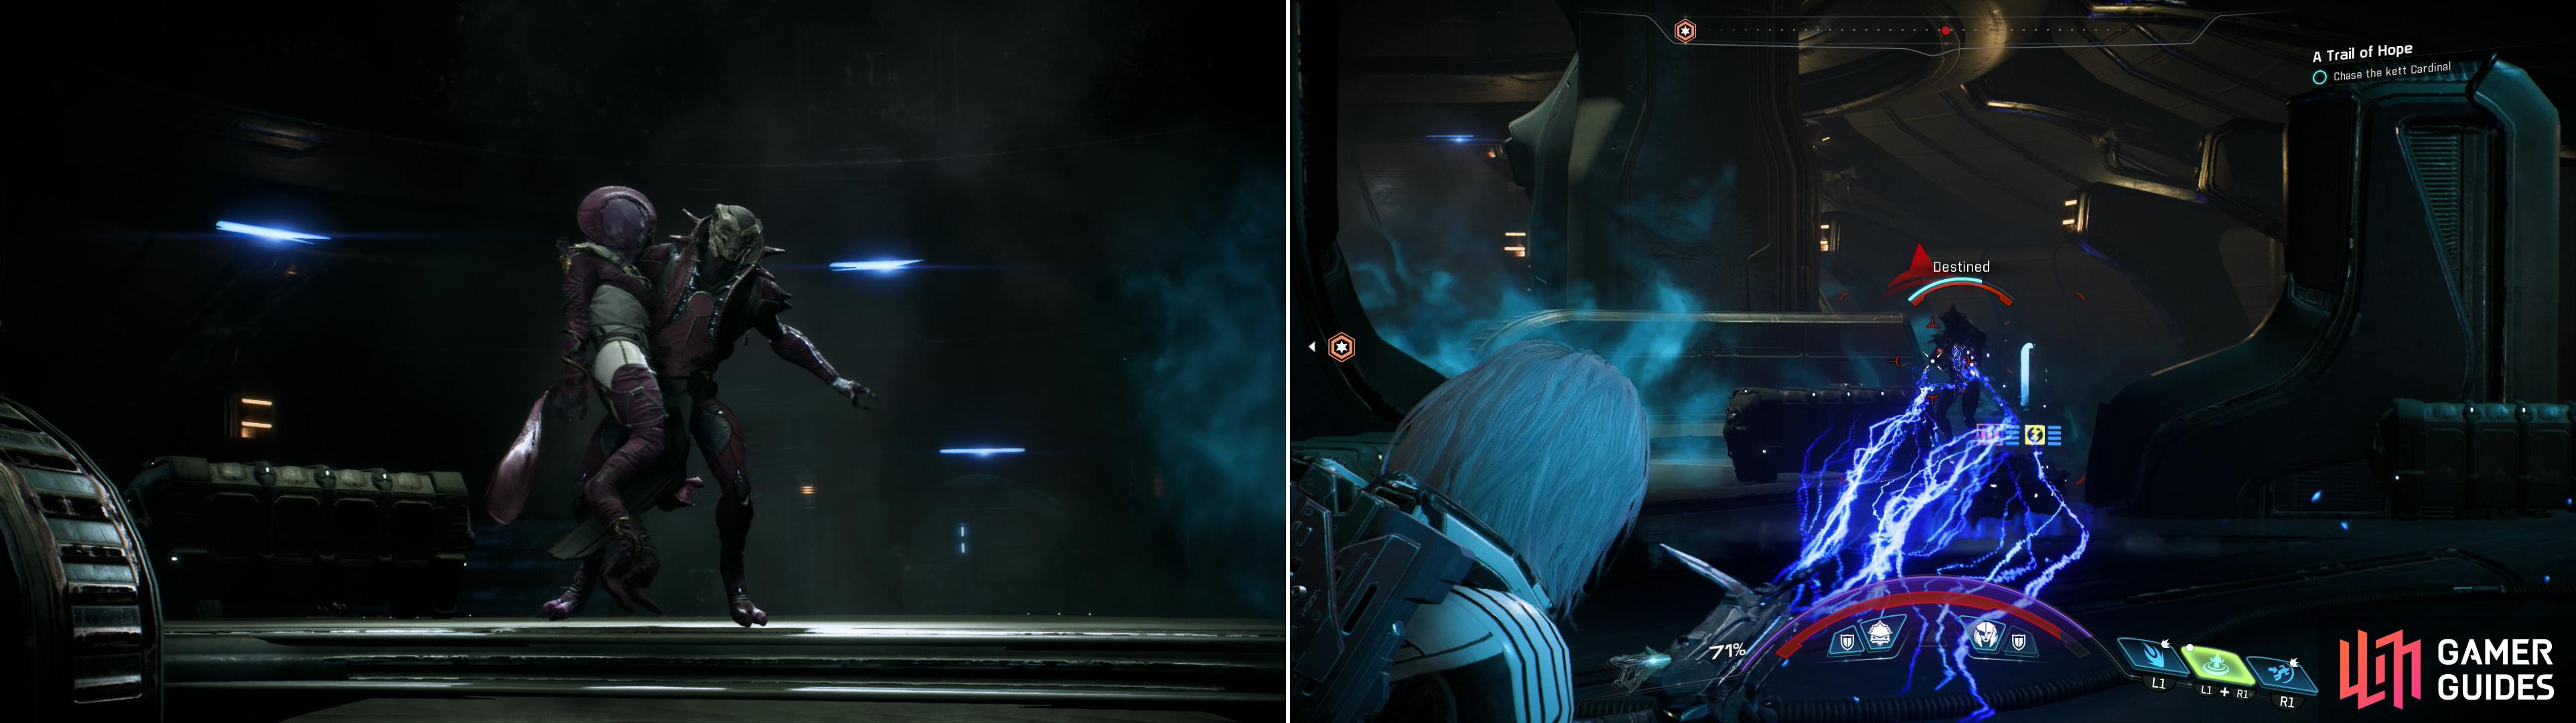
Unfortunately, the Cardinal will reach the Moshae before you do (left) quickly dispatch some more Kett and give chase to the Cardinal (right).
Boss Battle - Cardinal
The shuttle bay provides a fine egress for the Moshae, but it’s up to you to determine - through force of arms - whether she leaves in your possession, or the Kett’s. Your opponent here is the Cardinal, who represents a new type of Kett enemy - the Ascendant.
She only has three attacks, but one of them is a one-hit-kill grapple attack, so keeping your distance is a must. Otherwise she can shoot bolts of energy at you, as well as charge up a powerful attack where she throws an energy ball at you. It’s slow moving, leaves her vulnerable for a good period of time, but it does do a hefty bit of damage. She’s also completely invulnerable thanks to his barrier, which can only be taken down by shooting the orb that hovers around her.
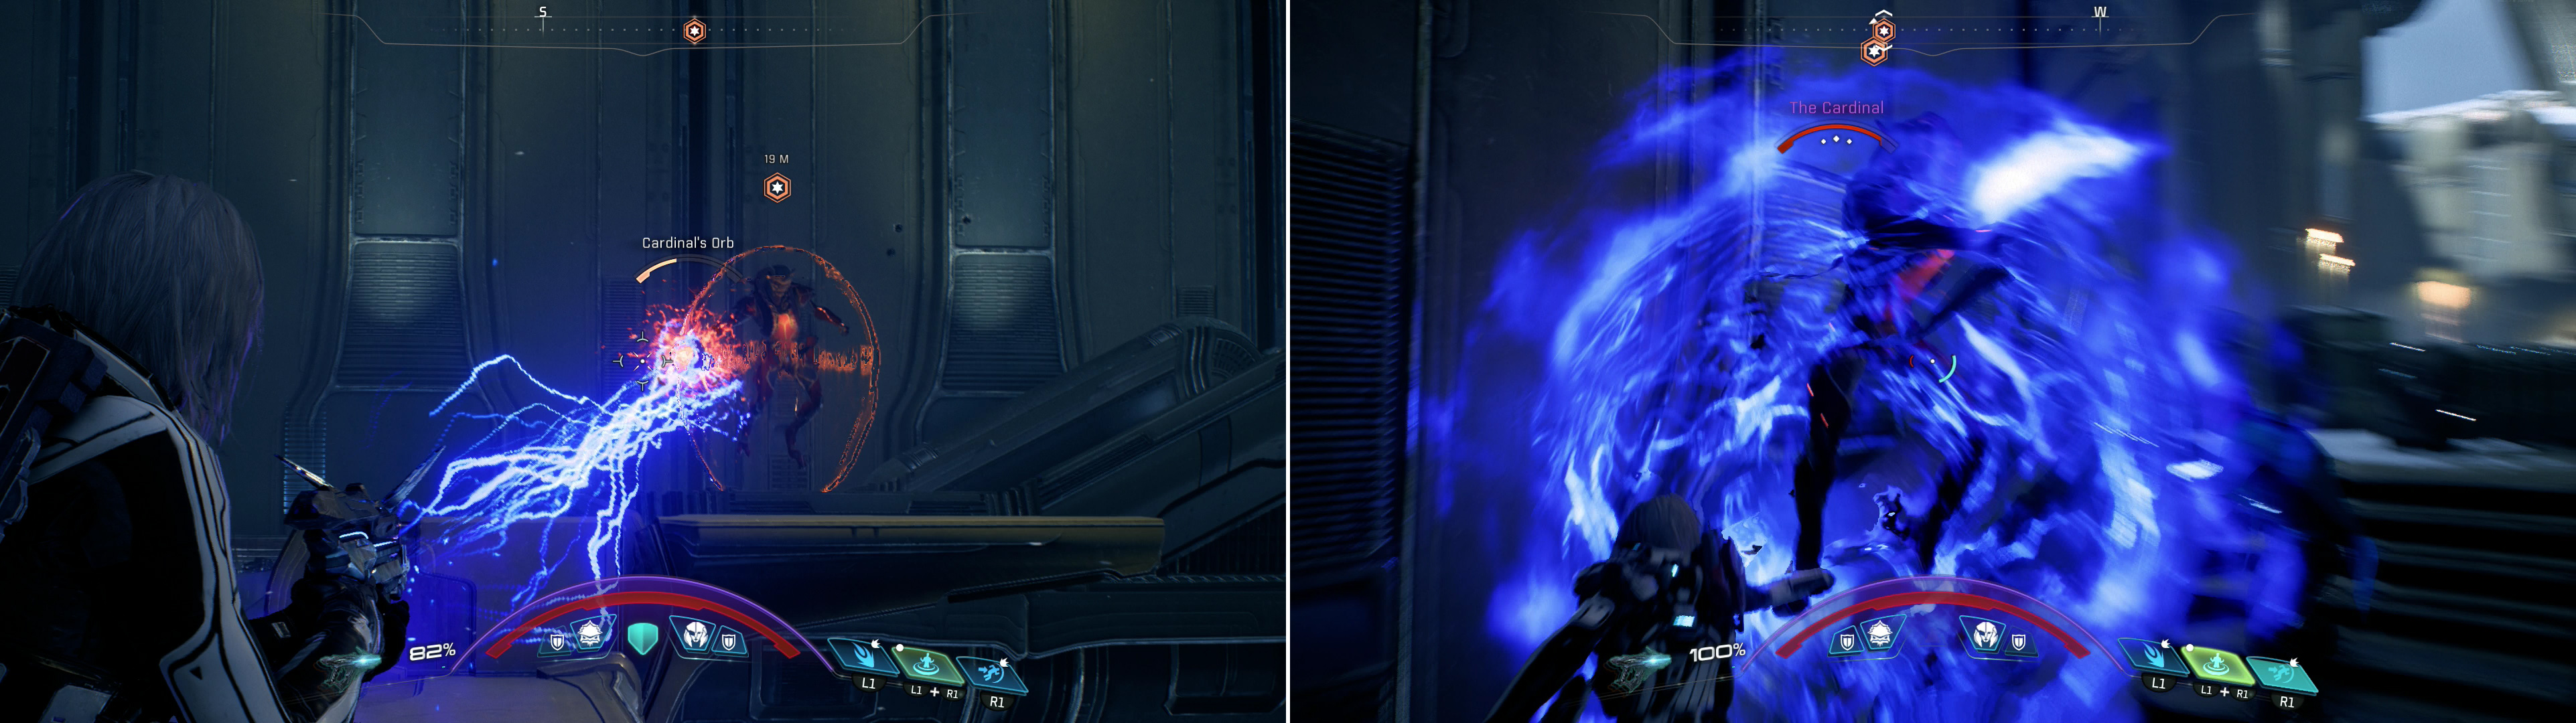
Attack the Cardinal’s Orb (left) from a distance to bring down her barrier, then close in and deal as much damage as you can while she’s vulnerable (right).
The tactics, then, are pretty simple; stay in cover when she’s shooting her energy beams, keep moving when she’s charging her energy ball (it’ll pass through cover), keep your distance, and shoot her orb until it falls, at which point hit her with whatever you’ve got during her brief period of vulnerability. If this sounds too simple to you… well, it’s because it is, and to compensate she’ll also summon waves of Kett regularly. Kill the ones that accompany the Cardinal at the outset of the fight, then focus on the reinforcements as they arrive, typically after she regains her barrier after a period of vulnerability.
Scan the Cardinal to gain some Heleus Research Data points (left) then make a decision that will determine the fate of the installation and the Angara within it (right).
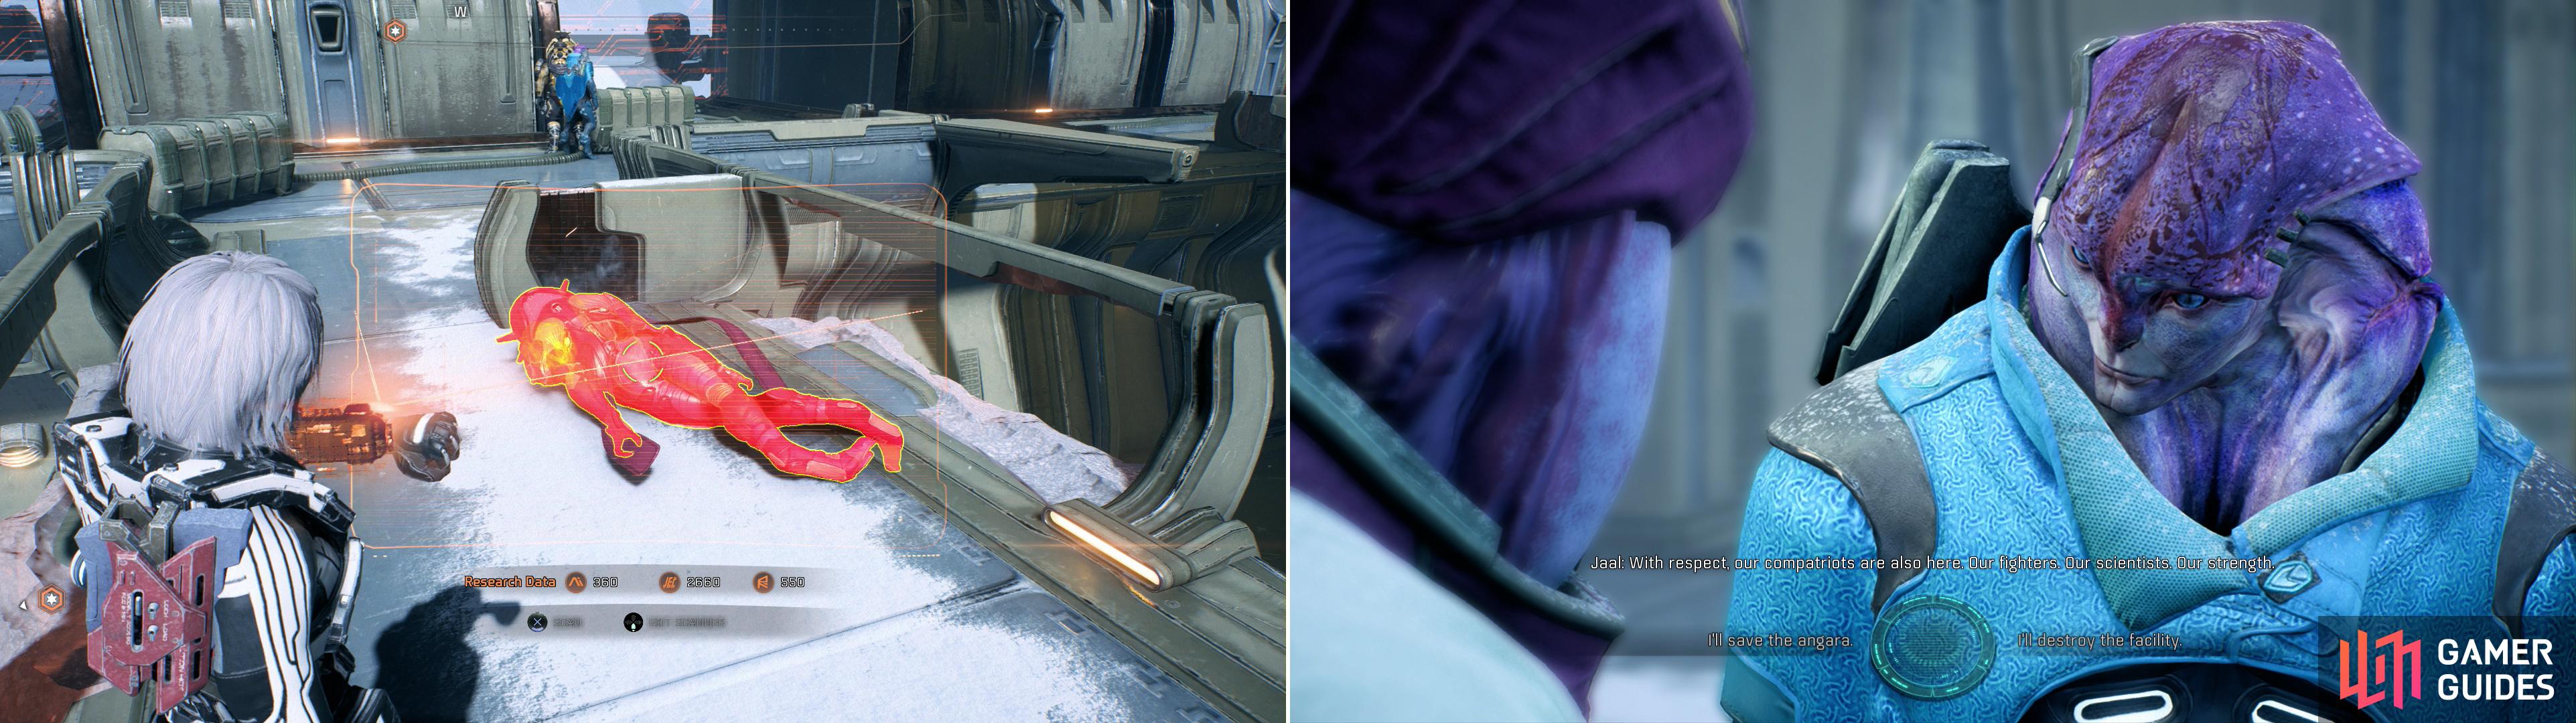
When she falls, scan her body for some yummy Research Data, then search the battlefield for any enemy remains and the odd container. Once done, head to the southern end of the shuttle bay to find Moshae Sjefa, and after a bit of chatter the Cardinal will interject herself into the conversation. Eventually you’ll be left with a choice - overload the facilities EM field and destroy it, and all the Angara inside, or rescue them and leave the “temple” intact. The trade, Angara for the preservation of the temple, is one the Cardinal favors, even facilitates, but the Moshae wants to take a vote of confidence against your long-term success by destroying the place to ensure it can no longer be used to convert more Angara… and she speaks from first-hand experience.
Escape the Facility
Make your choice, and if you choose to spare the temple, you’ll get a chance to perform an interrupt [R2]/[RT] to kill the Cardinal. Regardless of the choices you make, afterwards you’ll find yourself on the rooftop, where you must fight your way south through some Kett resistance (Anointed and Chosen).
Once they’re cleared you’ll be encouraged to take up position on the platform at the southern end of the roof, but if you’ve played any extraction missions in multiplayer, you’ll know this is a bad idea. If you take up position to the south, the enemy will just flood that area, and the next few ways include some Fiends. You’re not likely to kill them before they can reach you, and mobility is key to avoid their one-hit-kill grapple attack.
The lesser Kett you already know how to deal with, but the Fiend is another matter entirely. First, note that its armored, so using Biotics will have… less than stellar effects, although Singularity and Biotic Combos can still do good damage if you can keep the Fiend in it for any length of time. Incinerate and Cryo Beam will work well against it, as will Flamethrower, although you should take care not to get too close, as it has a one-hit-kill bite attack against which your only real defense is distance. Not that distance in itself is proof against a Fiend, as the living tank can also charge at you and spit acid. Failing those techs, don’t be shy about investing a fair amount of ammo into the critter. It should also be noted that if you can avoid gunfire long enough - and if you’re foolhardy enough - you can scan the Fiend to get a nice load of Research Data.
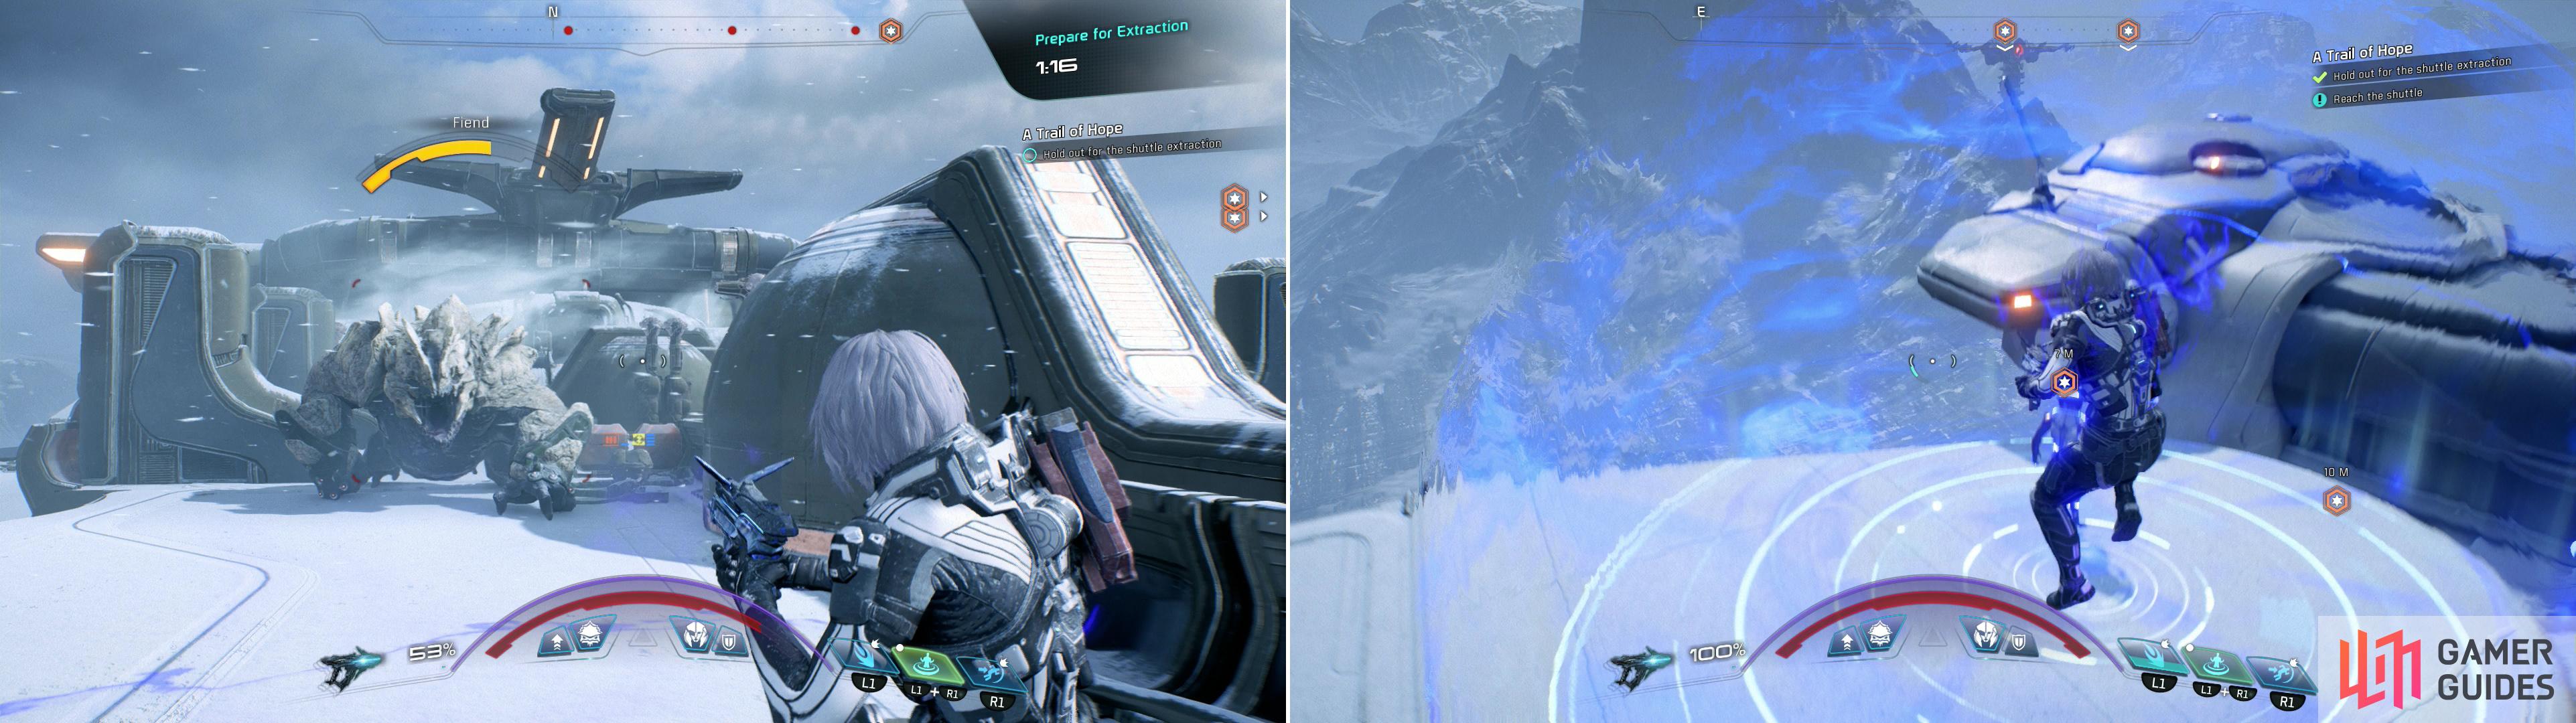
You’ll have to endure waves of Kett attacks while waiting for your shuttle, something Fiends (left) will make considerably more difficult. Once the timer runs out, you need only touch down on the indicated area to escape (right).
Head to the Moshae only long enough to move things along, and after some comm chatter head back north. Assign your squad to take up position in the center of the roof and join them, fighting off the waves of Kett approaching from the north. Try to hold your line, but stay mobile and don’t be afraid to retreat. Most of all, stay safe, as your goal isn’t to kill all the Kett, it’s to survive until evac arrives. Keep moving and stay alive until the shuttle arrives, at which point cast off all other concerns and make your way to the glowing area near the shuttle - as soon as you touch down, you’ll take off and fly away to safety.
Back on the Tempest you’ll get to chat with the Moshae, who will be somewhat snippy if you ignored her advice to destroy the Kett complex. She’ll talk about the Kett, the Archon, and the Remnant, with Jaal constantly intervening with some much needed emotional outbursts. After the conversation you’ll get a massive influx of XP (certainly enough to level you up once, at least), a whopping 500 AVP and +10% Voeld viability.
Plenty of new quests will be available after dealing with the Kett facility (left), and news from Eos will open up the possibility of completing even more quests (right).
Tempest Post-Facility
Now is a good time to tour the ship and chat with your crew members, most of which who have holed themselves up in their customary haunts: Drack in the Galley, Liam in Storage, Vetra in the Armory, Jaal in the Tech Lab and Cora in the Bio Lab. Most of them could use a good talking-to after that Kett facility, and if you’ve been flirting regularly… well, it does get lonely in space.
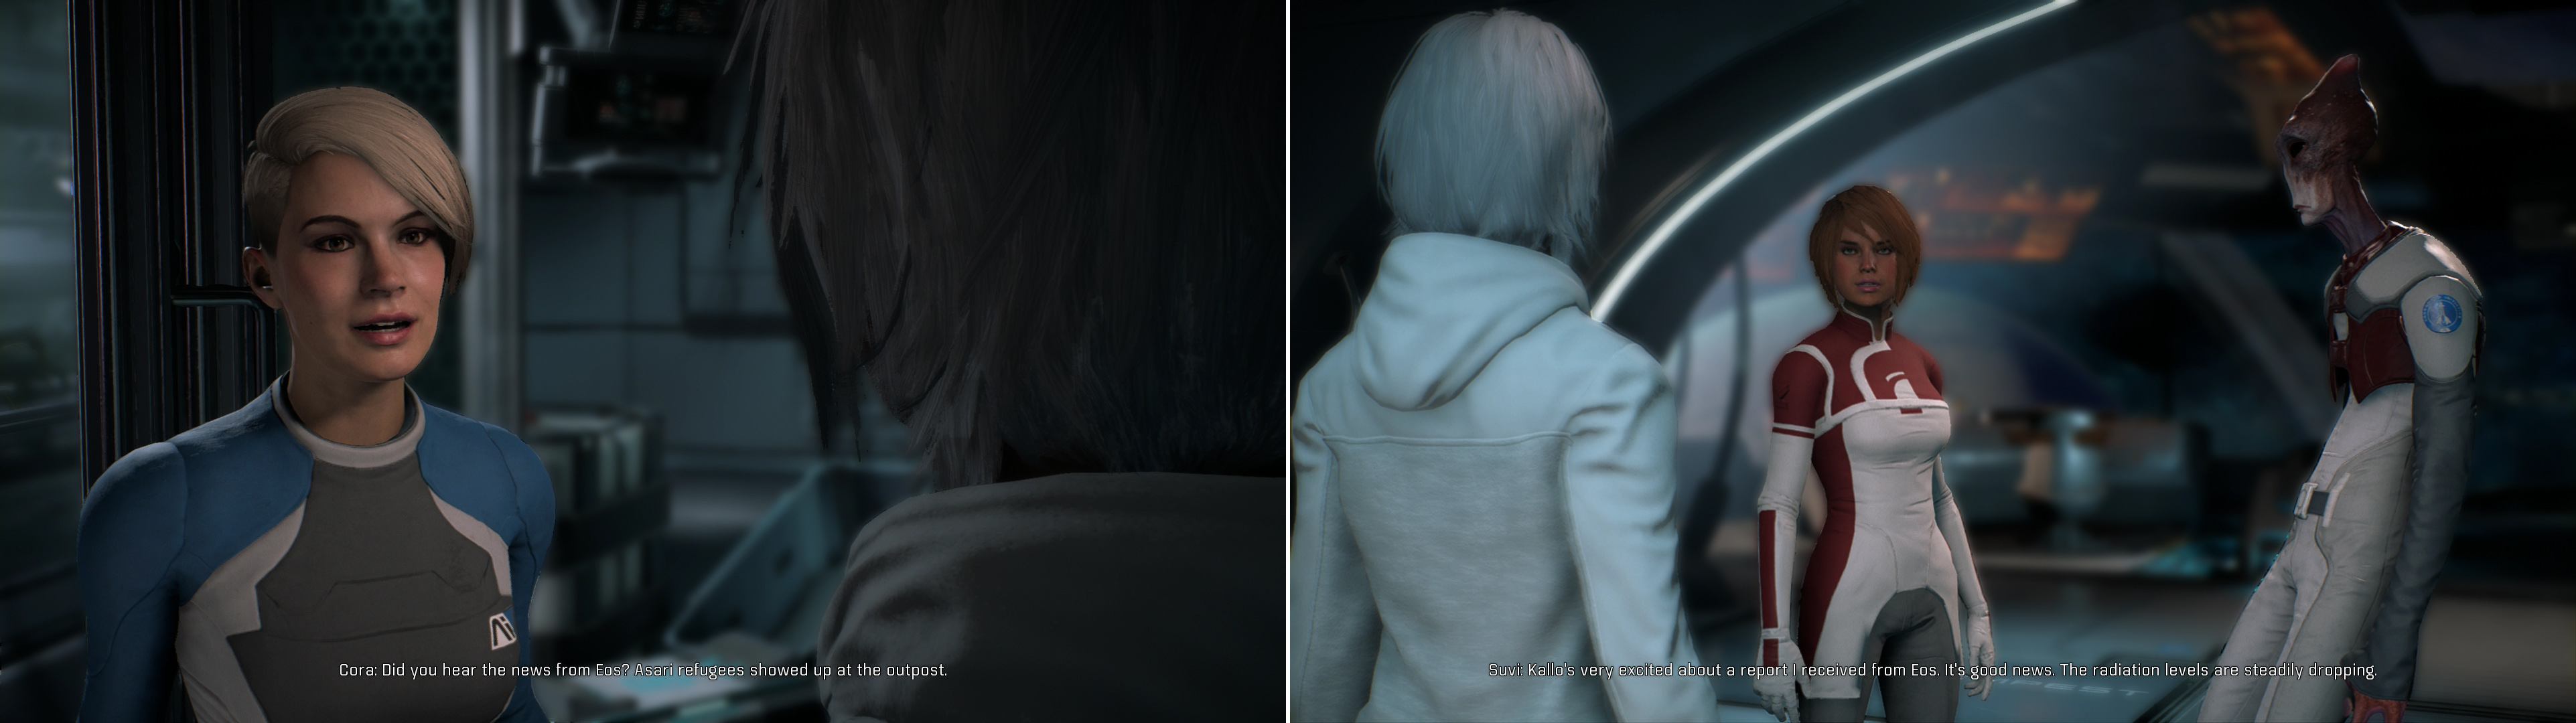
When you return to the Bridge, you’ll find Kallo and Suvi chatting about something, which turns out to be good news - if you haven’t revisited the place already, you’ll be informed the the radiation on Eos has plummeted. It’s a nice prompt to return to Prodromos, especially considering the Kett are more active there, too. All in good time, you’ve still got to deal with this vault on Aya, first. After Kallo and Suvi take their proper places, talk to Suvi until she mentions Liam’s movie night, to which she wishes to contribute. This starts the quest “Movie Night: Snacks”, which you can pursue later.
Lastly, check your email terminal to find the new message “Message from Voeld: Intel on Kett”. Reading it will start the quest “Know Your Enemy”, another little quest you can do on Voeld shortly.
Visit the vault on Aya with the Moshae to learn about a Remnant construct of great importance (left) then talk to Evfra to pick up your next objective (right).
Aya Vault
When you’re done pestering your crew, fly back to Aya in the Onaon system and you and the Moshae will will be greeted by a group of Angara. Preparations for your trip to the vault on Aya will be made quickly, but before that, Paaran Shie will bring up the matter of an alliance between the Initiative and the Angara. Seems things are moving along swimmingly - Evfra will even allow you to retain Jaal with minimal fuss! You now have access to the city of Aya, but before you go off exploring any new areas, head east, then north to reach the shuttle that’ll take you to the vault.
The fact that you don’t change clothes should tip you off that this won’t be very involved - chat with the Moshae when prompted and, with the mighty power of SAM, you’ll make more progress in moments than anybody else in Heleus have been able to do for decades, at least. More importantly, you’ll find out that the vault on Aya is fully connected to another bit of tech, the Meridian - the control center of the vaults - which the Archon also seems to want. In typical protagonist-antagonist fashion, whatever the villain wants, you’d be better off he didn’t have.
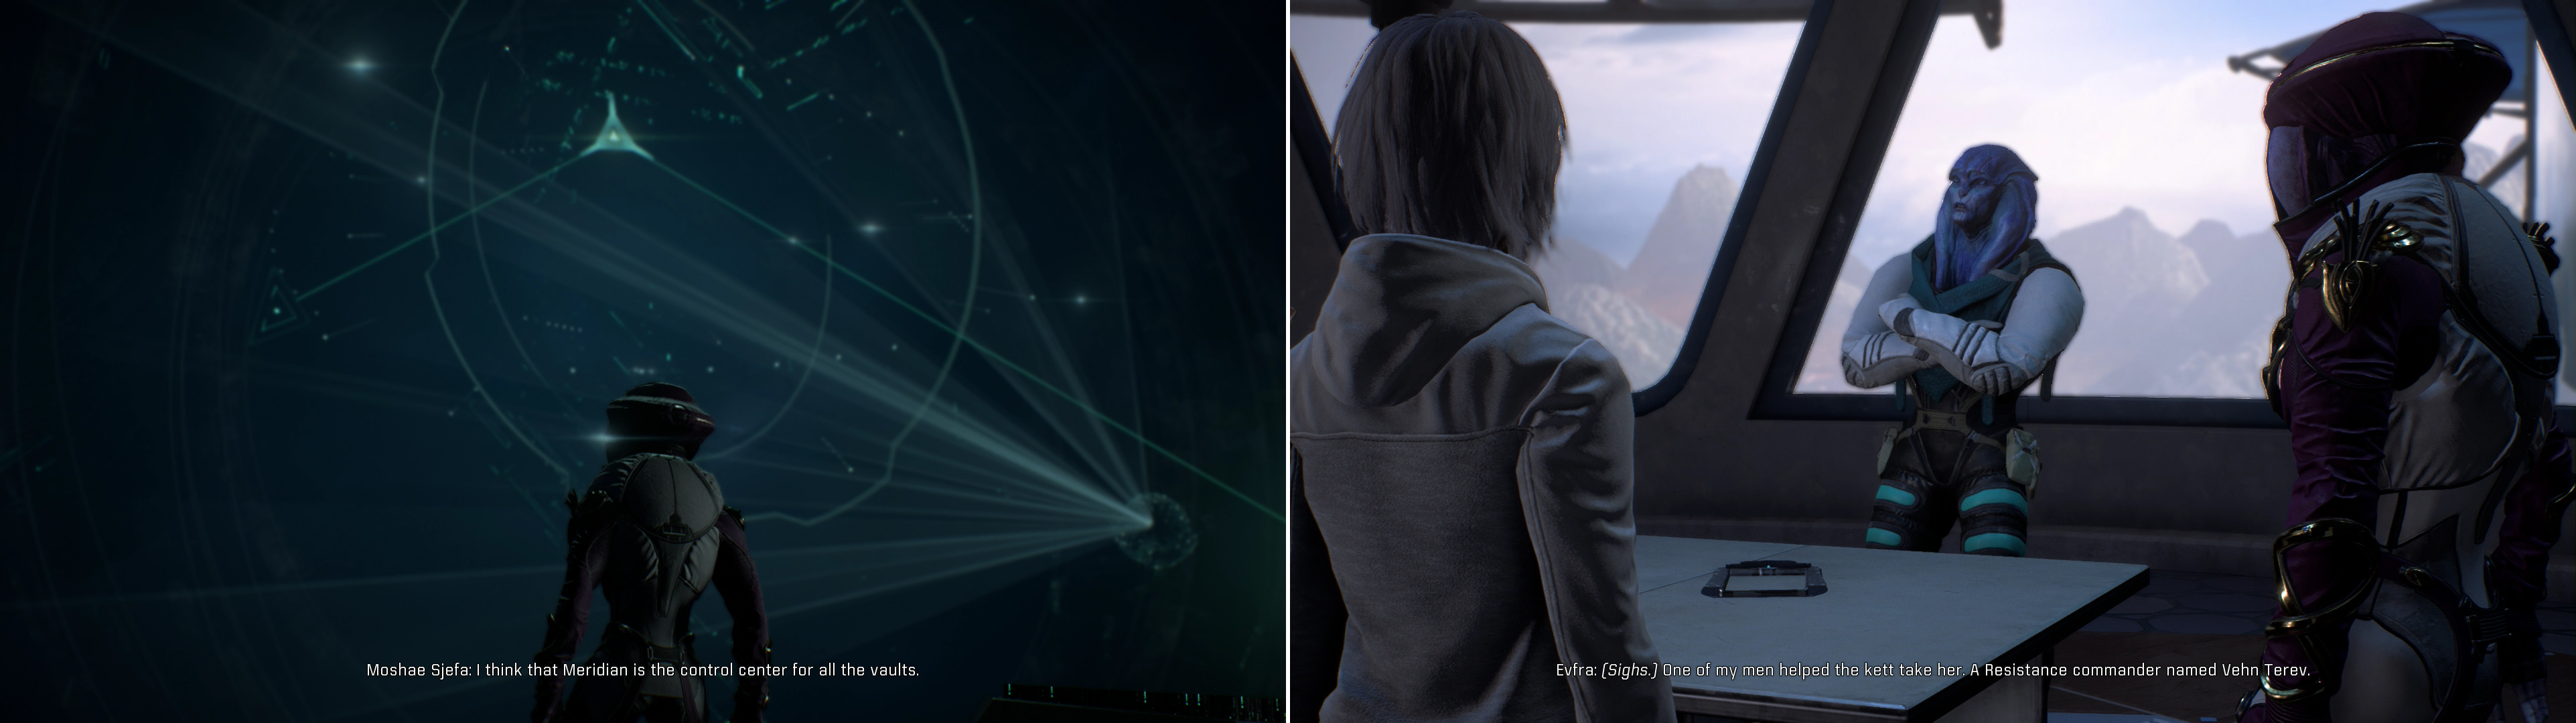
After you’re done at the vault you’ll find yourself back at Aya’s docks. Head through the door along the northwestern edge of the docks to reach the city. Ignore all the sites and quests you can start now - you’ll get to them later - and make your way northish along a curved walkway before turning east and make your way through the city towards Resistance HQ. The only event of immediate note is when SAM tells you that you’re being scanned, starting the quest “Task: Test Subject”.
Ignore the overly inquisitive scanner and continue on to meet Evfra in the Resistance HQ, where you’ll find Evfra and the Moshae arguing. After some scolding he’ll tell you about a traitorous Resistance commander named Vehn Terev, who might know where to find the Archon. Unfortunately, he’s hiding out in Kadara Port, where many of the Nexus exiles also fled. Simply put, it’s going to a dangerous adventure to get your man. After the conversation, it seems Evfra is in for more trouble, but you… you are rewarded with another massive influx of XP, certainly enough to level up again. This ends the superquest “A Trail of Hope” and starts “Hunting the Archon”.
More Quests on the Tempest
Leave Aya behind and return to the Tempest yet again, where you’ll contact Tann about the Angara diplomacy. If that’s not enough for you to do in your ship, your crew will be chatty again, as well. Head around and talk to Peebee, Vetra, Jaal (if you’re been “flirting” regularly that friendship icon should now change into a proper flirt icon), Lexi (who wants to show off some dead Kett to Jaal) and Liam, who, if you’ve advanced your relationship with him enough will offer to spend some time on Aya with you. This starts the quest “Liam Kosta: Day Out on Aya”. Other than that, you can check your e-mail terminal to find that Keri T’Vessa, the Asari journalist from the Nexus, has sent you the message “Can we talk? (on camera)”, which will restart the ongoing quest “Task: Path of a Hero”.
At this point in the game you have, simply put, an insane amount of content you can tackle. This guide has up until now for the most part been focused on the main story, along with a few Nexus quests that could easily be resolved along the way and Tempest interactions that could be tended to between major story events. However, Aya is now yours to explore, the radiation on Eos has died down, and you still have most of Voeld and Havarl to explore. You also now have access to the Govorkam system and any related quests on Kadara. Simply put, it’s a fine time to indulge in a great deal of side content, if that’s what you wish to do. The next few sections will be devoted to various tasks and quests separated by where they primarily occur (if not where they begin). If you don’t care to bother with such diversions, skip ahead to “Hunting the Archon - Kadara Port”.
No Comments