
Into the Vault
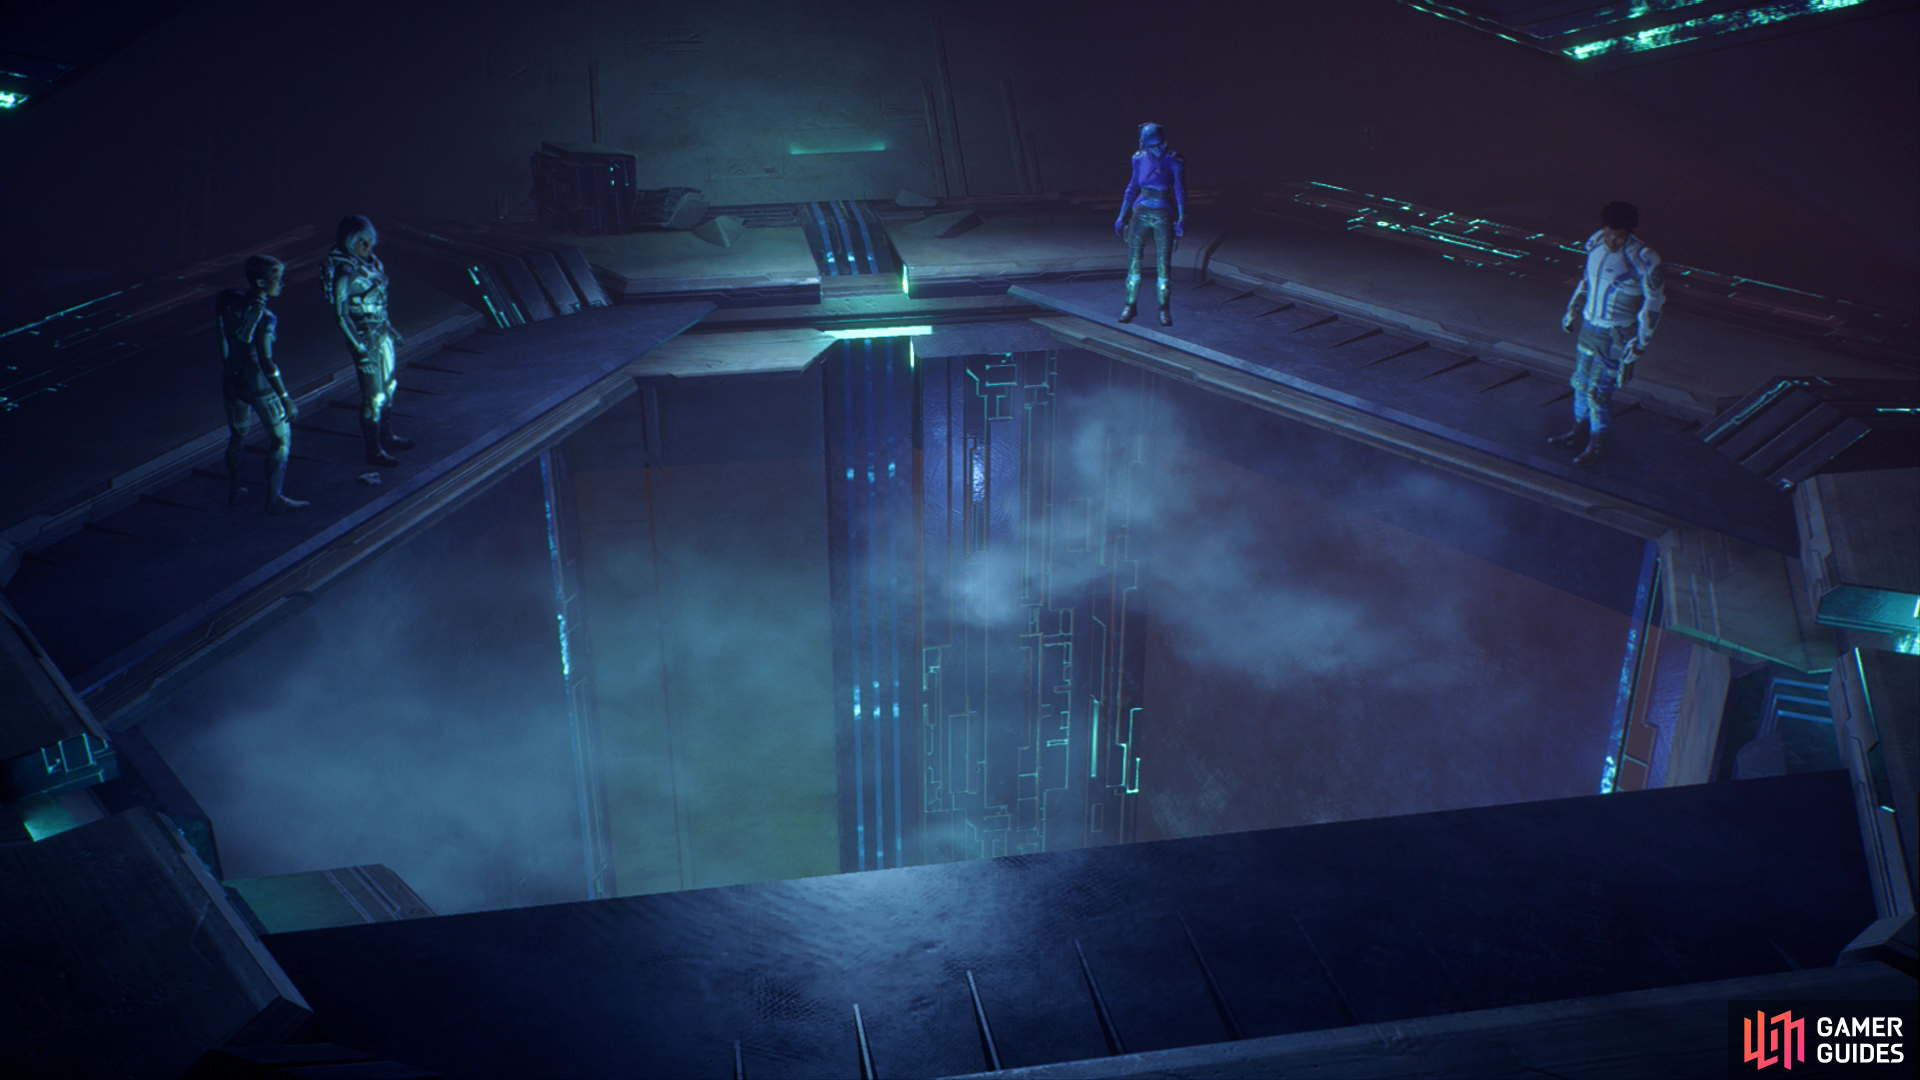
Confirm your loadout, after which you’ll enter the vault to little fanfare, much to the disappointment of Peebee. After you “do your Pathfinder thing” a triangular hole will open up, and after some more chatter you’ll get the opportunity to perform a cutscene interrupt and take the initiative into the unknown - like a good Pathfinder!
When you land, scan a floating Remnant Object , a Data Pattern to the west of the Remnant Object, and another Remnant Object to the northwest. Once done head up a ramp to reach the northern end of the room and interface with a Remnant console, then follow SAM’s advice and scan a conduit running under the floor from this console, which leads you through a doorway to the south. Pass through the massive door and follow the conduit, scanning another Data Pattern beyond the door to get some optimistic news about the function of this place. Another Data Pattern reveal the technological advancement of the Remnant builders, after which scan, then head through a door to the south.
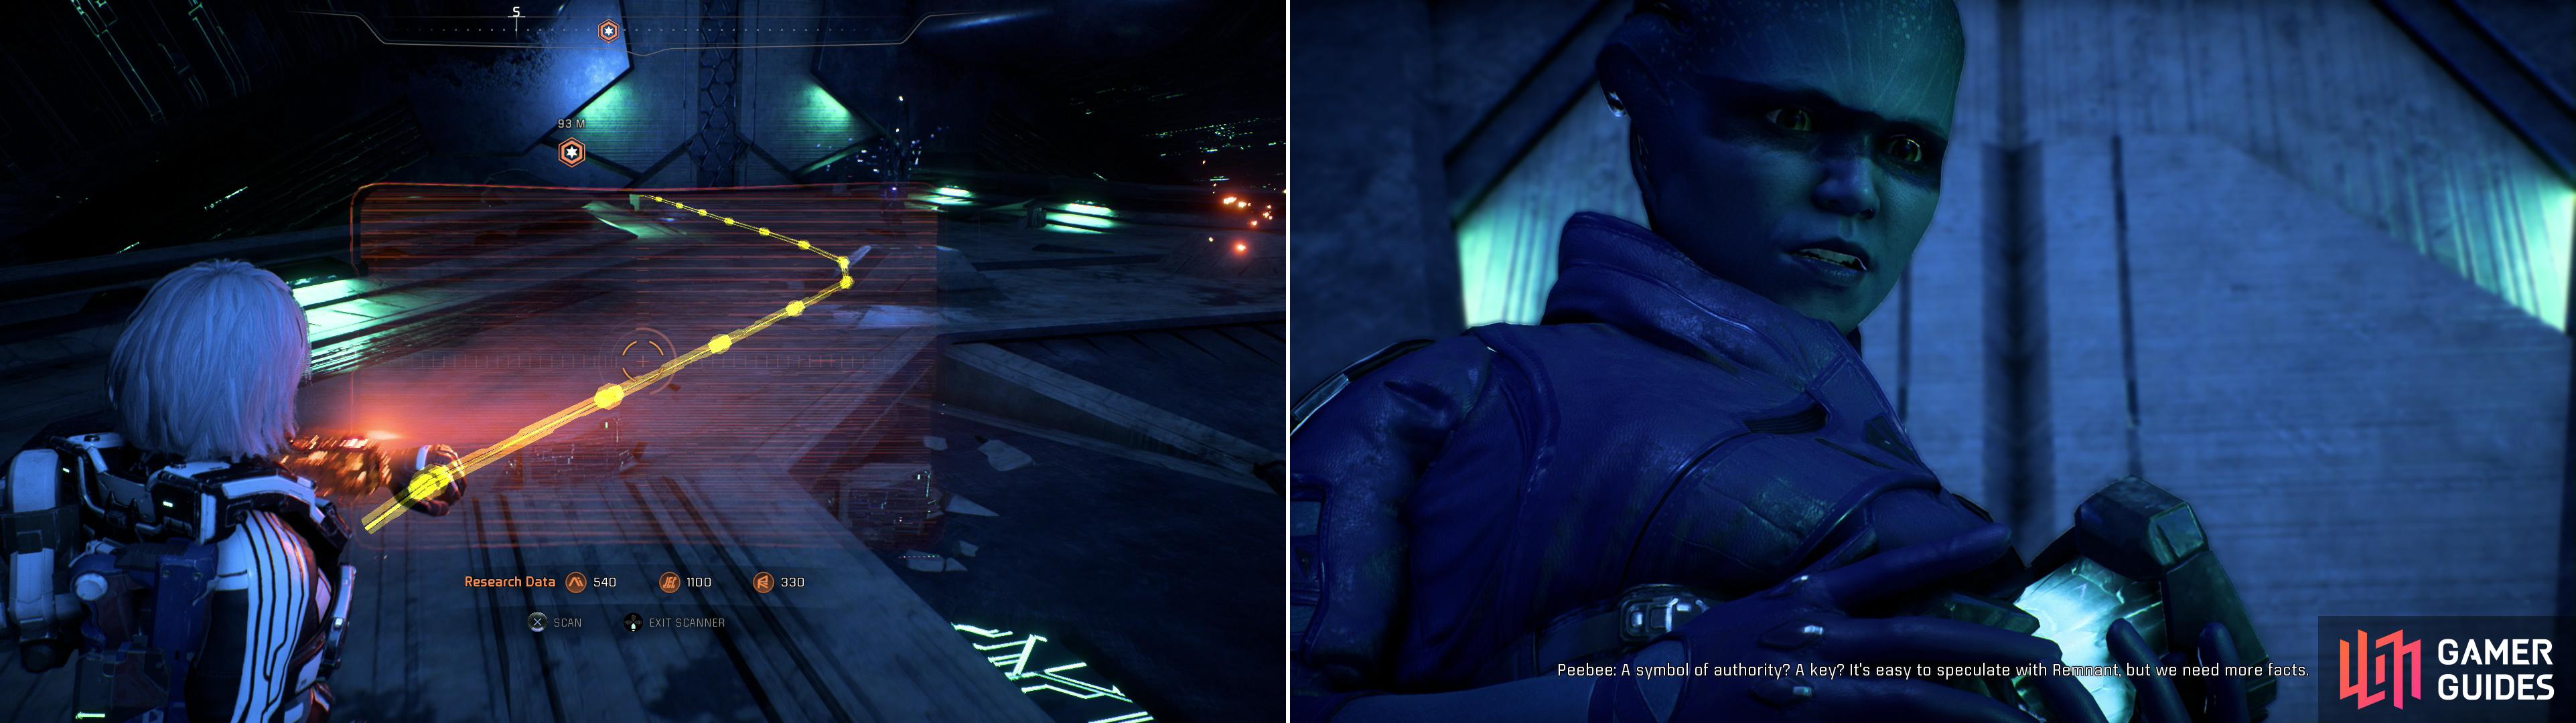
Throughout much of the vault a conduit will serve as a guide (left). Shortly into the vault Peebee will find a Remnant Data Core, the object of her long-running obsession and the quest “Remnant Data Cores” (right).
Ferrofluid Platforming
In the next room, Peebee will find some Remnant tech that catches her interest, after which she’ll split up from you. She wasn’t very helpful, anyways, and will still annoy you via her comm, so it’s not much of a change. Note that the item she collected was a Remnant Data Core - one of nine such devices you’re now tasked with finding for quest “Remnant Data Cores”. This will take a while to complete, so don’t worry about missing out subsequent Remnant Data Cores any time soon.
Avoid the big, glowy, nonsensical space-magic tech in the center of the room and work your way to the western end of the room, where you’ll find a hexagonal barrier sealing off a small room with a chest in it. Go near it and Ryder will tell SAM to make a note of it - good advice for you, as well, as you may have a chance to get at this treasure at a later date. After you’re done ogling loot you can’t yet plunder, follow the conduit through a door to the south and into another room to the south, where it’ll eventually lead to a room filled with an “Unknown Ferrofluid” . Scan the fluid for some Research Data and note that, for gameplay purposes, all you need to know about the stuff is that you’ll be injured if you fall into it.
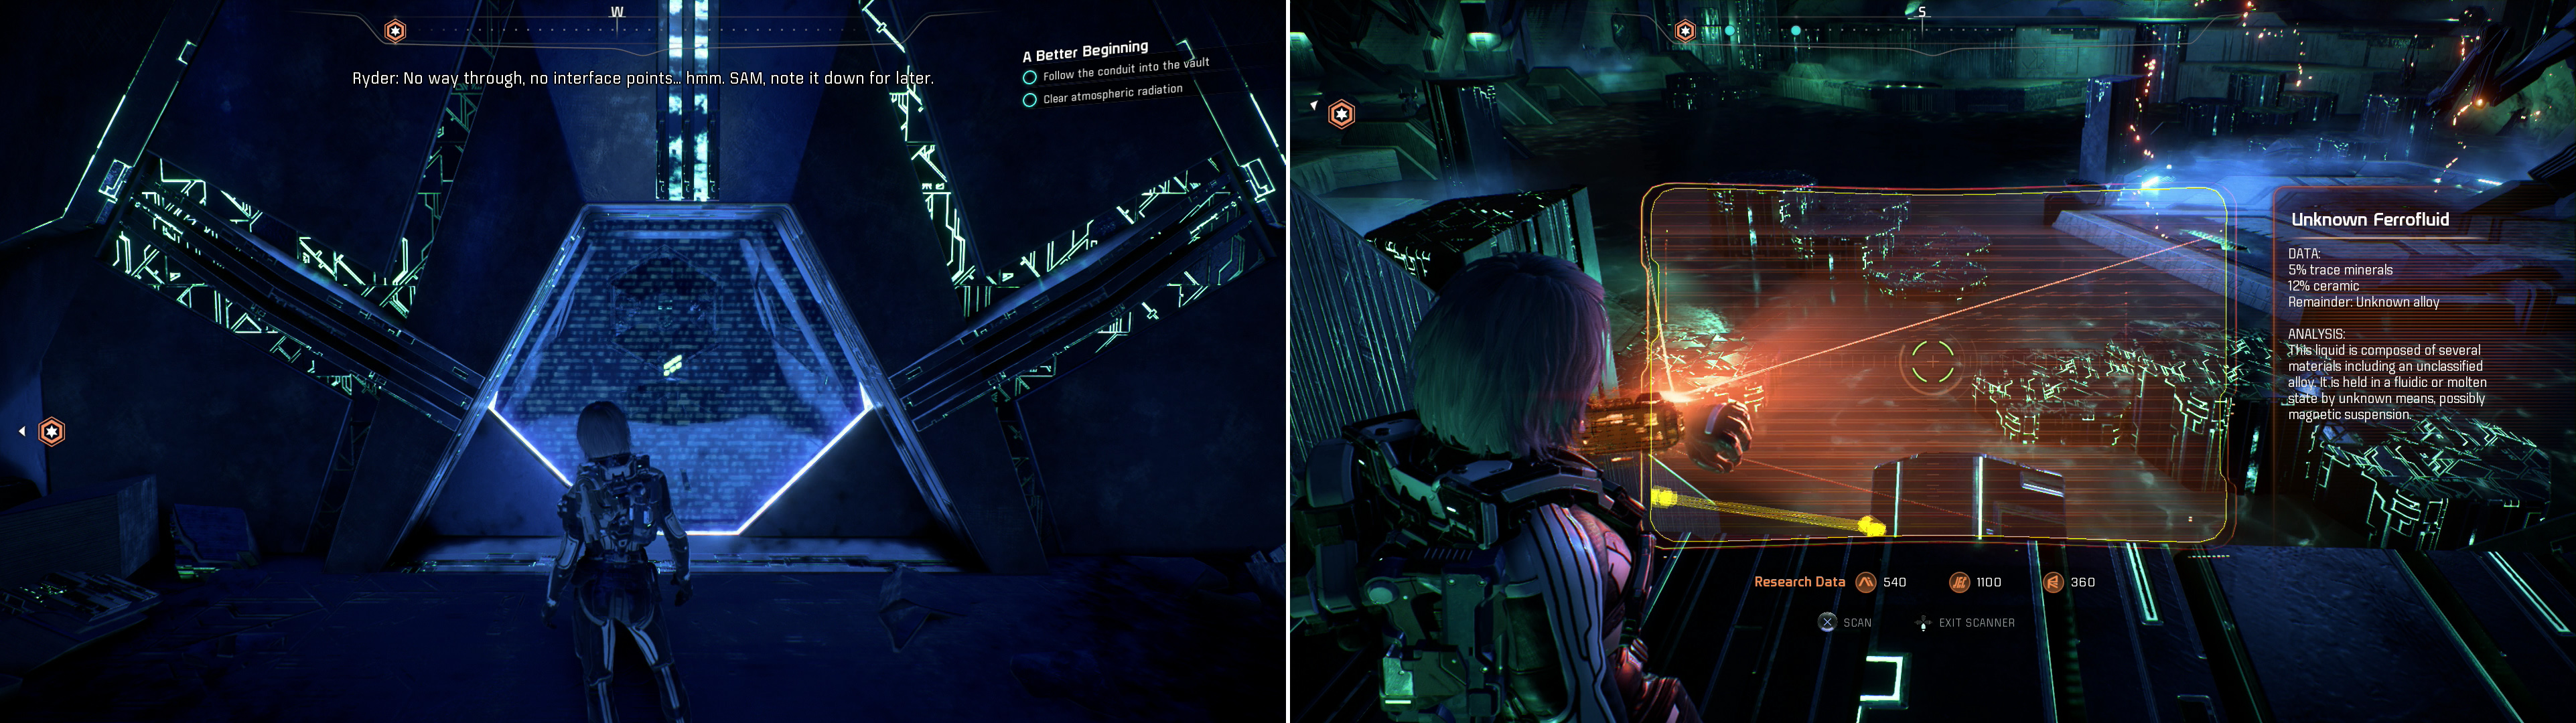
Note an energy barrier, behind which loot hides (left) which you’ll need to return to later. All you need to know about the “Unknown Ferrofluid” in the vault is that you don’t want to fall into it (right).
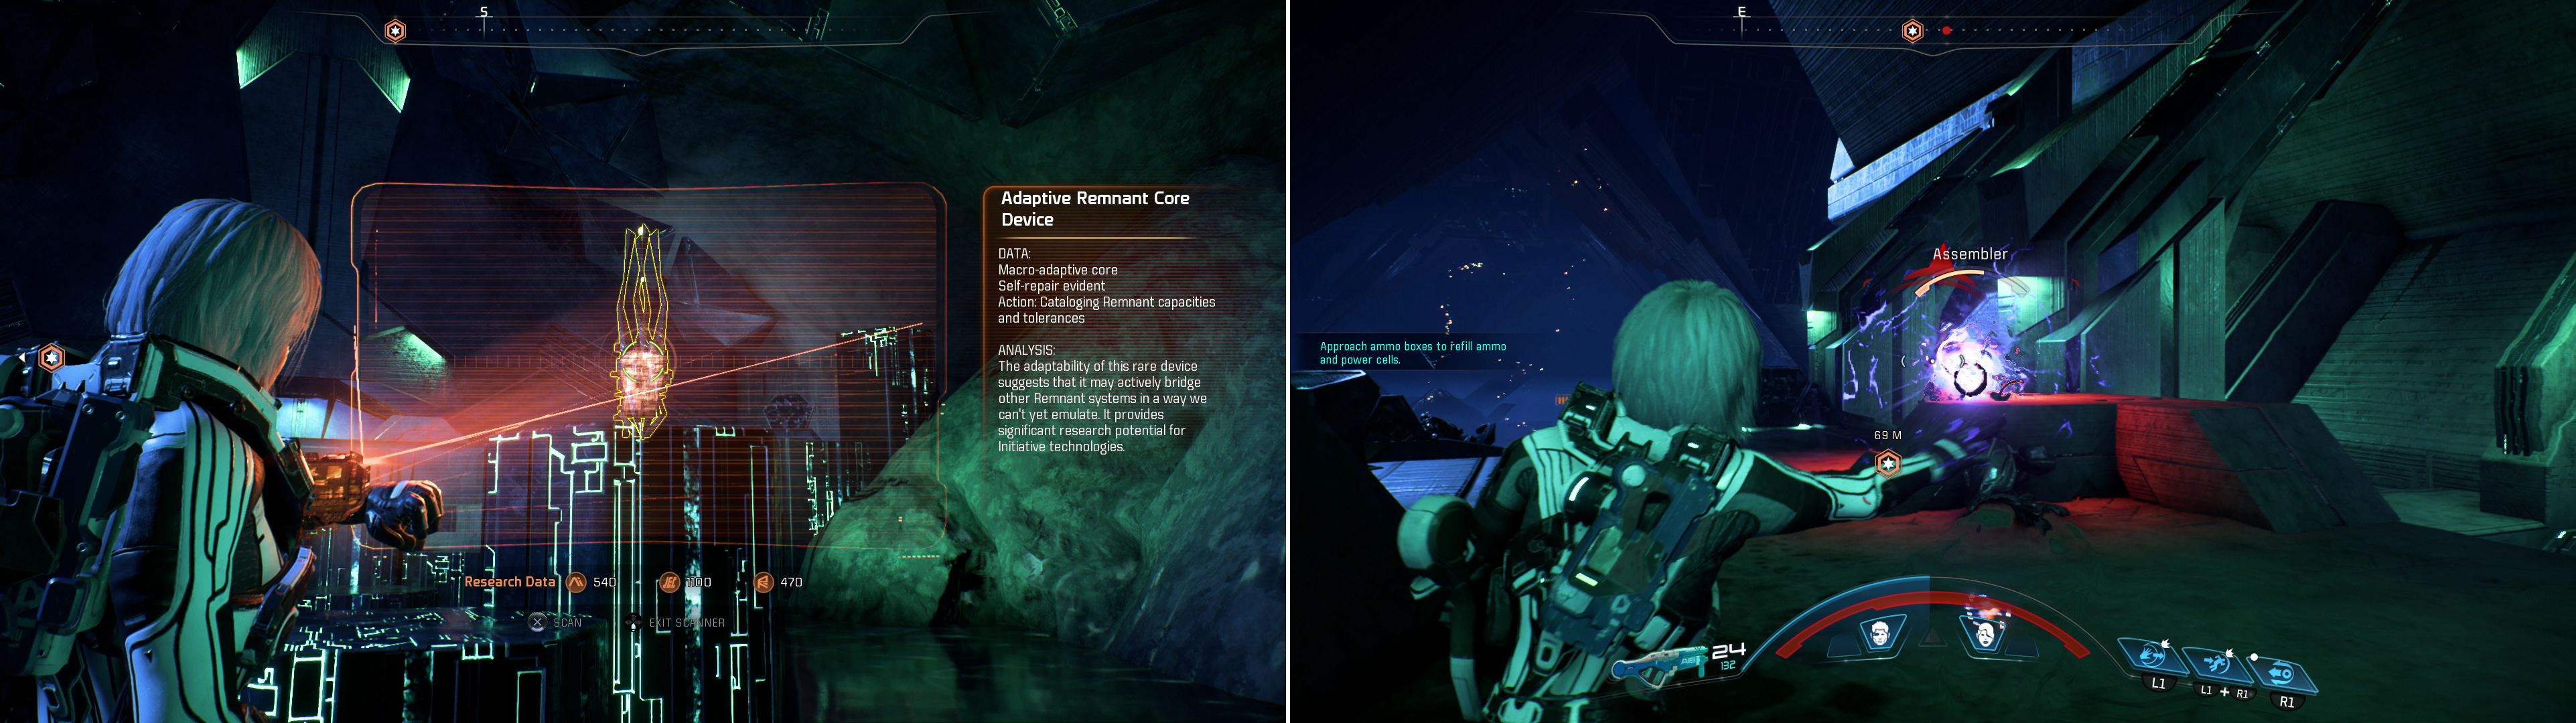
Use some hexagonal platforms to cross the fluid-filled chamber (everybody purchases Mass Effect games for their top-notch platforming!). While the conduit leads you to the southeast, there’s objects to scan around the room, as well. That being the case, make your way south onto the large platform and scan a dormant Mechanical Arm , then continue south onto some smaller platforms and scan an Adaptive Remnant Core Device - the latter of which is worth a whopping 100 Remnant Research Data.
Continue south onto a ledge, then go through a door to find a storeroom. Because who doesn’t like bonus loot areas while exploring? Follow the tunnel beyond until you run into some Assemblers, which should be easy enough to take down by now. Scratch the Remnant bots, then scan some Inactive Assemblers on the wall for juicy Research Data. Loot a container, then backtrack to the fluid-filled room to the north.
Once back in the fluid-filled room, make your way east to find that the conduit you’ve been following runs along another ledge, this one occupied by a host of prancing Assemblers. Take cover behind a hexagonal platform in the water and lay waste to the machines, then continue east onto the ground they occupied. Turn south, leap across some fluid and onto more hexagonal platforms, and plunder a container, then hop back north and follow the conduit east, where you’ll get to catch a glimpse of the true scale of this vault.
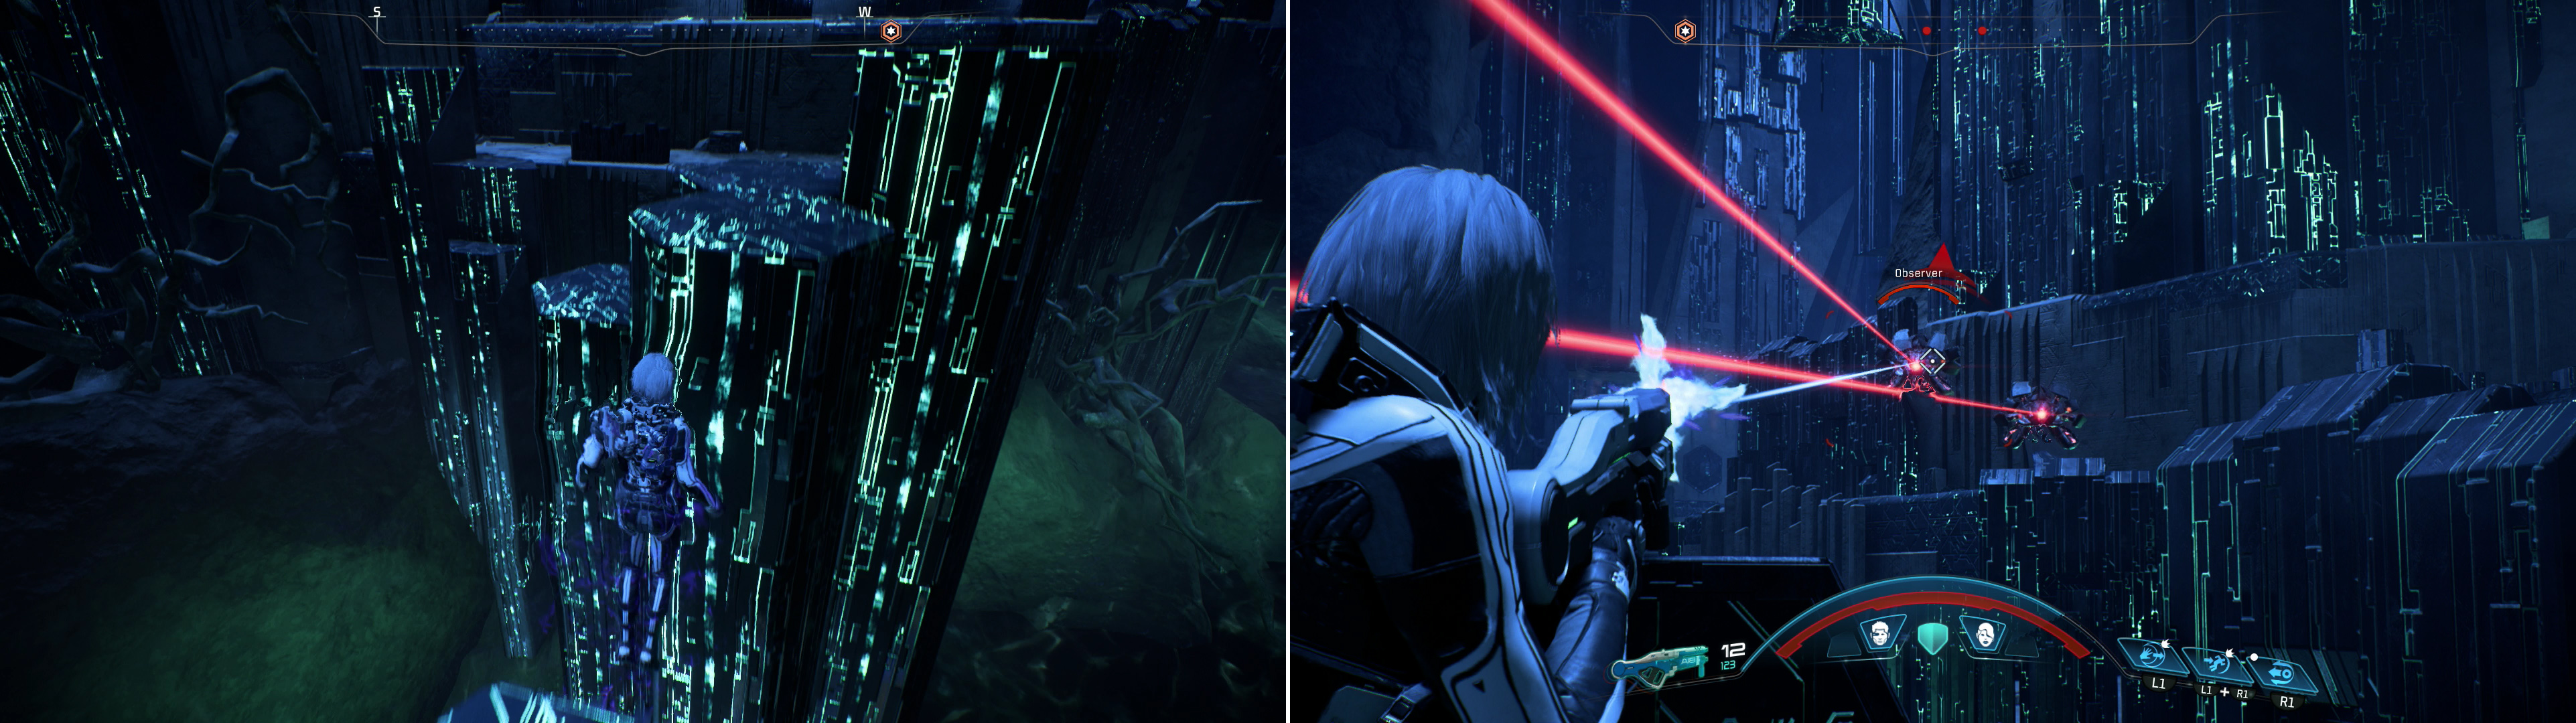
Be on the lookout for Remnant tech to scan (left) as some of it can provide quite a bit of Remnant Research Data. After platforming over the ferrofluid you’ll start to encounter Remnant resistance (right).
The Second Gravity Well
The conduit will lead you down a path to the south, but before you follow it, head across a channel and make your way along another path to the north, walking along the edge of the massive expanse to the east to find a door, beyond which is a container. Loot it, then return south and follow the conduit south, stopping to plunder another container in a side-chamber as you go.
Eventually the conduit will lead you to more Assemblers, which need to be put down. Make your way as far as west as you can to take control of some high-ground, which has a suitable amount of cover from which to mount an offensive. When the Remnant are disabled, follow the conduit south, east, then south again. Peebee will yell at you from across a gap, and the conduit will lead you west, through a large door. First, however, continue south along the walkway to find a container where it ends, then another through a small door.
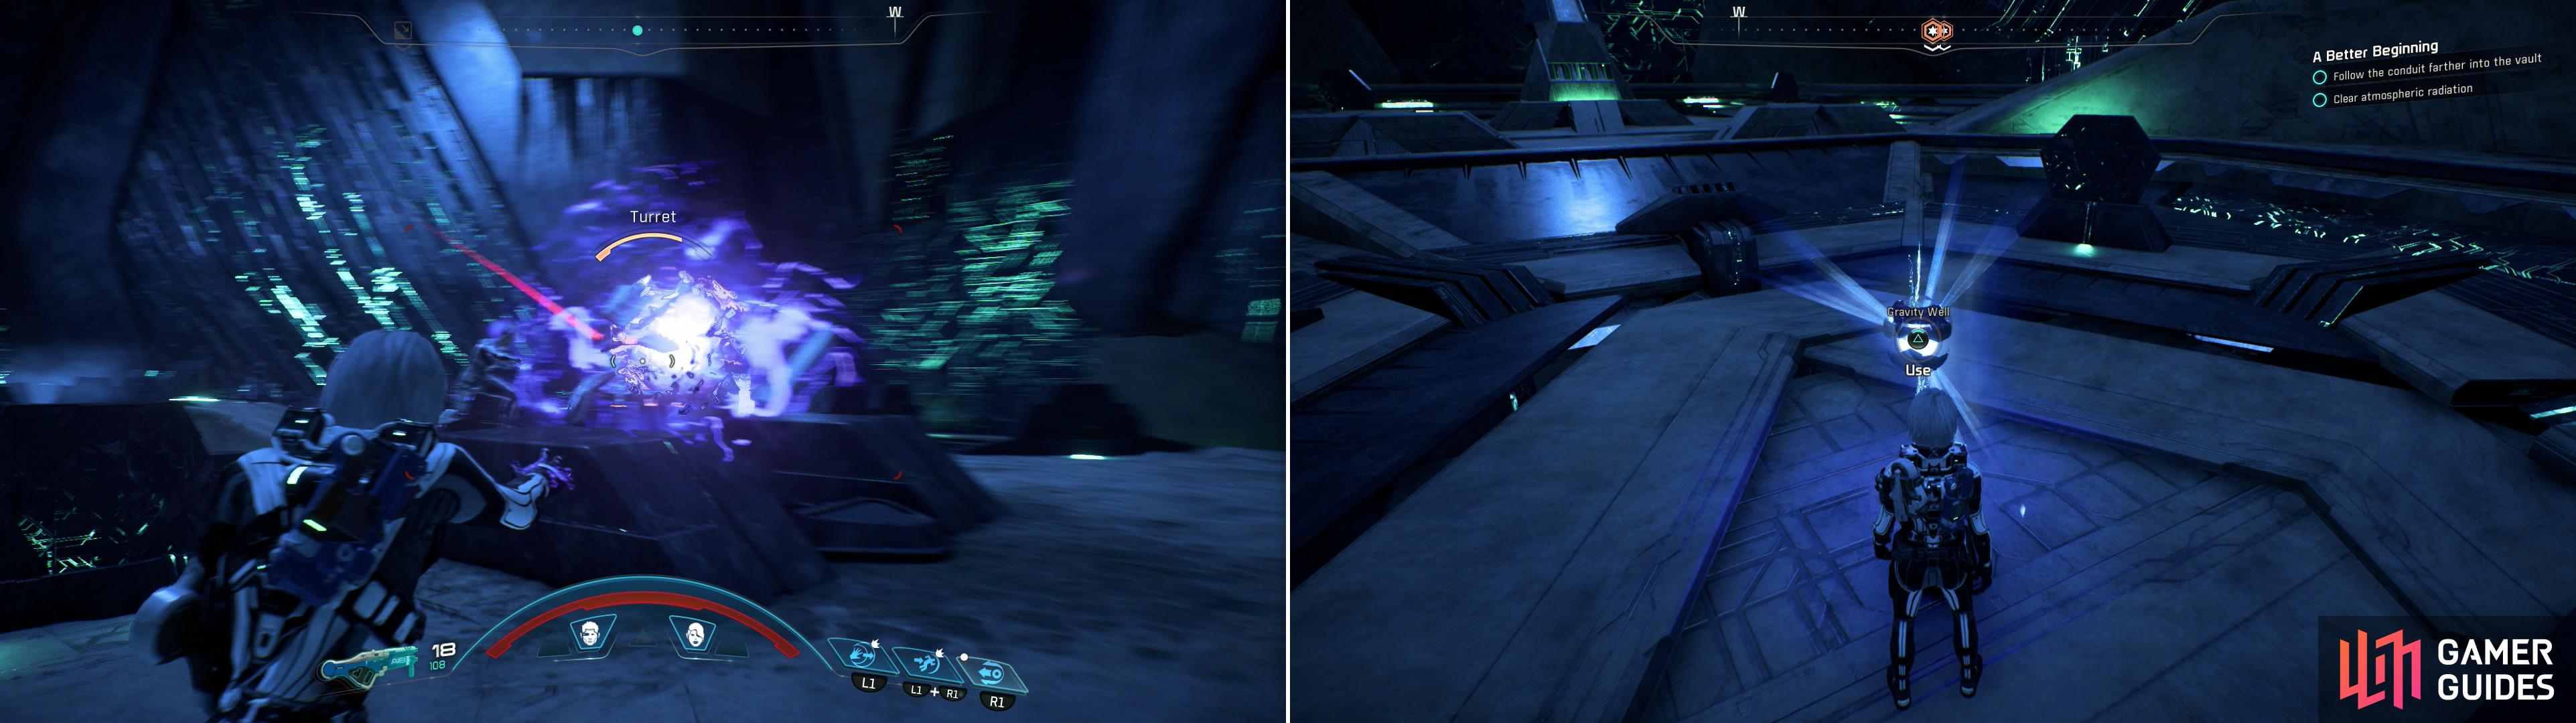
Dispatch the Remnant, including a Turret which guards a Remnant Console (left) then activate said console to summon a second Gravity Well (right).
Return north and go through the door the conduit leads you through, beyond which scan a Remnant Light that pops up for some Research Data. Follow the conduit through yet another door, beyond which you’ll find an Observer, some Assemblers, and a Turret. Destroy the Remnant, then head up a ramp to the north (where the Turret was) and scan the Remnant Console that popped up after the Turret was demolished. Interface with this console, then jump down and explore the western end of the room to scan an Observer and loot a container. Once done, activate another console along the southern end of the room, then head to the center of the room and activate a Gravity Well that pops up.
Pits and Platforms
Interface with a Remnant Console to the west to deploy more platforms, then use them to reach the west, southwestern part of the room, where your further explorations will be opposed by a well mixed group of Remnant robots - Observers, Assemblers, and whatever Breachers they can manufacture. Destroy the opposition, then climb some structures to the southeast to find a container. Next make your way west, southwest past a Remnant Console another another alien plant to find a door, beyond which is a hallway with a container at the end… and a bunch of Inactive Assemblers the team will fret over.
Return east to the larger chamber and activate the Remnant Console you passed by earlier to raise up more platforms. Kill some Observers that pop up, then leap back to the large central platform to the east, northeast, and from there turn northwest and leap across the new platforms. Reach a ledge with an Ammo Box and a Remnant Console, the latter of which you should ignore for now. Instead, turn northeast and leap up to a higher ledge where you’ll find a container and another Remnant Console.
In the massive open chamber beyond the second gravity well, much of your activity will boil down to leaping across platforms (left) summoned by Remnant Consoles and fending off Remnant defenses (right).
When you land, Ryder and company will fret over an unforeseen difficulty, shortly after which Peebee will show with the solution. Loot a container to the north and south, then repair the Ferrofluid Leak, after which you can safely interface with the Remnant Console. Once Peebee is back on her way, turn west and go through a massive door to reach a suitably colossal chamber beyond.
Scan an Adaptive Remnant Core Device to the south for another juicy 100 Remnant Research Data points, then continue west and activate a Remnant Console to deploy some hexagonal platforms. Jump your way west to reach a larger, central platform on top of which is a large plant, similar to the one you found in the Habitat 7 cave. A sign of developers copy/pasting game assets, or a sign that the aliens were archiving species?
Remnant Puzzle Treasure
Activate this Remnant Console and return southeast to the large central platform (once again), and from there leap southeast, using the platforms raised by the Remnant Console to reach the southeastern edge of the area. Destroy some Observers and an Assembler that attempt to halt your progress, then loot some containers and continue up some ledge to the southeast. In the room to the southeast, scan numerous Data Patterns as well as two Glyphs, then search a container to the southeast, which is locked by a Remnant Decryption puzzle. Joy.
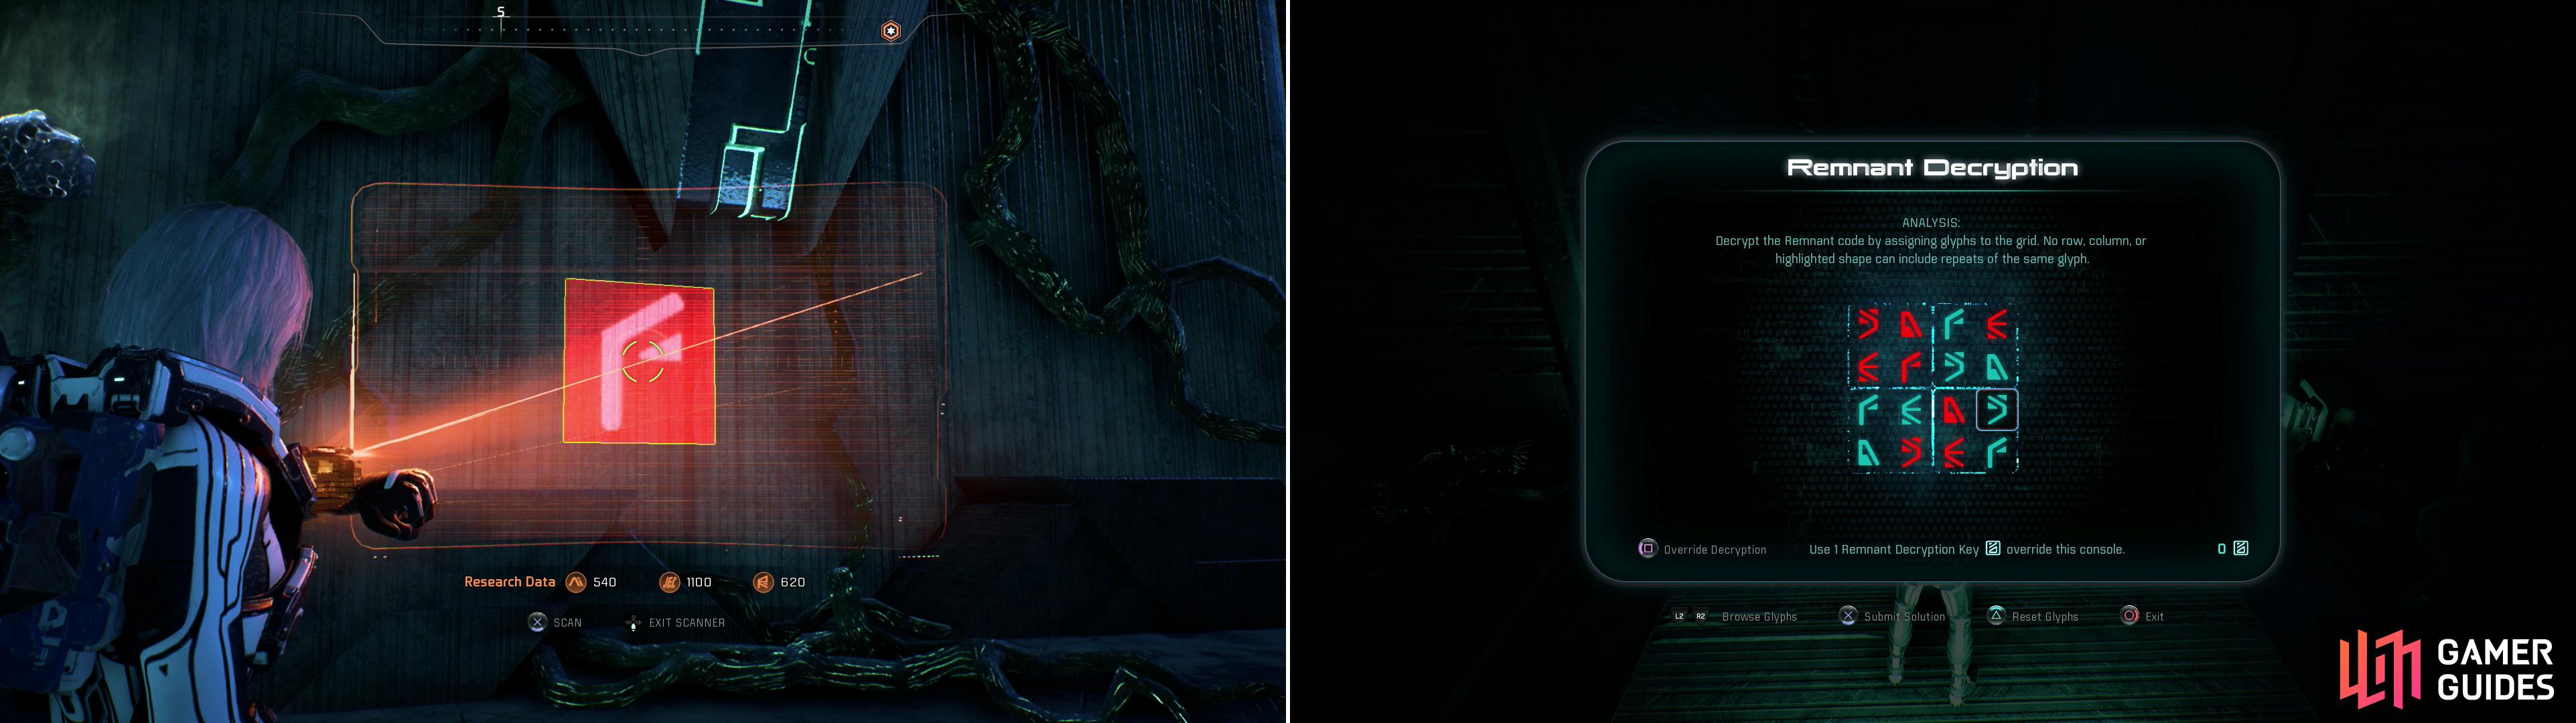
In an optional area you’ll find some glyphs you can scan (left) which will help you solve a Remnant puzzle (right) and open a lucrative container.
This puzzle follows the same rules as the first one - no two glyphs can be on the same row, column, or highlighted shape… again, in this case, in the same boxed quadrant. The upper right corner is the easiest to start out with, as there are already three symbols in this row, leaving only the F-shaped symbol. Below it, then, you also have three shapes in this column leaving a right bracket ( “]”, or backwards E-shaped, if you prefer) glyph as the only possible glyph. The glyph to the right of this, then must be a D-shaped glyph, and that should fill the upper right quadrant - process of elimination. Next move to the bottom left quadrant, specifically the upper-left blank slot, which must be the E-shaped glyph, through process of elimination. With this much filled out, it shouldn’t be too hard to get the rest - the next blank over requires an F-shaped glyph and the one below it (the bottom-left most blank) is the home of a D-shaped glyph. Finish up by assigning an F-shaped glyph to the bottom-right blank of the bottom-right quadrant, then use a backwards C-shaped glyph in the one above it.
Whew. Or, instead of following all that text advice you could just use the solution image provided. Your reward for solving the puzzle will, of course, be numerous bits of salvage to sell, some Remnant resources, and perhaps some Remnant Cores.
Lifting the Lockdown
Gather that great haul of loot, then leap your way back to the northwestern ledge you left off at earlier. Interface with the Remnant Console you ignored to raise more platforms to the west… and rile up some Remnant, including Observers and Assemblers. Dismantle the bots, then jump to the west, northwest, activate another Remnant Console, then cross a bridge. Leap up some ledges to the northwest to score a container, then drop back down and go through a door to the north.
Follow your friendly conduit into the room beyond to find the heart of the vault, where all the conduits converge. Make your way northeast and loot a container, then scan a third Adaptive Remnant Core Device to log another 100 Remnant Data points. Once done, head to the west to find - and interface with - a Remnant Console to bypass the lockdown.
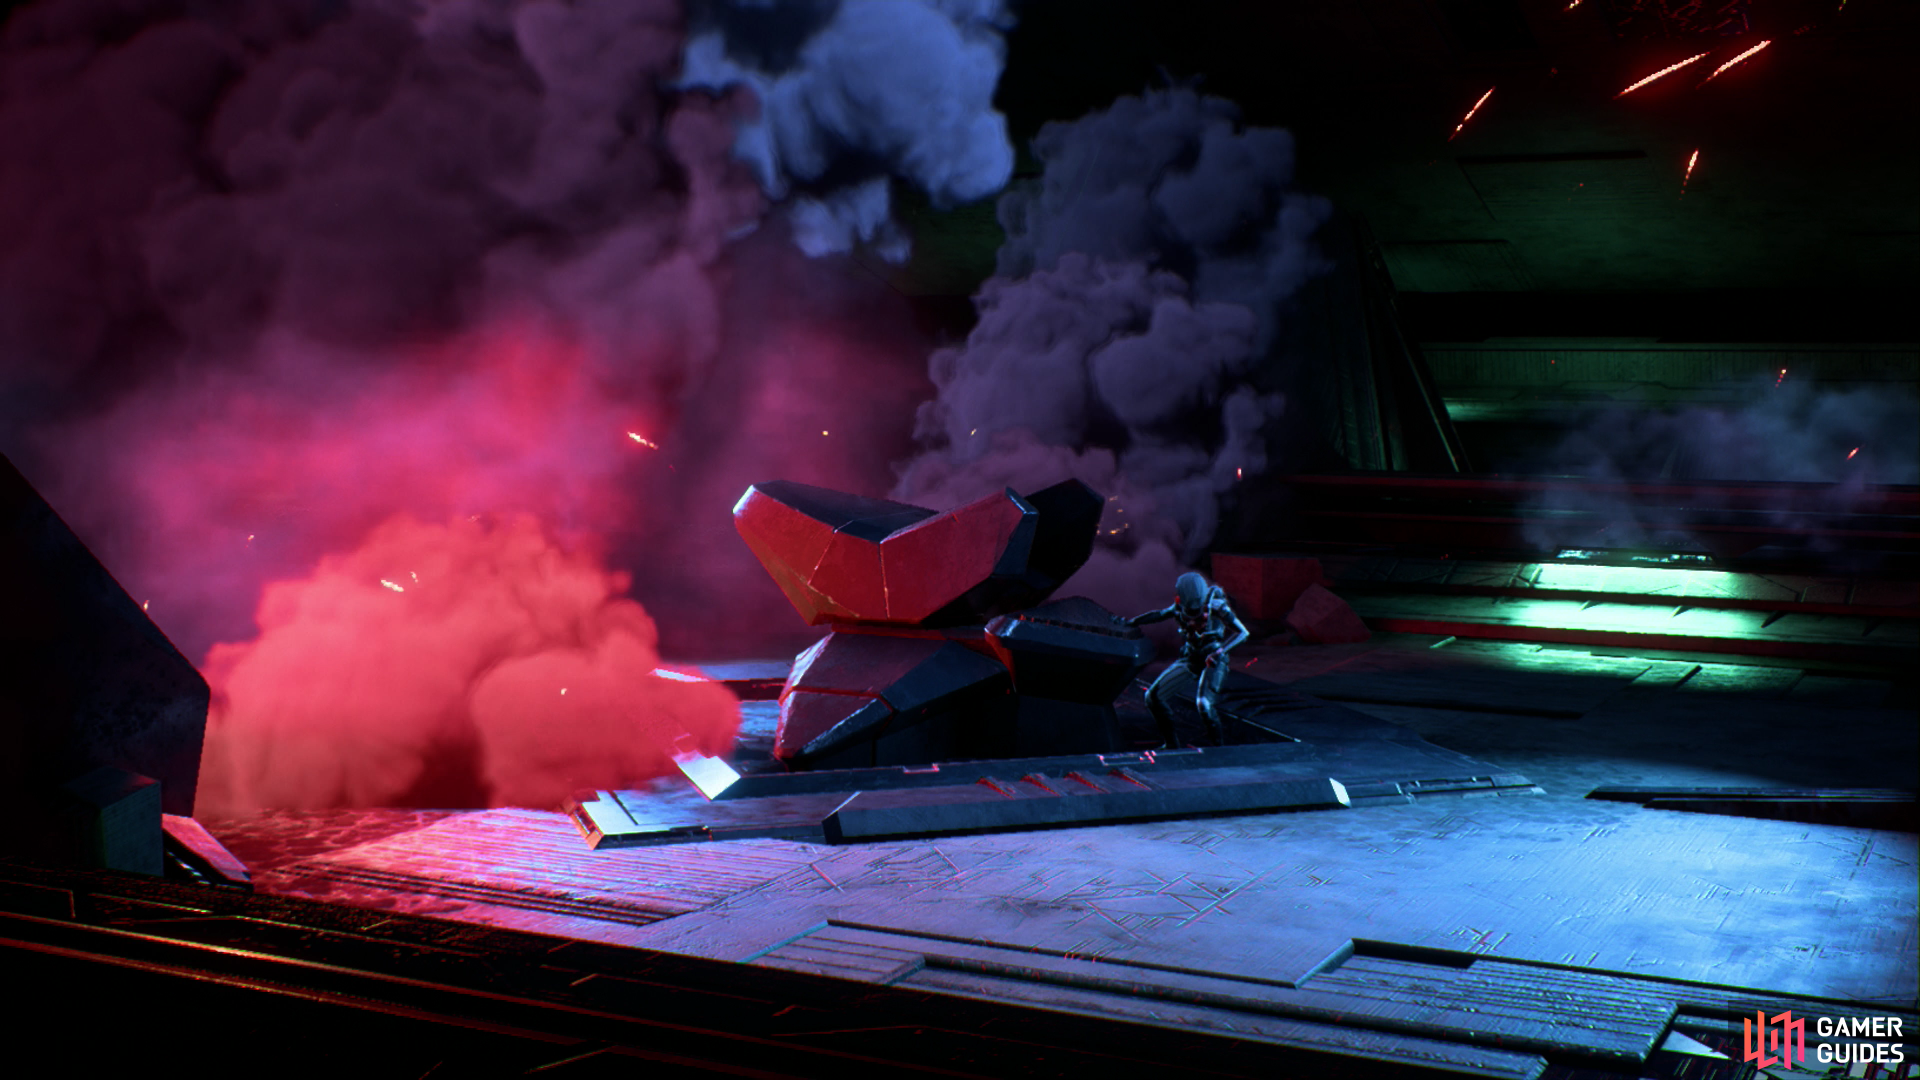
Before you can celebrate too much, however, the ancient technology awakens with a bit of a… rough start. Follow the quest marker and avoid the death that follows you, dodging floor vents and activating a Remnant Console in the room beyond to extend a bridge. Run through the ruins, go through a door, then ride up a gravity well. Once up the gravity well turn west if you think you have enough time and loot the container that was previously locked behind a barrier to score a nice haul of loot, after which turn north and exit out another door to escape the vault. Watch a cutscene, after which you’ll chat with Peebee and get some tantalizing leads…
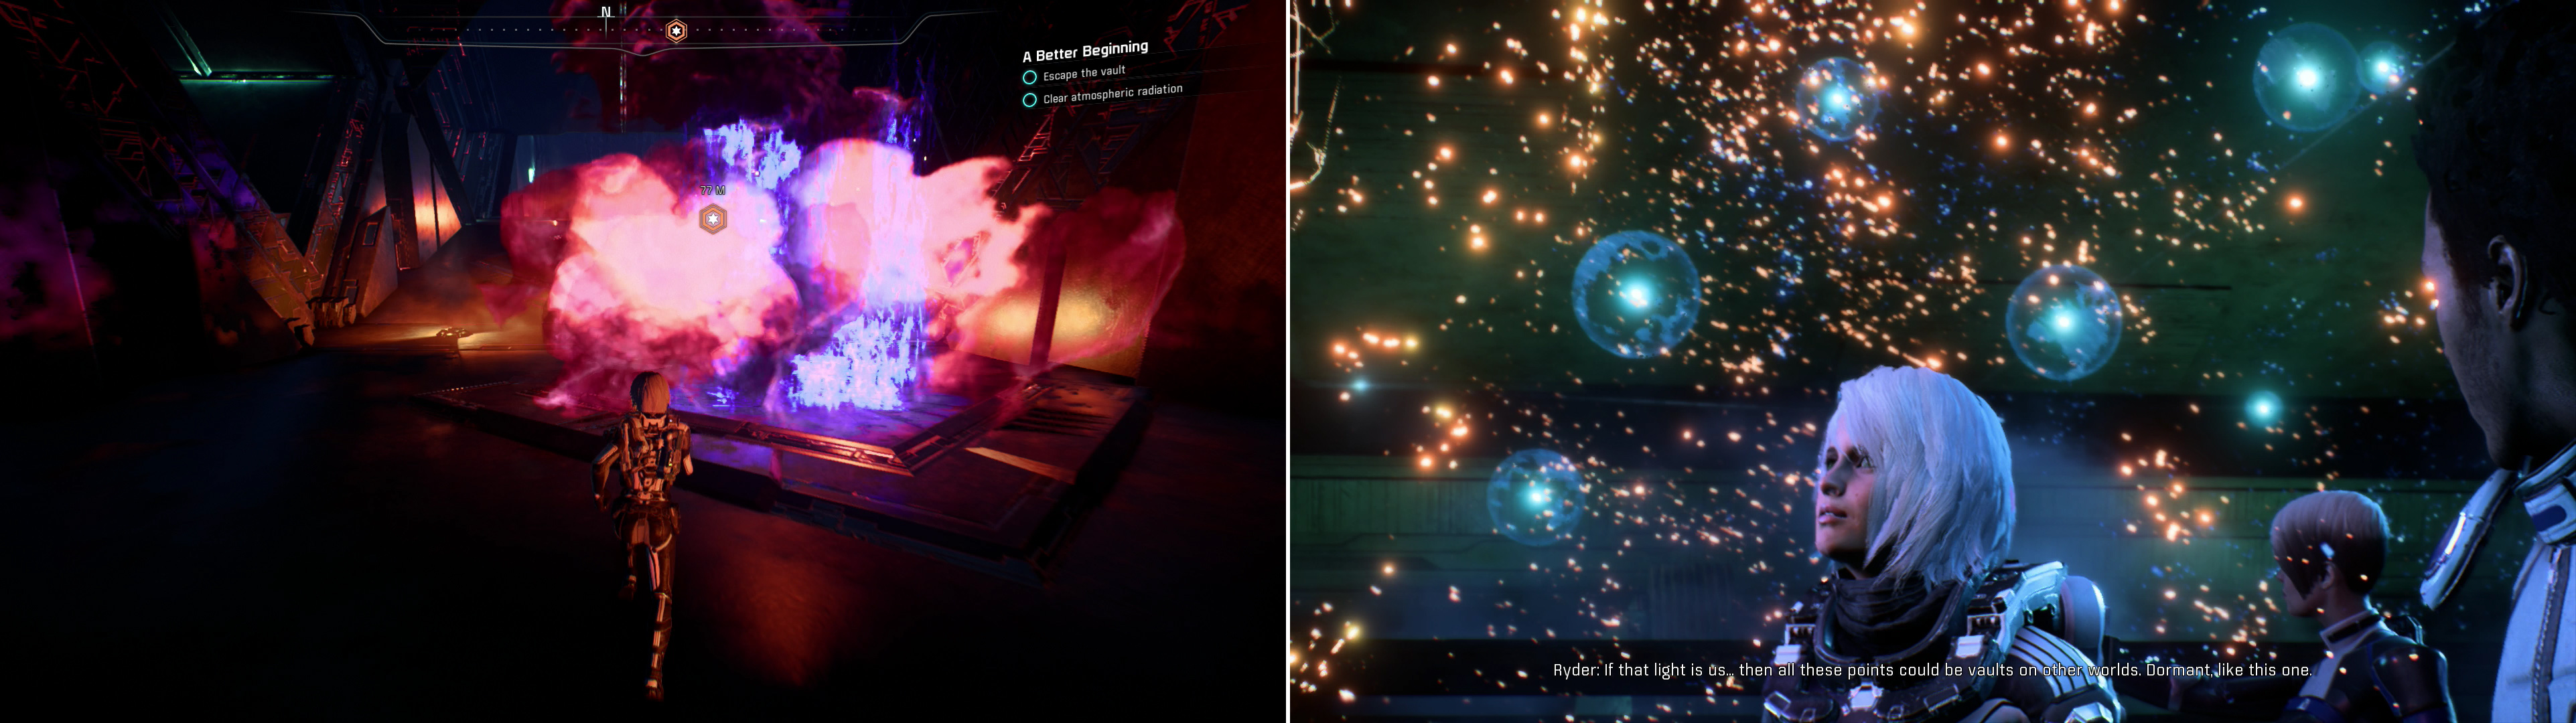
Flee the purification cloud while dodging other environmental hazards (left), after which you’ll discover that there’s plenty of work for a Pathfinder in the Heleus cluster (right).
Before you can celebrate too much, however, the ancient technology awakens with a bit of a… rough start. Follow the quest marker and avoid the death that follows you, dodging floor vents and activating a Remnant Console in the room beyond to extend a bridge. Run through the ruins, go through a door, then ride up a gravity well. Once up the gravity well turn west if you think you have enough time and loot the container that was previously locked behind a barrier to score a nice haul of loot, after which turn north and exit out another door to escape the vault. Watch a cutscene, after which you’ll chat with Peebee and get some tantalizing leads…
No Comments