
Ark Paarchero
Pilot the Tempest to the Tafeno system, where you’ll find the Archon’s flagship… and he’s not alone here. Dock the Tempest on the Kett’s “guest” ship, after which Ryder will consult both SAM and the Moshae about the task at hand. Once you’re on the Salarian Ark, head north, read a Datapad, loot a container, then interact with a Terminal to get the Information Wall running. Listen to some of the built-in propaganda to find a hidden distress message, then head through a door to the east to find the cryo bay, which the Kett seem to have been in the process of plundering.
Scan a Kett Forklift, leap over some Kett containers… kettainers? Then go through a door to the east, the medical ward of Ark Paarchero. Not unlike the place you woke up. Scan a Salarian body on a bed along the western side of the room, then examine a nearby console to learn the identity of the Salarian you scanned. While initially disheartening news, SAM will reveal an anomaly. Head to the south eastern corner of the room and scan a unit of Adapted Initiative Core Tech device for 100 Milky Way Research Data points, then use the nearby Medical Terminal to confirm the Salarian duplicity.

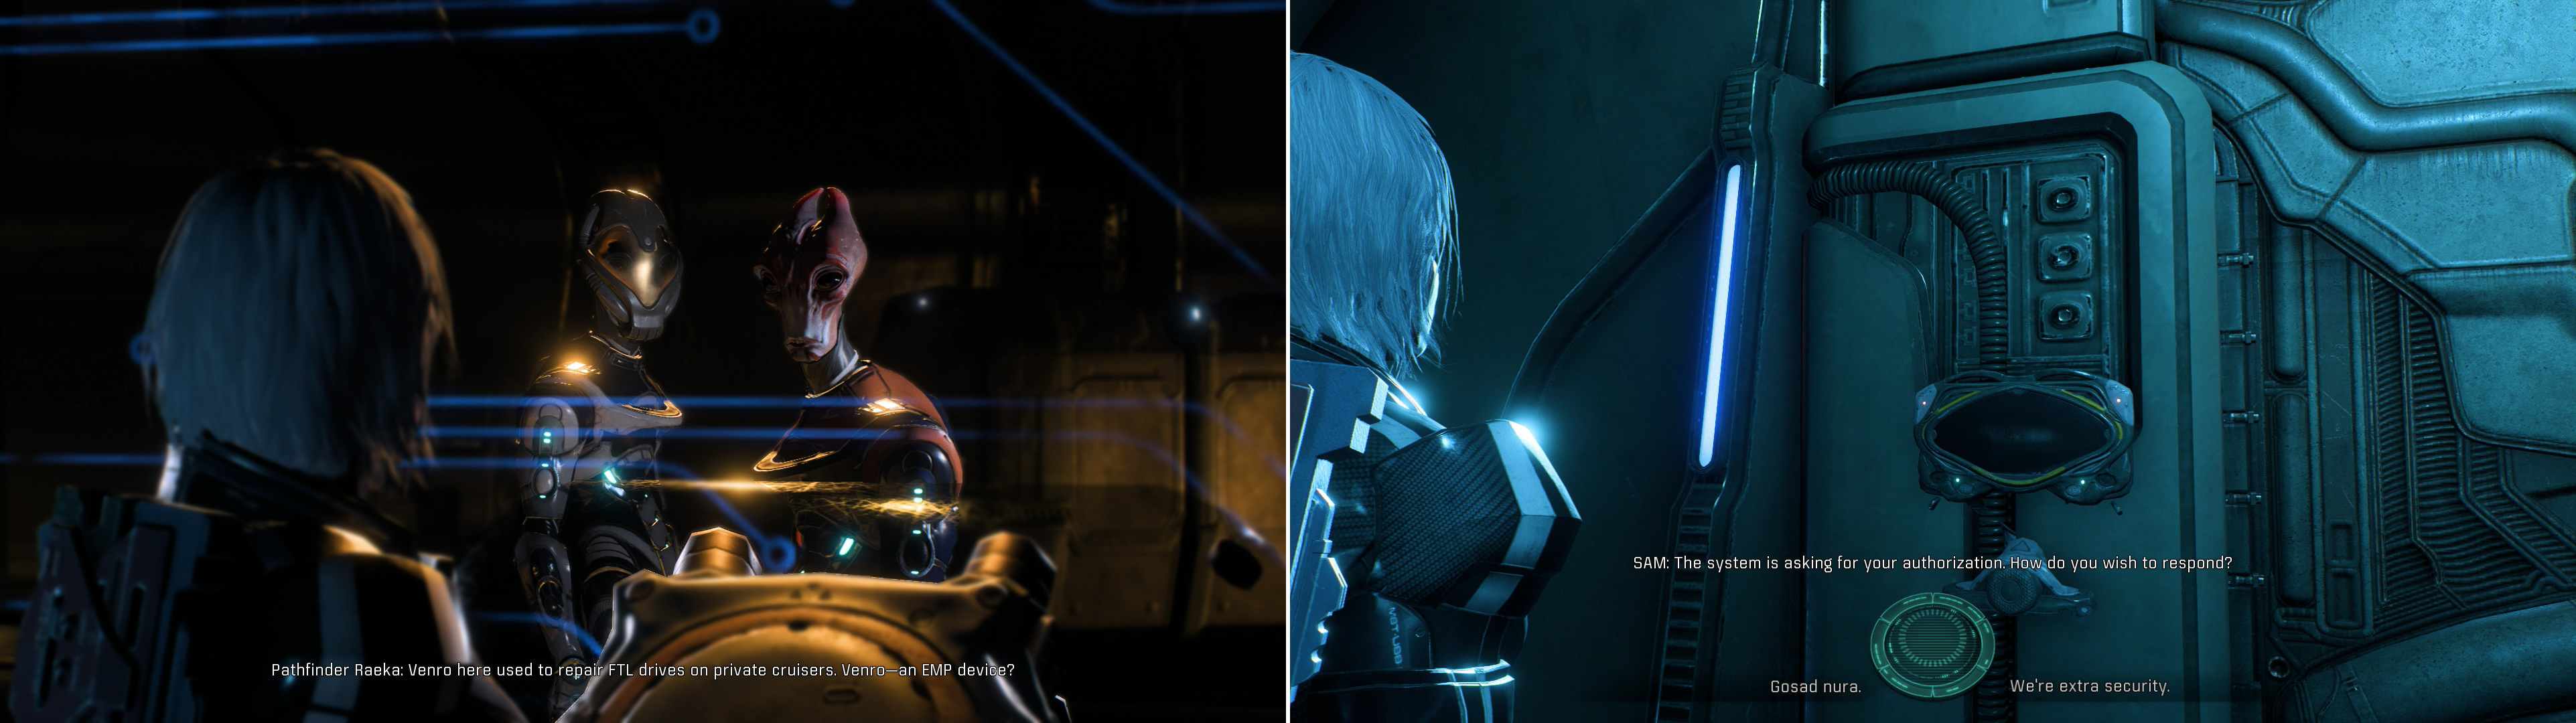
Find a hidden distress message on the Information Wall of the Salarian Ark (left) then scan some corpses to discover some discrepancies (right).
It’s going to take more than subterfuge on the part of the Salarians to get them out of this mess however, but a little Salarian trickery acting as a force multiplier for your squad might just do the trick. Head back into the cryo pod room and scan a trio of pods on the southern end of the passage, near the western door to locate the missing Salarian Pathfinder. Once discovered, use a nearby Console to revive Pathfinder Raeka - and for the first time have two active Pathfinders in the same operational area in the Andromeda galaxy.
She’ll discuss the trials the Salarian Ark faced in Andromeda before her and Ryder discuss a plan, after which Ryder and her team will lead the infiltration of the Archon’s flagship.
The Verakan - Outer Decks
Unfortunately your dreams of stealthy infiltration don’t survive long in the Archon’s flagship, as you’ll immediately be greeted by a trio of Kett Chosen, who are reinforced by more Chosen led by a Destined. Oh well, guess you’ll just have to murder your way through the Kett ship. Once the Kett are cleared, ascend several ramps to reach a Kett Console - a Kettsole? - and SAM will locate the Archon’s private chambers for you.
Before you get to the task at hand, however, Raeka will contact you with plans of her own. It certainly can’t hurt to have a strike team of Salarians running around onboard and causing the Kett problems - at the very least it’ll serve as a distraction. Head to the northeastern corner of the docking chamber to meet up with the rag-tag Salarian strike team, where you’ll use your SAM to set them on their way. Hopefully they don’t encounter any more locked doors, right?
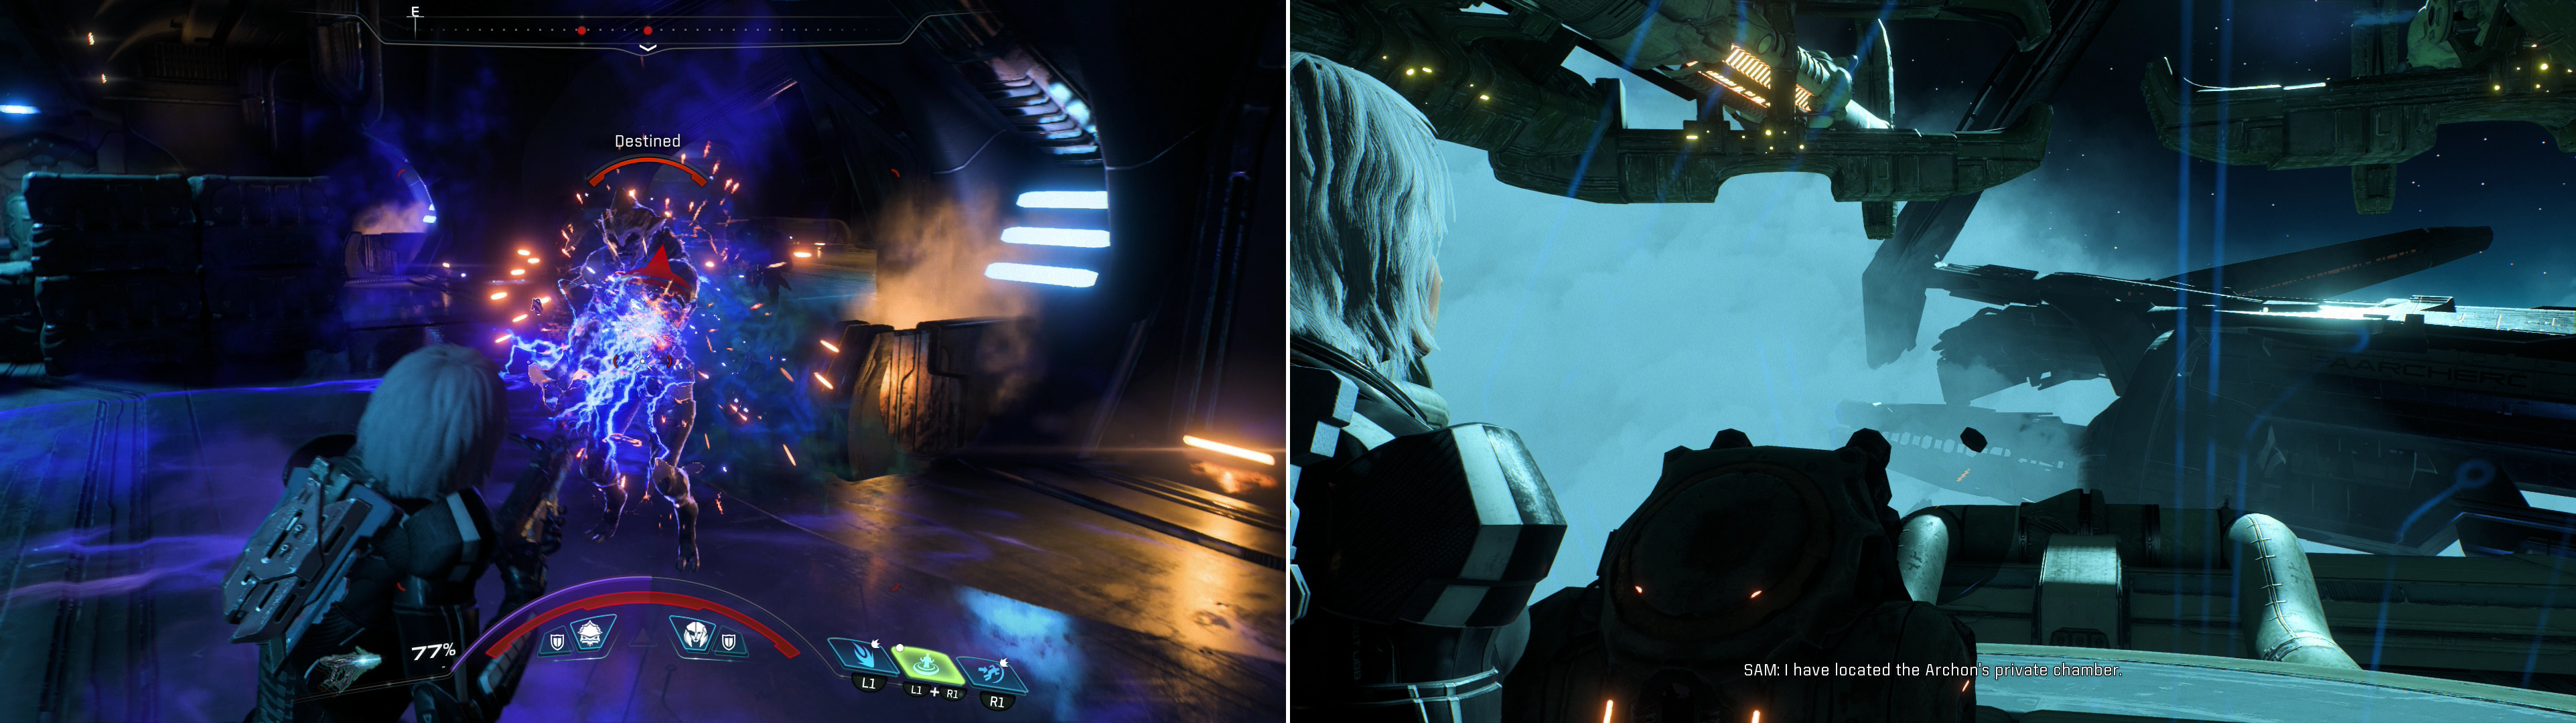
Fight the Kett that greet you when you enter the Kett ship (left) then access a terminal to learn the location of the Archon’s chamber (right).
Head back west and go through two doors to reach an empty armory, where you’ll find a single container to loot, then continue up a ramp and through another door to the west. Beyond this door is the Hangar, and to say its crawling with Kett is an understatement. There’s a ground floor (below where you enter) encircled by balconies which form a middle level, which also connect to a ramp leading to a third floor, so this can easily become a bit of a vertical battle.
You’ll face several Destined, a few Anointed, and plenty of Chosen, but if you’re quick you can largely avoid conflict by making your way to the western end of the room, where a door to relative safety awaits. Failing that you should still seek high ground… if for no better reason than so the Kett can’t fire down on you. The Kett will still have no trouble jumping up to engage you on high ground, but there’s plenty of indestructible cover to be found on the eastern end of the room from which to make a stand.
If you do manage to clear out the Kett, drop to the bottom floor, where you’ll find a container to loot, an Audio Log to listen to, and some Datapads to read. When you’re done plundering, head through some doors on the western side of the room to reach a smaller, less busy chamber. If you went through the doors on the middle floor you’ll find a Kett Core Encryption Tech device (worth 100 Heleus Research Data points). To proceed deeper into the ship, however, you’ll want to go through the doors on the top-most floor of the Hangar (or jump up from the lower level with the lucrative Kett device).
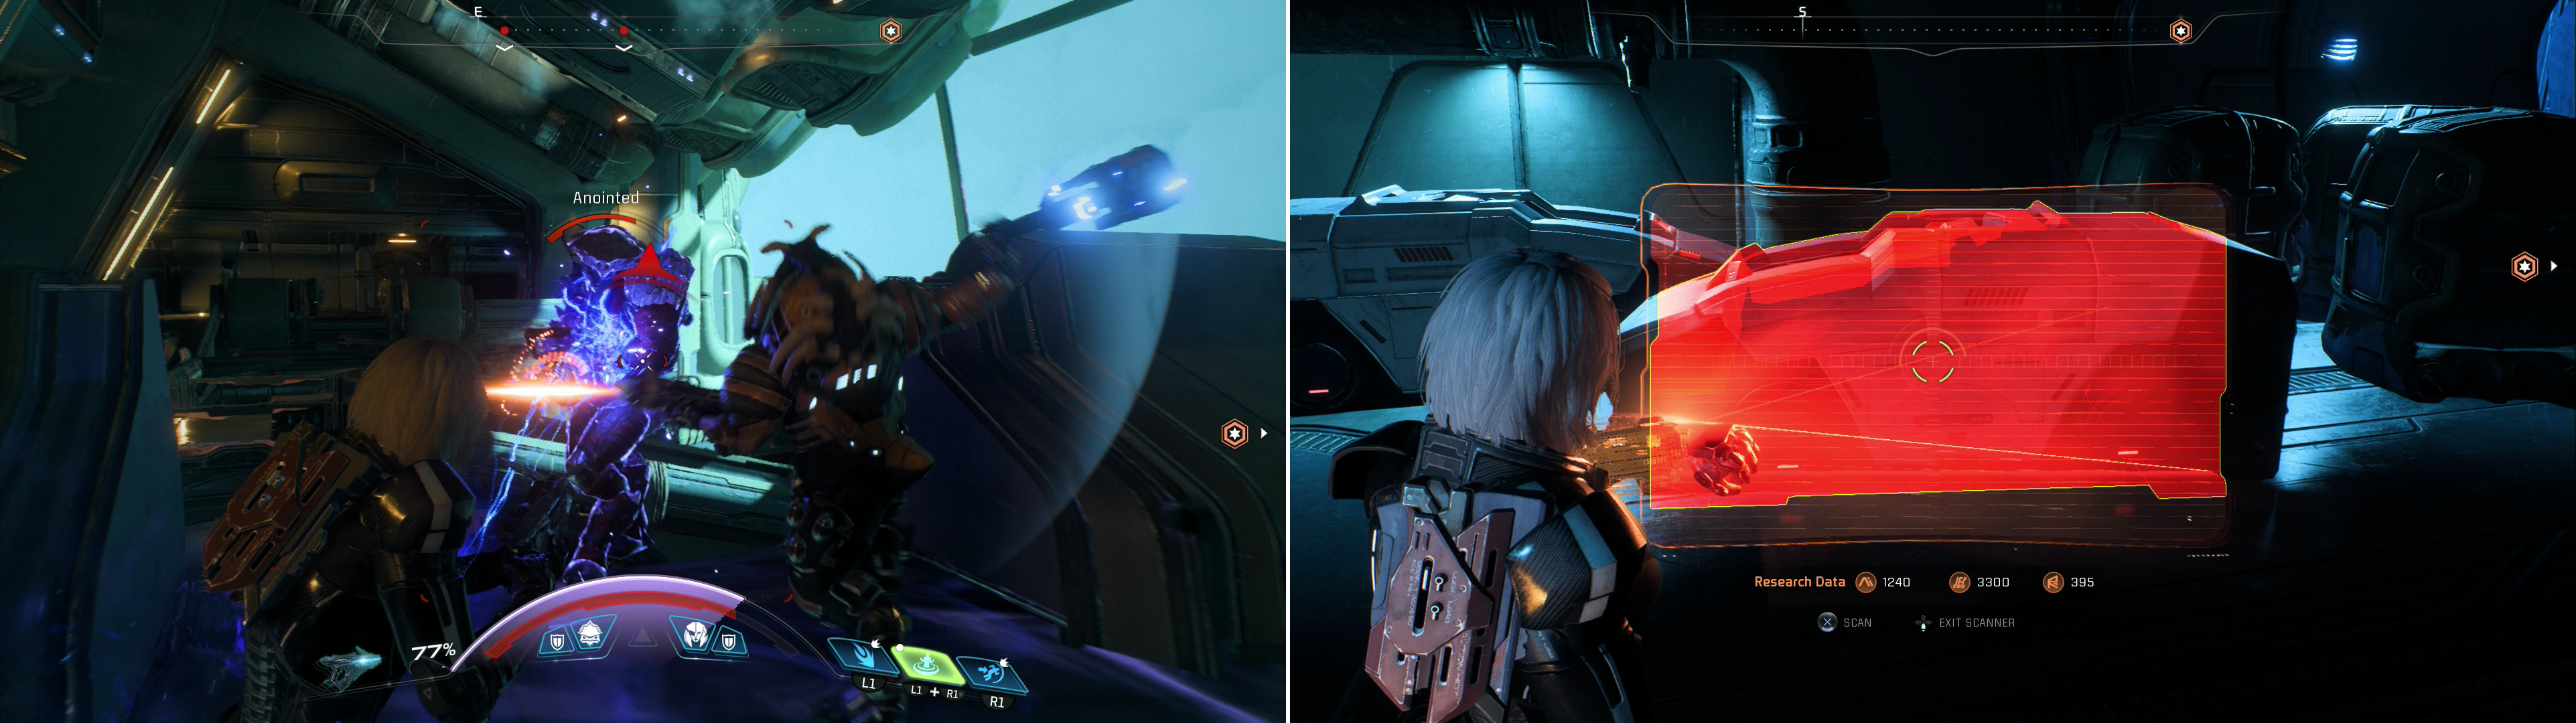
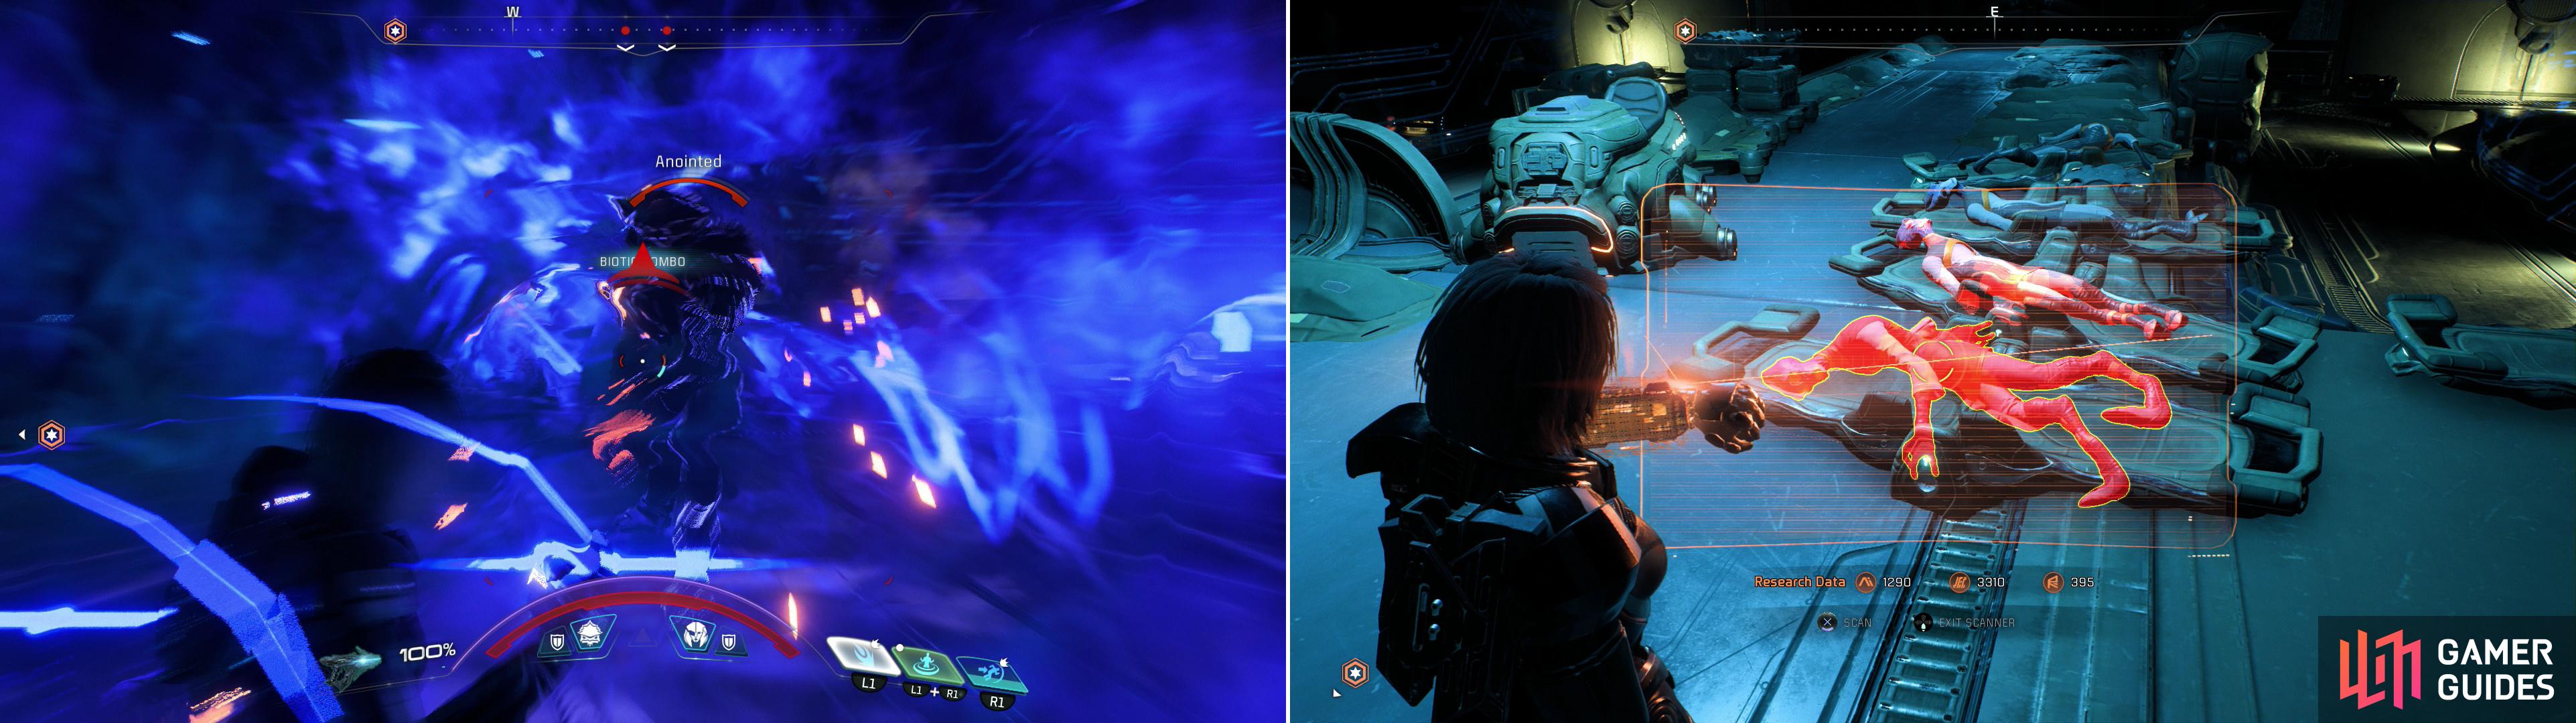
While the Kett in the Hangar are numerous, it’s easy enough to play defensive (left) or avoid them outright. Scan some Initiative Pods (right) only to find that they are devoid of Salarians.
Either way, make your way north through a doorway and turn east to find a Kett Scientist you can kill if you’re quick. Whether the scientist manages to escape or not, loot a container down a side passage, scan two Cryogenic Stasis Pods, then go through a door to the west to reach the Gun Battery. If you thought there was a fight in the Hangar, the Gun Battery puts that to shame. At first, however, all seems clear and your attention is drawn to the flagship’s armaments, which might be a bit of a problem for the Salarian Ark. Make your way west across the room and go through a door… or at least try to. Unfortunately, the Kett are aware of your antics by now, and attempt to thwart you by locking down the door.
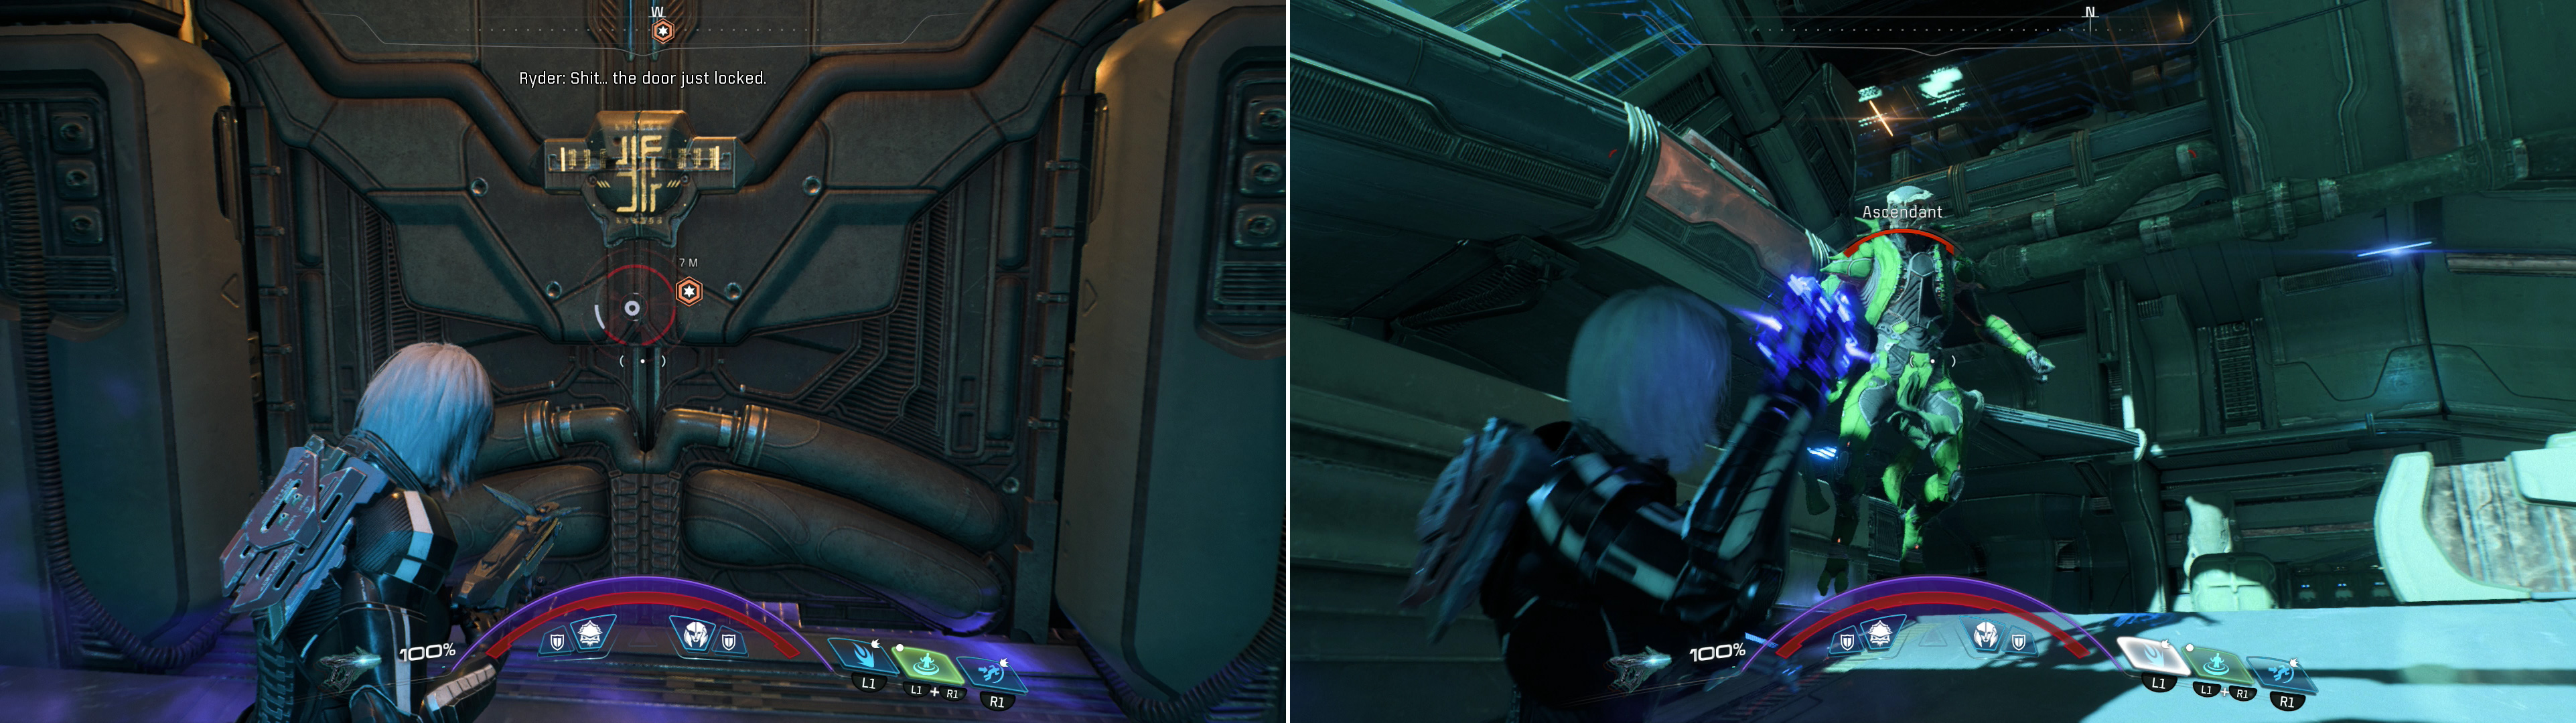
As you attempt to proceed through the Gun Battery, the door out will lock in front of you (left). Fight through a horde of Kett, including an Ascendant (right).
That’s the least of your problems, however, as Kett will start to flood the room behind you. Like the Hangar, this battlefield is comprised of multiple levels, with many bridges and ramps complicating matters. There aren’t any defensive positions quite as strong as in the last room, although again the top-most walkway on the western-most side of the room will serve. Kett can still attack from two directions, though, and aside from holding off the initial assault and whittling down numbers of lesser Kett, a pure defensive strategy is ill-advised this time around, as an Ascendant will join the fray after a few waves of Kett. That’s right, last mission’s boss is this mission’s distraction, and the unnamed Ascendant doesn’t fight any differently than the Cardinal - drop its shield by attacking its orb, then when it’s down attack the Ascendant itself. Don’t go near while the barrier is up, however, as Ascendants can one-hit-kill nearby foes in melee.
Rendezvous with Pathfinder Raeka, who fortunately has a solution for the Kett’s superior firepower (left). To get deeper into the flagship, you’ll need to use SAM to imitate Kett vocalizations (right).
The Verakan - Inner Decks
Kill the Kett, then go through a door to the north, head up a hallway, loot a container, then continue north through another door, where you’ll rendezvous with Pathfinder Raeka. Activate a console to help your Salarian allies out and they’ll discuss a plan for neutralizing the Kett threat. After the chat, head west through a door, loot a container, then continue west through another door to reach some… labs? Loot a container to the north, then head south and turn west through a door. When the Kett attempt to thwart your progress, scan a security device on the wall near the door and use SAM’s workaround to bypass it. Don’t try to fake Kett dialect and simply say “We’re extra security.” and you’ll get right on through.
Beyond the door is the business end of the ship’s laboratory sector. Read a Datapad to the west, then return to the door and head north down a ramp to spook several Kett Scientists. Ignore the egg-heads and activate a console to the north to open a door, beyond which is a container you can plunder. Continue west to where the scientists were to find a Kaerkyn in suspended animation - if you fiddle with a console you can free it, but don’t expect much gratitude from the bug. Continue to the western end of the room and turn south up a ramp.
Slaughter your way through some Kett laboratories (left) where you’ll find gruesome evidence of how poorly the Kett have treated the Salarian colonists (right).
Another laboratory room lies to the west, and unlike the last one, more combat-ready Kett occupy this one. Exterminate them, then head south down a ramp, jump through a circular hole in the wall to the south and loot a container, then drop down a ledge to the west. Here you’ll find numerous pods to scan - both Stasis Pods (Milky Way Research Data) and Exaltation Pods (Heleus Research Data). Scan everything you can, then continue west and jump up a ledge. Turn north up a ramp to find… well, some of the Salarians. Scan all four of them for Milky Way Research Data, then turn east to find another Datapad and a container.
Continue west through a door and kill a handful of Kett to gain a measure of vengeance for the murdered Salarians. After that, turn north and scour the room for two containers before heading through a door to the west, where you’ll finally gain a face-to-face audience with the Archon.
The Verakan - Central Laboratory
After an unwilling donation to the cause of Kett science and a bit of a near-death experience you’ll be free to continue through the Kett ship. It’s a good thing villains are so stupid and arrogant, as you’re now free to explore the central lab at your leisure. No cameras to warn him of your escape? No armed guards to ensure you wouldn’t remain a threat? Nothing? Guess all those Chosen have better things to do.
To the north is a large Holding Tank you can scan (near which is a container), while to the east you’ll find some operation tables with Deceased Salarians on them, and Audio Logs near them. More Audio Logs - these ones featuring the Moshae - can be found to the west. In the sealed-off eastern end of the chamber you’ll find a container, two Audio Logs and a Kett Core Encryption Tech device you can scan.
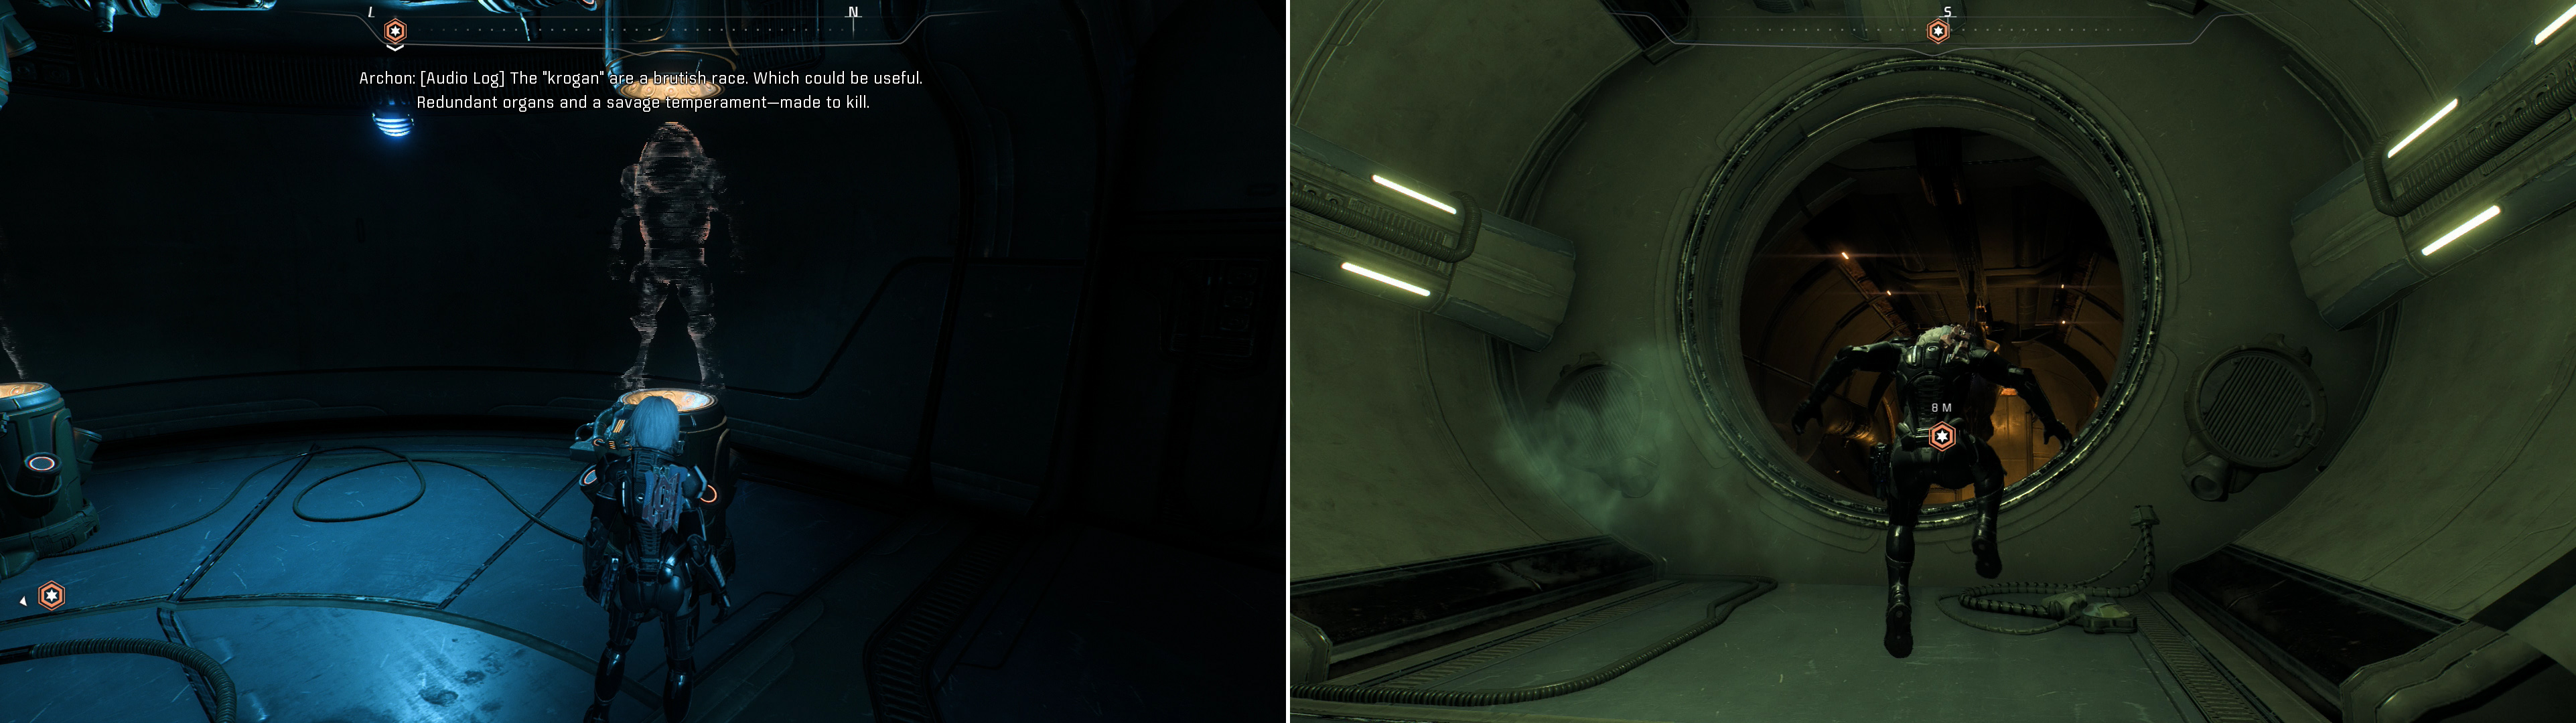
Examine some displays to witness indisputable evidence of the Archon’s plans for the Milky Way races (left) then leap into a circular entrace leading to the maintenance tunnels (right).
Return to the central section of the lab and note that there are two hallways to the west, each with a container in it. Both also house a door the leads to a western chamber, in which you’ll find a container, a Datapad and consoles that display every member species of the Initiative… and what they intend to harvest from each one. Not a good sign. Interact with the terminal to the east, then return to the central chamber and look up to the south, where you should notice that a circular hole has opened in the wall. Jump up there, go through the hole, then drop through another hole in the floor.
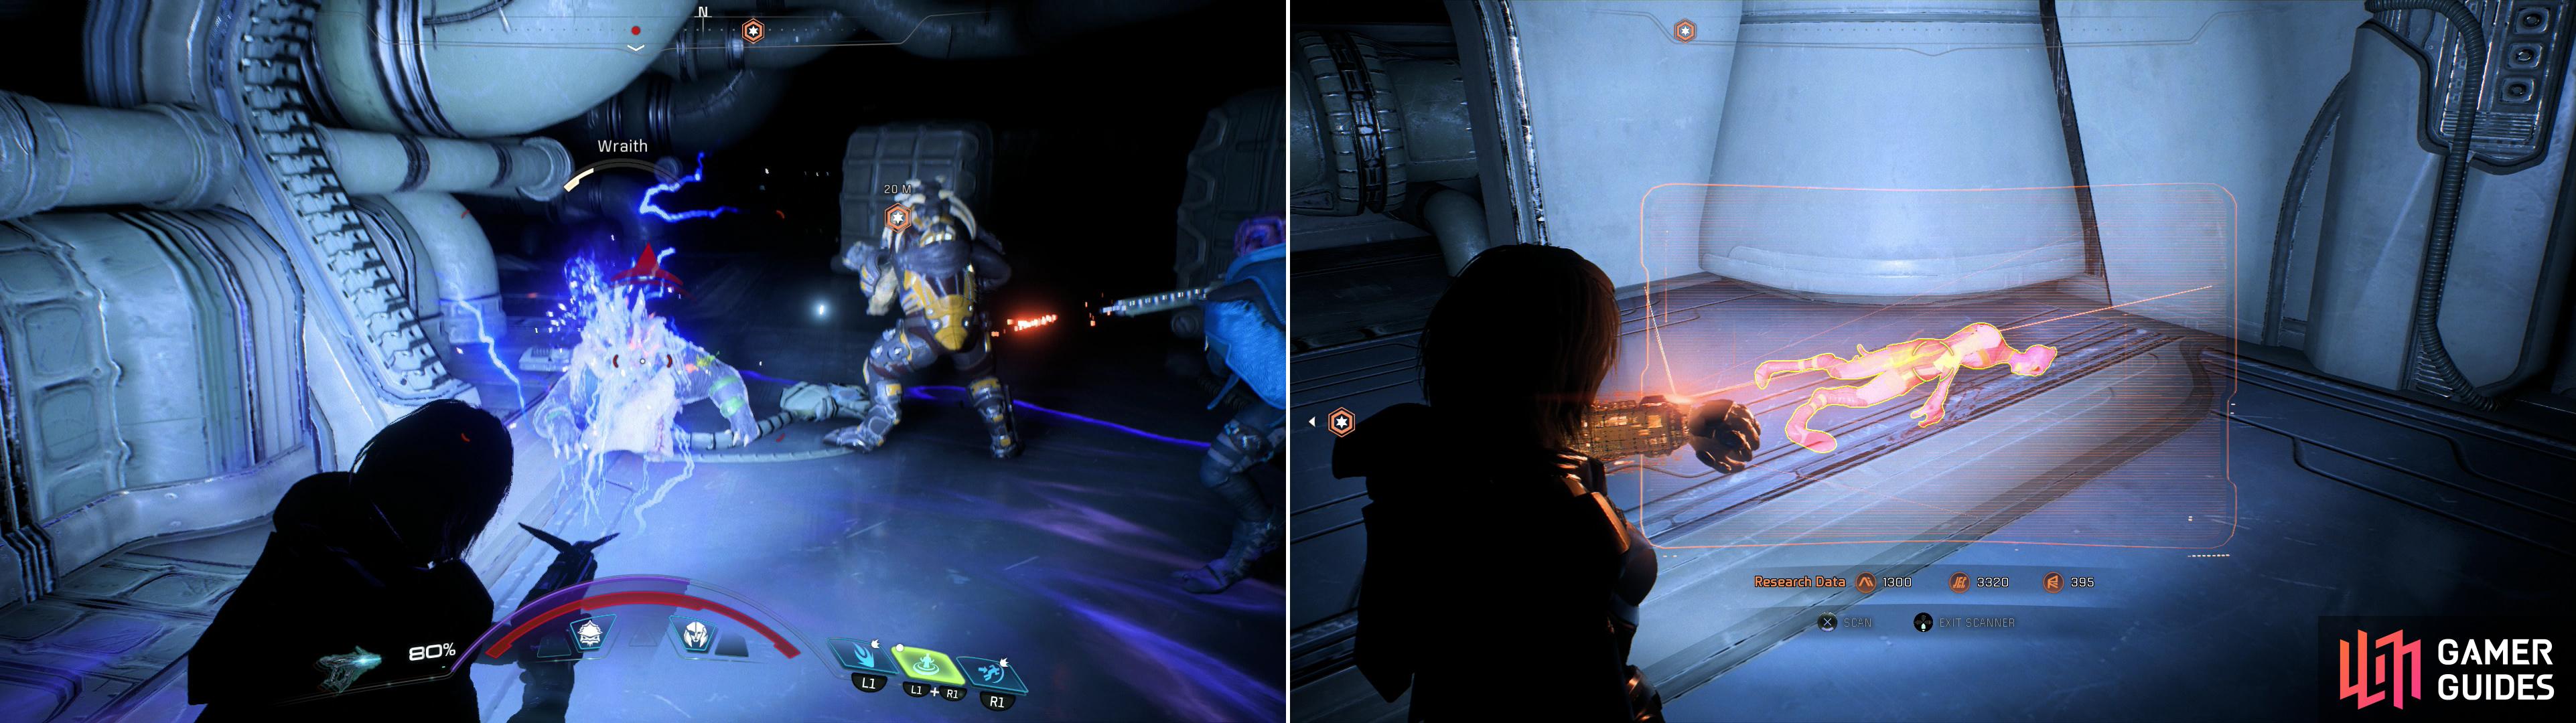
Kill the Wraith in the maintenance tunnels (left) then examine the Salarian it preyed upon (right).
The Verakan - Maintenance
When you land in the maintenance tunnel turn west and jump through another hole, then drop down a ledge to the north. Continue west through a watery chamber (there are Stasis Pods in the water you can scan, but they give no Research Data), jump up onto a ledge, then loot some containers. Turn north and go through a doorway, loot another container, then go through another doorway to the north. In this chamber you’ll find a Wraith, which was apparently sent into the maintenance tunnels to hunt down an escaped Salarian. Scan the Deceased Salarian for some Research Data, turn west and jump up onto a ledge, then turn north and jump through a circular hole in the wall to exit the maintenance section.
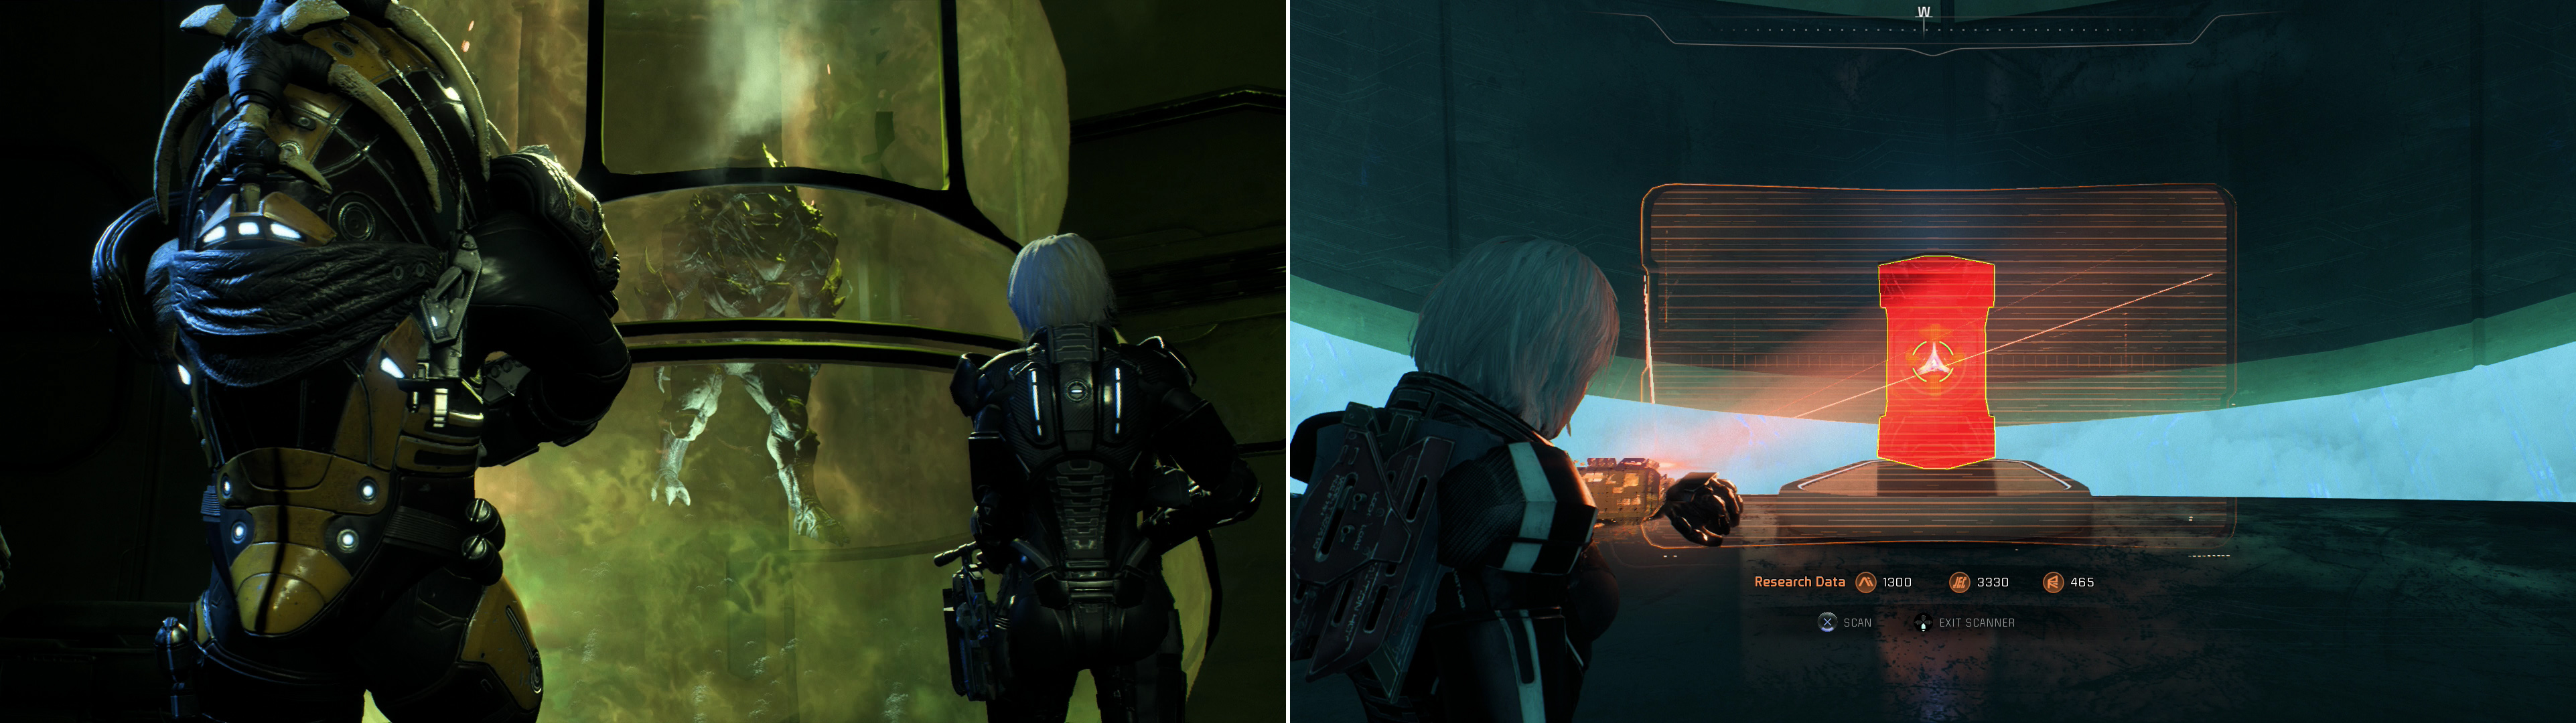
Near the Archon’s chamber you’ll find proof that the Kett have made dreadful progress towards exalting the Kett (left). There’s plenty of ruined Remnant artifacts in the Archon’s chamber, but you’re looking for an intact artifact, which holds the information you need (right).
The Verakan - Archons Chambers
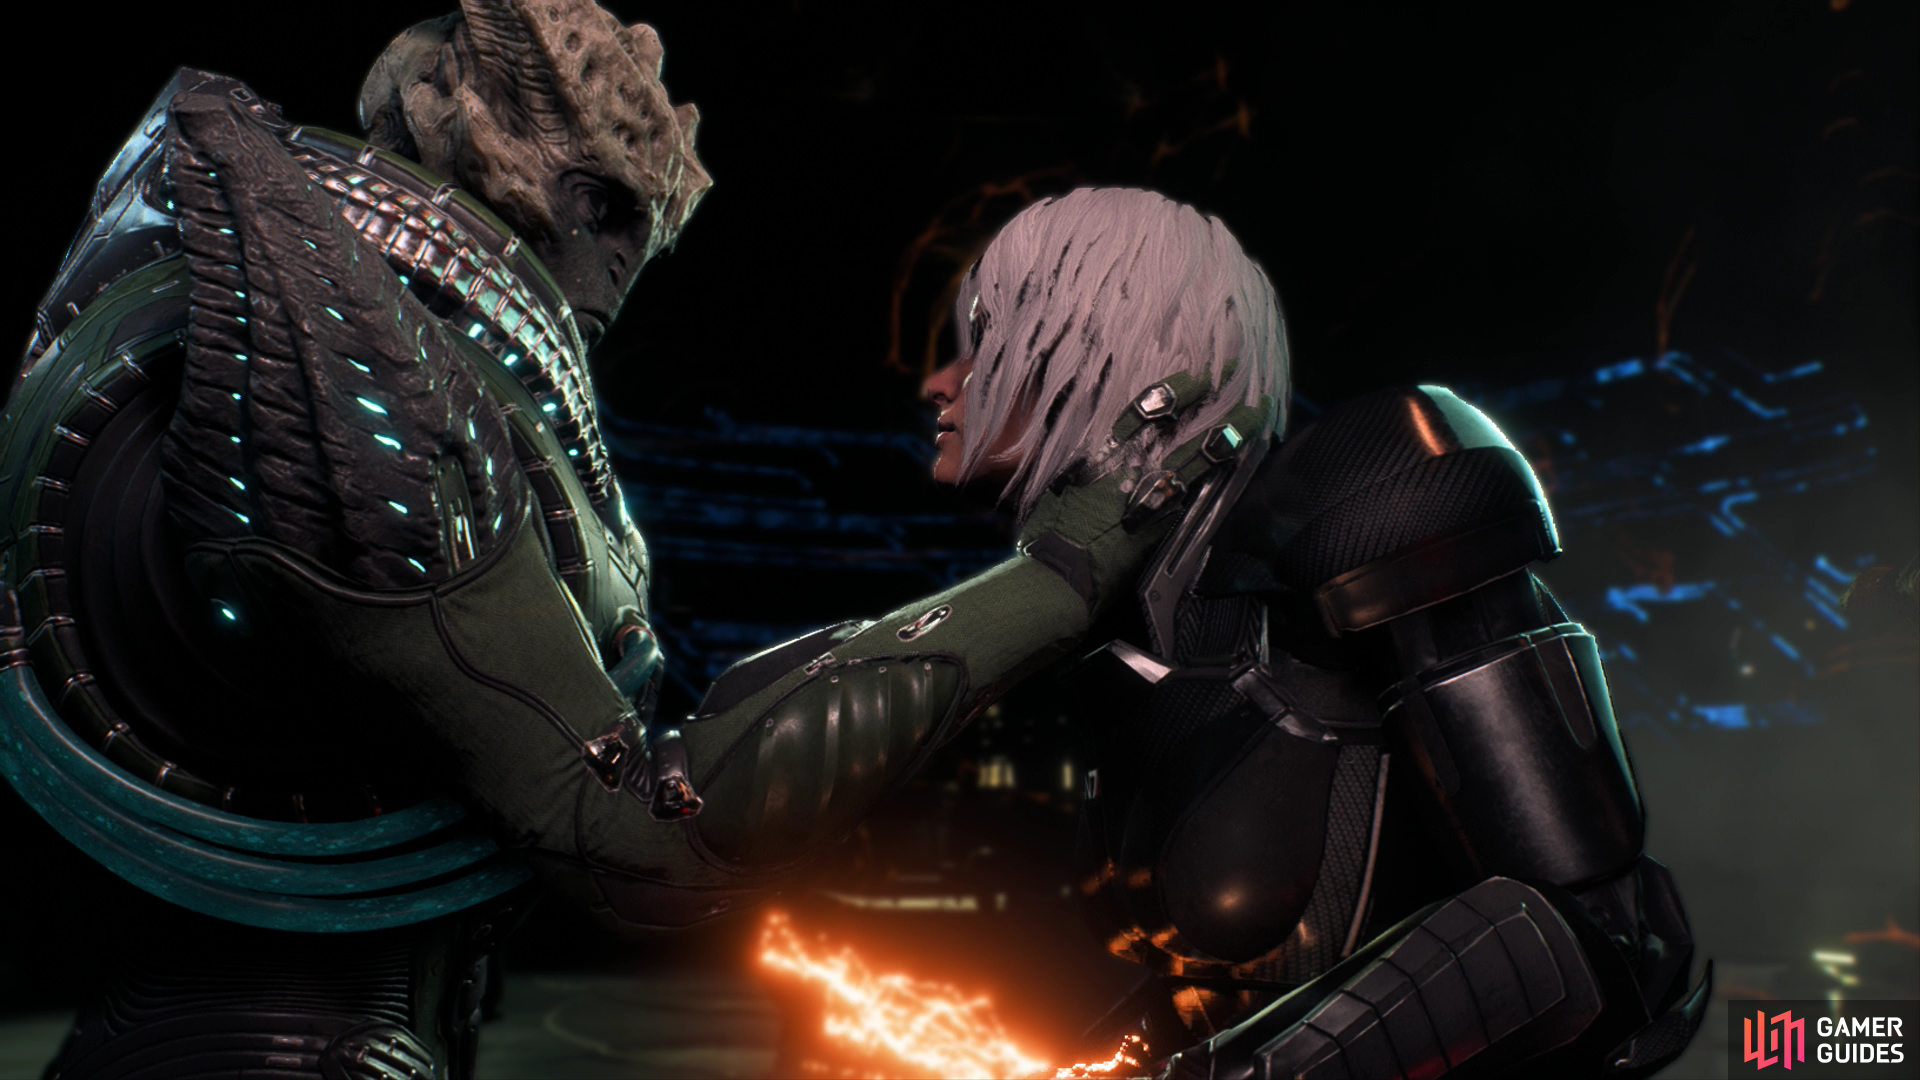
Go through a door to the west to reach a chamber where you’ll find two containers. Loot them, then continue through a door to reach another lab, where you’ll witness the Kett’s most recent experiments. Having exalted Krogan on their side is definitely not a promising development. On the plus side, you’ll find yourself in the Archon’s chamber shortly afterwards. There are plenty of floating Remnant devices you can scan, although most of them are busted. The one you’re looking for, if you don’t care to scan around, is the intact one at the far western end of the ship. There’s plenty of Remnant Research Data points you can gain from scanning, however, as well as a container to loot on the southern side of the room, and a Kett Core Encryption Tech device to the north.
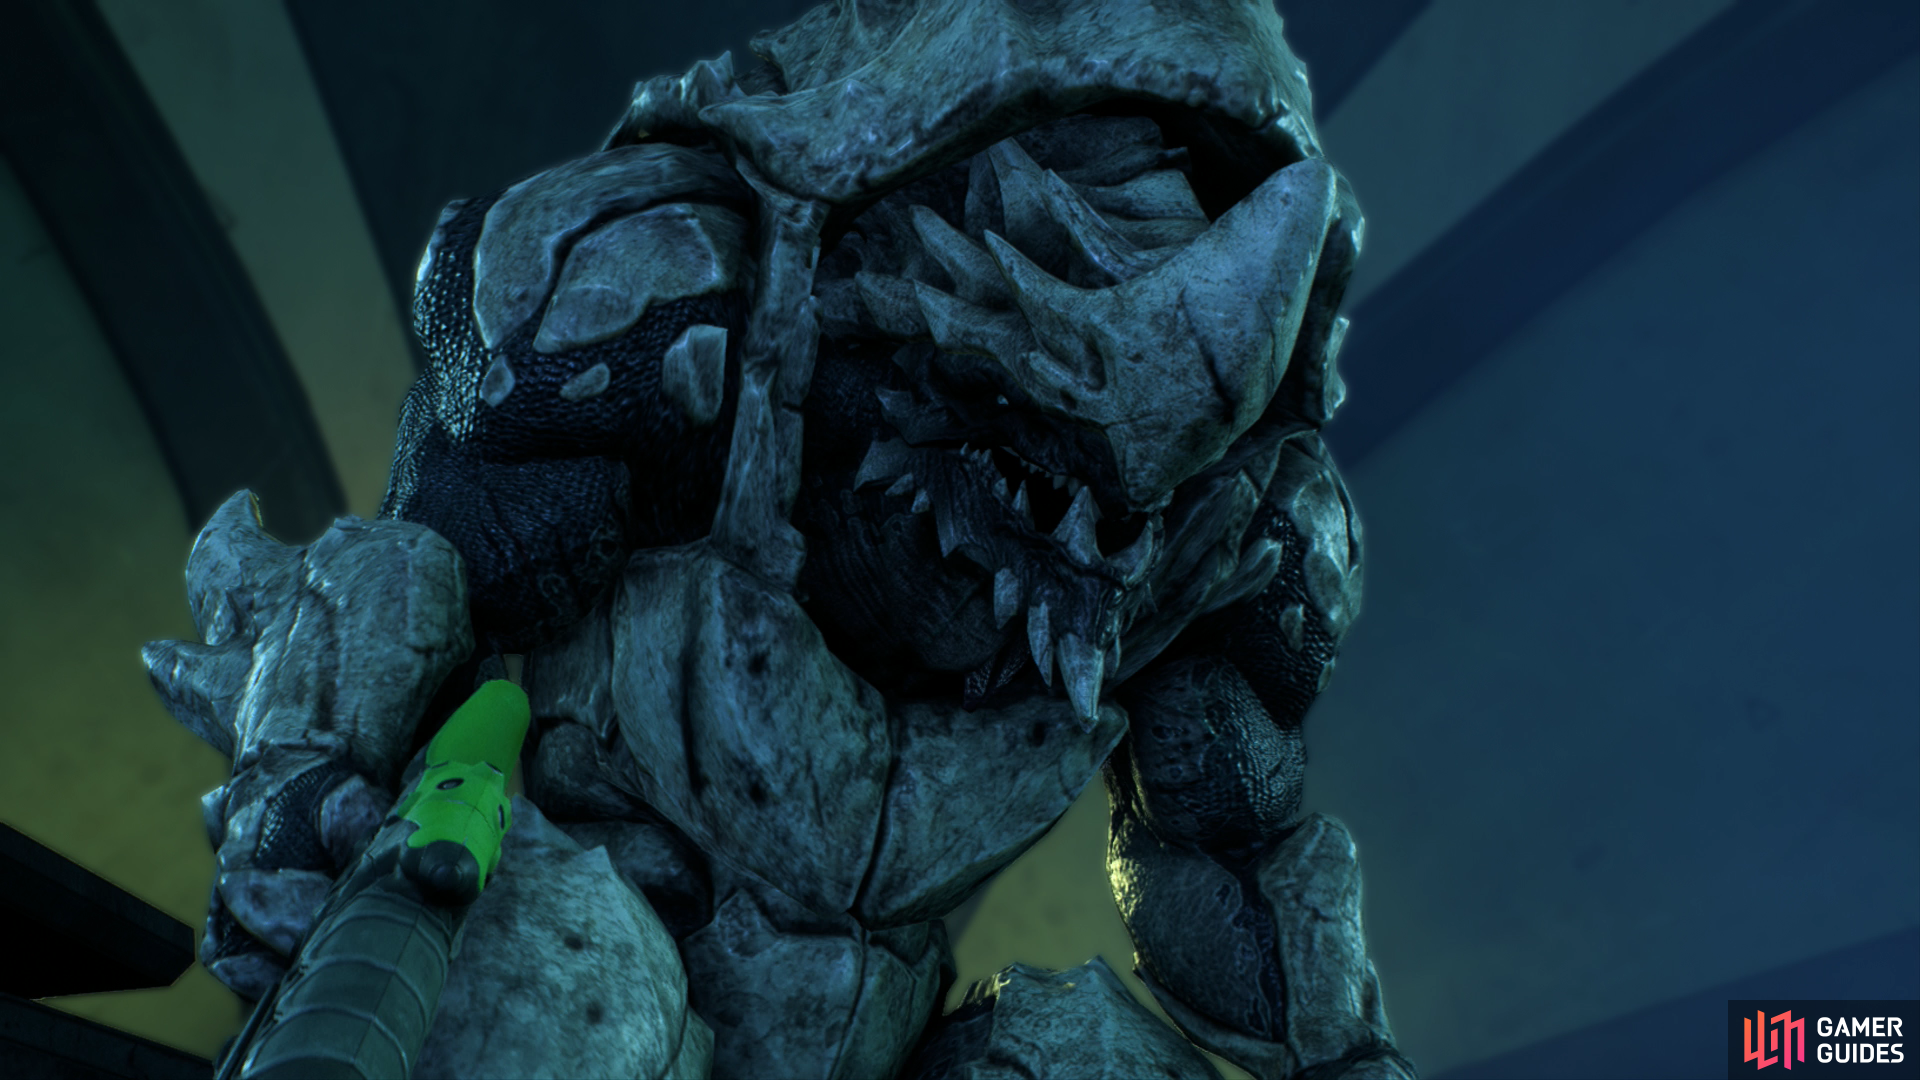
Boss Battle - Behemoth
Scan the Remnant Relic on the western end of the room, then examine the Relic to gain the intel you need. Unfortunately you’re not the only one who notices what you’ve discovered, and after some chatter with a hologram Ryder will play her trump card. Unfortunately the EMP has some unintended side-effects, and you’ll end up having to fight a Behemoth - a semi-Exalted Krogan.
The Behemoth is an armored Krogan that’s more noteworthy for its durability than anything else. It’ll charge, it’ll perform melee attacks, and it’ll shoot persistent energy orbs from its gun that linger at their destination, dealing continuous damage if you stay within them. It’s also joined by intermittent, small squads of Kett, but all in all, it’s nothing you should have much trouble with.
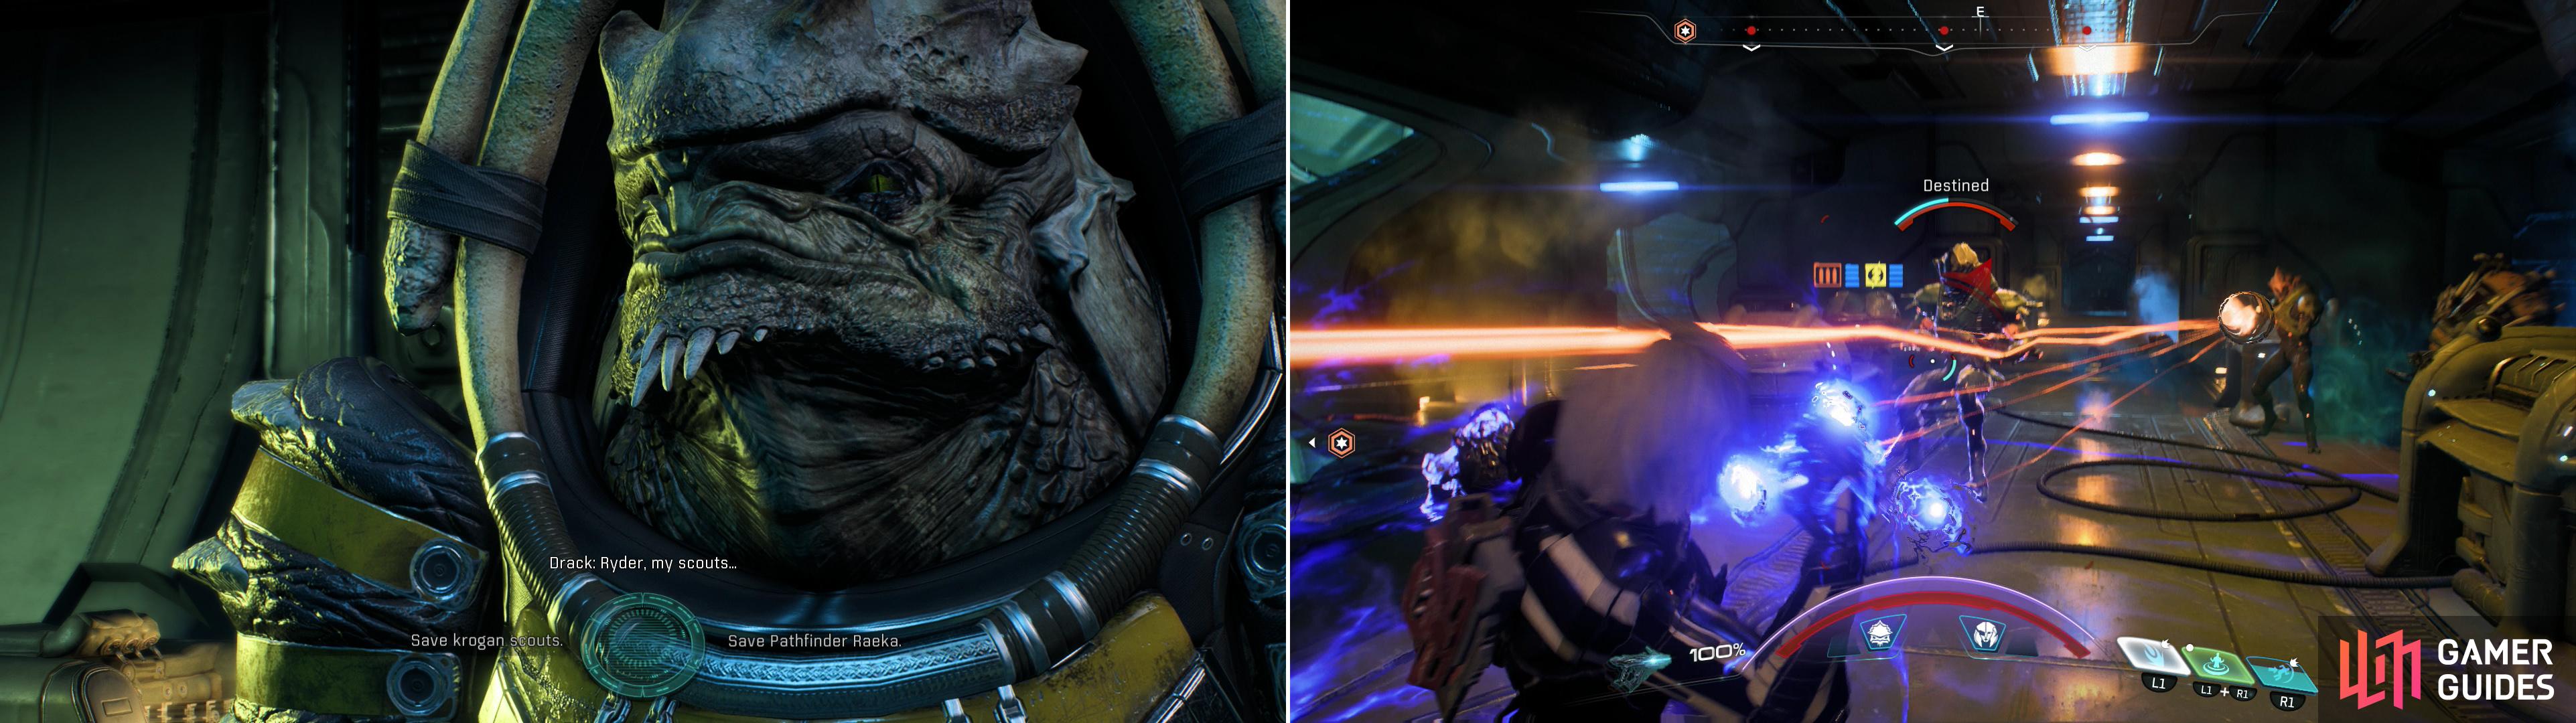
After leaving the Archon’s chamber you’ll be presented with two rescue options - you only have time for one (left). Either way, you’ll have to fight through a mass of Kett, including another Ascendant (right).
The Rescue
Head east through the Archon’s chamber and exit the room, whereupon you’ll be told of some developments; some of Drack’s scouts were captured and some point, and are scheduled for exaltation. Shortly afterwards - entirely coincidentally, of course - you’ll be contacted by Pathfinder Raeka, who apparently has landed herself in a difficult situation. You’ve got enough time to rescue either the Krogan scouts or Pathfinder Raeka, but not both. If you save the Krogan, you’ll frustrate the Kett’s goal of advancing their exaltation techniques, hence you won’t be dealing with any more Krogan Behemoths. The Krogan are also in a more precious political situation with the Nexus, not to mention a difficulty breeding situation due to the genophage, and the fact that they don’t have their own Ark. On the other hand, a Pathfinder is a terrible thing to waste, and Raeka’s loss could set the Salarians back tremendously, even if she doesn’t have her AI.
The part ahead is similar no matter what choice you make - you’ll have to pass through a laboratory area crawling with Kett (Chosen, Anointed and Destined), after which you’ll find another, large group of Kett, which includes another Ascendant. Exterminate the Kett in your way and free whichever group you went after. After they’re free you’ll escape to the Tempest, where Drack will be considerably more angry than his Salarian counterpart would have been. Oh well. Politics is rough. The 1,000 AVP you’ll get for completing the quest should help sooth over whatever political or moral doubts you may have.
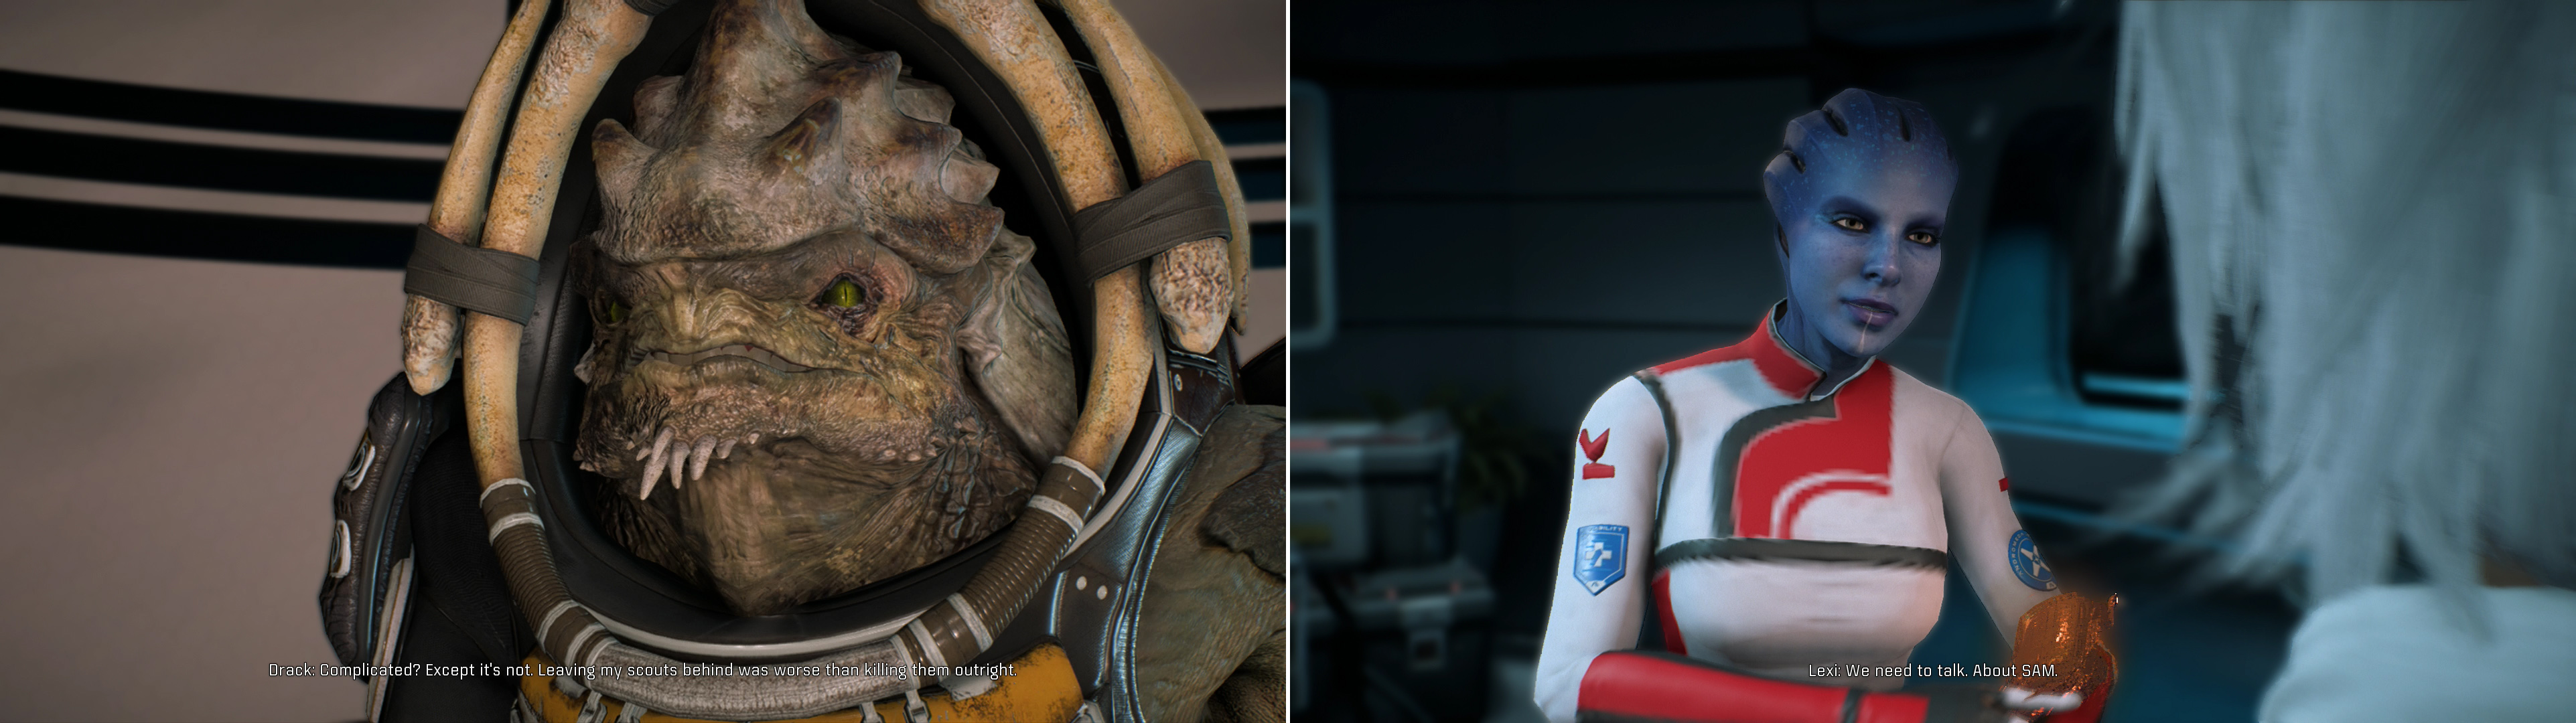
Drack’s reception will be either warm or frosty, depending on your choice during the rescue mission (left). Lexi’s concerns about the mission are somewhat more professional (right).
Tempest After the Flagship
You might think that after your encounter with the Archon, your near death experience, and everything else that occurred on the Kett flagship that your crew might be chatty. A few of them have some things to say, sure: Suvi will share a drink and complain about inevitably running out, Lexi will throw a fit about your incident with SAM on the flagship and Drack will complain bitterly if you didn’t do his bidding.
A number of your crew will reach out to you via Email, but all in all, there are notably few quests at this point. More will be unlocked shortly, after you visit the Nexus again, but there’s one quest you can complete for Jaal before returning to the Nexus, the subject of which he hints at via the Email “A Communication Concerning Movies”. Other than that, the Moshae’s Email “Wisdom” starts the quest “Task: The Witnesses” and Gil’s Email “Come Meet Jill” starts (or rather, advances - this quest begins as soon as you return to the Bridge) the quest “Gil Brodie: The Friend”. Finally, if you’ve been keeping up Keri T’Vessa you’ll get the Email “Keri’s in Trouble”, which restarts “Task: Path of a Hero”.
In addition you should now have access to the Shojaon system, the Togessan system, the Faross system, the Skeldah system, the Kindrax system and the Dar’Hegah system. You know the drill, travel, scan and probe your way to more minerals, salvage and XP. These systems and their anomalies will be covered in the “Space Exploration” section of the guide.
No Comments