
Probing the Scourge
When you’re ready to start hunting for Meridian again, talk to Suvi, who will make a pointless analogies in case you forgot that she’s supposed to be the romantic scientist. Fortunately more rational people step in to flesh out her plan - to predict Meridian’s location, you’ll need to know more about the Scourge, and by comparing your original star charts to current ones - along with some gentle probing - you might just be able to make a predictive model.
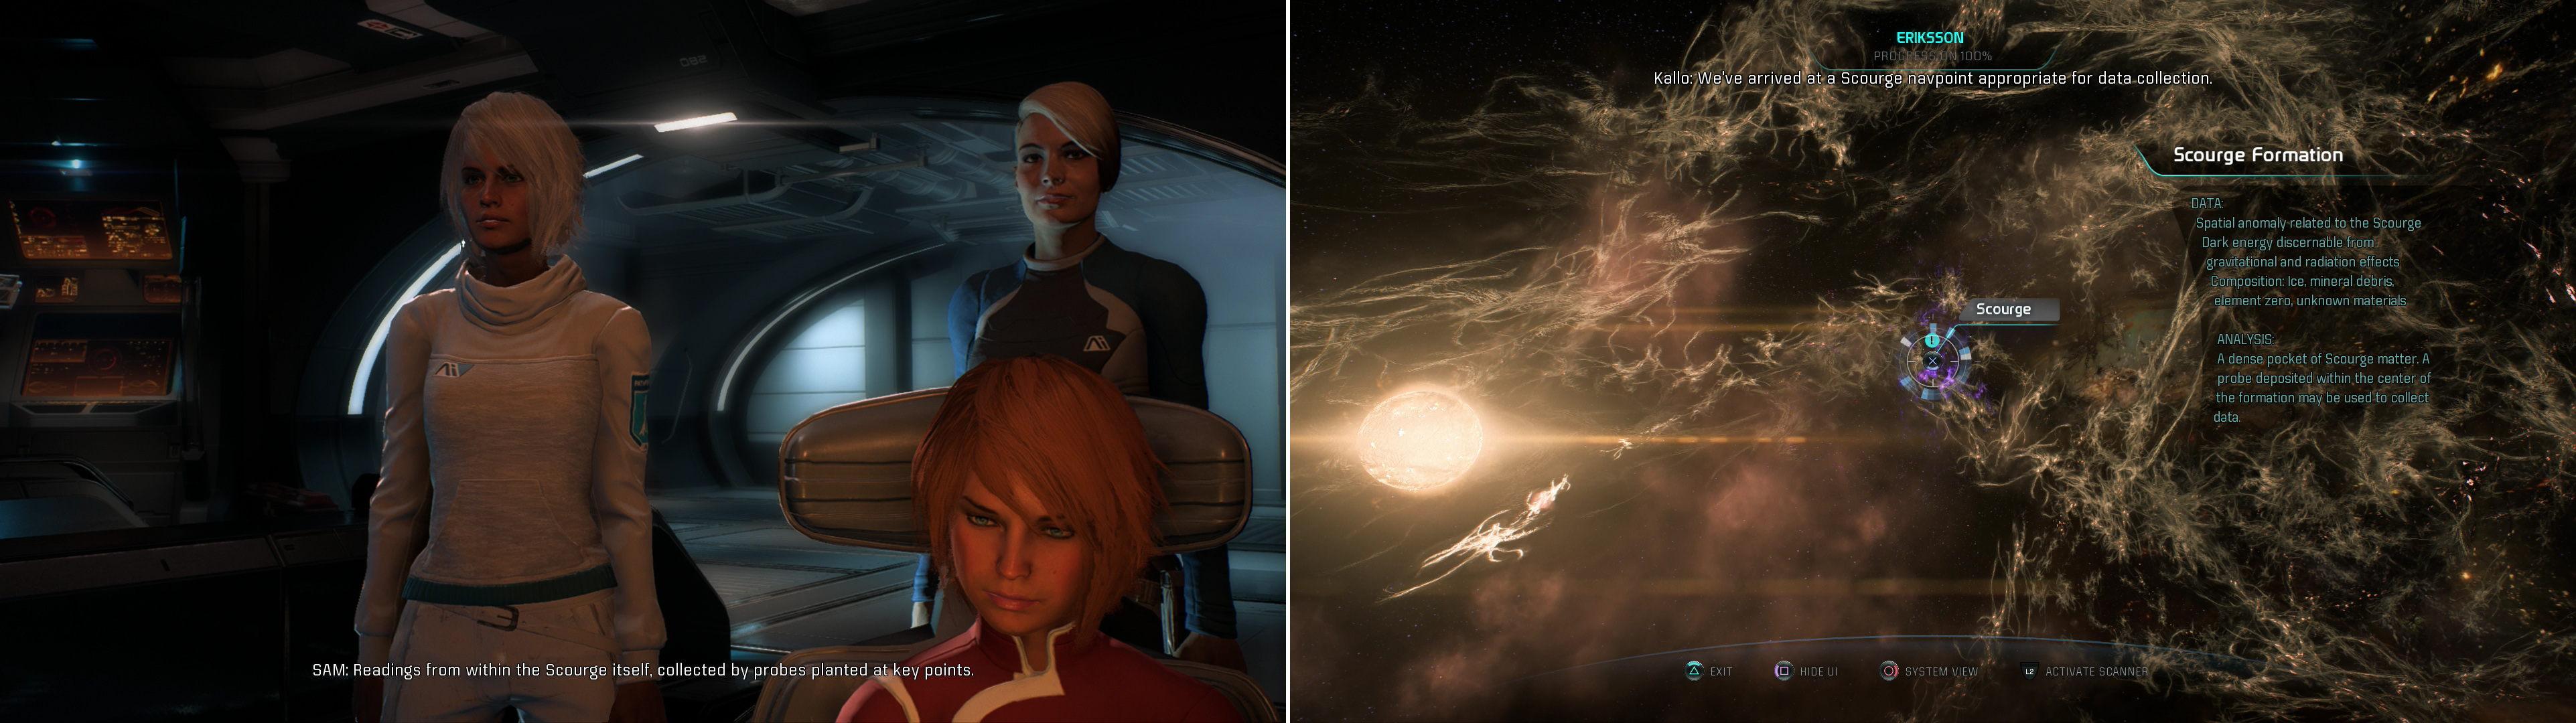
Discuss the next step with part of your crew (left) then set about putting their plan into action - probe the Scourge in three systems (right) to narrow down Meridian’s location.
Time to start hunting some Scourge! Your goal now is to visit three systems and probe their Scourge clusters. The candidate systems are Rohvir, Hefena, Vaalon, Eriksson, Civki, Kindrax and Skeldah. The ones you choose don’t really matter, just as long as you get three. You should know the drill by now - press [L2]/[LT] to scan for anomalies, then press [R2]/[RT] to send a probe. Once the anomaly is charted, fly over to it and interact with the Scourge to gain some XP and advance the quest.
Once you’ve probed three Scourge clusters, return to the Tempest and interact with a previously unused console behind Kallo to examine the Scourge Data you’ve collected. After some chatter, you’ll get your next objective: travel back to the Civki system, return to Khi Tasira, the Remnant City.
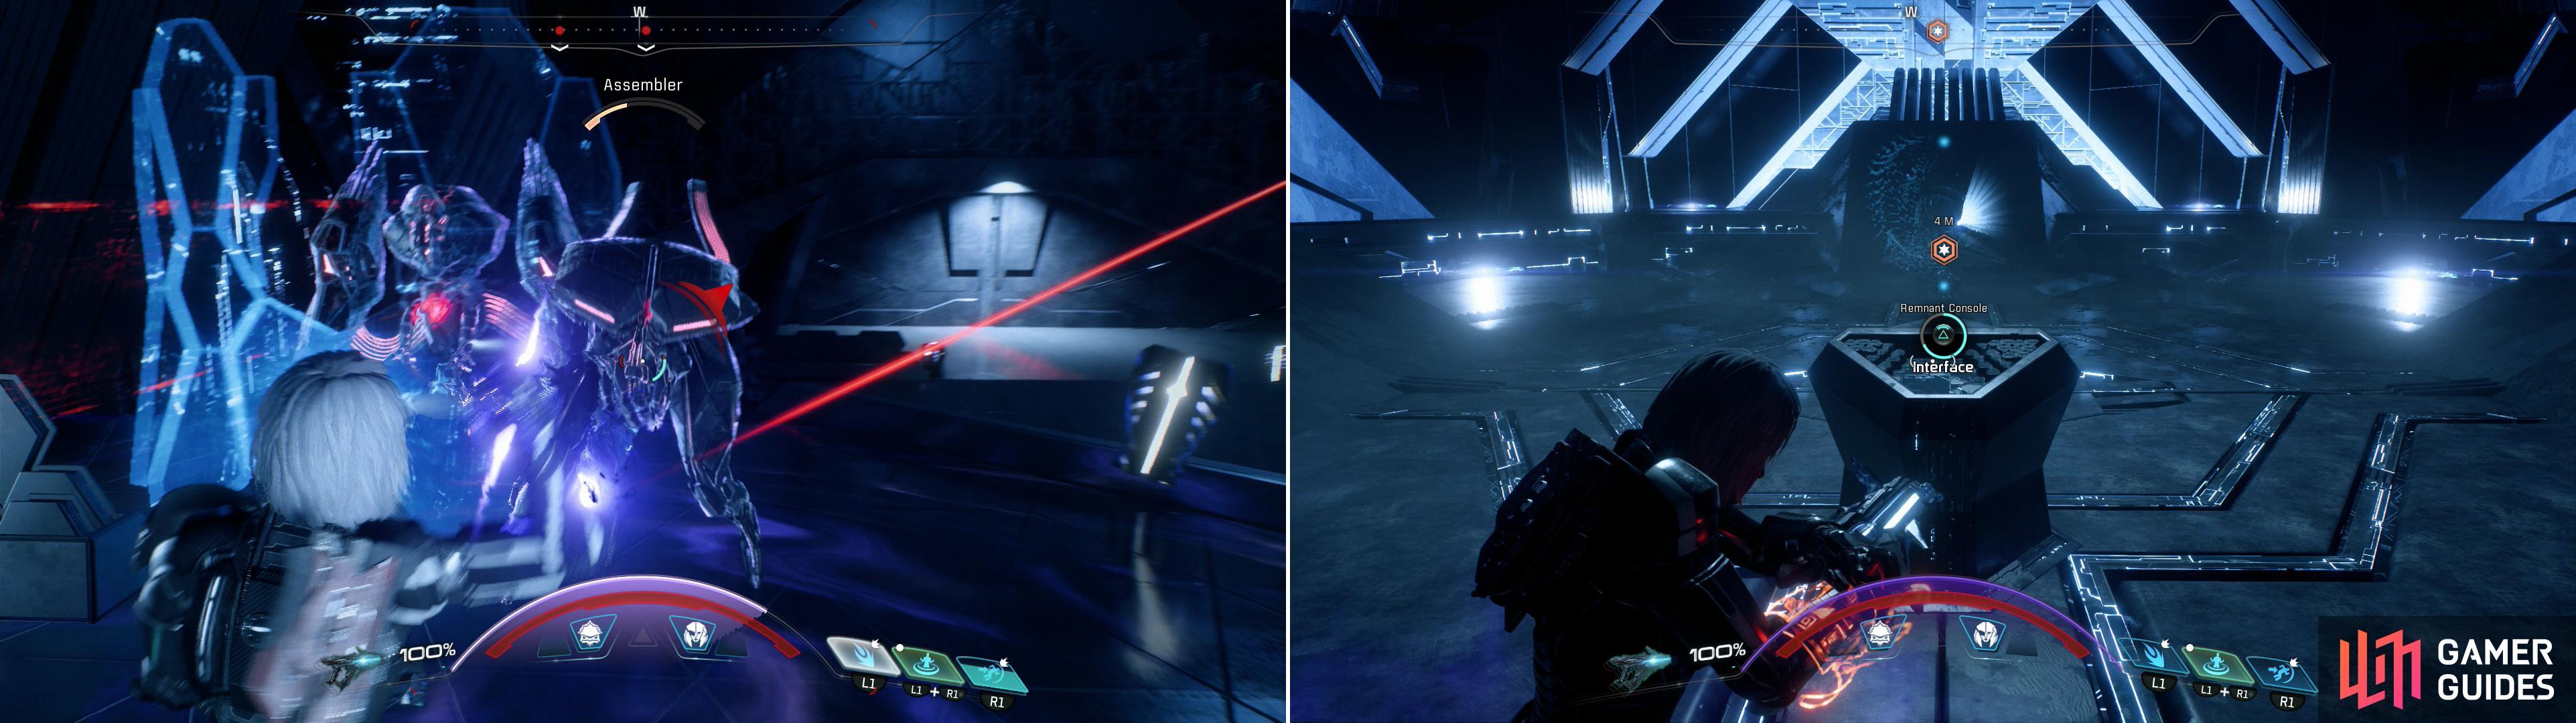
The Remnant will put up a stiff defense (left), fight through them and launch a Remnant ship (right).
Back on Khi Tasira
While the majority of Khi Tasira was thought to be tamed on your last visit, this sector apparently is on its own grid, and plays by its own rules. Basically, don’t be surprised if the Remnant here are hostile. When you’re in control of your character in the Remnant City turn south to find a container to loot, then head up a ramp to the northeast and loot another container. Next make your way west and go through a door to reach another chamber.
Continue to the western end of this room, where you’ll encounter some Remnant resistance. Right now you’ll only be pestered by Nullifiers, Assemblers and Observers. Destroy them, then make your way to the western door. Turn east down a ramp to find a container to loot, then carry on to the west through the door. Beyond, in the third chamber, lies a Remnant Console that promises great things - and delivers.
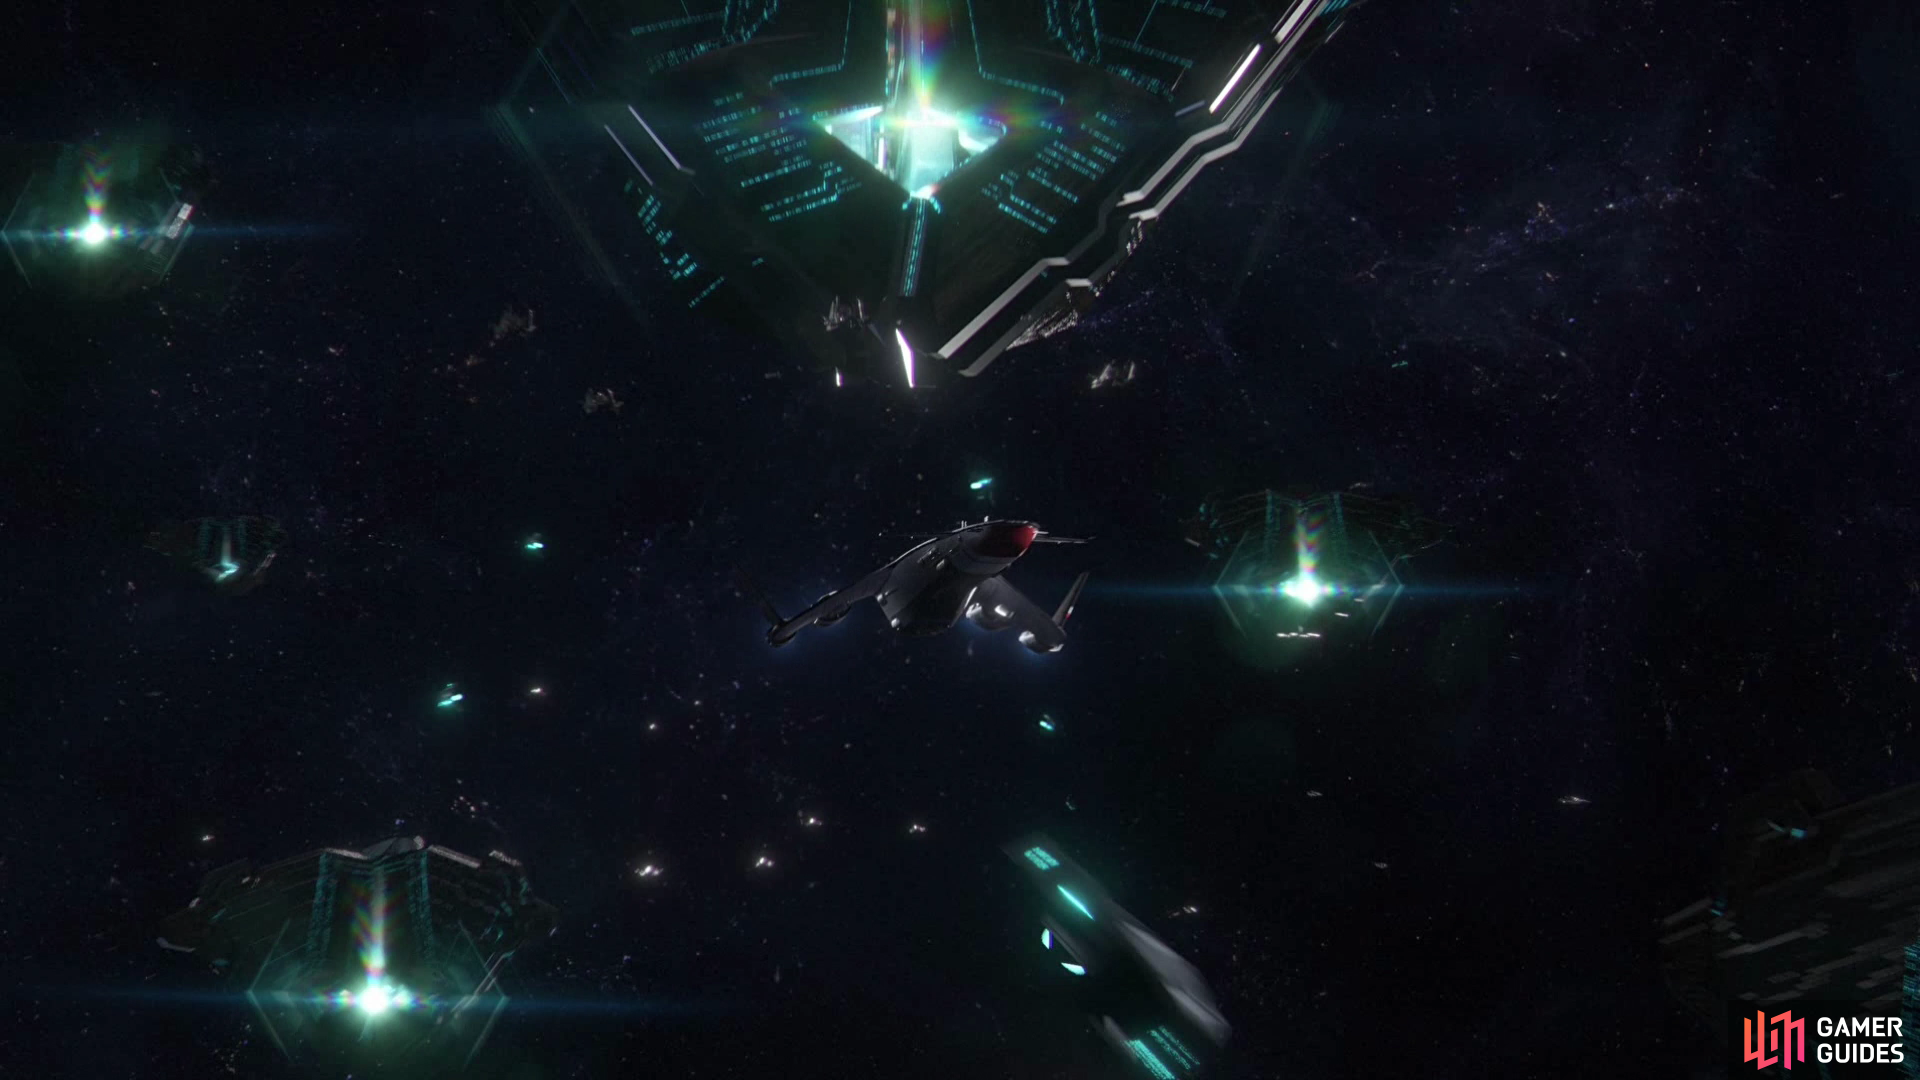
Unfortunately, nothing in life can ever be that simple. Would make for a rather dull end-game anyways. The Archon snatches victory from your grasps, does the typical villain monologue, reveals the injection you were given back on his flagship might have been worth examining more closely, and can’t help but tell you his ultimate plan.

As your sibling, fight through the Kett on the Hyperion (left) then reactive the QEC Relay to save the Pathfinder (right).
Sibling Savior
Back on the Nexus you’ll find yourself in control of Ryder’s sibling. Continue west through the panicked station as SAM explains what’s going on. Go through a door, secure a weapon - a Phalanx pistol and an Omni-Blade. Eh… they’ll have to do. Continue through a door to the west and kill two Kett Chosen, a task that’s somewhat more difficult with your sibling than with the Ryder you’ve been playing the rest of the game as.
Go up some stairs and open another door to the west, score an ammo box and health box in the hallway behind, then head west through another door to find more Kett Chosen to kill. After they’re dead, Captain Dunn will give you some sound advice, after which jump up through a door to the west, go down a hallway and exit out another door. Head down some stairs and pass through two more doors.
In the next room turn north and you’ll see a large group of Kett in the distance, who are being held off by some Initiative members. Don’t bother wasting your ammo on the Kett here, continue north beyond the barricades through Kett fire and go through a door to the west to reach the maintenance access tunnels. Follow the linear tunnel and exit out into a hallway, then cross through another door to the north to find a QEC Relay Terminal. Give the terminal a reboot and watch the scenes that follow.
You just can’t seem to stop dying. When you’re back in control of Ryder, interface with a Remnant Door console. Third time’s the charm… with the door, anyways. Not so much with the whole dying trick you like to play. Return back east through the Remnant city and listen to some comm chatter between Ryder and the Tempest crew, then activate a Gravity Well and continue east through a door.
Back outside you’ll regroup with the Tempest crew, who argue amongst themselves while Ryder, for once, takes decisive action on their own. Give a little speech, summon your allies, then return to the Tempest one last time. Take a final tour of the Tempest and chat with your allies, then head to the Bridge, select your loadout, and prepare for the final battle. After some scenes and some more banter with the Archon, the fleet battle will begin, after which both Ryder and the Archon will raise the stakes.
The Battle for Meridian
When you’re in control of the Nomad on Meridian, drive south, then west, cliffs be damned. The route is largely linear, you can’t get out, and not much can really hinder the Nomad, to just drive, listen to chatter, and watch the fleet battle around you. Near your destination the Nomad will finally be damaged, forcing you to get out and make the rest of the run on foot. Naturally, your attempt won’t go unopposed, as numerous Kett ground troops await you. Most of the enemies you’ll face here are Chosen and Anointed, but you may come across a Behemoth, depending on who you saved on the flagship. Expect the Kett to be periodically reinforced via dropship, but also don’t be surprised if some help shows up on your side, as well.
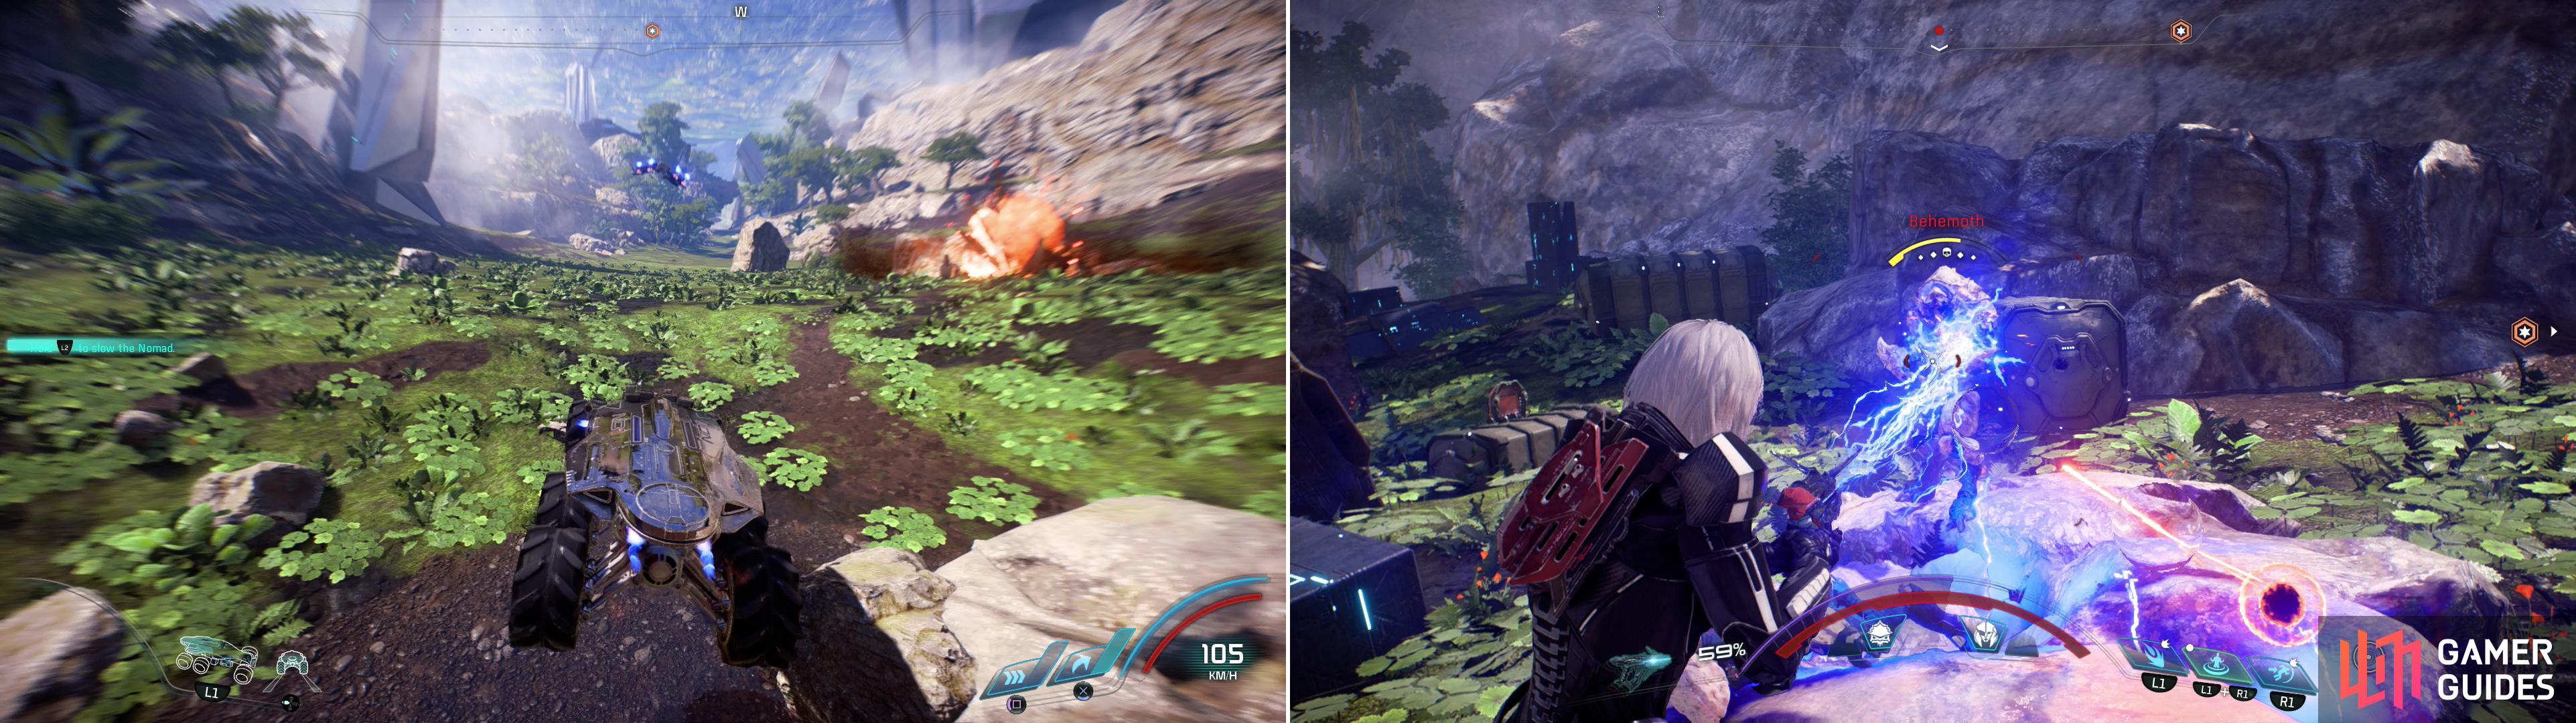
Race across the surface of Meridian on the Nomad (left). When your trusty steed fails you, fight your way through the Kett blocking your way (right).
Fight through the Kett and open a Remnant door. After a scene you’ll be inside a Remnant structure - interface with a Remnant Console then ride a Gravity Well. After your ride, loot a container to the north, then continue deeper into the Remnant installation by heading south, then east. Kill a squad of Kett, then continue south into a more open area.
Turn west and you’ll find some allies fighting Kett. The two groups are separated by a gap, but if you continue west you’ll find a ramp connecting the two platforms. Expect to initially face Chosen, Anointed, Destined and perhaps a Behemoth, as well as reinforcements of Chosen. Try not to get over-extended, either, as Remnant Assemblers will show up, and the if you’re too aggressive you could find yourself surrounded. When all the Kett and Remnant are defeated, continue south down another ramp, pass through a chamber dominated by a square pillar, then interface with a Remnant Console on the walkway beyond.
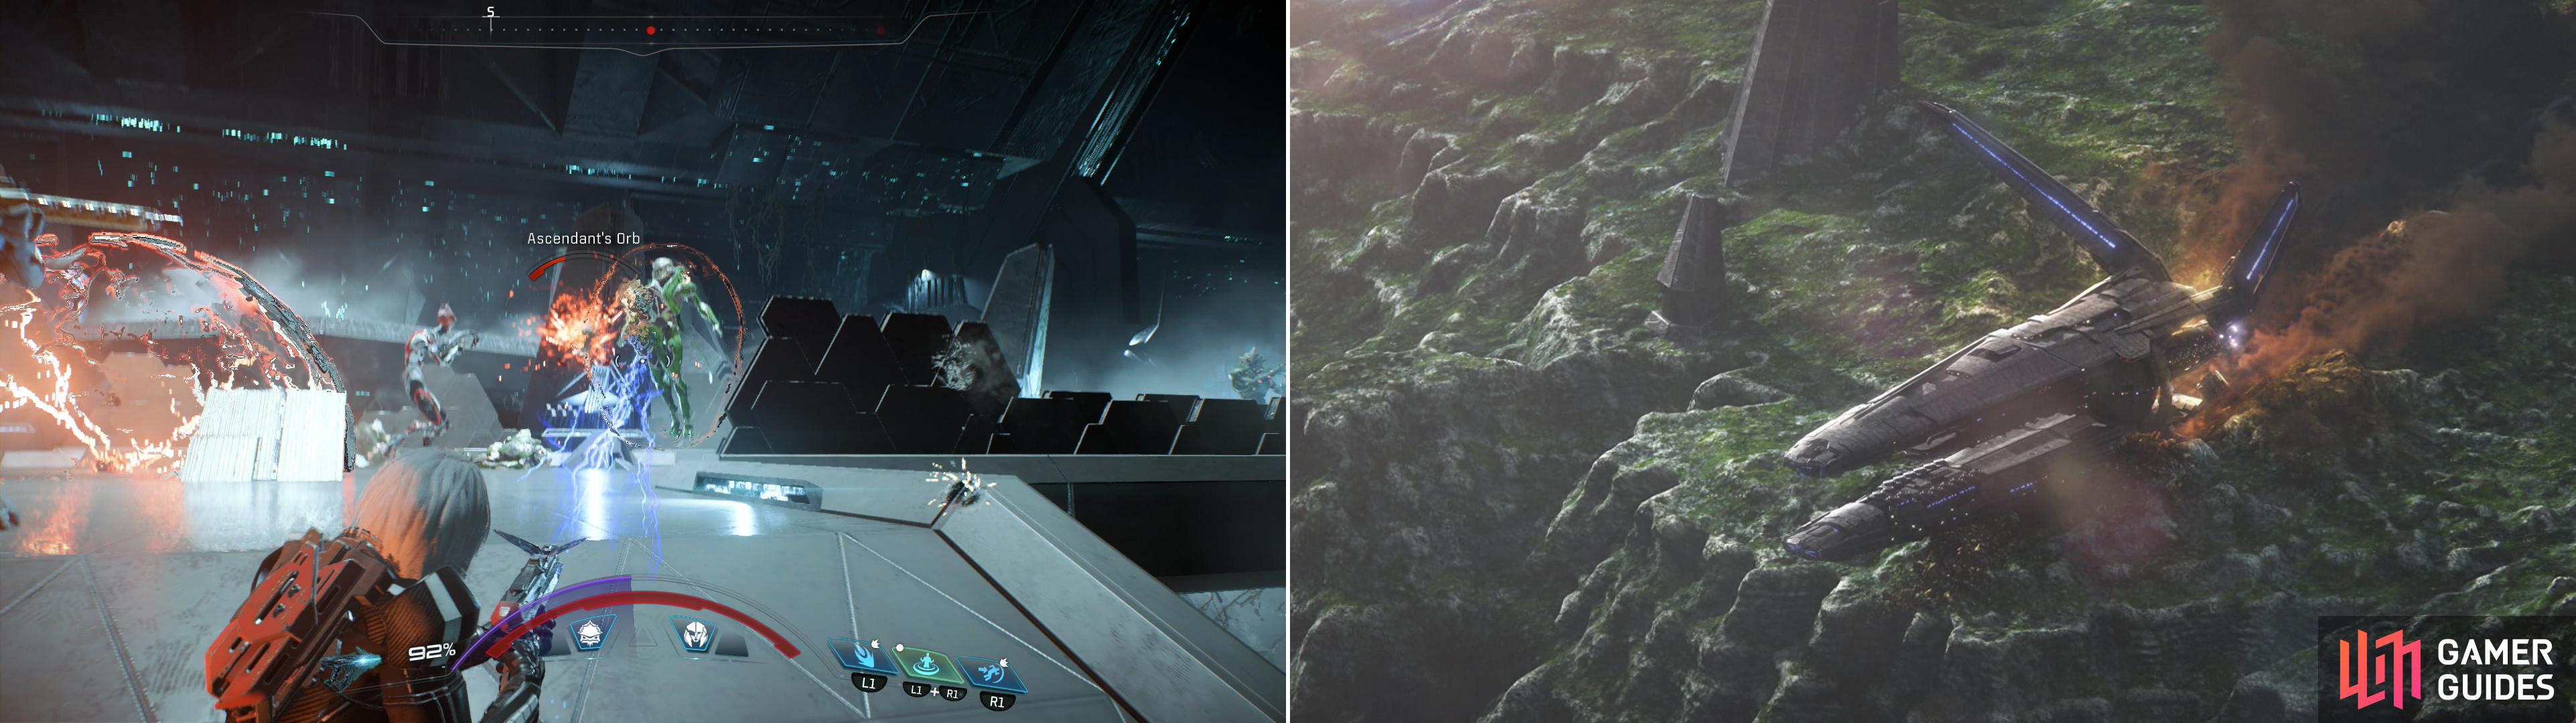
Cross the bridge you deployed to the east, continue south through another pillar-chamber, then activate a second Remnant Console to deploy another bridge. Make your way west across the second bridge, turn north to find a container, then head south through a third pillar-chamber to find another massive host of Kett. You’ll face the obligatory Chosen and Anointed, which are led by a Kett Ascendant.
Don’t take the bait and rush up the ramp to the south, as it’s only an invitation to be flanked by Anointed while trying to stay away from the Ascendant. The Ascendant is usually prone to being overly-aggressive this time around, which is a good thing for you, as it’ll likely over-extend and leave itself isolated and vulnerable. Pick off whatever lesser Kett come near the top of your ramp and don’t be afraid to rush back north to the pillar-chamber if you need to get a breather, as thinning the herd will only make it easier to bully the Ascendant. To this end, keep an eye on your compass, note the enemy markers, and exploit whatever ramp you need to reach - and exterminate - stragglers.
Once the Ascendant is dead, mop up the lesser Kett then search around for containers (found in pillar-chambers up ramps to the east and west), enemy drops, and item boxes and health boxes, if needed. When ready to press on, continue up some ramps to the south and pass through a doorway.
Draw the Ascendant out into a vulnerable position (left), then strike. The fall of the Hyperion raises the stakes even further (right).
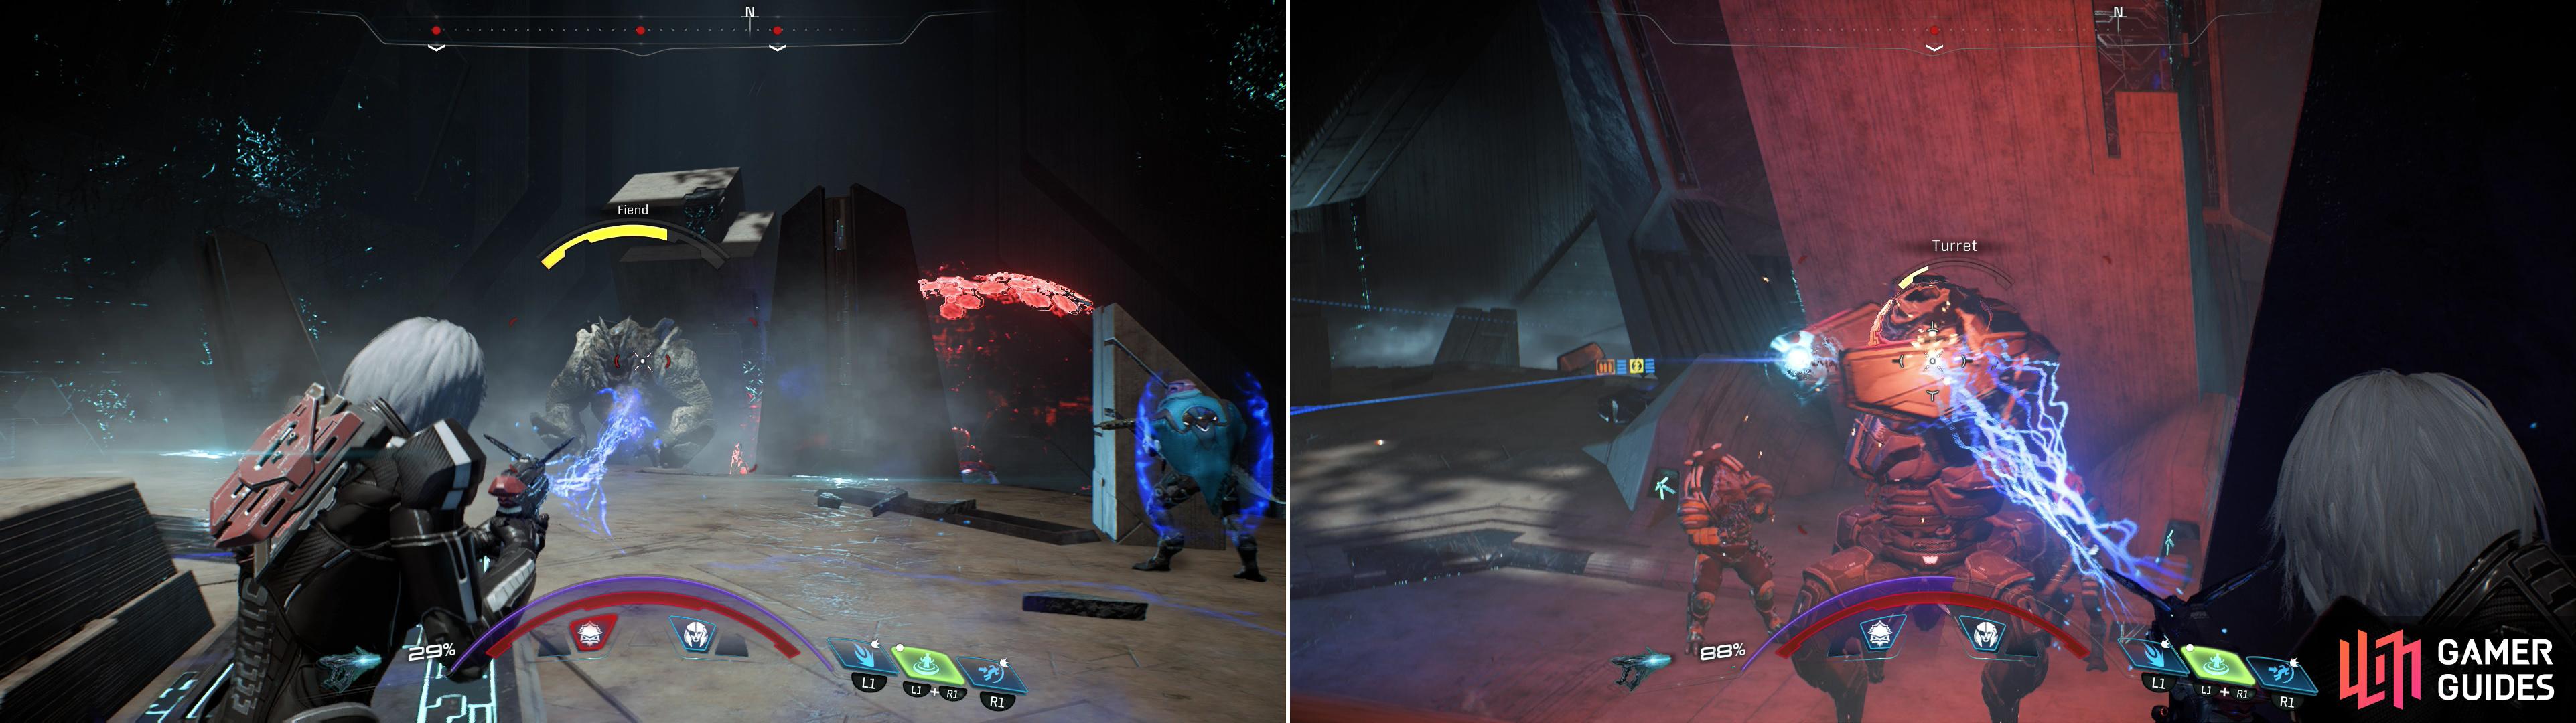
Watch the fate of the Hyperion play out - looks like humanity’s found a home on Meridian, whether they like it or not - the continue south through another doorway to find a chamber full of Kett. The Kett consist of Chosen, Anointed, Destined, and a pet Fiend, and they occupy the high ground to the south. Before long, a Remnant Destroyer will join the fray, complicating matters further. It’s best to dispatch as many of the lesser Kett as you can quickly, before they can cause trouble when you’re trying to deal with the bigger foes. The Fiend will likely pester you throughout this process, and since it’s faster and more melee-oriented than the Destroyer, you’ll probably have to deal with it next. Try to ensure the Destroyer doesn’t have line of sight to you while you eliminate the Kett, after which the isolated Destroyer shouldn’t prove too much trouble.
After clearing the lesser Kett out, lure the Fiend away from the Destroyer and to its doom (left). Once isolated, the Destroyer can be relatively easily destroyed (right).
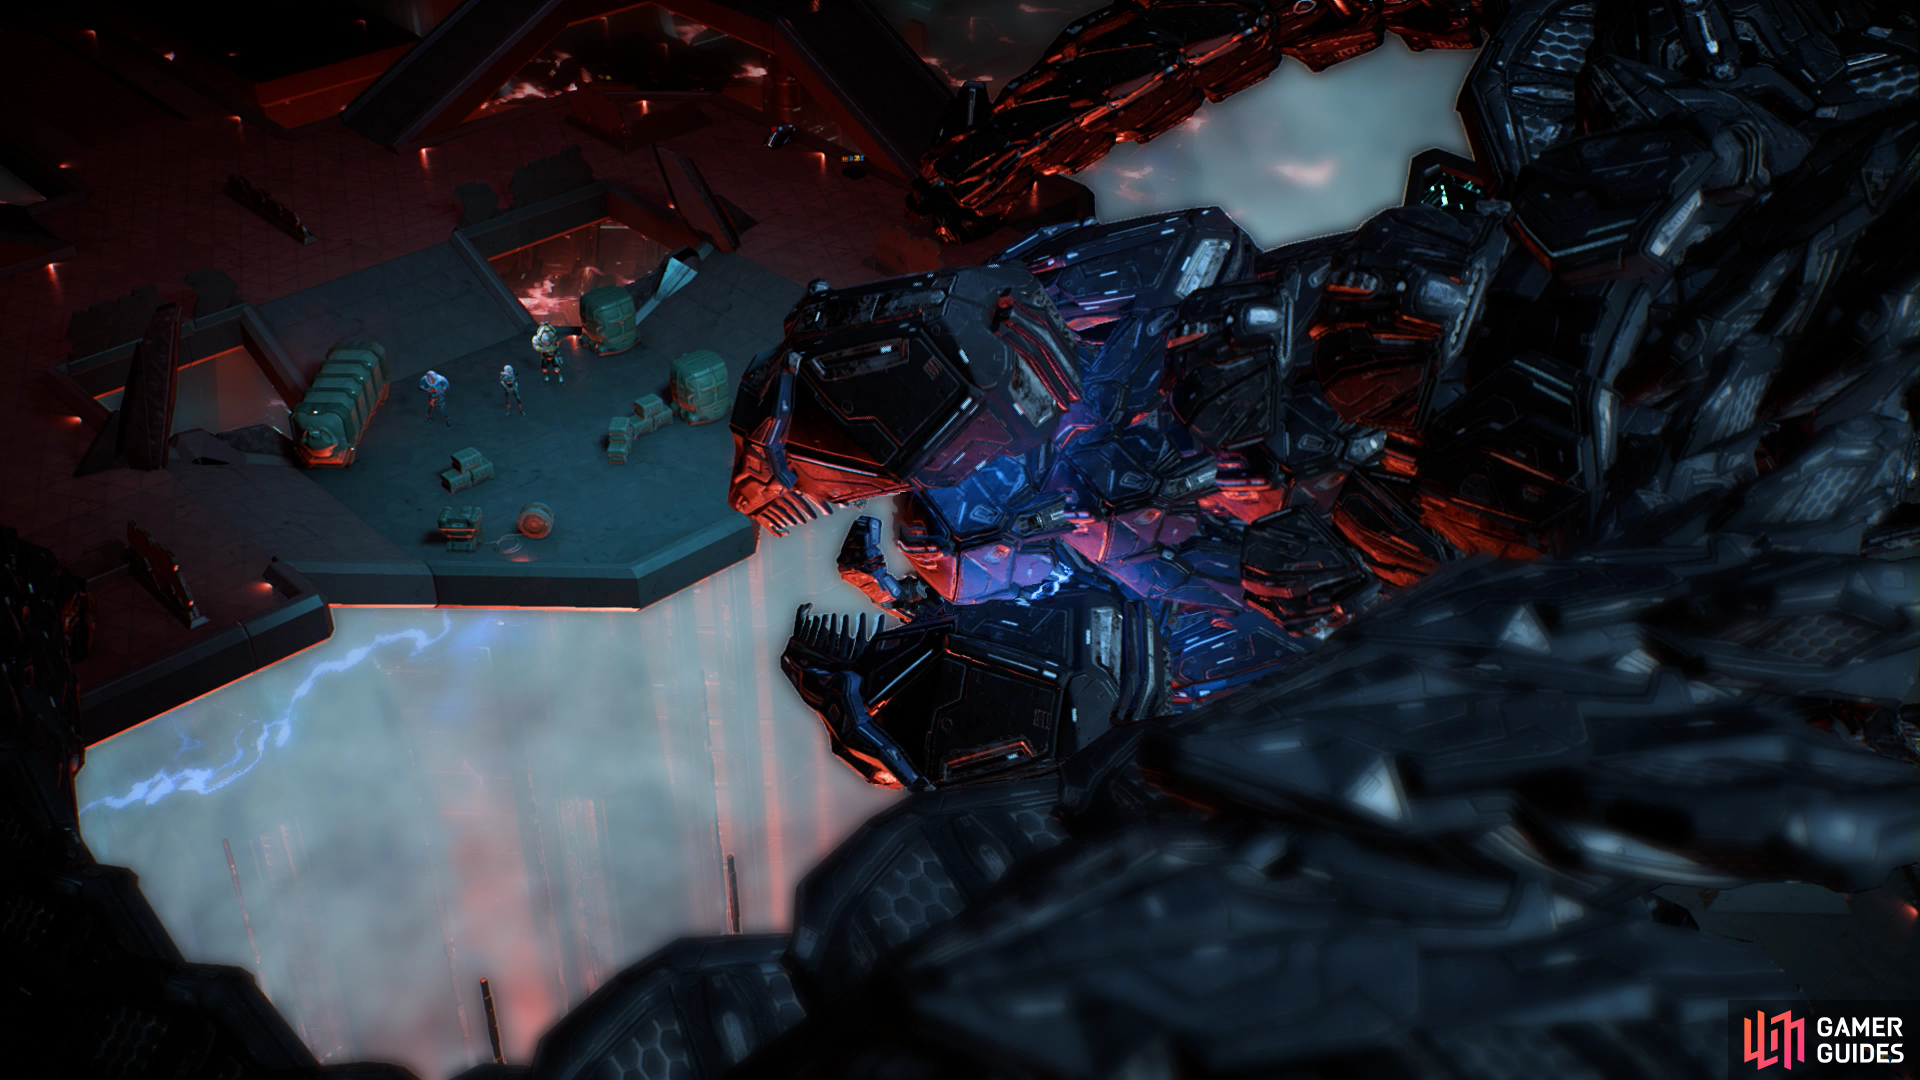
Use various ammo boxes and health boxes to resupply and rejuvenate yourself, then score a container along the southern-most reaches of the chamber. When you’re ready to finish things, activate a Gravity Well and descend into the depths of the Remnant complex. When you land, turn north and score another container, then continue south across a bridge. When you near a fork you’ll be directed to note that you and the Archon don’t seem to be the only players involved in this Remnant structure - somebody is guiding you on a collision course. Scott? SAM? Something else? No time to worry about that, you’re here for the Archon. Continue through a doorway to the west, and when another door closes to the west turn south to reach a chamber with a square pit in the floor. At this pit turn west and continue through another doorway, use a Gravity Well, then continue south across a bridge (upon which you’ll find one last ammo box and health box) to reach Meridian Control.
Boss Battle - The Archon
After some last minute shit-talking the Archon will summon some defenders, including Chosen, Destined and an Ascendant There’s little cover, so you’ll have to stay mobile, preferably picking off lesser Kett as you go. When the Ascendant is isolated, take it out, after which more chatter will ensue. The Archon gained access to the Meridian network, which is bad, but fortunately Scott has a plan.
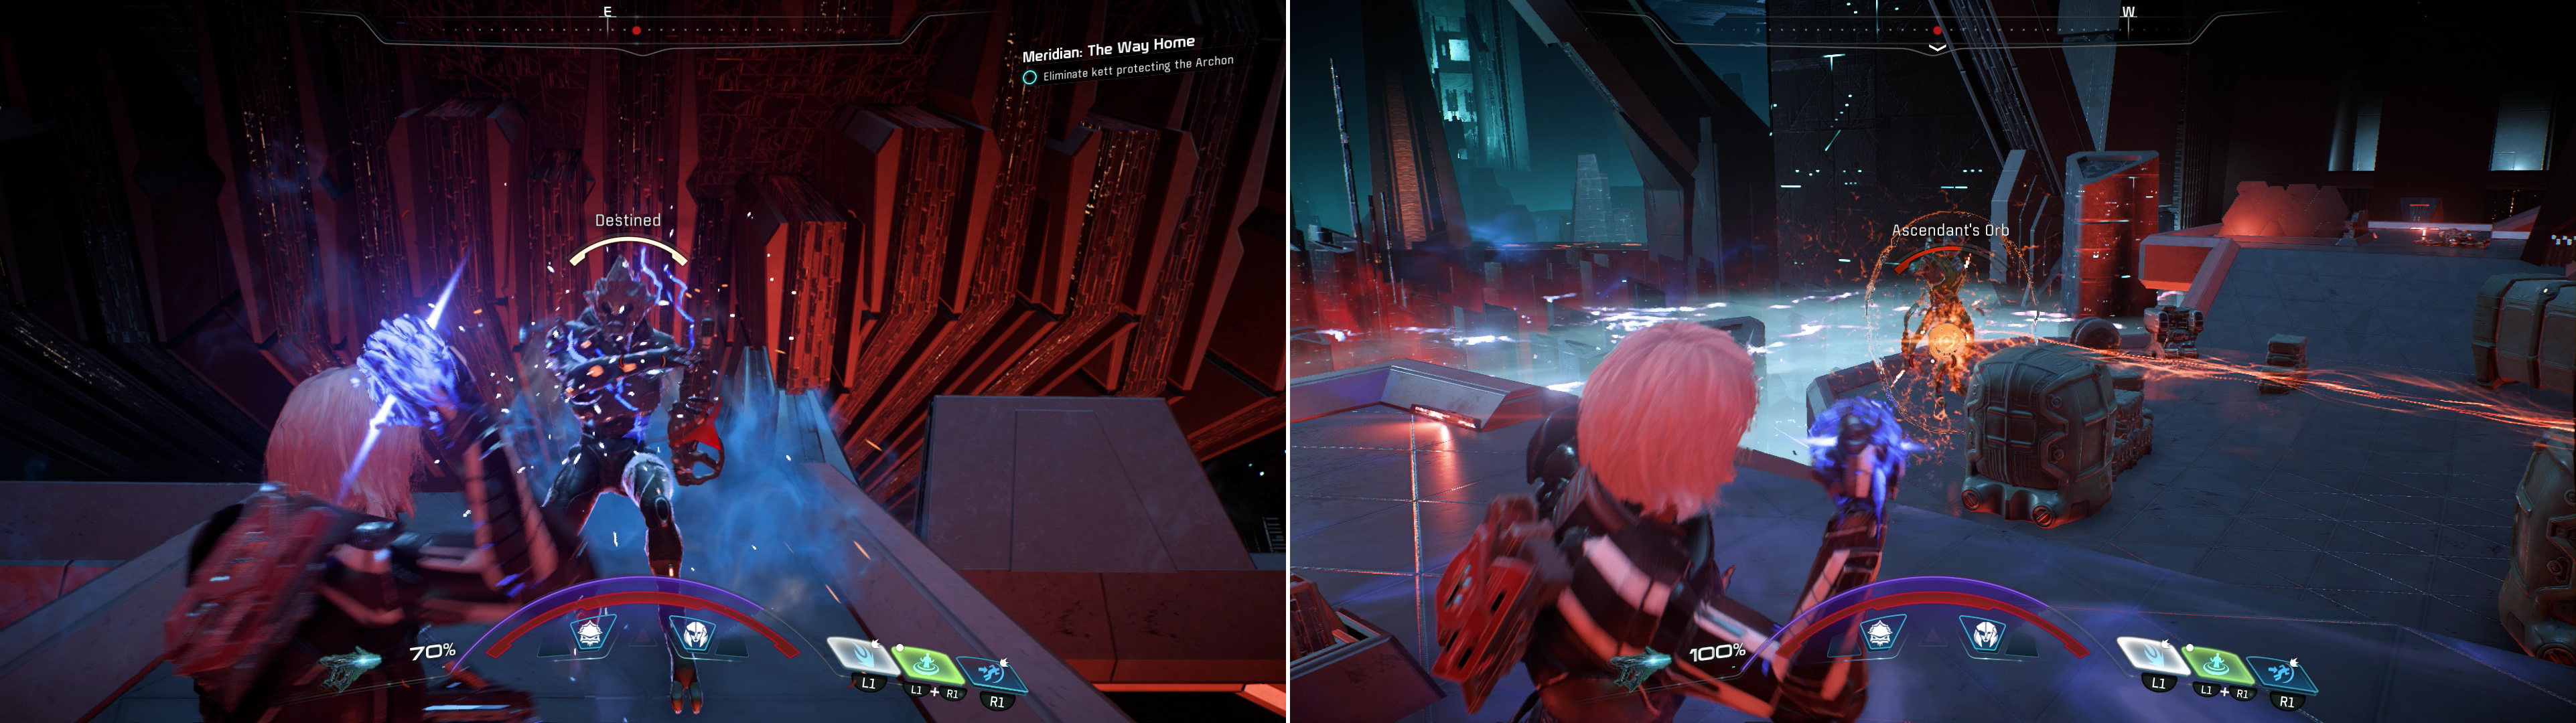
Kill the lesser Kett (left) then dispatch the isolated Ascendant (right).
When you’re back in control head northwest up a ramp and dispatch whatever Remnant get in your way - Assemblers, Observers and Nullifiers are all out in force. While you move, keep the Archon in your mind, as he now controls an Architect-like Remnant appendage, which he’ll use to take pot shots at you. Turn north and fight your way to a Remnant Console.
When you approach it, your objective will change - now you have to hold position and fend off any Remnant that assail your position, a task the Archon will make more difficult by firing lasers and explosives at you. The charged-up laser bypasses cover, the rapid-fire lasers do not, but deal a great deal of damage quickly, and the mines largely just serve to get in your way and force you out of position. Just keep in mind that he attacks in a predictable pattern: rapid fire laser (take cover), charged laser (stay mobile), mines (watch and avoid), in that order. Shoot down the Remnant, stay in cover between the Archon’s attacks, and dodge when an attack is imminent and survive until “Exposing Power Relay” bar fills.
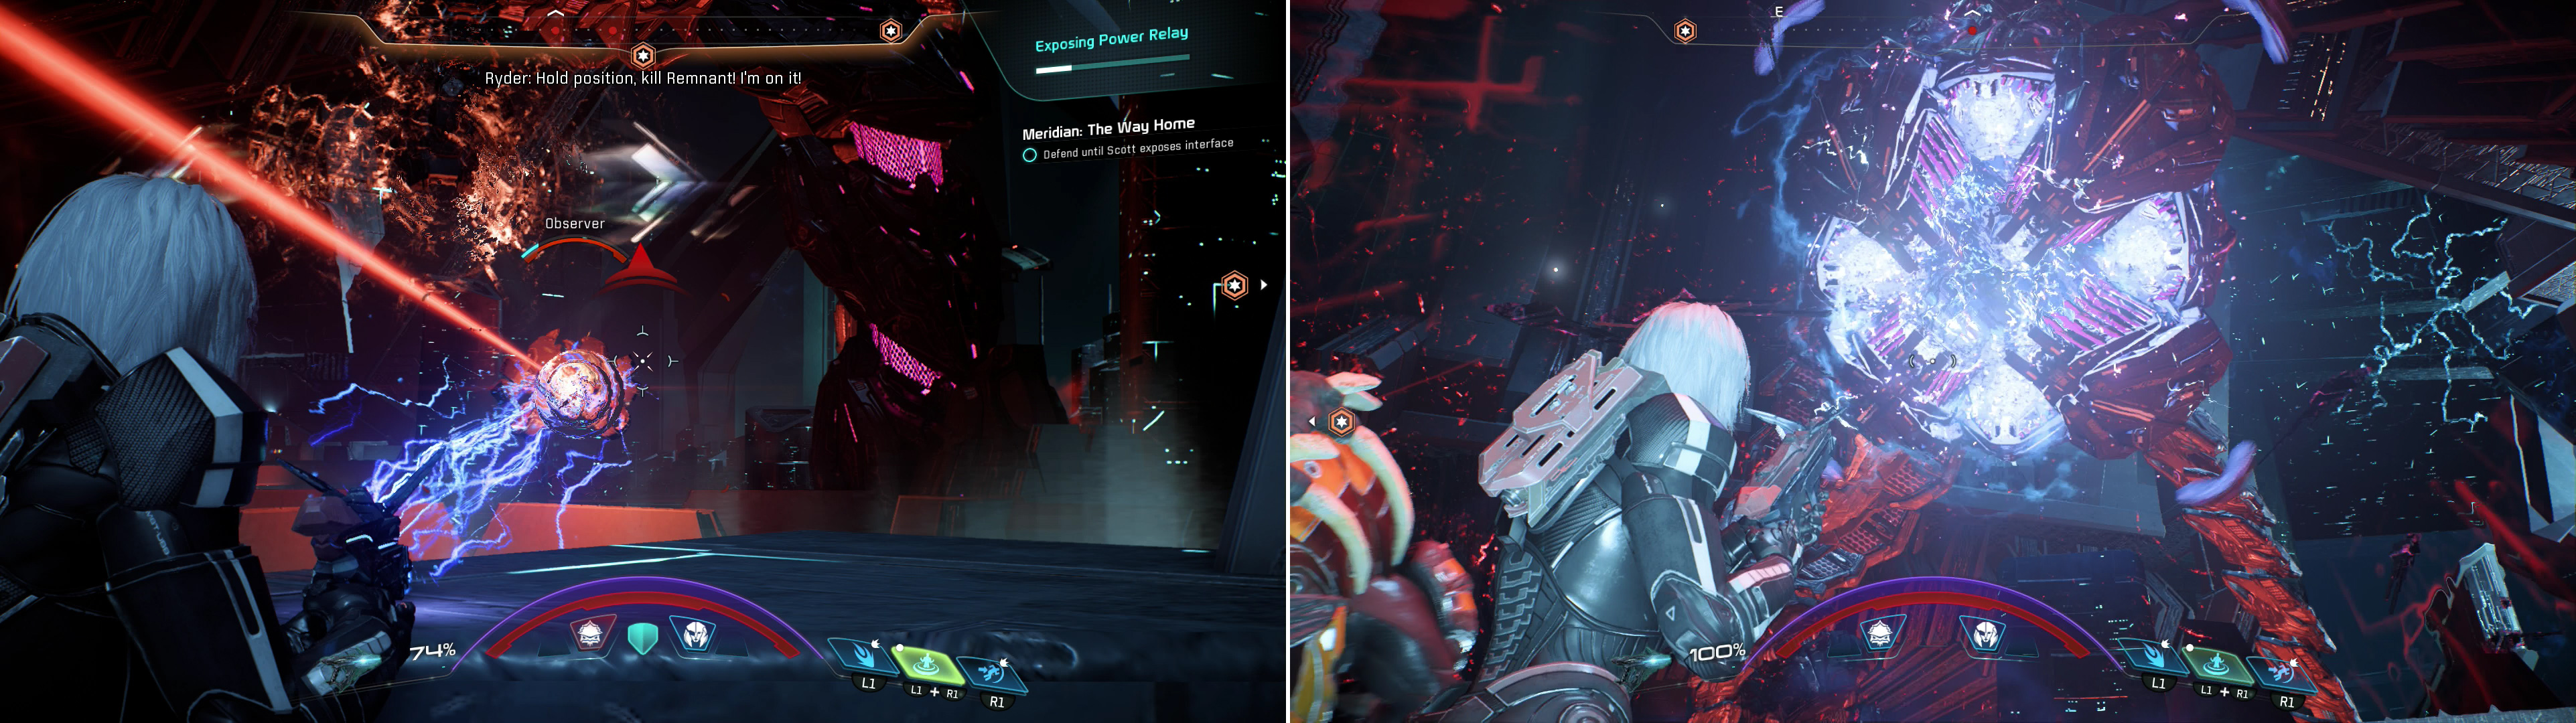
Reach the first Power Relay and fight off the Remnant that attack (left), but be wary of the Archon’s charged laser, as it penetrates cover (right).
Once the bar fills interface with the Remnant Console, then fight your way through more Remnant to the south to the next power relay. The Archon will now revert to only taking potshots at you with his charged laser. When the way south is blocked, turn west to find a Remnant Console that will deploy some platforms, then jump across said platforms and turn east. Fight your way through more Remnant - largely Assemblers and Observers at first, but later on they’ll be joined by a Nullifier, and when you reach another gap find cover wherever you can, as you’ll need to wait out Remnant waves while Scott attempts to raise some platforms for you. The Archon will now, of course, switch to his standard three attacks, so be prepared for that as well.

Destroy more Remnant while waiting for some platforms to deplay (left) then use the platforms to reach the next Power Relay (right).
When the platforms are deployed, finish off whatever Remnant are nearby (which now become finite) and jump across the platforms to the north. When you reach solid ground more Remnant will spawn, including many Observers, Assemblers, and a Nullifier, who will keep you out of cover while it’s functional. Fight your way through them and make you way north to reach another relay. Endure the Remnant onslaught and the Archon’s renewed rotational three-attack and interface with the console when the time is up.
Fight your way back south and interact with a third Power Relay in the center of the battlefield to finally pull the Archon loose from his undeserved connection with the Meridian network and end the battle, then watch as the restarted vaults start to take effect across the Heleus cluster.
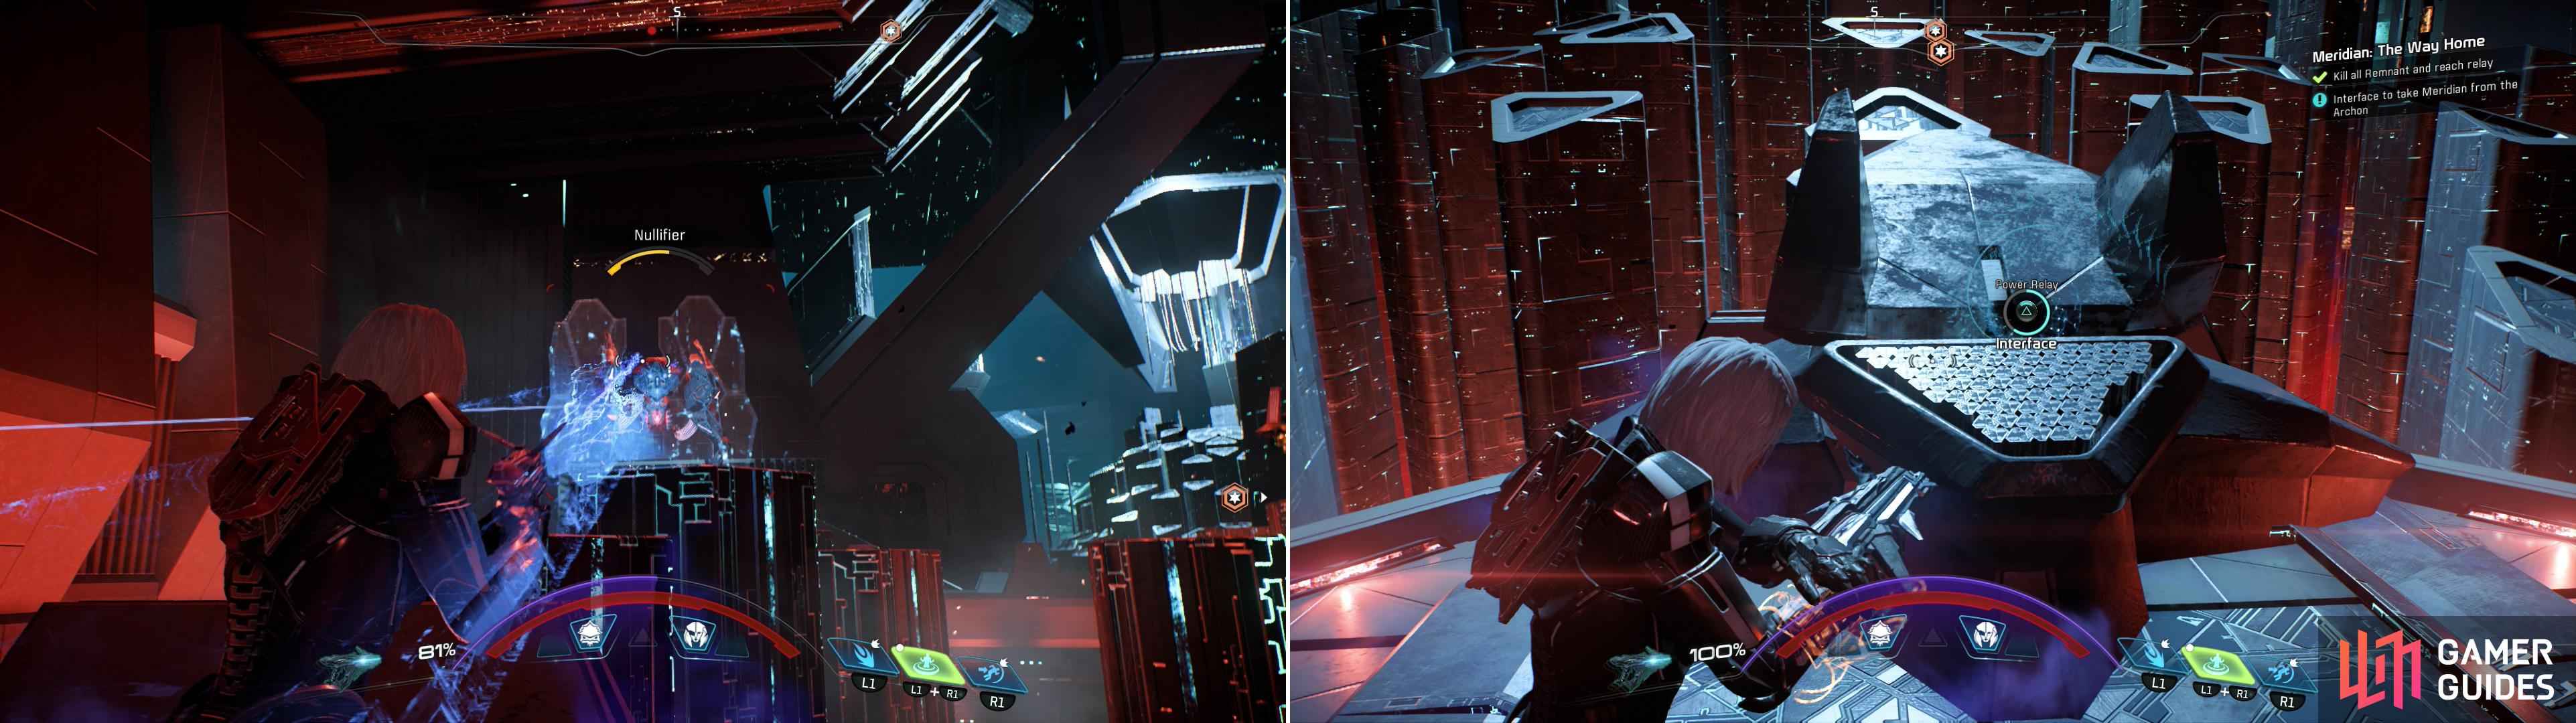
Fight your way through the last Remnant defense (left) and hit the third Power Relay to end the fight (right).
No Comments