Hammering Eos
To start this quest, visit the southern-most of the two multi-story buildings in Prodromos. Enter the chamber to the east, southeast on the ground floor and talk to Hainly Abrams who, depending on your progress in the game, might mention some worrisome tremors. This ultimately starts the quest “Making an Impression”. Fair warning, you’d better be confident in your Ryder’s abilities before pursuing this quest, as there’s a rather challenging foe waiting for you.
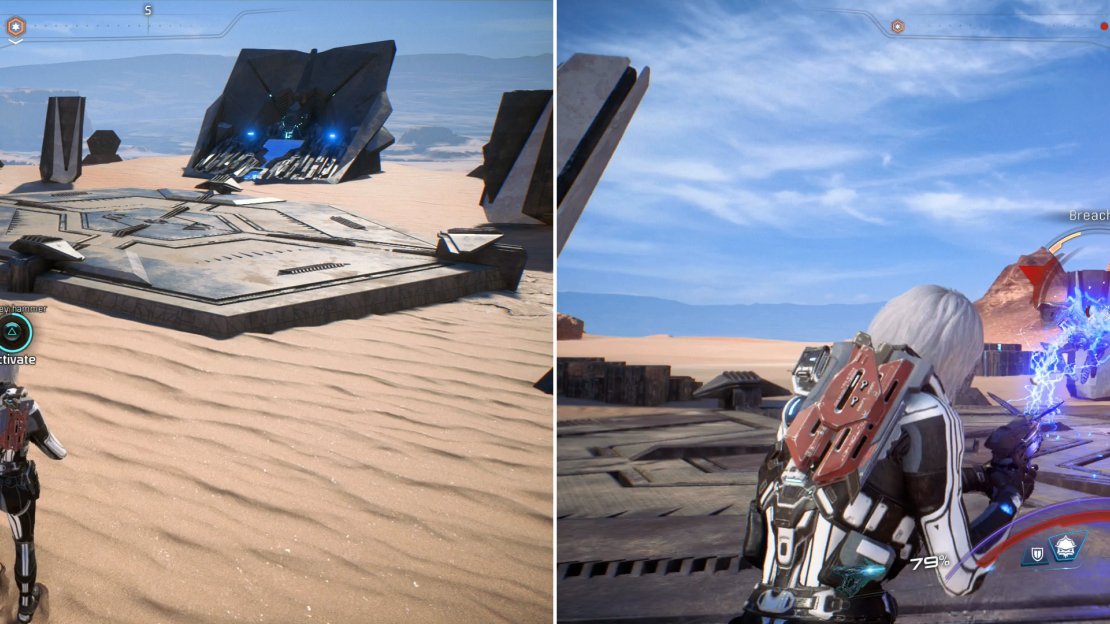
Deploy the Survey Hammer at the first site (left) then dispatch the Remnant that show up (right).
When you’re ready to start this quest, travel to the Sheartop Forward Station and drive southwest along a trail until it forks, at which point turn east to find some Remnant ruins south of the road. Dismount and head over there to find the navpoint for the first Survey Hammer. Deploy it, then fight off several Assemblers that appear to contest your meddling.
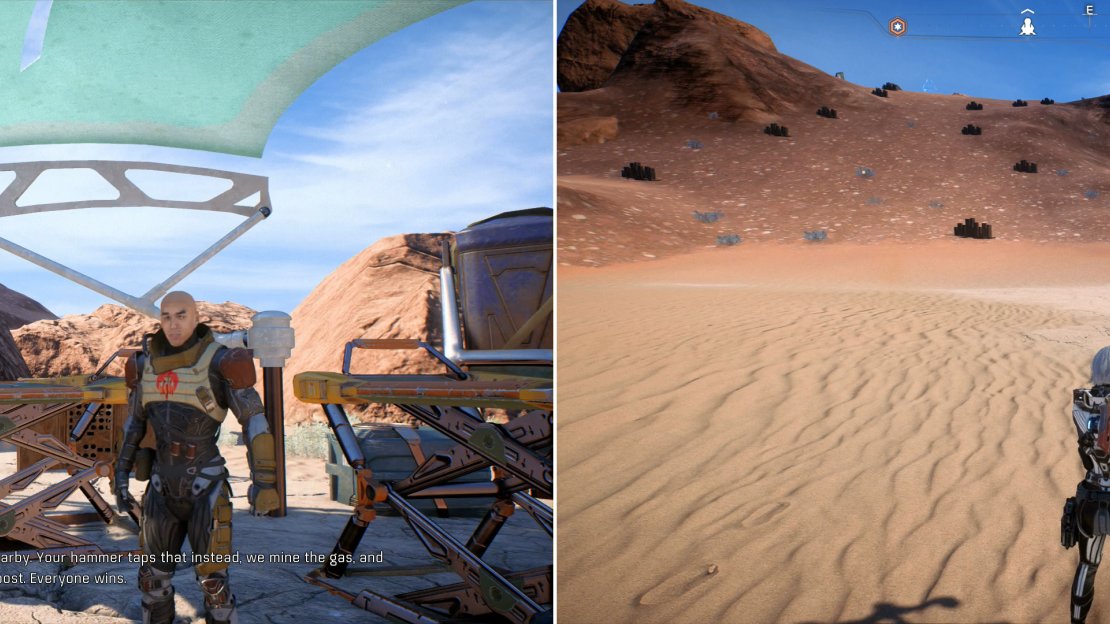
Your next destination is to the southwest, where you’ll find an exile camp west of some Remnant Ruins - also west of the Sawtooth Plateau Forward Station. Talk to a Scout at the site to find out more about the so-called “sovereign nation of Advent” and ultimately learn that your goals are opposed. Afterwards he’ll make an offer, tap some natural gas instead of the water table and everybody wins. Well, mostly they win, as they need you to leave the water alone more than you need… basically anything.
A Scout from the ‘sovereign state of Advent’ will try to strike a deal with you (left) either tap a natural gas deposit, or go after the water both you and Advent need (right).
Make whatever deal you wish, you’re not bound to it yet. When you’re done talking to the exiles, head back east into the desert and make your way to the nearby Remnant ruins, where you’ll find two navpoints. If you deploy the Survey Hammer at the northern site, you’ll tap the water table, while the southern site is where you need to go if you want to exploit the natural gas. Make your choice, then dismantle the several Assemblers and the Observer that shows up.
Wreck the Remnant, then continue uphill to the west to reach the Sawtooth Plateau Forward Station, near which you’ll find some more Remnant ruins. Activate the third Survey Hammer and you’ll provoke another Remnant response… a most dangerous response.
Boss Battle - Eos Architect
Hoo boy, you’ve done it now. The Architect is a Remnant machine of such size and power that lesser bots pale in comparison. This three-limbed monstrosity fittingly has three major attacks. First it can shoot massive beams of energy at you, which cover a large area, penetrate cover, and leave behind lingering damaging effects. Basically, it uses this attack to flush you out of cover, although it does take plenty of time to warm up. Second, it’ll target you with rapid-fire laser bursts that can dish out a great deal of damage in a relatively short amount of time, but you can safely hide behind cover. Third, it’ll shoot numerous explosive orbs. They don’t detonate on contact, fortunately, but they also necessitate vacating the area.
The tactics for dealing with these attack are simple, just stay in cover unless you see its maw charging up, or if you see explosive orbs, after which scuttle quickly to more cover. Unfortunately, the Architect can also summon up lesser Remnant (Assemblers, Nullifiers, etc.), which you’ll need to destroy to render the Architect vulnerable again. Needless to say, these foes can complicate the otherwise simple task of evading the Architect’s attacks, as they can flank you or, in the case of the Nullifier, attack you through cover. Learning the battlefield and being able to keep an eye on the Architect while fighting through lesser Remnant and moving from cover to cover is essential.
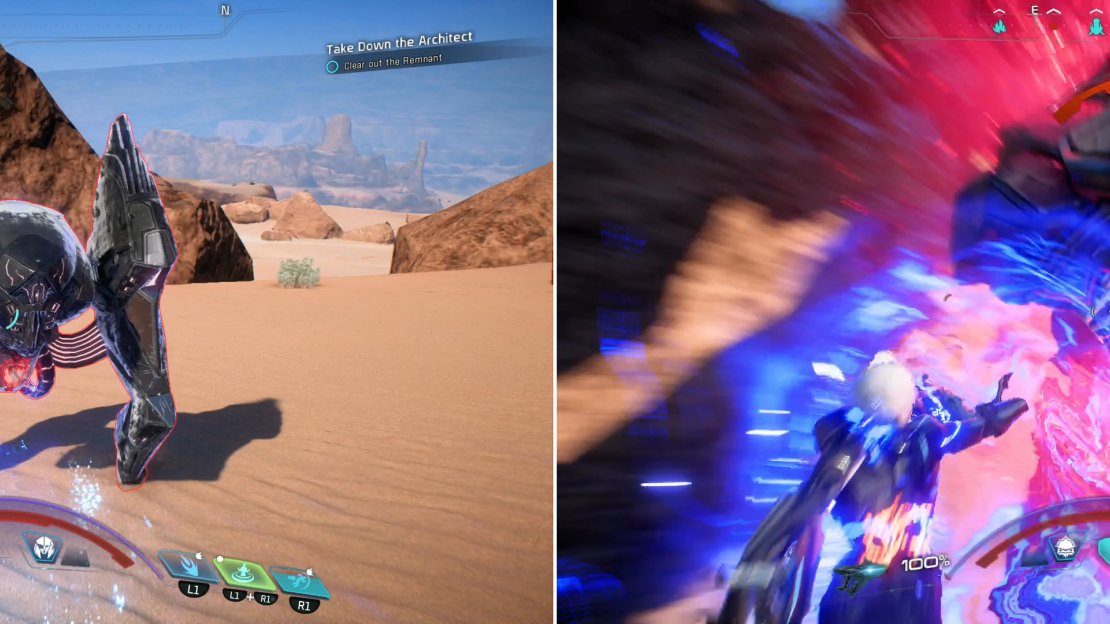
The Architect will regularly summon lesser Remnant you need to dispose of (left). Attack the Architect’s legs when they are exposed (right).
As for this particular fight, cover is plentiful, if not entirely satisfactory. Target the Architect’s leg when it’s exposed (keep an eye out for navpoints indicating this), and when it summons lesser Remnant, take them out to eliminate a threat and cause it to re-expose its leg. After sufficient damage has been done to one of its leg you’ll be prompted to attack its head - the ultimate goal of this fight. After a leg has been completely destroyed it’ll fly off to some nearby Remnant ruins, where you’ll be obliged to continue the fight.
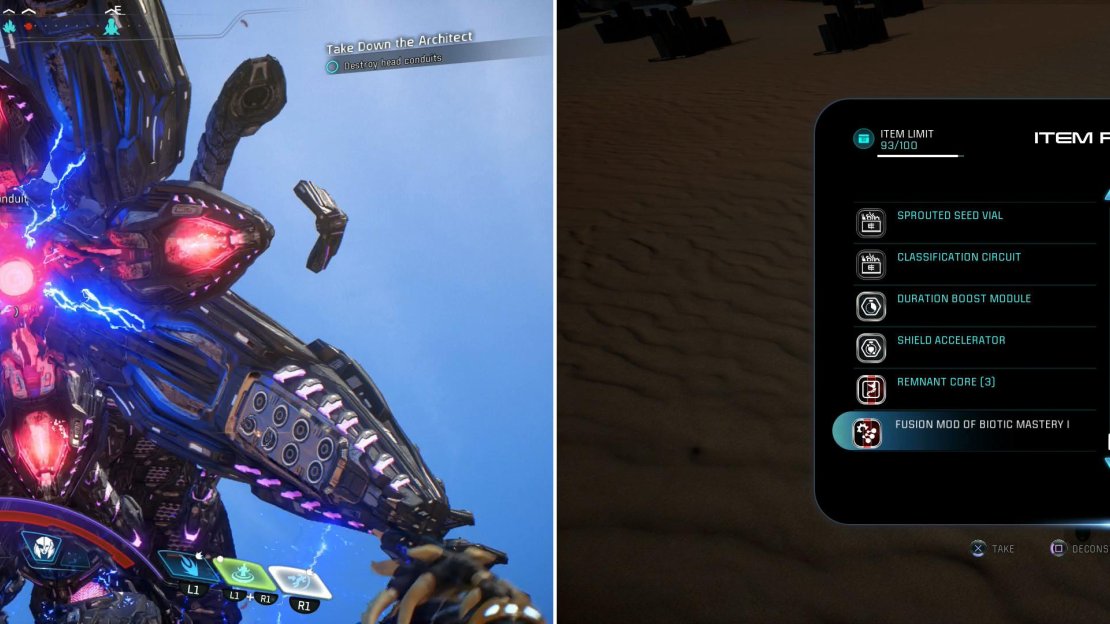
After dealing sufficient damage to its legs, you’ll be able to focus on the Architect’s head Conduit (left). Destroy the head Conduit and hack the Architect, after which it’ll leave behind treasure - in this case including the Fusion Mod of Biotic Mastery I (right).
The natural inclination when fighting Architects is to stay in cover, keep your distance, and fight somewhat conservatively, and this works fine. Generally a sniper rifle or assault rifle - anything with decent range and accuracy - will work wonders. However, a sufficiently spec’d Vanguard can use proximity to their advantage, using Charge to close distance, then aiming at the Architect immediately after the Charge to suspend yourself in midair a few seconds and take shots with a close-range weapon. Ideally this will replenish your shields and give time for Charge to recharge as you fire. Charge can also detonate combos, although your biotic allies are unlikely to prime any such combos - stick to characters with long-range weapons and tech skills. Jaal makes for an obvious choice, while you’ll have to make compromises on others - Drack and Vetra are both decent options.
Whittle the Architect down and it’ll fall to the ground, prone. Go up to the wounded giant and hack its head to end the fight, after which it’ll leave behind a container full of goodies, including the Fusion Mod of Biotic Mastery I . You’ll also get a Remnant Data Core when you loot this container - a standard reward for defeating an Architect. In addition you’ll get 2,660 XP, 400 AVP and +10% Eos viability.


No Comments