
The First Monolith
Squash and scan bugs as long as you please, then continue following the tracks southwest, then west until you reach some ruins, which are conveniently surrounded by more radiation shields. Dismount the Nomad as soon as you cross the barriers and when your life support is full, head back east into the desert, as there’s a vein of rare Element Zero you can plunder. South of the Eezo you’ll find deposits of Fluorite and Cadmium as well. If you return to the Element Zero deposit and follow the rocks east you should also come across a container and another Fluorite deposit. All in all, it’s a bit of resources and loot worth braving the radiation for.
Return to the safe zone around the ruins and follow the tire tracks west, then southwest, but keep your eyes to the south and southeast (towards the ruins) until you spot a corpse lying on top of a sandy ridge. Scan the corpse (Avante, Tegan C.), then head southeast and climb onto a rock southeast of the corpse to find another rare mineral deposit - this time Platinum . Scan and mine it, then make your way south to find some scaffolding, near which is a container, an ammo box, and a health box.
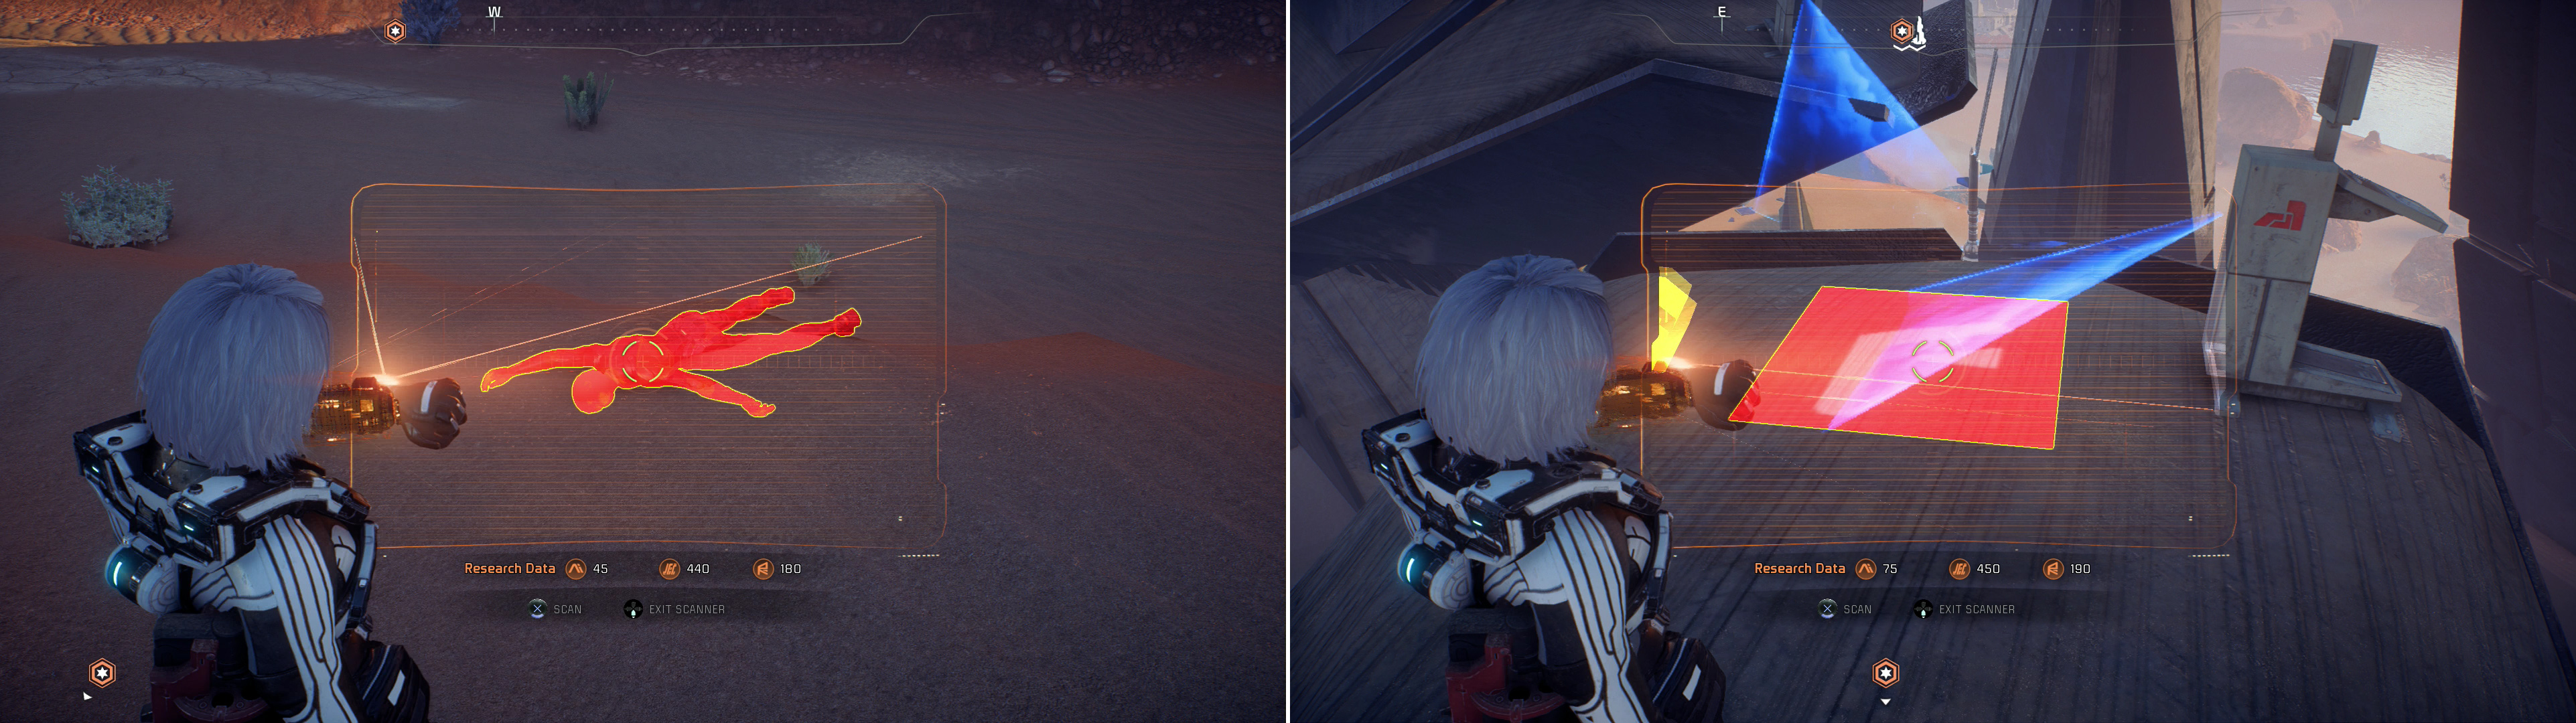
Scan a body of another colonist near the first monolith (left) then climb some Remnant pillars in search of glyphs to scan (right).
Head south, southeast from the scaffolding to reach the elevated platform at the center of the ruins and scan an Alien Device , a Coolant Containment device, and a Remnant Blast Shield . If you want more Research Data points, head east, northeast to find a Scourge Tendril Anomaly you can scan, then return to the center of the ruins and from there head west to find an Initiative Shuttle you can scan.
Now that the optional scanning here is done, return to the center of the ruins again and try to interface with the Alien Device to get a bunch of symbols and glyphs, which… well, isn’t very helpful. Backtrack north, northwest to the scaffolding and use it to reach the diagonal alien pillar nearby. At the southeastern tip of the structure you’ll find some Initiative Monitors busily scanning the ruins. Scan them both for some Research Data, then scan the glyph on the ground.
With the Glyph logged, jump off the structure you’re on (don’t worry - you can’t take fall damage) and attempt to interface with the Alien Device again. Before you can cause any damage, however, an Asari will tackle you, and after some chatter you’ll get the option to push her off, or let her get off on her own. Introductions will be made, titles exchanged, and some machines will interrupt.
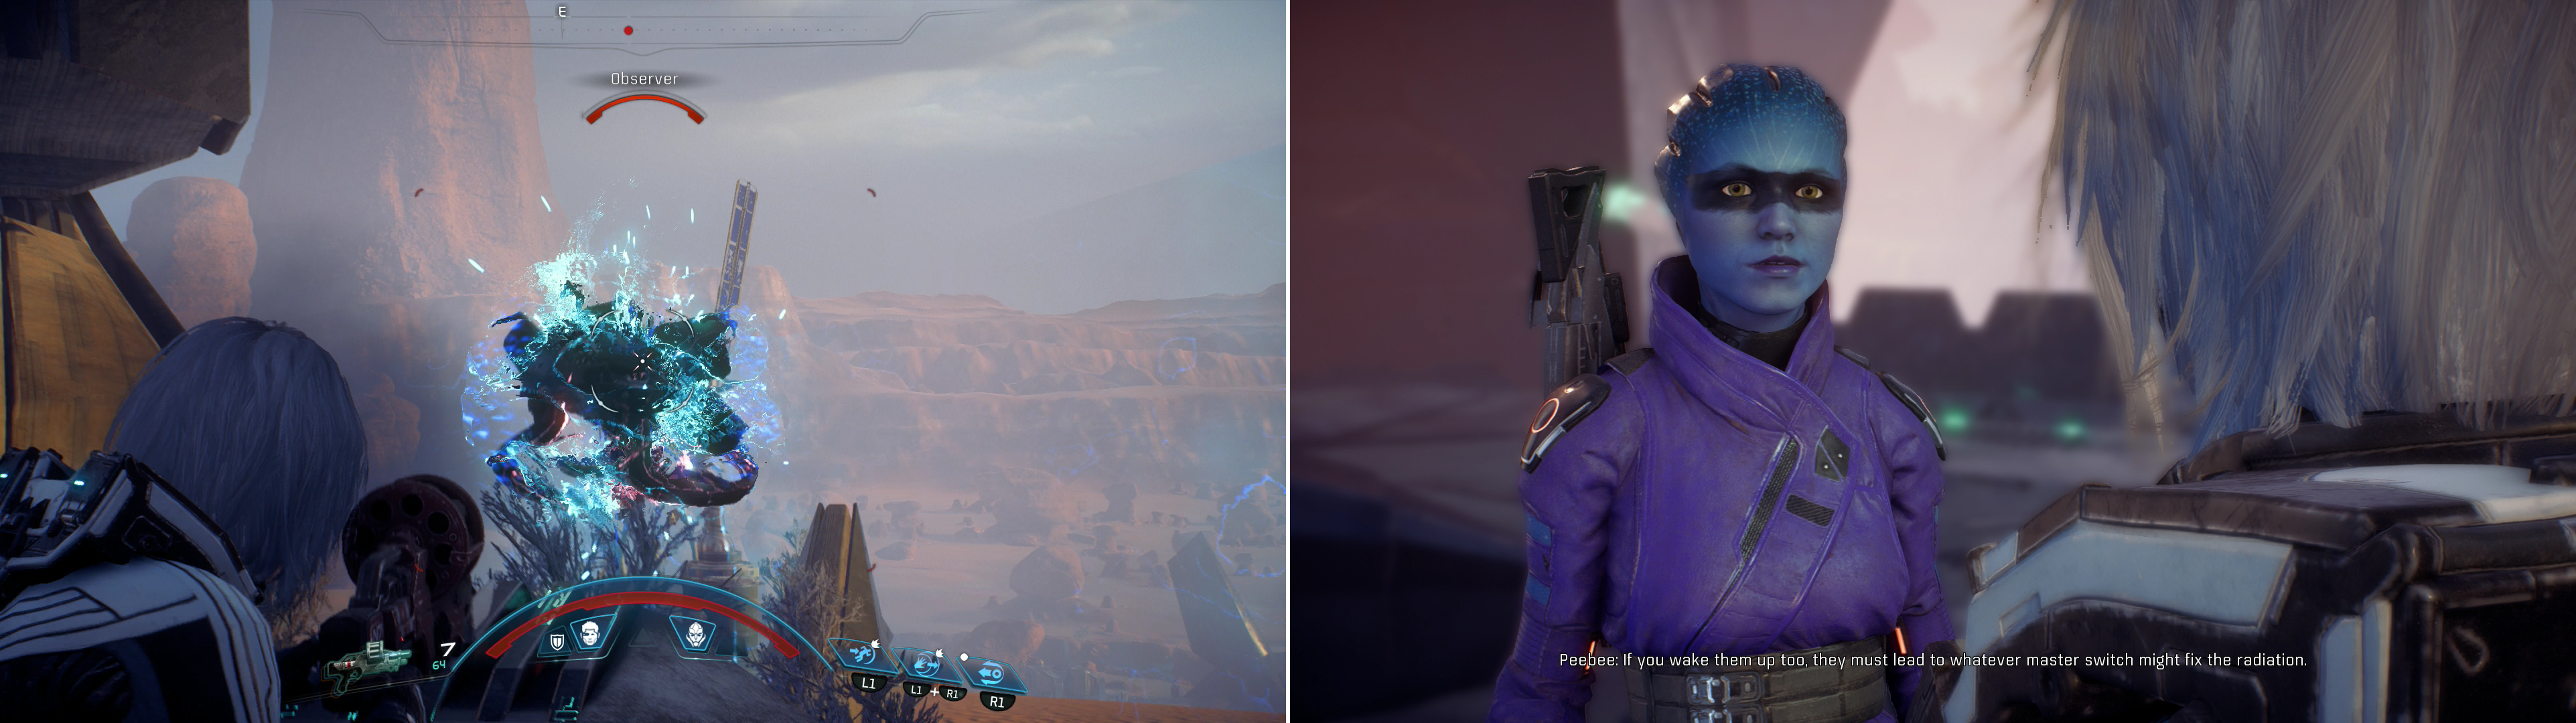
Dispatch the Remnant who contest your tampering with the Remnant monolith (left) after which continue chatting with Peebee to learn more baout these alien machines (right).
This time the machines include three types: Observers, Assemblers and Breachers. Assemblers are the most common here, and they’re capable of shooting lasers at you, but mostly they’ll busy themselves with manufacturing Breachers. Breachers, on the other hand, are capable of attacking in melee, grappling, and self-destructing. Observers are the most dangerous, due to their sustained laser attack and their shields.
Put down the robots, after which the Asari - Peebee - will resume chatter with you. She’ll give a name to the machines you’ve been fighting, unofficially dubbing them the “Remnant”, after which she’ll suggesting that activating the monoliths around Eos might be the key to using the alien technology to clear the radiation on Eos. After the conversation ends you can immediately strike up another one with Peebee, prompting her to talk about the Remnant robots, her name, other people on Eos and a few other topics. When you’re done talking with Peebee, however, it’ll be time to leave the first monolith behind.
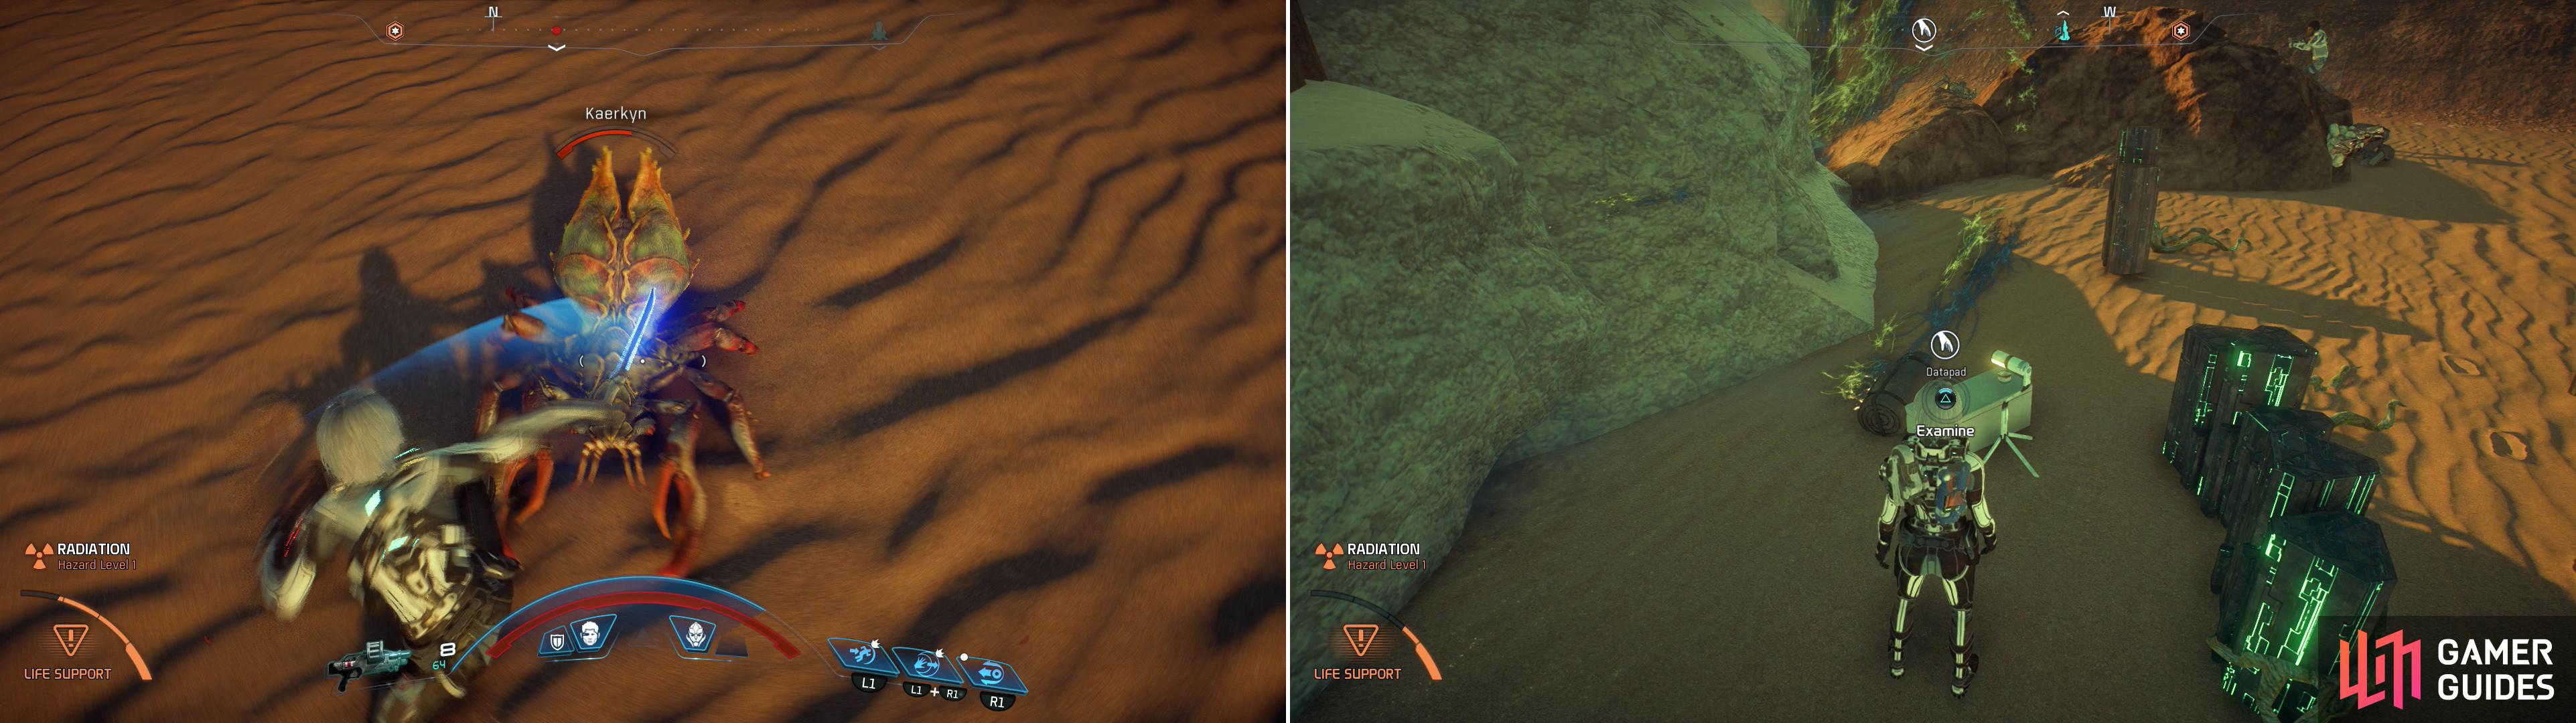
Killing Kaerkyns in the wilderness of Eos can prove quite lucrative (left). Finding Datapads at random Remnant sites will start the quest “Task: The Ghost of Promise” (right).
The Second Forward Station and the Kett Caves
Hop back into the Nomad and follow the track west and southwest away from the first monolith. Drive under a natural stone arch and, near some ruins south of the road, you should spot some hostiles - Remnant and some wildlife fighting it out. Stop the car and spank them both, then search the ruins for a Datapad, a container and some Element Zero . Reading the Datapad will start the quest “Task: The Ghost of Promise”… which will be perused later. Just be wary of the Scourge tendrils as you explore, as these ones actively count as electrical hazards.
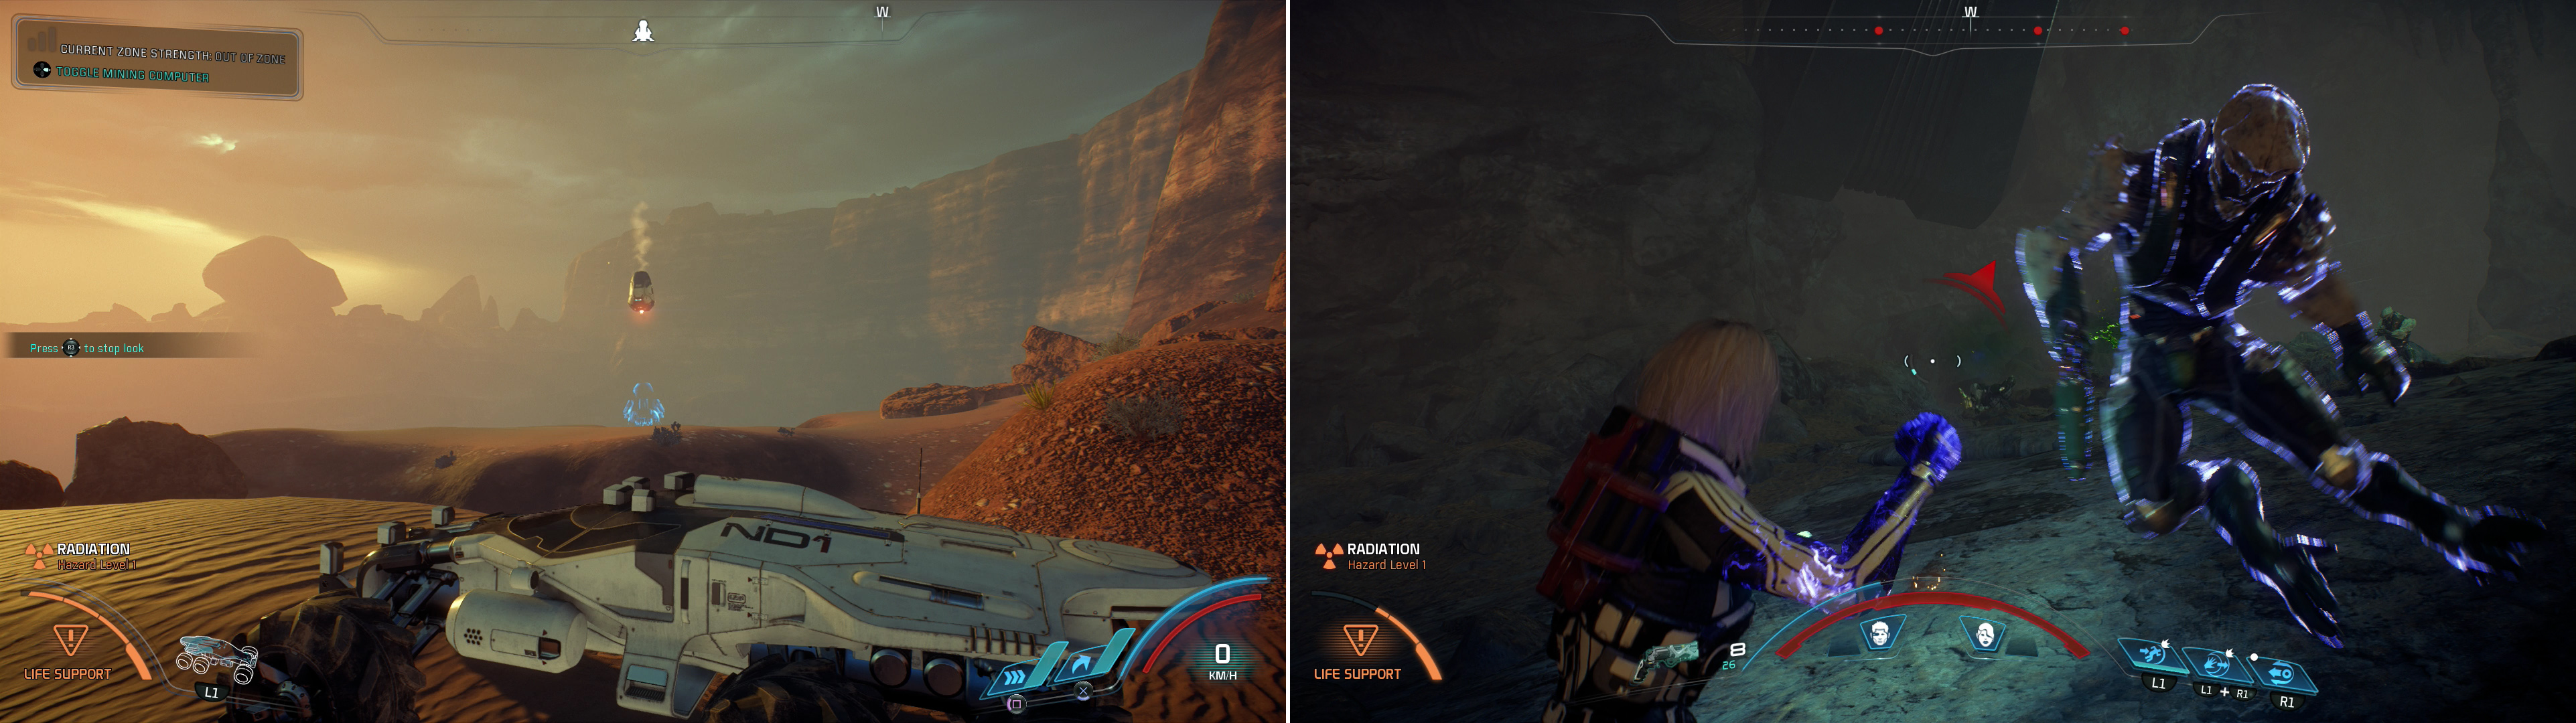
Return to the Nomad and keep driving southwest, then south until you reach a fork. Turn west and follow the tracks uphill until the road takes you past a promising spot to deploy a Forward Station (west of the road). Abandon the Nomad for now and head over to the Forward Station, where your attention will be called to the southwest - a fine location for an outpost, if you can ever scrub the atmosphere.
There’s a bit more you can do around here now, if you’re adventurous - north, northeast of the Forward Station you’ll find a shelter, where a body can be scanned and a Datapad logged. Further north, however, is a rather large cave - large enough to drive the Nomad into, even. It’s a fine idea, too, as the cave is rather large - long enough to test your hardsuit’s life support systems.
Near the second monolith you’ll find another Forward Station (left), near which is a cave filled with Kett (right).
Nab a Titanium mineral node at the entrance to the cave and keep your eye out for the numerous Cadmium nodes scattered throughout. Unfortunately, inert minerals aren’t all you’ll find in here, as Kett have set up a base of sorts… and they’ve dragged some Initiative equipment in here. The ground you have to fight on isn’t ideal, at the Kett have high ground and can utilize the high ground (which wraps around the cavern to the east and south) to fire at you from multiple angles - be sure to secure some cover (the Kett ATV, for example) then exterminate the baddies.
Once they’re dead, head up to the natural stone balcony to the east and follow it to the south, plundering Cadmium as you go until you find a Kett installation, complete with a terminal which you can activate to listen to an audio log. Loot some containers and drop down to the ramp to the northwest, then continue northwest along another stone balcony running over a ramp downhill. At the northern end of the cavern you’ll find more containers, more Cadmium , and a Stasis Escape Pod you can scan. You can continue driving the Nomad to the northwest to exit the cave on the northwestern edge of the map, but the radiation out here is quite high - high enough to make any exposure outside the Nomad foolhardy. That being the case, it’s time to let this misadventure rest for now and return to the second Forward Station.
The Second Monolith
From the second Forward Station drive along the road to the southeast, and when it forks again follow the road east, then southeast to reach the second monolith. Climb up some remnant structures to reach the control platform, which is infested with Remnant machines. Scrap them, loot some containers, then scan a Remnant Console - these devices, when interfaced with, allow you to alter aspects of the ruins in various ways. Usually this takes the form of deploying cover, but they can also be put towards more productive purposes… which you’ll get to shortly.

Entering the incorrect combination of glyphs (left) will spawn more Remnant for you to fight (right).
In the meantime, interface with the central Remnant Console to find some weird glyph decryption on it. Looks like you’ve got some glyphs to track down! Scan the yellow wires running from the console to the customary four pillars around the monolith - one runs to the southeastern pillar, while another leads to the northwest. Go southeast first - stopping to read a Datapad along the way - and look for another Remnant Console near the pillar, which you can interface with to raise a bunch of hexagonal platforms, which you can use to scan the glyph atop the nearby pillar.
Return to the central console and from there head northwest to the other pillar a wire leads to. Interface with another Remnant Console to raise more hexagonal platforms, jump onto the pillar, then follow it southeast to find the glyph near the tip. Scan it, then leap down and interface with the central console, where you’ll get to put those glyphs you scanned to good use - by solving a Remnant Decryption puzzle!
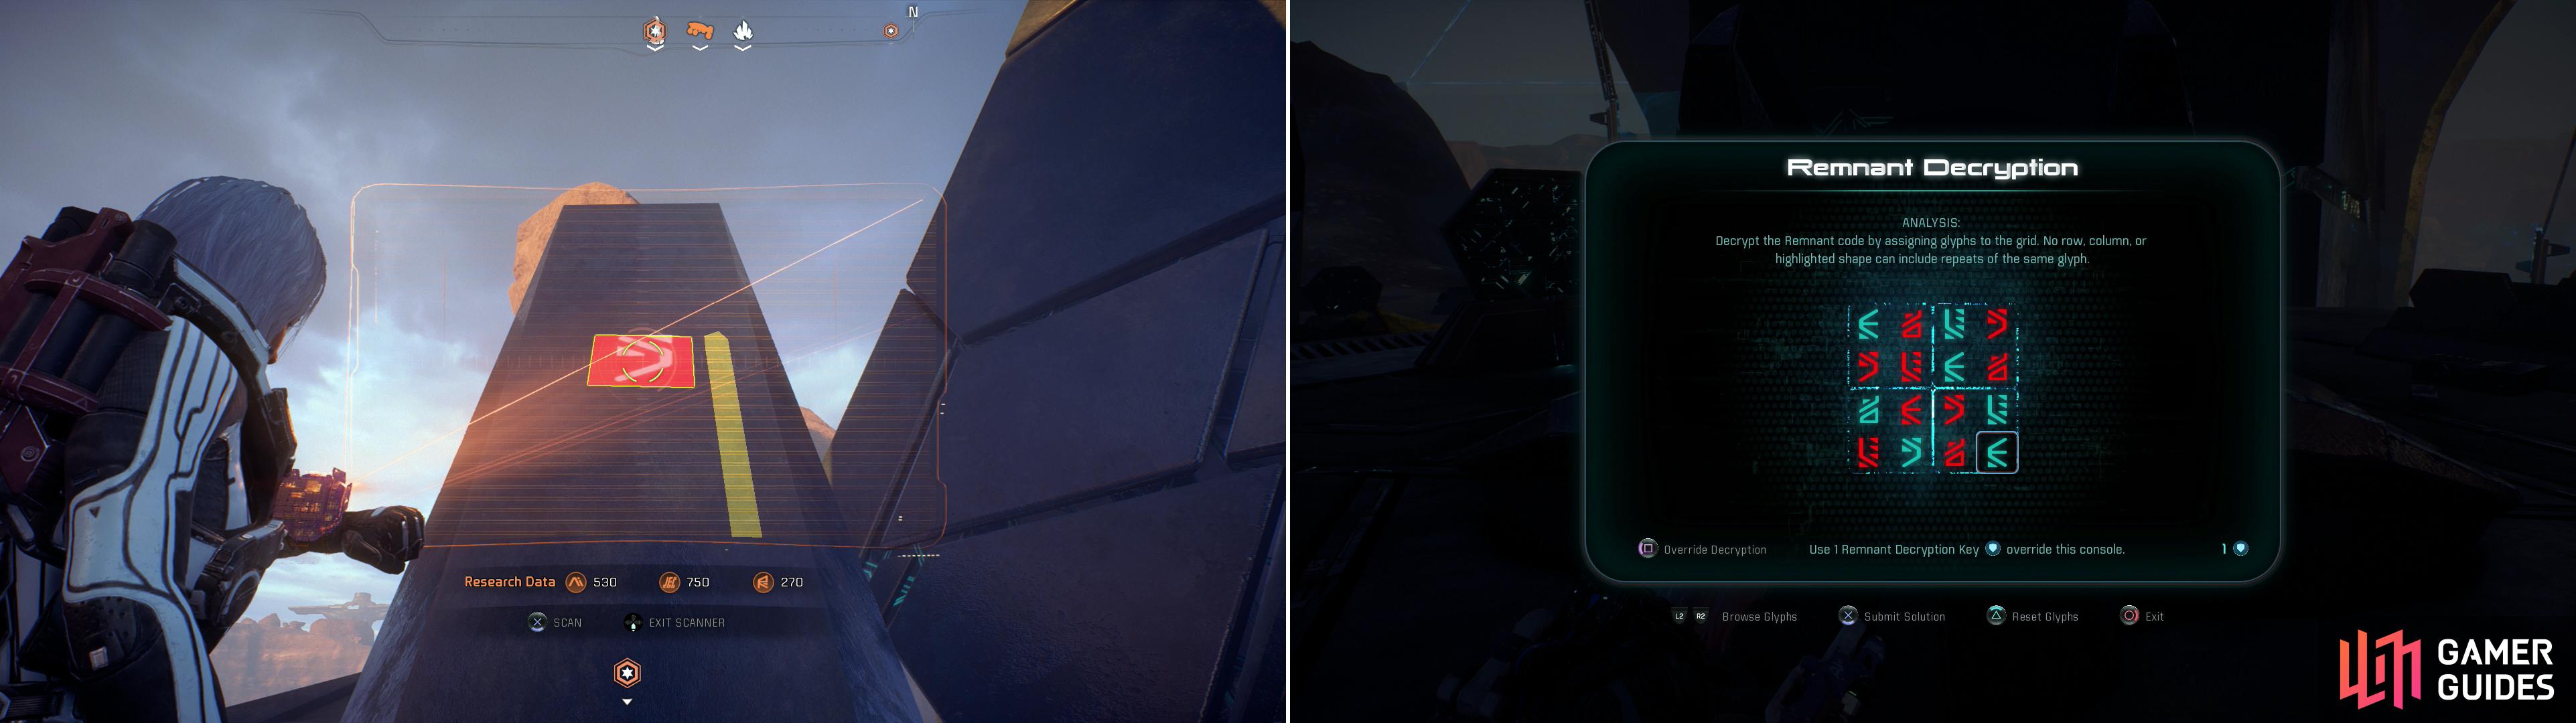
Follow conduits to track down and use Remnant Consoles to reach glyphs (left), then complete the Remnant puzzle to activate the second monolith (right).
In every Remnant puzzle there are a number of red glyphs, which are locked in place and your task is to fill the blank spaces with blue glyphs. Which glyphs to use? Well, there can’t be two of the same glyph in any single row, column, or “highlighted shape” (in this case, square quadrants). For example, in the top-left empty square you need to assign an E-shaped glyph, as every other possibility violates one of the aforementioned rules. It’s basically space Sudoku! Fortunately you only have four glyphs to choose from in this puzzle, and only seven empty spaces to fill. Figure out the puzzle (or use the included screenshot of the solution) - failure will be met with more Remnant attacking you, which might not be a bad thing if you want to grind some trophies or score some loot.
Once the code is entered Peebee will bother you via comm, after which you’ll be attacked by some Kett. Put them down, then head southwest from the central console to find an item box and a health box… and the corpses of several dead colonists. Scan the one that highlights (Pavlov, Amira S.) to advance the task “Naming the Dead”, then head south from here, out past the energy barrier and search under a boulder near a cliff to find a Remnant container full of treasure. After this you’ll be done with the second monolith, and free to move to the third monolith.
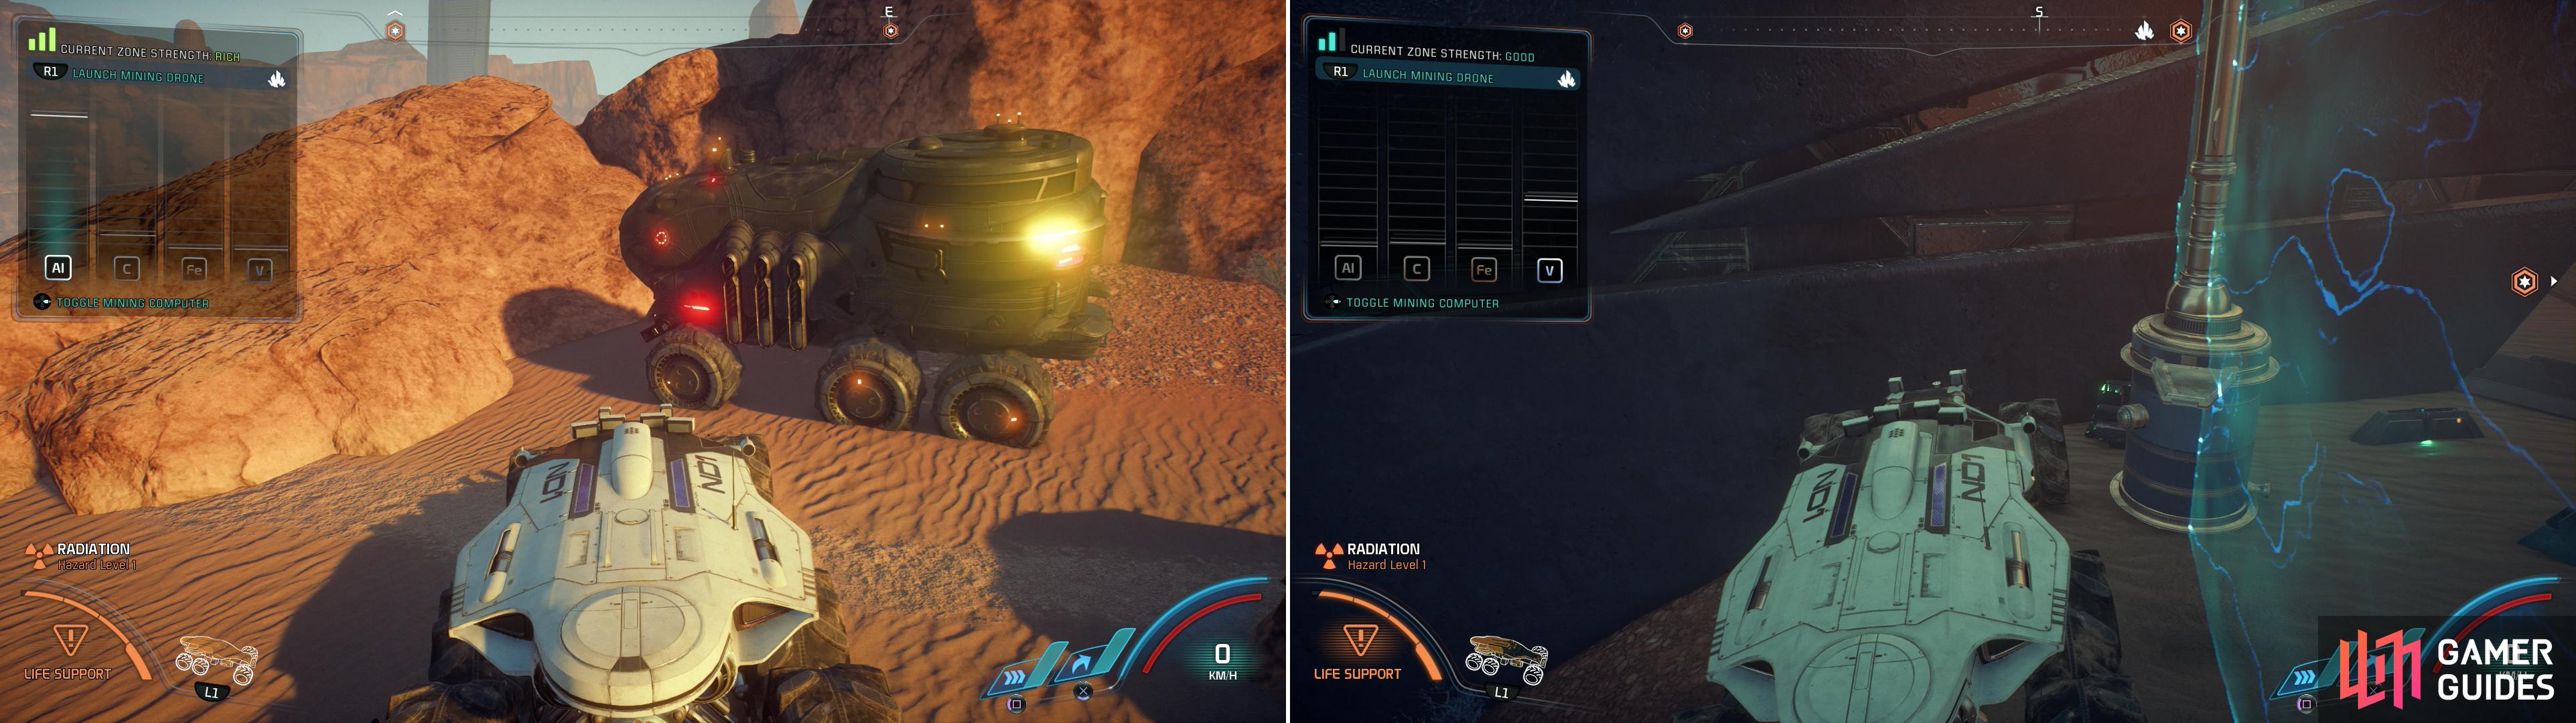
Near the second monolith you’ll find a Mining Zone, which you can exploit for minerals (left). Be aware that while high amounts of common minerals might be easier to find, rare nodes are often more picky (right).
First, however, note there’s a mining zone centered near the monolith. Mining Zones are particularly lucrative resource zones in which you can scan for and launch probes to collect various minerals. The minerals vary by planet and by zone (on Eos you can find Aluminum, Graphite, Iron and Vanadium) and you can check the overall mineral wealth of a zone via the Mining Computer which is displayed on the top left of your screen when you’re in the Nomad (Rich, Good, Fair, Depleted, etc). When you’re in a Mining Zone, press [Right] on your D-pad to bring the Mining Computer to its full size, displaying detailed bars showing how much of each mineral is at your present location. All you need to do is drive around until the bars raise to a satisfactory amount and press [R1]/[RB] to launch a Mining Drone, which will automatically collect the resources at that location. Be judicious, however, as you can’t launch Mining Drones too close to each other (there’s a circle indicated the area each probe covers). As far as this Mining Zone goes, the best minerals you can hope to gather here is a lode of Vanadium northeast of the second monolith, just beyond the energy barrier. It might be tricky getting the Nomad up there, and it’s a precarious perch, but it’s worth the struggle to harvest some of this rare mineral.
The Kett Base
Return to the Nomad and drive back to the second Forward Station. From there, follow the tracks northeast, then downhill to the east to return to a fork in the road you pass by earlier. If you head north you’ll return to Promise, so instead head down the road to the south. Keep your eye to the east, however, as you should spot a Kett vehicle on the side of the road. While not terribly interesting in itself, if you position the Nomad you can pick up a rich seam of Aluminum . You also might find a new alien beastie here - the Challyrion, which acts similar to the quadrupeds that accompanied the Kett on Habitat 7. They cloak, they bite, and they’re worth a good bit of Research Data if you scan them.
Continue south and at another fork turn down the road to the east to reach the third Monolith… alongside which is a Kett base. Oh well, you haven’t been able to avoid combat at one of these monoliths yet, at least you can see it coming this time. Ignore the ramp down and drive up the ledge to the southeast to reach the Kett base.
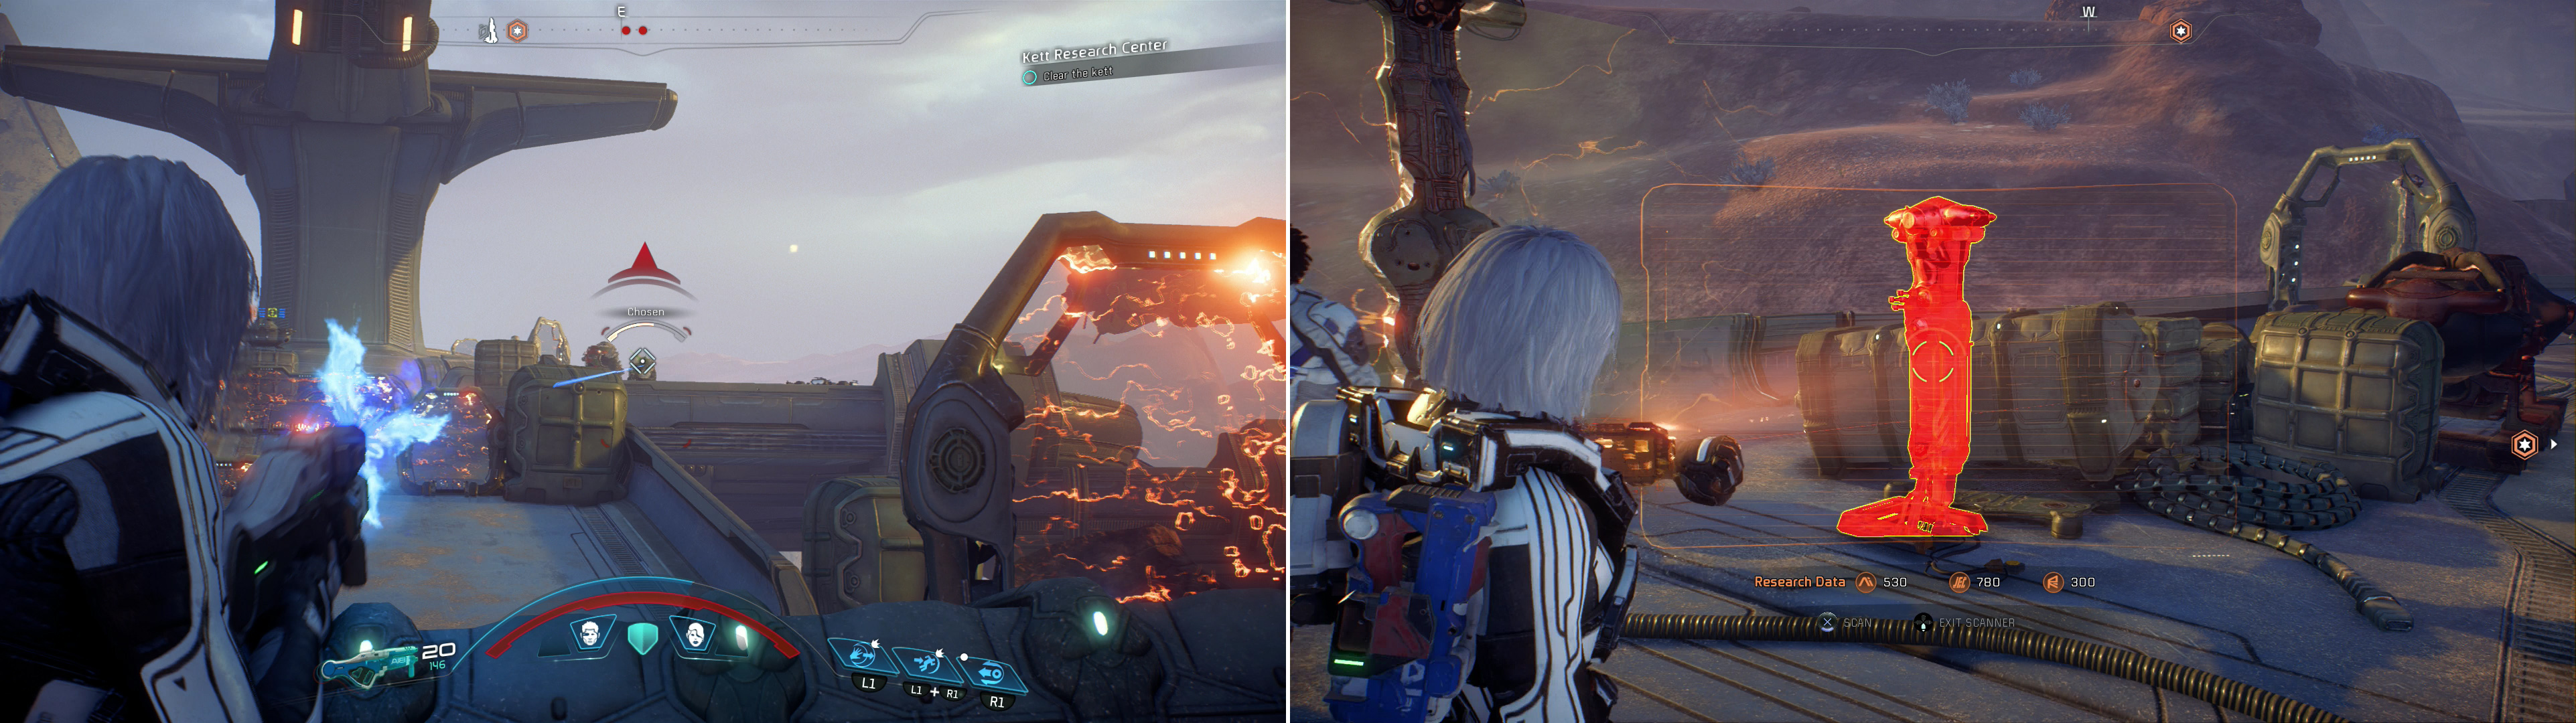
Fight your way through the numerous Kett occupying the base near the third monolith (left), afterwards be sure to scan their technology to earn a great deal of Heleus Research Data (right).
When you get near the Kett base leave the Nomad and rush through the energy shields to get out of the radiation, then make use of the ample cover, which will aid your assault on a ramp leading to the base. Your enemies here include Wraiths (the cloaking quadrupeds from Habitat 7 - now given a name), Chosen (unshielded foot soldiers) and Anointed (shielded, armed with a rapid-fire heavy weapon). Remember that your powers are often weak against shields and refrain from using them on Kett without first depleting their shields. Take the ramp and turn southeast to find a walkway leading to a structure to the northeast, but don’t get too aggressive, as a dropship will deploy more Kett, some of which will be more than happy to come to you.
Defeat the second wave, then get your scanner up and start looking for containers to loot and objects to scan. A lucrative scan can be found on the walkway to the southeast, where you’ll find a pair of Kett Core Encryption Tech pylons - worth 100 Heleus Research Data points each. A third such device can be found near the entrance of the Kett base, on some Remnant structure southwest of the ramp you use to storm the base. You can also find Kett Power Generators lying around, which will either toggle on or off nearby Kinetic Barriers.
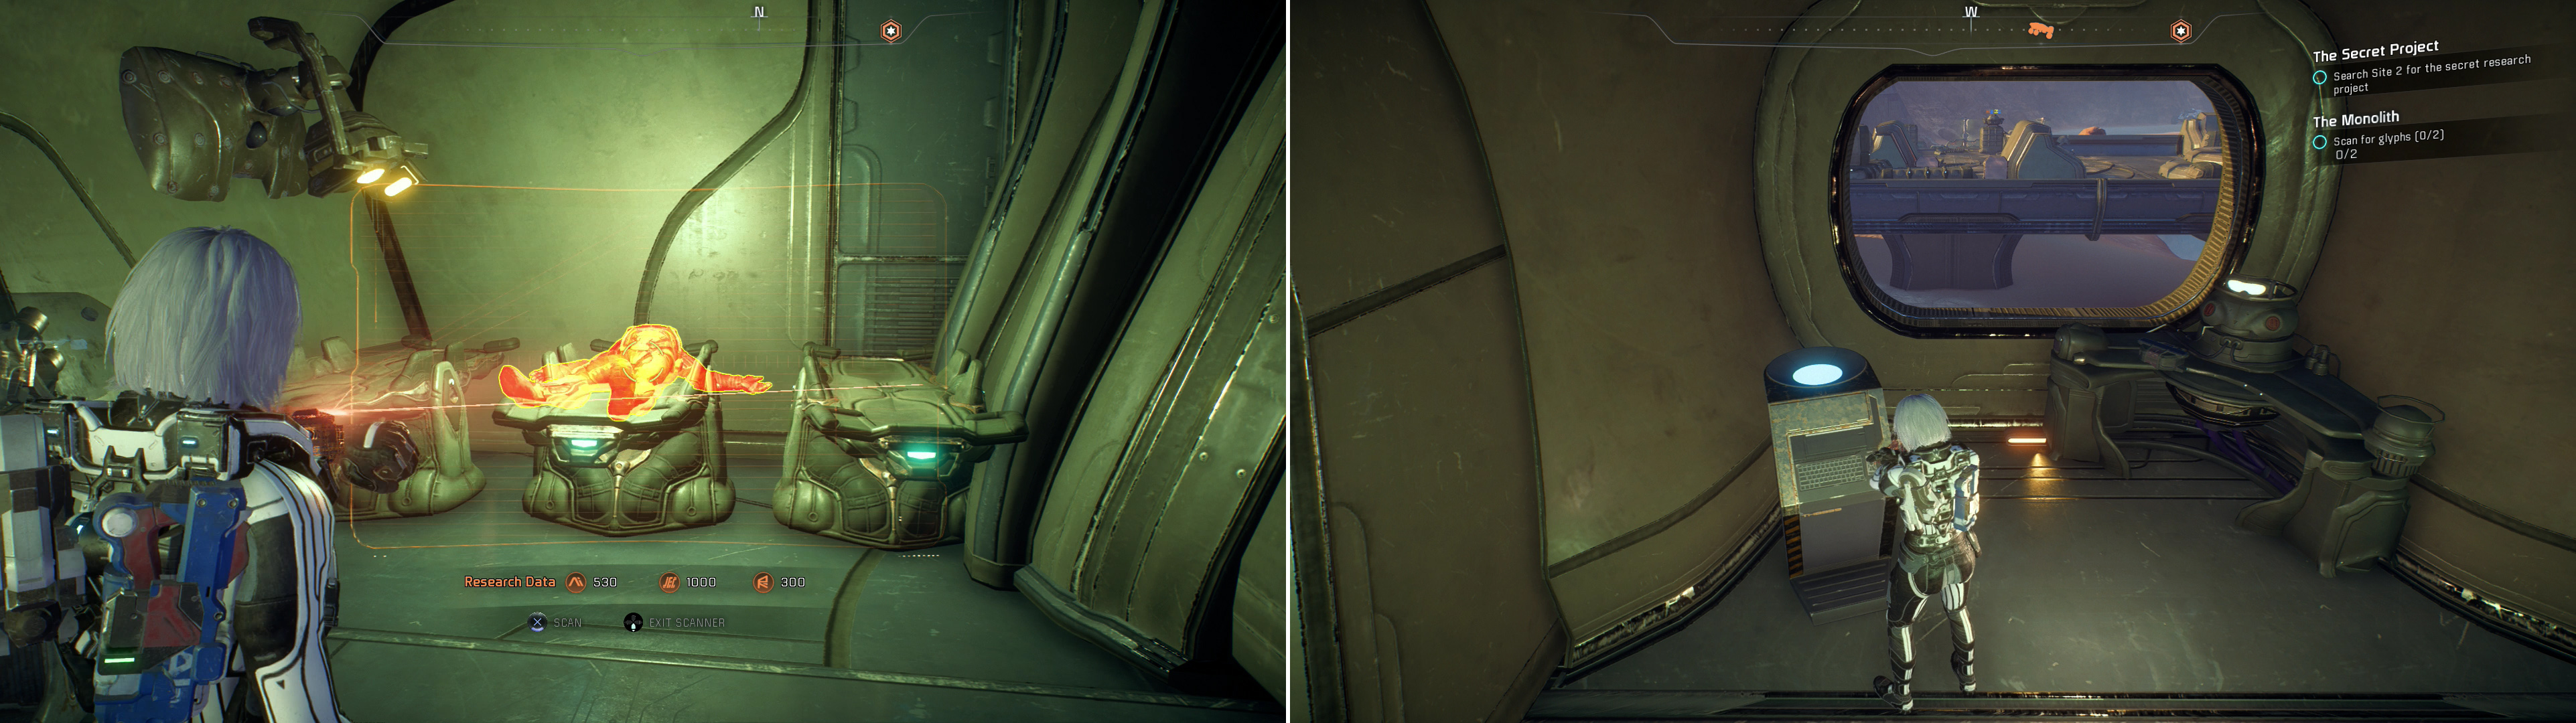
Inside the Kett base, scan the body of another colonist (left) and pick up a Component (right), which you’ll need to complete the quest “The Secret Project”.
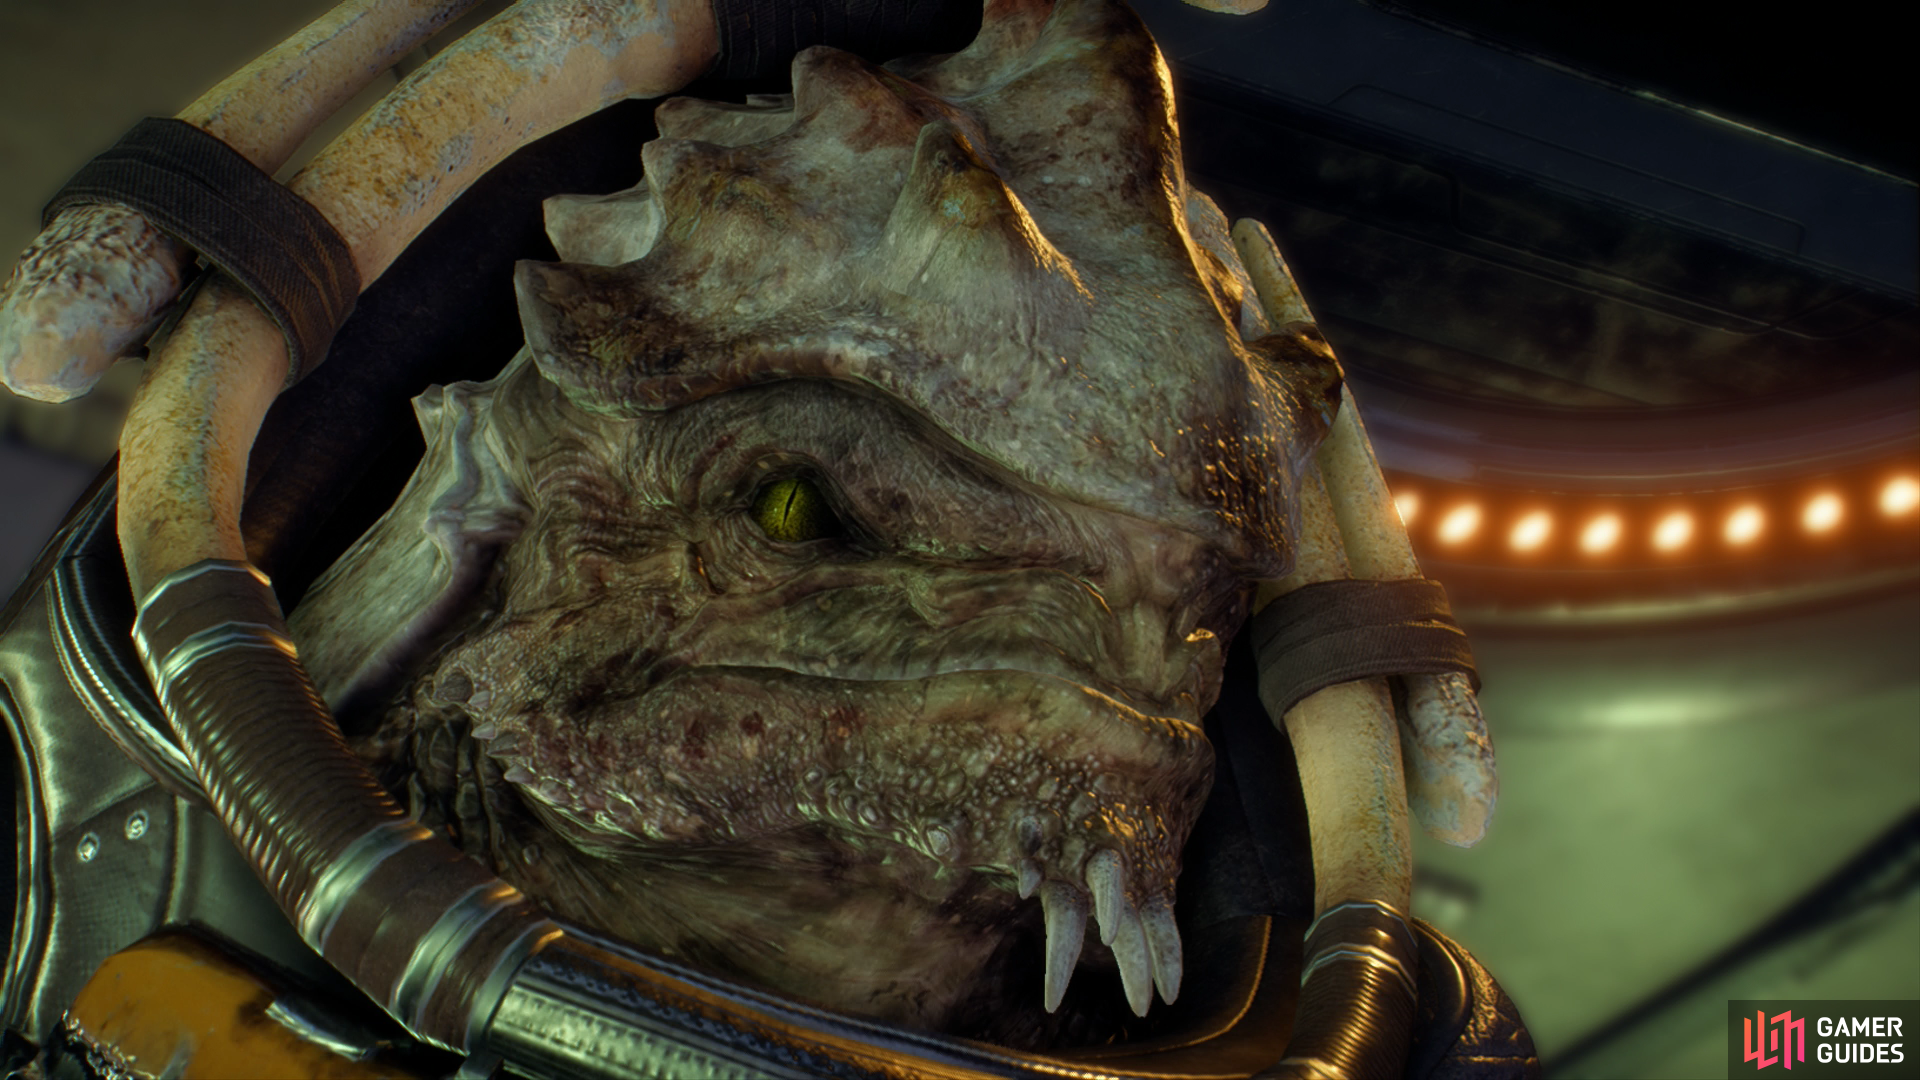
Continue down the southeastern walkway and to the structure nearby, which unfortunately is blocked by energy barriers. Drat. Use the nearby crates to jump onto the roof of the structure, loot a container, the drop down off the eastern side of the structure, where a search zone will start acting up. Deactivate a Kett Power Generator to disable the shields around the structure, after which you’ll be introduced to a Krogan, who is busy abusing a Wraith. After a nice chat and perhaps a failed recruitment effort, Drack will leave in search of more Kett to batter. How can you not love Krogan?
After Drack departs, scan some Artifact Crates , use a terminal to read some mostly unintelligible archives, then head through a doorway to the west. In here you’ll find a dead colonist (Anton, Darin T.) on a… surgical table? Seems the Kett are as interested in Milky Way anatomy as the Initiative is in Heleus biology. Grab a Component off a console (part of the quest “The Secret Project”), then use a nearby terminal to play some audio logs.
The Third Monolith
Leave the structure and continue east to find the third monolith. By now, you should be aware of what you have to do - there’s a central console, but to interface with it successfully you’re going to need to hunt down some glyphs. Scan and follow a wire to a pillar to the south, southwest, which you can scale by using an already-deployed hexagonal platform. Scan the glyph at the end of this pillar, then make your way to another pillar to the south, southeast and repeat the process to score a second glyph.
Before you interface with the central console, head southeast of the central console to find some Platinum near some rocks, then return west to the platform leading to the Kett base, under which you’ll find two Kett containers. When you’re ready, interface with the console and activate the third and final monolith, which triangulates to the lake to the northeast. Doing this will earn you another 73 AVP and increase Eos’s viability by 5%.
To the Remnant Vault
Return through the Kett base and hop back in the Nomad, then drive down the ramp to the east, southeast to reach the low ground around the lake. Turn northwest and drive until you find a suitable spot for the third Forward Station, which SAM will deploy automatically as you approach. This earns you another 2 AVP and +2% Eos viability, and more importantly, it’ll serve as a resupply, restoration, and fast-travel point for the next leg of the quest.
Further west you’ll find some Remnant structures, which may be occupied by Kett and Remnant - who are not friends. Defeat whatever it there and you’ll be able to exploit an Element Zero node and Lithium node. You may also find a Datapad that’ll advance the task “The Ghost of Promise”, so keep an eye out for that. Once those ruins are clear, remount the Nomad and drive northwest to find a crashed Kett shuttle, near which you’ll find a Lithium node and three Nickle nodes on some rocks to the northeast. Drive north from the crashed shuttle when you’re done exploiting the nearby rocks to find more Remnant ruins, near which you’ll find another Nickle and Lithium node.
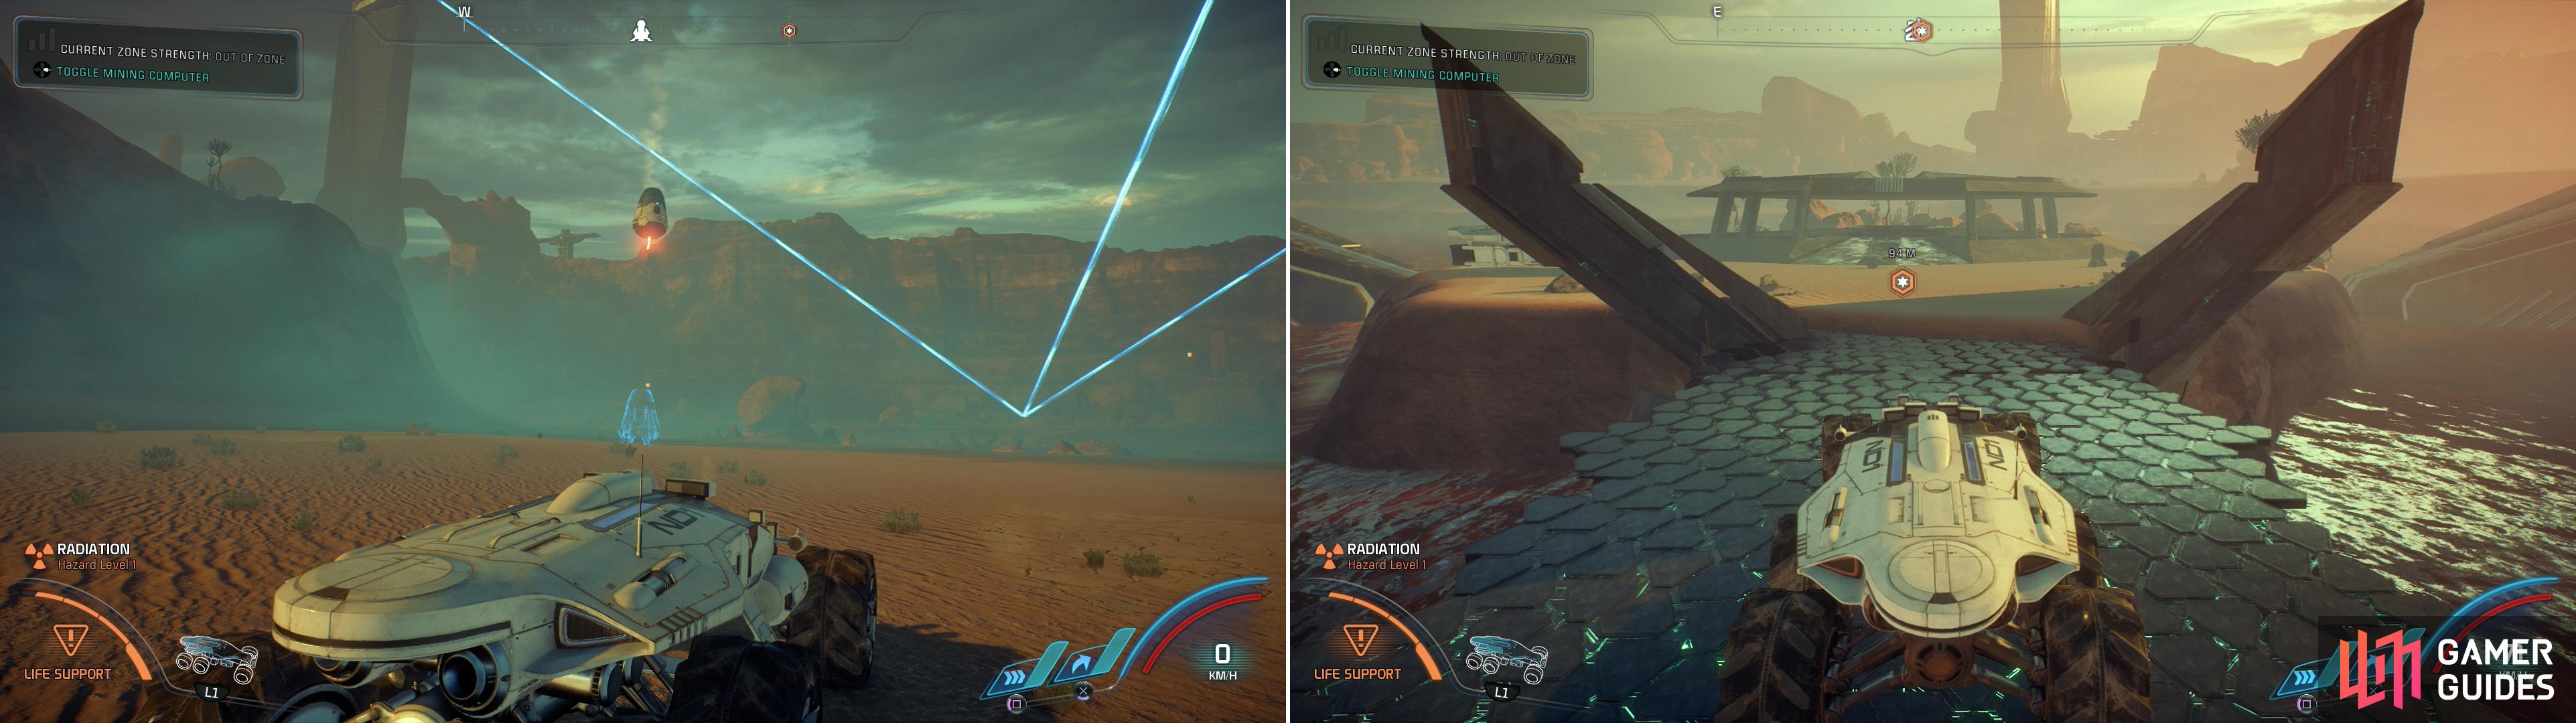
Deploy a Forward Station in The Golden Wastes below the Kett base (left) then drive to where the monoliths indicate the Remnant control center is (right).
From the second set of Remnant ruins turn east and drive off a cliff to reach a some structures near the lake. Exit the Nomad and use a Remnant Console to deploy some massive pillars from out of the lake. Get back in the Nomad and drive between the nearby structures, as a bridge will form between the ones on the lake shore and lead to a second set of structures on the shore of an island, which is where the Remnant vault is located.
Drive to the island, leave the Nomad, then head southeast through - and past - the ramp leading to the Remnant vault, as you can find two nodes of Fluorite , a node of Platinum and some containers to plunder. Return to the Remnant Vault and go down a ramp to find Peebee waiting for you near a door. Open the door and you’ll get the chance to change your loadout, so make sure you’re ready before you continue on - you won’t get another chance until you’re done terraforming.
No Comments