The Hollow Halls of the Springlands in Enshrouded are something of a maze to navigate, and it’s made more difficult by the lack of a map associated with the dungeon. The good news is that you can find your way to the end of the dungeon and acquire Alden Crowley the Collector so long as you explore every room that you encounter, but the bad news is that it can be difficult to fight your way through the Hollow Halls alone. To make things easier, we recommend coming with at least one other friend, but it’s possible to solo the dungeon if you’re well prepared.
Springlands Hollow Halls Location
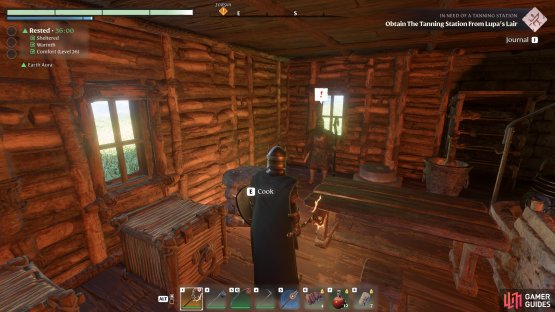
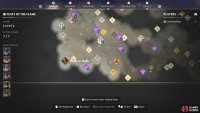
The first thing that you need to do before you can find the Hollow Halls in the Springlands is speak with Balthazar, the alchemist NPC. He’ll tell you about some of the lore associated with the place, and after the interaction you’ll have a new marker on your map, indicating the location of the dungeon. It’s easy enough to find since all you need to do is go to the far southwest of the map, shown in the screenshot below.
(1 of 2) Speak to the Alchemist to learn about the Hollow Halls.
Speak to the Alchemist to learn about the Hollow Halls. (left), The location of the Hollow Halls in the southwest of the Springlands. (right)
If you’re going to the Springlands Hollow Halls alone, now is a good time to prepare by crafting the best possible armor that you have access to, along with a bunch of healing potions, bandages, and a variety of food for different buffs to strengthen your playstyle. The Hollow Halls dungeons are most suited to level 25 players, since they’re effectively end-game content with some of the toughest encounters in the game. This is mostly because you’ll be fighting enemies in far greater numbers than you have been so far, so we recommend levelling up before you venture to the dungeon if you’re not already level 25.
Springlands Hollow Halls Dungeon
As you first enter the Springlands Hollow Halls dungeon, you’ll see a journal page on the table directly in front of you. This is the first of four journal pages that you can find throughout the dungeon, so be sure to look out for them on tables and bookshelves. They’re not essential for completing the dungeon, but you will learn some interesting things about the lore of the Hollow Halls.
With the journal read, you can make your way southward through the dungeon. You’ll soon find the first group of skeletons that you need to defeat, and this is just a taste of what’s to come. They’re easy enough to kill, and they provide loot in the form of Bones which you’ll need to craft the Revelwood Bone Key later, so be sure to collect at least 20 of them. After defeating the skeletons, you can smash the nearby pots for extra loot, then use the green portal at the other side of the room to reach the next part of the dungeon.
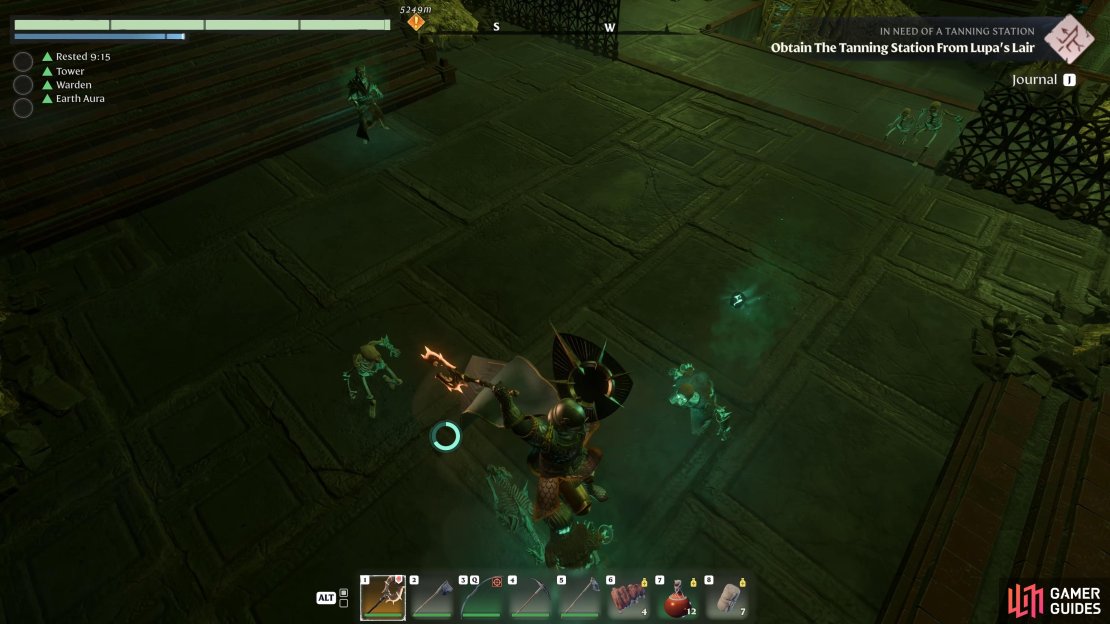
In the next part of the dungeon you’ll find more skeletons, this time with the addition of some dog-like skeletons which can inflict more damage than their humanoid counterparts. You’ll need to be careful here, especially if you’re alone, to avoid being swamped by too many of them at once. Take your time and kite the enemies around the room to take them out gradually. If you’re playing with a melee build, the jump attack is perfect for inflicting high damage on multiple enemies at once here, but you’ll need to watch your stamina consumption.
First Barrier Room
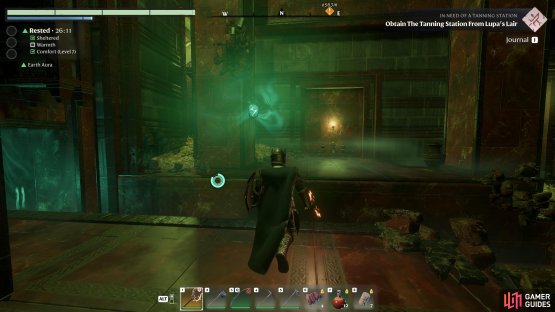
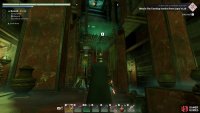
Once all the enemies in this room are dead, you’ll notice the first green barrier on the western side of the room, with a floating green glyph above it. You need to jump up to the platform on either side of the glyph and jump through it to collect it. For the second glyph, go back onto one of the platforms and look up toward the east. You’ll see a grapple point here leading to a platform where the second glyph can be found. All you need to do from here is use your glider to go through the barrier to the west.
As you continue westward through the dungeon, take your time and approach the crossroads slowly. You’ll notice a bunch of skeletons running to the northeast, and you can avoid fighting them here if you let them pass. You’ll then have free access to the small room ahead, where you’ll find a treasure chest and a journal page. The journal is on the ground floor, while the chest is hidden above via another grapple hook.
(1 of 2) The first glyph can be found just in front of the barrier.
The first glyph can be found just in front of the barrier. (left), The second glyph is on a platform above the barrier. (right)
There are a few skeletons to fight in this room, including some wights which drop Ectoplasm Fragments. Be sure to keep at least 50 of these to craft the Revelwood Bone Key later. After dealing with those, you can go back to the hallway and make your way northeast, where the skeletons were running. Defeat these then head westward to find a pile of rubble blocking the entrance to another room. You can dig through this using a pickaxe to find a treasure chest on the other side.
With the treasure chest looted, go back to the hallway and then down the stairs to the south. Here you’ll find a checkpoint which will serve as a respawn point if you should die, so be sure to interact with it if you want to avoid making the same journey twice in this run. You can then continue southward to the next barrier room.
Second Barrier Room
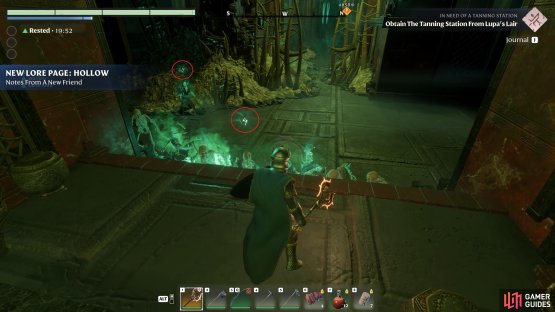
The barrier in this room can only be unlocked by defeating the wights which have glyph symbols above their heads. You’ll see glyphs that glow bright green, but some of the wights like to hide behind stone columns, so you may need to check every nook and cranny to find them. There should only be two that you need to kill here to unlock the barrier to the west, but you should interact with the journal on the eastern side of the room before you proceed. Another treasure chest can also be found behind a hidden wall that can be revealed by pressing a button to the south.
With everything looted, head west until you reach a hole in the ground. You can jump through this using your glider to ease the fall, and you’ll now find yourself in the third barrier room.
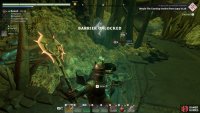
(1 of 2) Look for the wights with the glyphs above their heads to unlock the second barrier.
Look for the wights with the glyphs above their heads to unlock the second barrier. (left), The barrier will automatically unlock once you’ve killed the relevant wights. (right)
Third Barrier Room
This room has a green glyph located in the center, with the barrier itself on the far western side of the room. This is only one of six glyphs that you’ll need to collect to unlock this barrier, so start by collecting the first glyph, defeating the skeletons and wights along the way. You can then go to the far eastern side of the room where you’ll find some broken stairs, at the bottom of which you’ll find another glyph, but you need to jump through it and over the broken stairs to collect it.
Now that you’ve collected the glyph on the eastern side of the room, go back to the center where you found the first glyph and from here, head directly south to find a broken passage leading to a treasure chest.
(1 of 2) The first glyph can be found in the center of the room.
The first glyph can be found in the center of the room. (left), The second glyph is between this broken platform on the eastern side. (right)
You can now return to the center of the room and go to the northwest side, where you can look up to find a grapple point. On this platform you’ll find another glyph, and if you look down to the east, you’ll see two more glyphs on platforms at either side of the room. You need to jump from here twice to reach each one with your glider. The final glyph in this room can be found on the broken bridge toward the barrier itself on the western side of the room, so all you need to do is jump through this to activate it.
On the other side of the barrier, you’ll find another respawn checkpoint, and there are two paths that you can take from here, one to the south and one to the north. They both lead to the same place deeper in the dungeon, but the path to the north is slightly easier. If you want to maximize the amount of loot gained, you can take both paths by backtracking once you reach the next checkpoint. Whether you take both or one, be sure to look up and check every corner for grapple and climb points that lead to hidden loot.
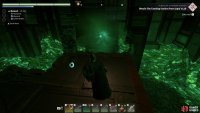
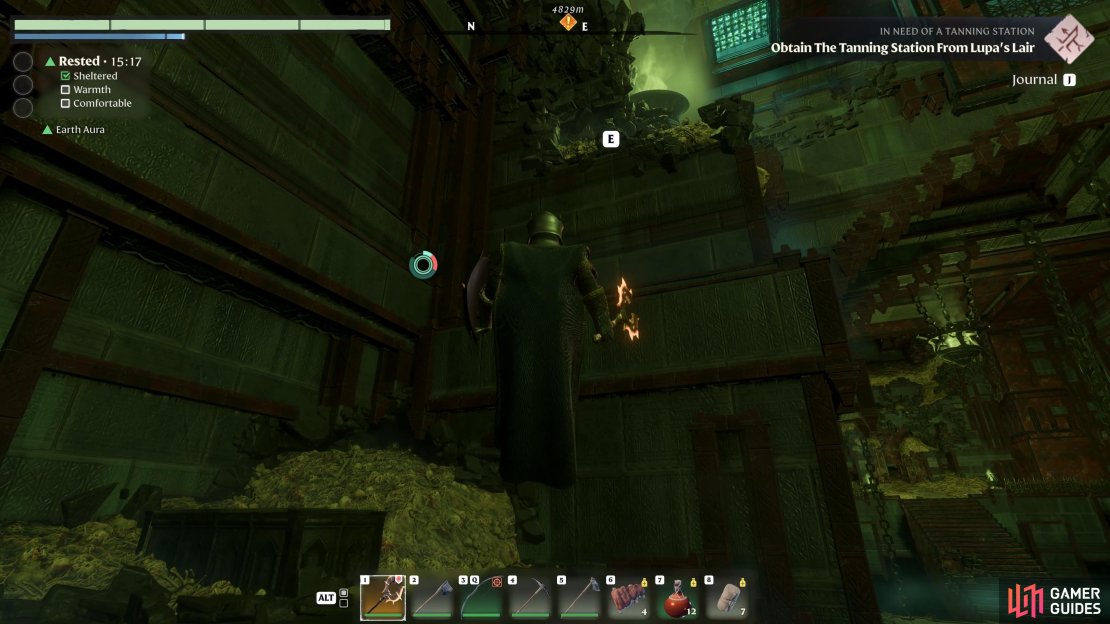
(1 of 4) Use the grapple hook to reach the platform where the third glyph is located.
Regardless of the path you took, it won’t be long until you reach a room containing the “Come Hither” journal entry. Read this and then head through the gates to the west to activate the next respawn checkpoint, then move on to the fourth barrier room.
Fourth Barrier Room
This is the final barrier room, which is actually more of a series of rooms that you need to navigate by killing wights with glyphs above their heads. There are a lot of more skeletons and wights here, so be extra careful when making your way through so that you don’t pull too many of them at once. Along the way you’ll find more side rooms with treasure chests, including some with Hollow Halls building materials, so be sure to check these before you proceed.
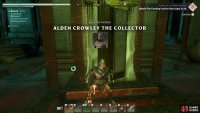
Once you’ve killed all the skeletons and wights in this large complex of rooms, go back to the far eastern side of the main chamber to find a previously locked door, now open. You’ll find another treasure chest behind here. With this done, go back to the far western side of the room to find a sarcophagus on the central column. Interacting with this will give you access to Alden Crowley the Collector, an NPC exclusively associated with the Hollow Halls, who you’ll need to summon back at your base to gain access to the rest of the Hollow Halls in other regions.
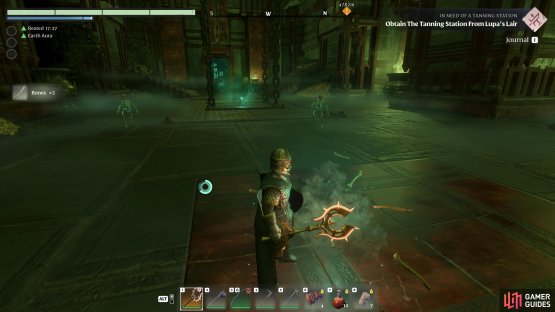
(1 of 3) You’ll need to kill wights with glyphs above their heads in this final barrier room.
And there you have it; you can now loot the final chest to the west and then use the green portal to get back to the dungeon entrance. All you need to do from here is port back to your base and use the summoning staff to speak with Alden!










No Comments