
The Nomad Highlands Hollow Halls dungeon is the third one that you’ll be able to discover in Enshrouded. To gain access to it, you need to craft an Ectoplasm Press and the Nomad Highlands Bone Key. You can then travel to the dungeon which is located in the northernmost part of the Nomad Highlands. The path through the dungeon is similar to the others, in that you need to defeat skeletons and wights while searching for glyphs to unlock barriers. On this page, we’ll take you through each of the puzzles and show you how to complete them.
Nomad Highlands Hollow Halls Location
As mentioned above, you can find the entrance to the Nomad Highlands Hollow Halls dungeon in the northernmost part of the region. It’s tucked into the mountainside here, as you can see in the screenshot below.

(1 of 2) Be sure to craft the Ectoplasm Press before you venture out.
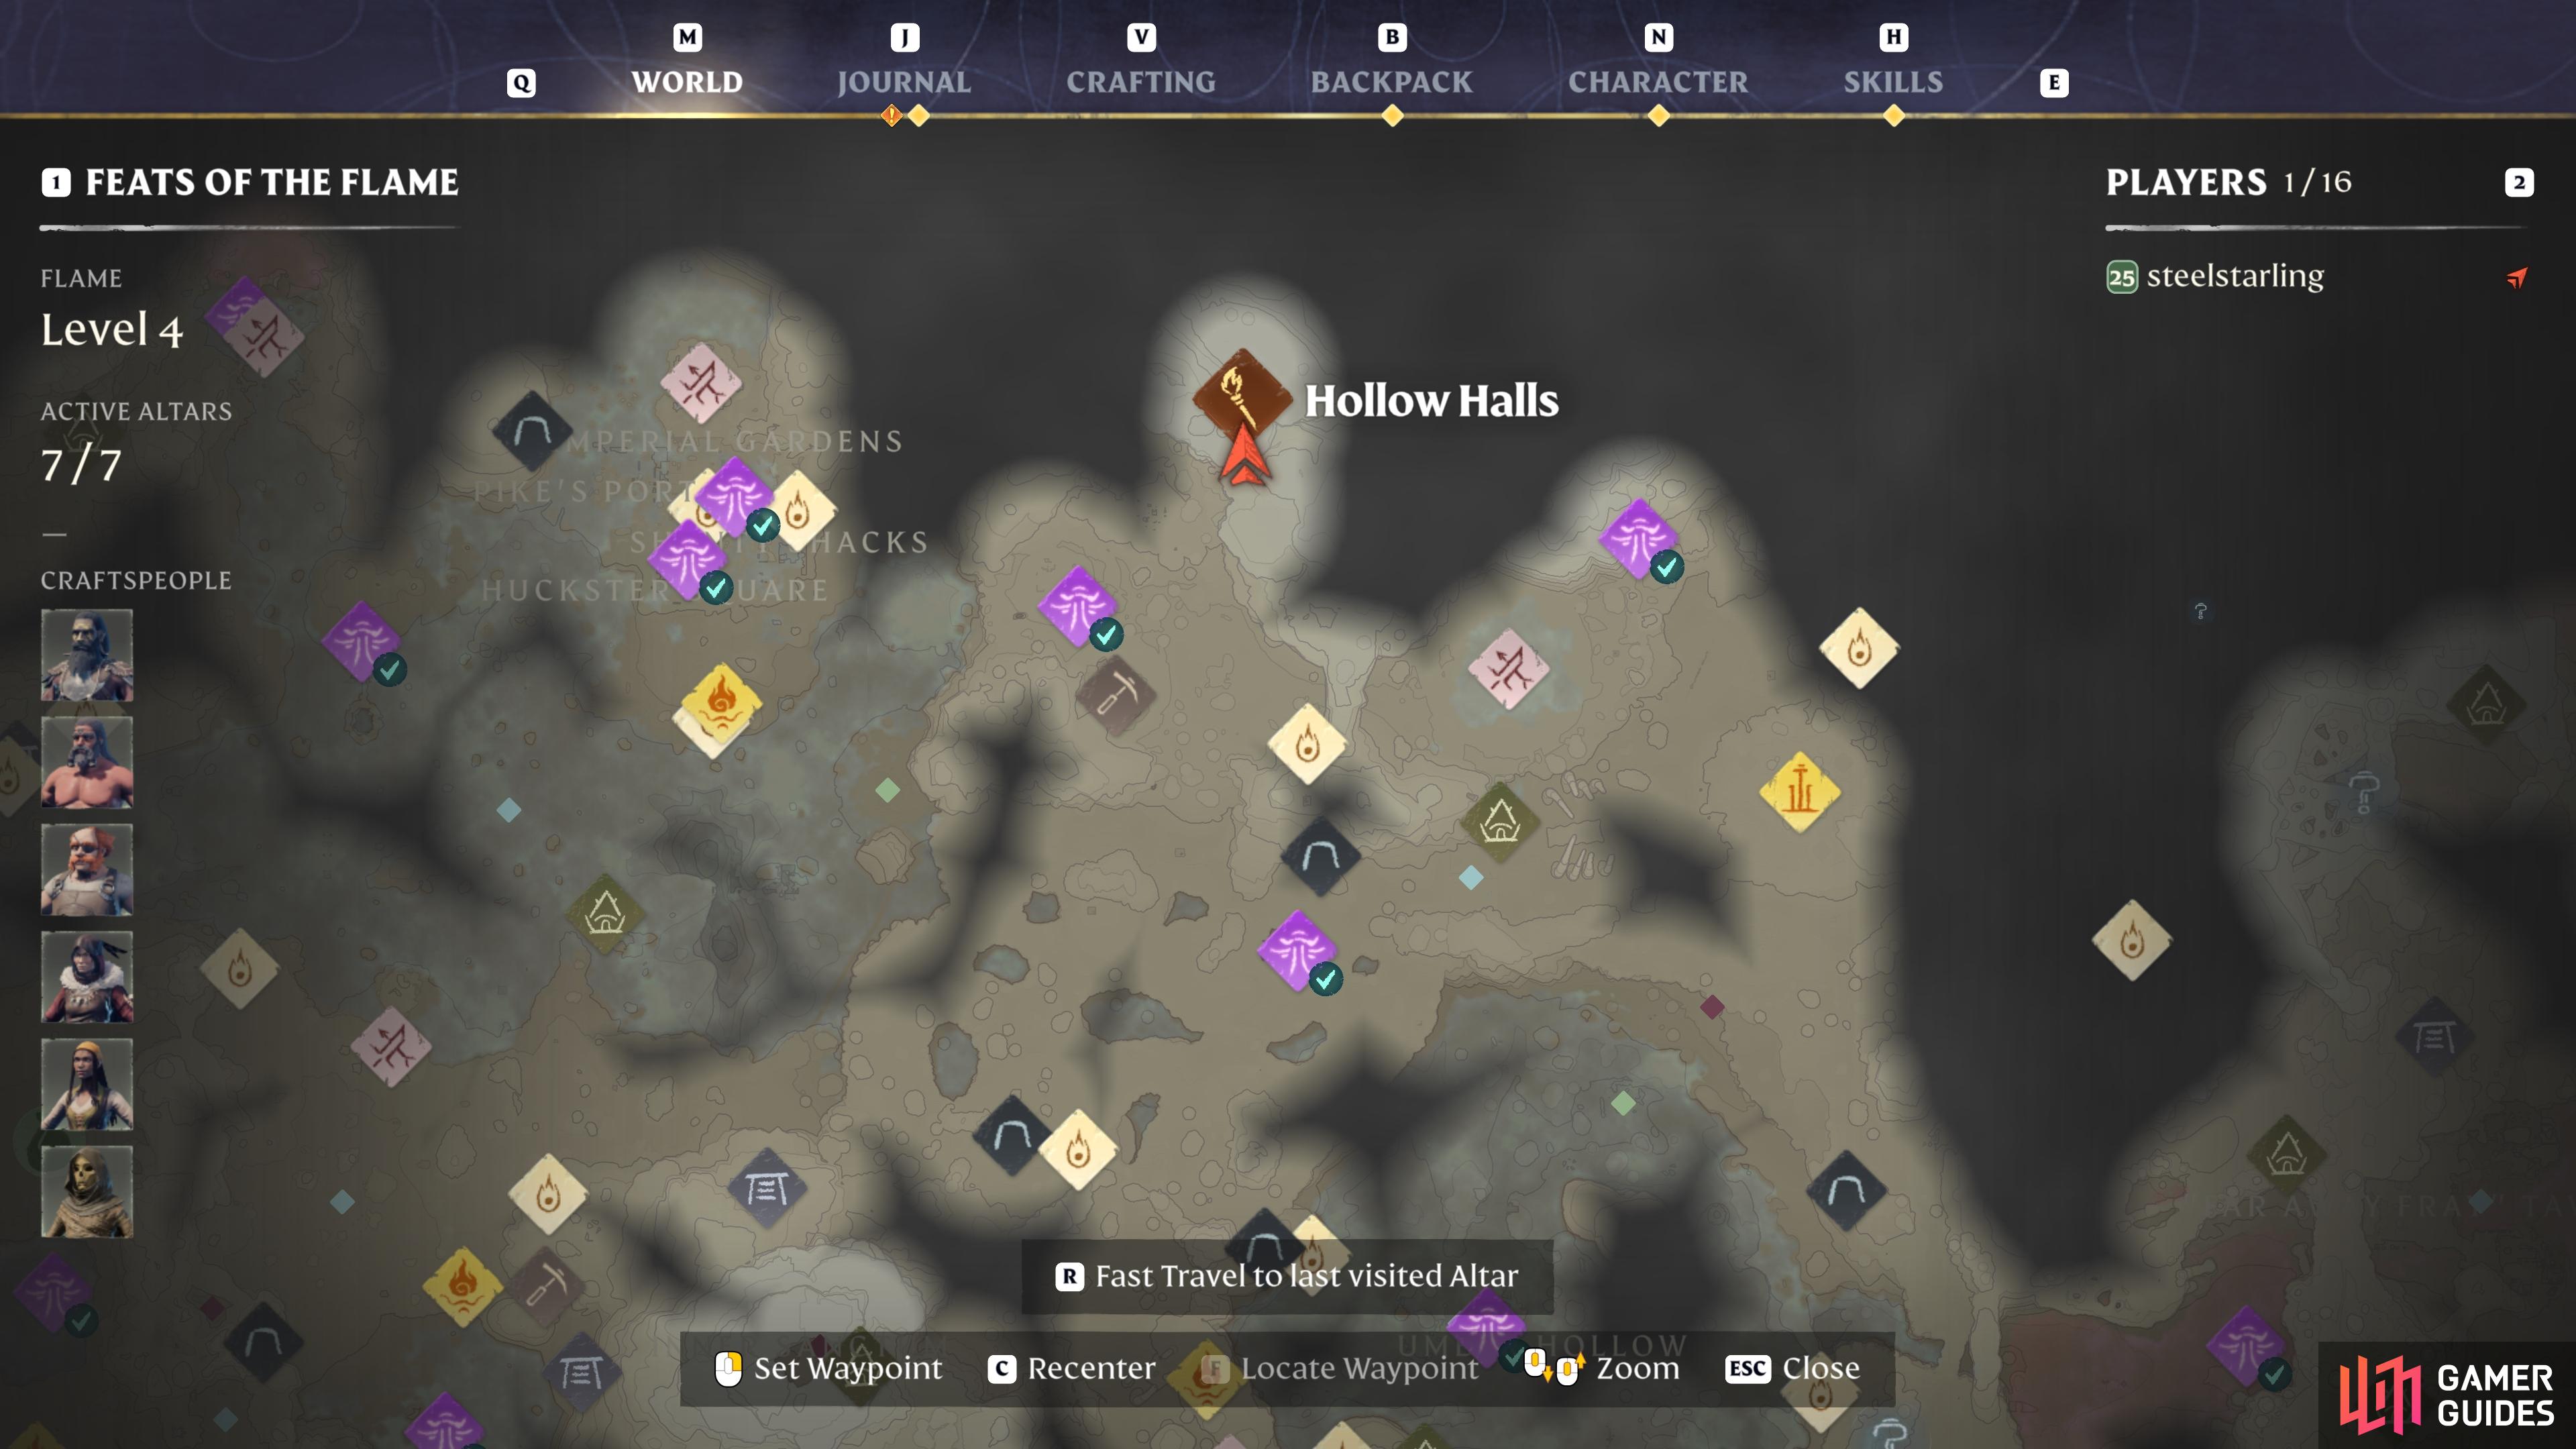
Be sure to craft the Ectoplasm Press before you venture out. (left), The Nomad Highlands Hollow Halls dungeon is in the northernmost part of the region. (right)
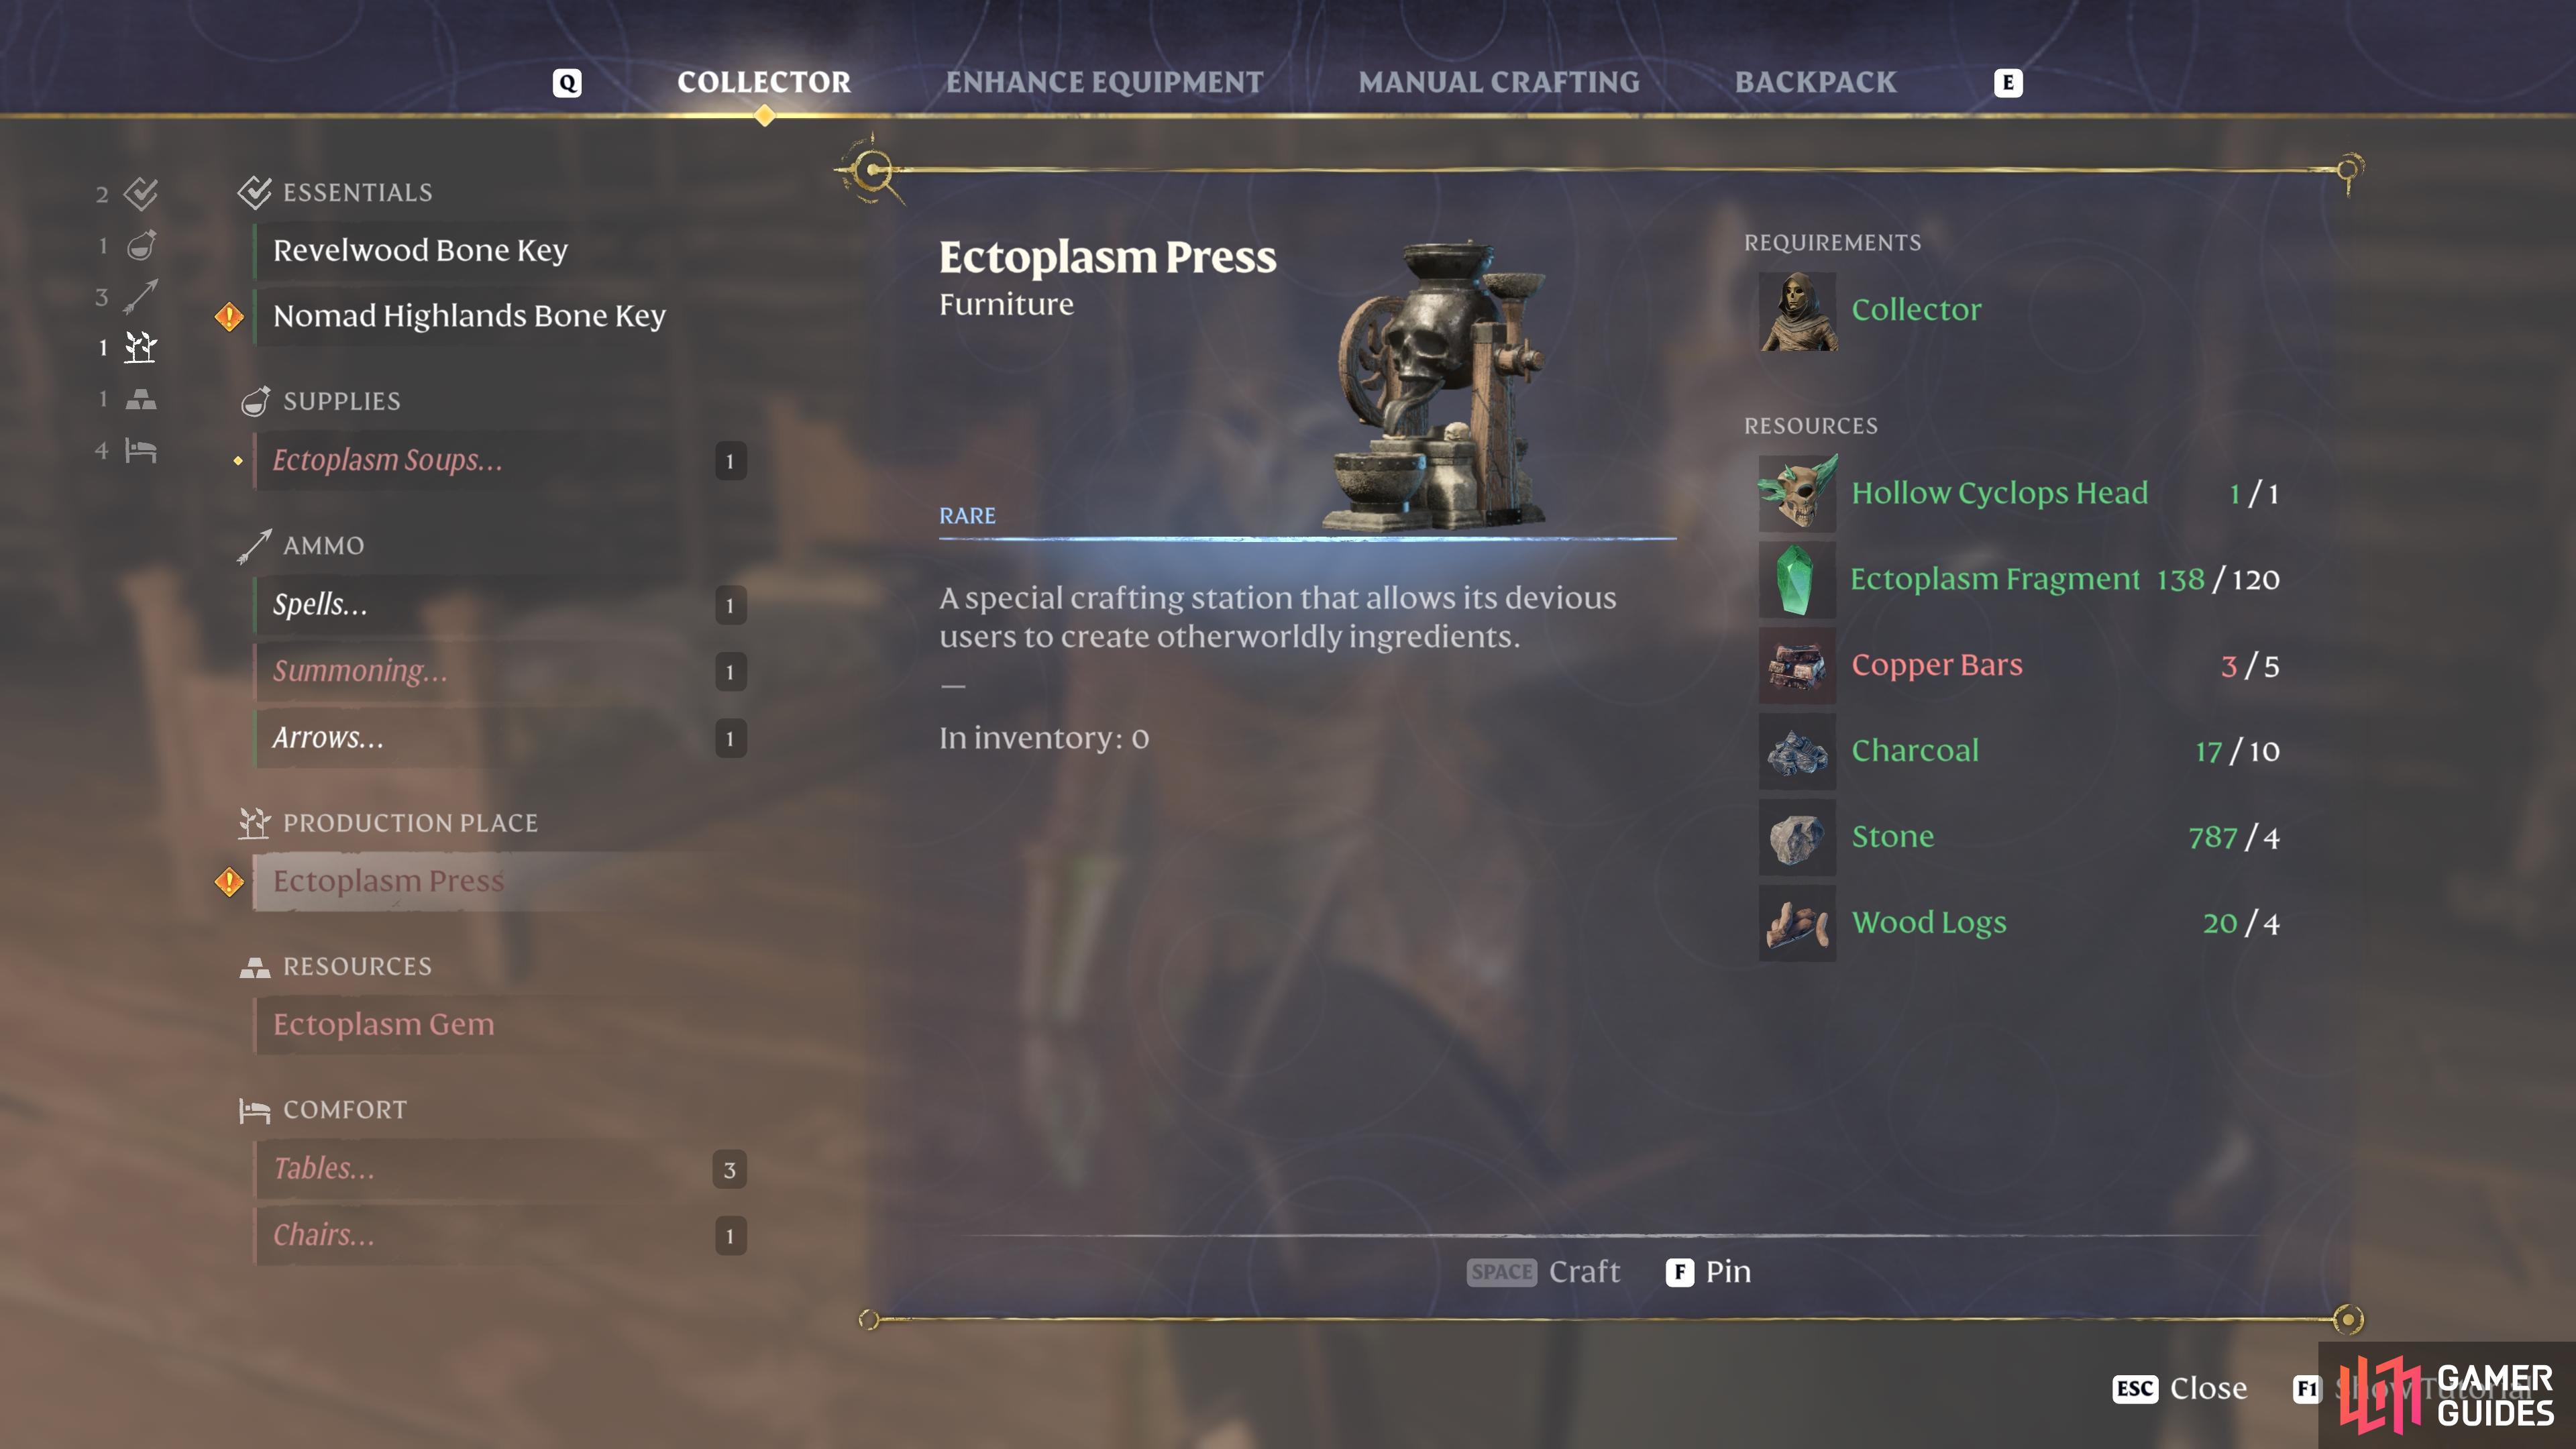
The entrance can only be opened with the Nomad Highlands Bone Key, which you can craft using Ectoplasm Fragments and Giant Bones, both of which you will have found plenty of in the previous dungeon. You should also craft the Ectoplasm Press by speaking with the Collector in your base, which requires the following ingredients:
- 1 Hollow Cyclops Head
- 120 Ectoplasm Fragments
- 5 Copper Bars
- 10 Charcoal
- 4 Stone
- 4 Wood Logs
You should have plenty of Stone, Wood Logs, Charcoal, and Copper Bars readily available at this point in the game. The other materials will have come from previous Hollow Halls dungeons. Although you don’t need to craft the Ectoplasm Press to enter the Nomad Highlands dungeon, it is required to unlock the quest associated with it, so it’s worth doing before you set out.
Nomad Highlands Hollow Halls Guide
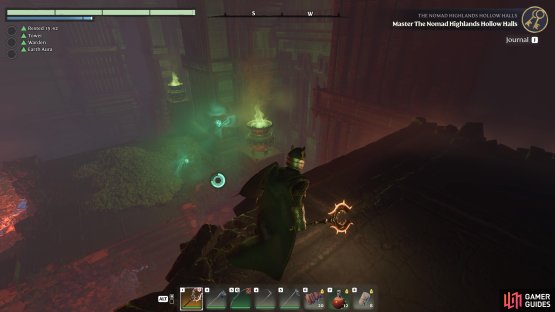
As with the other Hollow Halls dungeons, when you make your way through the hallways you should destroy all the pots and check every corner for hidden passages which may lead to treasure chests. This isn’t required to complete the dungeon, but it will maximize the amount of loot you can come away with. The start of this dungeon is similar to all the others; make your way to the end of the initial hallway to find a green portal.
On the other side of the portal, you’ll find yourself in a hallway complex with multiple side-halls. Explore these thoroughly to get all the loot, killing skeletons and wights along the way, then go through the hall on the western side to continue onward. At the end of this hallway, you’ll come across a large hole in the ground which you need to glide down into the chamber below.
First Barrier Glyph Locations
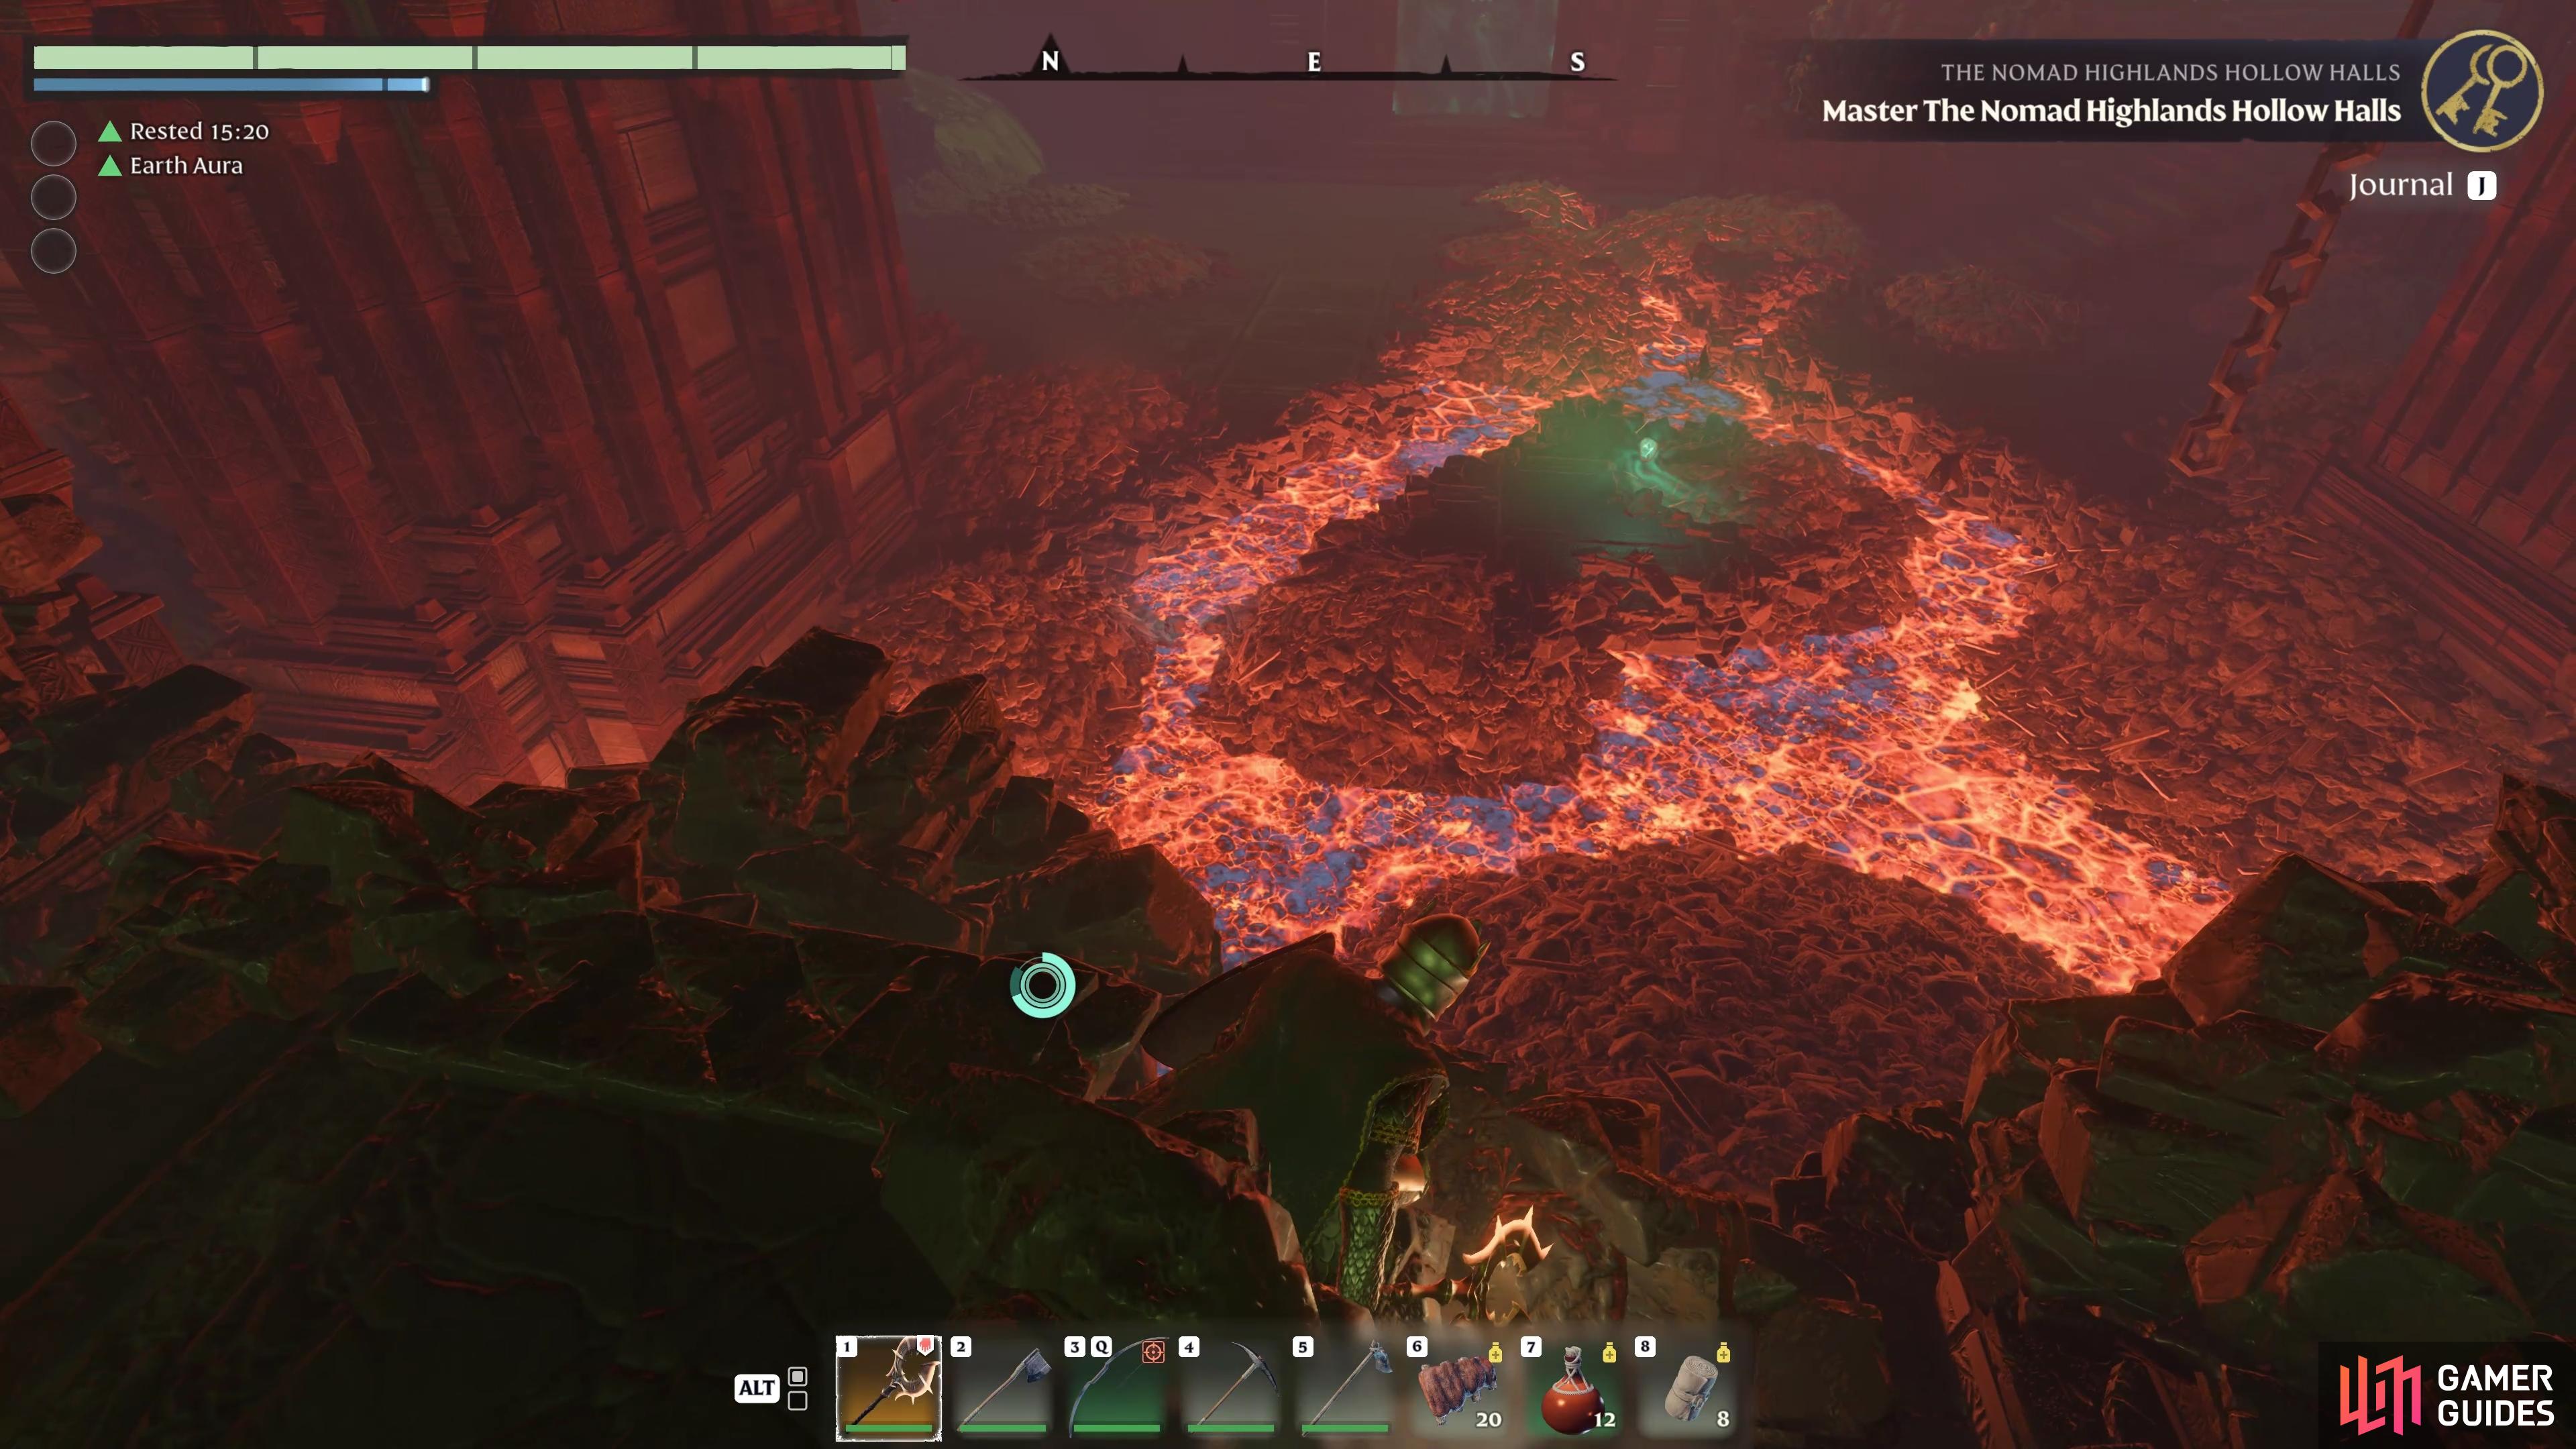
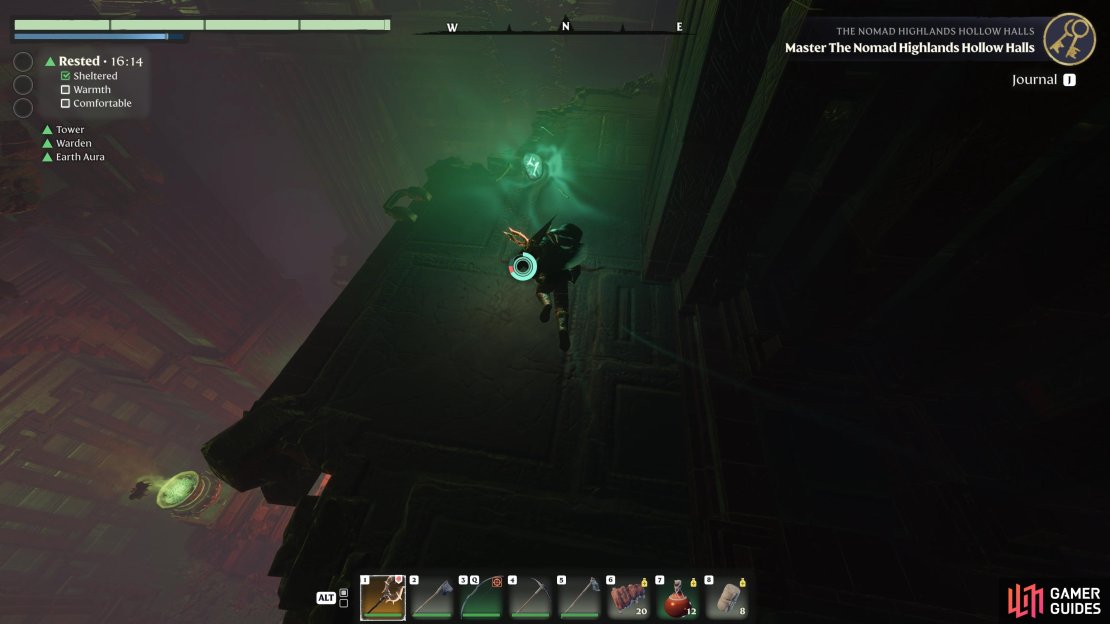
You should be able to notice a few green glyphs floating on different levels of the chamber below as you descend. There are five glyphs in total, and you’ll need to collect all of them to proceed. To begin, turn north from the green barrier on the eastern side of the chamber, climbing up the rubble as you turn west to find a grapple hook point. Use this to reach the platform above, where you’ll see a small electrical puzzle ahead. You can easily jump through this, but even if you’re caught it won’t inflict much damage.
Keep moving westward until you see another grapple hook point, leading to another platform above. From here, look down to the south where you’ll see two floating glyphs, both of which you can collect by gliding through them. If you miss one of them, just go back the way you came and try again. After landing on the platform below these glyphs, look to the southwest for a treasure chest in the corner. You can then turn around and head north, jumping down the rubble to the lava pit, but turn right (southeast) at the bottom to find another chest here.
After looting the second treasure chest, continue southward to find another green glyph in the center of the lava pit. You can hop over the rock to reach it without landing in the lava.

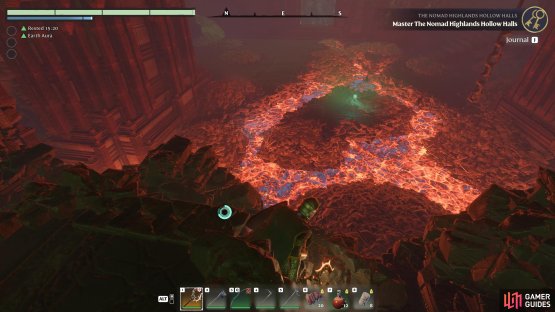
(1 of 2) You need to glide through both of these glyphs, but if you miss one you can come back.
You need to glide through both of these glyphs, but if you miss one you can come back. (left), Another glyph is located in the center of the chamber. (right)
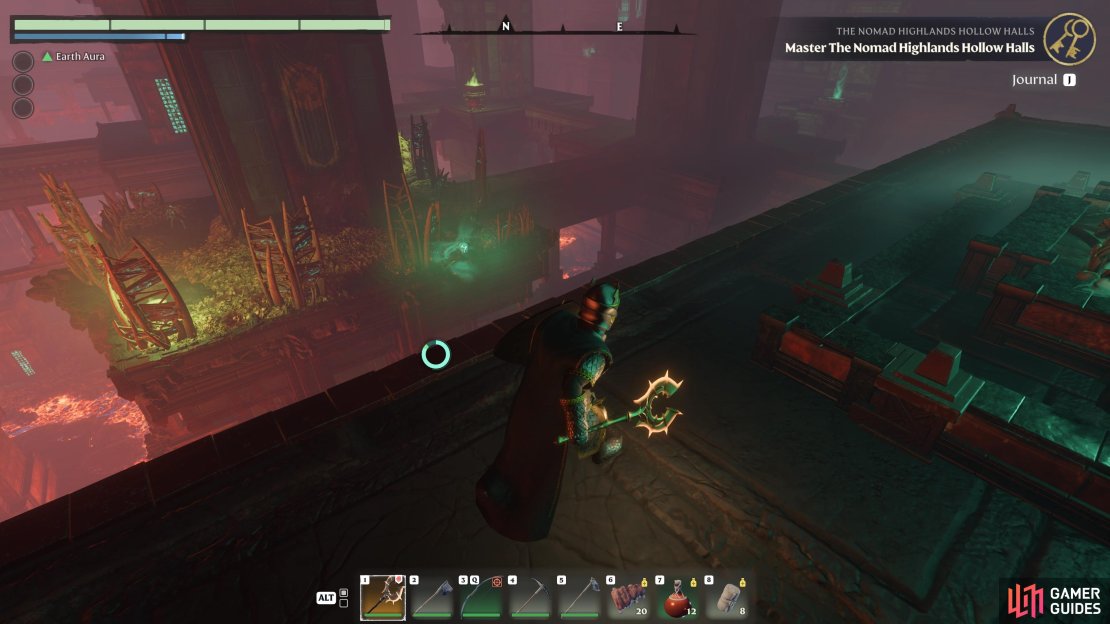
Three down, two to go, and to reach the last two you should head to the southern part of the chamber, then turn north to see a grapple hook point on a stone column. Use this to get on the platform, then climb up the column to find a glyph at the top. From this glyph, turn south along the platform and look up to the west, where you’ll see another grapple hook point. Go up the stairs from here, then turn north to find the last glyph opposite. You need to use your glider after double-jumping to reach it.

(1 of 3) Look for the grapple point from the southern part of the chamber.
Once you’ve thoroughly explored the chamber and collected all the glyphs, head through the hall where the barrier was to the east, where you’ll soon find a respawn checkpoint. You’ll need to continue through more hallways containing skeletons and wights, digging through the rubble on the eastern side to find a treasure chest behind it, then go through the gates to the north to find another hole in the ground which you can glide through, leading to a chamber with some spider enemies. After dealing with the spiders, thoroughly explore the chamber for loot before moving on, using a weapon to cut through the webs.
The small room on the other side of the web has two paths that you can take, one to the east and one to the west. It doesn’t matter which you take since both lead to the same chamber, but beware the spikes that rise from the ground along both paths. Where both paths meet down the stairs, turn south to find a small room with hidden treasure chests on the eastern and northern walls, then go back through the hallway to the north.
As you enter the area where the path forks to the west, north, and east, take some time to thoroughly explore the eastern path for more treasure chests and a journal page. After that, return to the main path and take the stairs down to the north, exploring each side of the stairs for loot along the way. At the bottom of the stairs you’ll find another door, leading to a room with another respawn checkpoint just before the second barrier chamber.
Second Barrier Glyph Locations
This chamber is much bigger than the last, with multiple columns on each side in a Moria-esque scene. There are twelve glyphs to be found in here before you can pass through the barrier to the north, and each of them are either within the columns, or accessed at the side of the room by climbing them. Navigating this chamber will take you a good while, especially with all the skeletons and wights throughout, so be sure to destroy their totems to stop them from spawning. You’ll also find a Hollow Cyclops in the center of the chamber, so be ready for a longer fight with this.
In addition to the glyphs, this chamber contains a few treasure chests that are often hidden at the edges of the room, accessed by jumping over upended tombs within the lava, or within the columns themselves. Make sure you thoroughly explore every inch of the room before you move on if you want to maximize your loot. They’re not difficult to find so long as you don’t overlook these parts of the chamber.
As noted above, most of the glyphs can be found within the columns, so all you need to do is look up from within them, or look on the outer edges for grapple hook points. A few of the columns have green portals within them, which you can use to access the higher parts of the chamber. Here you’ll find some glyphs at the edges of the chamber, and you’ll need to use the portals up here to reach them. Most of the other glyphs are easy to find so long as you explore each column methodically.


(1 of 4) Look around the edges of the chamber for treasure chests.
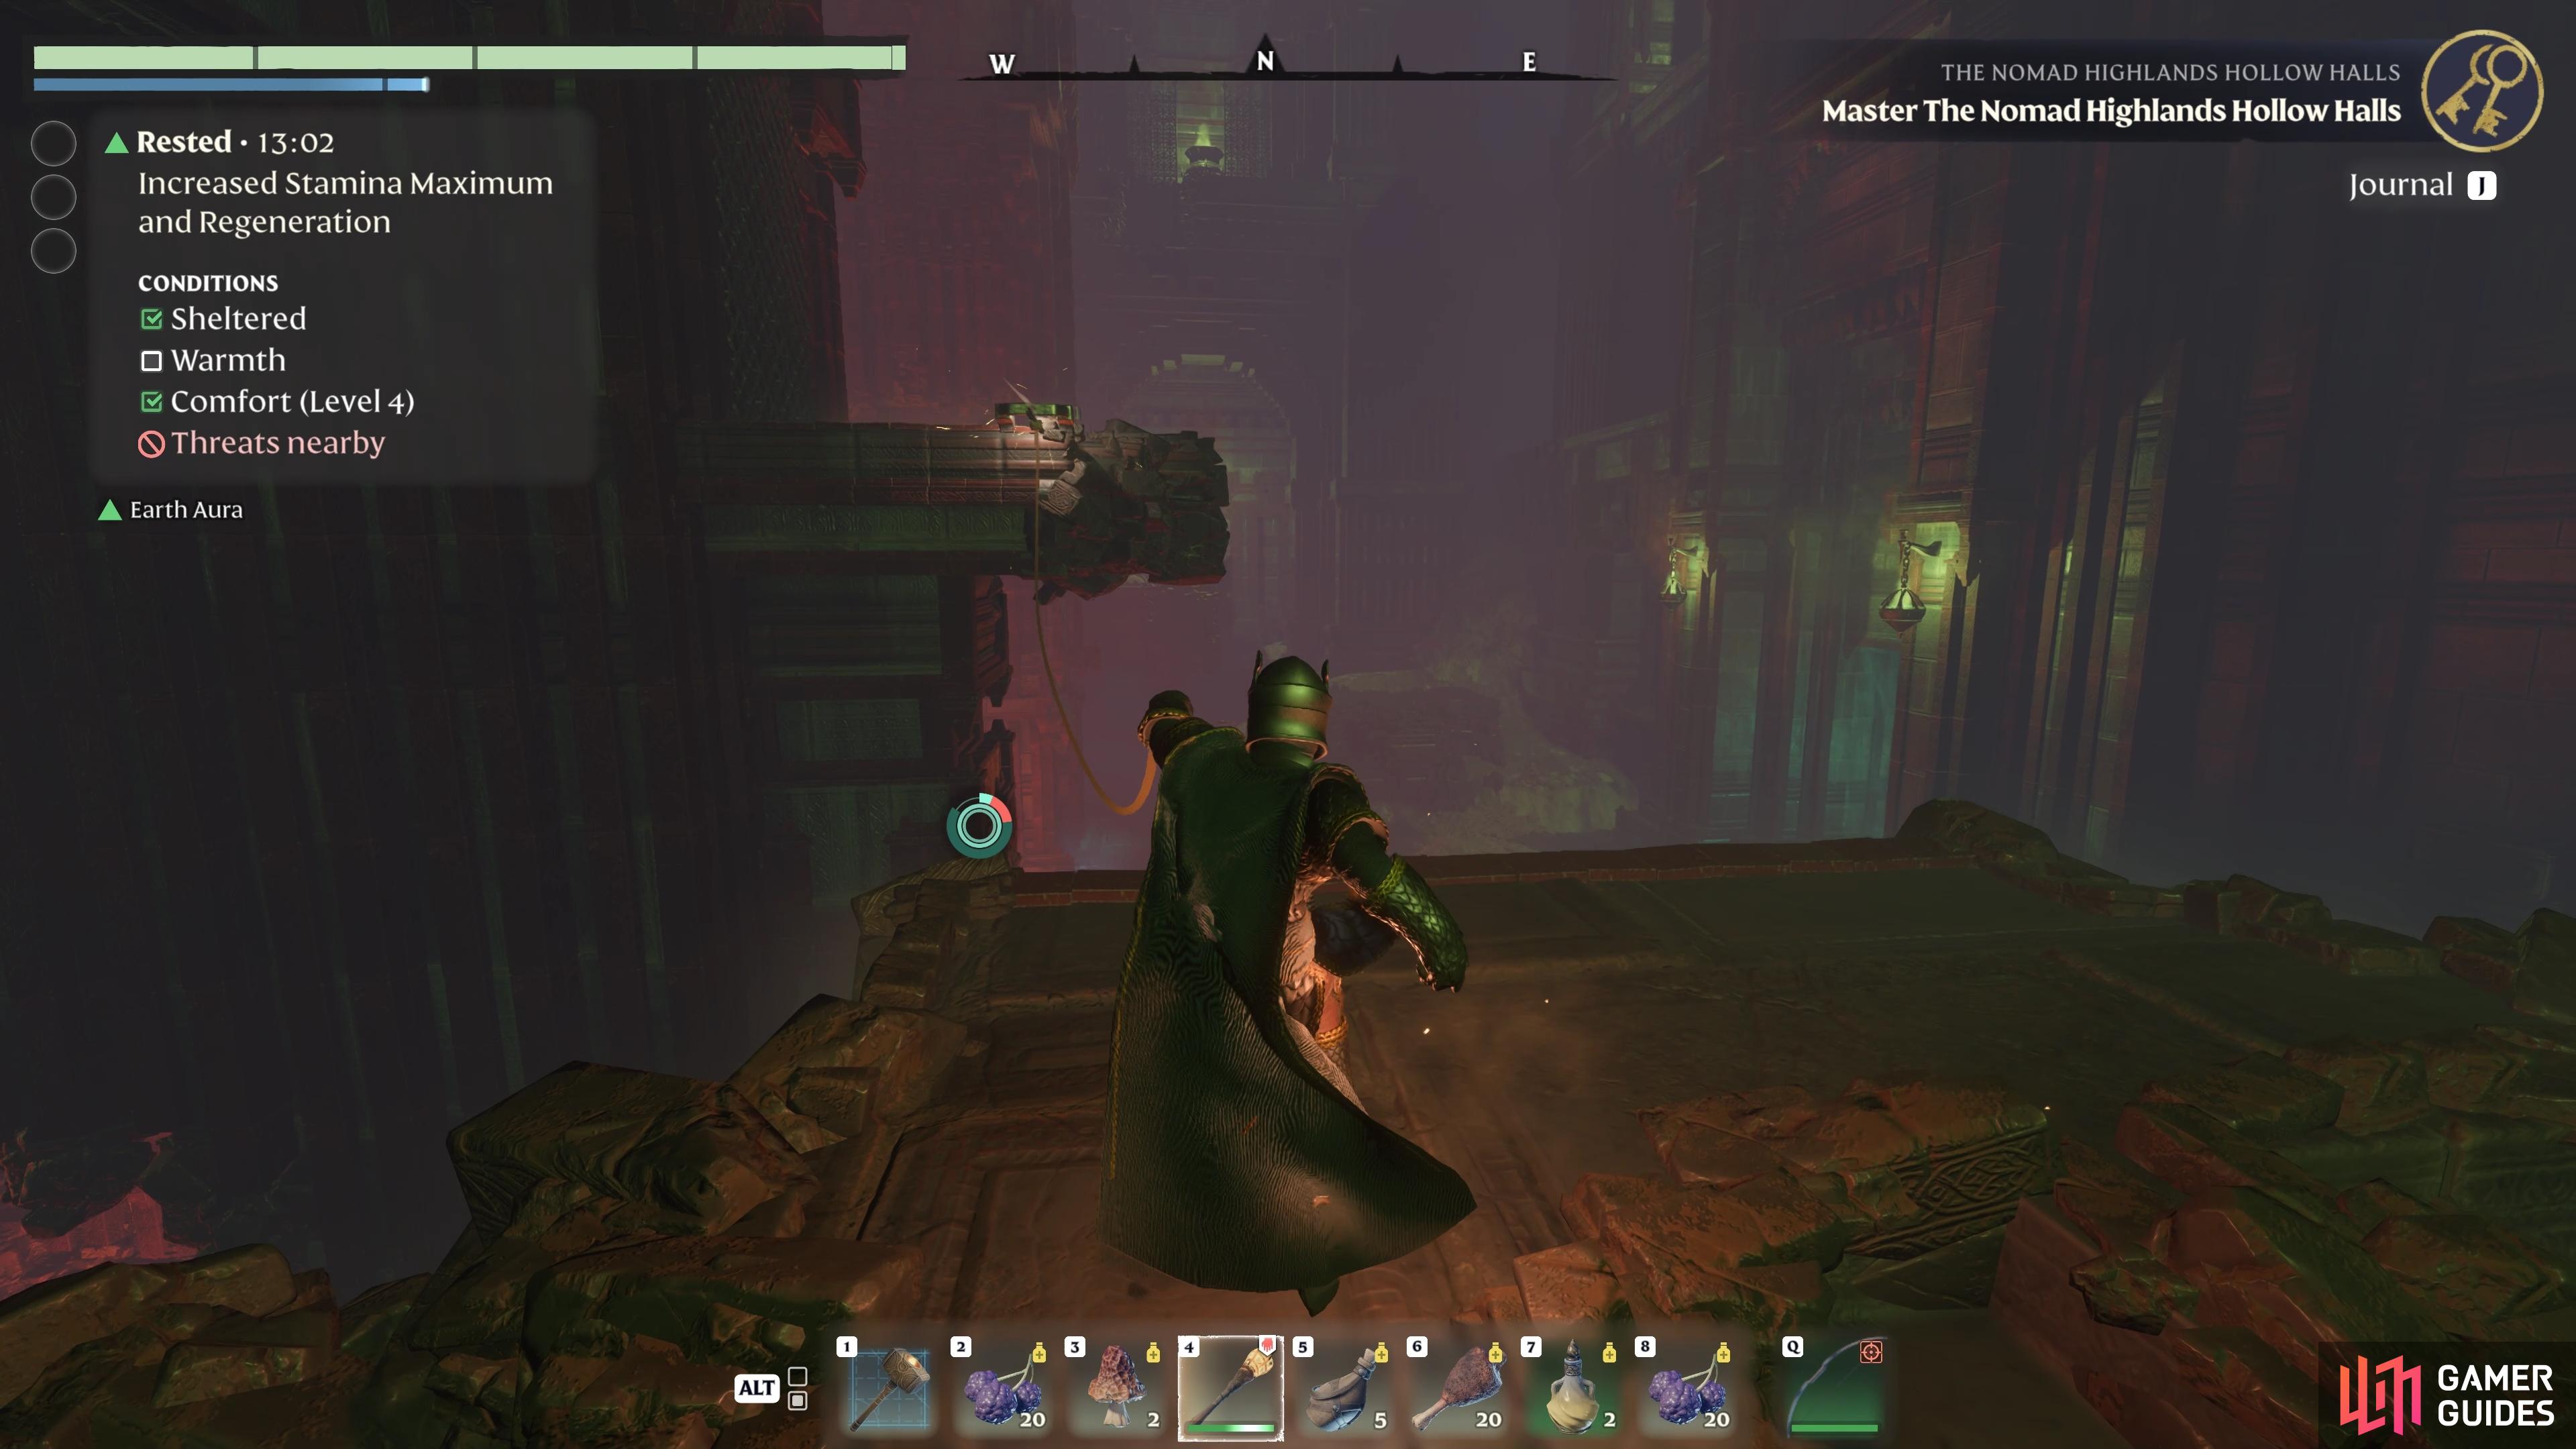
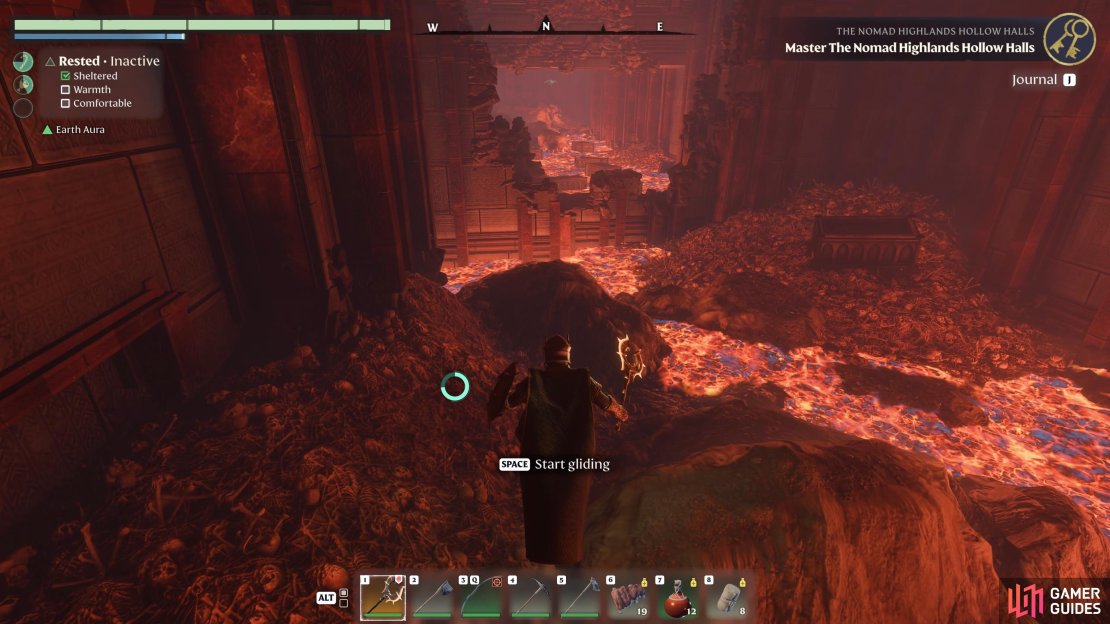
With all of the glyphs in this second chamber collected, you can go through the path which the barrier was blocking to the north, leading to a small room with a respawn checkpoint. As you make your way beyond this, you’ll find some stairs to the east which lead to another chamber flooded by lava. This one is much narrower than the last, and the best way to navigate it is by using the grapple hook points above it. It’s easier to do this without double jumping, especially since you save stamina this way, so don’t be tempted to overdo it with the jumping.
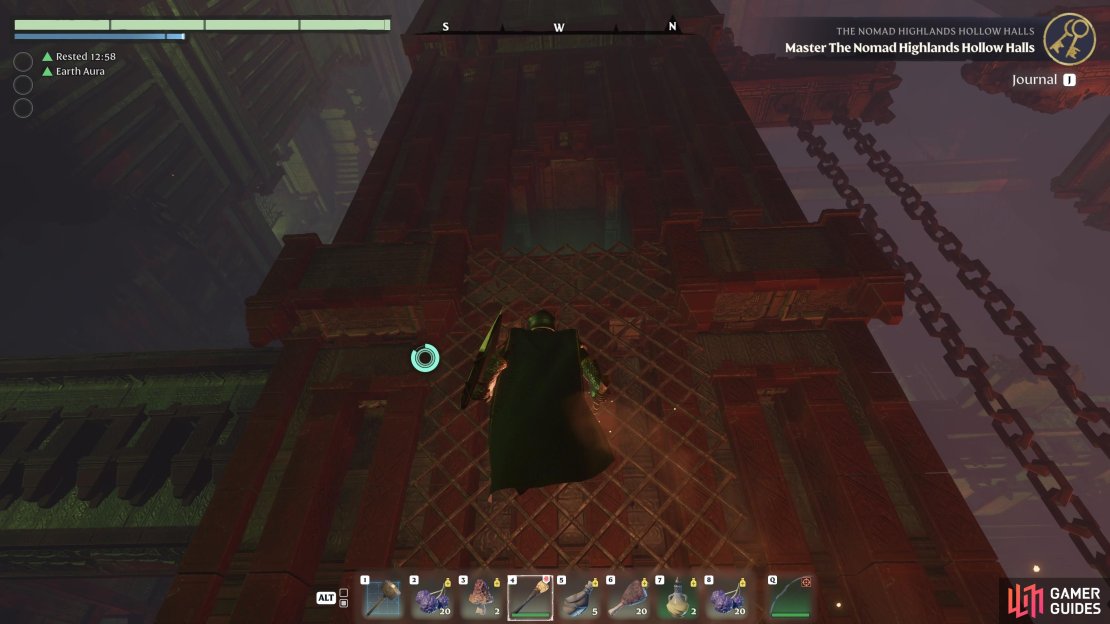
There are grapple points throughout this chamber which lead to small platforms where more treasure chests can be found, so keep an eye out for these as you swing. If you do happen to fall, or you miss a specific grapple point, you can jump over the lava using the rocks within it and go back to the beginning, so don’t worry too much if you miss something or run out of stamina. You’ll need to take the path through the lava rocks at the end anyway if you want to maximize your loot by checking each wall for hidden chambers.


(1 of 3) Use the grapple points to reach small platforms with loot.
Once you’ve explored everything in the chamber with the grapple hook points, go through the hole chamber using them as you turn westward, which will eventually lead to another hallway with a respawn checkpoint at the end of it. Just beyond here you’ll find the final barrier chamber.
Third Barrier Glyphs
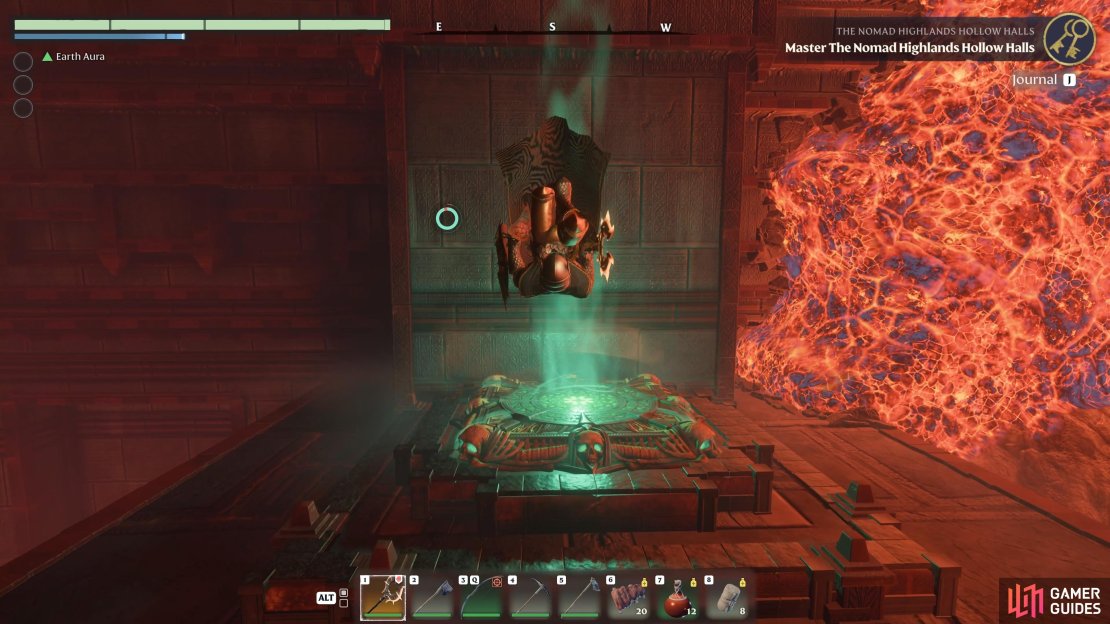
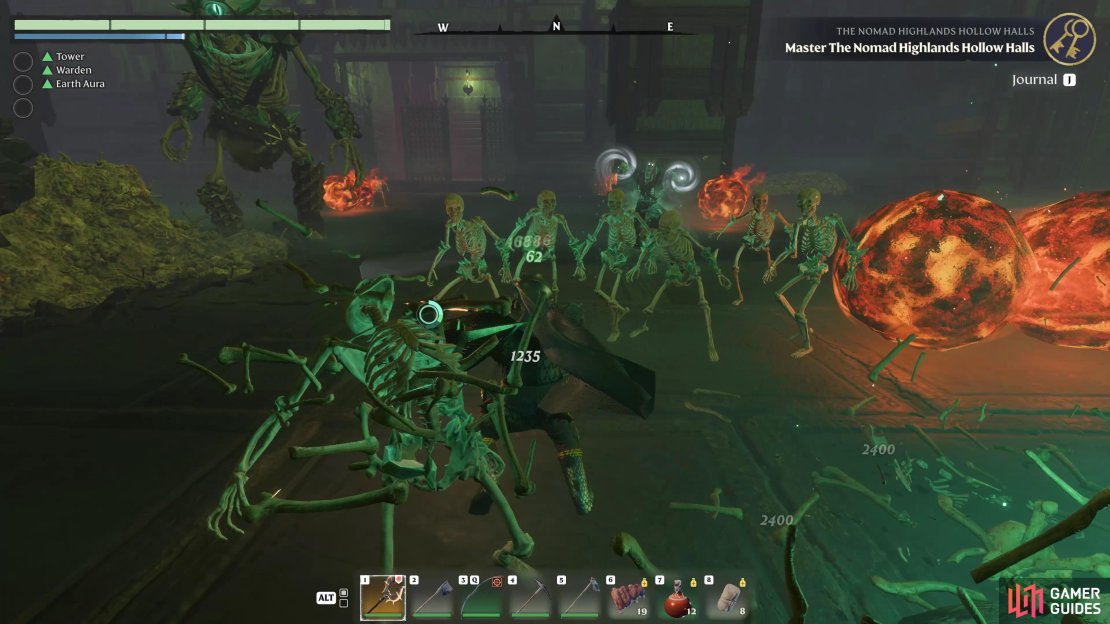
The final barrier chamber doesn’t contain any glyphs that you need to collect in the same way that you did the others. Instead, there are two sets of enemies that you need to defeat, each of which has a Hollow Cyclops associated with it, which functions as the glyph (the glyph is stored in its head). After defeating all the enemies and the Hollow Cyclops, you can proceed to the end of the dungeon.
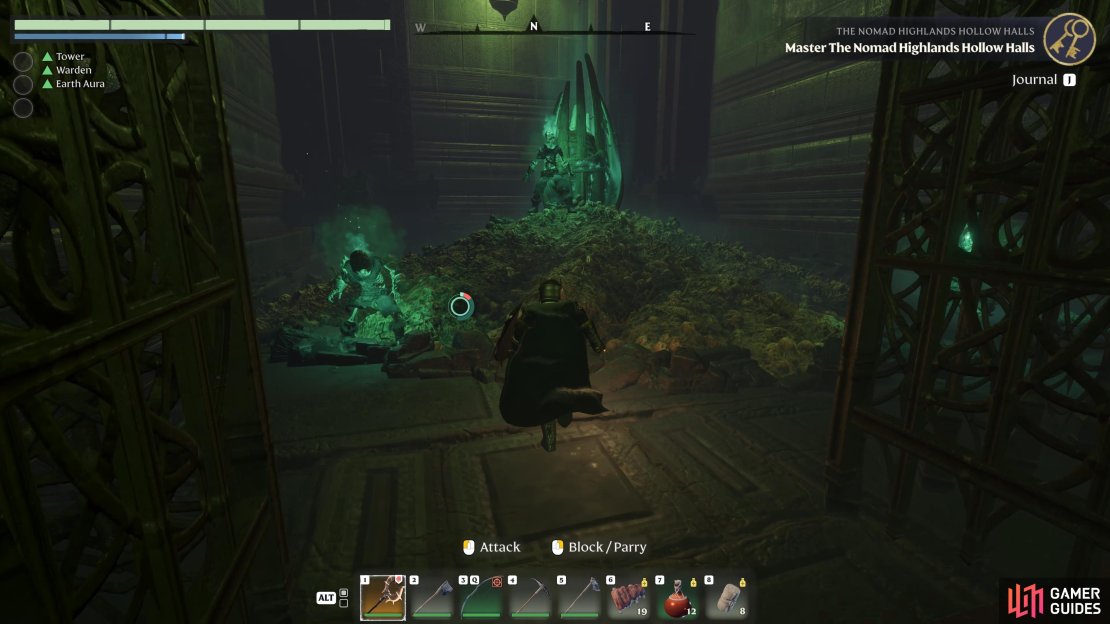
When you find yourself in the final chamber, you’ll see a green portal directly ahead. Use this to reach another portal opposite, situated on a higher platform, from which you can glide to either side of the chamber (west and east) where you’ll find both of the fights with the Hollow Cyclops enemies. You need to press a button on the wall on each side to activate the fights.
These are relatively simple fights, but there are a lot of enemies to deal with. It’ll be far easier in a group, but you can defeat them using some of the surrounding traps to your advantage. The fight on the eastern side contains fireballs throughout, so you can kite the enemies through these fireballs to damage them without having to get too close yourself. In theory, you can keep running around the room until all the enemies die in this way, but it’ll take a bit longer than hitting them yourself, so try to do a bit of both without overextending yourself too much.
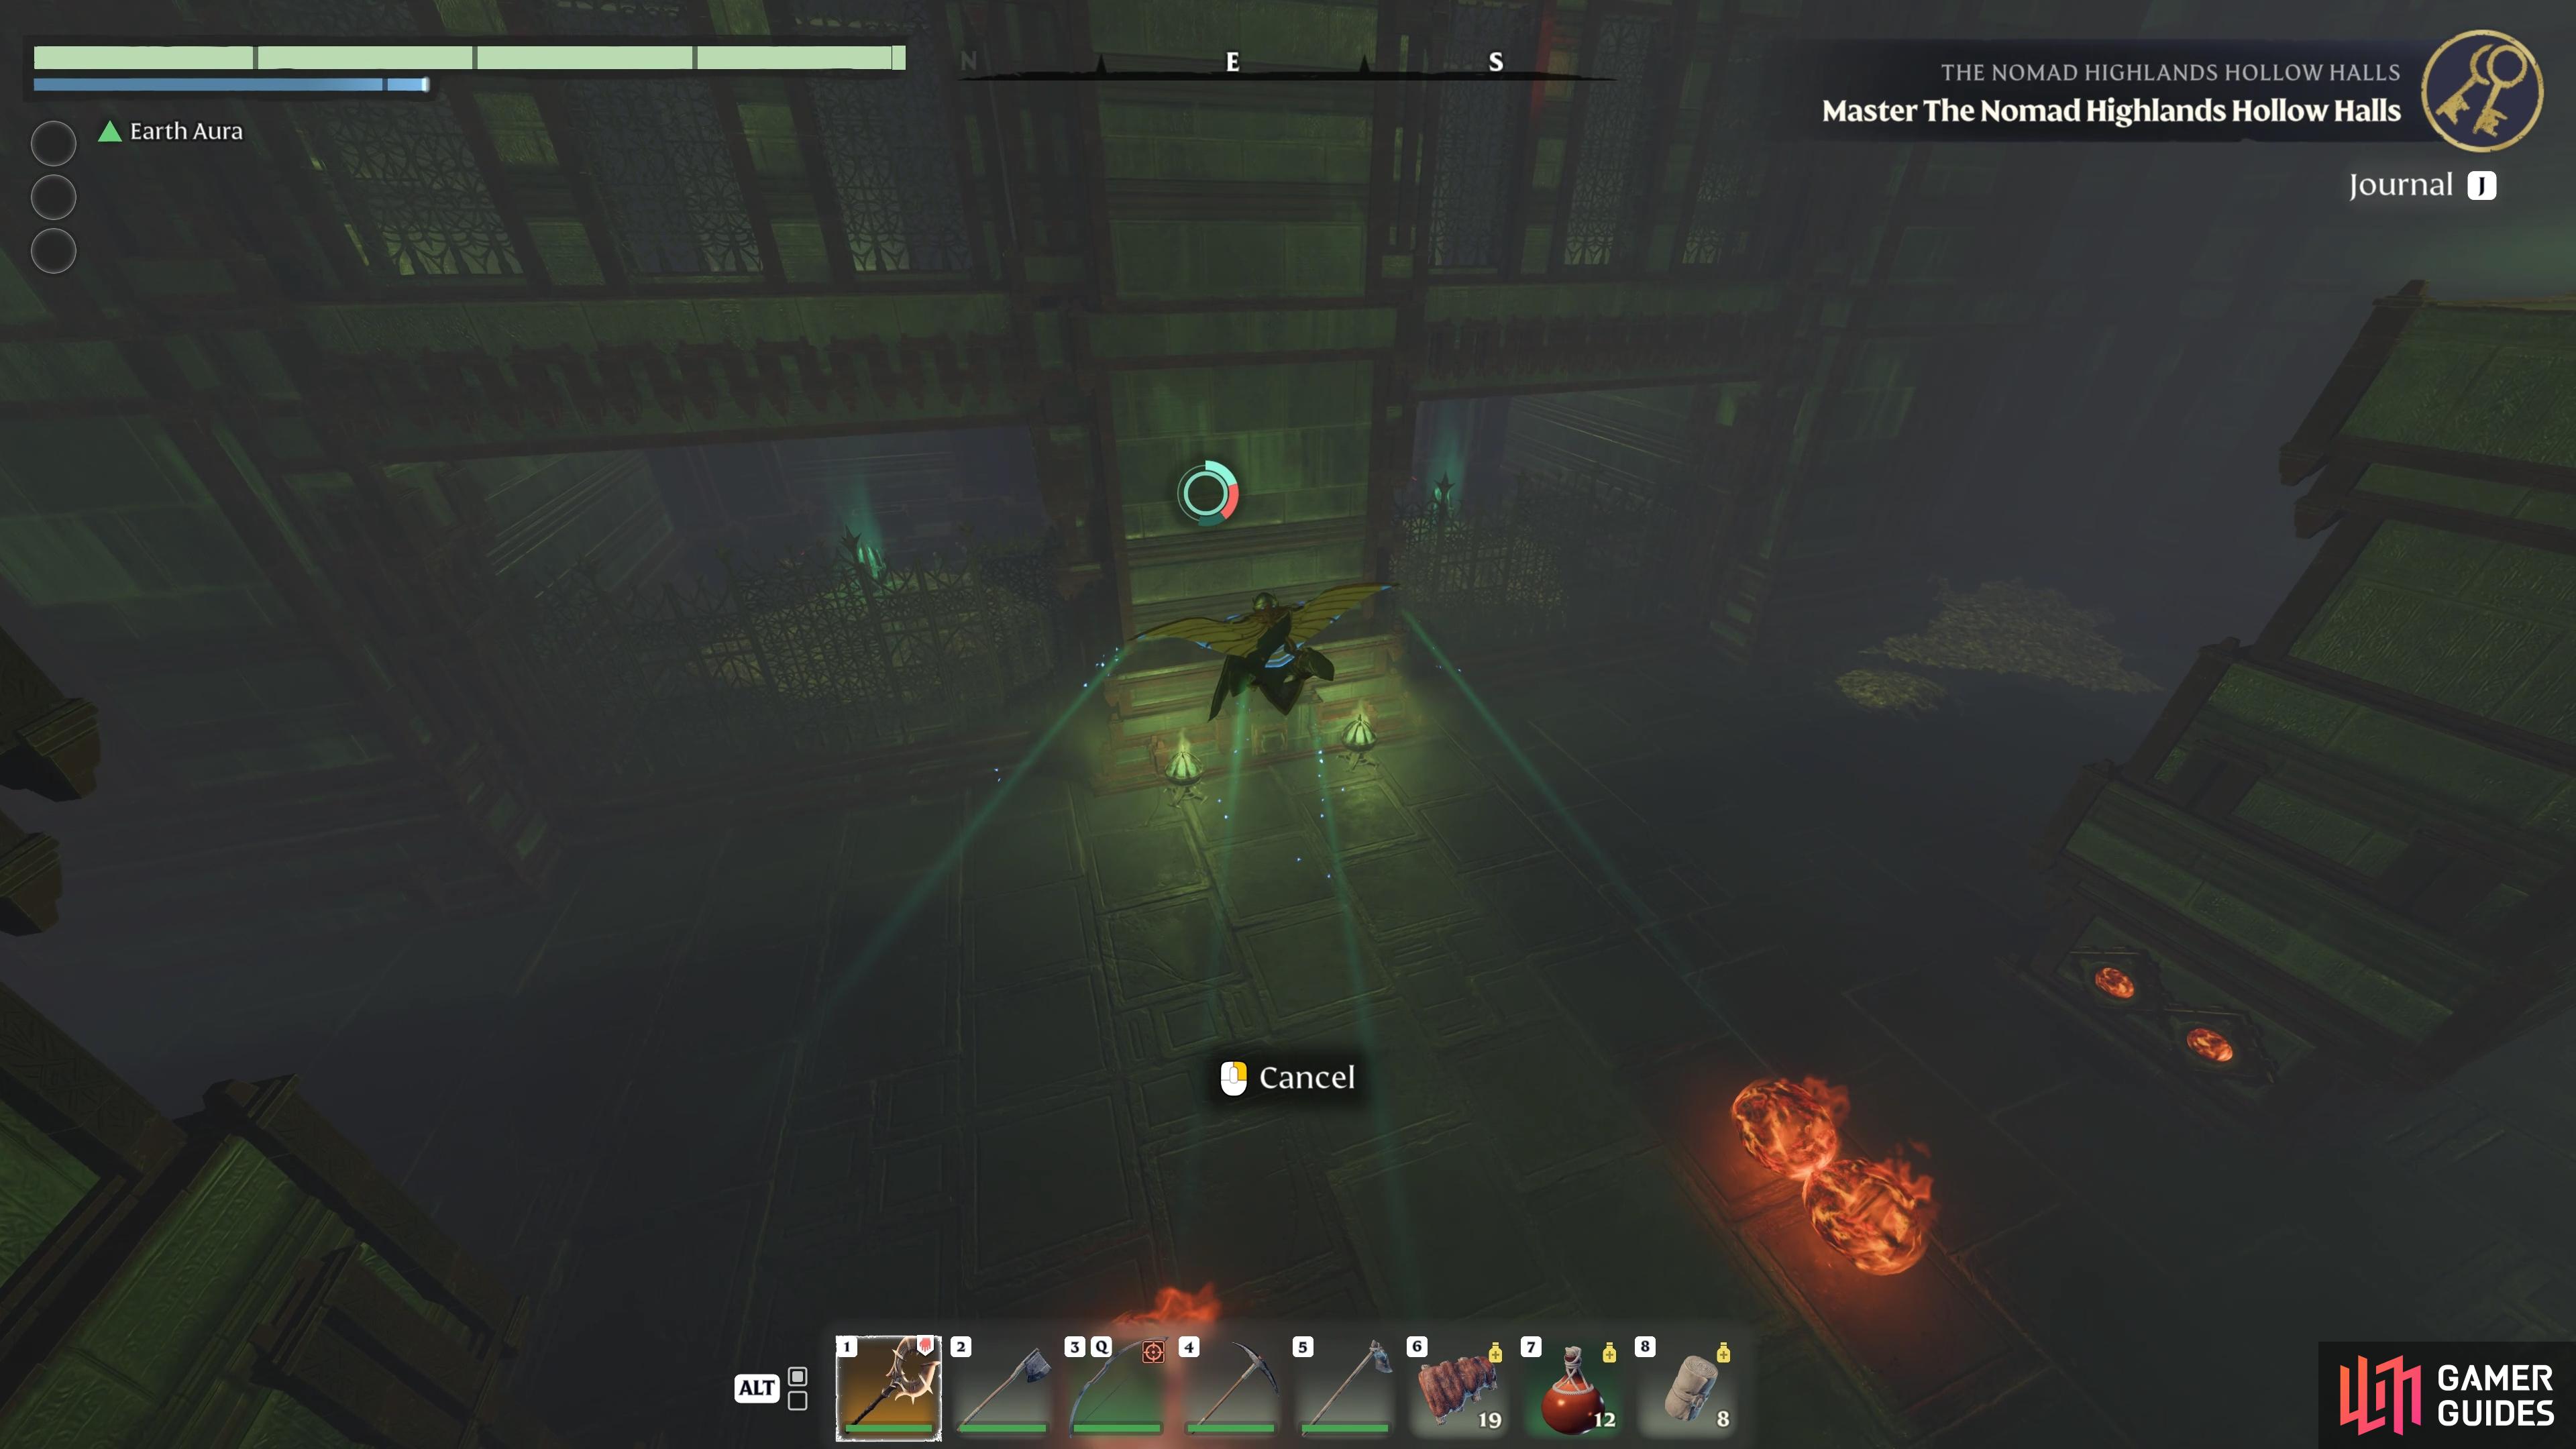
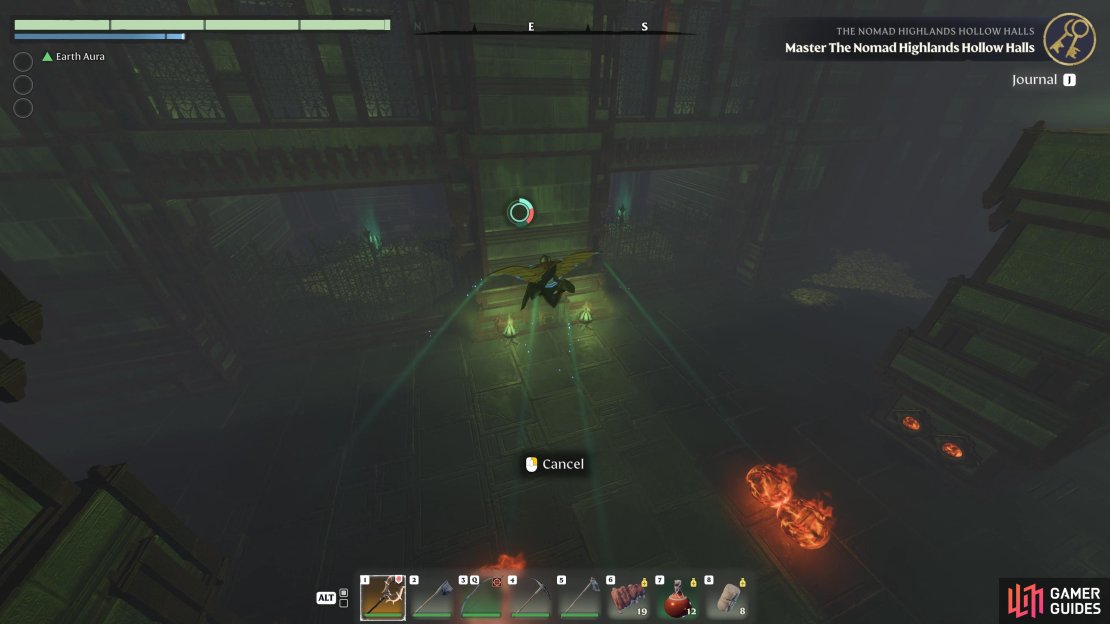
(1 of 3) Glide into the room with the fireballs while avoiding them on the ground.
For the second fight, you need to go back to the portal at the start of the chamber and use it to reach the higher portal again, this time gliding to the western part of the chamber. Here you’ll find a similar setup, where you need to press a button on the wall to begin the fight, but this room contains a number of spiked platforms instead of fireballs. You can easily jump over these spikes, and you can use them to your advantage by kiting the enemies through them.
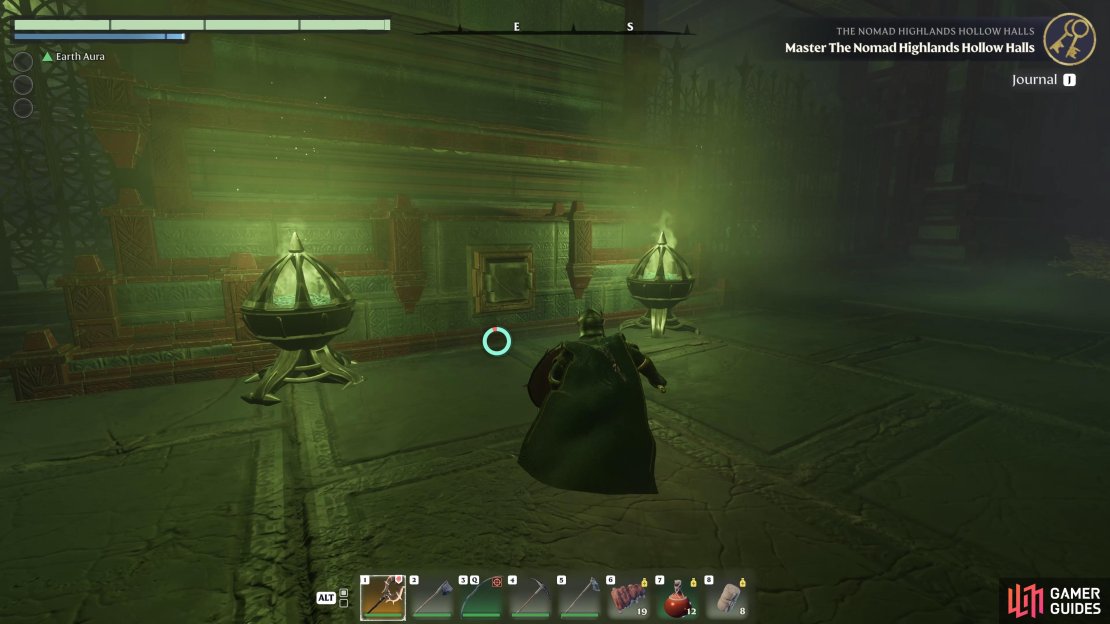
The key thing to remember here is that you need to destroy the totems, which are located within the small rooms at the side of the chamber, to stop more skeletons and wights from spawning. Do this first, then continue to kite the remaining enemies around the spikes until they’re all dead, killing a few with your own attacks along the way.

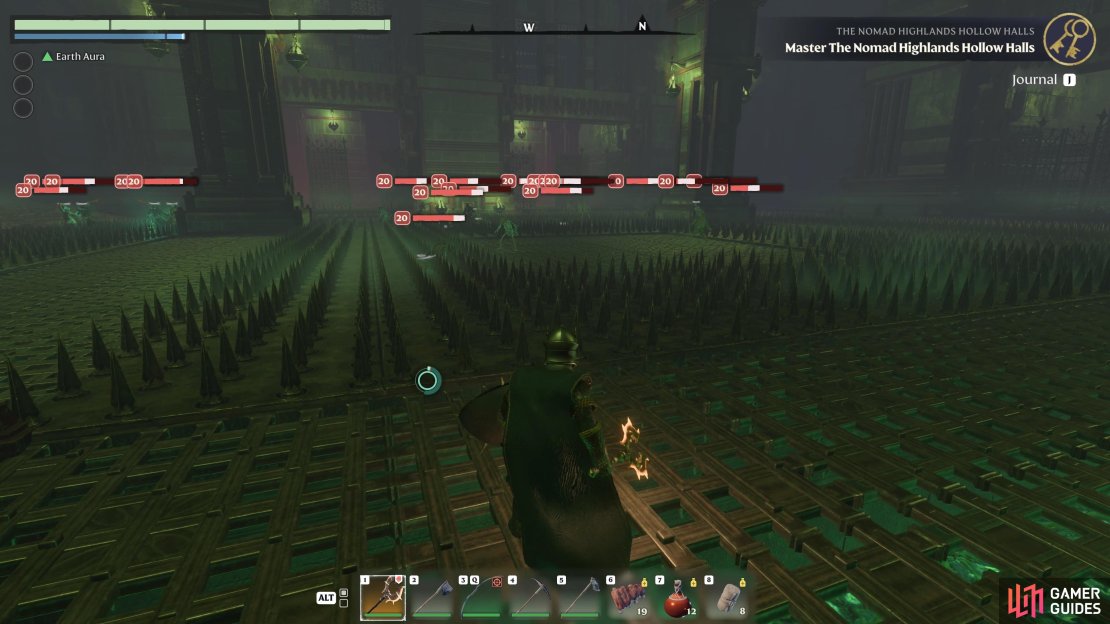
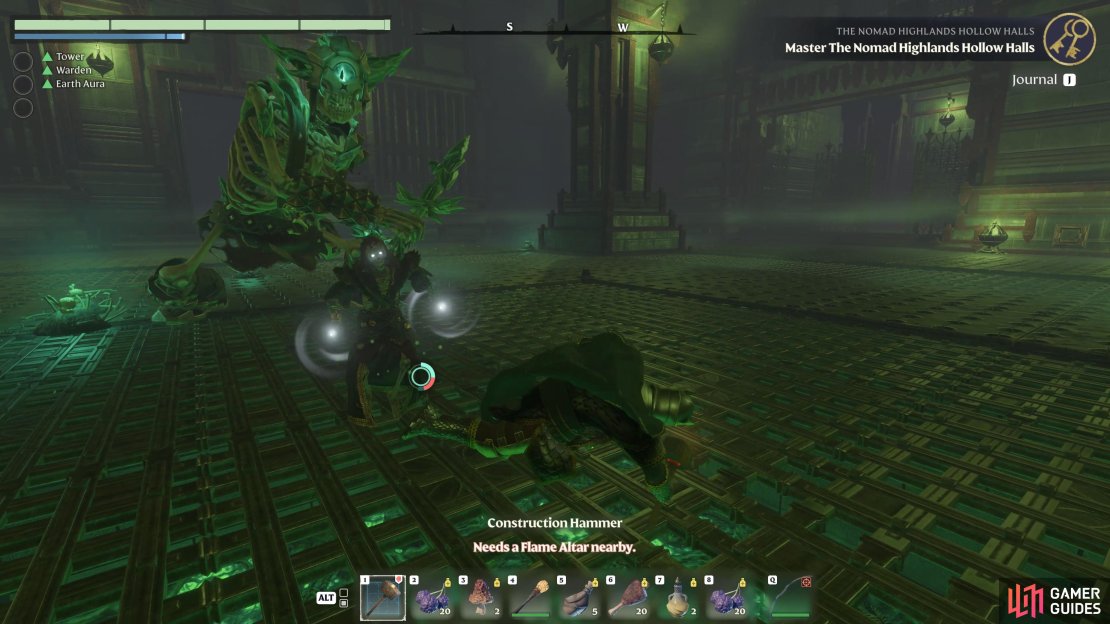
(1 of 3) Destroy the totems to stop more skeletons and wights from spawning.
With both fights completed and the barrier unlocked, go back to the first portal and make your way north to reach the final chamber. Here you’ll find a final treasure chest with another portal beyond it, which you can use to get out of the dungeon.
No Comments