The Revelwood Hollow Halls can only be entered once you’ve completed the Springlands Hollow Halls and summoned Alden Crowley the Collector in your base. You can then craft the Revelwood Bone Key using x20 Bone and x50 Ectoplasm Fragments. You’ll need this key for the main entrance to the Revelwood Hollow Halls, but also for other chambers within. On this page, we’ll show you where to find the entrance, and how to get through the barriers to reach the Hollow Cyclops boss.
Revelwood Hollow Halls Location
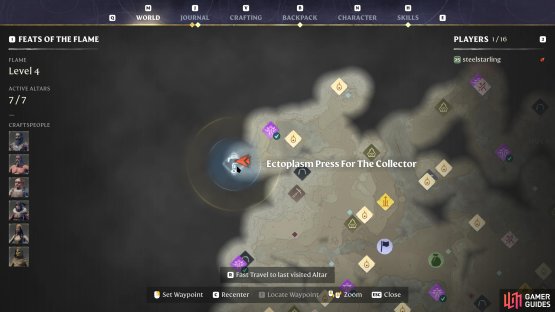
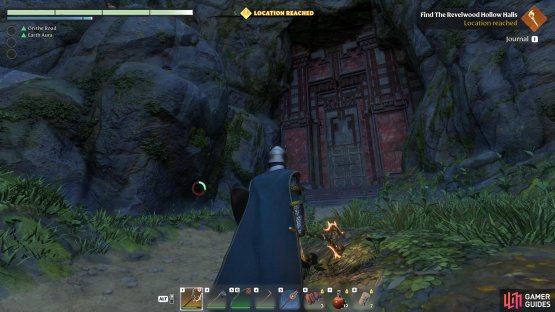
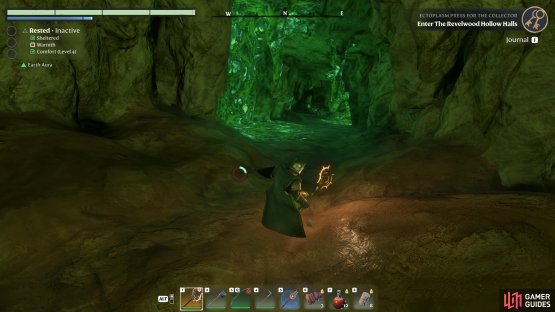
The entrance to the Revelwood Hollow Halls can be a bit difficult to find initially, but once you know where to look, it’s easy enough. The first thing you should do is fast travel to the Revelwood Ancient Spire, near the westernmost part of the map as shown in the screenshot below. From here, you can glide toward the enshrouded area to its northwest, then follow the shroud as far west as possible, where you’ll eventually reach the entrance to the Hollow Halls.
(1 of 2) You need to pass through the enshrouded area northwest of the Revelwood Ancient Spire.
You need to pass through the enshrouded area northwest of the Revelwood Ancient Spire. (left), The entrance to the Revelwood Hollow Halls is built into the mountainside. (right)
Revelwood Hollow Halls Guide
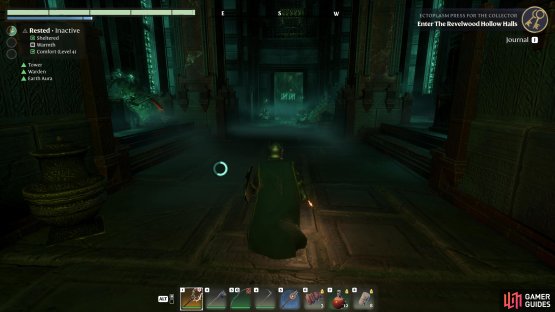
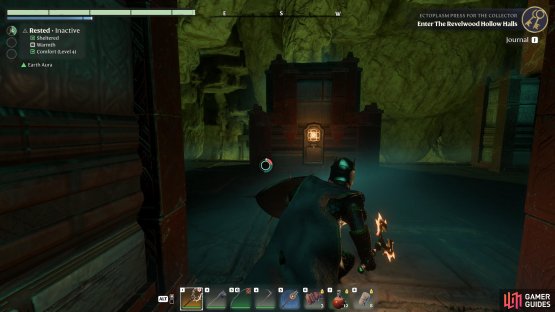
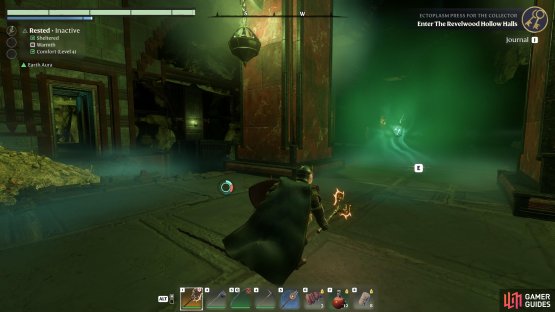
The starting area of the Revelwood Hollow Halls is similar to the Springlands. You’ll find a journal entry in the first chamber just beneath the stairs, before you make your way westward to face the first group of enemies. These will come in the form of the skeletons and wights that you fought in the previous dungeon for now, but you’ll soon be facing other types of enemies including rats and bats. Once you’ve killed everything and looted the pots, go to the green portal at the back of the chamber to proceed.
On the other side of the portal, you’ll find a chamber with a respawn checkpoint at the center. There are plenty of pots to destroy in this room too, but also a hidden chest behind a bookshelf to your right. Destroy the bookshelf and interact with the door behind it to find the chest, then continue westward up the stairs. It won’t be long before you find another group of enemies in a chamber with multiple pathways. Directly ahead you’ll see a barrier, and you need to find the green glyphs to open it.
First Barrier Glyph Locations
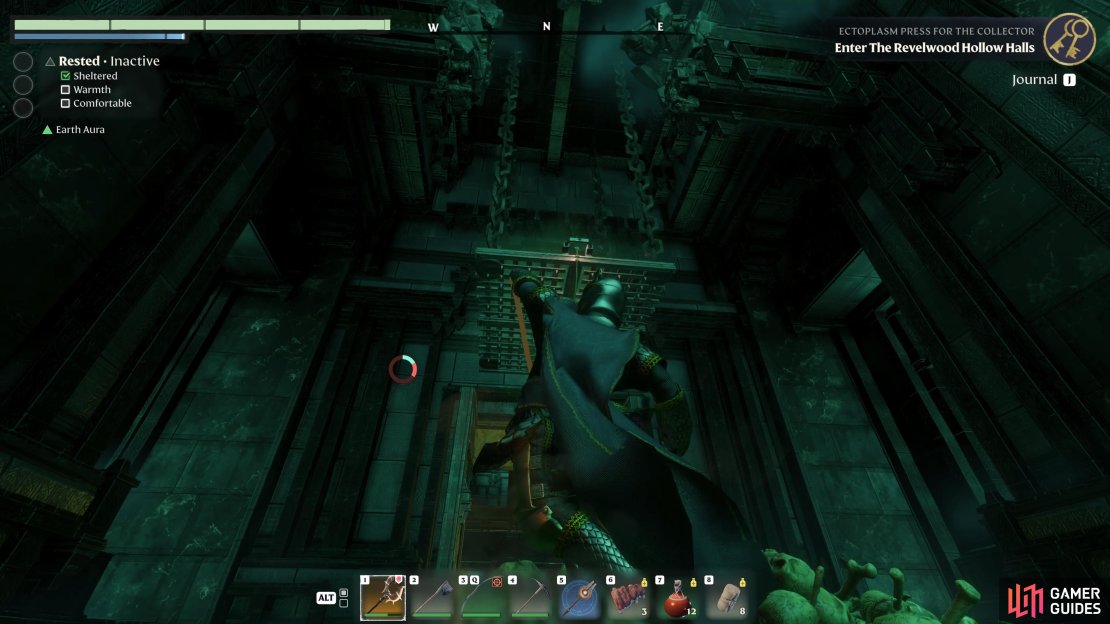
Make your way down the path to the south to find the first glyph. You need to open a large door here before entering a small chamber filled with rubble. The first glyph can be found directly above you on a platform that you can reach with your grapple hook.
With this first glyph acquired, make your way back to the center of the chamber and turn west toward the barrier. From here, turn right and head northward to find another chamber behind a large door. You’ll see a platform directly ahead above you, which you can reach using the grapple hook. You then need to look southwest to find another platform which leads to the second glyph, opening the barrier in the central chamber.
(1 of 4) Look up to see the grapple hook point leading to a platform.
First Button Location
As you make your way through the barrier, you’ll soon find yourself in a much larger chamber. This one doesn’t have any green barriers, but you’ll need to find and activate two buttons to open the large doors on the western side of the room. There’s a lot of enemies in this chamber so you’ll need to defeat them first, and be sure to destroy the totems from which they spawn to stop them coming. There are also a few hidden chests in some of the smaller crevices of this chamber, so it’s worth exploring it thoroughly.
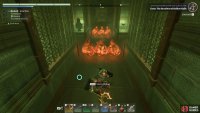
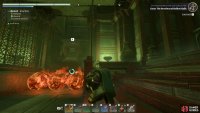
When you’re ready to find the first button, head down the southern path from the main chamber and keep going until you reach a room with a fireball obstacle. You need to jump over these moving fireballs while continuing to the southernmost point of the room, at which point you can use your grapple hook to reach the ledge above. You can then climb the wall to reach another platform above, before taking some time to fully recover your stamina.
Once you’ve fully recovered your stamina, look northward and double jump to find a grapple hook point directly ahead. You need to swing from this to another grapple point, then climb on to the platform attached to it. You can now go up the stairs and through the gate to find the first button at the end of the hallway.
(1 of 4) Jump over the fireballs as they come until you reach the end.
Second Button Location
To find the second button, go back to the central chamber (or just glide down from the platform where you found the first button), but this time head down the path to the north. Keep going through the gate and be sure to explore every side room here thoroughly. You’ll even find a hidden chest behind a pot on the wall going up the stairs to the west, so it’s a good idea to smash and loot everything here.
After thoroughly exploring all the side rooms and hidden crevices in this part of the dungeon, go through the gate at the top of the stairs to find a green barrier which is blocking the way to the second button. You need to defeat all the skeletons and wights in this area, many of which have glyphs above their heads, to unlock the barrier. You can then pass through to find the second button, activate it, then glide back down into the central chamber.
The door that was previously locked on the western side of the central chamber should now be open, so you can make your way through to activate a respawn checkpoint. In the next room, follow the piles of rubble as you turn southward, checking the walls around you for pots to destroy and a hidden passage containing a chest. There’s a lot of slime along the path here that will slow you down, but you can jump continuously to avoid it.
(1 of 2) You need to defeat all the skeletons and wights with glyphs over their heads to remove the barrier.
You need to defeat all the skeletons and wights with glyphs over their heads to remove the barrier. (left), The second button can be found at the end of the hall behind the barrier. (right)
Second Barrier Glyph Locations
You’ll soon find yourself in front of another large door with some fire plants in front of it. Kill these, then pass through to find a glyph on the edge of a platform which leads to an enormous chamber. This is the first of eight glyphs that you need to find in order to open the next green barrier. They’re actually relatively easy to find, but you need to defeat a lot of enemies in the form of bats, rats, and spiders along the way.
After collecting the first glyph, look to your right to find one suspended in the air. You need to jump into this one, using your grapple hook to reach the platform ahead, where you’ll find another glyph to the south. From this point, the rest of the glyphs are located in smaller chambers located around the edges of the larger central chamber. It’s a matter of thoroughly exploring each one, killing the creatures inside along the way. This will take a lot longer than you might expect given the number of enemies, so be sure to prepare by consuming food for buffs.
It doesn’t matter which order you take to find these glyphs, so long as you go to every room at the edges of the chamber, you’ll eventually get them all. They’re not particularly well hidden and the green glow is an obviously giveaway, but remember to check every nook and cranny as usual.
(1 of 2) The first glyph is directly in front of you as you enter the chamber.
The first glyph is directly in front of you as you enter the chamber. (left), The second glyph is just to the right of the first, with the third in the center of the room, highlighted here. (right)
Once you’ve collected all the glyphs, the barrier on the western side of the central chamber will open and you can pass through to activate the respawn checkpoint. If you’re having trouble reaching the barrier, try climbing the rubble on the southwest side of the room.
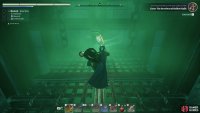
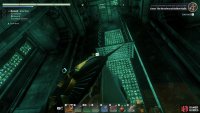
From this point on, it’s a fairly linear path to the final barrier room. However, you need to pass down a slope which has patches of poison running through it, so you need to avoid these by moving as you slide down. About halfway through, you’ll see a grapple hook point above – jump to this to reach a platform where you’ll be safe from the poison for a while, but you need to fight some spiders and bats up here first.
If you’d rather not waste time fighting these enemies, you can just run to the northeast and continue down the slope, avoiding the holes by jumping over them along the way. If you fall down one of these holes you’ll take a lot of poison damage, and you’ll likely need to start again from the respawn checkpoint, so take your time and be extra careful here.
(1 of 2) Be ready to slide down the slope while avoiding the poison patches.
Be ready to slide down the slope while avoiding the poison patches. (left), You’ll need to jump over some of the holes along the slope. (right)
At the bottom of the slope, you’ll finally reach a new chamber with another respawn checkpoint. Make sure you activate this to avoid having to do the slope run again, then continue to the south until you reach the final barrier room. This one doesn’t actually have any glyphs associated with it, but instead you need to go to the side of it to find a grapple hook point. Using this brings you to the boss room with the Hollow Cyclops.
Hollow Cyclops Boss Fight
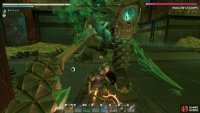
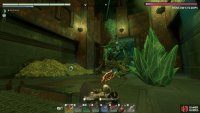
Once you’ve ascended up the grapple hook point, use the time you have to consume some food for buffs before approaching the boss. The motions of the boss fight aren’t too difficult to learn, but it can inflict a lot of damage if you get hit by most attacks. All of the attacks can be avoided by rolling through them, so you don’t need to worry about being too close to the boss so long as you get the timing right for the roll.
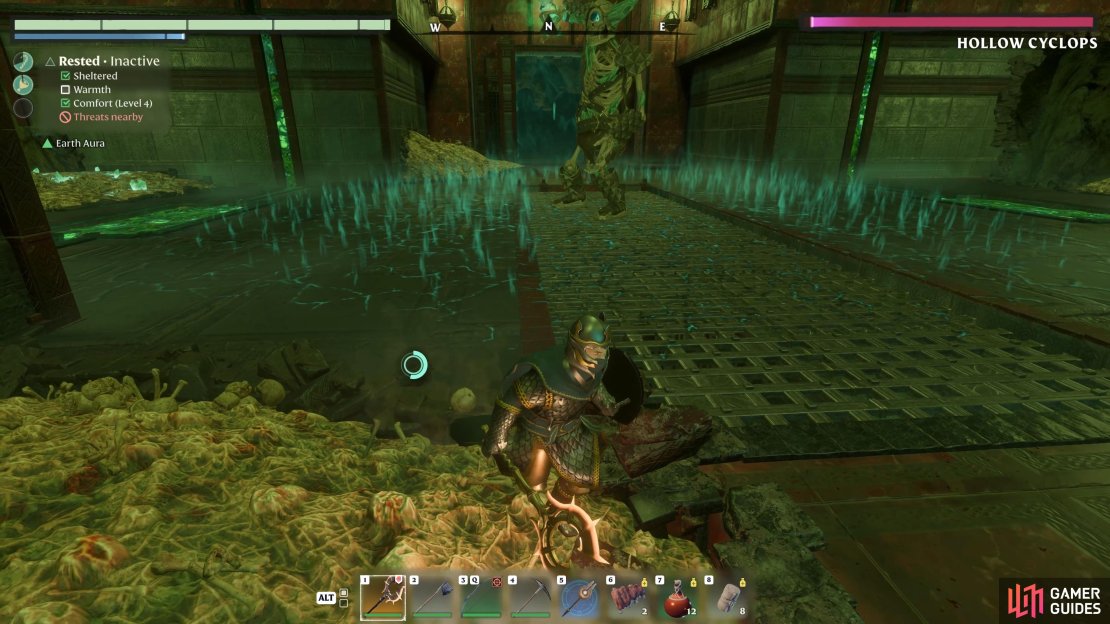
There is one attack that the boss uses which can knock you into a patch of poison, inflicting damage over time, so you need to avoid this at all costs. Thankfully, it’s easy enough to spot when this is about to happen - you just need to look out for when the boss raises its right hand, with a poison cloud rising from the ground, and get out of the cloud as quickly as possible. If you’re too slow, you can roll through the attack if you get the timing right, but this is much more difficult to avoid than the regular attacks.
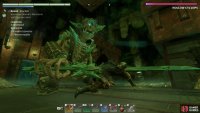
The boss will summon some additional mobs in the form of skeletons and wights when you bring it to roughly 50% of its maximum health. You should defeat these as quickly as possible, but try to kite them away from the boss first so that you don’t have to deal with attacks from both. These lesser enemies are fairly weak, so they shouldn’t cause you too much trouble.
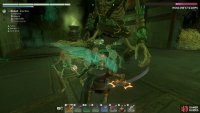
(1 of 5) Try to avoid the AoE cloud attack, which can knock you into poison patches.
Aside from the cloud summon and additional enemies, the boss can manifest weapons of different types out of thin air. You’ll need to watch out for attacks from a two-handed axe, a sword, and dual-wielding daggers. The axe and sword attacks are the easiest to avoid, but the daggers can take you by surprise if you’re too close to the boss. Dodging or rolling out of the way is the best method for avoiding the attacks, or you can try blocking them with a shield if you have one. The only other attack that you need to be aware of is a stomp attack, which the boss will use if you’re directly beneath it.
Once you’ve killed the Hollow Cyclops boss, you can go through the barrier which has now lifted, then go directly beneath it to find the portal leading to the exit.








No Comments