
After solving the six part puzzle password and defeating King Calamari you’ll finally make it… halfway through the Sunken Ship dungeon! This half of the dungeon is a bit quicker, as you won’t be dealing with puzzles and passwords, making this more of a typical dungeon. This page will provide a walkthrough for the second half of the Sunken Ship dungeon in Super Mario RPG, pointing out all the secrets and the hidden treasure along the way.
| !Sunken Ship Enemies |
|---|
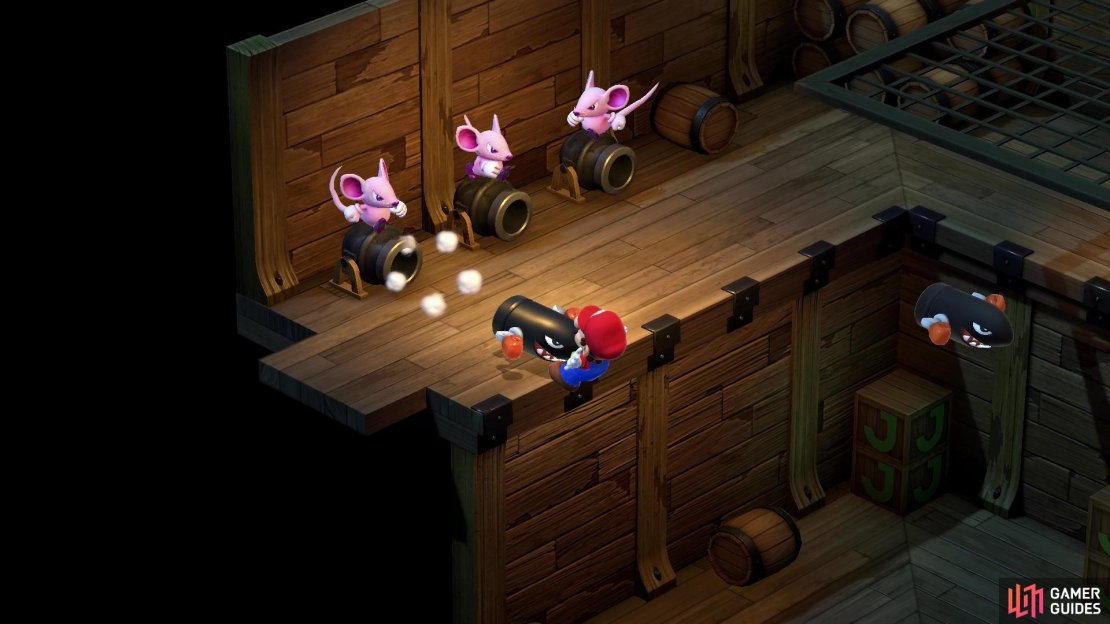
(1 of 3) If you get hit by a bullet, it’ll push you off the high ground, forcing you to backtrack.
Sunken Ship Part 2 - First Area
After defeating ![]() King Calamari you’ll jump into the hole its body occupied, landing in a room with a spring in it. This spring will take you back up to the room where you fought King Calamari, and assuming you don’t feel the need to go back and save, you should be fine pressing on to the northeast.
King Calamari you’ll jump into the hole its body occupied, landing in a room with a spring in it. This spring will take you back up to the room where you fought King Calamari, and assuming you don’t feel the need to go back and save, you should be fine pressing on to the northeast.
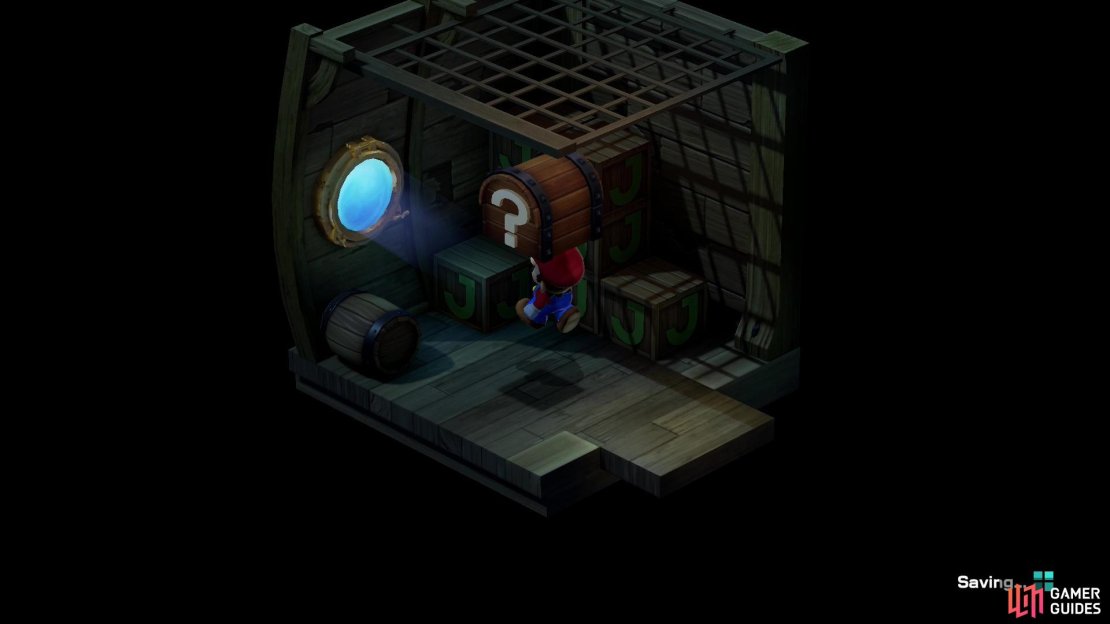
In the next two-story room, you’ll immediately be confronted with a meandering Dead Bones enemy. Ignore it and note that if you go through the door to the northeast you’ll be in the lower part of a room where some ![]() Alley Rats are firing Bullets out of a half dozen cannons. When you’re traversing the upper part of this room in a bit, these bullets will knock you down, forcing you to waste time working your way back up. That said, there is something you can do to make the upcoming bullet-dodging bit easier - if you jump up and hit a bullet as it flies overhead, you’ll defeat it, preventing the cannon that fired it from shooting any more bullets. It’s somewhat handy, but the bullets aren’t that hard to dodge, and you can really only hit about three of the bullets from here - the northeastern ones, which you can reach via the crates.
Alley Rats are firing Bullets out of a half dozen cannons. When you’re traversing the upper part of this room in a bit, these bullets will knock you down, forcing you to waste time working your way back up. That said, there is something you can do to make the upcoming bullet-dodging bit easier - if you jump up and hit a bullet as it flies overhead, you’ll defeat it, preventing the cannon that fired it from shooting any more bullets. It’s somewhat handy, but the bullets aren’t that hard to dodge, and you can really only hit about three of the bullets from here - the northeastern ones, which you can reach via the crates.
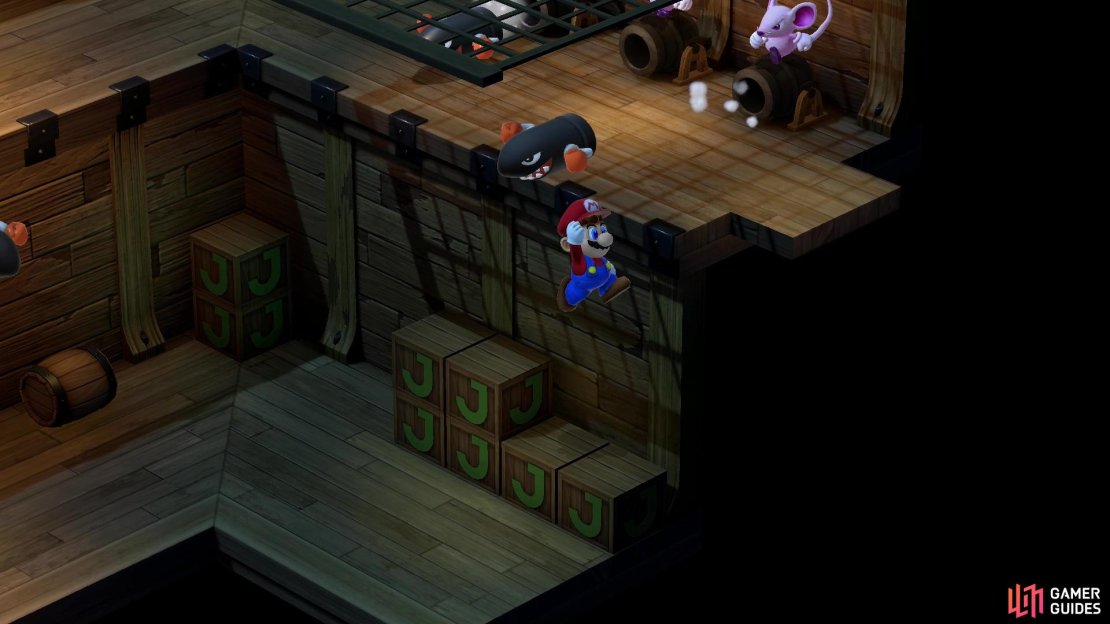
Anywho, return to the room with the Dead Bones, jump on the crate in the corner, then jump up to a higher ledge and go through a higher door to the northeast to reach the upper part of the cannon room. You can jump over or otherwise dodge the bullets (a task made easier if you dispatched some from the lower room, earlier) or you can attack the Alley Rats on the cannons. This won’t stop the bullets, but the bullets can’t knock you down if you just jump over the cannons.
Get past the cannons and exit to the southeast.
Sunken Ship Part 2 - Second Area
A staircase mobbed by patrolling Alley Rats. Ignore them or exterminate them, then go through a door at the bottom of the stairs to reach a larger, more interesting room. Here you’ll find familiar enemies - Alley Rats and Dead Bones - patrolling, along with two chests atop a pile of crates. If you get cute and go through the opening in the crate pile, you’ll find a hidden Alley Rat hidden in the crates. If you want to actually get the chests, jump onto the barrels in the northern corner of the room, then jump southeast from there onto the crates. The chests just contain Coins, but better yours than left behind.

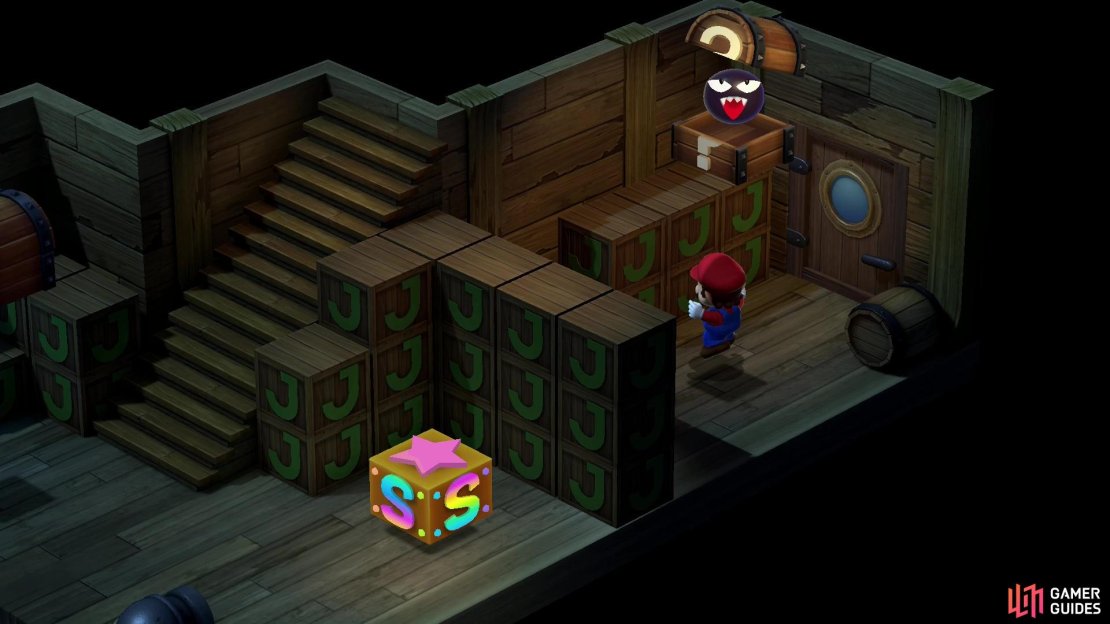
(1 of 2) Hit a J-box to make a hidden treasure chest appear,
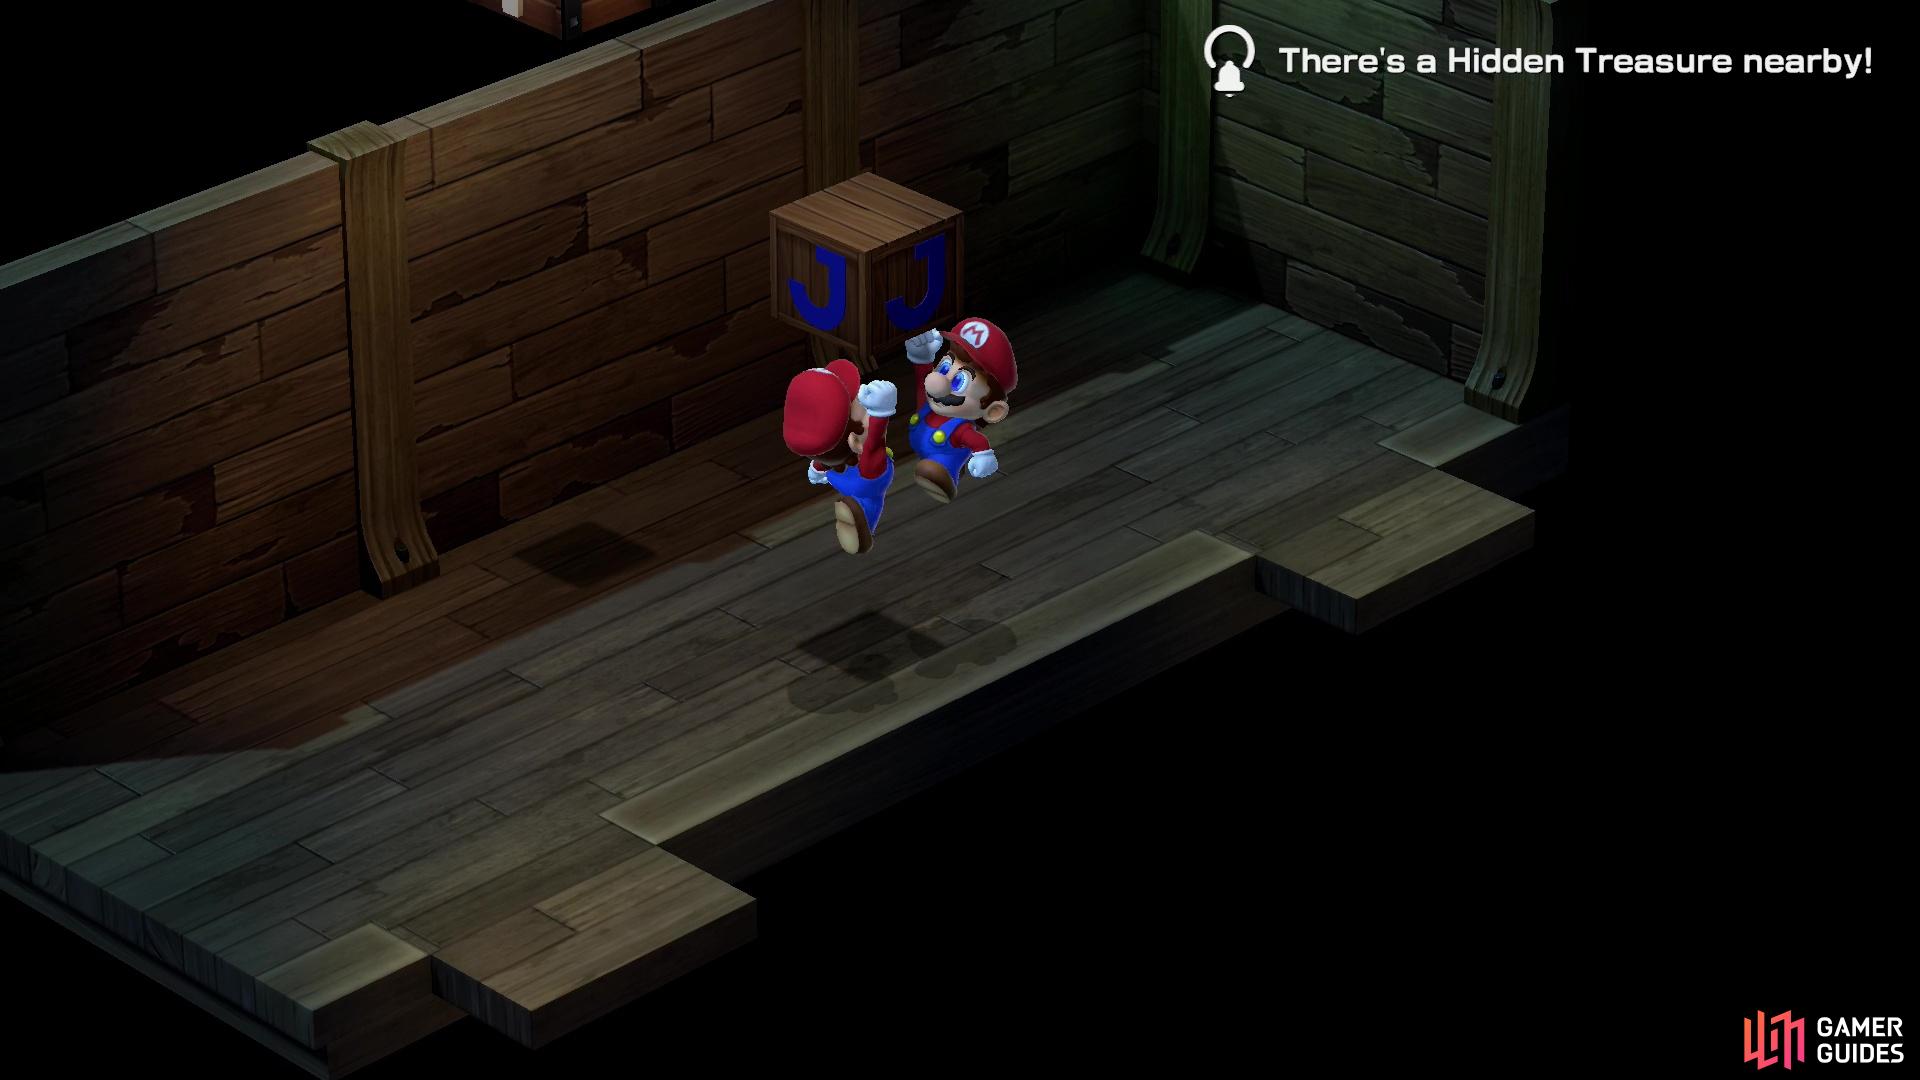
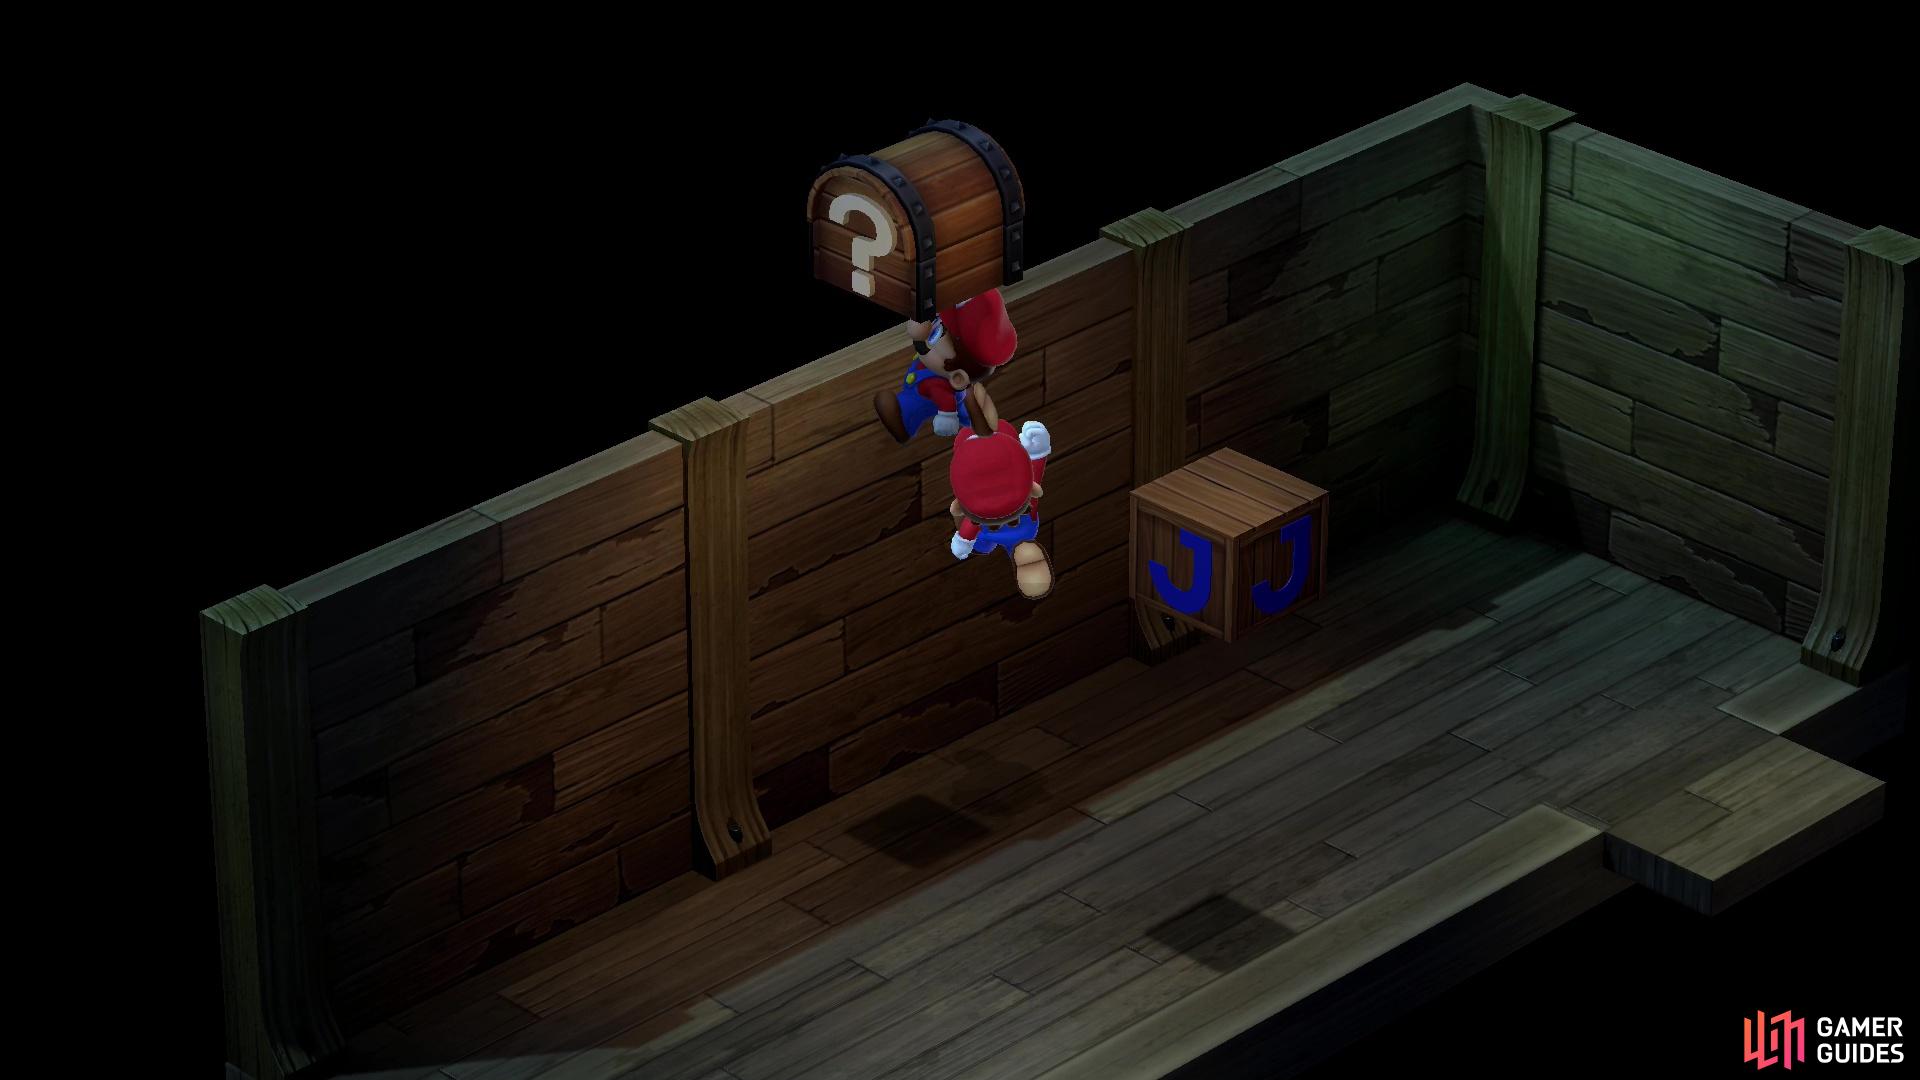
Hit a J-box to make a hidden treasure chest appear, (left), then get on top of clone Mario’s head so you can reach the hidden treasure, scoring a Croaka Cola if you succeed. (right)
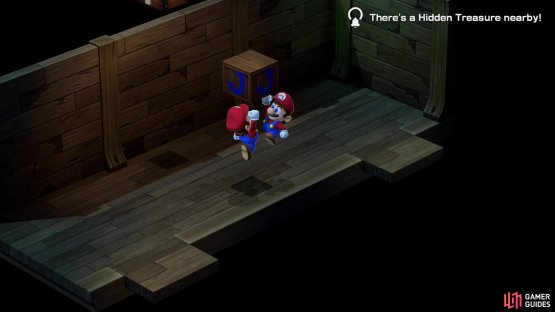
Sunken Ship Part 2 Hidden Treasure - Mario Clone Room (Third Area)
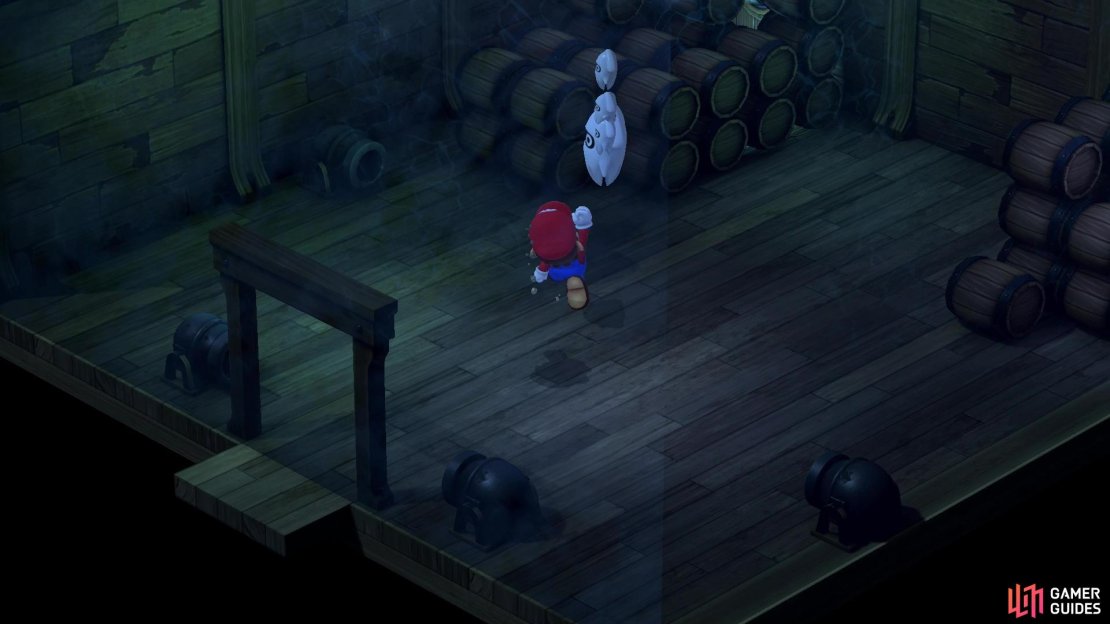
Exit through the door to the northwest and you’ll find… a clone! This Clone Mario - or Mirror Mario, if you prefer - does exactly what you do, just in reverse. If you have the Signal Ring equipped, you’ll also detect a hidden treasure here, and you’ll need Clone Mario’s help to get it. First, head southwest towards your clone and jump around the middle of the room, near but not directly next to the southeastern wall to find a hidden J-box. Hitting this J-box will also unveil a hidden treasure to the northwest, high above the ground. Higher than you can reach alone… but if you stand on Clone Mario’s head, you have enough height to reach it! Head to the northwestern wall, directly under the hidden treasure, and jump on clone Mario’s head. You can do this by running into the wall and jumping, then turning southwest towards clone Mario while in midair. This will prevent Clone Mario from jumping and allow you to land on his head. From here, just jump up to hit the hidden treasure chest to score some Croaka Cola.
(1 of 3) Sneak behind some crates,
Sunken Ship Part 2 - Fourth Area
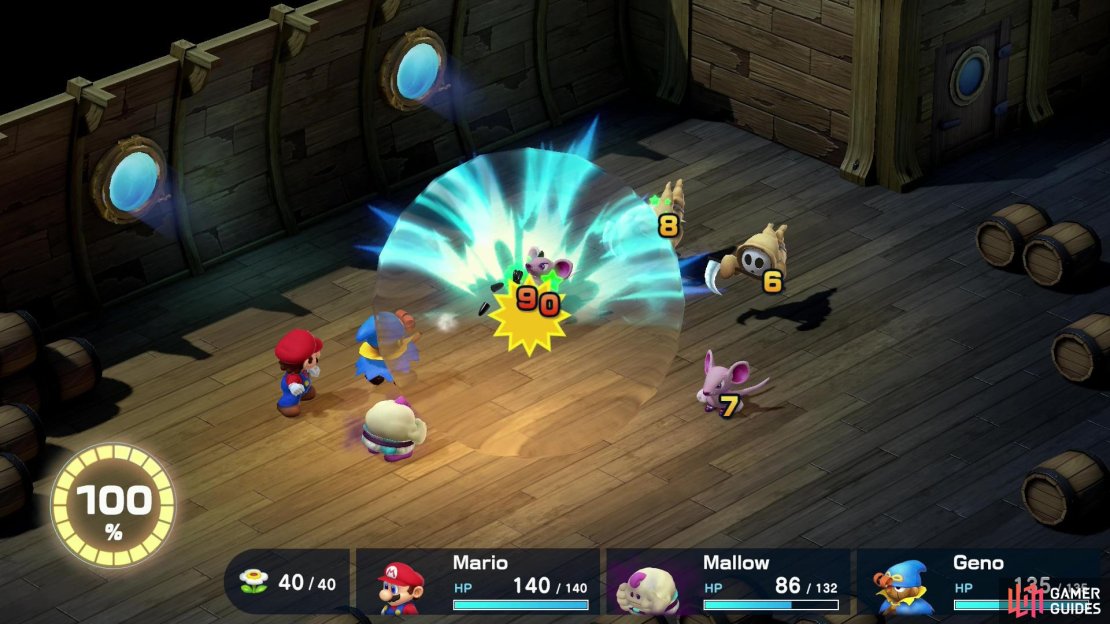
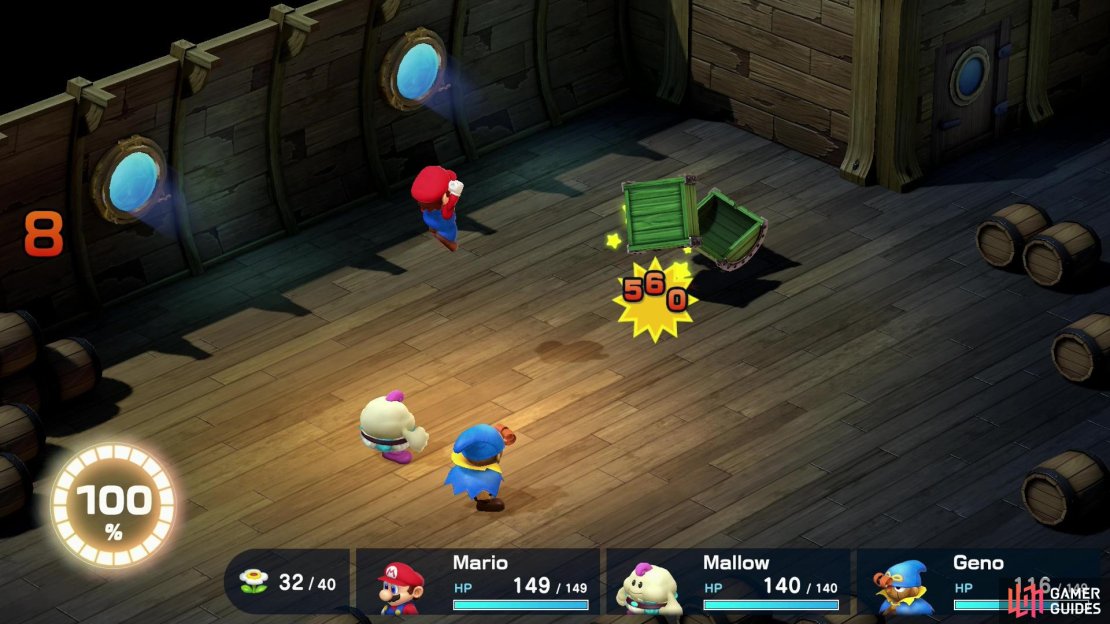
Exit the clone room via the southwestern door to find yourself back in the previous room, albeit on the other side of a crate wall. Exit to the southwest and you’ll be in a new room, where three ![]() Dry Bones patrol. If you get into a fight with any of them, you’ll end up fighting 2x
Dry Bones patrol. If you get into a fight with any of them, you’ll end up fighting 2x ![]() Greapers, 2x Dry bones and 1x
Greapers, 2x Dry bones and 1x ![]() Reacher - a potent enough Mallow can one-shot the whole lot of them with one Thunderbolt spell. This fight gives pretty good Exp and Coins, and if you can take all these enemies out with a mere 2 FP, it might be worth grinding a bit.
Reacher - a potent enough Mallow can one-shot the whole lot of them with one Thunderbolt spell. This fight gives pretty good Exp and Coins, and if you can take all these enemies out with a mere 2 FP, it might be worth grinding a bit.
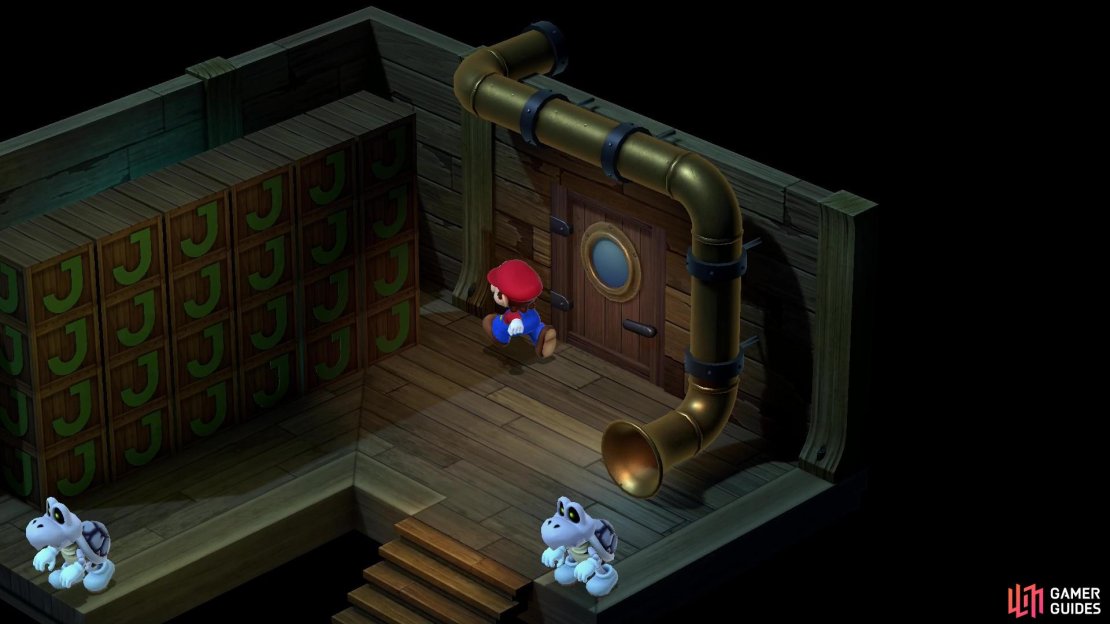
Grind or not, make your way into the northern corner of the room and go behind a wall of J-boxes. You’ll likely have to fight a Dry Bones here but get around this obstacle and search the northwestern wall for a door, which leads to a treasure room. Hit the chest inside to score a Frog Coin, then exit to the room with the three Dry Bones enemies and take the stairs down to the southwest.
(1 of 3) Jump over a crate wall near a Save Point and hit a chest to provoke a Whuhoh!
Sunken Ship Part 2 - Whuhoh Chest and the Safety Badge (Fifth Area)
Save Point! This must mean you’re near the boss, right? Well… not really. More of a halfway checkpoint. So you’re halfway past the halfway point! Hit a chest to score a Mushroom, use the Save Point, then vault over a second crate wall to find another chest. Be wary, however, as this “chest” is a ![]() Whuhoh in disguise… AKA a Mimic. This enemy isn’t too rough, it’s weak to jump damage and a perfect Super Jump can deal an absurd amount of damage (we’re talking 500+!). If you want to Thought Peek both it and the
Whuhoh in disguise… AKA a Mimic. This enemy isn’t too rough, it’s weak to jump damage and a perfect Super Jump can deal an absurd amount of damage (we’re talking 500+!). If you want to Thought Peek both it and the ![]() Mini Goombas it summons, you’ll need to show restraint. Be careful, though, while this enemy may be easy enough to defeat, it does hit quite hard. Survive and you’ll earn the Safety Badge accessory, which prevents the Poison, Scarecrow and Sleep debuffs. Very handy!
Mini Goombas it summons, you’ll need to show restraint. Be careful, though, while this enemy may be easy enough to defeat, it does hit quite hard. Survive and you’ll earn the Safety Badge accessory, which prevents the Poison, Scarecrow and Sleep debuffs. Very handy!
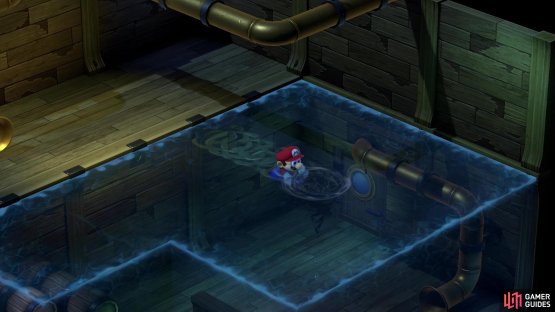
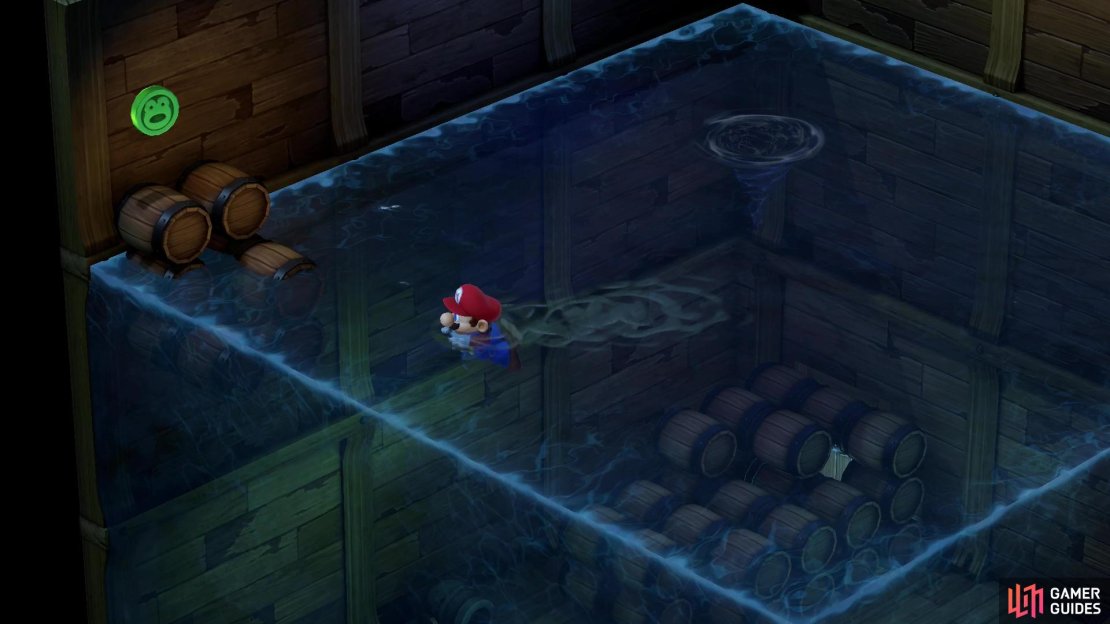
(1 of 2) Swim into a whirlpool to get underwater,


Swim into a whirlpool to get underwater, (left), then snag a bunch of Frog Coins! (right)
Sunken Ship Part 2 - Sixth Area
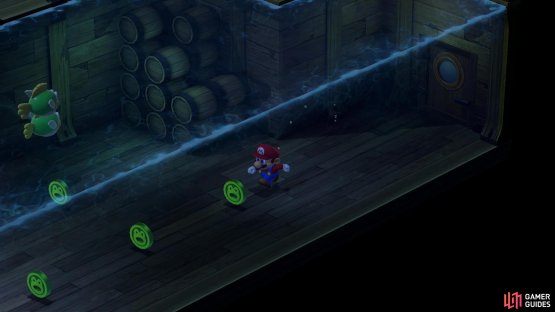
Exit through the door to the northeast and you’ll find something you curiously haven’t seen much of - water! Not much of a sunken ship so far, eh? Go northeast through another door to reach another watery room and jump into the water, dodging or defeating the ![]() Mr. Kipper enemies as you see fit. Ride a whirlpool down to the submerged floor of the ship, note a door to the northeast, then exit to the southwest and grab 4x Frog Coins just spinning on the floor! Nice. Return to the previous room and go through the door to the northeast.
Mr. Kipper enemies as you see fit. Ride a whirlpool down to the submerged floor of the ship, note a door to the northeast, then exit to the southwest and grab 4x Frog Coins just spinning on the floor! Nice. Return to the previous room and go through the door to the northeast.
(1 of 4) In one of the flooded rooms you’ll find a Blooper family - despite their size, they’ll all full encounters, if you wish to pick a fight.
Sunken Ship Part 2 - Seventh Area
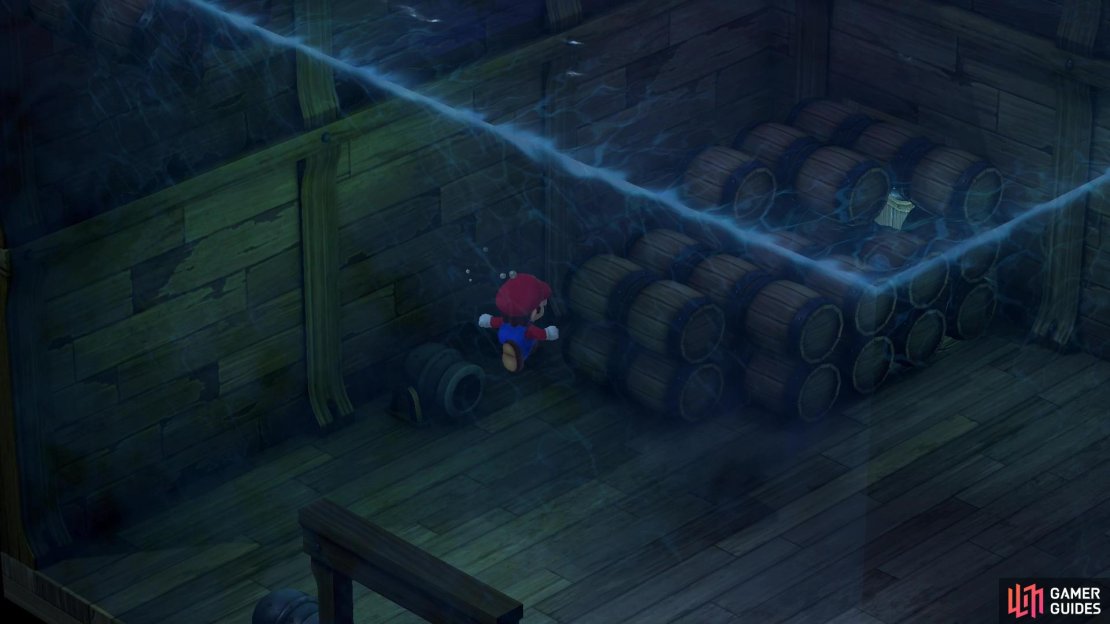
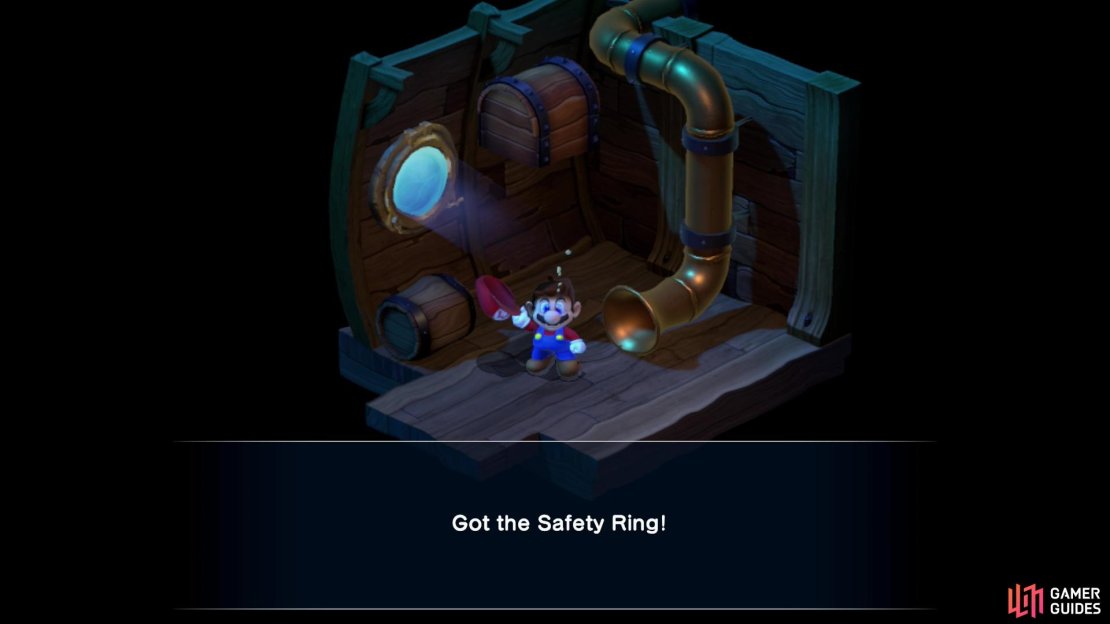
More underwater exploration - good thing Mario doesn’t have to breathe! Defeat or avoid the enemies as you make your way down some stairs, then go through the door to the next room. In this next watery room you’ll find a family of ![]() Bloopers swimming in synchronicity. Don’t let their size fool you - each one counts as a full encounter, and it seems like Special Enemy variants spawn frequently here. Fight or avoid the Blooper family, then make your way to the northwestern wall and head northeast along the barrels to find a passage. Turn southeast when you run out of northeast, then go northeast again through a door to reach another secret treasure room. Hit the chest in here to score a Safety Ring, which prevents the wearer from all status effects. It’s honestly one of the first bits of end-game gear you’ll find in Super Mario RPG, so keep it handy and make use of it!
Bloopers swimming in synchronicity. Don’t let their size fool you - each one counts as a full encounter, and it seems like Special Enemy variants spawn frequently here. Fight or avoid the Blooper family, then make your way to the northwestern wall and head northeast along the barrels to find a passage. Turn southeast when you run out of northeast, then go northeast again through a door to reach another secret treasure room. Hit the chest in here to score a Safety Ring, which prevents the wearer from all status effects. It’s honestly one of the first bits of end-game gear you’ll find in Super Mario RPG, so keep it handy and make use of it!
Exit the secret room and climb some chests in the eastern corner of the previous room to finally get back out of the water… then promptly turn around and jump in the water again, this time swimming along the surface. Avoid the whirlpool and swim to the western end of the room where you’ll find a Frog Coin floating above some barrels. Jump out of the water, grab the Frog Coin, then swim back to the eastern corner of the room and go through the door to the northeast.
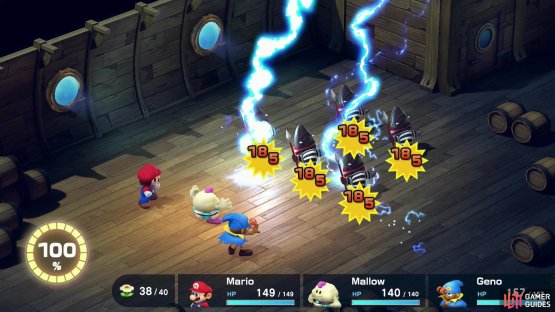
(1 of 2) After you get through the flooded section of the ship, some pirate sharks will challenge you!

After you get through the flooded section of the ship, some pirate sharks will challenge you! (left), Unfortunately for them, they’ll all weak to lightning - one of Mallow’s Thunderbolt spells should clean up. (right)
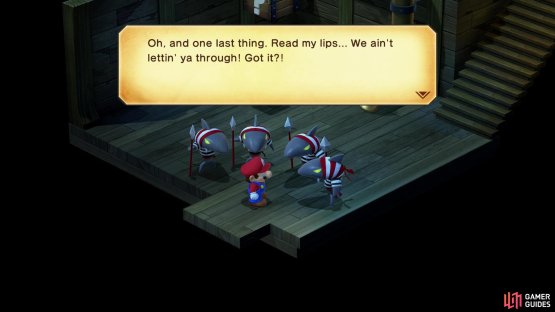
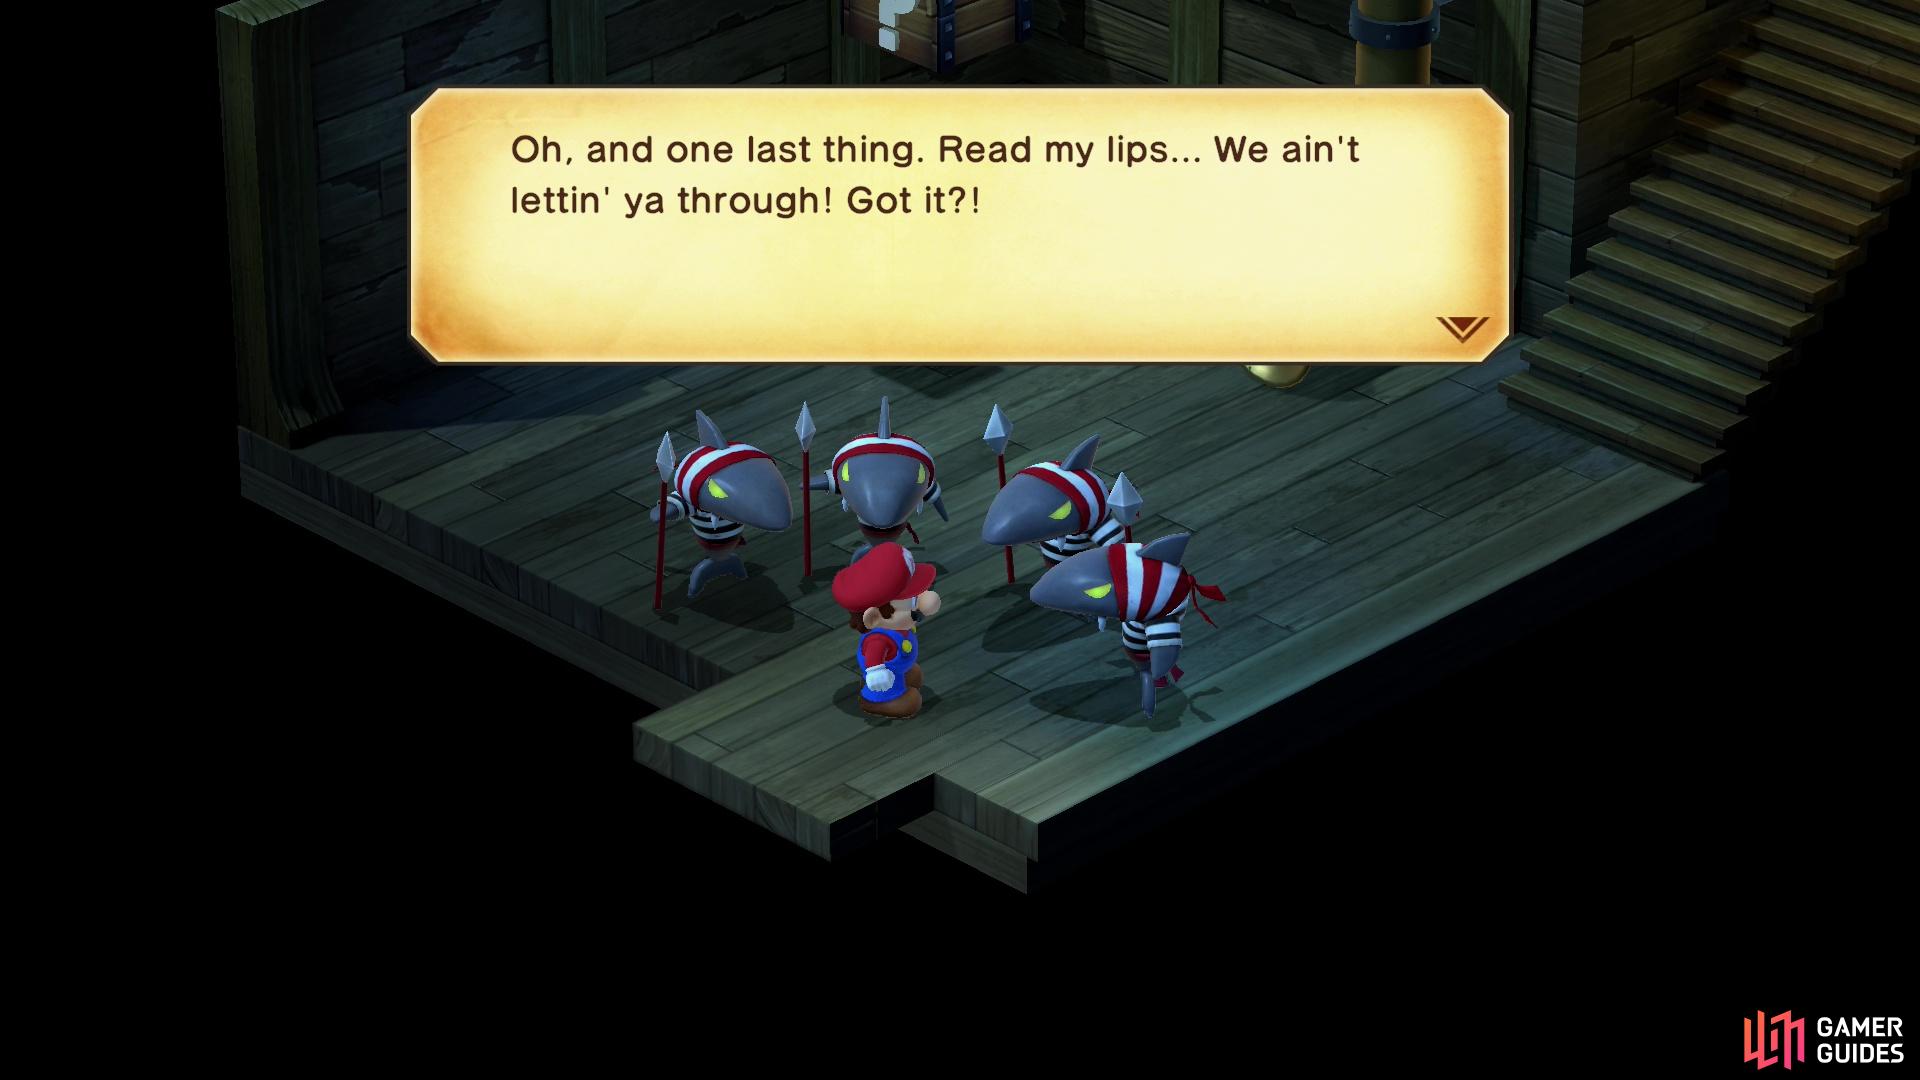
Sunken Ship Part 2 - Eighth Area
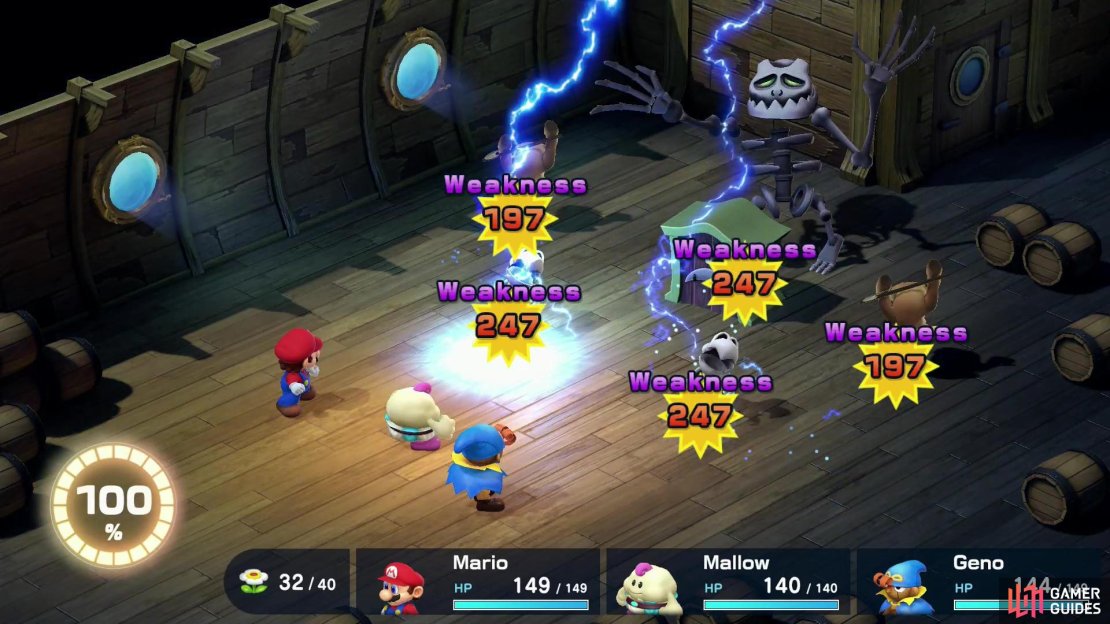
In the next room you’ll be harassed by some… pirate sharks? Why would they even need a ship? Oh, whatever. They’re territorial and none too pleased to see you, so dispatch this group of ![]() Bandana Red enemies (they’re weak to lightning, one of Mallow’s Thunderbolt spells can clear them out in a single go!), hit a chest to score a Mushroom, then head over to the stairs where some shenanigans will ensue. Go upstairs and you’ll be challenged by another group of Bandana Reds, who can be dispatched just as easily as the first group, after which they’ll allow you to meet their captain,
Bandana Red enemies (they’re weak to lightning, one of Mallow’s Thunderbolt spells can clear them out in a single go!), hit a chest to score a Mushroom, then head over to the stairs where some shenanigans will ensue. Go upstairs and you’ll be challenged by another group of Bandana Reds, who can be dispatched just as easily as the first group, after which they’ll allow you to meet their captain, ![]() Johnny. When you’re ready, go through the doorway to the northeast, where [Captain Johnny] awaits…
Johnny. When you’re ready, go through the doorway to the northeast, where [Captain Johnny] awaits…
No Comments