
After deposing [Valentina and Dodo], the usurpers of Nimbus Land, you’ll be told about a star that fell into a volcano! Not an ideal place to have to delve for such a treasure, but if we were able to brave the depths of the ocean, a volcano shouldn’t be an insurmountable obstacle! This page will cover the first half of the ![]() Barrel Volcano area in Super Mario RPG, including all secrets, treasures, and enemies.
Barrel Volcano area in Super Mario RPG, including all secrets, treasures, and enemies.
| Barrel Volcano Enemies |
|---|
| Armored Ant |
| Chained Kong |
| Lava Bubble |
| Magmus |
| Stompillar |
| Stumpet |
| Urspike |
| Vomer |
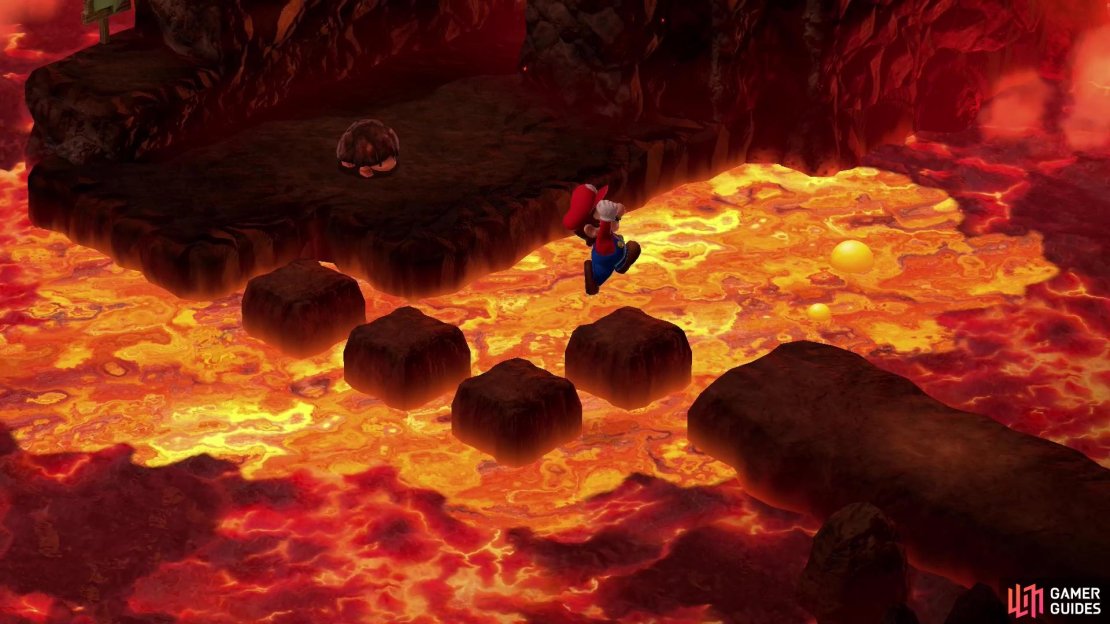
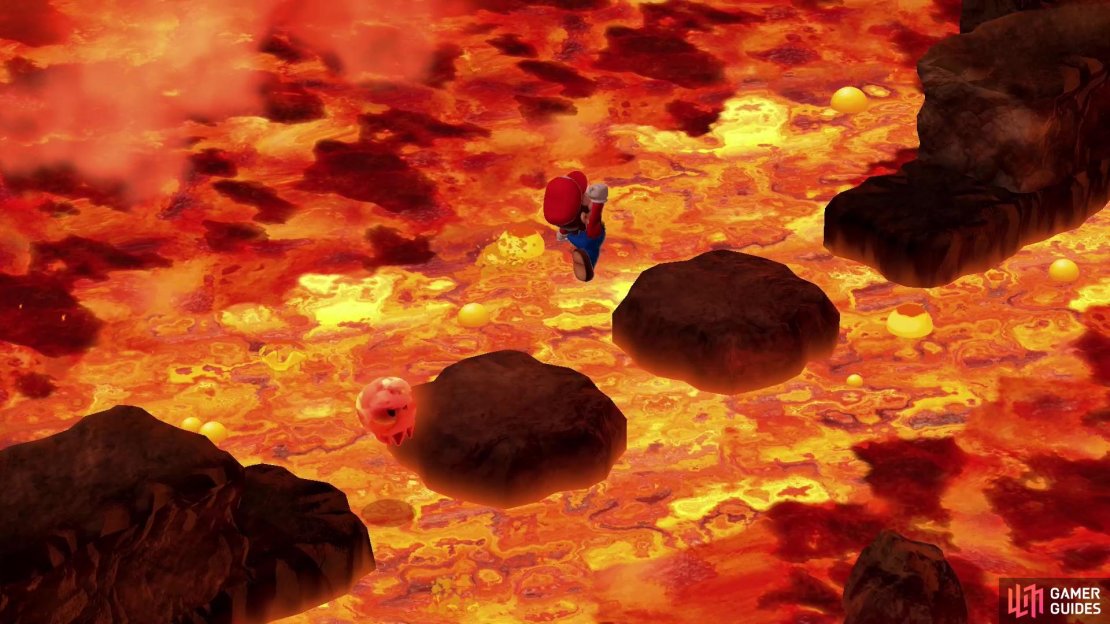
(1 of 3) Jump across some platforms,
Barrel Volcano - First - Fourth Areas
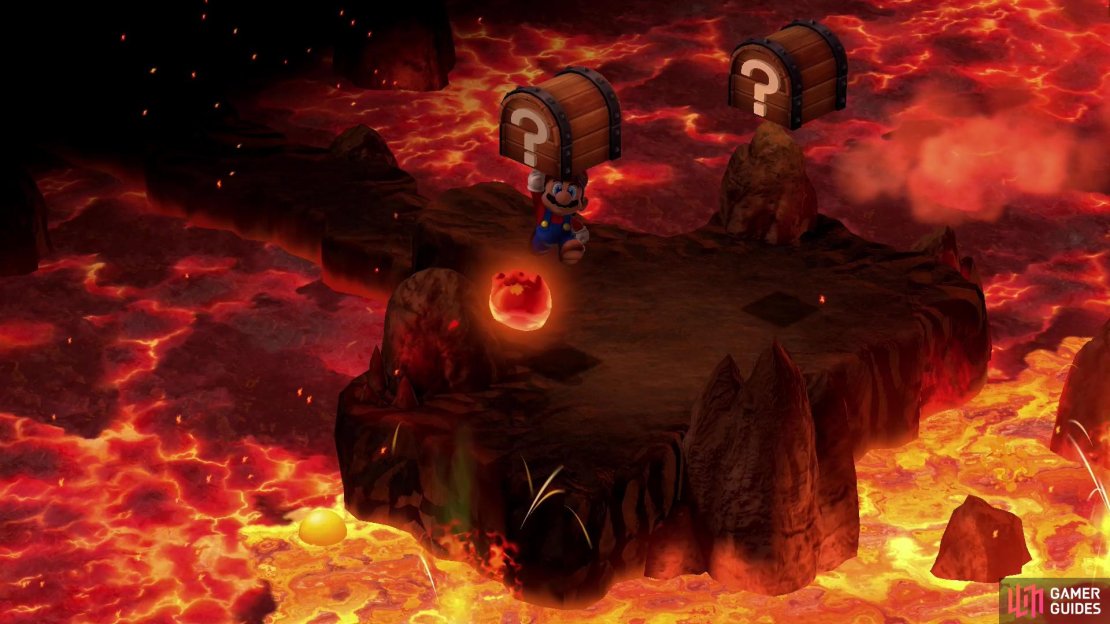
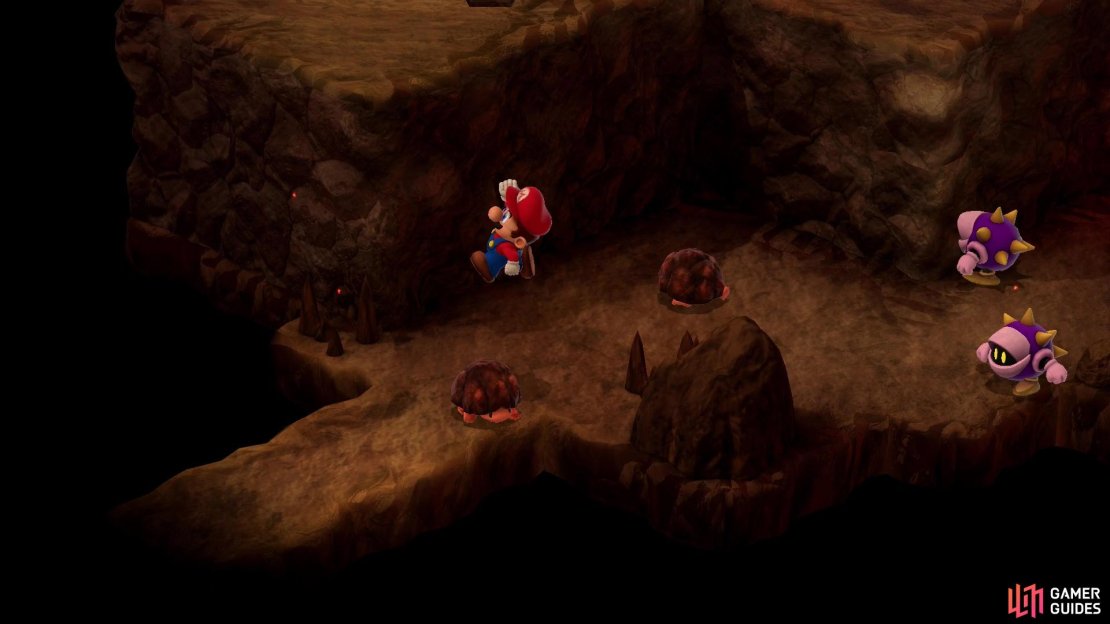
The first screen is just a spring, so bounce (don’t, actually) and exit to the southwest. On the second screen you’ll find your first enemies - likely some Magmus enemies. Ignore or fight them, as you prefer, but now the ledges to the northwest you can ascend, then ignore, instead leaping across some small platforms in the lava to the southeast. Exit to the southeast and you’ll reach a small area with two chests. Be wary of the Lava Bubble enemies that spawn and hit the chests for a pair of Flowers. Tasty.
Exit back to the second screen and take the previously neglected platforms to the northwest, using them to jump up to the northeast, where you can exit to the fourth screen of this dungeon. Not much to see here save the new Vomer enemy, which is merely an upgraded ![]() Dry Bones from the Sunken Ship. They function the same way - use specials to put them down in combat, but don’t be lethargic, as they won’t stay down outside of battle. Do what you need to do to win, then jump up the ledges past them and exit to the southeast.
Dry Bones from the Sunken Ship. They function the same way - use specials to put them down in combat, but don’t be lethargic, as they won’t stay down outside of battle. Do what you need to do to win, then jump up the ledges past them and exit to the southeast.
Barrel Volcano - Fifth Area
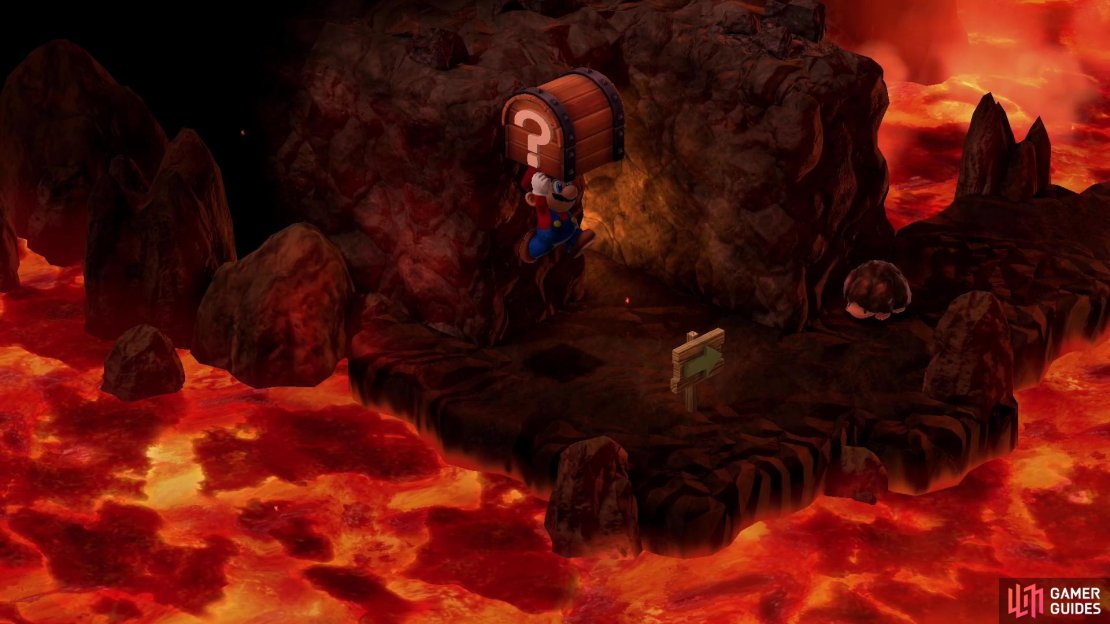
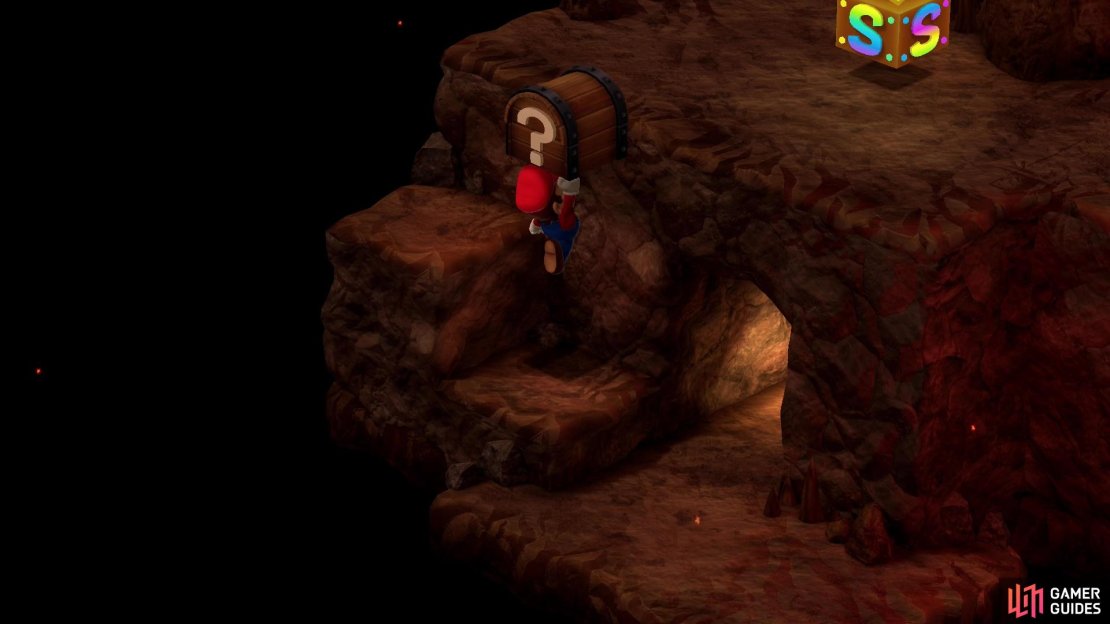
Once you zone in you’ll find a chest nearby. Jump up and hit it to score another Flower, then follow the linear path ahead, dodging or defeating Magmus enemies as you go. At a corner you’ll come to a chest that dispenses Coins, so thrash it for some lucre then exit to the northeast.
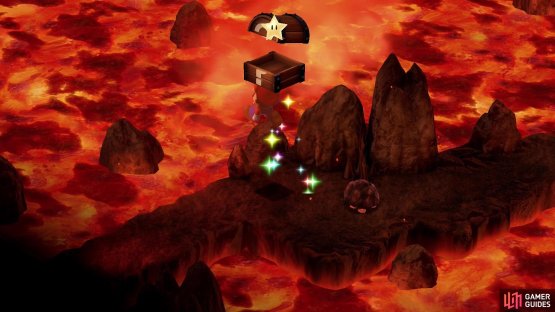
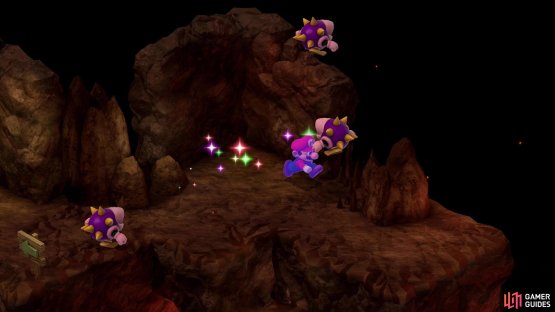
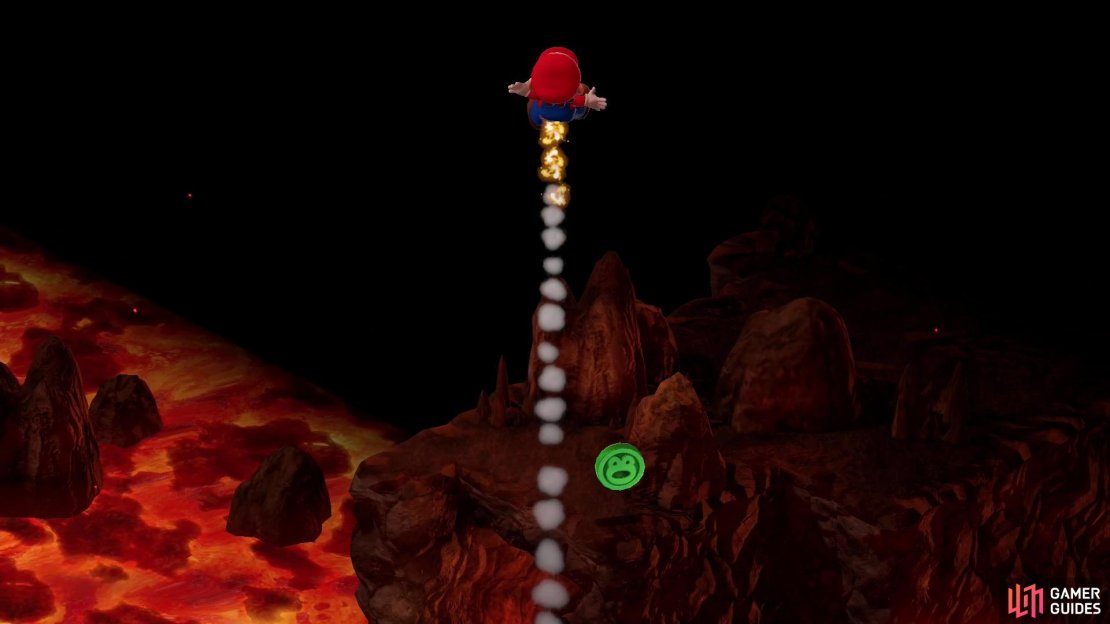
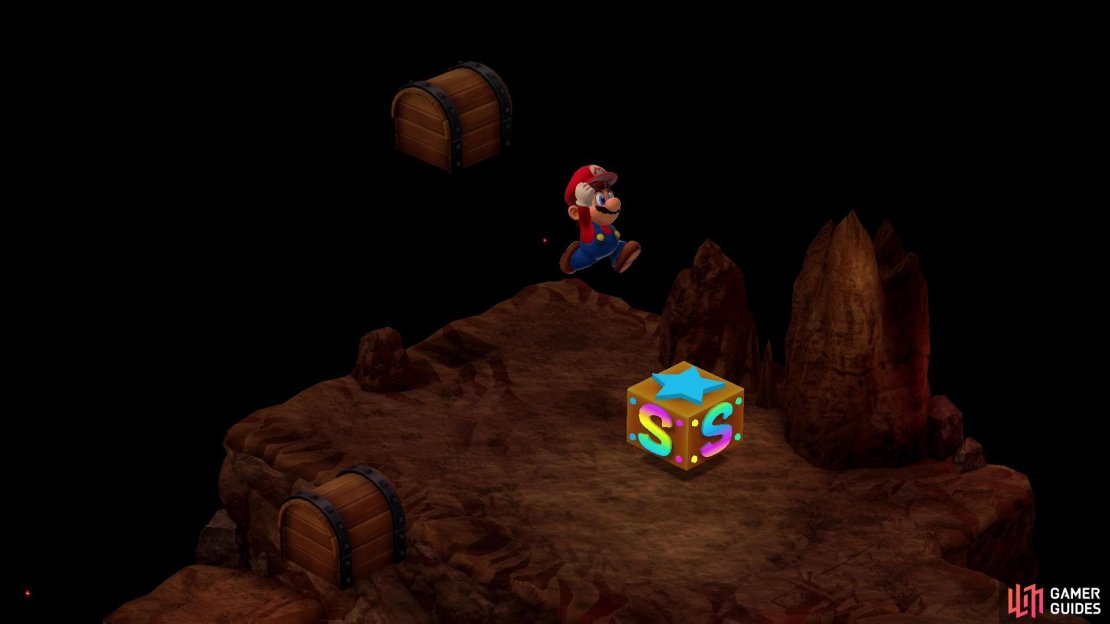
(1 of 2) Pick up a Star,

Pick up a Star, (left), and try to run through a host of enemies, including a Stompillar. (right)
Barrel Volcano - Sixth and Seventh Areas - Star Screens
Grab the Star at the beginning of this area, then work your way around and exit out to the southwest. In the next screen, jump up the ledges to the northeast, then turn northwest and try to touch the Stompillar and as many of the Urspikes as possible before the Star wears off to earn a nice chunk of Exp.

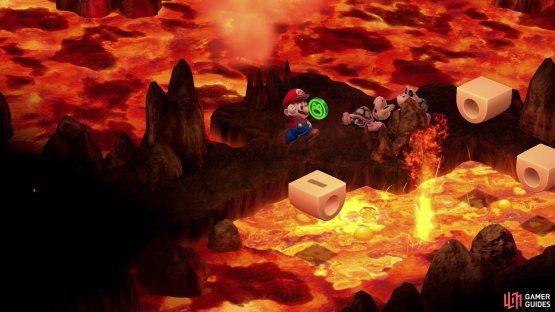
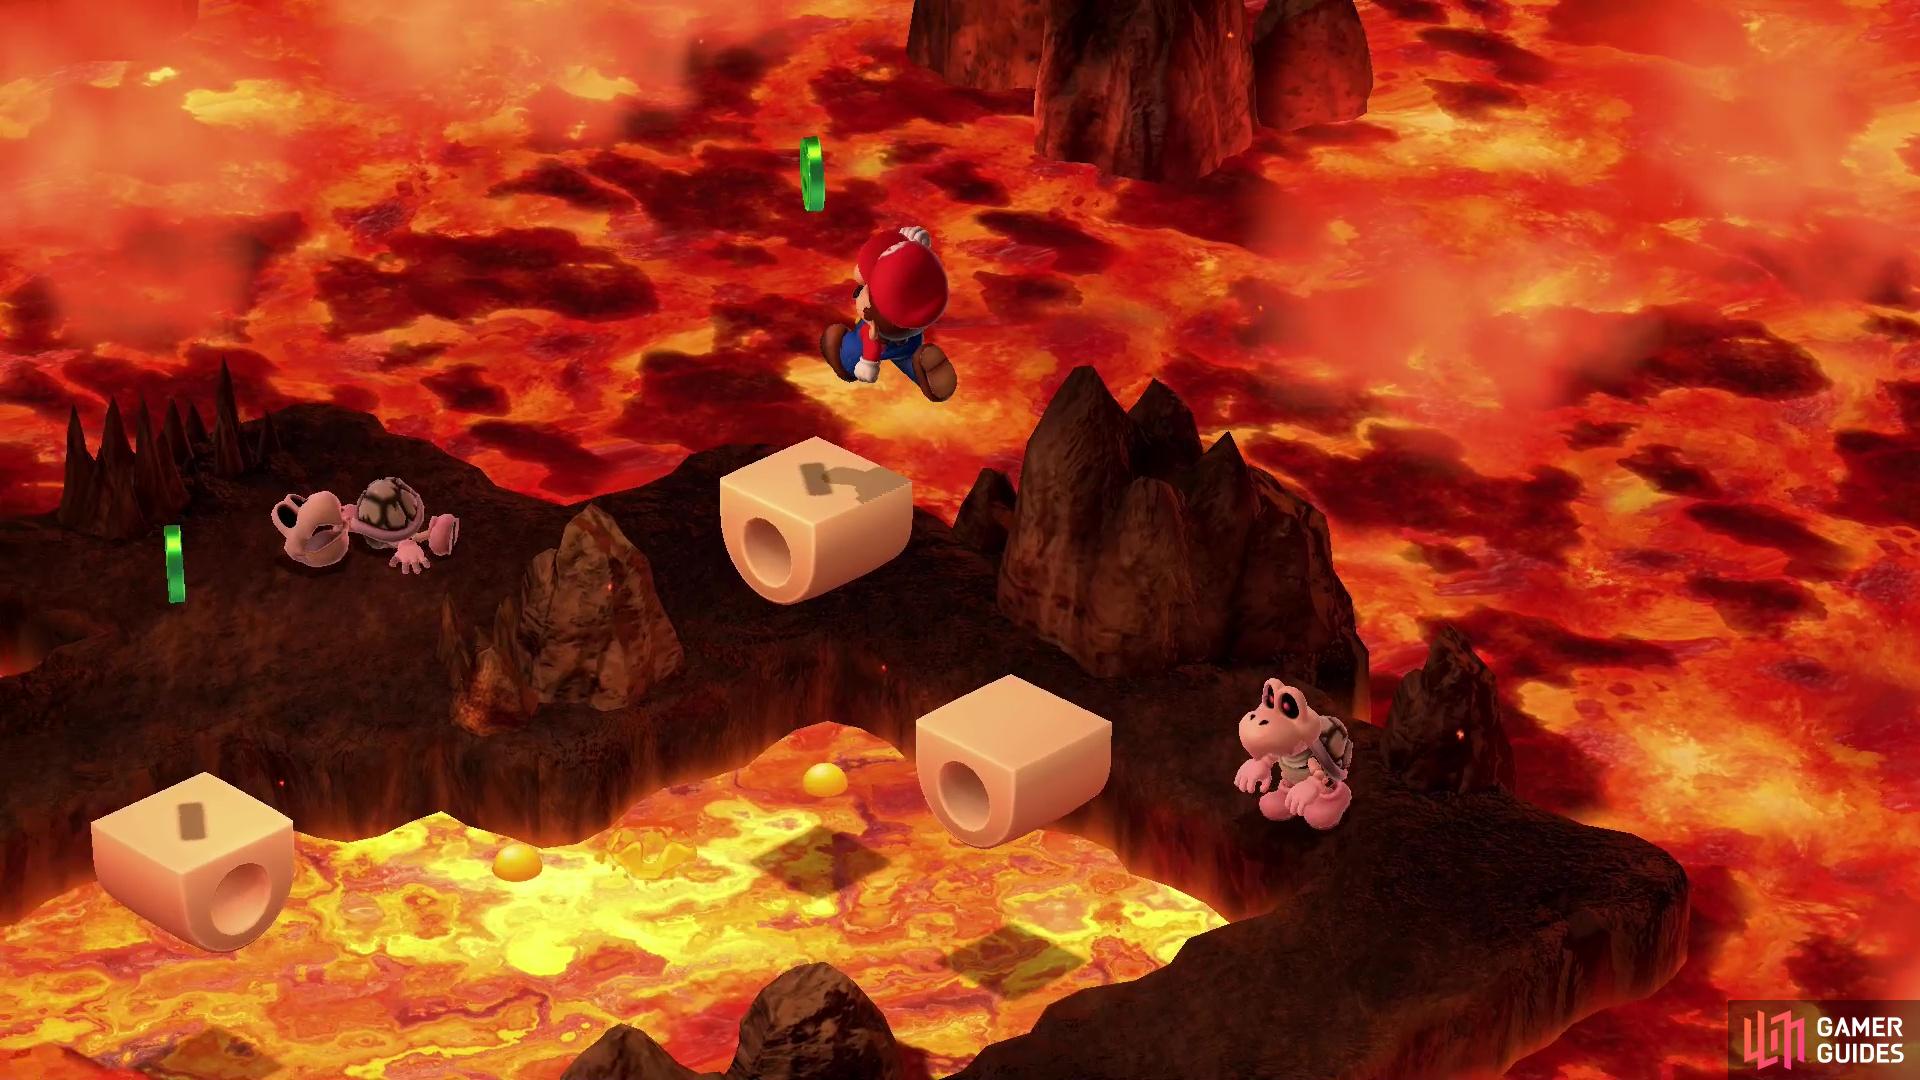
(1 of 2) Jump up some ledges and avoid some Vomer enemies - you’ll be doing this a few times in this dungeon.

Jump up some ledges and avoid some Vomer enemies - you’ll be doing this a few times in this dungeon. (left), Try to land on a Frog Coin suspended over lava - if you miss and burn your buns, you’ll need to backtrack to get another attempt. (right)
Barrel Volcano - Eighth and Ninth Areas
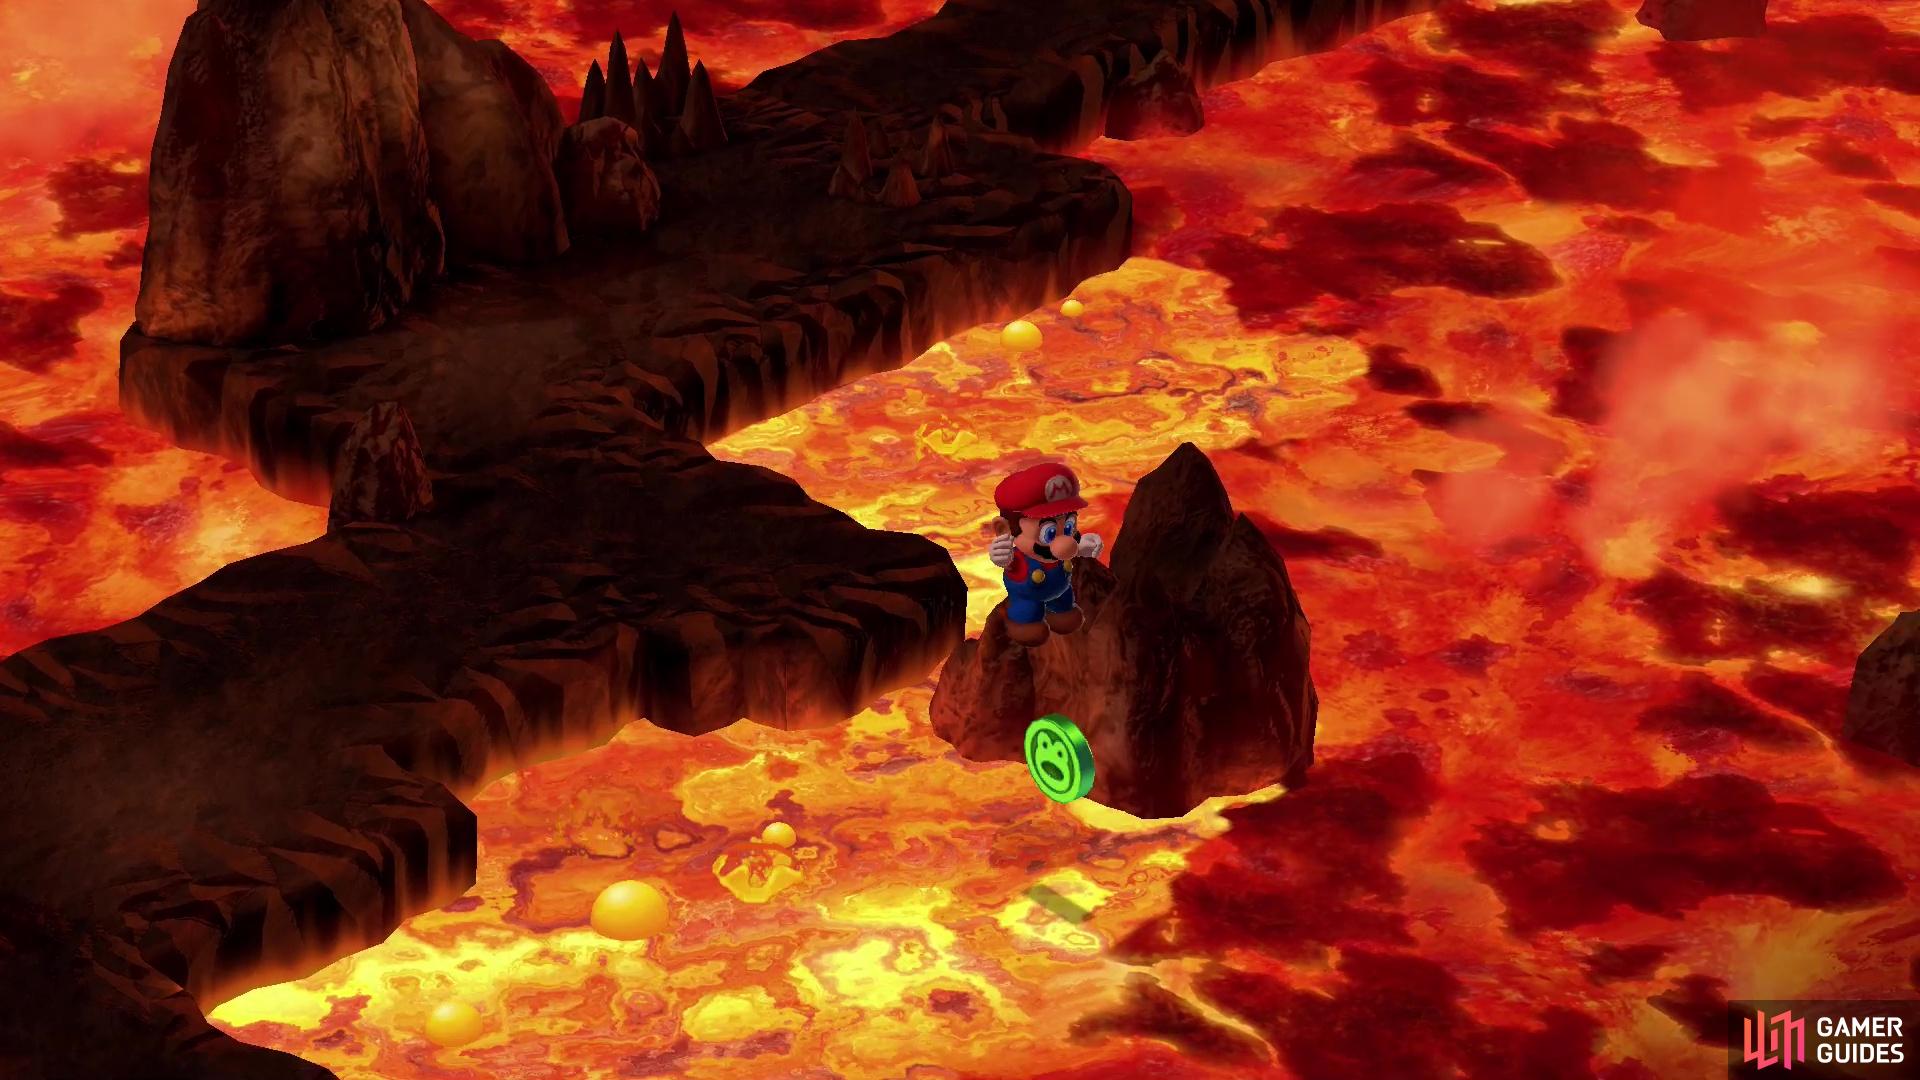
Screen eight features more Vomers guarding steps. Evade them and exit to the northwest to come to a more interesting room. There’s a lava pit… well, all around you, technically, but you can jump into the lava to the northeast, and the Frog Coin at the edge of the lava pit gives you some incentive to do so. Dispatch the enemies here, then jump from northwest of the Frog Coin to reach it - if you miss, you’ll burn your bottom and end back at the start of the screen, necessitating a trivial bit of running to make another attempt. Get the Frog Coin if you can and exit to the northeast.

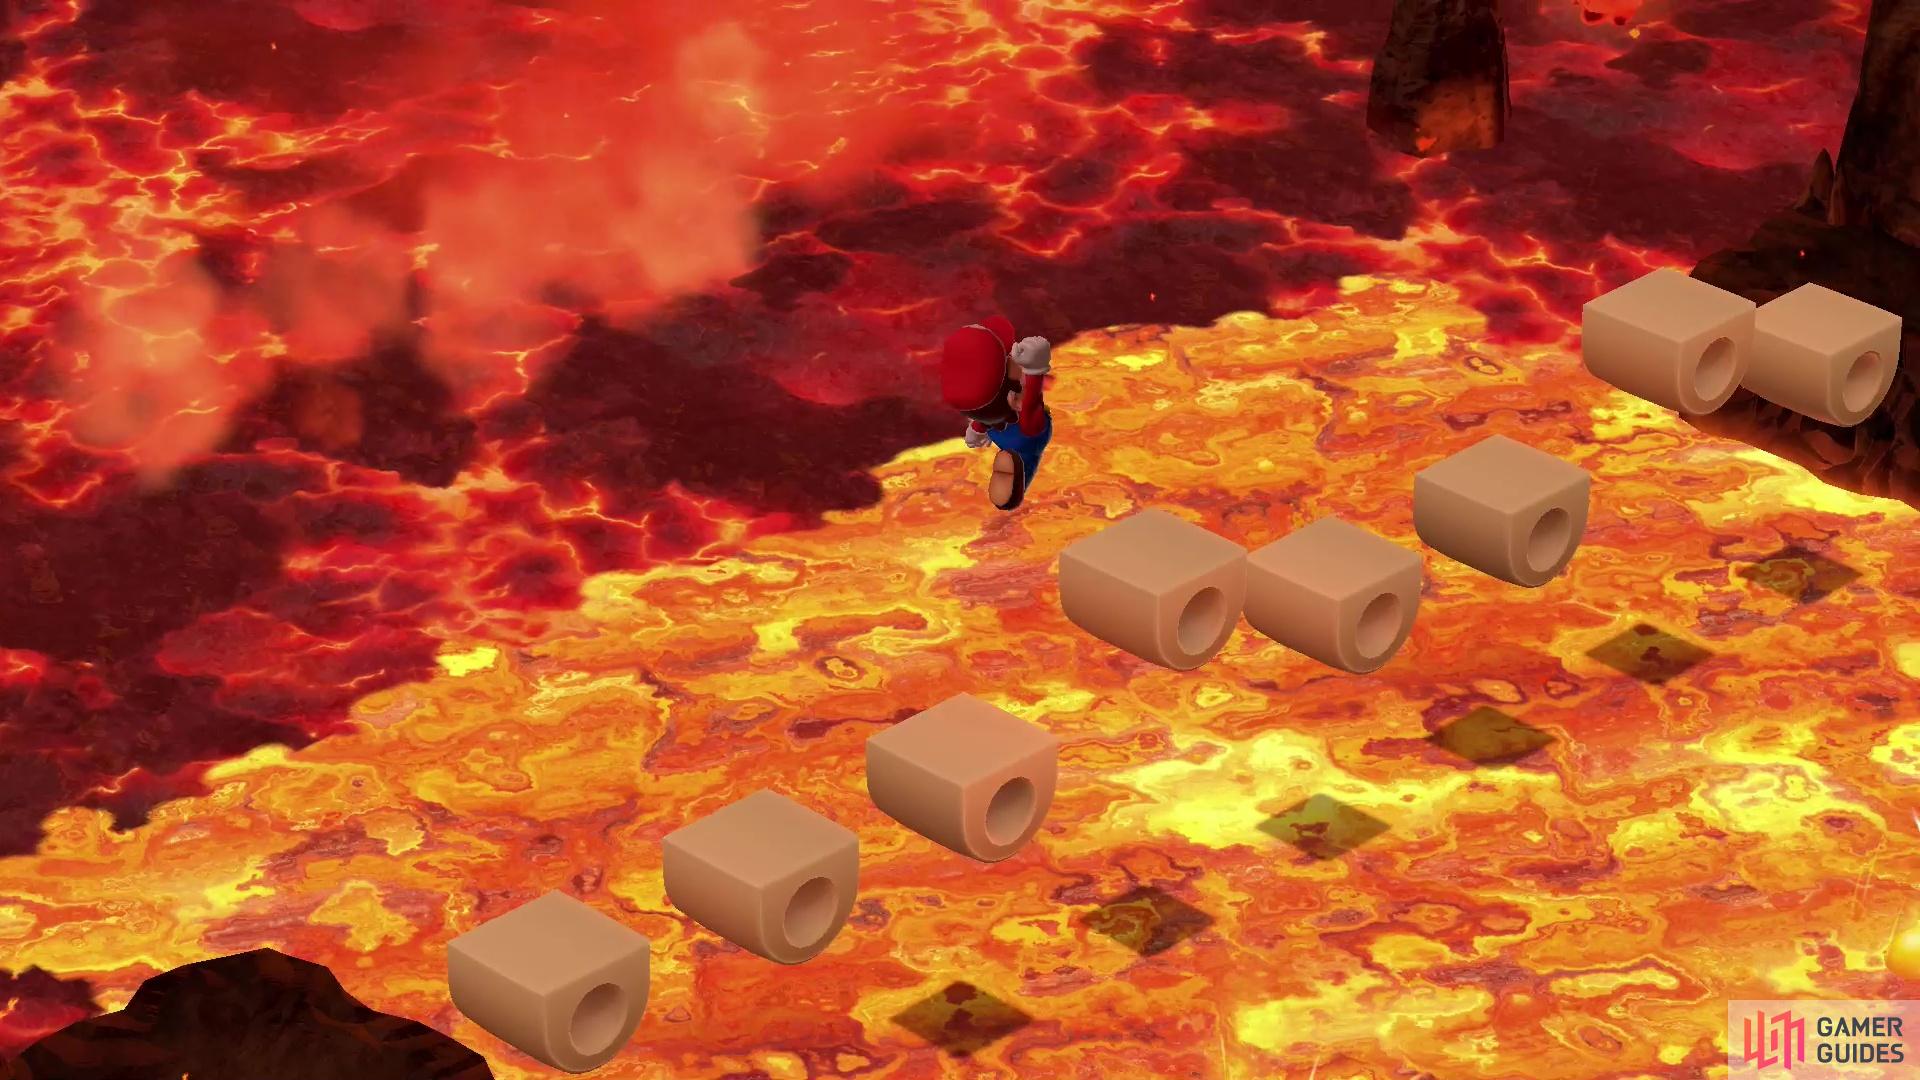
(1 of 3) Jump from platform to platform, being wary of Lava Bubble enemies as you go.
Barrel Volcano - Tenth Area
Platforms with lava lie ahead of you, with Lava Bubbles occupying the gaps. There seems to be a high rate of Special Enemy spawns if you do come into contact with the Lava Bubbles, if that entices you. Either way, jump your way across to the northeast and exit the area. Wait… did you see that Frog Coin on the roof above the entrance you just took? Go back to the previous screen and sure enough, a Frog Coin! Properly out of reach. But there’s a solution - make your way southwest and intentionally fall into the lava. Touching lava doesn’t hurt you, but it will send you flying back to the entrance of the area. This was a bad thing when you were crossing from southwest to northeast, but after zoning out from the northeast, returning and touching the lava will send you flying back to the northeastern exit… or rather, to the ledge above it. Grab the Frog Coin, drop down, then exit to the northeast for good this time.

(1 of 2) Jump onto the platforms to reach a Frog Coin, just don’t delay, as the platforms will fall into the lava if you tarry too long.

Jump onto the platforms to reach a Frog Coin, just don’t delay, as the platforms will fall into the lava if you tarry too long. (left), The second Frog Coin-bearing platform is easier to reach, but if you fall off it’s a longer walk back - zone out and zone back in to make this process easier. (right)
Barrel Volcano - Eleventh Area
This screen is basically a loop of land surrounding a lava pit, with three platforms hovering over it. There are Frog Coins on the two platforms to the northwest, and you’ll have to jump from the nearest platform over to the northernmost one, then drop down back to the path, circle around the edge of the lava pit to the northwestern edge (near the exit) and jump onto the westernmost platform to get the second Frog Coin. Two Vomer enemies exist to make this process more tedious, but keeping your distance causes them to stop chasing you. It’s also worth noting that if you stand on the platforms too long, they’ll fall into the lava, and you’ll have to zone out and zone back in to get them to reappear. If you zone out by taking the northwesternmost exit you’ll return there if you hit the lava pit, making it less tedious to land the jump onto the westernmost platform. Take the westernmost exit when you’re done.

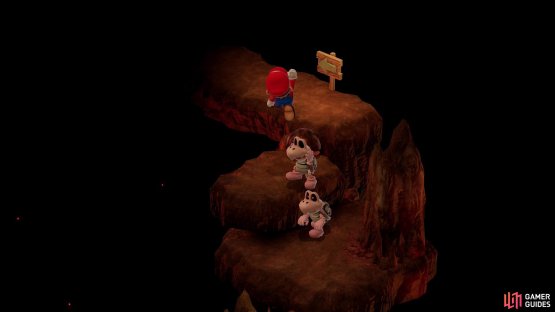
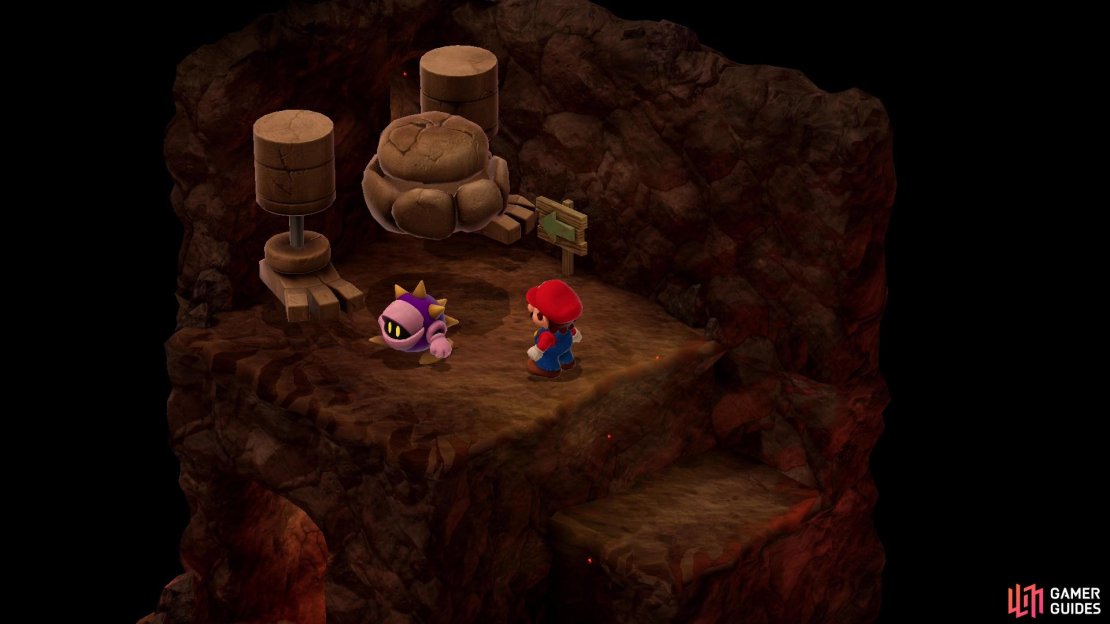
(1 of 4) A Stumpet will spawn endless Magmus enemies, so run on past.
Barrel Volcano - Twelfth and Thirteenth Areas
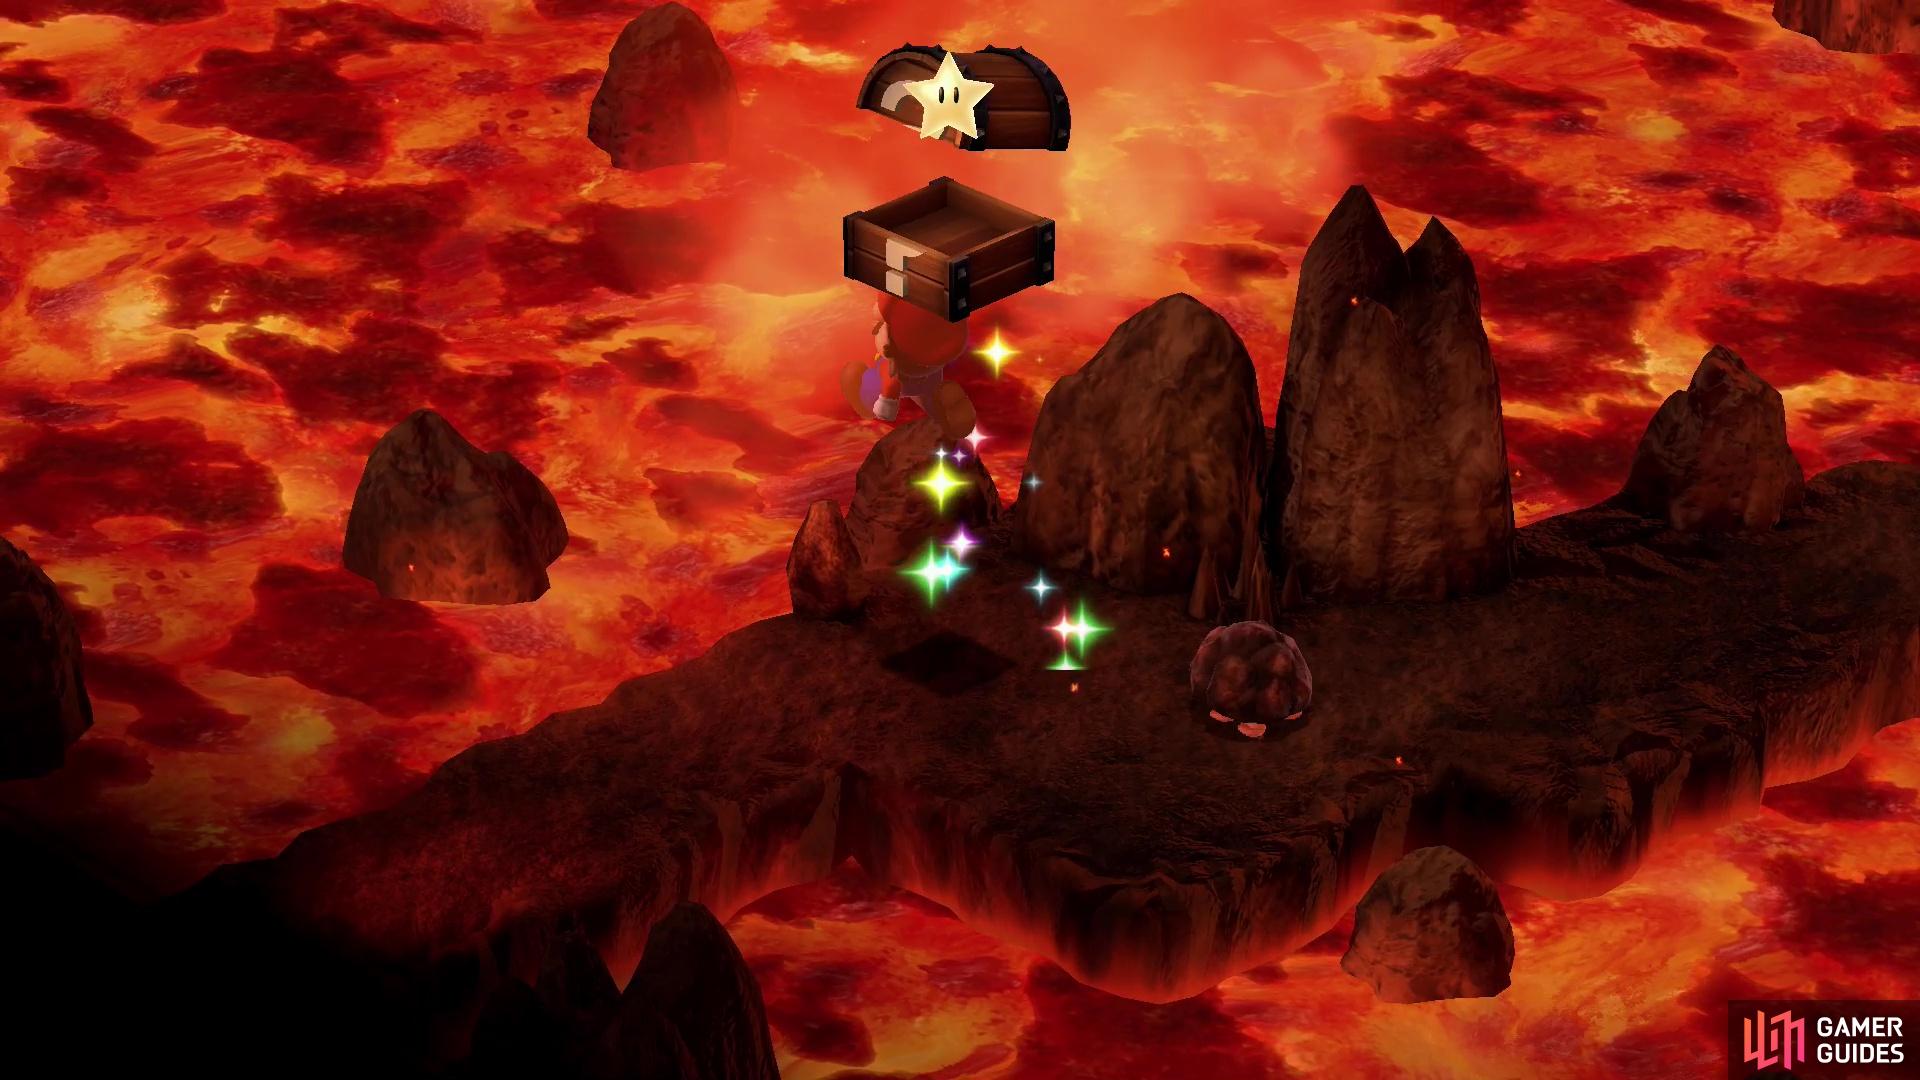
On the next screen, you’ll find a stone tree monster on a high ledge, a Stumpet, which will constantly spawn Magmus enemies to harass you with. There are also two Urspikes wandering around on the lower level with you, but these don’t respawn. You can’t get at the Stumpet from here, so just beeline through this screen as fast as possible. The next screen should be your favorite of the two, as it houses this dungeon’s first Save Point! Not to be outdone, there are also two chests floating around in plain sight - hit them to score a Flower and a Frog Coin. Save your game if you wish, then exit to the southeast to confront the Stumpet that pestered you earlier. Despite its size, it can be easily dispatched; in fact, Mallow can quite nearly one-shot it with his “Snowy” special! Defeat this misguided stone root and exit to the northeast.
(1 of 3) Stomp a Stompillar,
Barrel Volcano - Fourteenth - Seventeenth Areas
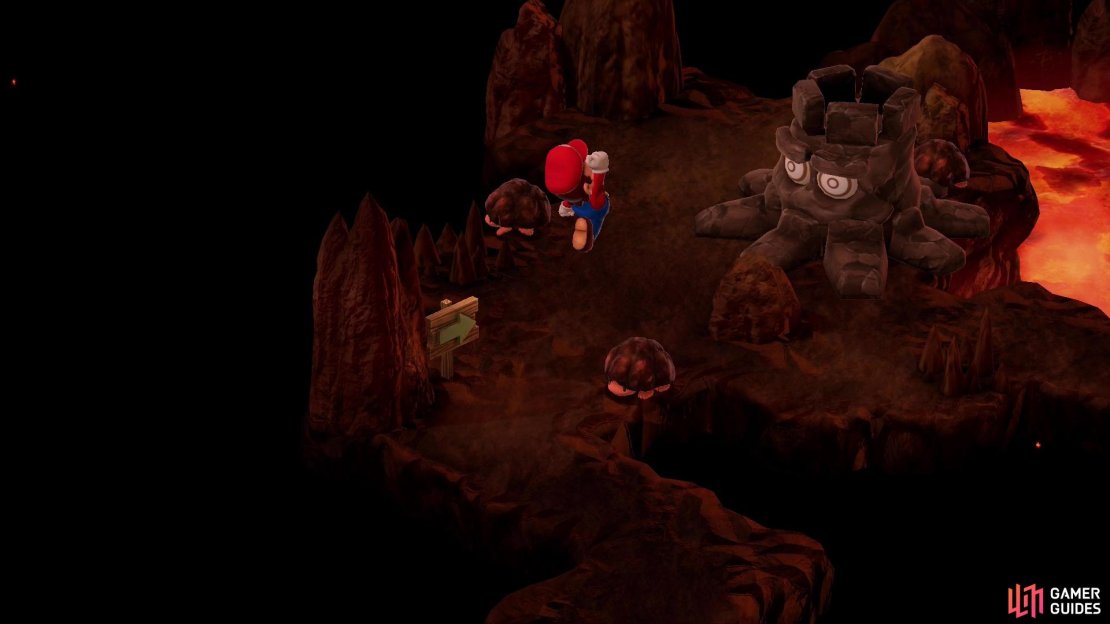
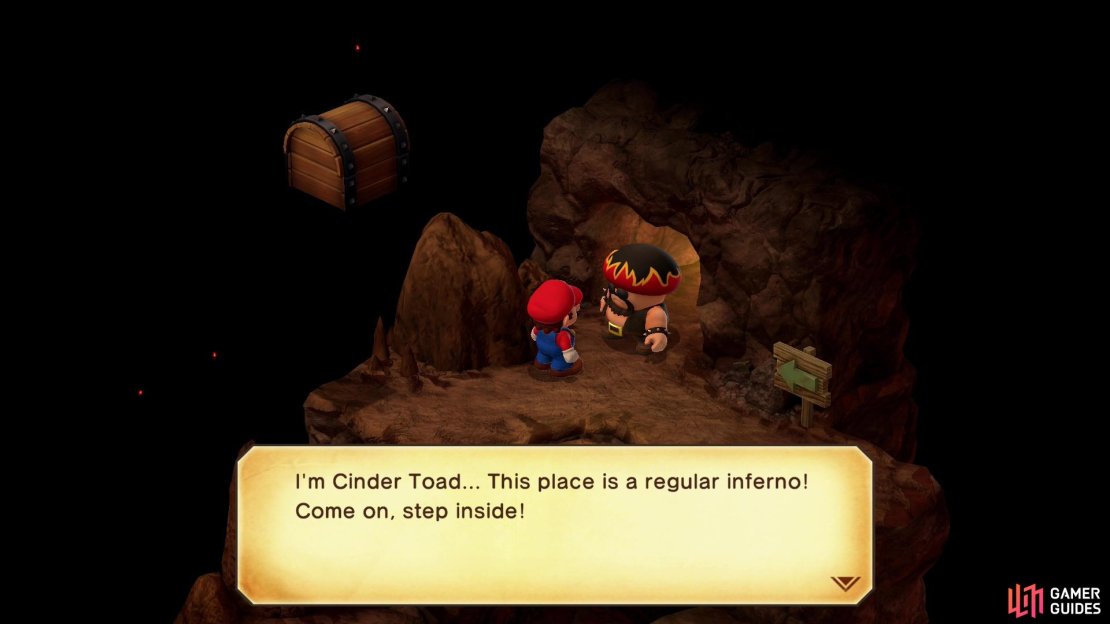
Leave the Stumpet’s roost behind and you’ll find yourself in another ledge-filled room with the odd Vomer and Urspike blocking your way. Dismantle them or avoid them and exit to the next area. Here you’ll find more Urspikes guarding various ledges, with a Stompillar atop the ledges guarding the exit. Dispatch all your unworthy foes, then exit to the northwest. No ledges on this screen, just a winding path you need to follow around a lava pit you can’t fall into. Oh, and another Stumpet causing problems by spawning Magmus enemies. This one’s well within your reach, however, to thrash it for spawning more baddies and exit to the northeast. Final area in this series, and it’s more of the same; ledges, Urspikes, and Vomers - jump over them and exit to the northeast, or at least, try to. You’ll be blocked by a fleek rockerboy toad named Cinder Toad. Ignore him to pillage a chest full of Coins on the edge of the ledge nearby, then talk to Cinder Toad and he’ll invite you inside.
Barrel Volcano - Eighteenth Area - Cinder Mart
In the room Cinder Toad was overlooking you’ll find Cinder Mart, where Cinder Toad plays the role of item vendor, innkeeper, and armor vendor. It’ll cost you 30 Coins to rest here, and his wares can be found below:
| Item | Cost | Effect |
|---|---|---|
| Mid Mushroom | 20 | Recovers 80 HP. |
| Maple Syrup | 30 | Recovers 40 FP. |
| Pick Me Up | 5 | Revives a downed ally. |
| Cleansing Juice | 4 | Refreshes status during battle. |
| Party Cleanse | 50 | Party is refreshed during battle. |
| Fire Shirt | 90 | Defense +42, Mg. Defense +21. Mario only. |
| Fire Pants | 90 | Defense +42, Mg. Defense +21. Mallow only. |
| Fire Cape | 90 | Defense +40, Mg. Defense +15. Geno only. |
| Fire Shell | 90 | Defense +18, Mg. Defense +9. Bowser only. |
| Fire Dress | 50 | Defense +42, Mg. Defense +21. Peach only. |
Buy what you want - the armor should be a pure upgrade to whatever you currently have equipped - then leave via the southeasternmost exit.
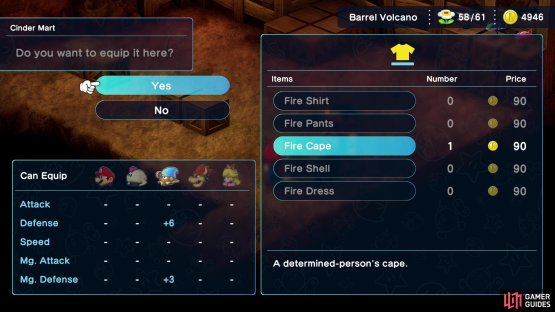

(1 of 2) You can purchase new items and armor from Cinder Toad at Cinder Mart.
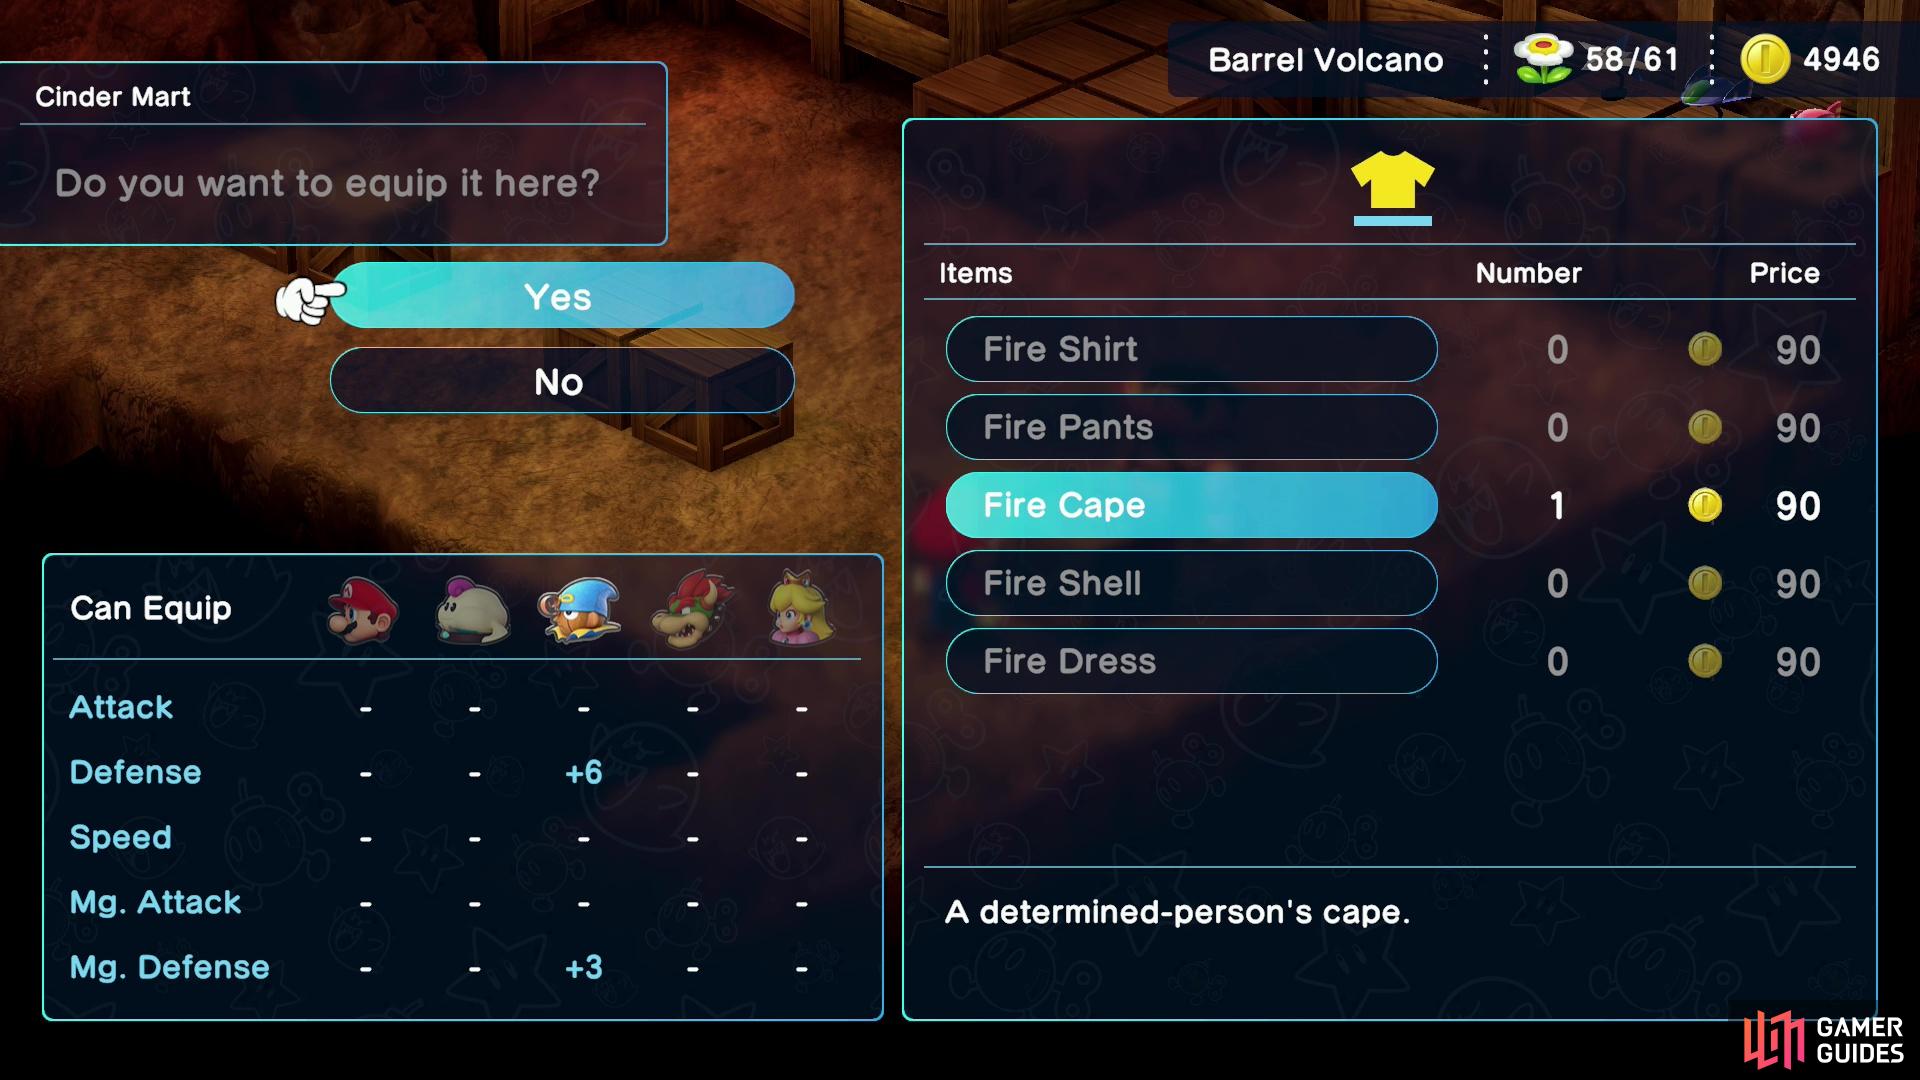
You can purchase new items and armor from Cinder Toad at Cinder Mart. (left), When you’re done shopping, leave Cinder Mart and complete one more platforming section to advance to the end of Barrel Volcano. (right)
Barrel Volcano - Nineteenth and Twentieth Areas
After leaving the shop you’ll be on a transition screen with another Save Point. Drop down the ledges, use the Save Point, then exit to the northeast to find another platforming section. Numerous platforms cross a lava pit, with a few Lava Bubble enemies zipping up and down between. Stand on a ledge too long and it’ll fall into the lava, forcing you to zone out and back in to respawn them. Jump too quickly and you’ll probably get into a fight with a Lava Bubble, wasting time and resources… which is pretty much the best way to sum up platforming in general. Cross to the northeastern side and exit to the next screen.
If you venture north, be prepared to meet the boss of this dungeon, the fabled [Czar Dragon]!
No Comments