
Pass through the Sea area and you’ll reach the Sunken Ship area, the largest dungeon since Booster Tower! This is a two-part dungeon with two bosses, and the first half of the dungeon largely involves completing six puzzles so you can get a password. This page will help you navigate the first half of the Sunken Ship dungeon, complete all six puzzles, learn the password, and find all the hidden treasure and secrets along the way in Super Mario RPG.
Sunken Ship - First Area
After taking the pipe in the Sea you’ll reach the surprisingly dry interior of the Sunken Ship. Note a door to the northwest and ignore it, instead opting to head through another door to the northeast to find a Save Point. Note that you can use a spring in the previous room to escape the dungeon, but you can also just fast travel via the map. Return to the spring room and go through the previously neglected northwestern door.

(1 of 2) Read a note near the start of the dungeon to find out what you’ll be doing in a bit - finding clues to figure out a password.

Read a note near the start of the dungeon to find out what you’ll be doing in a bit - finding clues to figure out a password. (left), The only terribly noteworthy enemy in the first half of the dungeon is Dry Bones. Use specials to defeat them, but don’t expect them to remain down for long! (right)
Sunken Ship - Second Area
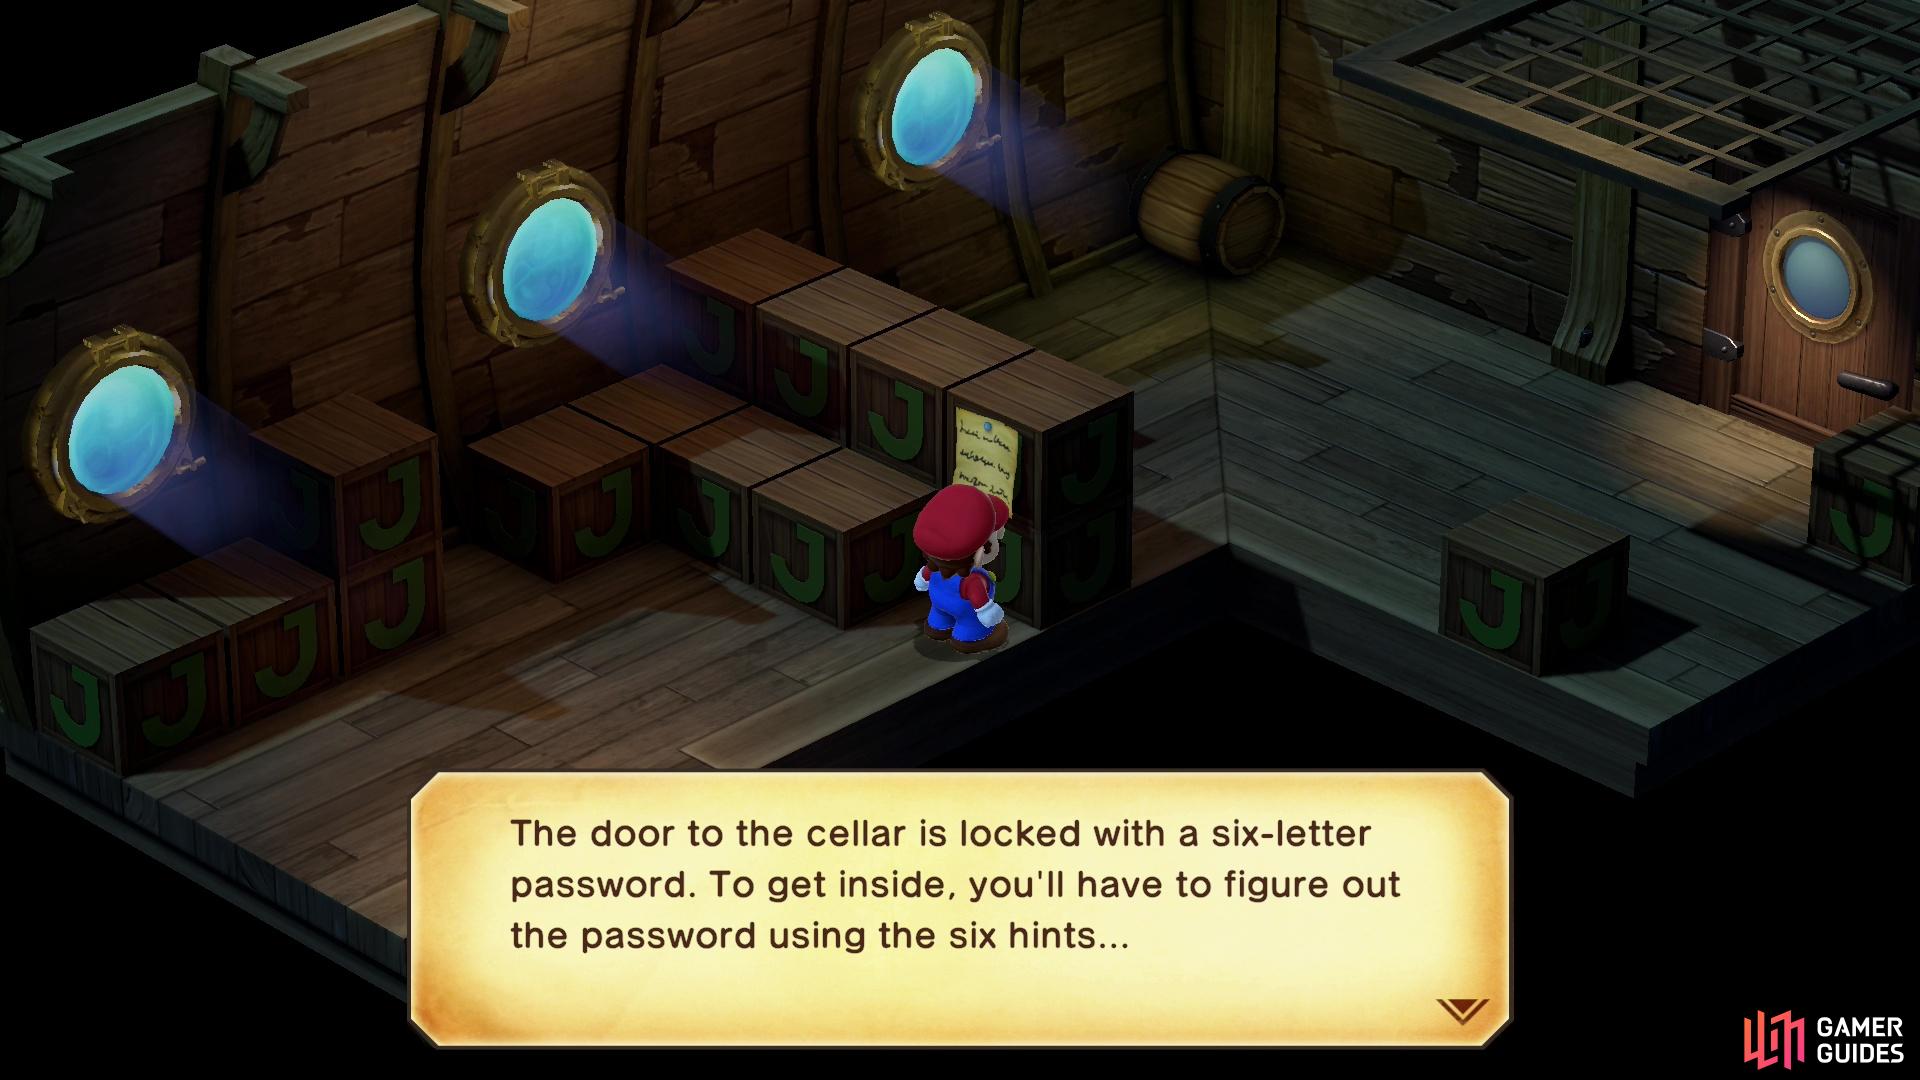
In the next room you’ll encounter this dungeon’s first enemies - undead! It’s going to be a theme for the first half of this area. Defeat or avoid them as you wish, and if you read a note in this room you’ll learn that the cellar is locked “with a six-figure password”, and you’ll need to “figure out the password using six hints”. That’ll be our major preoccupation shortly, so exit through a door to the northeast.
Sunken Ship - Third Area
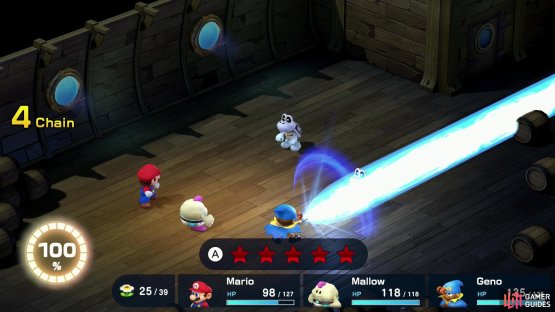
An annoying new enemy debuts here - the ![]() Dry Bones. These skeletal koopa troopas can’t be defeated - hitting them with normal attacks does nothing, and while using skills will end the encounter, the Dry Bones will just reanimate. Read a note along the northwestern wall if you wish, then exit through a door to the northeast.
Dry Bones. These skeletal koopa troopas can’t be defeated - hitting them with normal attacks does nothing, and while using skills will end the encounter, the Dry Bones will just reanimate. Read a note along the northwestern wall if you wish, then exit through a door to the northeast.
Sunken Ship - Fourth Area
This area primarily consists of two flights of stairs, patrolled by several Angry Rat enemies, which are nothing special as far as monsters go. Head down the stairs and jump on some boxes at the bottom of the second flight to find a chest that will dispense coins. Bop the chest dry, then exit to the southwest.
Sunken Ship - Six Puzzle Password
The next room houses the six puzzles you need to solve (note: you don’t actually) to figure out the password that’ll take you to the dungeon’s midboss. Three of the puzzles are reachable from here, while three more are on the lower level and will take some doing to reach. Below we’ll provide solutions for all six puzzles, but note that these are mostly performative, requiring you to figure out not merely what to do, but actually perform a task competently. If you’d rather not deal with such a nuisance, feel free to skip a puzzle - you’re not really missing out on anything except some consumables (usually just a healing Mushroom) for solving each puzzle.
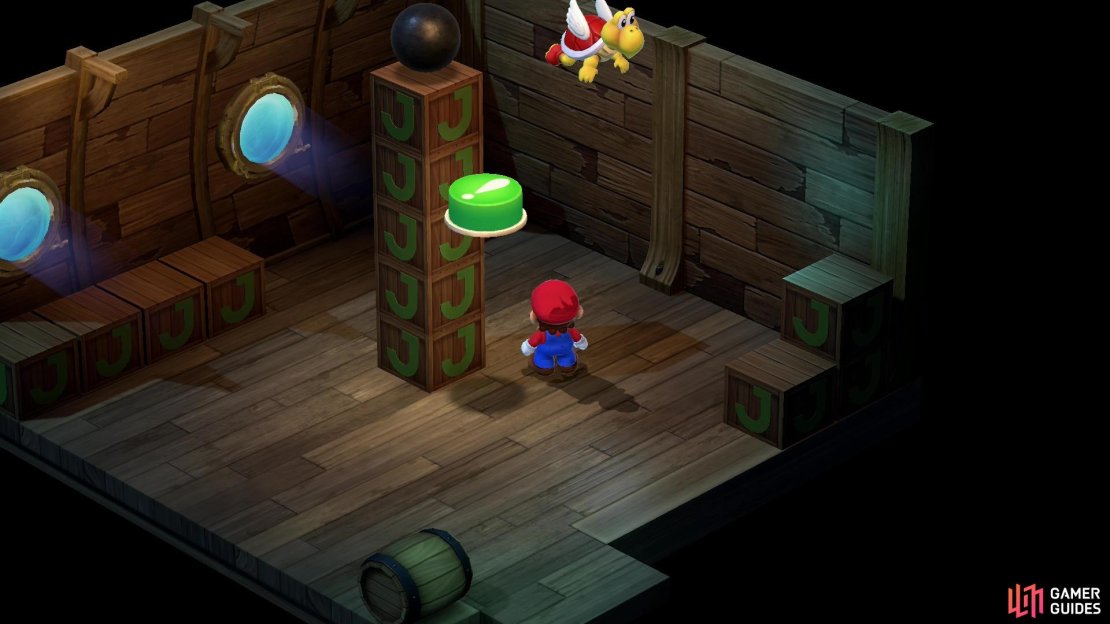
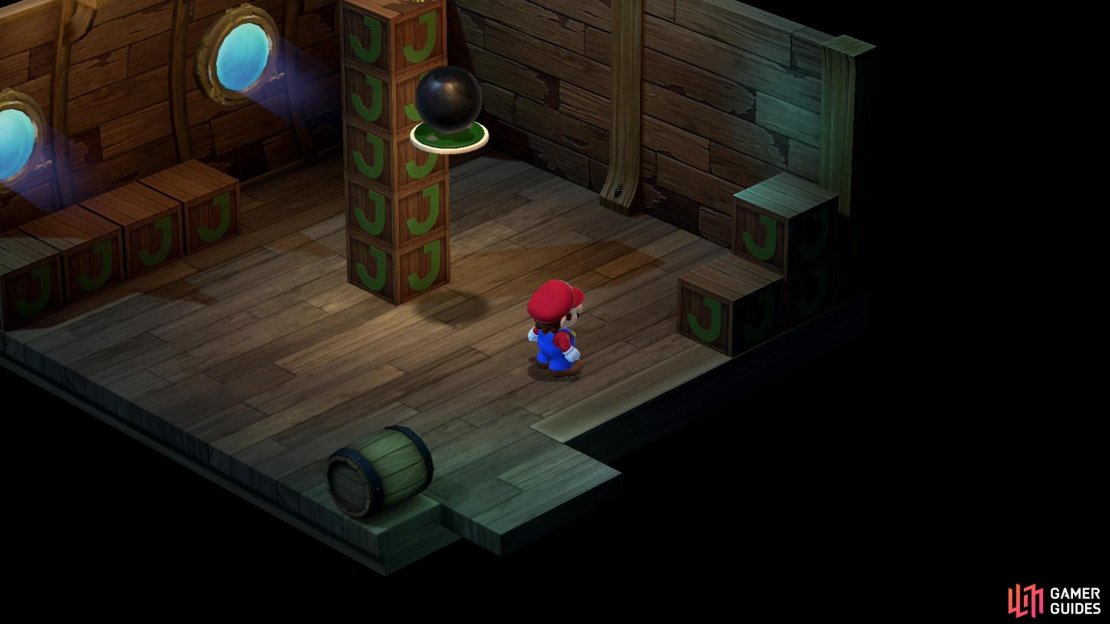
(1 of 3) The first puzzle consists of a cannonball on some crates, a Koopa Troopa, and a button in need of some pressing.
Koopa Troopa Cannonball Puzzle
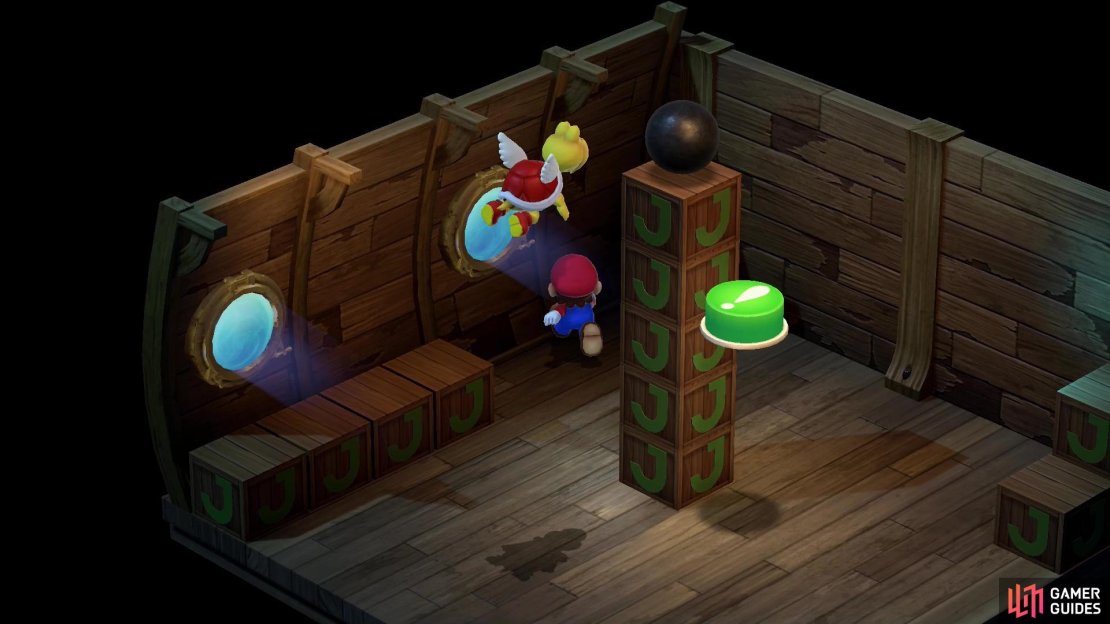
Starting from the northeastermost edge of the room leading to all the puzzles, defeat the ![]() Greaper guarding the door, then enter the room it guarded. The important objects in this room are a cannonball perched on some crates, a Koopa Troopa flying around overhead, and a big green button that needs to be pushed. The Koopa Troopa follows you around, and you need to trick it into rolling the cannonball off the crates and onto the button, meaning you need to get it to push the cannonball to the southeast. Just run northwest of the cannonball, wait for the Koopa Troopa to congregate above you, then run around the cannonball to the southeast quick enough so the Koopa Troopa follows you in a straight line. If you mess up, exit the room and reenter to reset the puzzle.
Greaper guarding the door, then enter the room it guarded. The important objects in this room are a cannonball perched on some crates, a Koopa Troopa flying around overhead, and a big green button that needs to be pushed. The Koopa Troopa follows you around, and you need to trick it into rolling the cannonball off the crates and onto the button, meaning you need to get it to push the cannonball to the southeast. Just run northwest of the cannonball, wait for the Koopa Troopa to congregate above you, then run around the cannonball to the southeast quick enough so the Koopa Troopa follows you in a straight line. If you mess up, exit the room and reenter to reset the puzzle.
When you successfully solve the puzzle, a note and a Mushroom will fall from the sky. Read the former to get the clue: ”There is an “s” in the word.” Good to know.
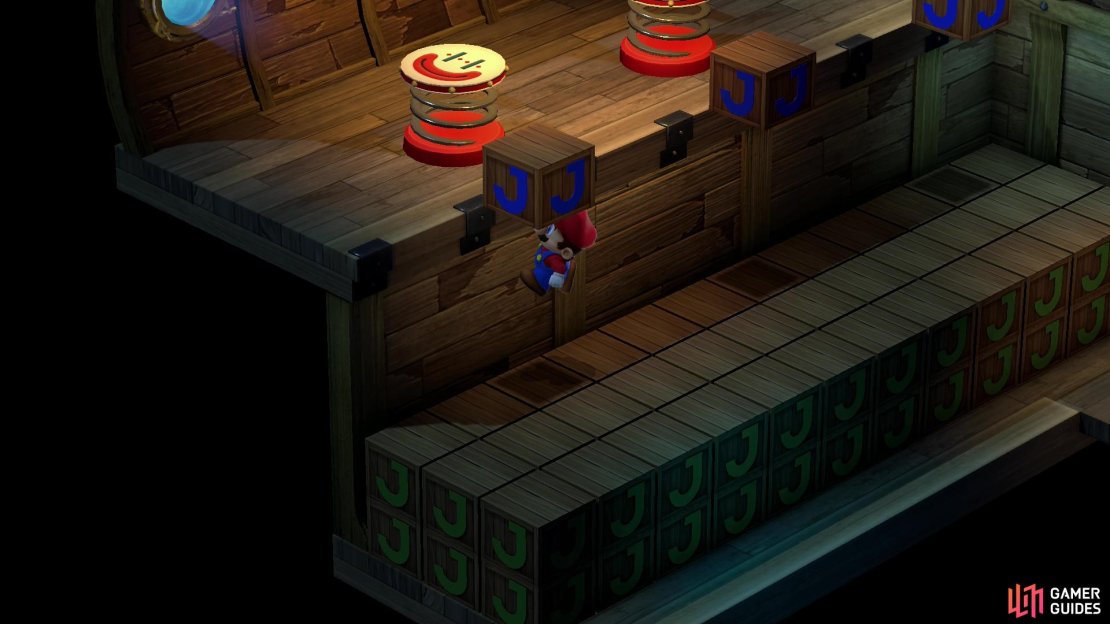

(1 of 3) in the second puzzle, hit J boxes to stop nearby springs at the right time,
Cannonball and Springs Puzzle
In the middle room of the upper floor, past another Greaper guardian, you’ll find the second puzzle room. There are three floating “J” boxes on a crate ledge in front of you, and above those are three springs moving back and forth. When you hit a J box the spring nearby will stop moving, and when you hit all three a cannonball will drop. Your goal is to bounce the cannonball across all three springs to reach a button in the room’s northern corner (the button can’t be seen until the puzzle triggers). This is all about hitting the J boxes at the right time and spacing the springs appropriately, and once you know where each spring has to be via trial and error, the rest is just timing. Note that you can hit a J box a second time to cause the nearby spring to keep moving, but since the puzzle tries to resolve itself when you hit the third J box, you need to get the final spring to stop where it needs to be in one try. If you fail, the puzzle resets automatically.
The southwesternmost spring needs to be more or less flush with the J box that controls it, while the other two springs need to be a little below (southwest of) their J box. You’ve got a lot of leeway with this, as the cannonball just needs to touch the spring to bounce - it does need to connect in a specific spot, and where the cannonball hits the spring doesn’t change its trajectory.
Land the cannonball on the spring and you’ll get another Mushroom and a note that reads: ”It is found on the bed of the ocean.”
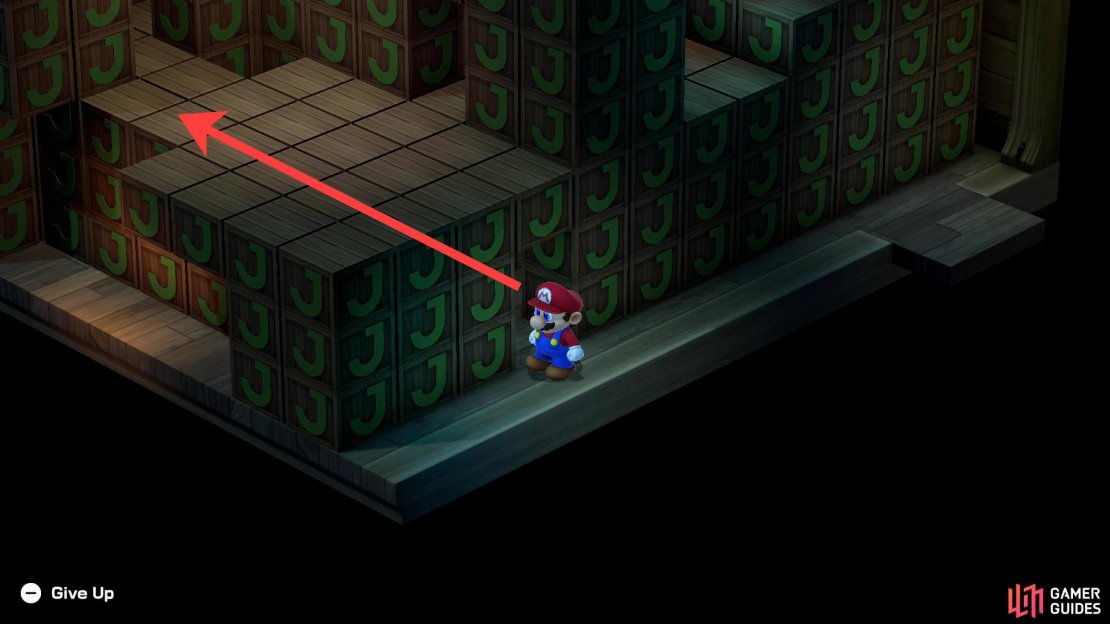
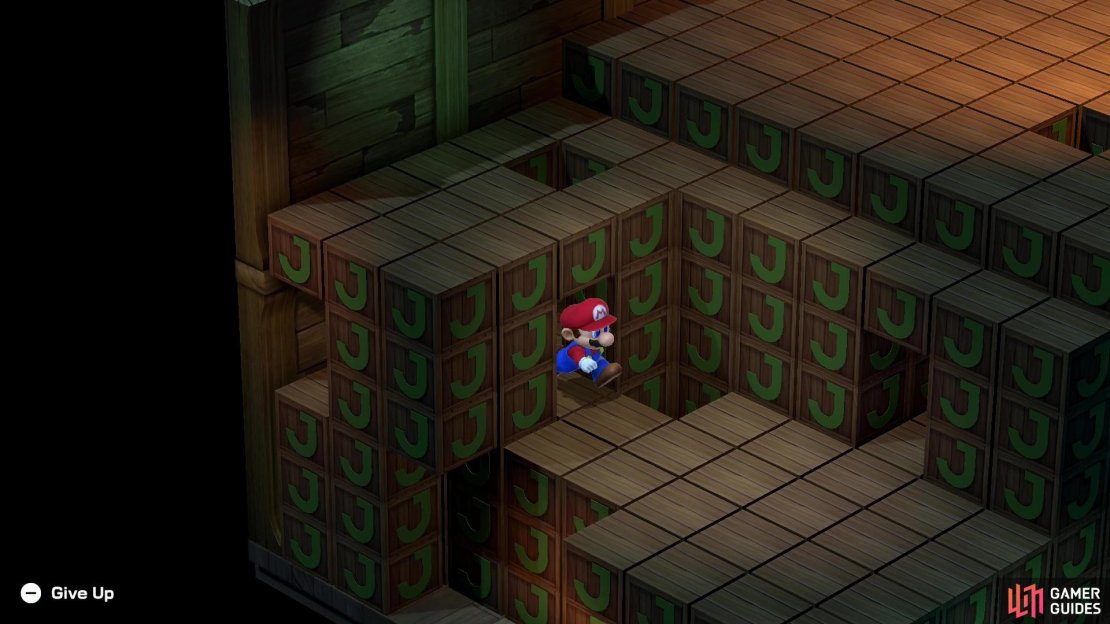
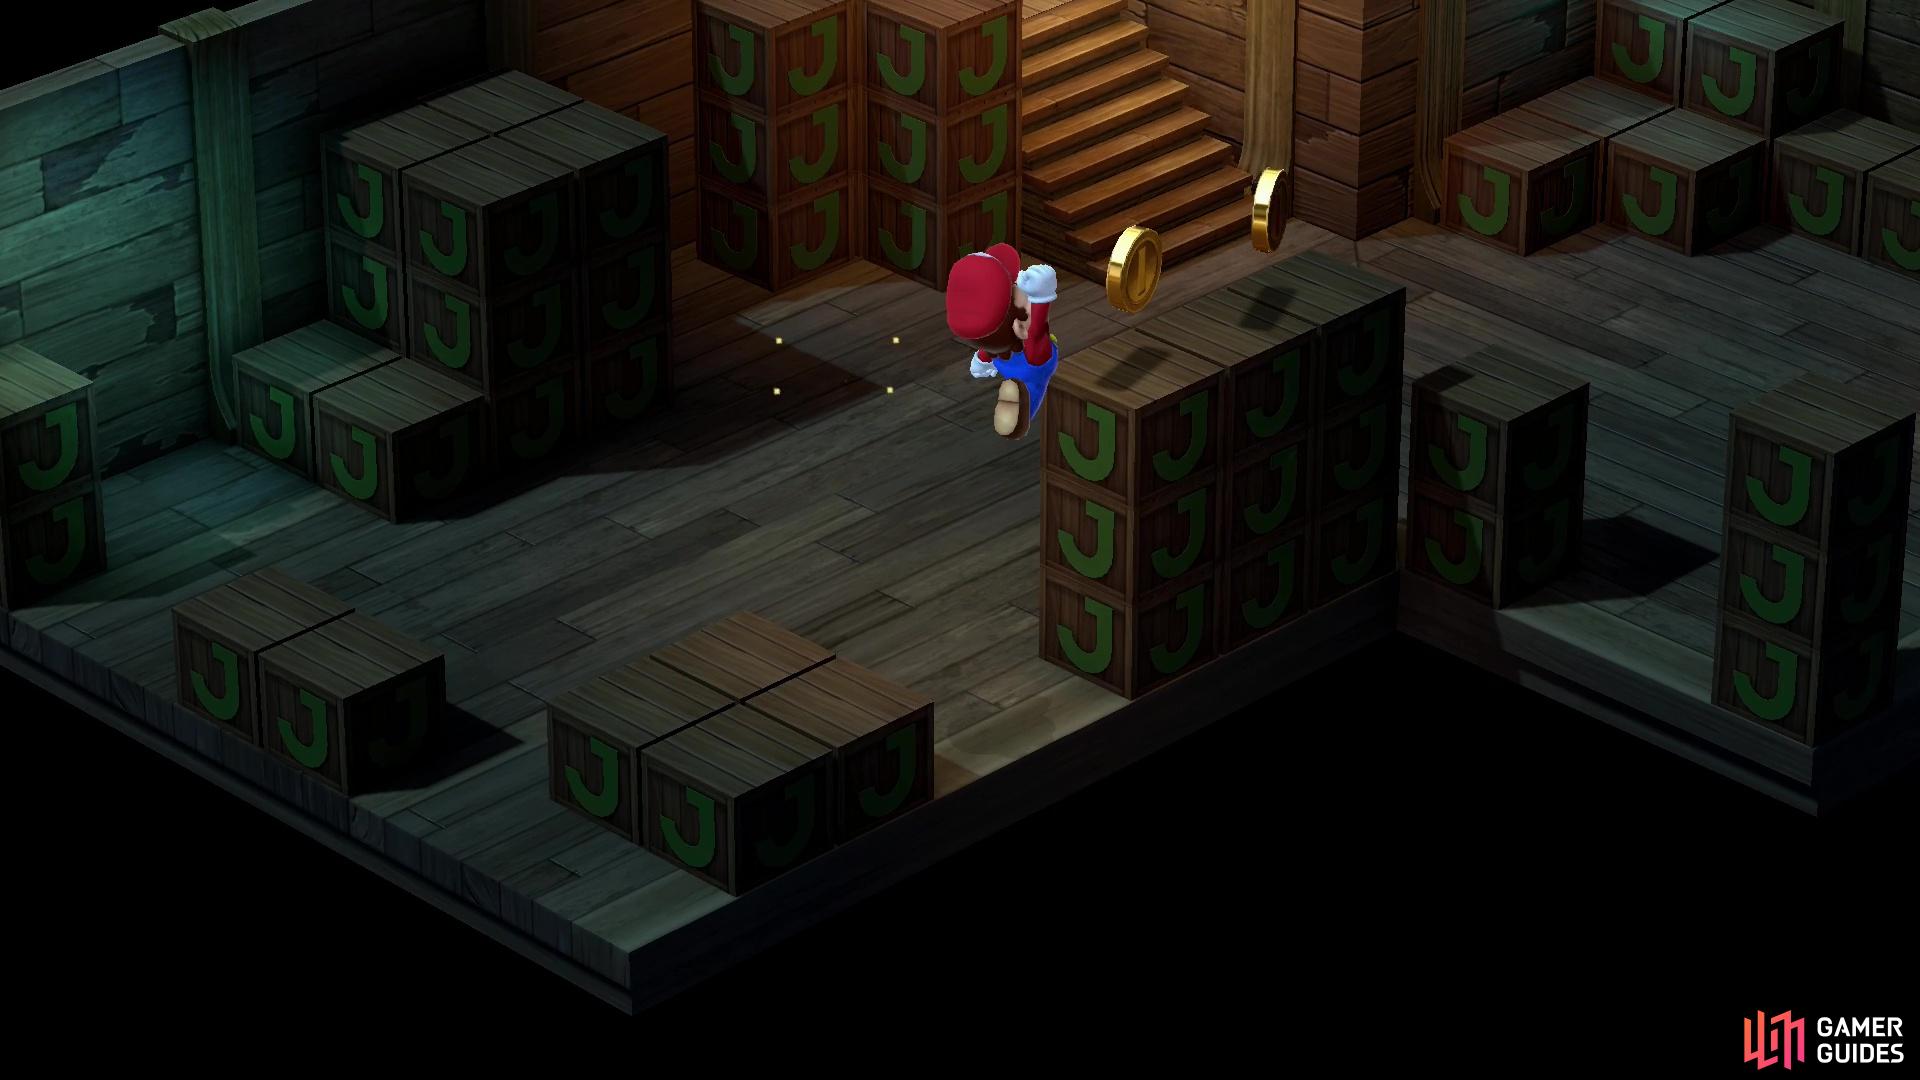
(1 of 4) Enter the maze via the ground floor and go as far northwest as possible. You’ll then need to turn northeast and southeast, jumping until you can’t progress further.
Maze Puzzle
Oh, the dreaded maze… This area is simple enough in its objective, but if you don’t know the route, it’s an absolute chore. All you gotta do is make it through the maze! That said, this is a three-dimensional maze that will require jumping and has the odd dead end. Worst, the crates that comprise the maze obstruct your vision, so you’ll be doing this all blind. That said, you should be able to solve this puzzle following these instructions:
- Head to the start of the maze, a two-block high opening southwest of the room’s entrance.
- Go as far as you can to the northwest.
- Turn northeast and go as far as you can.
- Jump and continue to press on to the northeast.
- Turn southeast and continue mashing jump until you stop moving.
- Go down a bit to the southwest.
- Move a bit to the northwest.
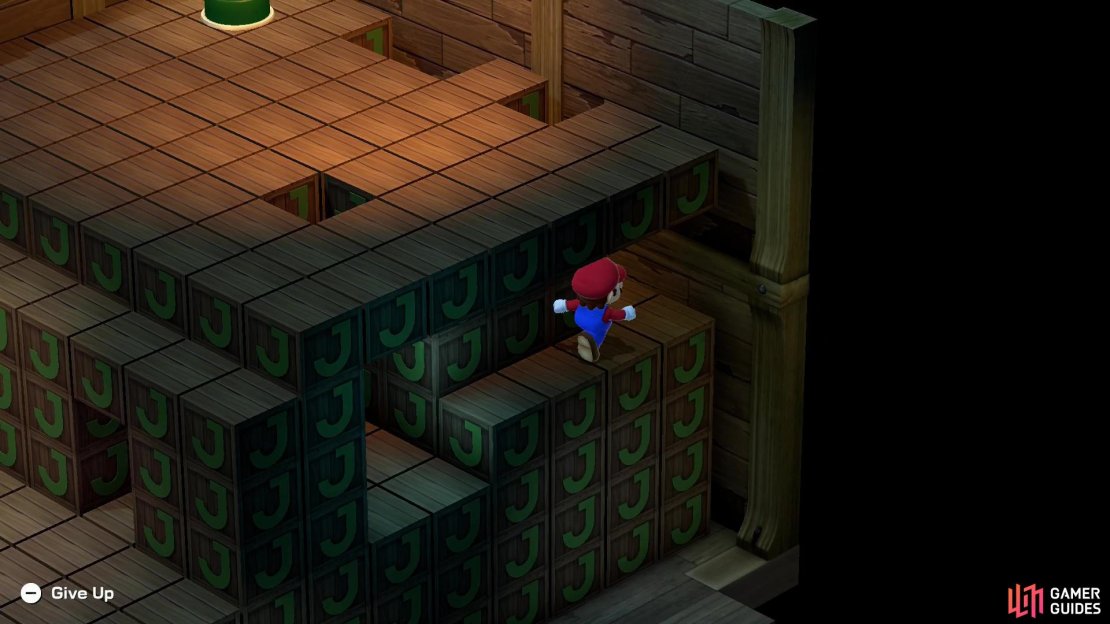
- Go southwest again - you should make it a good distance down. Stop going southwest when you can see Mario through some boxes. You’ll only catch a brief glimpse of him, but you need to move southeast through another two-block doorway.
- Move Mario through the aforementioned “doorway” and he’ll be out in the open along the southern edge of the maze. You’re about halfway through.
- Go northeast through another two-block high doorway. Continue northeast a short distance until you stop moving.
- Turn southeast until you’re standing at the edge of the maze - you should see Mario clearly, don’t drop down or you’ll have to restart.
- Jump up onto a higher crate to the northeast and continue northeast until you’re along the eastern corner of the maze. Mario should still be plainly visible.
- Turn northwest and drop down a ledge - you won’t see Mario when he drops, but the camera pan should make it clear.
- Drop down to the southwest. Again, you won’t see it, but the camera’s movement should make it obvious. Keep going southwest until you stop moving.
- Turn northwest a short distance.
- Turn southwest again until you stop moving.
- Jump up to the northwest and keep moving northwest a short way until you stop making progress.
- Turn northeast and repeatedly jump until you stop moving.
- Turn southeast and only move ONE TILE forward. If you go too far you’ll drop off a ledge and have to repeat from the step “Turn southwest again until you stop moving”.
- After moving ONE TILE to the southeast, turn northeast and move as far as you can in that direction.
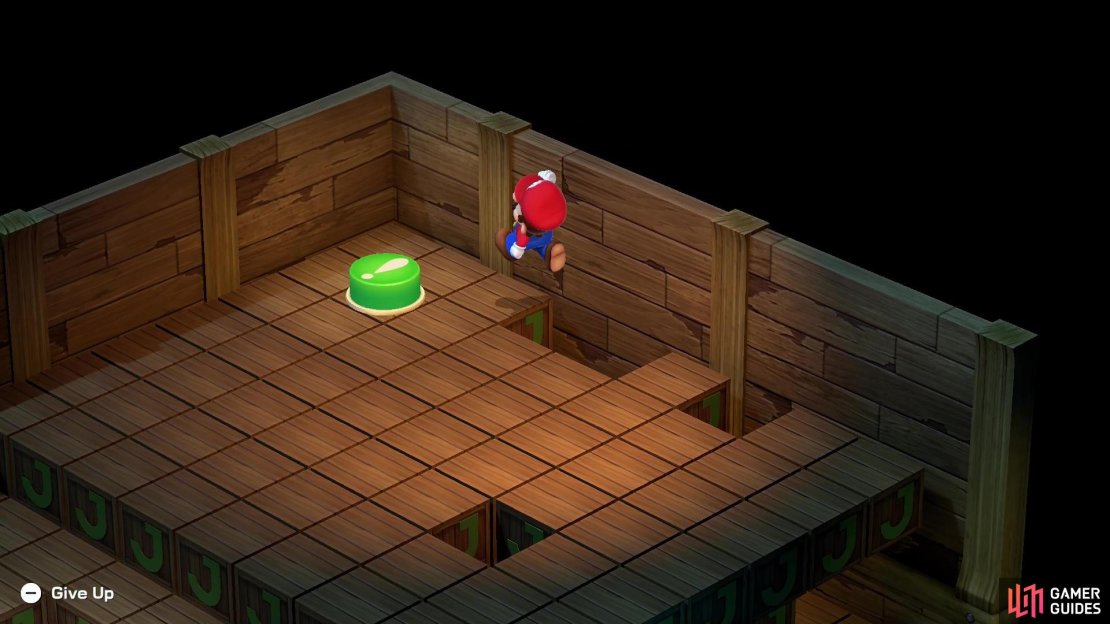
- Turn northwest and start jumping until Mario surfaces at the top of the maze.
- Press the button to complete the maze and claim your prize.
For all that effort you’ll get some Royal Syrup along with a note that says ”It has two vowels.”
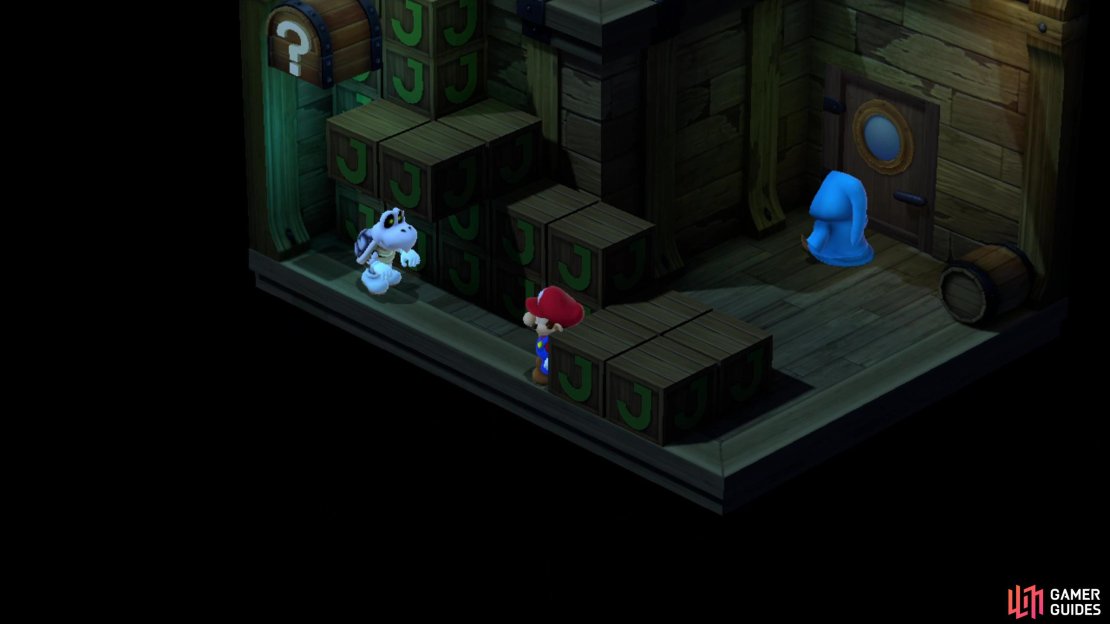
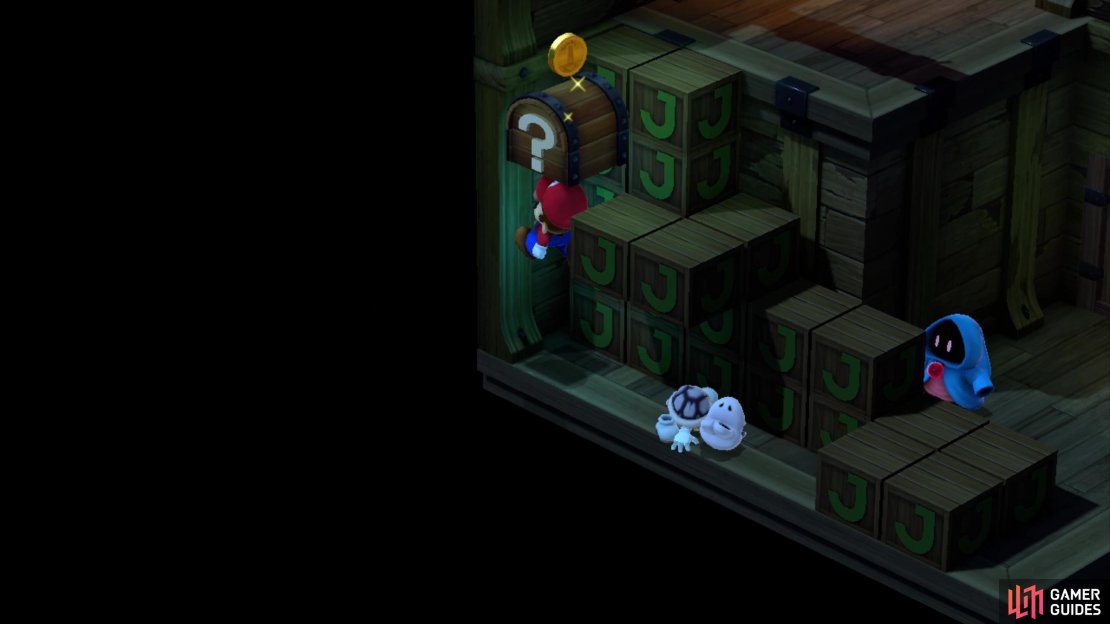
(1 of 3) A Dead Bones guards a chest.
Sunken Ship Merchant
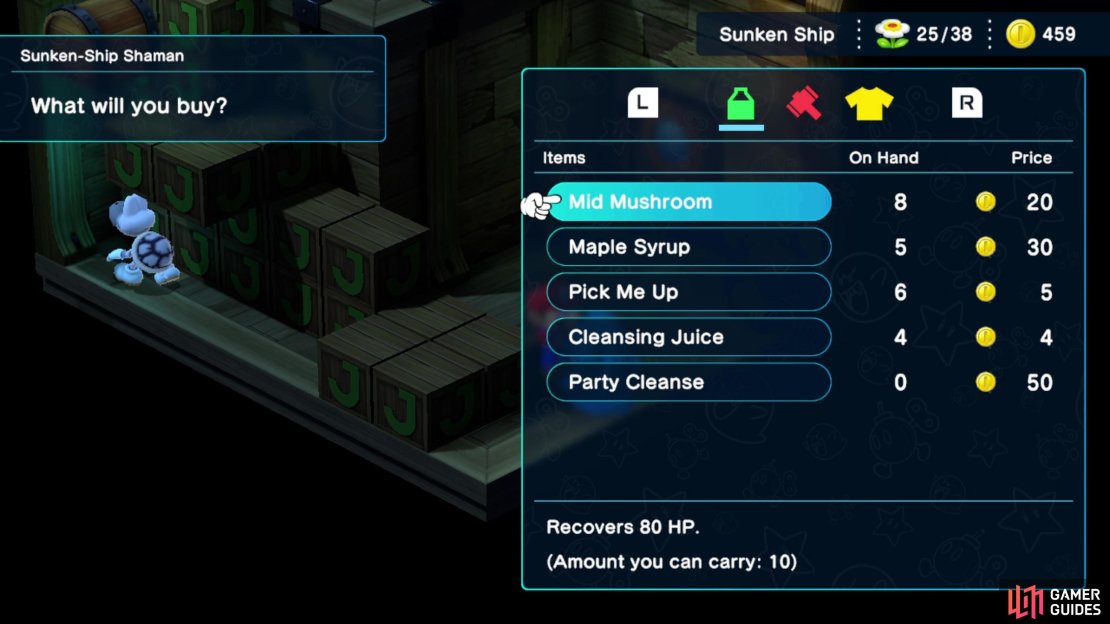
When you have the first three clues (or you’re tired of trying to get them), head into the two-story room that leads to the puzzle rooms and exit to the southwest to find yourself in a small room where a Dry Bones patrols near a chest. Avoid or defeat it to get at the chest, which yields numerous coins if you bash it enough, then jump to the northeastern part of the room to find a wandering merchant. He’s got the same wares as the merchant in the Sea area:
| Item | Cost | Effect |
|---|---|---|
| Mid Mushroom | 20 | Recovers 80 HP. |
| Maple Syrup | 30 | Recovers 40 FP. |
| Pick Me Up | 5 | Revives a downed ally. |
| Cleansing Juice | 4 | Refreshes status during battle. |
| Party Cleanse | 50 | Party is refreshed during battle. |
| Super Hammer | 70 | Attack +40. Mario only. |
| Whomp Glove | 72 | Attack +40. Mallow only. |
| Hand Gun | 75 | Attack +24. Geno only. |
| Hurly Glove | 92 | Attack +20. Bowser only. |
| Sailor Shirt | 50 | Defense +30, Mg. Defense +15. Mario only. |
| Sailor Pants | 50 | Defense +30, Mg. Defense +15. Mallow only. |
| Sailor Cape | 50 | Defense +18, Mg. Defense +9. Geno only. |
| Sailor Dress | 50 | Defense +30, Mg. Defense +15. Peach only. |
If you need to pick up any new armor or weapons you couldn’t afford before, or you need to restock consumables, now’s the time. When you’re ready to move on, go through the door to the northeast to reach the lower half of the puzzle room. Defeat the Greapers guarding the doors and enter the southwesternmost of the three rooms down here.

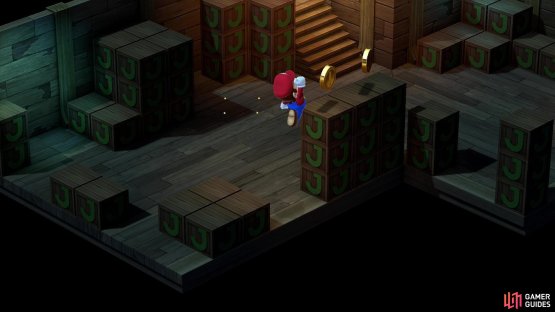
(1 of 2) You’ll need to chase a master coin around the room, picking up the checkpoint coins it spawns as it goes.
You’ll need to chase a master coin around the room, picking up the checkpoint coins it spawns as it goes. (left), Keep a safe distance, though. You need to be close enough to get its checkpoint coins but far enough away that you won’t capture the master coin before it reaches the end of the course. (right)
Coin Chase Puzzle
This one’s a breeze, and yours truly is not good at timed events or platforming, both of which are put on test here. There’s a coin that spawns in this room and it’ll follow a static route along the room’s perimeter, spawning more coins as it goes. You’ve got to chase the master coin, pick up every coin it spawns (view these as “checkpoints”) and then grab the master coin at the end of the race. If you take too long, the checkpoint coins will vanish, but the real issue is going too fast and catching the master coin before it reaches the end of its route. The trick here is moderation, follow a safe distance behind the master coin - at least one full coin spawn away - without falling behind. This ensures you’re close enough to grab the checkpoint coins it spawns, but you also aren’t close enough to accidentally overtake the master coin when you need to do some platforming. The only tricky parts here are when you have to jump onto crates that are stacked three high, as if you botch the jumps you’ll have to work your way back around, which will probably take too long for you to keep up with the master coin. There are only three such jumps in the whole course, and once you know the route it should be pretty easy to complete.
Keep pace with the master coin and collect all the checkpoint coins, then grab the master coin at the end of the course to get the clue: ”It is very valuable.” Thanks, chief.
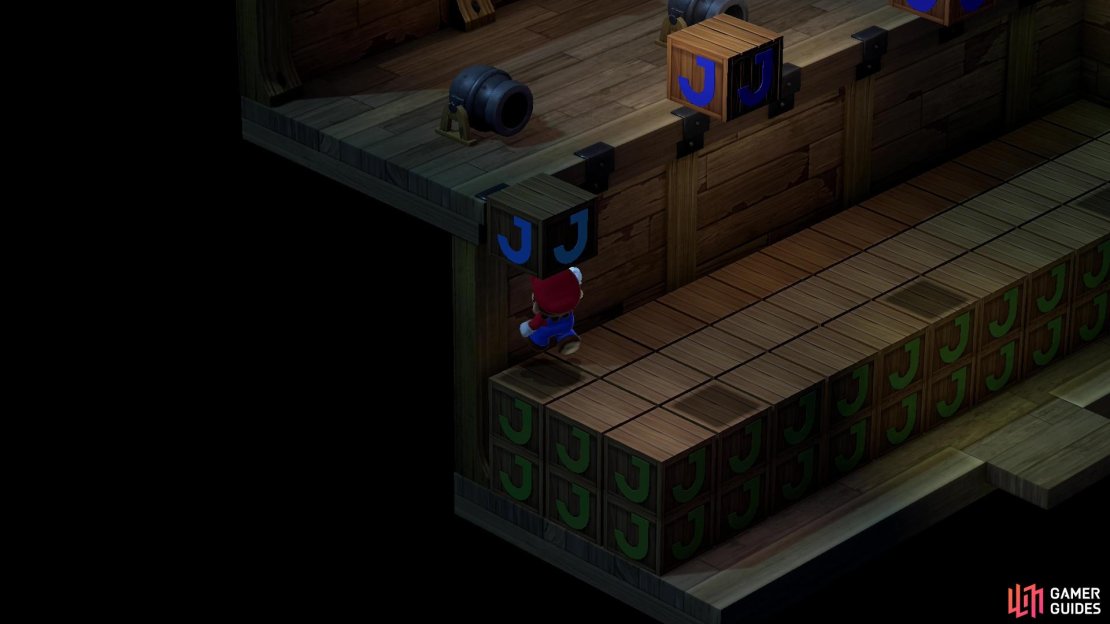
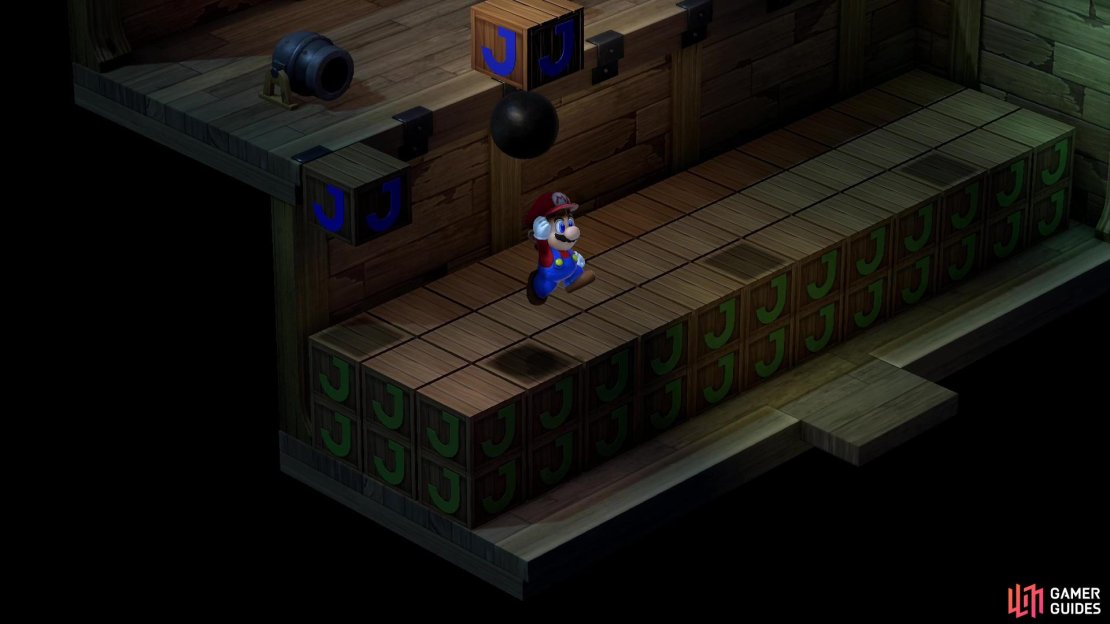
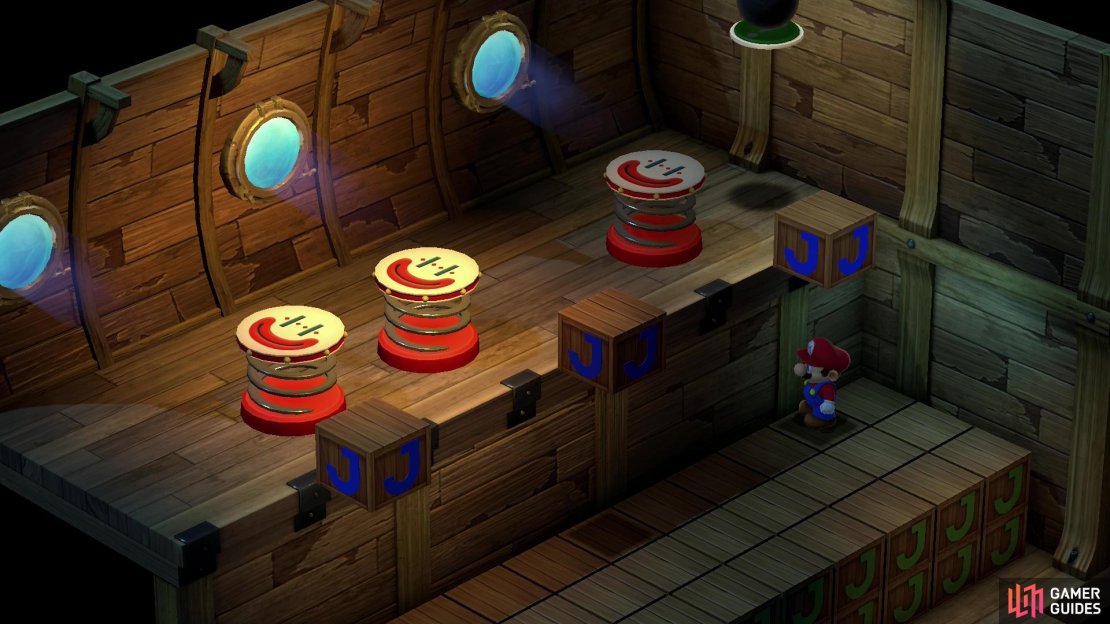
(1 of 3) Jump up and hit the southwesternmost J-box to get the cannons firing,
Cannonball Box Puzzle
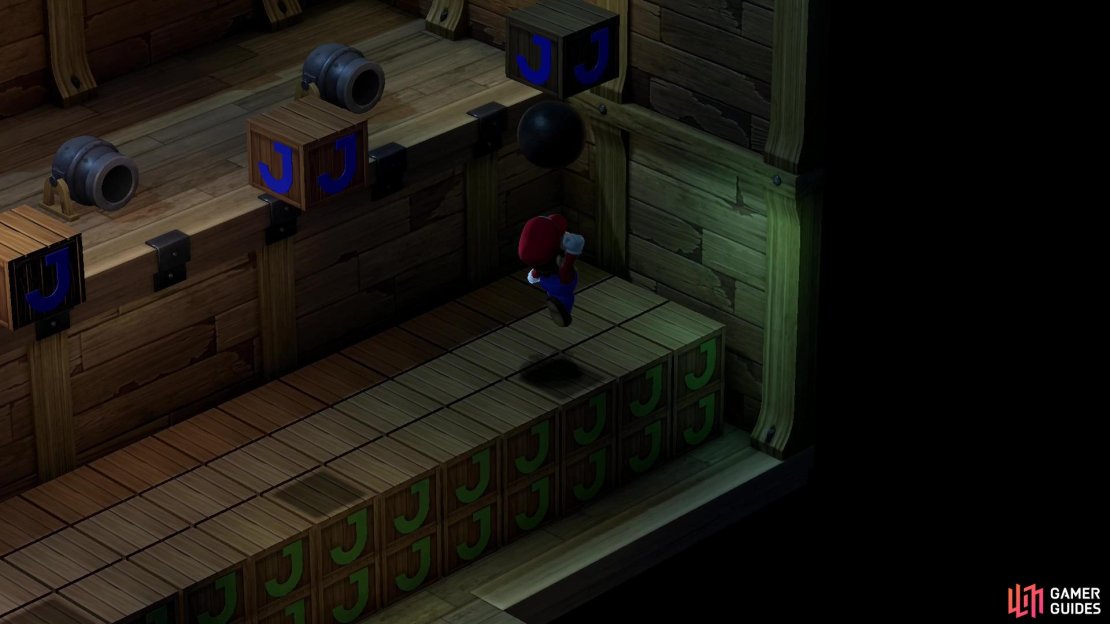
You know the drill, enter the fifth puzzle room (the middle room on the ground floor) and jump on some crates. You’ve seen a setup like this before; now there are three cannons on the higher crate platform facing the lower platform you’re on, and there are four J-boxes floating above you. If you hit the southwesternmost J-box, the southwesternmost cannon will fire a cannonball, and the other three cannons will follow suit after a short delay. Your goal is to move under the other three J-boxes (use the shadow cast on the floor as a guide) and jump when the cannonball is under each box to knock said cannonball up into the J-box. Hit all three J-boxes this way and you’ll complete the puzzle. Takes a little bit to get the timing down, but once you calm down and realize you’re just walking in a straight line and jumping up at the right time, it shouldn’t give you that much trouble.
For completing this puzzle you’ll earn a Mushroom and a note which proclaims ””It” is actually a “they.”
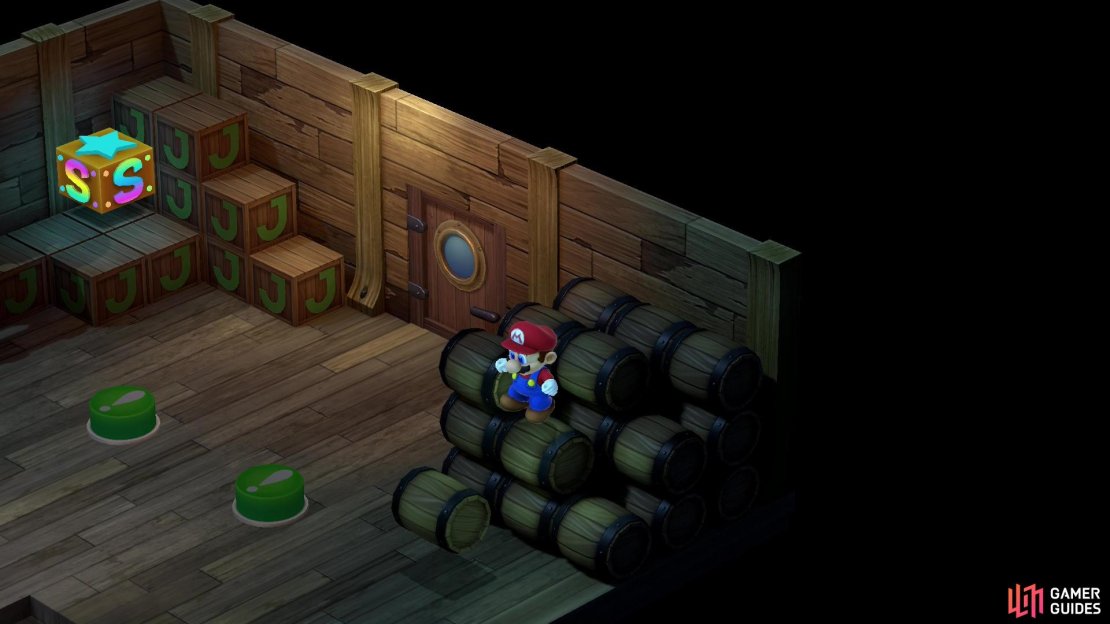
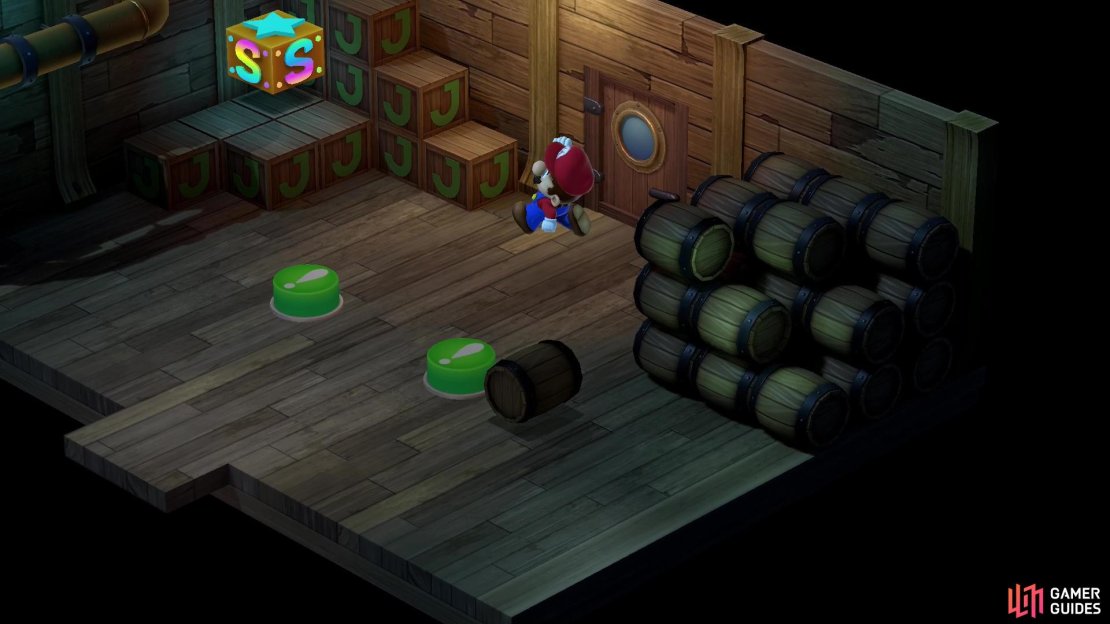
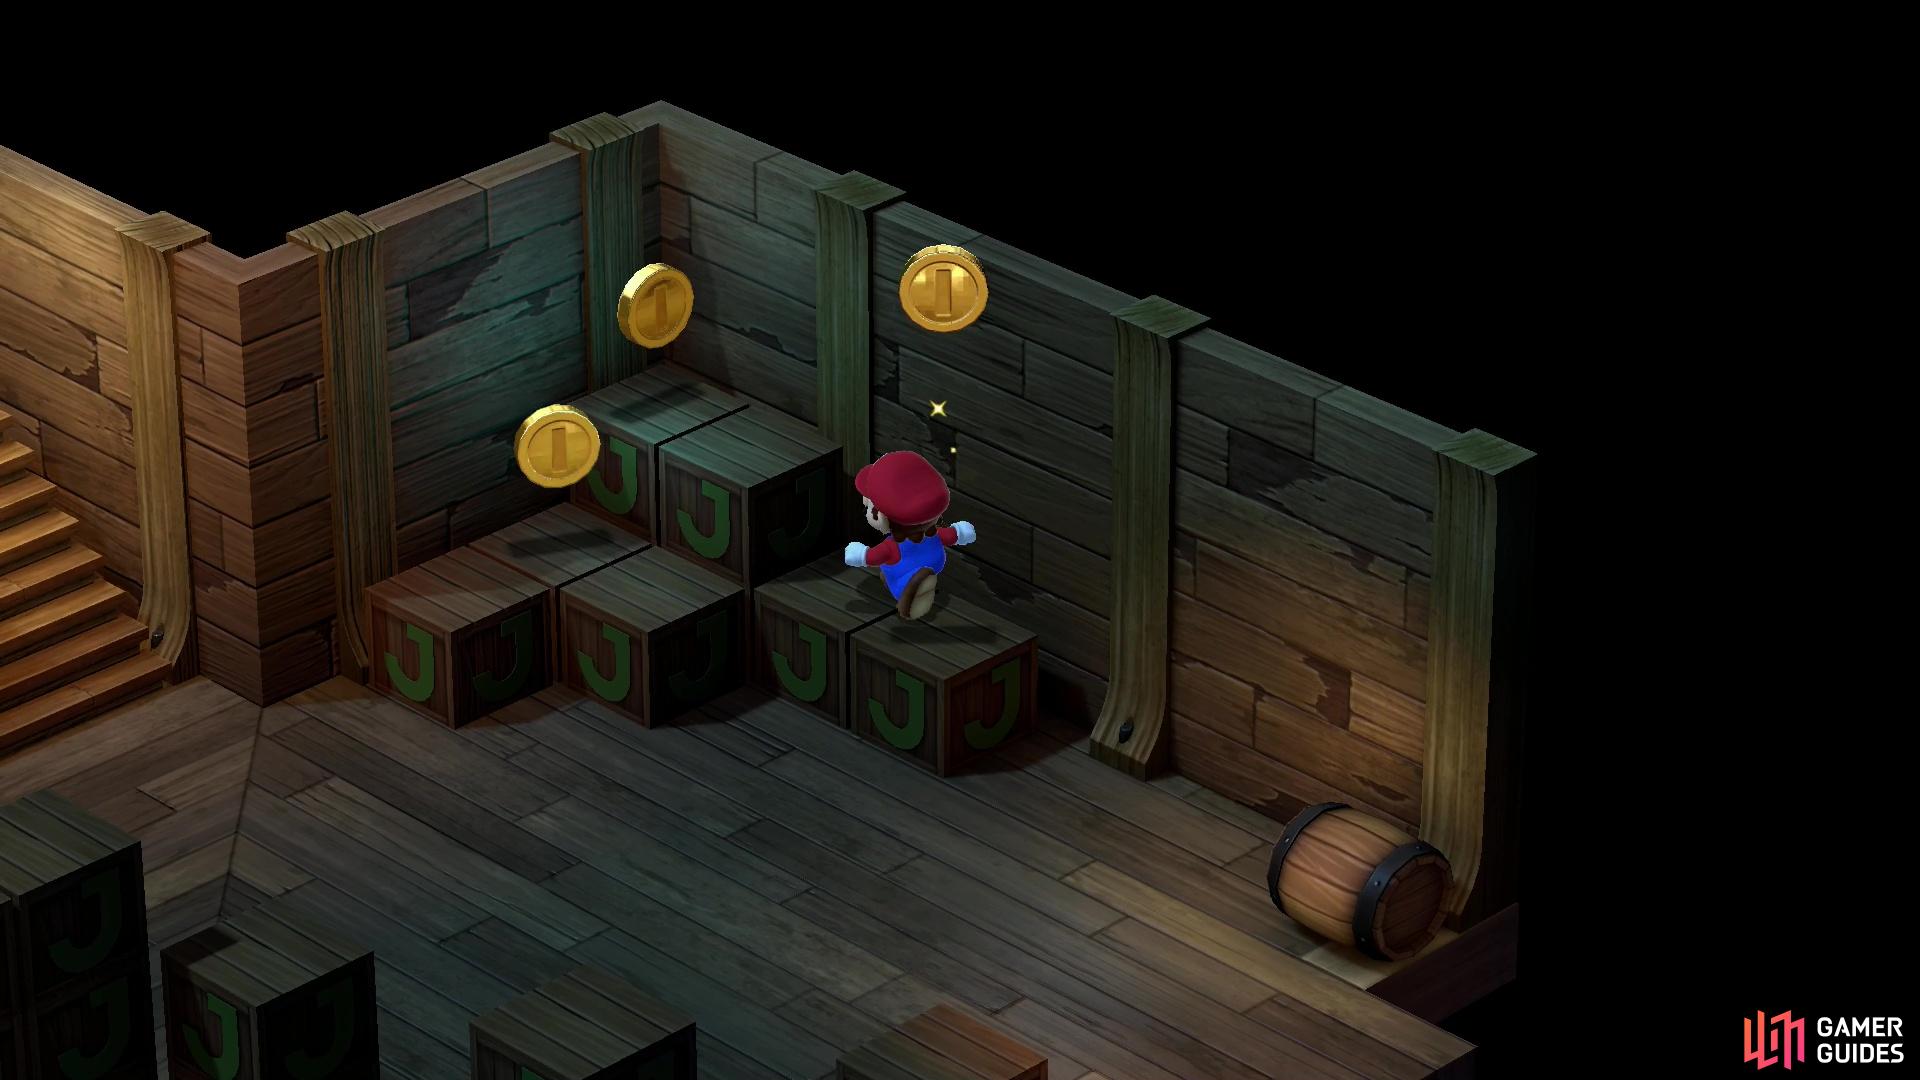
(1 of 3) Push a barrel off the stack,
Barrel Roll Puzzle
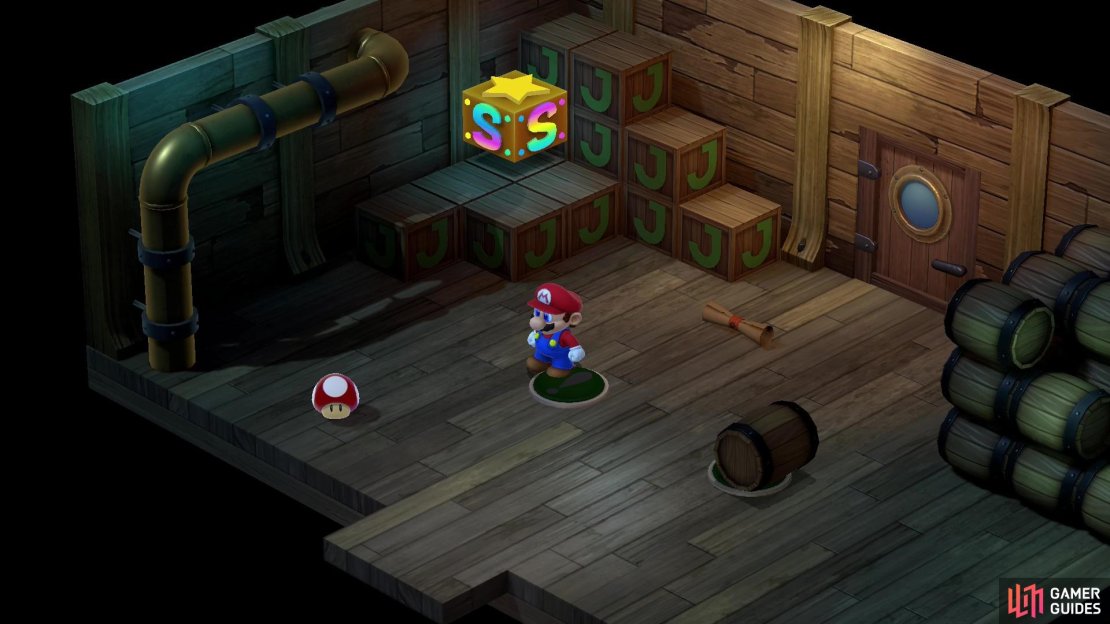
Saving the easiest for last. Enter the room to the northeast and you’ll find a Save Point and two buttons. Use the Save Point if you wish, then note some barrels stacked in the eastern corner of the room. Jump up on the barrels and jump on the oddly-colored one in the south middle to knock it down. All you gotta do is roll it onto the nearby button, and you can accomplish this by facing the button and jumping on the barrel. Each jump will roll the barrel a little bit forward, so just keep jumping until it’s on the button, then stand on the other button.
This will get you yet another Mushroom and a final note, which informs you that ”The “R’ comes before the “L”.”
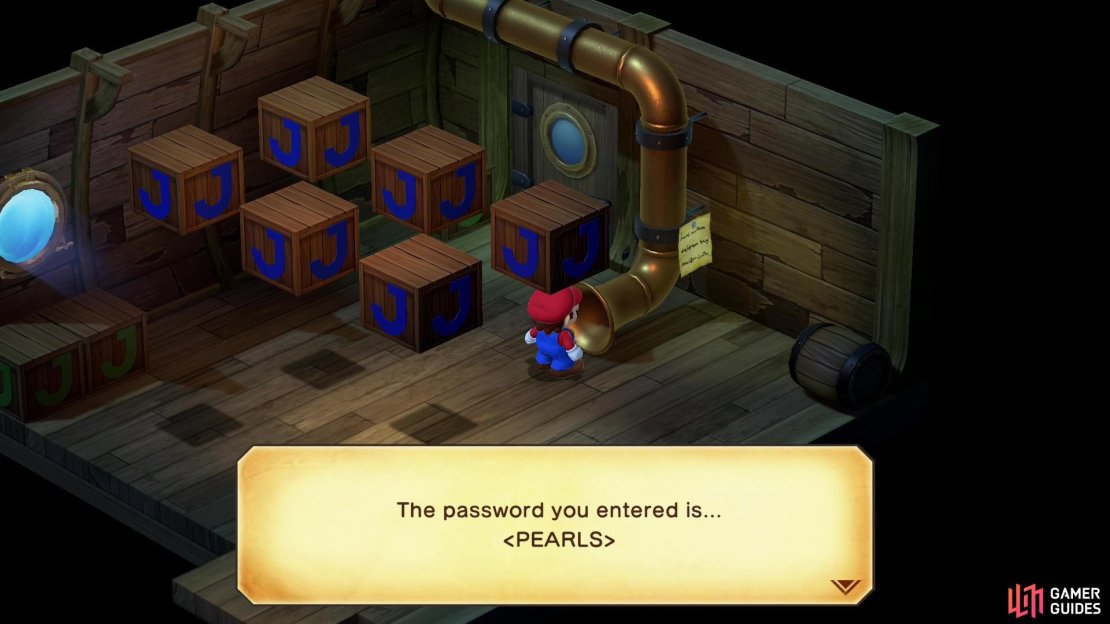
(1 of 3) Hit the six J-boxes in the password room to enter the password PEARLS,
How to Solve the Password Puzzle in the Sunken Ship
Alright, now you’ve done all six puzzles, and have collected a corresponding number of clues:
- ”There is an “s” in the word.”
- ”It is found on the bed of the ocean.”
- ”It has two vowels.”
- ”It is very valuable.”
- ””It” is actually a “they.”
- ”The “R’ comes before the “L”.”
Ignoring all the info that requires real-world knowledge of some degree, let’s just focus on the word itself. It has an S, R and L, it’s plural (they), hence the S probably goes at the end, and it has two vowels. The clues also hint at a nautical theme - something valuable found at the bed of the ocean. If you haven’t pieced it together yet, the answer is PEARLS.
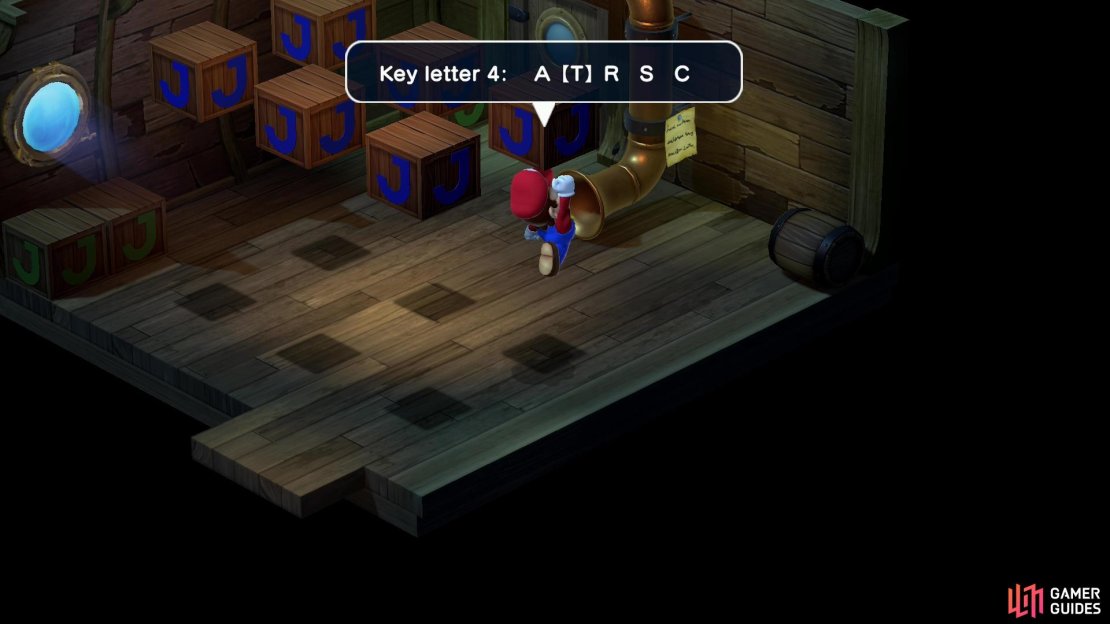
From the room with the Save Point, exit to the northeast and you’ll find six J-boxes and a horn with a note attached. Read the note and it’ll tell you to speak into the horn when you’re done entering the password, and if you examine the horn you’ll be told to hit the boxes to enter the password. If you stand under a box you’ll get a text bubble with five key letters. Starting with the westernmost box and working your way southeast, then moving to the easternmost box and going up the second-row northwest, the options are:
- M C O T P
- O T E S Y
- A R E T S
- A T R S C
- T E R L O
- S T E K R
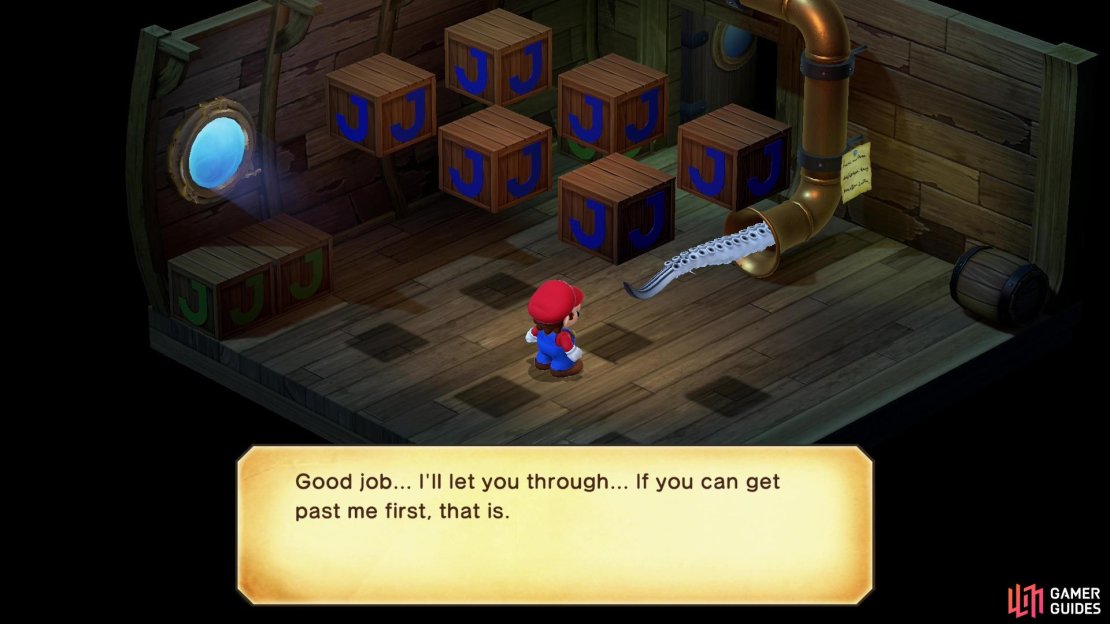
Enter PEARLS and talk to the horn to confirm your choice, and a most unsettling appendage will beckon you forward, while issuing a challenge. When you’re ready to confront the ship’s midboss, continue through the door to the northeast!
No Comments