
Walkthrough for the Main Quest The Sea of Sands in Horizon Forbidden West, including information about how to craft the Diving Mask, how to find Poseidon and how to defeat the [Tideripper].
This quest will begin immediately after completing The Eye of the Earth, where it will be one of three different main quests you can pursue in any order you wish.
| Starting Location | Prerequisite | Level | Rewards |
|---|---|---|---|
| The Base | Complete The Eye of the Earth | 22 |

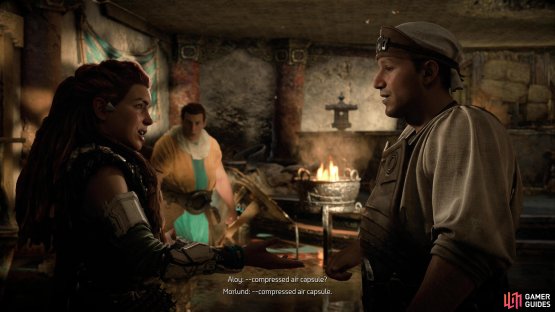
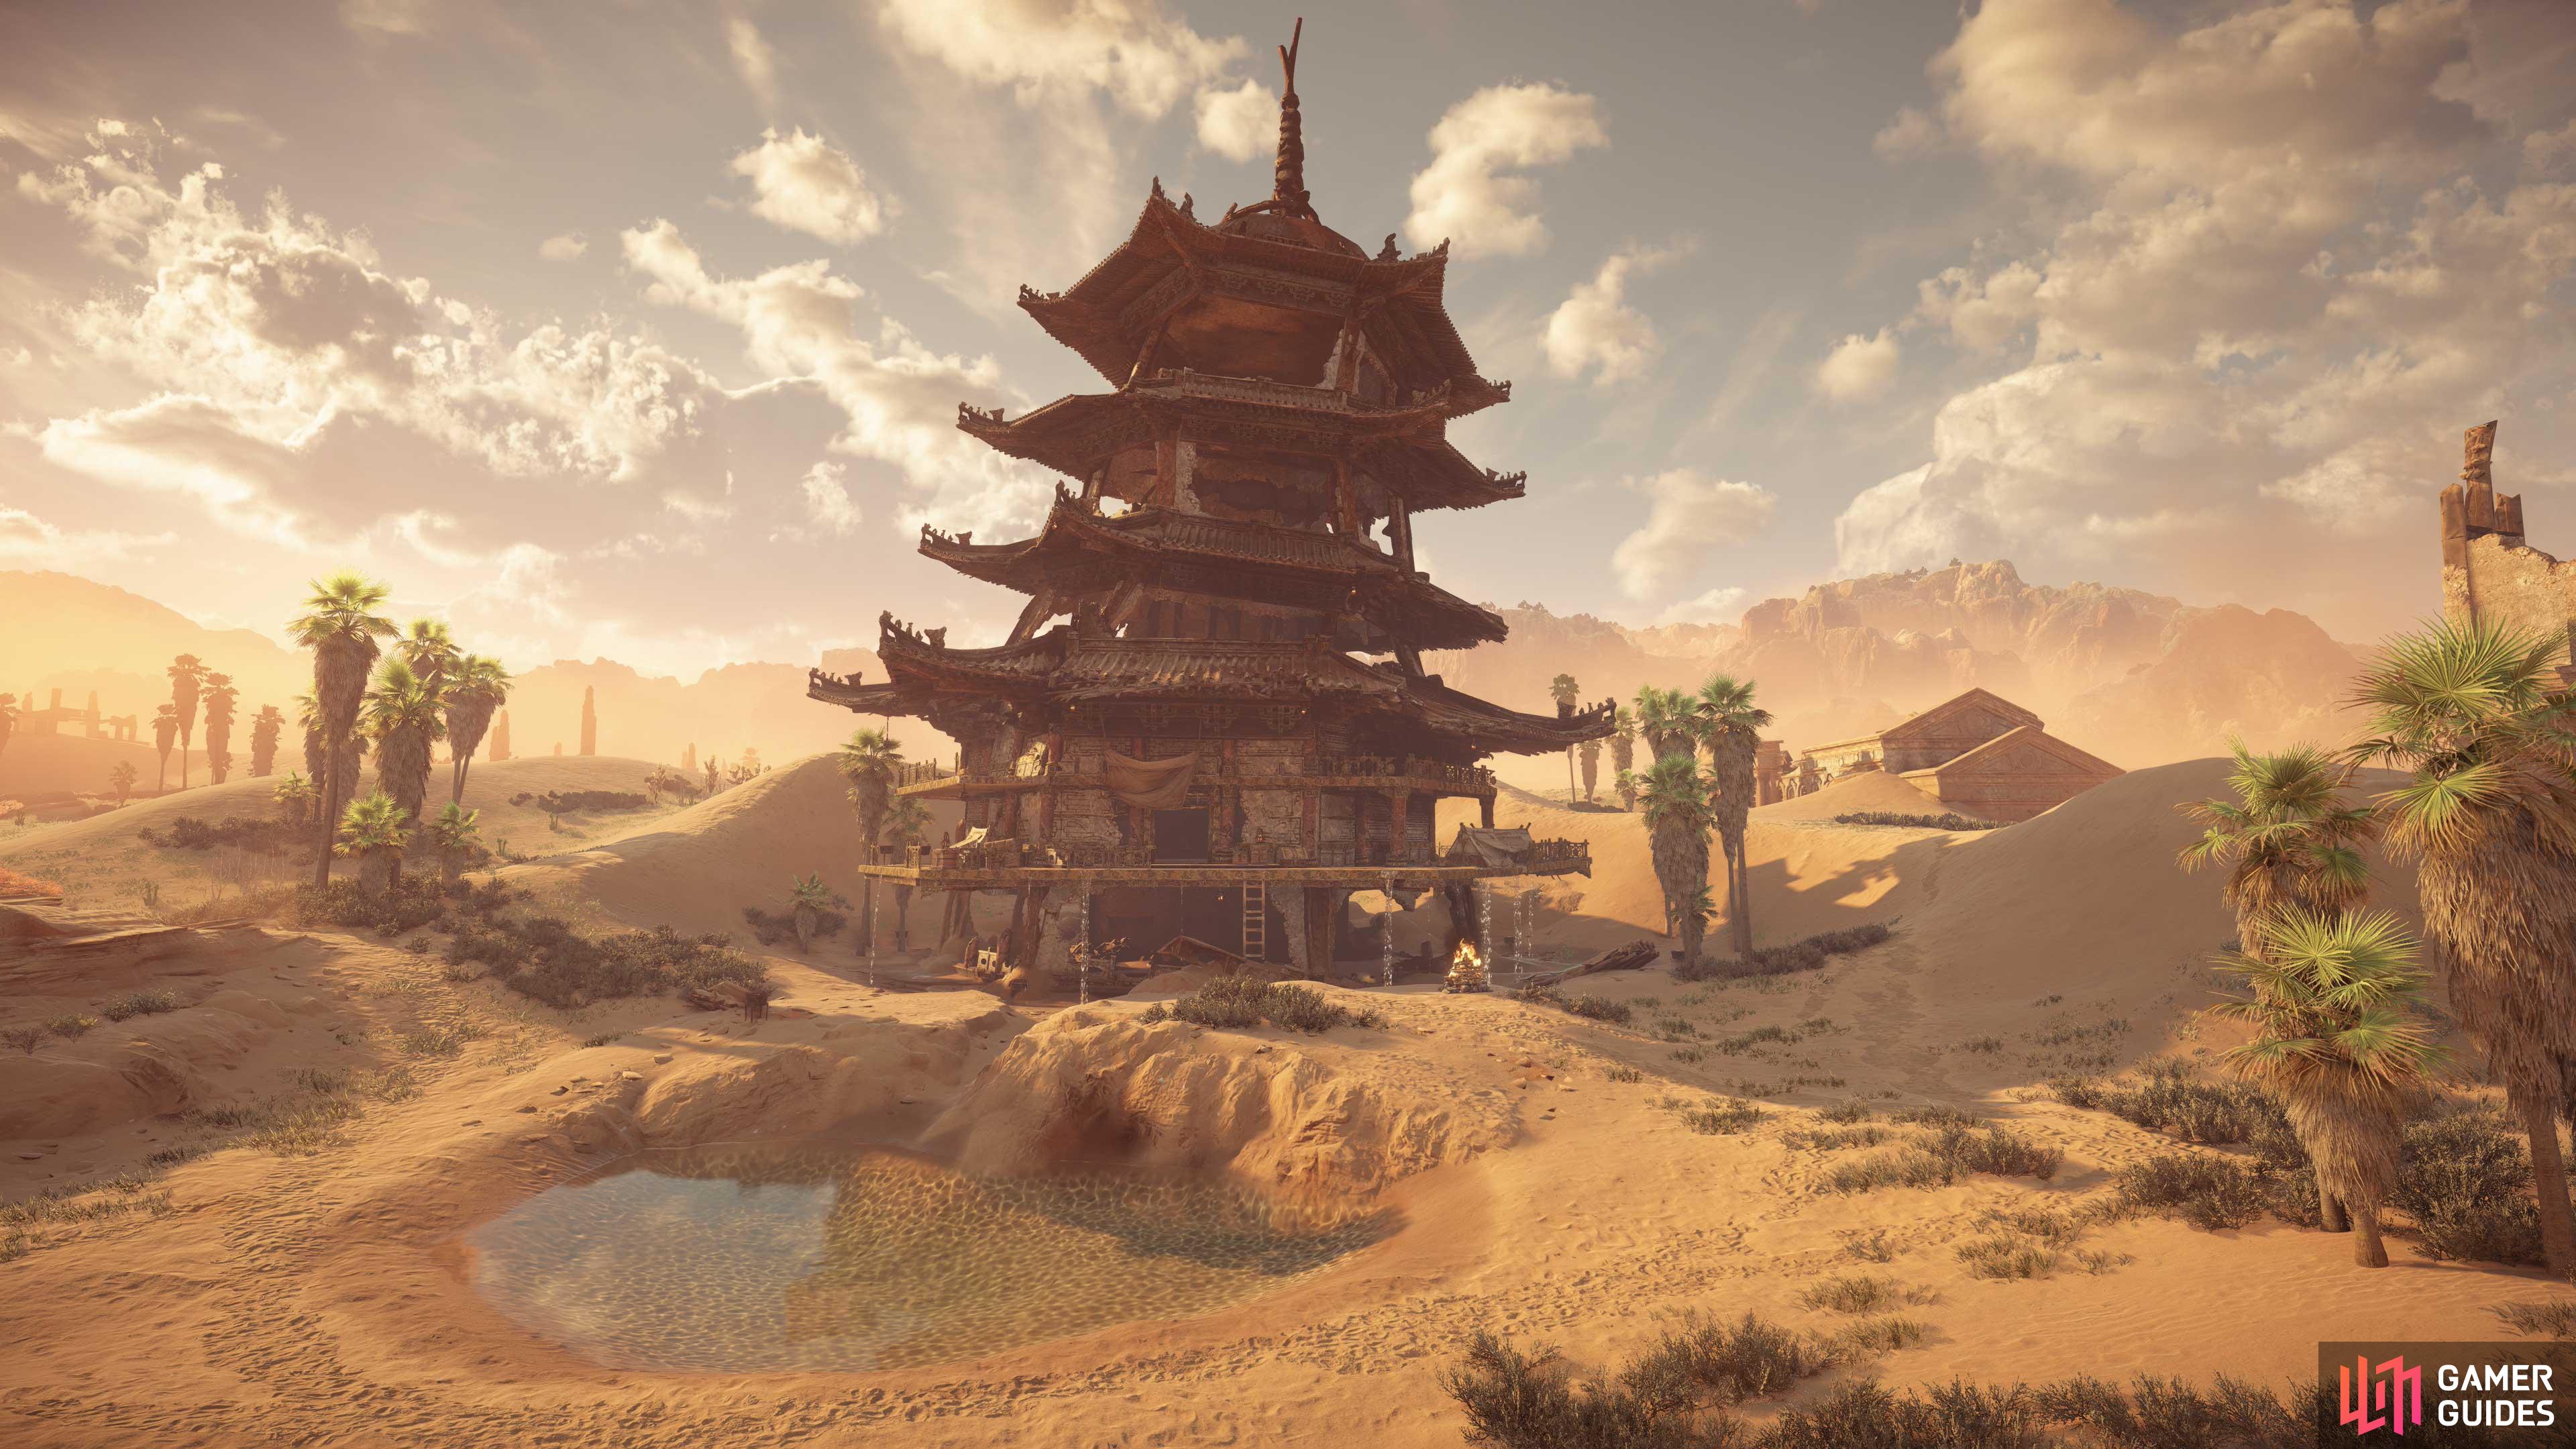
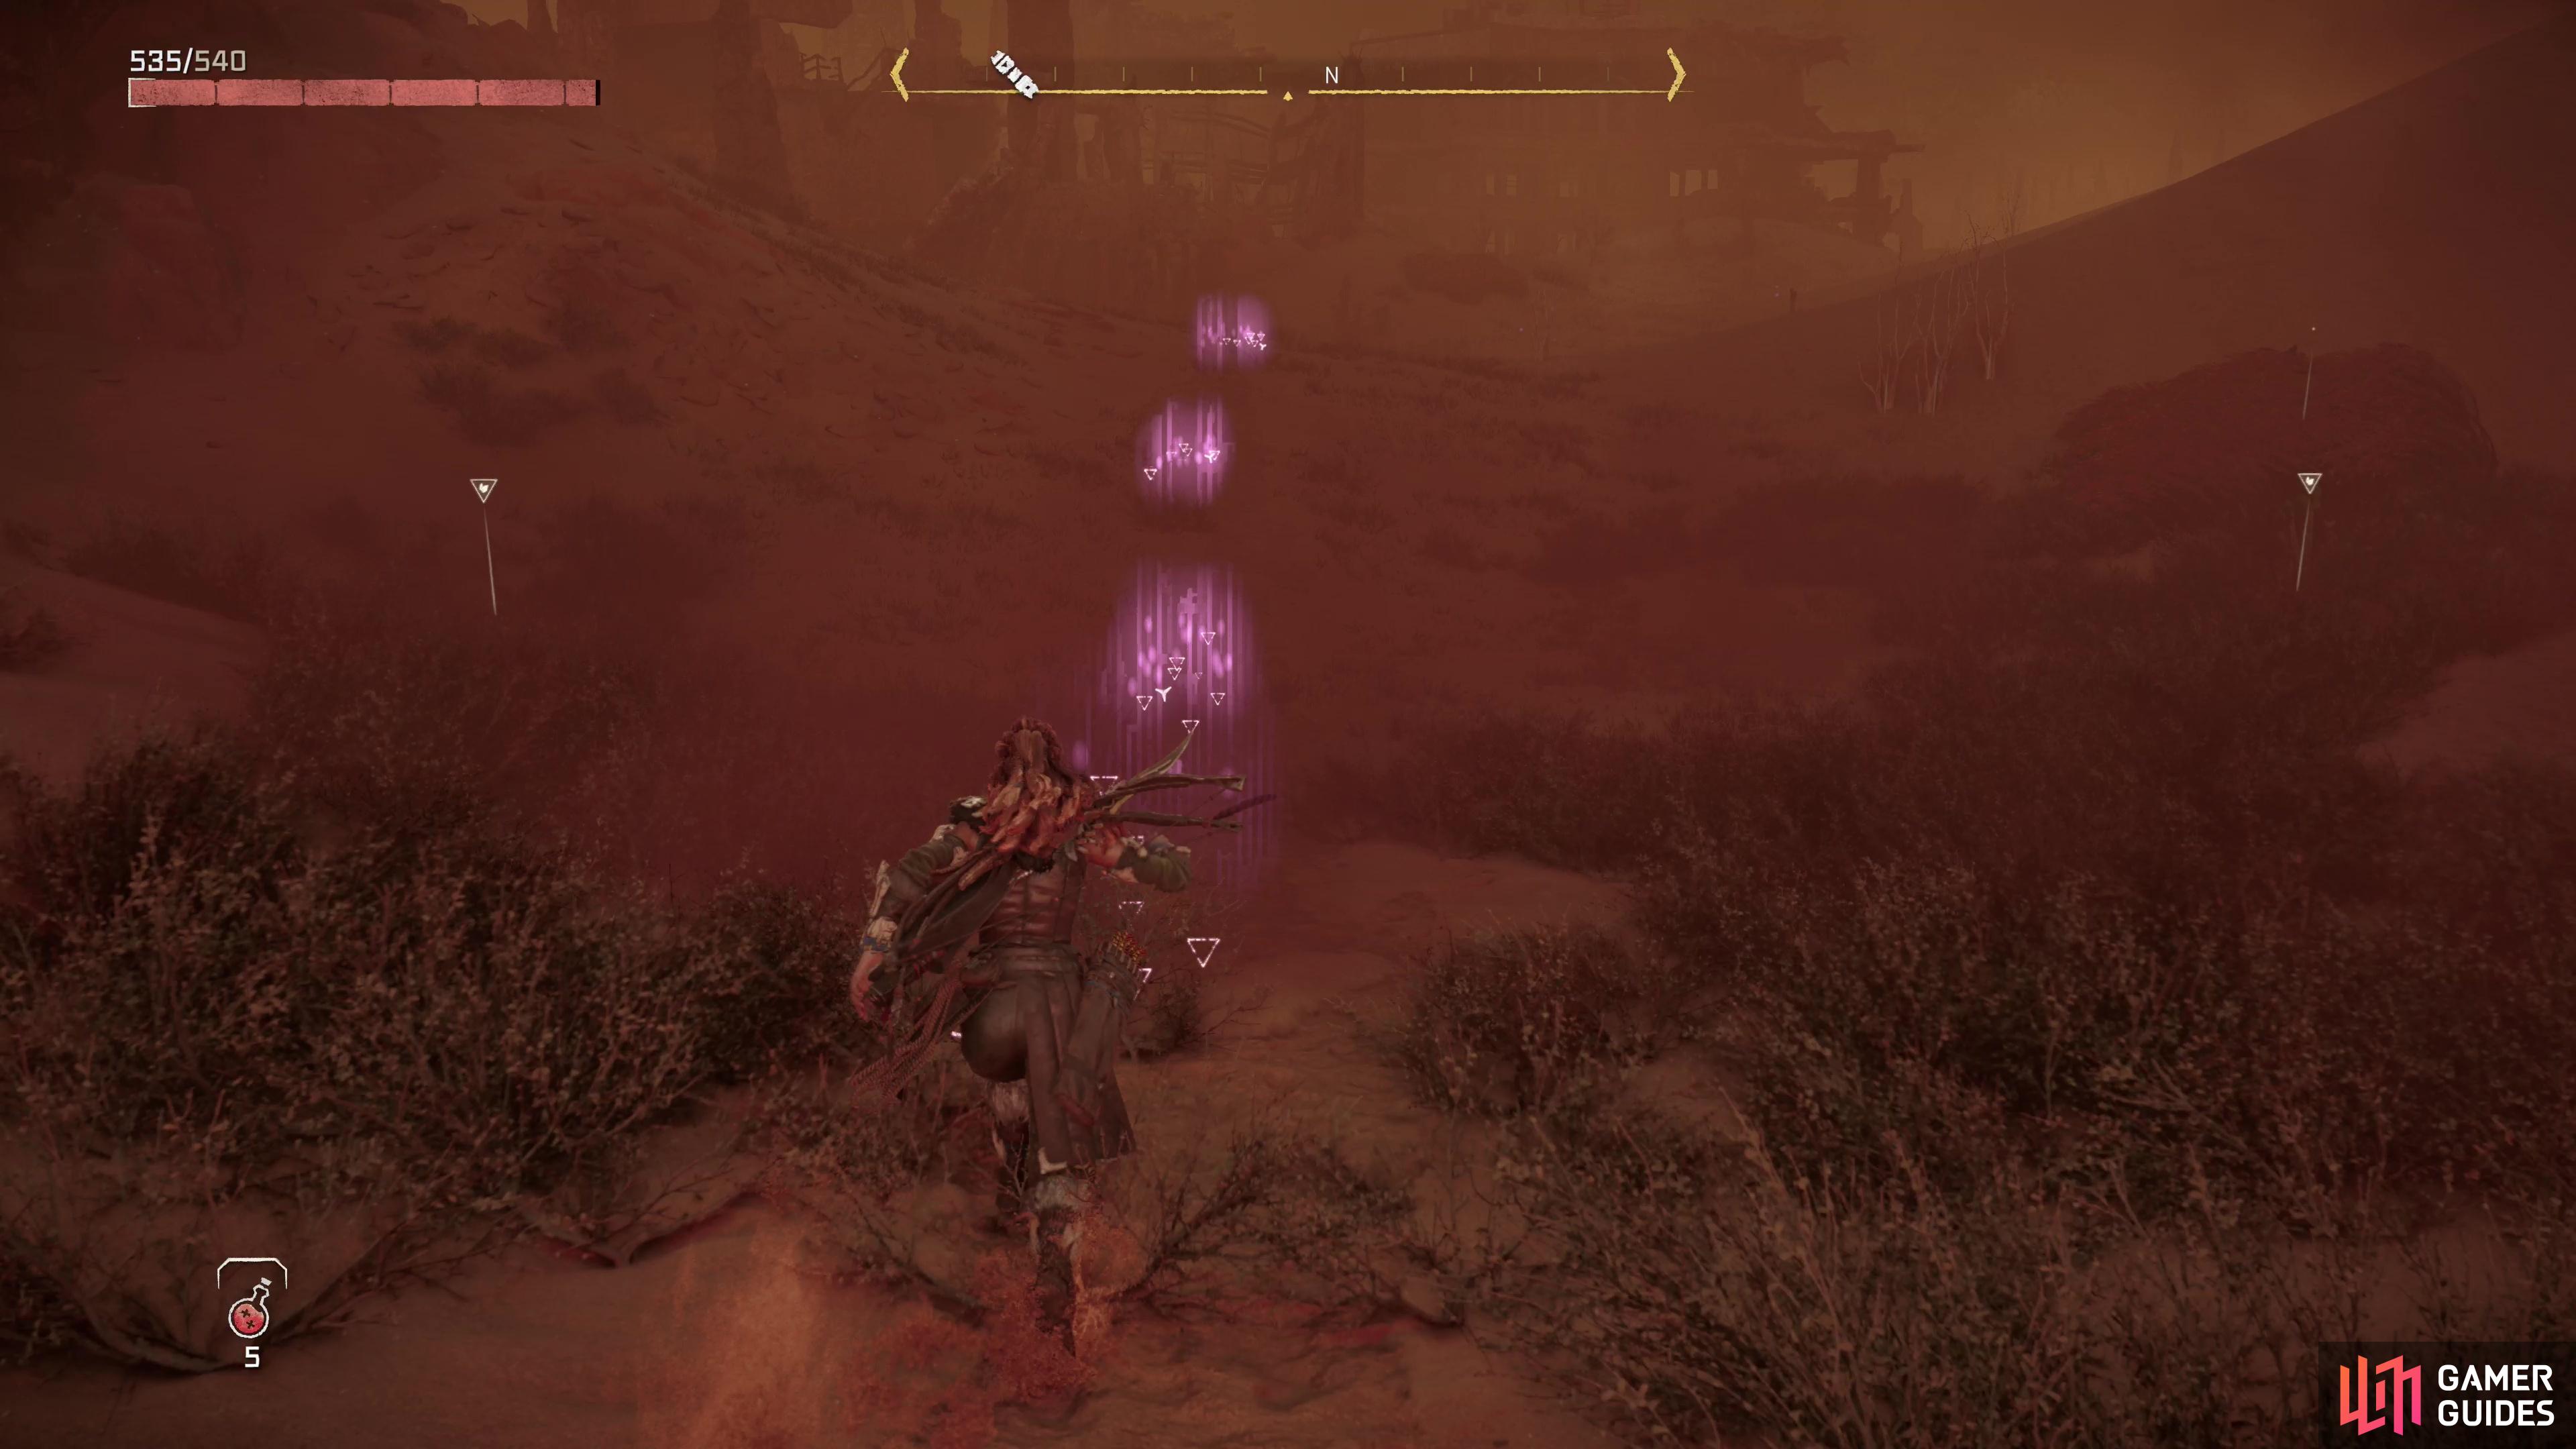
(1 of 2) Seek out The Tower of Tears in the desert ruins of Las Vegas.

Seek out The Tower of Tears in the desert ruins of Las Vegas. (left), Inside Aloy and an Oseram named Morlund will dream up a breathing apparatus. (right)
How to Find POSEIDON’s Coordinates
To progress the quest you’ll need to head to the desert southwest of The Base, where you’ll find a large search area. Search along its eastern edge to find a pagoda-like structure with some odd features given the surrounding climate. When you get close the place will be identified as The Tower of Tears.
Seek out a Campfire on the eastern edge of the tower, where you can also find a ladder. Climb it and go through a tarp to trigger a scene, whereupon your objectives will be updated.
After the initial conversation, you can chat with Stemmur and Abandund, the latter of which will sell you some weapons and armor:
- [Adhesive Warrior Bow]
- [Icestorm Boltblaster]
- [Thunderbolt Shredder Gauntlet]
- [Oseram Striker]
For information about how to gather the required components to continue this quest, see the headers, below:
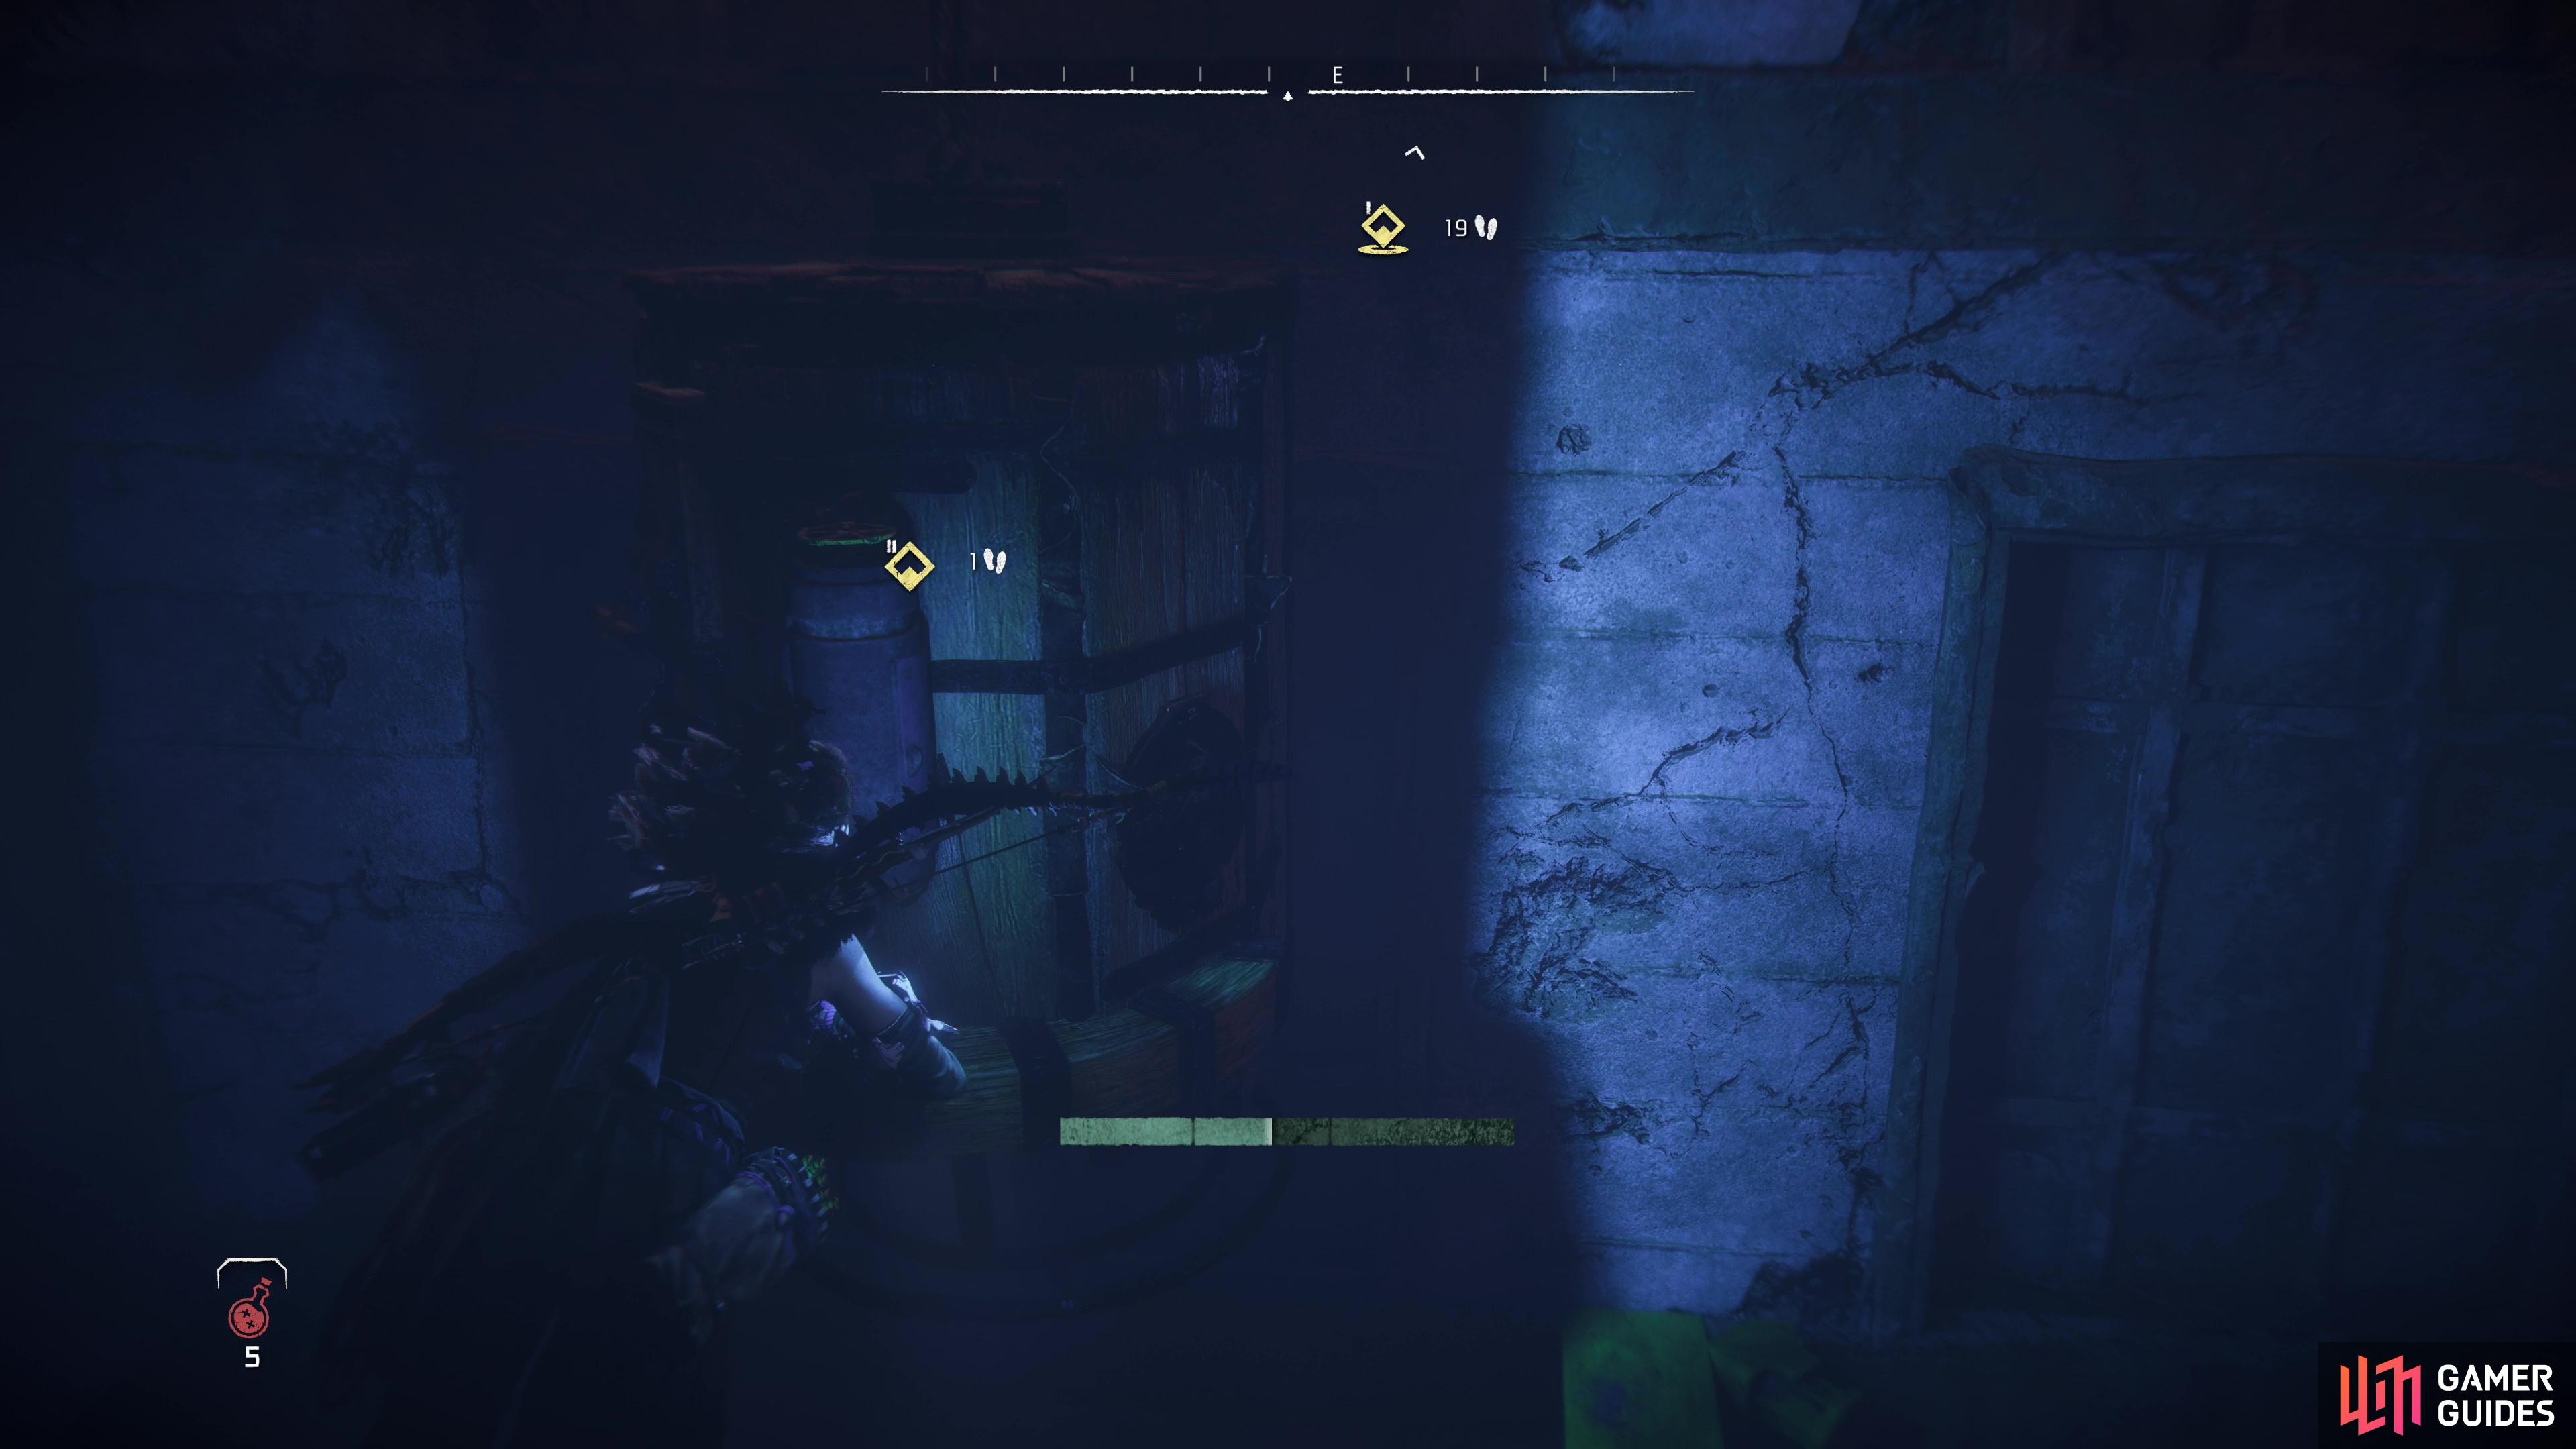
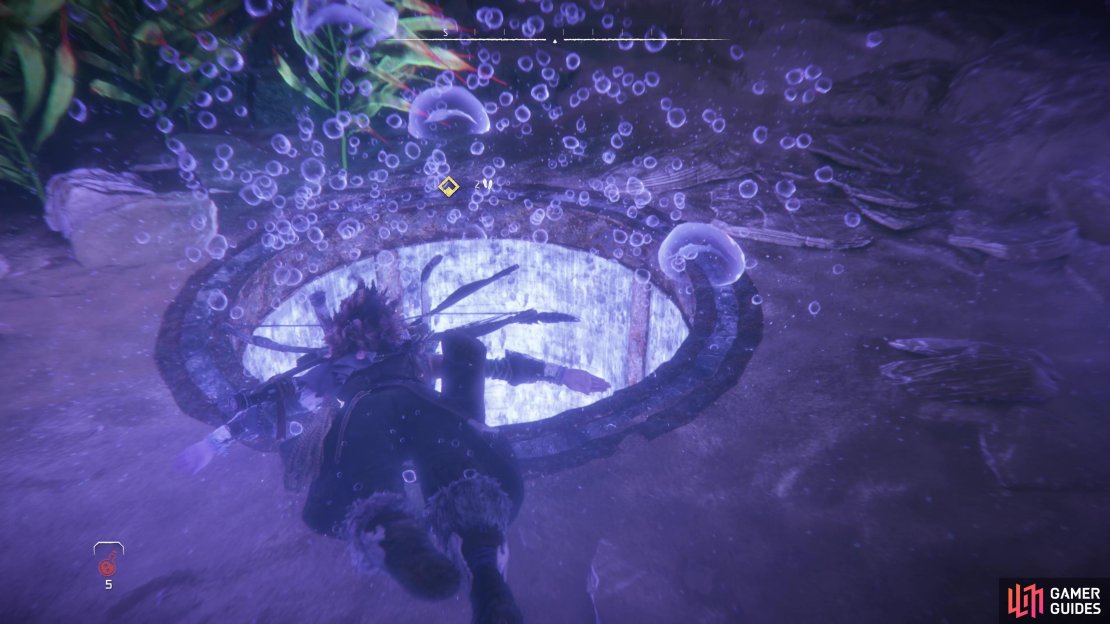
Getting the Compress Air Capsule is relatively easy - just dive for it.
How to Recover the Compressed Air Capsule
Obtaining the Compressed Air Capsule is relatively simple, although it does force you to do some swimming. Head west through a doorway to reach a flooded shaft, dive down, and simply pluck the Compressed Air Capsule from the side of Morlund’s diving apparatus. You should have just enough air to get down, retrieve the capsule, and make it back to the surface.

(1 of 2) Track the machine herd,

Track the machine herd, (left), then kill the machines and scavenge the parts you need. (right)
How to Gather the Machine Parts
For the machine part, head to a search area south of the Tower of Tears. You won’t find any machines when you arrive, however, so scan the area, pick up a trail and follow it southeast to locate the herd.
Alas, you’ll be intercepted by a trio of Purgewater Canister Burrowers and a Frost Glinthawk. Defeat the machines if you wish, or sneak around them and scan for tracks left by the herd. Either way, once you’re free to do so, scan for the heard and follow the trail north, then east.
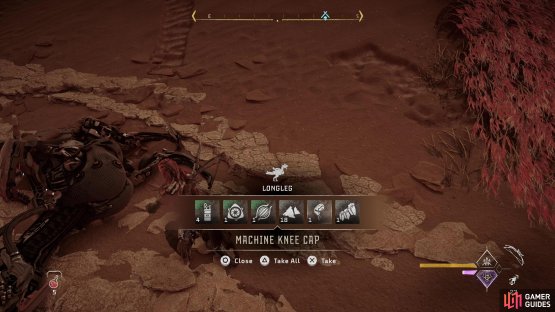
This time you’ll find the machines you’re looking for amidst some ruins. This time you’re pitted against two Leapslashers, a [Longlegs] and a [Frost Bellowback]. The last two have the components you need, while the kangaroo machines are just nuisances. Kill the machines, then loot them for the parts you need - a Synthetic Membrane and a Machine Knee Cap.
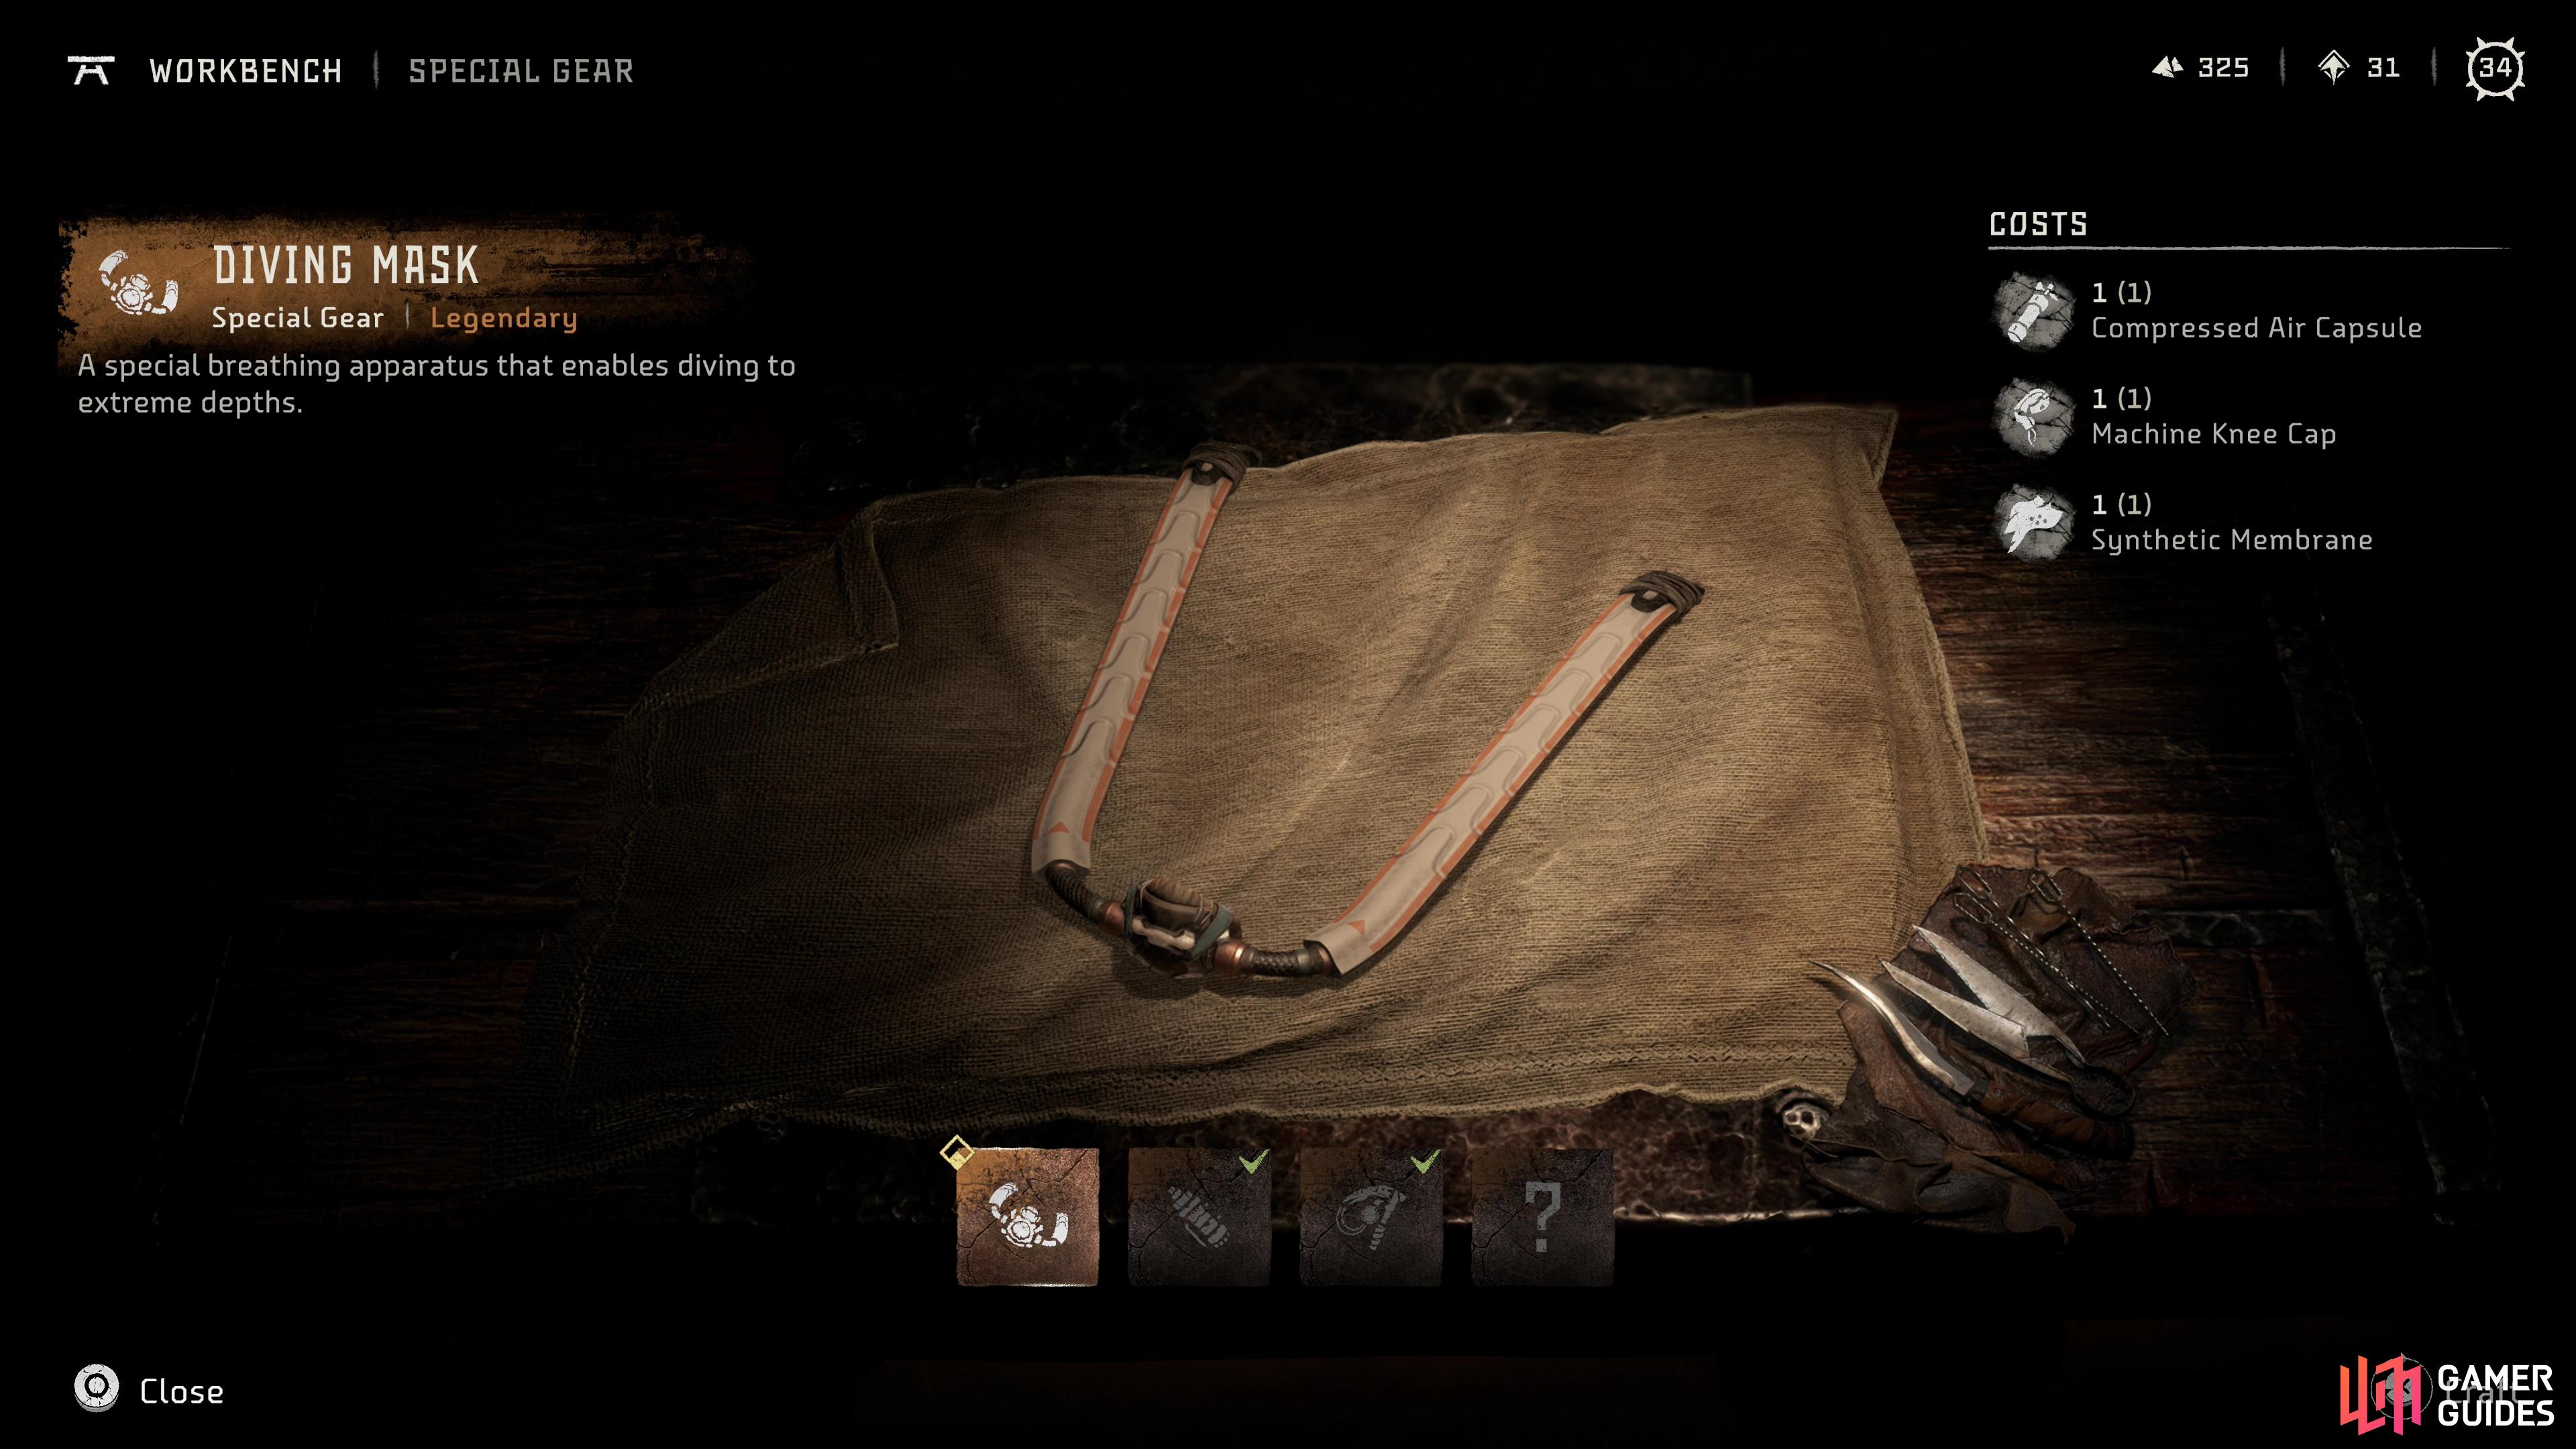
Return to Morlund with the part and craft the Diving Mask.
How to Build the Diving Mask
Once you have the Compressed Air Canister, the Synthetic Membrane and a Machine Knee Cap, return to The Tower of Tears and talk to Morlund, then use the nearby Workbench. Go to the “Special Gear” category to find the Diving Mask and put the three aforementioned components together.
Congrats, you never again have to worry about surfacing for air while diving.


(1 of 2) Dive into the depths of Dunehollow and scan the “Where It Started” datapoint,

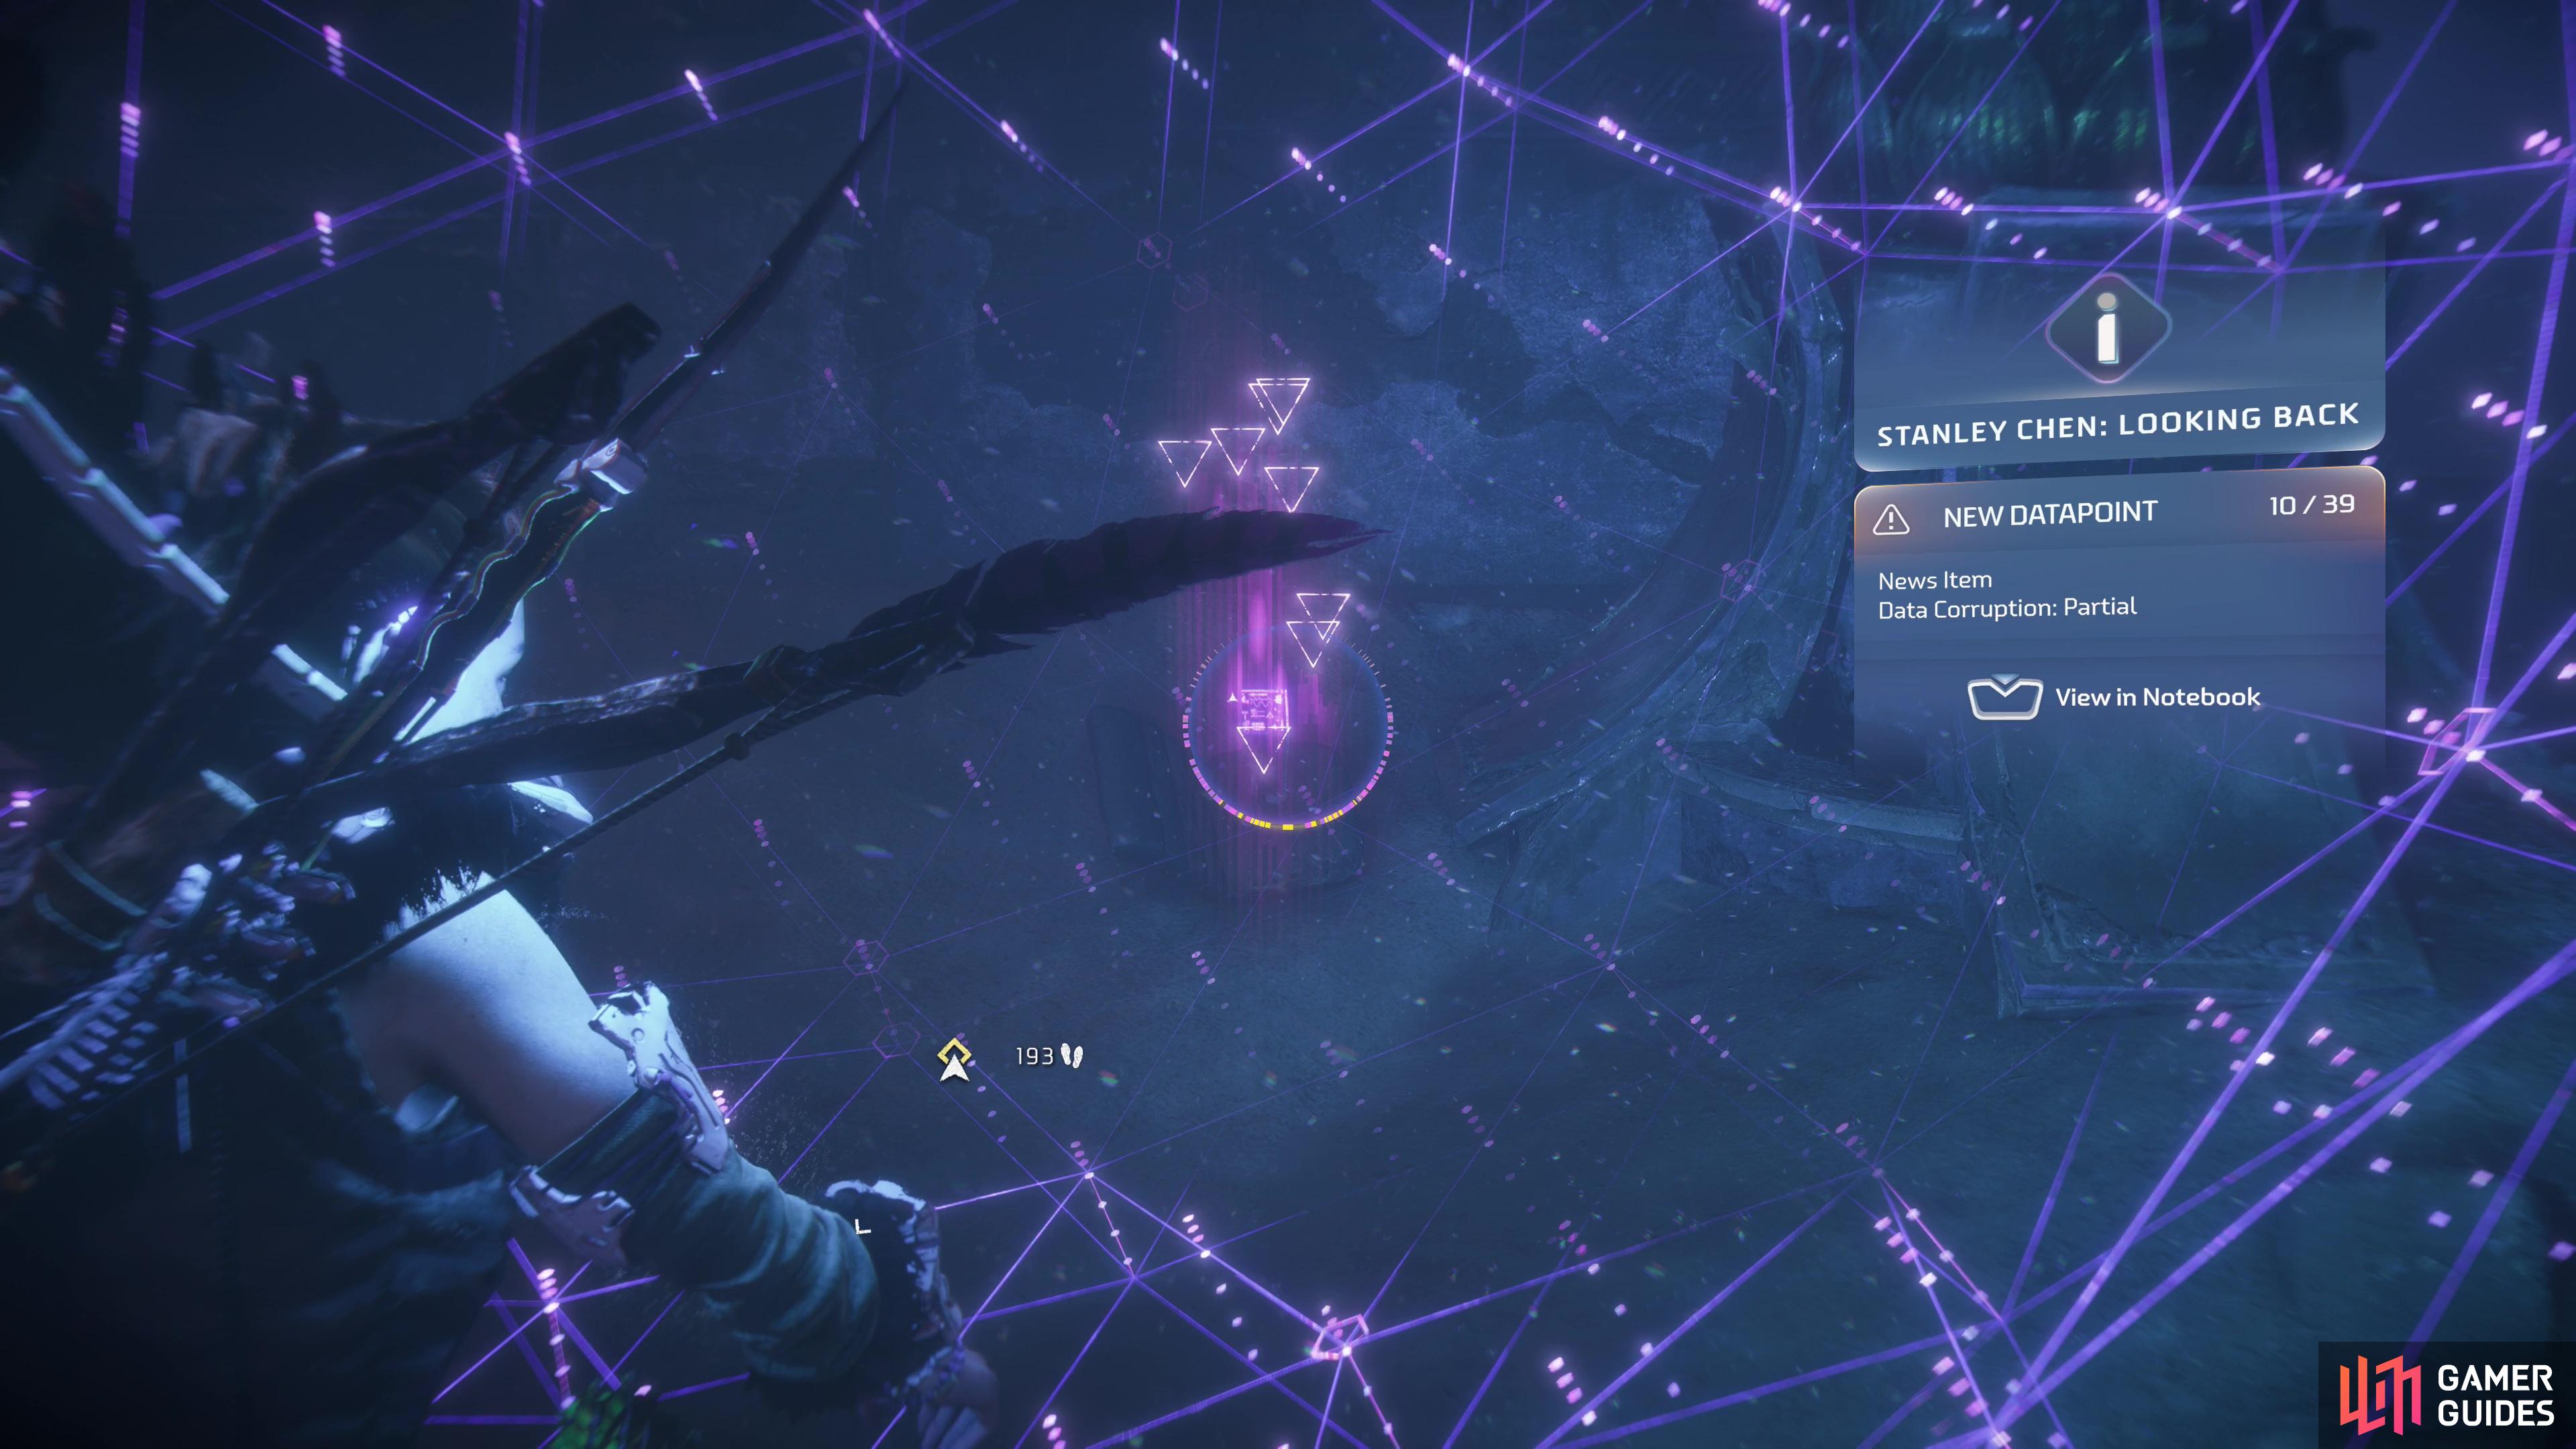
Dive into the depths of Dunehollow and scan the “Where It Started” datapoint, (left), and the “Stanley Chen: Looking Back” datapoint. (right)
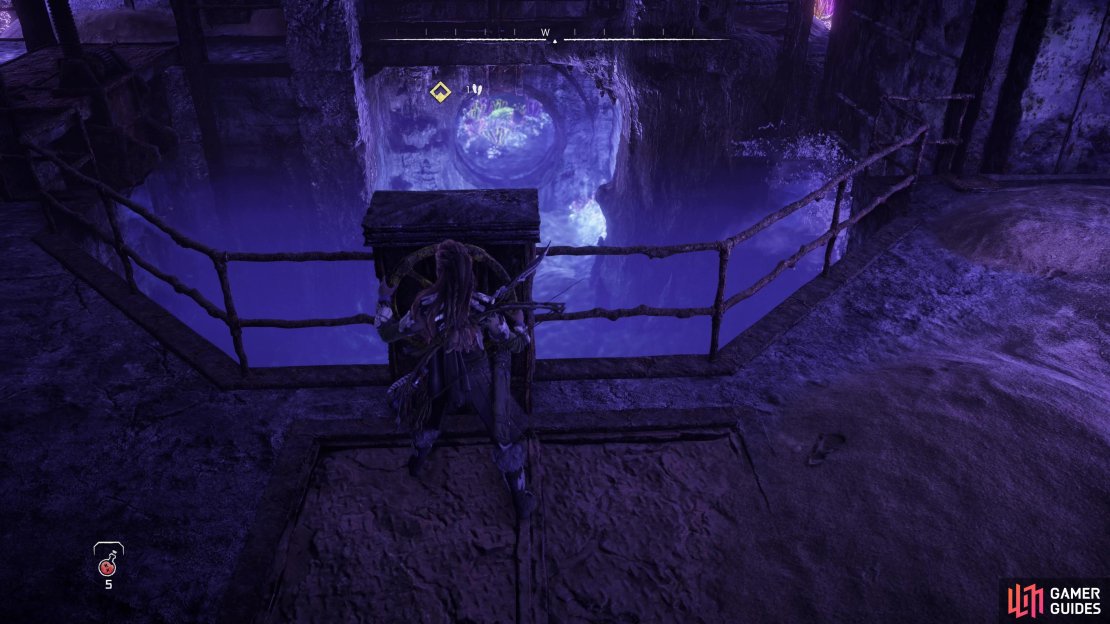
Search for POSEIDON in Dunehollow
Enter the flooded shaft to the west and dive down to the bottom, then head through an opening on the eastern wall. Search the room you find yourself in to find the Where it Started and Stanley Chen: Looking Back datapoints while working your way east to and through a circular doorway.
In the next room - a massive, multi-floored space with an oriental dragon suspended from the roof - swim down to the bottom, then go through a door to the east. In the next room - somehow even larger - you’ll encounter a rather large complication: a [Tideripper] swims through the depths.

(1 of 2) Between you and Poseidon swims a Tideripper.


Between you and Poseidon swims a Tideripper. (left), Since the machine can’t be defeated in the water, swim toward a red light that promises an alternative solution. (right)
How to Get Past the Tideripper
As Aloy states, you can’t fight the thing, and to further discourage you, the current is simply too strong for you to reach the machine or the area it guards, so you won’t be sneaking past it, either.
Swim east into the Tideripper’s chamber but keep your camera panned to the south as you swim, as you should spot a red light glowing at the bottom of the room. Aloy will recall the significance for this as you swim about. Swim down to the red light to find an operable console and activate it.

(1 of 3) Hide in seaweed to avoid a Snapmaw,
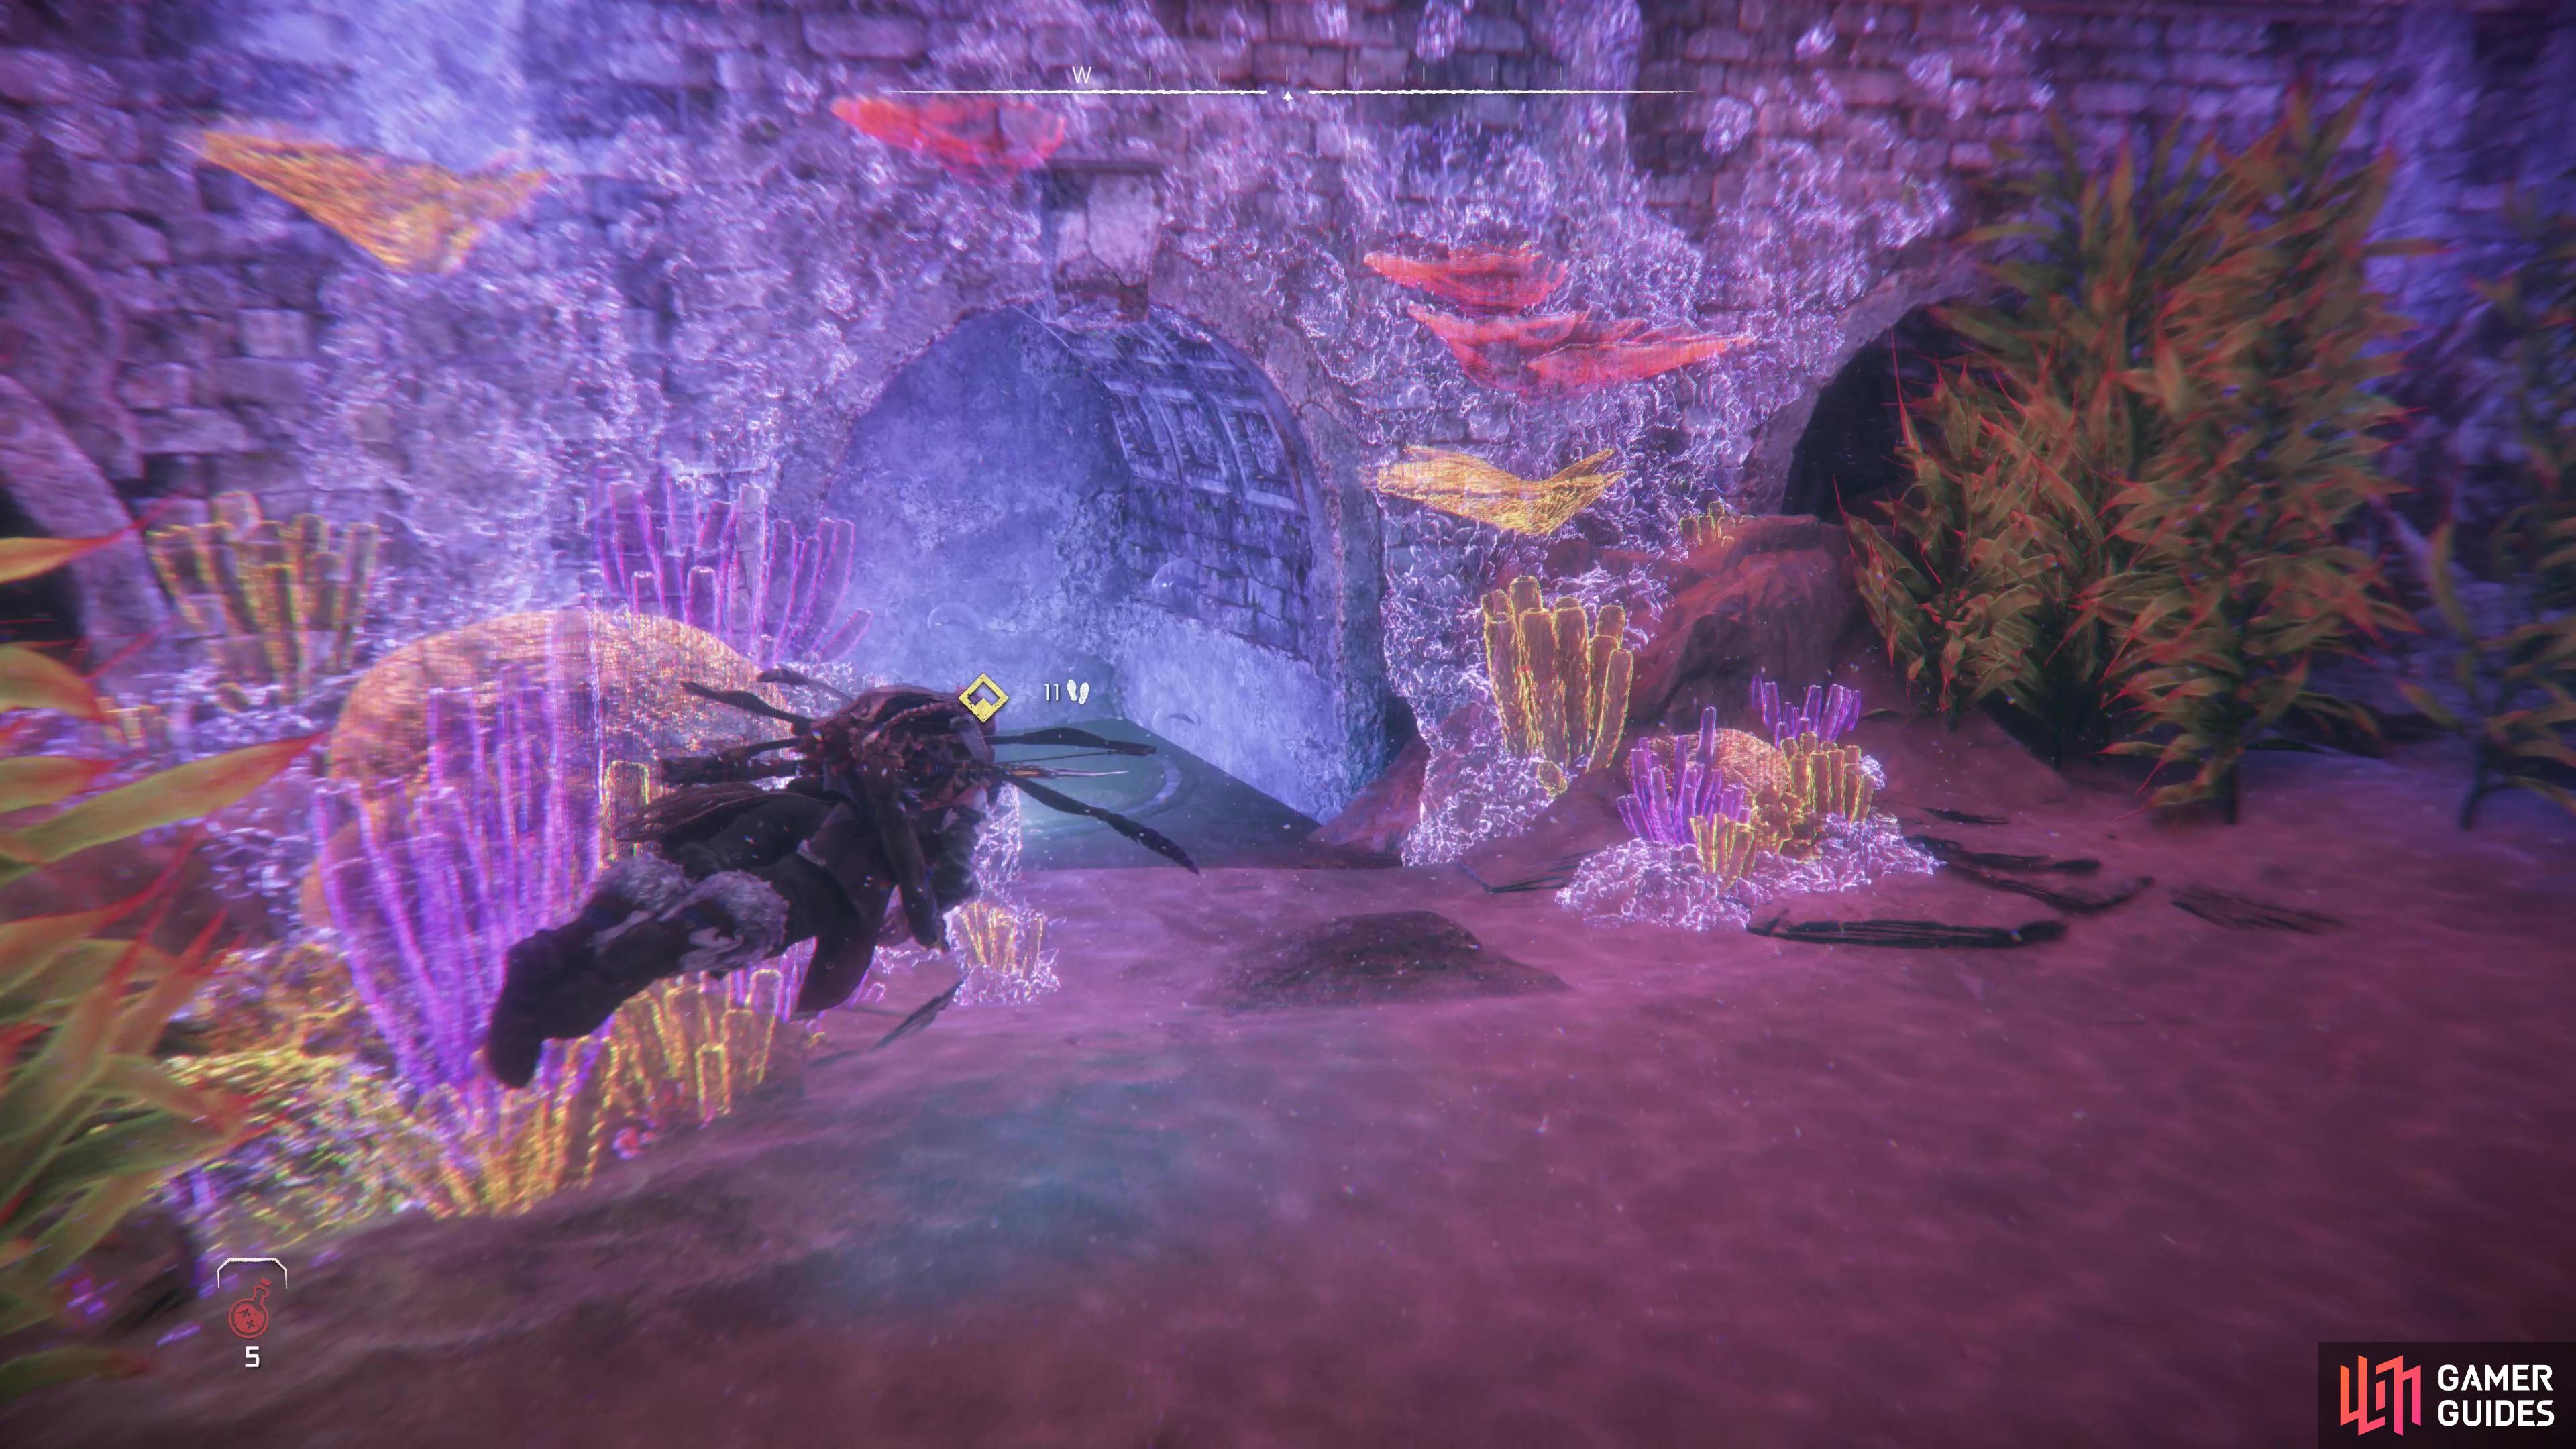
How to Find the Primary Pump Node
After the synthetic voices tells you what to do to even the odds against the Tideripper, swim up through a hole to the southwest to find yourself in a room patrolled by a [Snapmaw] and some Tracker-Burrowers. Again, you can’t fight underwater, so your only choice here is avoidance.
Scan and tag the machines, and when the coast is clear swim southeast, hiding amidst fronds of seaweed to avoid detection. Your goal is a hole in the floor along the southeastern corner of the room, and once you reach it, the machines can’t pursue you. In the next room, swim through a pipe to the east, then surface to spot your objective, which is out of reach. Swim north under a raised sluice gate, beyond which you’ll find a ladder. Climb it, open the pump valve.
One down, one to go.
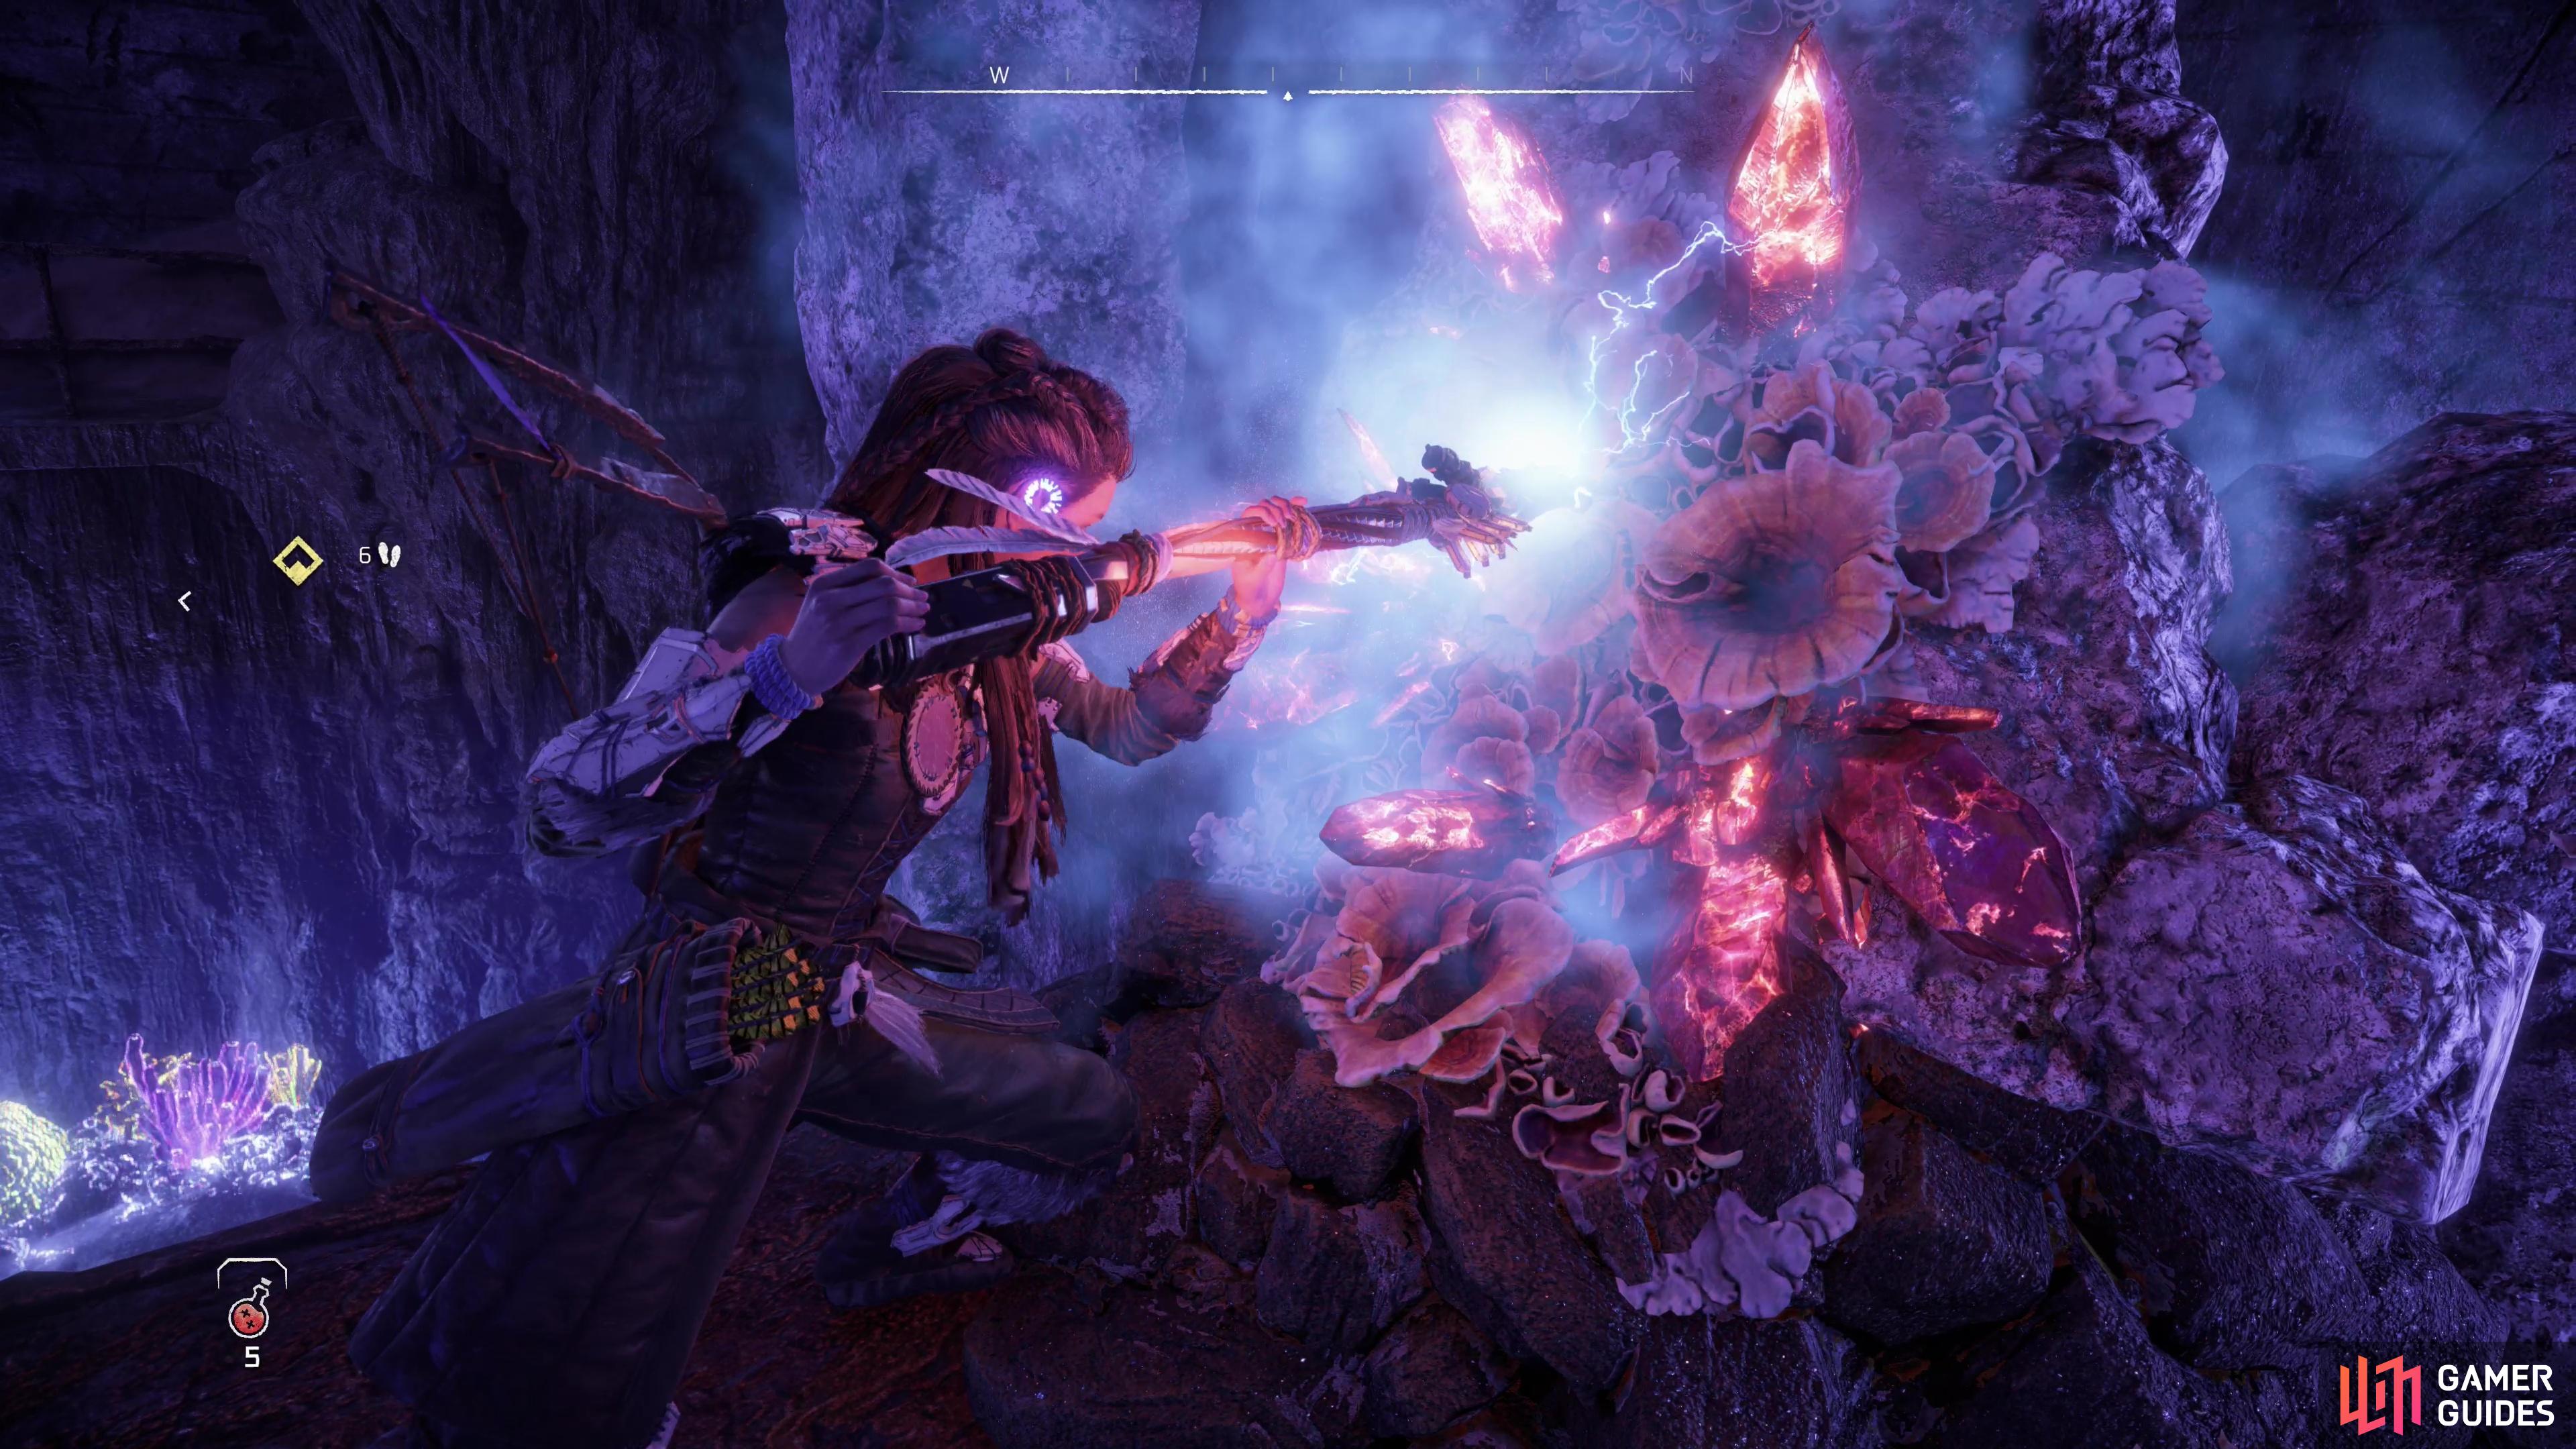
Ignite some Firegleam to the south to score some extra loot, then jump back into the water.
Being dry was nice, while it lasted.


(1 of 2) Find the hole leading to the second pump,
Find the hole leading to the second pump, (left), and clear some Firegleam off the sluice gate before you spin the valve. (right)
How to Find the Secondary Pump Node
Backtrack to the room with the Snapmaw and be sure to ping your Focus regularly and be wary of red triangles as you swim through the room. Your destination this time is a hole in an alcove along the western end of the room. Swim down it, go through a passage to the south and climb a ladder to the west.
When you surface, head north and scan The Fountains datapoint, work your way around, jump a gap, ignite some Firegleam atop the sluice gate, then and turn the second pump valve.
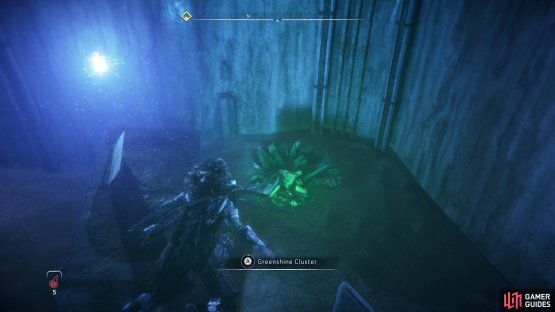

(1 of 2) On your way to the maintenance station, grab a Greenshine Cluster,

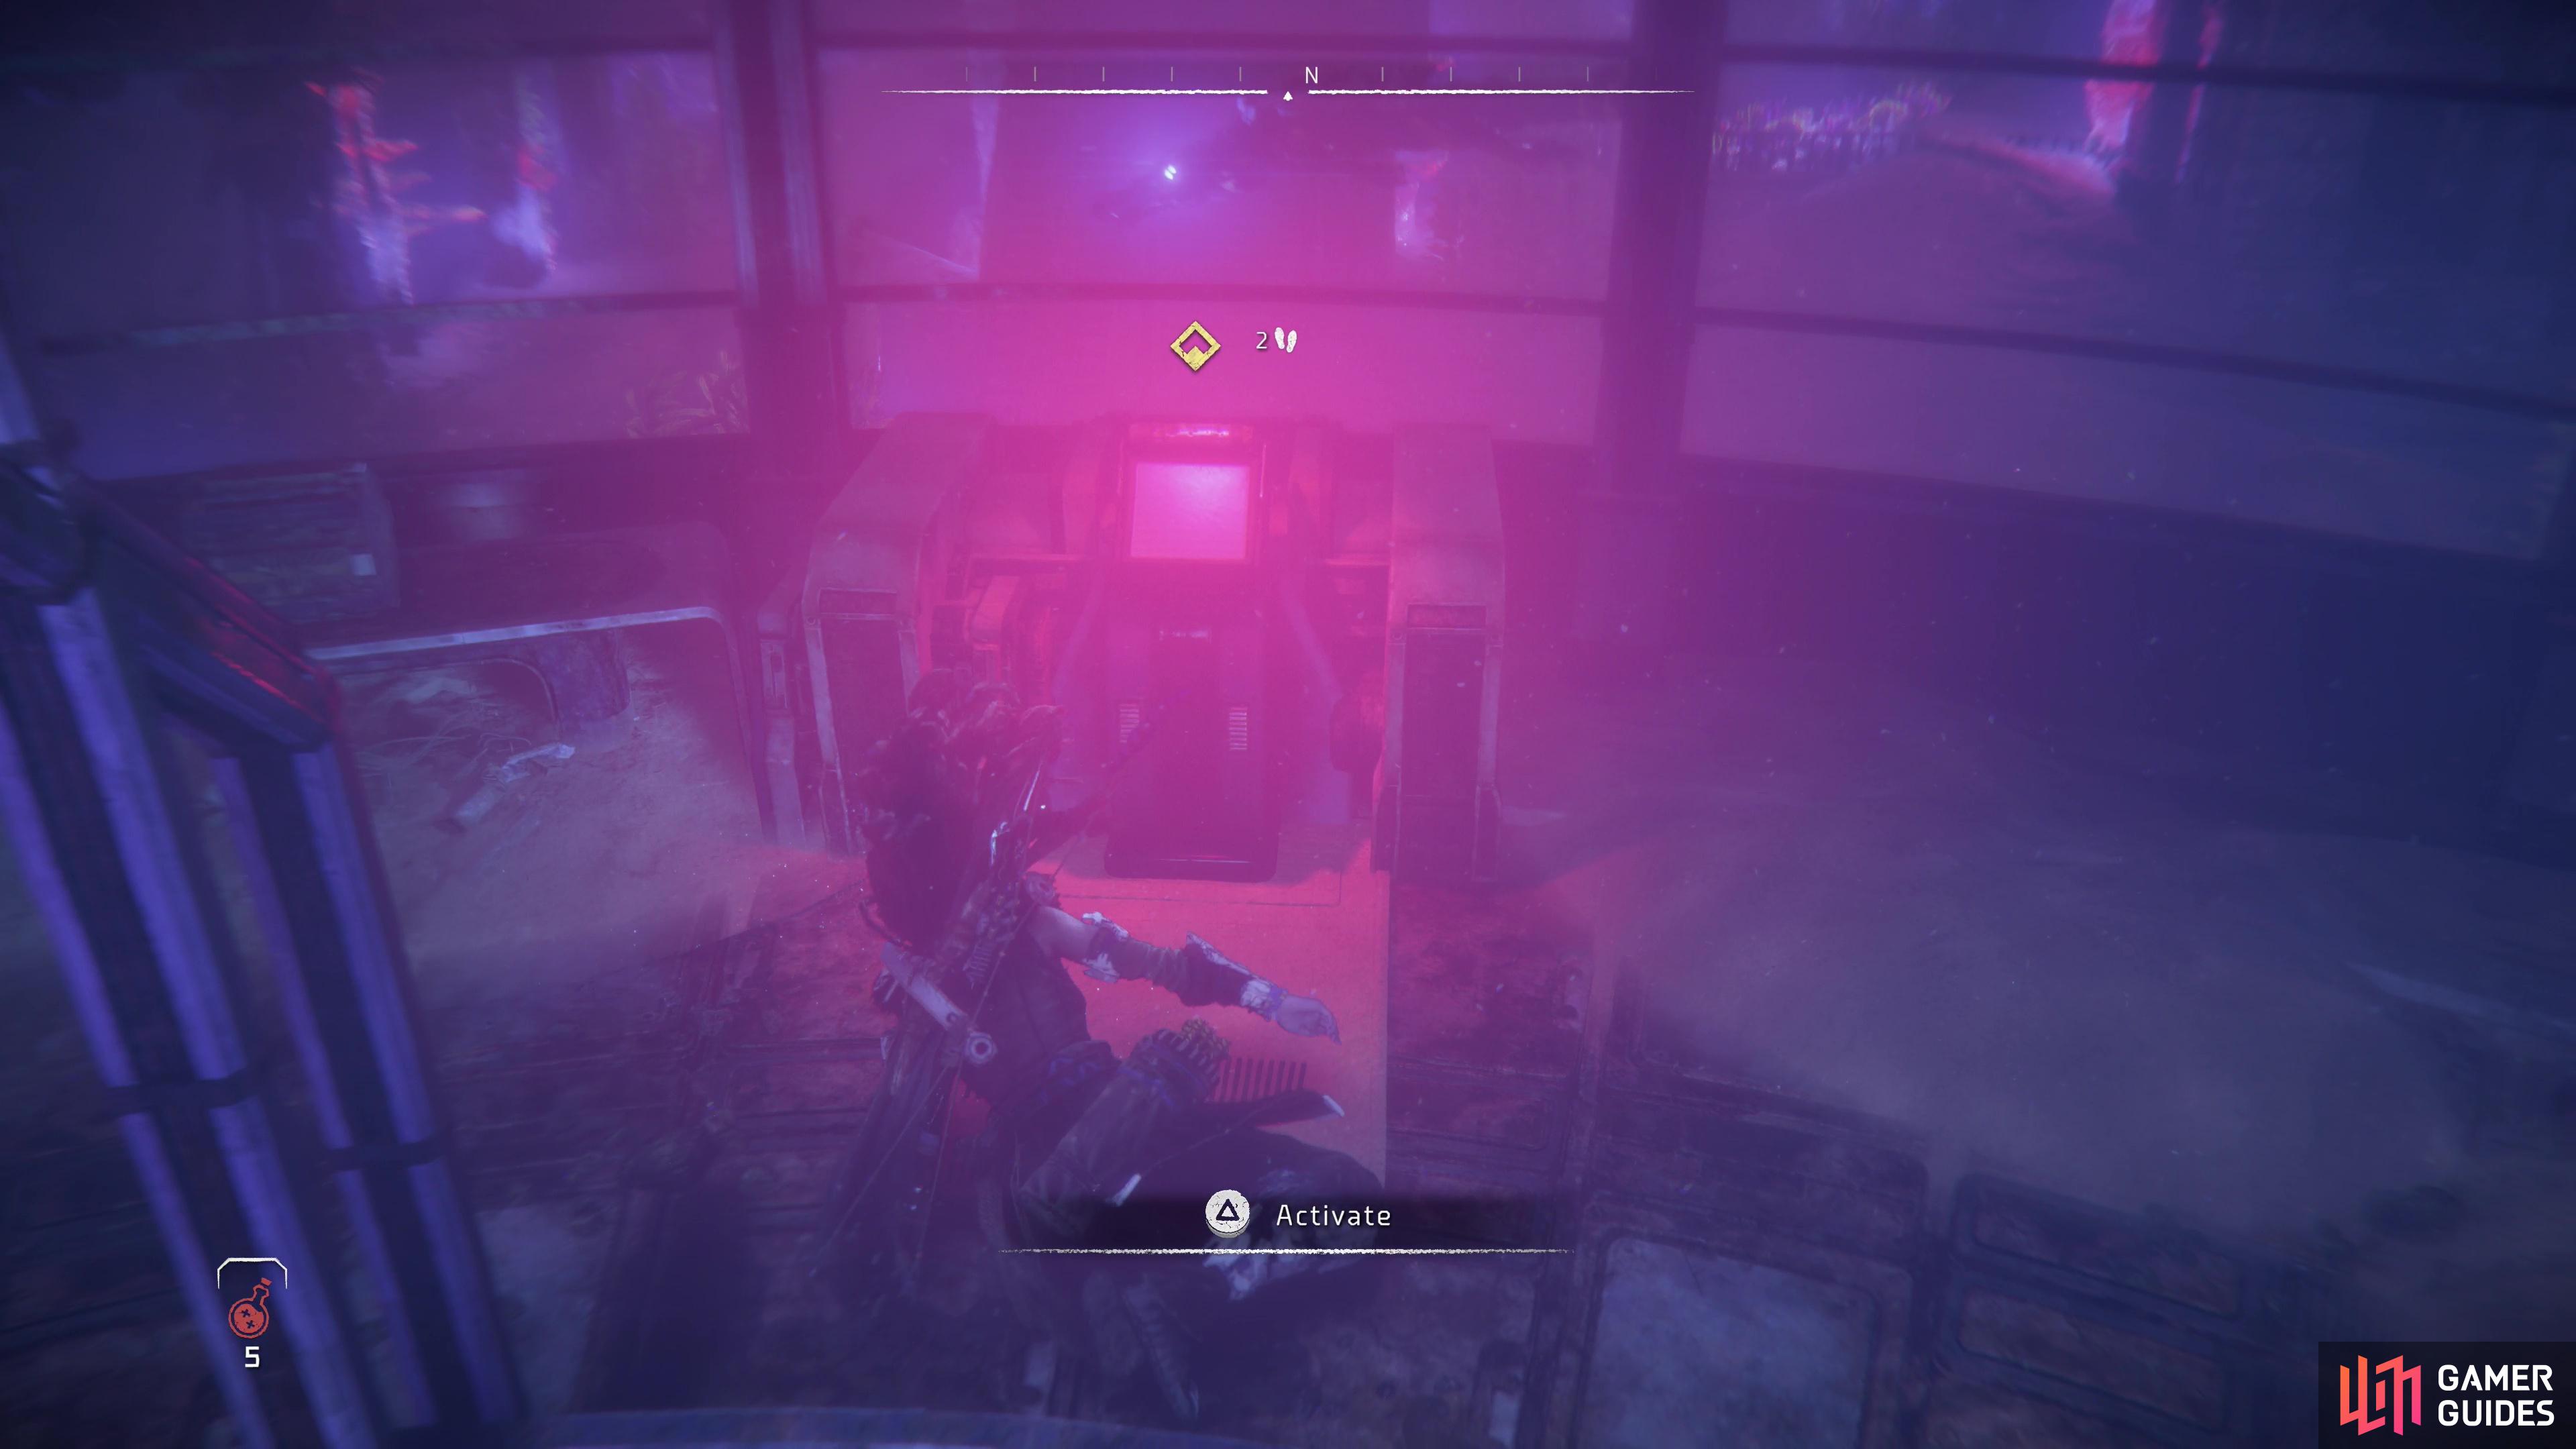
On your way to the maintenance station, grab a Greenshine Cluster, (left), then use a console to drain the area. (right)
How to reach the Pump Maintenance Station
Return to the Snapmaw-occupied room one more time and swim to the southern end, diving into a depression to the east where you’ll find a door. Grab a Greenshine Cluster just opposite the door, then go through it. Pry open a second door to the south, loot some containers in the room beyond, then swim through a doorway to the west.
Follow the cylindrical path ahead until you reach another door, beyond which is a cylindrical room. Scan the One Final Walk datapoint, then swim to the top of the room to find the console you need, which will deliver its promise of draining the area.
Presto, chango! This dungeon is now dry. Time to go deal with that Tideripper… but first we have to pass through the Snapmaw’s territory. Return to the room where the Snapmaw and Burrowers tormented you when the environment prevented you from fighting back. Now that these machines no longer enjoy such an advantage, it’s time to pay them back for the trouble they caused you earlier… or you can just sneak past them, but there are numerous datapoints in the area that’ll be much easier to scan without having to worry about machines.


The Tracker-Burrowers should, by this point, virtually be fodder. If you can dispatch them via Silent Strike, great. The Snapjaw, however, is a sturdier foe who is fond of spitting ice projectiles at you. It does have a serious weakness, however: it’s not terrible agile. Given the numerous obstacles in this room and the bulk of the Snapmaw, you should be able to keep it at bay just by ensuring there’s always some obstacle between you and the croco-bot. It’s also weak to Fire and Shock damage - it’s fairly easy to set the Snapmaw alight and just play cat-and-mouse with the machine while it burns.
It’s not so fun when you’re on the wrong side of a power imbalance, is it, Snapmaw?
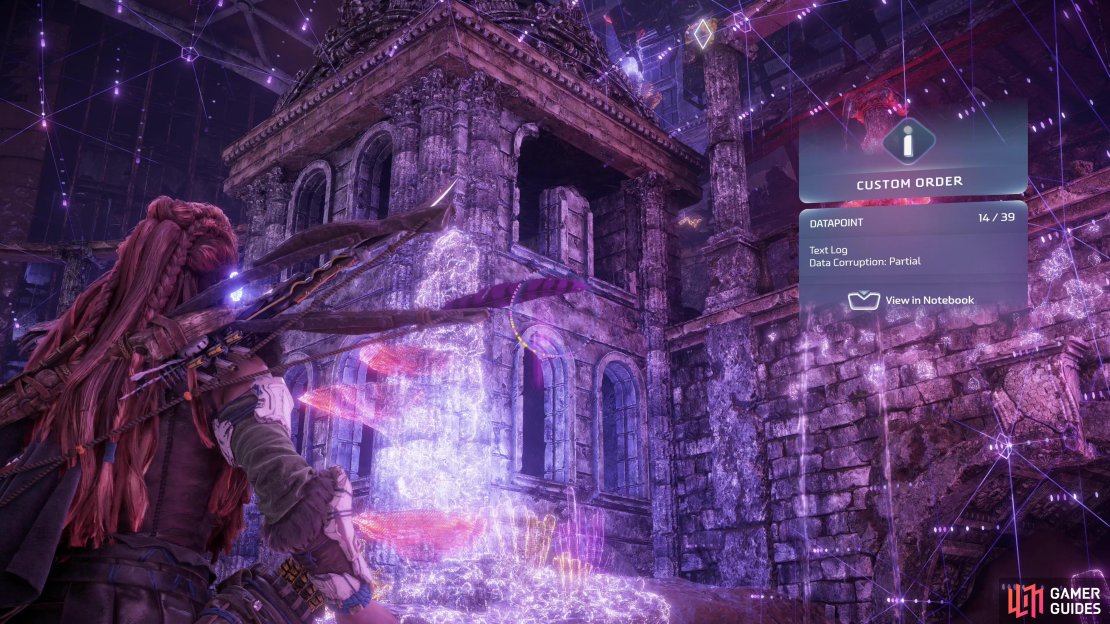
Anywho, take out your aggression on the machines, then scan the area for the following datapoints:
- Custom Order
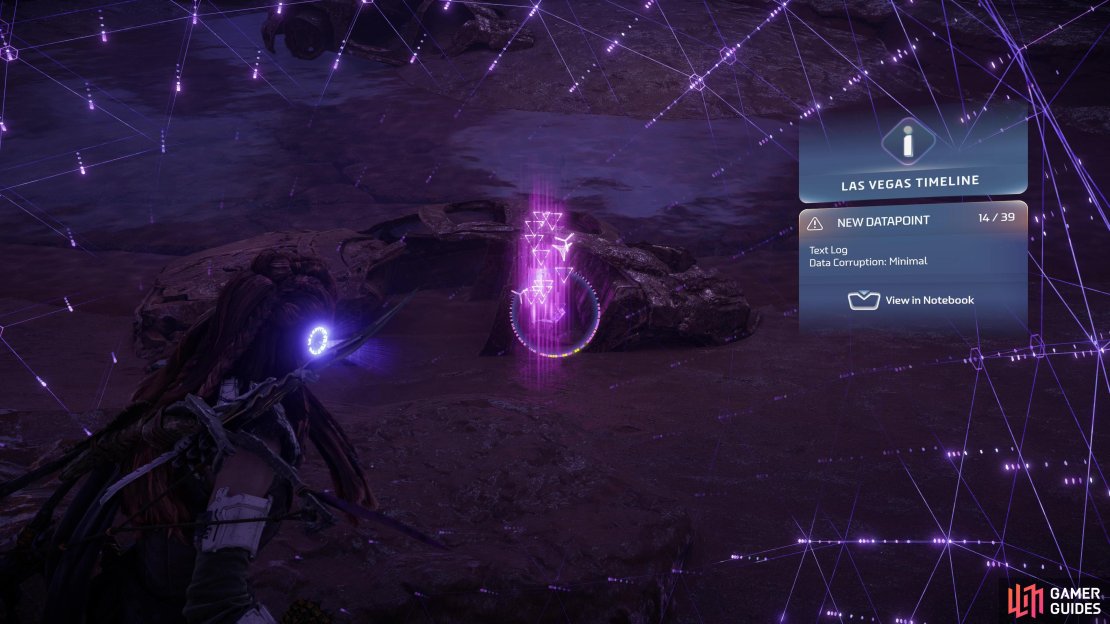
- Las Vegas Timeline
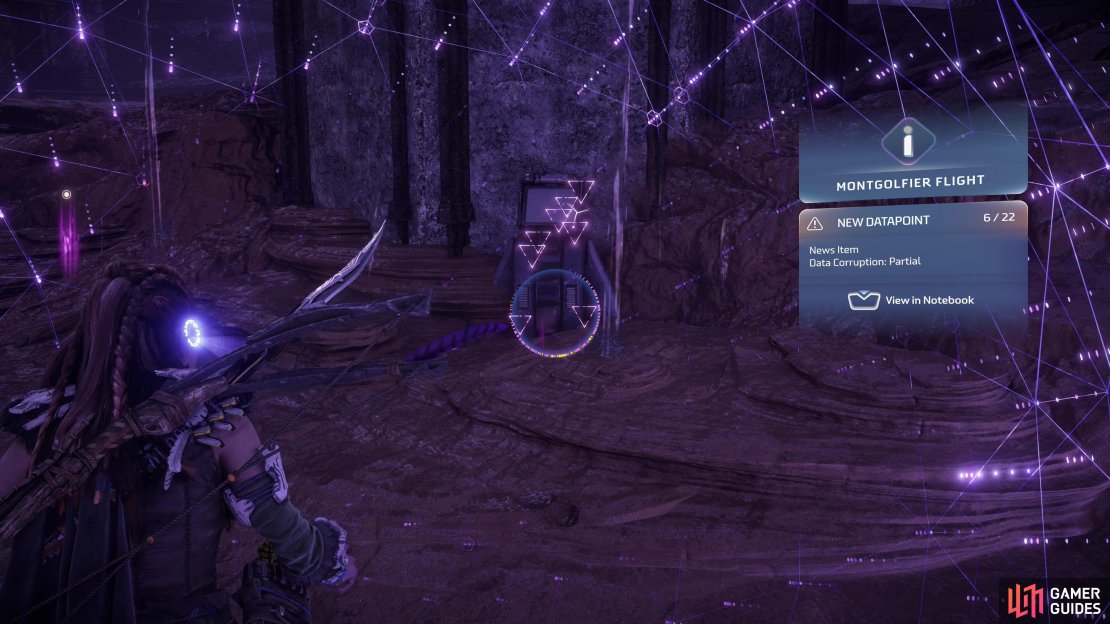
- Montgolfier Flight
- Taste of the High Life
- Voice-To-Text-Transcript
Once done, make your way up to the north, where the Tideripper was swimming earlier. Drop down and after some scenes you’ll find out where, exactly, the Tideripper went.


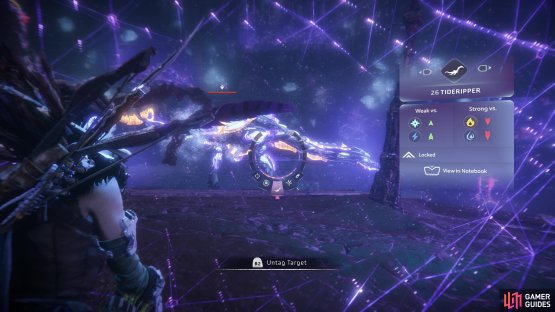
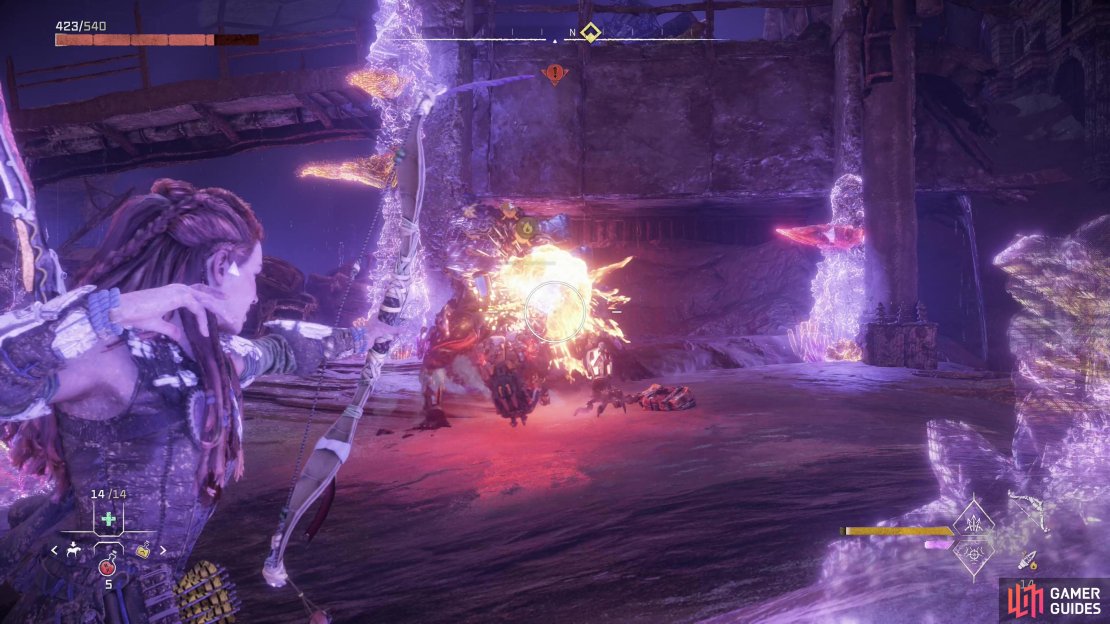
(1 of 2) The Tideripper is vulnerable to Frost damage, which can inflict the Brittle status.
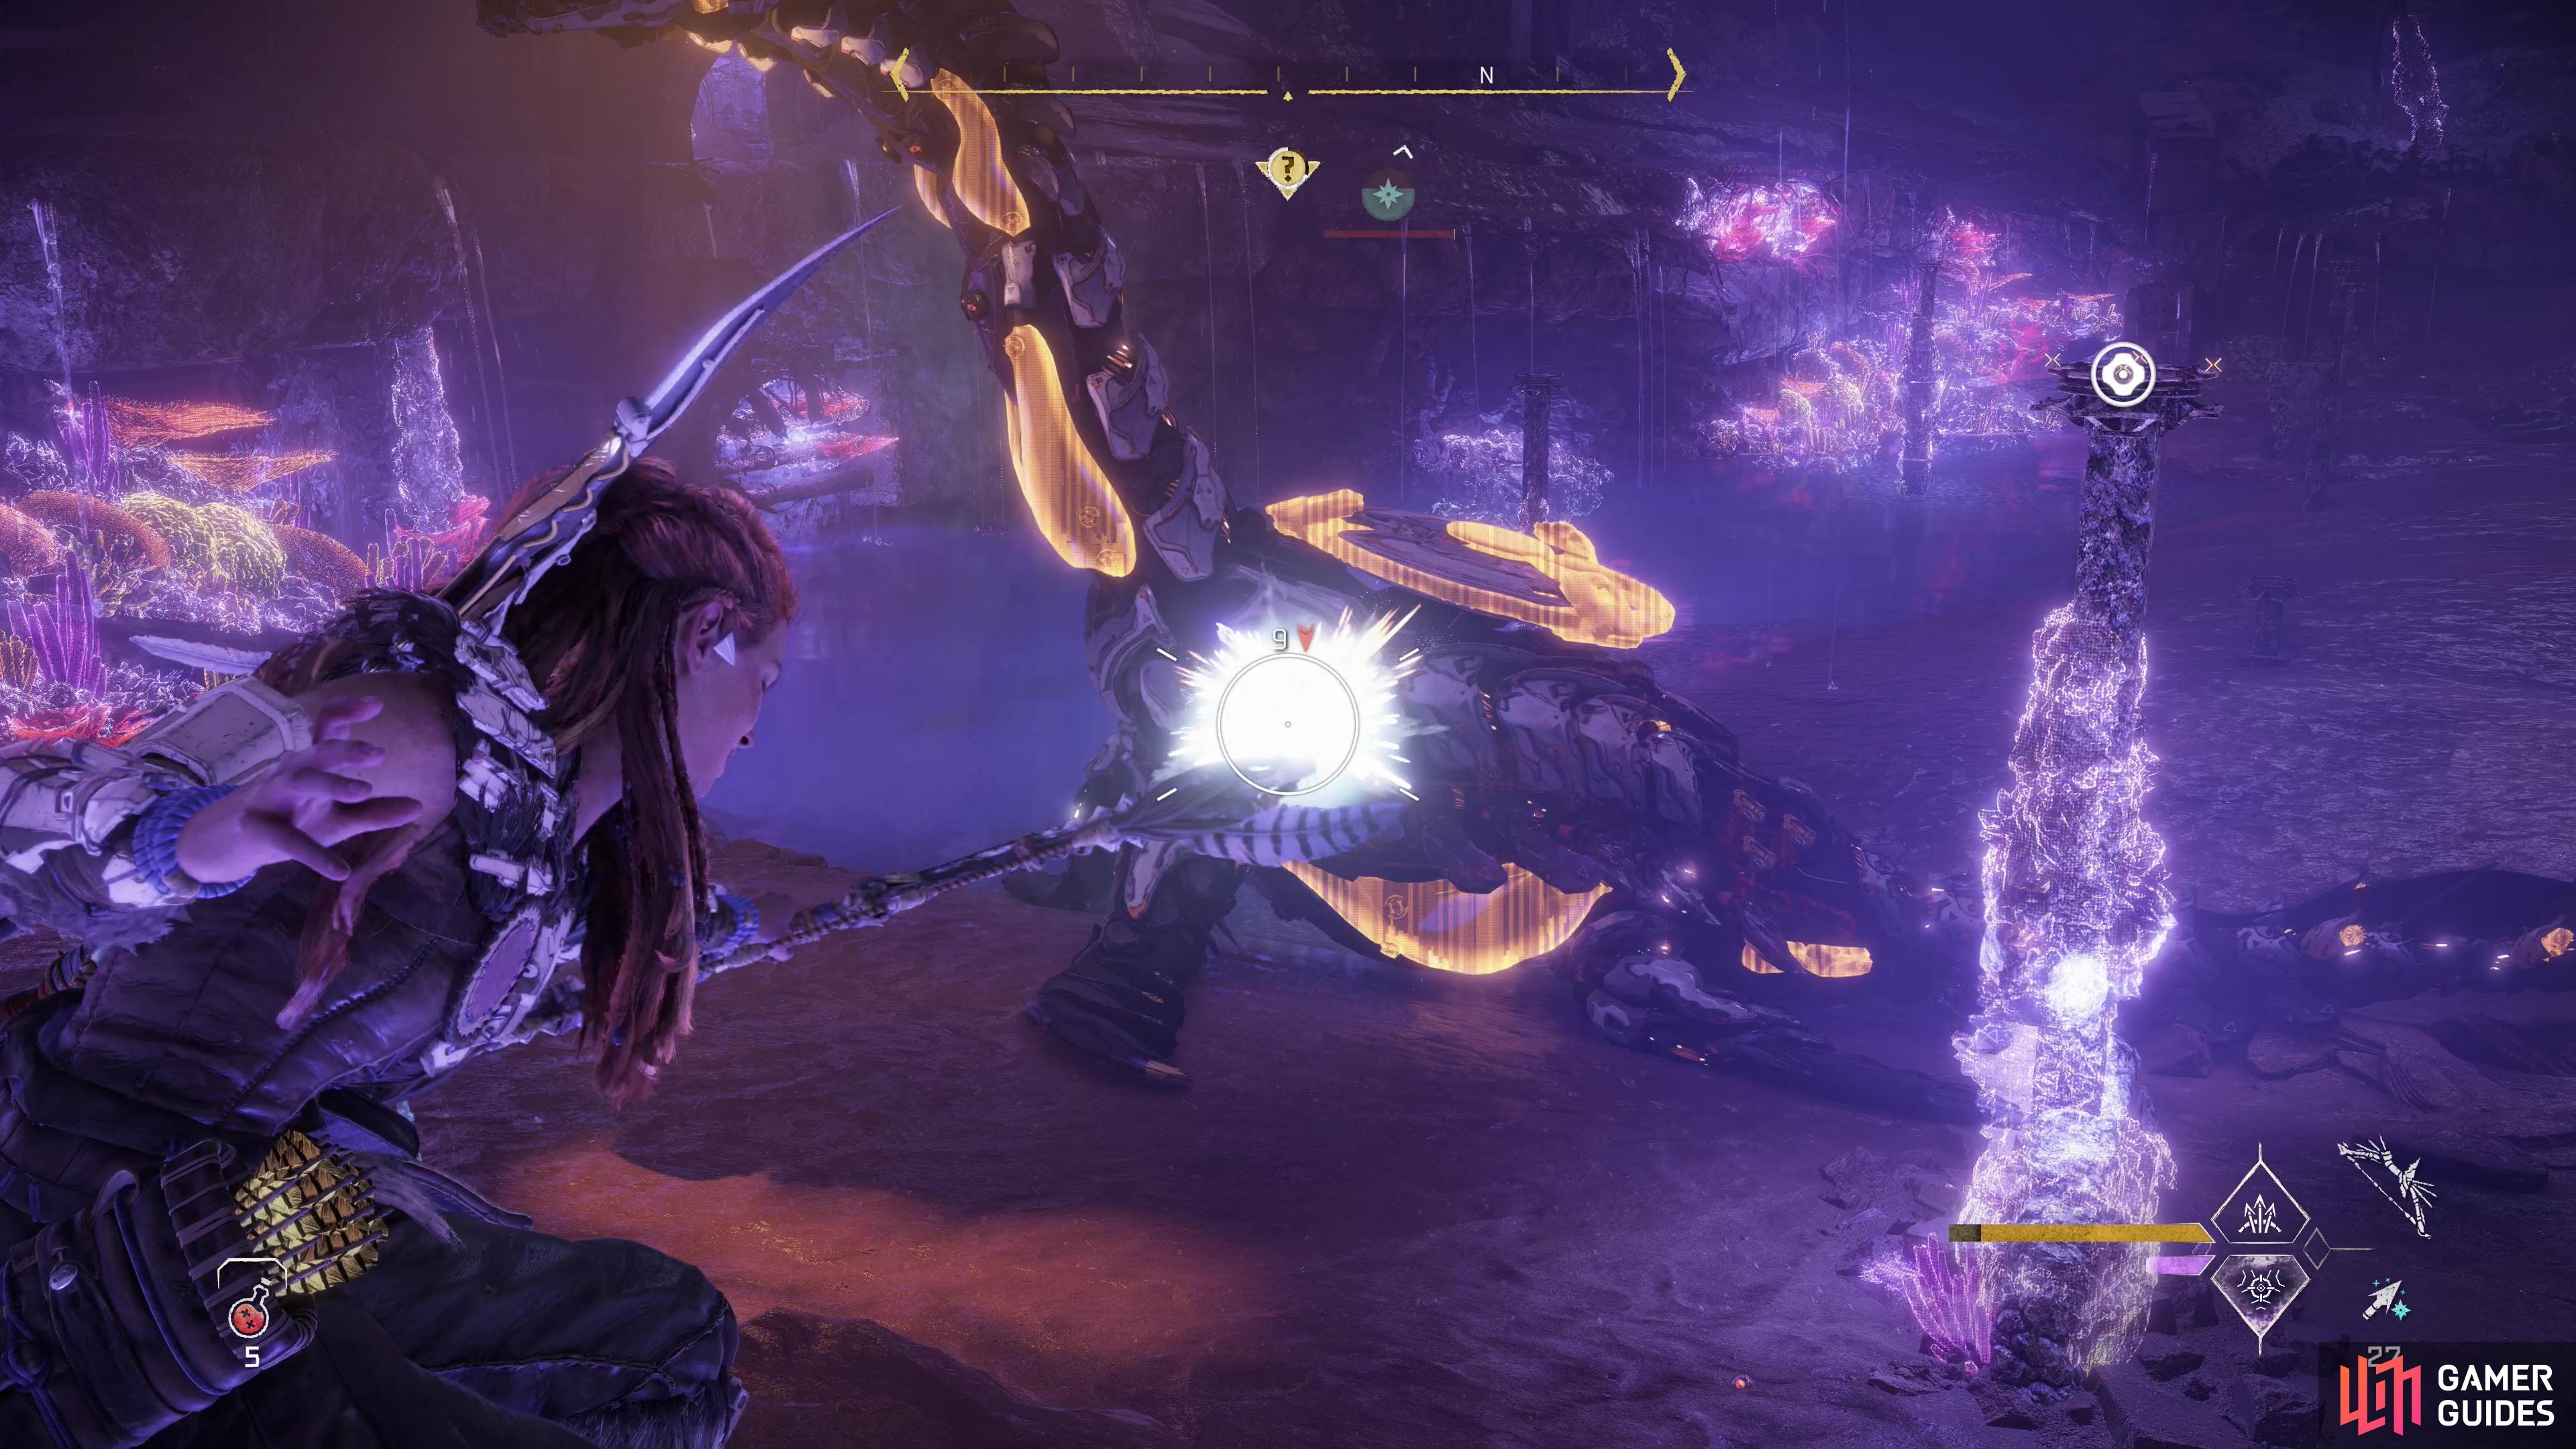

The Tideripper is vulnerable to Frost damage, which can inflict the Brittle status. (left), Thus afflicted, the Tideripper will take extra damage - use this debuff to rip off weaponry like the Tidal Disc. (right)
How to Defeat the Tideripper
The Tideripper is deadset on getting in your way, regardless of how much water is left. Fortunately on land the massive machine isn’t nearly the threat it is when submerged. While a heavyweight machine, the Tideripper is perhaps the weakest of all such colossal contraptions, mostly due to its comparably anemic offensive output.
It bears two Purgewater Cannons on the sides of its head which it can use to fire jets of water and a large Tidal Disc on its back which will shoot persistent, spinning jets of water. Both of these attacks can inflict the Drenched status, making Frost and Shock building more rapid and preventing the Drenched individual from inflicting elemental damage. In addition, the Tideripper is capable of lashing opponents with its tail and performing other physical attacks - it may be more graceful in the water, but it’s nowhere near immobile on land.
Being Drenched is a severe handicap when fighting a Tideripper, as they themselves are also susceptible to Shock and Frost damage. In the latter case you can inflict the Brittle debuff on them to score extra damage, and this is a good first move during the fight. Once inflicted with Brittle you can target the Tideripper’s Tidal Disc to disable that attack, making the rest of the fight much less hectic.
The Tideripper is riddled with weakness, and after the Tidal Disc, the easiest ones to exploit are the Tail (which will grant a unique component if detached), and the Purgewater Pouches on its neck and the Purgewater Sacs on its abdomen. Both of these components are explosive, and destroying them will cost you a trivial amount of Purgewater which you could otherwise loot, but it’s a fair trade for the extra damage destroying these components yields. If you destroy all of the Tideripper’s Purgewater reserves it’ll start exposing its Exhaust Ports, which is highly vulnerable to damage… but ideally you’ll keep inflicting it with Brittle and it’ll fall long before you have to remove that many components.


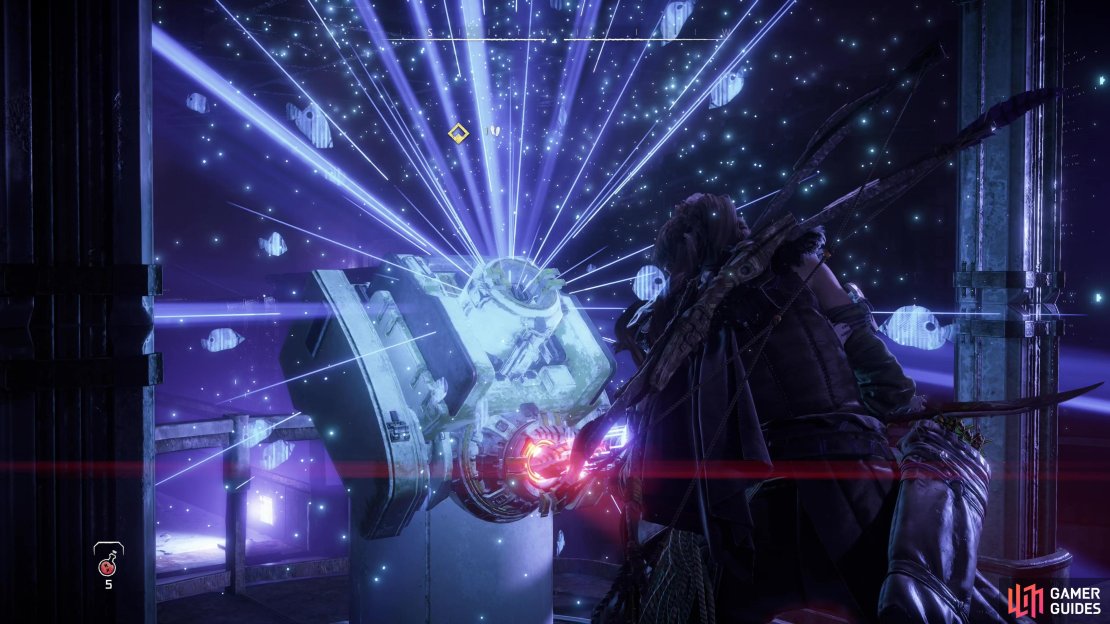
(1 of 3) Scan the “Against All Odds” datapoint,
After the fight, loot the area and your victim, talk to Morlund and his crew, then head over to a door on the northern end of the room, past the Tideripper’s pool. When you reach a room full of electronics, scan the Against All Odds and Hacked Again datapoints, loot a chest, then interact with a console.
Once you’ve acquired your objective, return to the Tideripper’s chamber and bask in the lights of long-forgotten debauchery. Head up a ladder to the west and ascend back to the surface. Your trip back up will be different, now that the water has been drained, but it should be uneventful… at least until you make it outside.
Vegas, baby!

The lights of Las Vegas return to life after a thousand years.
Ahem.
To complete this quest, you need merely return to The Base and restore POSEIDON to GAIA.
If this is the first subordinate function you’ve restored to GAIA, the main quest [Cradle of Echoes] will begin. If not, continue with either [The Broken Sky] or [Seeds of the Past]. If this was the last of the three completed, you’ll continue with the main quest [Faro’s Tomb], instead.


No Comments