
Throughout your journey in Forbidden West, you will come across a variety of Machines, most of which will be out to attack you. This page will concentrate on the Acquisition Machine, the Widemaw.


(1 of 2) Widemaw in the game
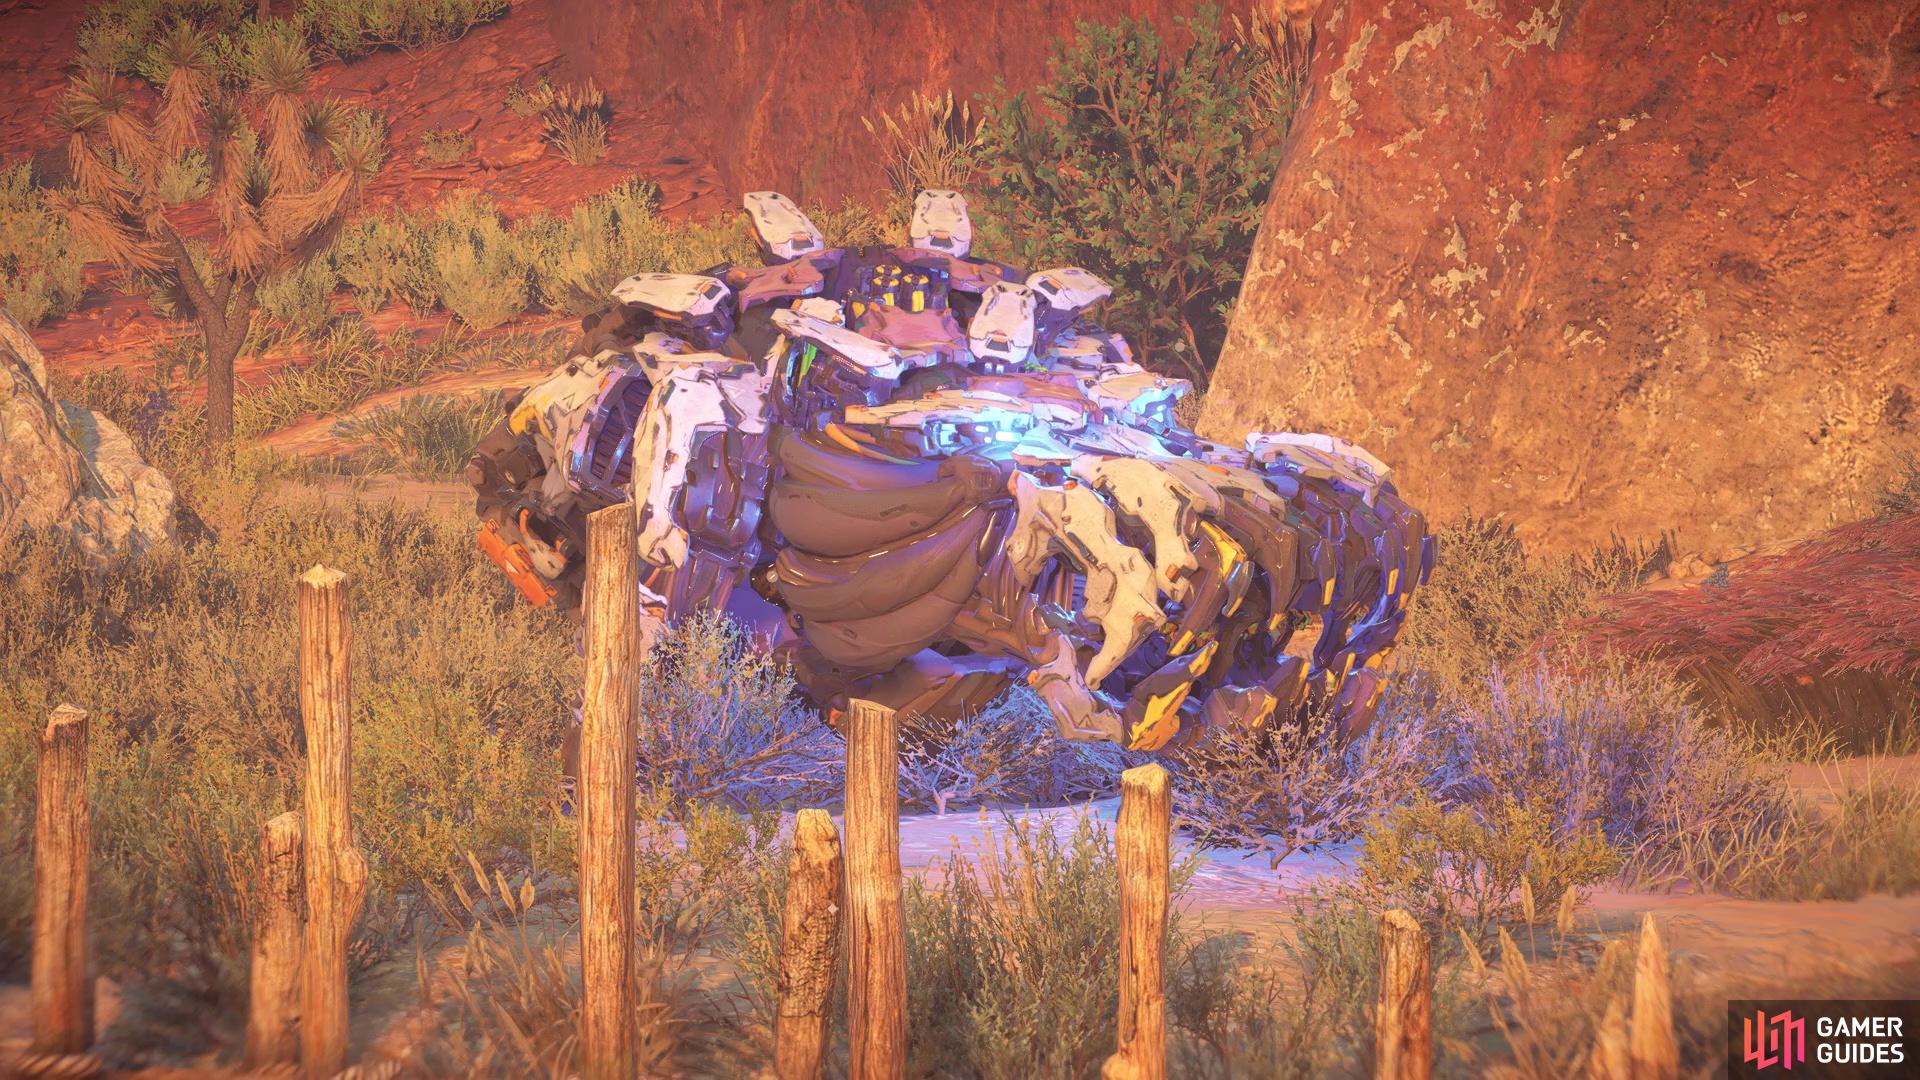
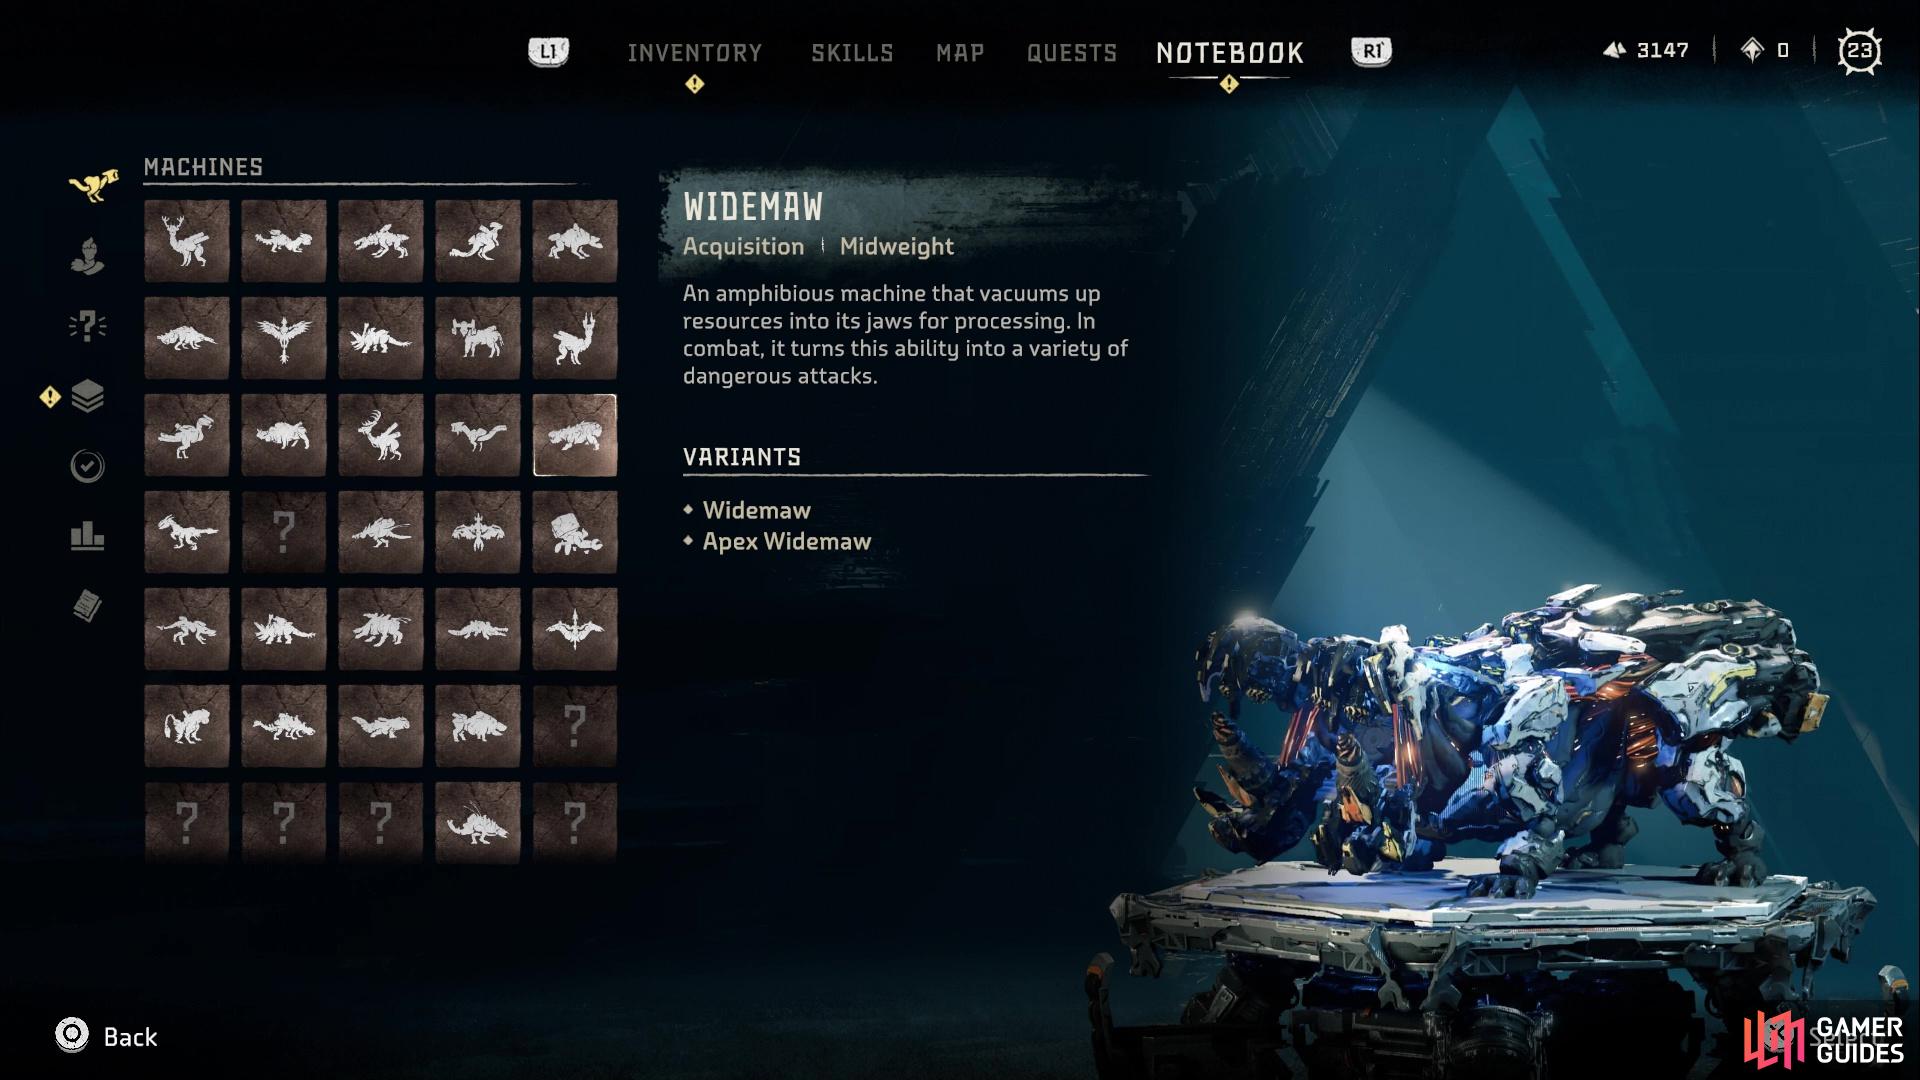
Widemaw in the game (left), Widemaw in the notebook (right)
General Information
An amphibious machine that vacuums up resources into its jaws for processing. In combat, it turns this ability into a variety of dangerous attacks.
| Level | Type | Cauldron | Weak | Strong |
|---|---|---|---|---|
| 15 | Acquisition | MU Cauldron | Purgewater  |
Fire  , Frost , Frost  , Shock , Shock  , Acid , Acid  , Plasma , Plasma  |
Tips for Defeating the Widemaw
Resembling a hippopotamus, the Widemaw can be quite the dangerous Machine, especially as you will always find more than one in an area. One of the biggest reasons for this Machine being dangerous is the Vacuum Unit inside of its mouth. It will attempt to suck you in with a few of its moves, so it will be trying to get you in close. One of the moves tries to suck you in straight-on, and if you get close enough, the Widemaw will lunge at you to attack. The other one will have the Widemaw spin around while forming a rock in its mouth and sucking you in at the same time. After it’s done forming the rock, it crushes it in a small explosion around its body.
Getting away from the Widemaw while it’s doing its vacuum attacks is no easy feat, especially if you are very close to the creature. You cannot outrun it, nor outroll it, so you’re inching closer while the attacks are active. Other than the two skills above, the Widemaw can also shoot rocks at you, of which there are two varieties. There is a slightly larger rock, which the Widemaw only shoots one of and is very easy to dodge. The second rock attack will have the Widemaw shooting a bunch of them at you, making them harder to dodge since they come rapid fire in your direction. The easier way to avoid them is to roll once or twice one way, then head in the other direction, as the Widemaw does seem to get a lead on you after a few rocks.
There is also a lunging attack, which can be a bit annoying to dodge, as it rears its head to the side while doing this. You will also see the Widemaw charge straight forward at a pretty fast speed, usually until it hits a wall or something; this is pretty easy to avoid, as it goes in a straight line. The biggest problem with the Widemaw is that you cannot disable its vacuum attacks, as the weak point for it is located inside its mouth and that part is indestructible. However, whenever it’s trying to suck you in normally, you can use Concentration to slow down time and hit the Vacuum Unit to stop the suction. Likewise, whenever you see the Widemaw forming the giant rock in its mouth, shooting it will cause it to explode and most likely inflict the machine with Purgewater.
Under this status, you can really make use of either Frost or Shock to inflict those on the machine. Likewise, with Purgewater active, you don’t have to worry about it inflicting the same status on you, since elemental attacks are sealed. The other big problem with the Widemaw is that its parts are hard to hit. The only part you’ll be seeing from the front are the tusks, which are on the lower jaw. The sac is on the stomach and due to how the Widemaw is low to the ground, it’s difficult to hit. Likewise, everything else is either on the sides or on the back. That doesn’t leave you with a lot of weak points to exploit during a normal battle. If you can blow off its armor on the back, that should leave you with a good number of spots to hit for more robust damage.
Loot (Body)
All of the loot in the table below can drop upon killing the Machine and looting its body.
| Loot | Chance to Drop |
|---|---|
| Purgewater | 100% |
| Metal Shards | 100% |
| Apex Widemaw Heart | 56% (Apex only) |
| Piercing Spike | 50% (Apex only) |
| Volatile Sludge | 50% (Apex only) |
| Machine Muscle | 30-31% |
| Widemaw Circulator | 28-29% |
| Medium Machine Core | 27% |
| Braided Wire | 20-21% |
| Widemaw Primary Nerve | 18-19% |
| Sturdy Hardplate | 11% |
| Metal Bone | 10-11% |
Loot (Tusks)
The tusks are located on the bottom jaw of the Widemaw and are only vulnerable whenever its mouth is open. There are two and detaching/destroying these both will reduce the damage from its attacks. This part is destroyed upon killing the Machine.
| Loot | Chance to Drop |
|---|---|
| Widemaw Tusk | 100% |
Loot (Vacuum Unit)
You will find this part inside the mouth of the Widemaw, meaning it’s only vulnerable whenever the machine opens it. It is indestructible, so it has not actual loot. You can hit this during the suction attack to stop it from happening.
Loot (Purgewater Sac)
Located on the belly of the machine, the Purgewater Sac is kind of challenging to hit, since the Widemaw is so low to the ground. However, destroying this will stop the Purgewater attacks from happening, but if you leave it intact, then you will get some extra loot.
| Loot | Chance to Drop |
|---|---|
| Purgewater | 100% |
Loot (Sparker/Glowblast Container)
You might have a tough time seeing these, but they are located on the sides, near the rear of the machine. The normal variant has Sparkers, while the Apex one has Glowblast Containers. As with any containers like these, you can shoot them off to collect them, or hit with the appropriate elemental arrows to cause an explosion. This part is destroyed upon killing the Machine.
| Loot | Chance to Drop |
|---|---|
| Sparker | 100% (Normal only) |
| Glowblast | 100% (Apex only) |
Loot (Vacuum Turbine)
Located on the behind of the Widemaw, this pair of twin engines is what powers the suction attacks of the machine. If you destroy/detach both sets, then you won’t have to worry about those anymore. However, you don’t get a lot of opportunities to shoot at these. This part is destroyed upon killing the Machine.
| Loot | Chance to Drop |
|---|---|
| Braided Wire | 67% |
| Machine Muscle | 67% |
| Metal Bone | 34% |
| Sturdy Hardplate | 34% |
| Widemaw Primary Nerve | 10-11% |
Loot (Resource Container)
You will find this part on the behind of the Widemaw, in between the pair of Vacuum Turbines. Due to its position, it’s difficult to hit, so it’s challenging to shoot it off to get the extra resources. This part is destroyed upon killing the Machine.
| Loot | Chance to Drop |
|---|---|
| Braided Wire | 90% |
| Sturdy Hardplate | 55% |
| Medium Machine Core | 26% |
| Blastpaste | 25% |
| Widemaw Primary Nerve | 16% |
No Comments