
Walkthrough for Cauldron MU in Horizon Forbidden West. How to find and infiltrate the Cauldron, and reach and override the core.
How to Find and Infiltrate Cauldron MU
Chronologically, Cauldron MU is the first Cauldron you can reach and access in Horizon Forbidden West, and despite that, it’s entirely optional. To reach this Cauldron you’ll need to complete the main quest [The Embassy] to gain access to the Forbidden West beyond The Daunt, where this Cauldron is located. Once you’re beyond The Daunt, you can find this Cauldron in the mountains southwest of Stone’s Echo.
| Prerequisite | Level | Rewards |
|---|---|---|
| Complete [The Embassy] | 18 |

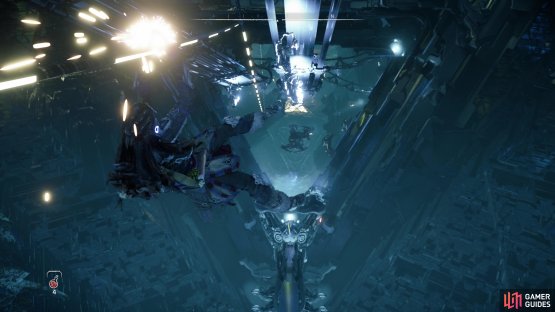
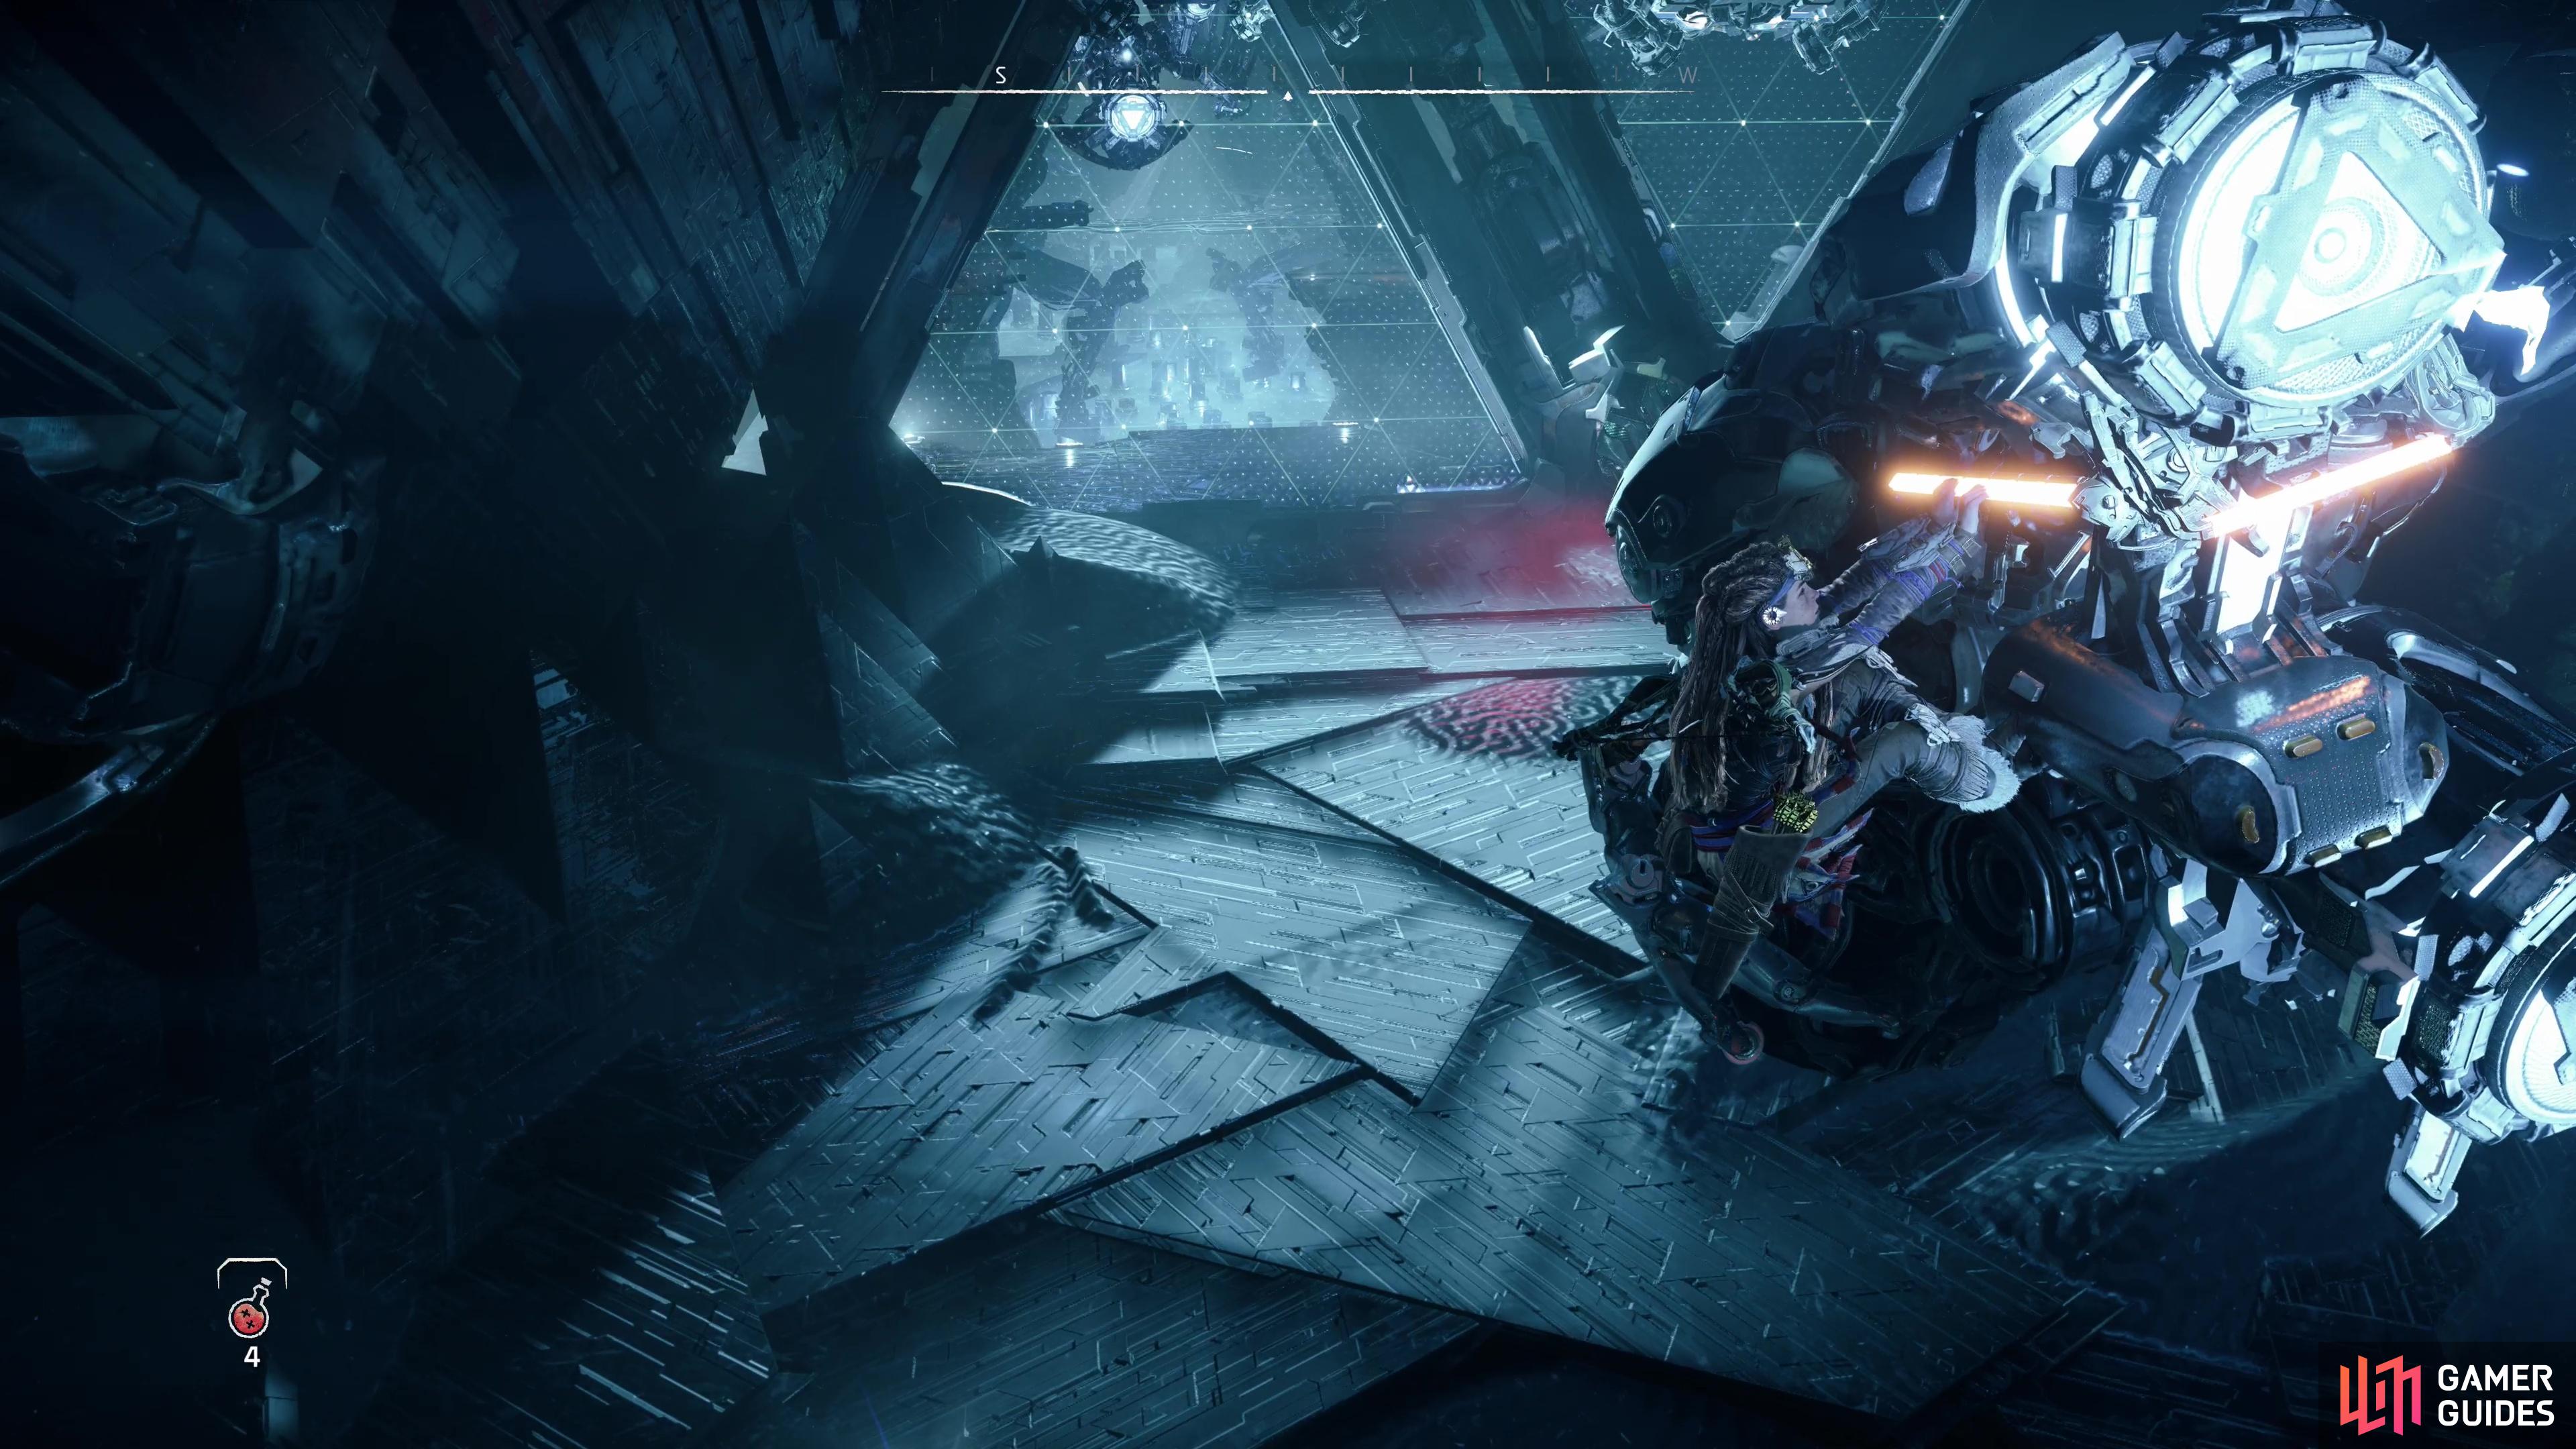
(1 of 2) Defeat the machines outside of the Cauldron,

Defeat the machines outside of the Cauldron, (left), then enter the Cauldron by riding down a cable. It’s a one-way trip, however. (right)
Head over to Cauldron MU and you’ll find the entrance guarded by three Leapslashers and two Scroungers. There’s plenty of grass to hide in, and these Leapslashers won’t scan for you, so you can make a lot of progress via stealth.
Once the machines are destroyed, head up to the Cauldron and override the Cauldron Door, then head inside.
How to Reach the Core of Cauldron MU
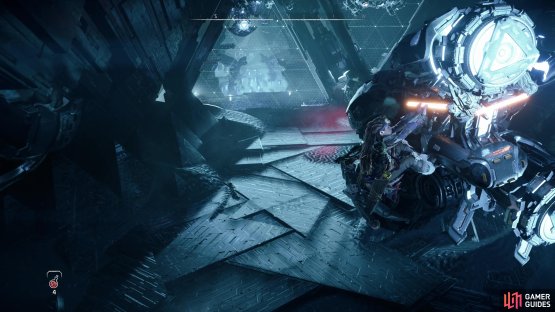
Enter the antechamber and climb some glowing yellow racks (yellow is, as usual, an indicator that something can be climbed, but in a functional Cauldron you’ll usually be dealing with a slightly different aesthetic - lights instead of paint, for example), then head down a passage to the northwest. Eventually you’ll reach a ledge overlooking the Cauldron below. Jump on a rope and you can ride it down into the heart of the Cauldron, but once you go down, you’re not leaving until you finish the Cauldron… or reload, as the case may be. Make sure you’ve got a full supply of medicine before you commit.
When you’re ready, ride the cable down into the heart of the Cauldron and when you land, look north to spot a Burrower patrolling. Another Burrower can be found below you, and this latter one is easier to deal with, as you can take it out with a Strike From Above. Stealthily killing the far one is a bit trickier, as Cauldrons rarely have much foliage to hide in, forcing you instead to rely on steam vents. Or you could just put an arrow in the Burrower’s eye.
Defeat the two machines, pick up some medicinal mushrooms if you need them, then look for a red port near where the more elevated of the two Burrowers patrolled. Override this “Network Uplink” to deploy a bridge, cross it, then continue on to the northeast until you reach a room. The way northeast is blocked by an Energy Shield, so turn right (southeast), then right again (south) and ascend a ramp. Turn right (southeast) again and head down a passage at the end of which awaits a Cauldron Door you can override.
Once this door is open, continue through it and you’ll spot two Scroungers patrolling a distant platform. Ignore them for now and sneak left (southeast) and grapple up to a higher platform, then continue southwest. This elevated perch is a good position from which to deal with those Scroungers - they’ll be easy enough to whittle down with arrows from such a vantage, and if they fire back, you’ve got plenty of cover.
With the Scroungers gone, you’ve got two ways down - jump onto the flying machines hovering past (again, aim for the yellow lights - these are handholds) or just jump and glide to the southwest. If you are using the conveyor machines, just remember to drop off before you hit the Energy Shield. However you manage it, once across override another Network Uplink to bring down the Energy Shield and continue through the triangular opening it blocked.
If you turn west you should spot the place where you landed after riding the cable down from the entrance of the Cauldron. Neat. Drop off a ledge to the south and note a doorway to the left (east) which will lead to a bonus stockpile, for what that’s worth. Backtrack to the main Cauldron area and continue southwest until the walkway ends. You should spot some racks to the left and some above you to the southwest. The racks to the left will fold down periodically, so wait for them to activate (again, the yellow light will tell you when you can climb them), then climb up and get to the more reliable handholds, which you can then use to climb up to the elevated platform.
Continue southwest, climb up using some handhold (one of them will retract into the wall, so be sure to get your timing right), vault over to the right, then climb down. Keep going southwest until the walkway ends, then turn right (west) and descend near some machinery. Jump a gap then go through a doorway up and to the left (southeast).
(1 of 2) You can reach otherwise inaccessible parts of the Cauldron by riding on conveyor machines,

You can reach otherwise inaccessible parts of the Cauldron by riding on conveyor machines, (left), and by crossing mechanical arms. (right)
Ahead of you you’ll spot a mechanical arm, which you’ll need to use to hitch a ride. Before you focus on that too much, be wary of a patrolling Scrounger to the right. It’s behind a sealed door, but this door will open when you drop down, so be wary. Thwart the ambush, head southwest to find a perch where you can wait for the arm, jump onto the arm then run down its length and jump off to the far (eastern) side.
Once safely across, head forward (south) to reach a triangular hole in the floor you can drop down. If you drop down you can reach a door you can override to the south as well as a stockpile to the north. If you go through the door you’ll reach a large room with a [Shellwalker] and a Burrower inside, but there’s arguably a better approach.


(1 of 2) Ambush a Burrower,
Ambush a Burrower, (left), then concentrate on the isolated Shellwalker - stealth and hit and run tactics work well. (right)
Ignore the pit and instead turn left (east), then right (south) to enter a narrow triangular duct which also leads to the Shellwalker room, albeit behind the Burrower. Use this approach to dispatch the Burrower with little fuss, after which you can focus entirely on the Shellwalker. Target the Shield Claw then the Lightning Gun to dish out extra damage and limit the machine offensively and defensively, and if you need to shake off aggro, drop down into a ditch to the northwest or hide in some steam vents scattered about. Hit and run tactics are very effective here. If you’re extra keen on loot, shoot the Cargo Holder’s on the machine’s back to dislodge and preserve it’s cargo, which you can loot when it’s destroyed.
Dispatch the Shellwalker and head uphill to the southwest, turn right and climb up some handholds, then work your way up to another Network Uplink. Override it and cross a bridge to the east. At this point you need to head over to a walkway to the east jump over to a mechanical arm, then drop down onto a second arm, run up its length (away from the hand) and climb up some racks. You’ll find yourself on a platform which is close enough for you to jump onto some more conveyor machines, which you can then ride through the Cauldron. Once again, drop off when you approach an Energy Shield.
Head northwest from where you land to reach a walkway from which you can leap onto another mechanical arm, jump onto it, then from that arm leap to another arm when it comes in range. Run up the second arm and wait for it to bring you near a rail to the north you can jump over to. Sidle your way left across the rails until you’re over another arm, then drop down when said arm is below you. Run across to a second arm and wait until the arm swings away. When it does, look up for a conveyor machine and jump onto it, ride it south and drop off near another Energy Shield.
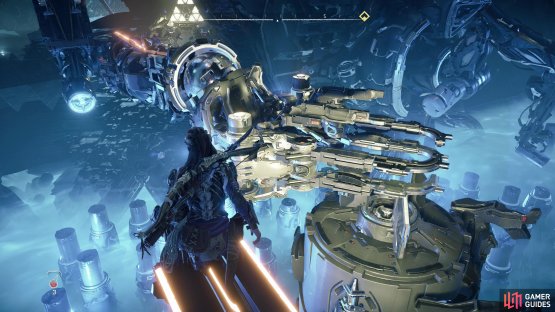
Turn left (east) and use a walkway to leap down onto a lower platform, then turn right (south) to find another Cauldron Door you can override. Open it up, head through and continue forward until you reach the Core chamber.


(1 of 3) When the Widemaw opens it mouth you’ll have an opportunity to deal significant damage.
How to Defeat the Widemaws in the Cauldron MU Core
In the Cauldron Core you’ll find yourself on an elevated ledge, with a [Widemaw] suspended by a machine arm and protected by an energy field to the south. Rappel down to the floor of the Cauldon Core chamber and loot around - there are numerous piles of scrap you can scavenge, and a door to the west you can override to find a stockpile.
When you’re ready to move on, head to the northwestern edge of the Cauldron Core room and override a Network Uplink. Once overridden, the inevitable will happen - the Widemaw suspended above will be lowered down and attack, and it’ll be joined by a second Widemaw.
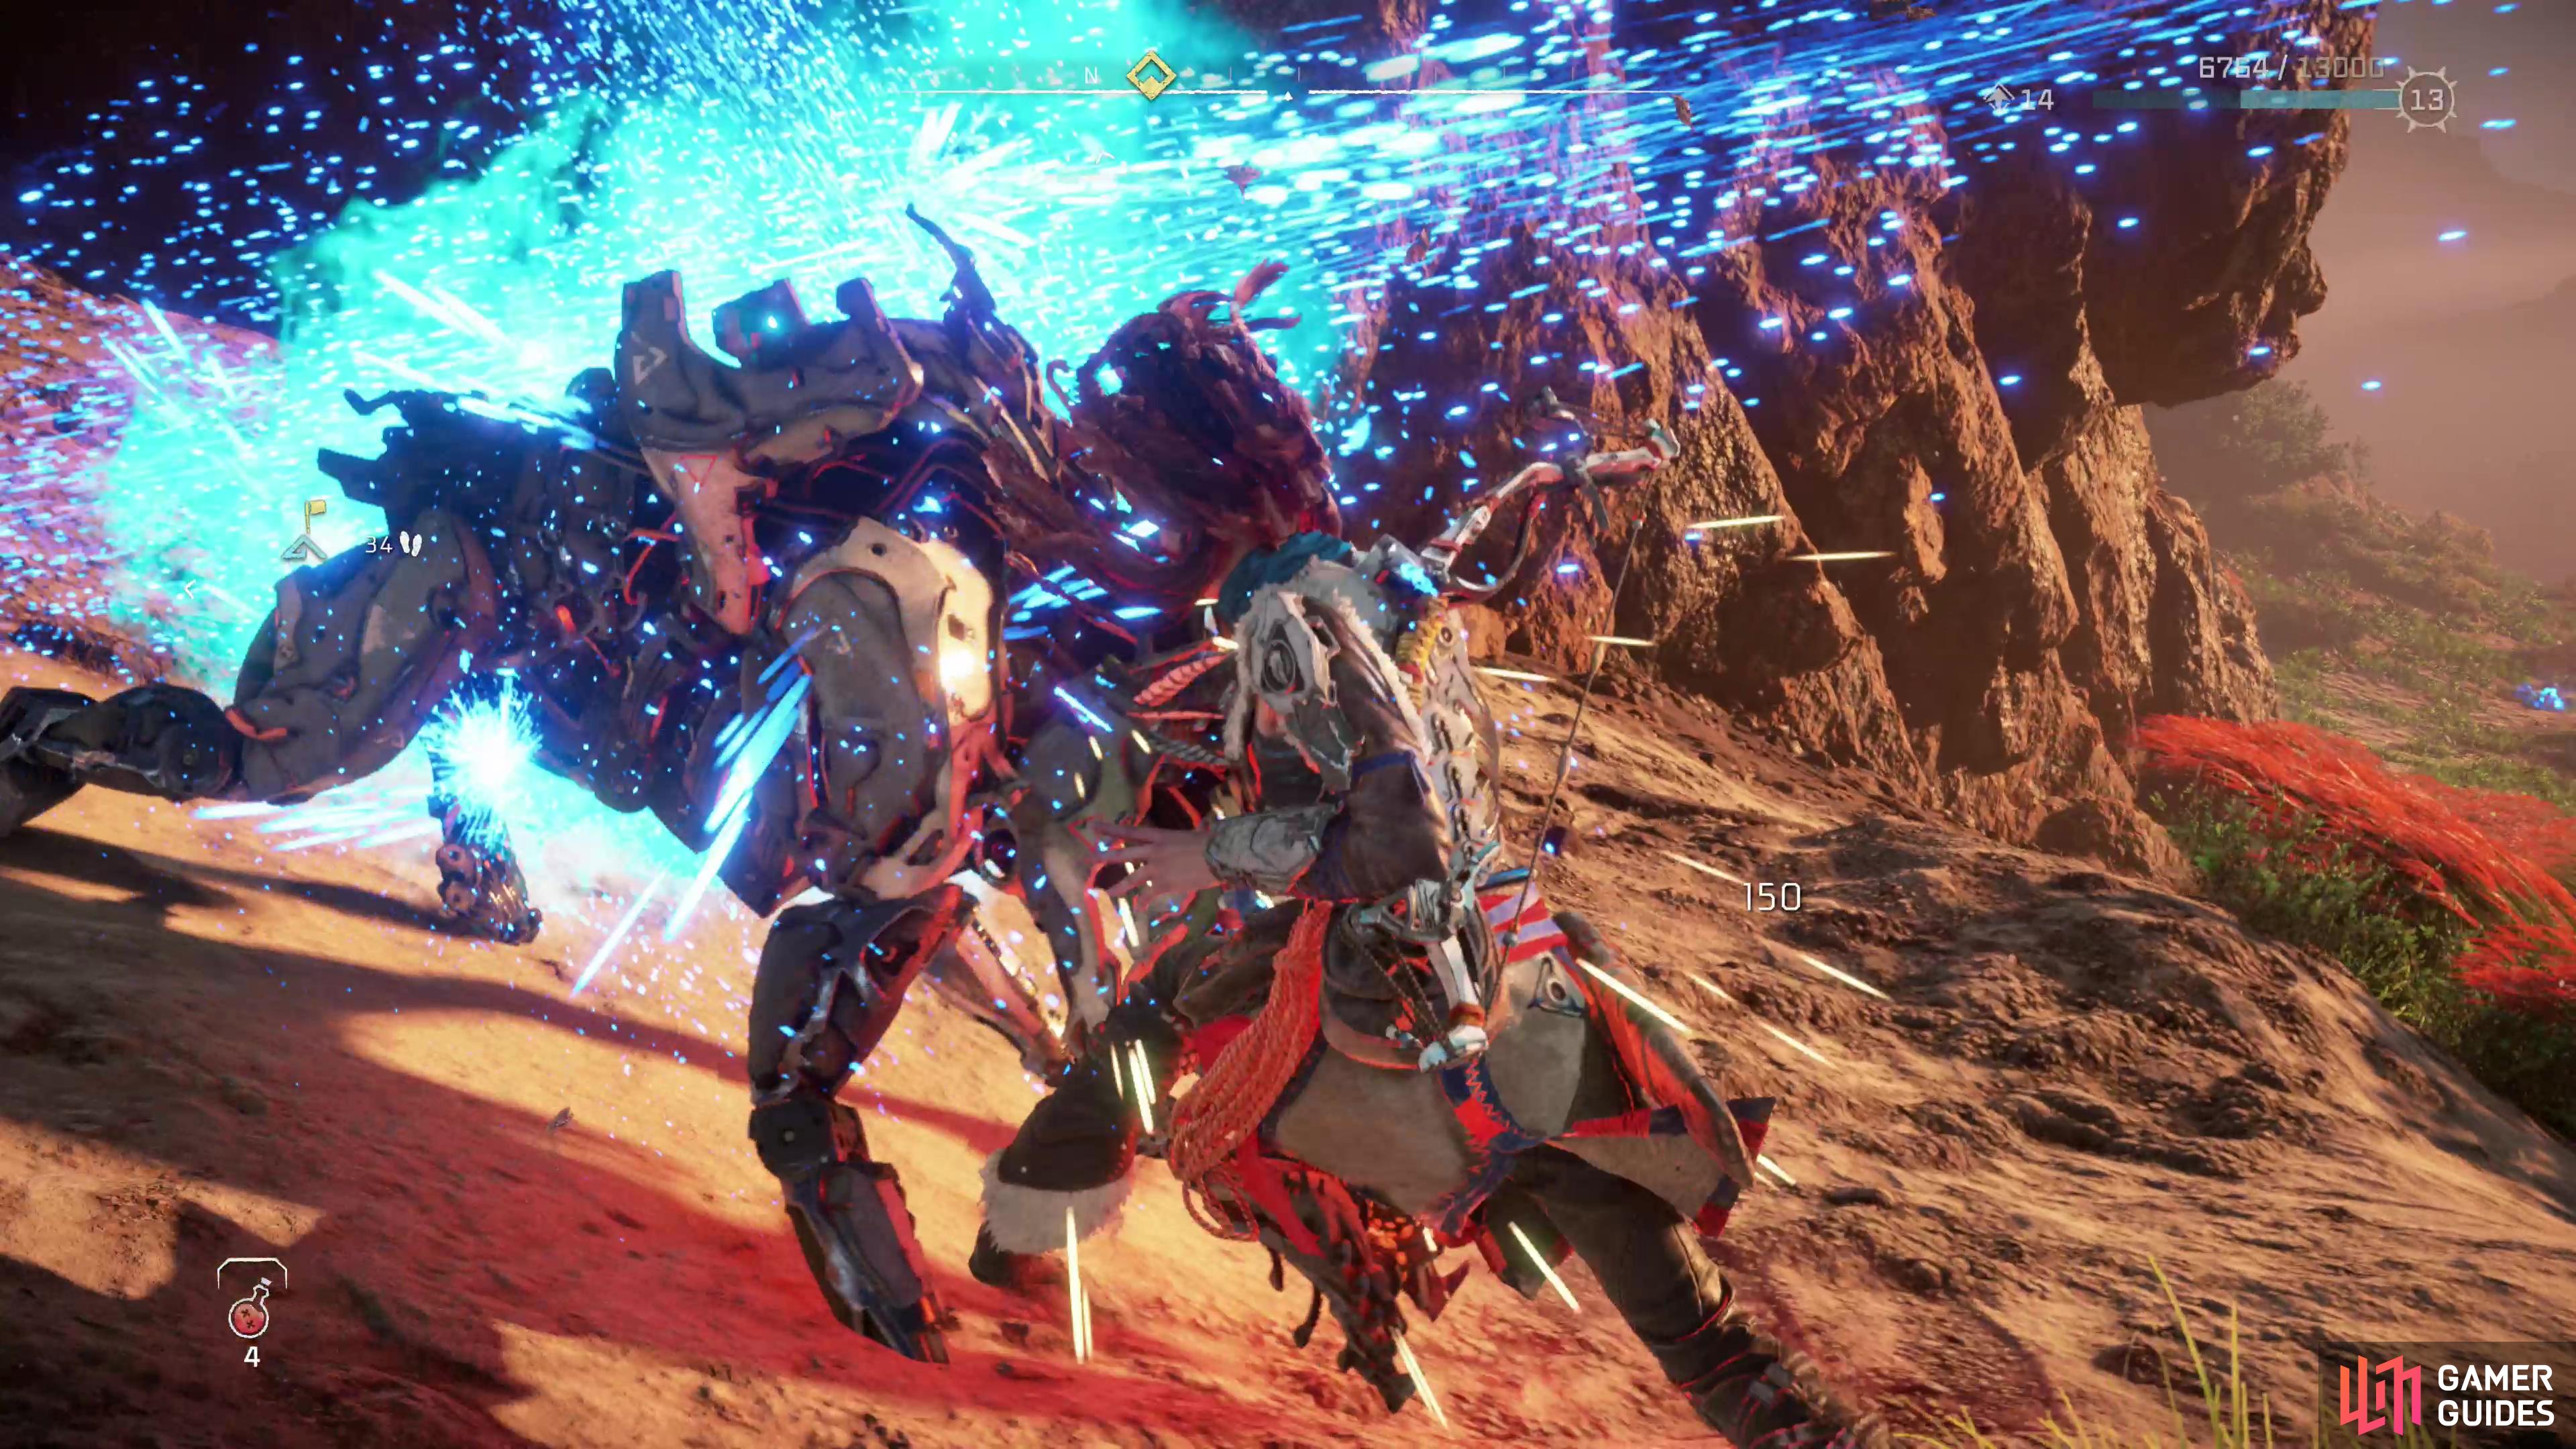
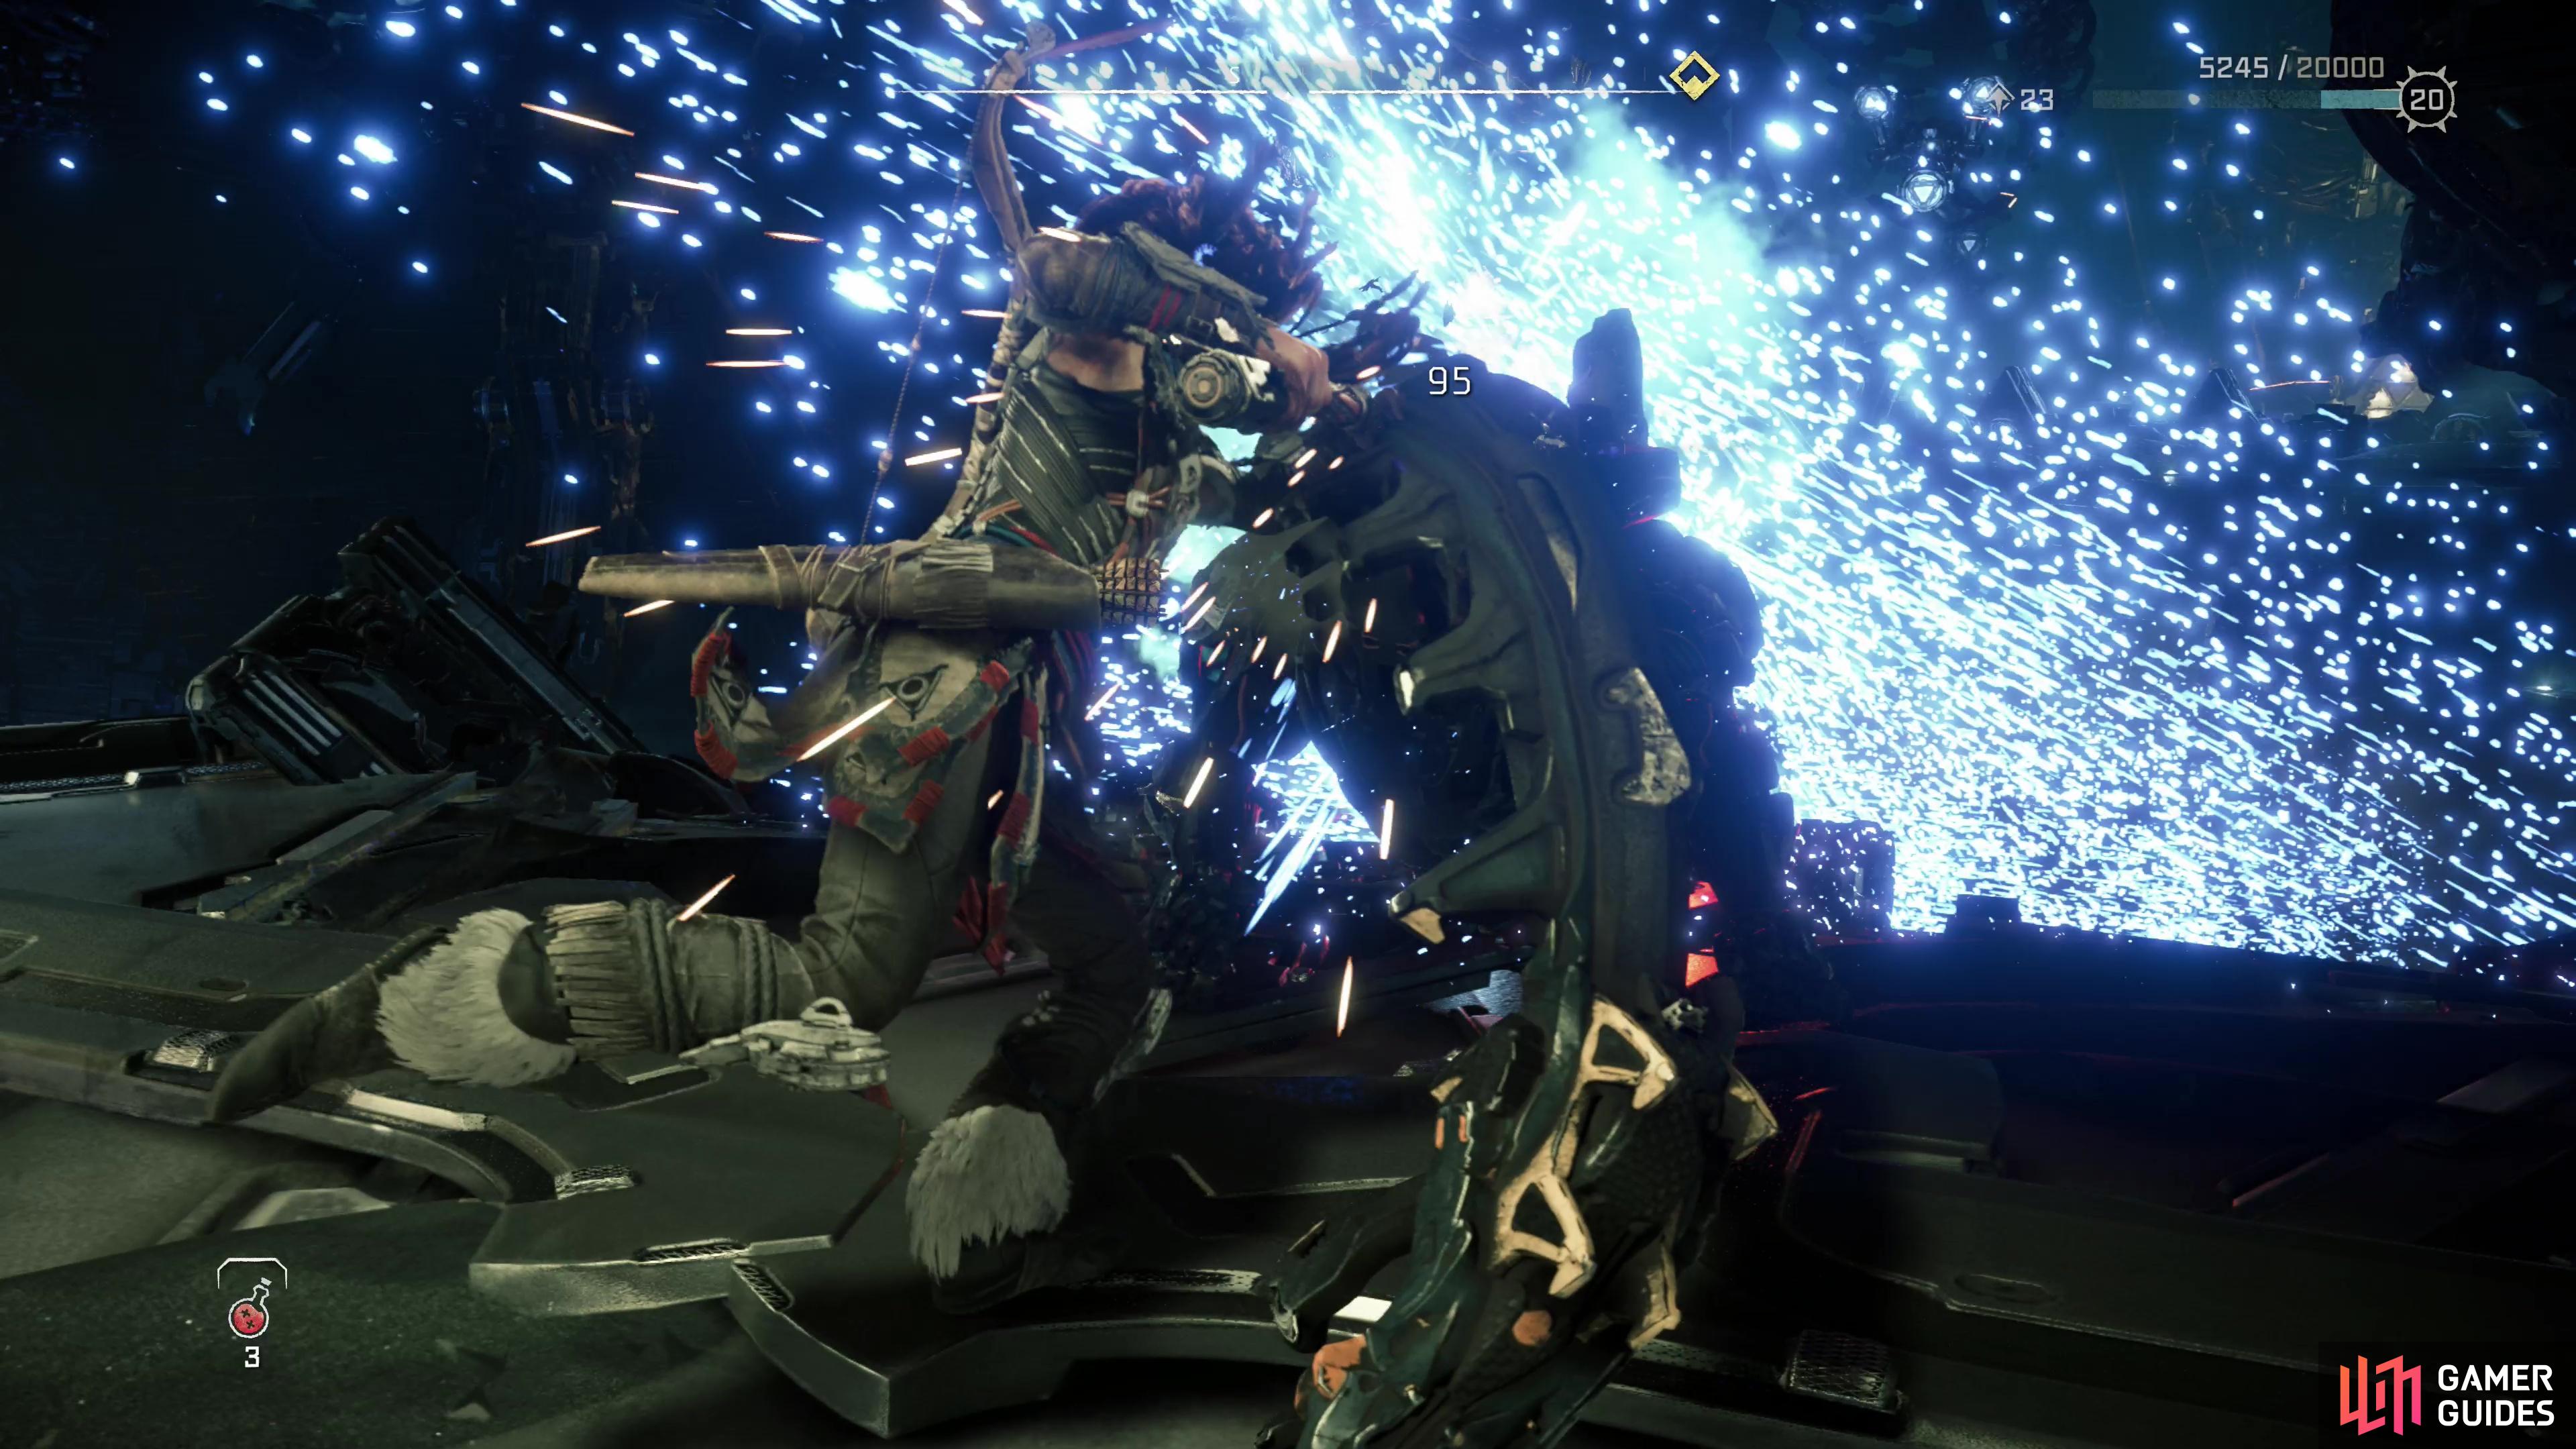
Widemaws aren’t the most dangerous of machines, but they do have some nasty habits, like being able to spit a comical deluge or rocks from their mouths, or a single large boulder that’ll skip across the ground. For that reason you should avoid getting too far away so they won’t be provoked into performing this attack, and try to keep one Widemaw between you and the other, so their ranged attacks may hit each other.
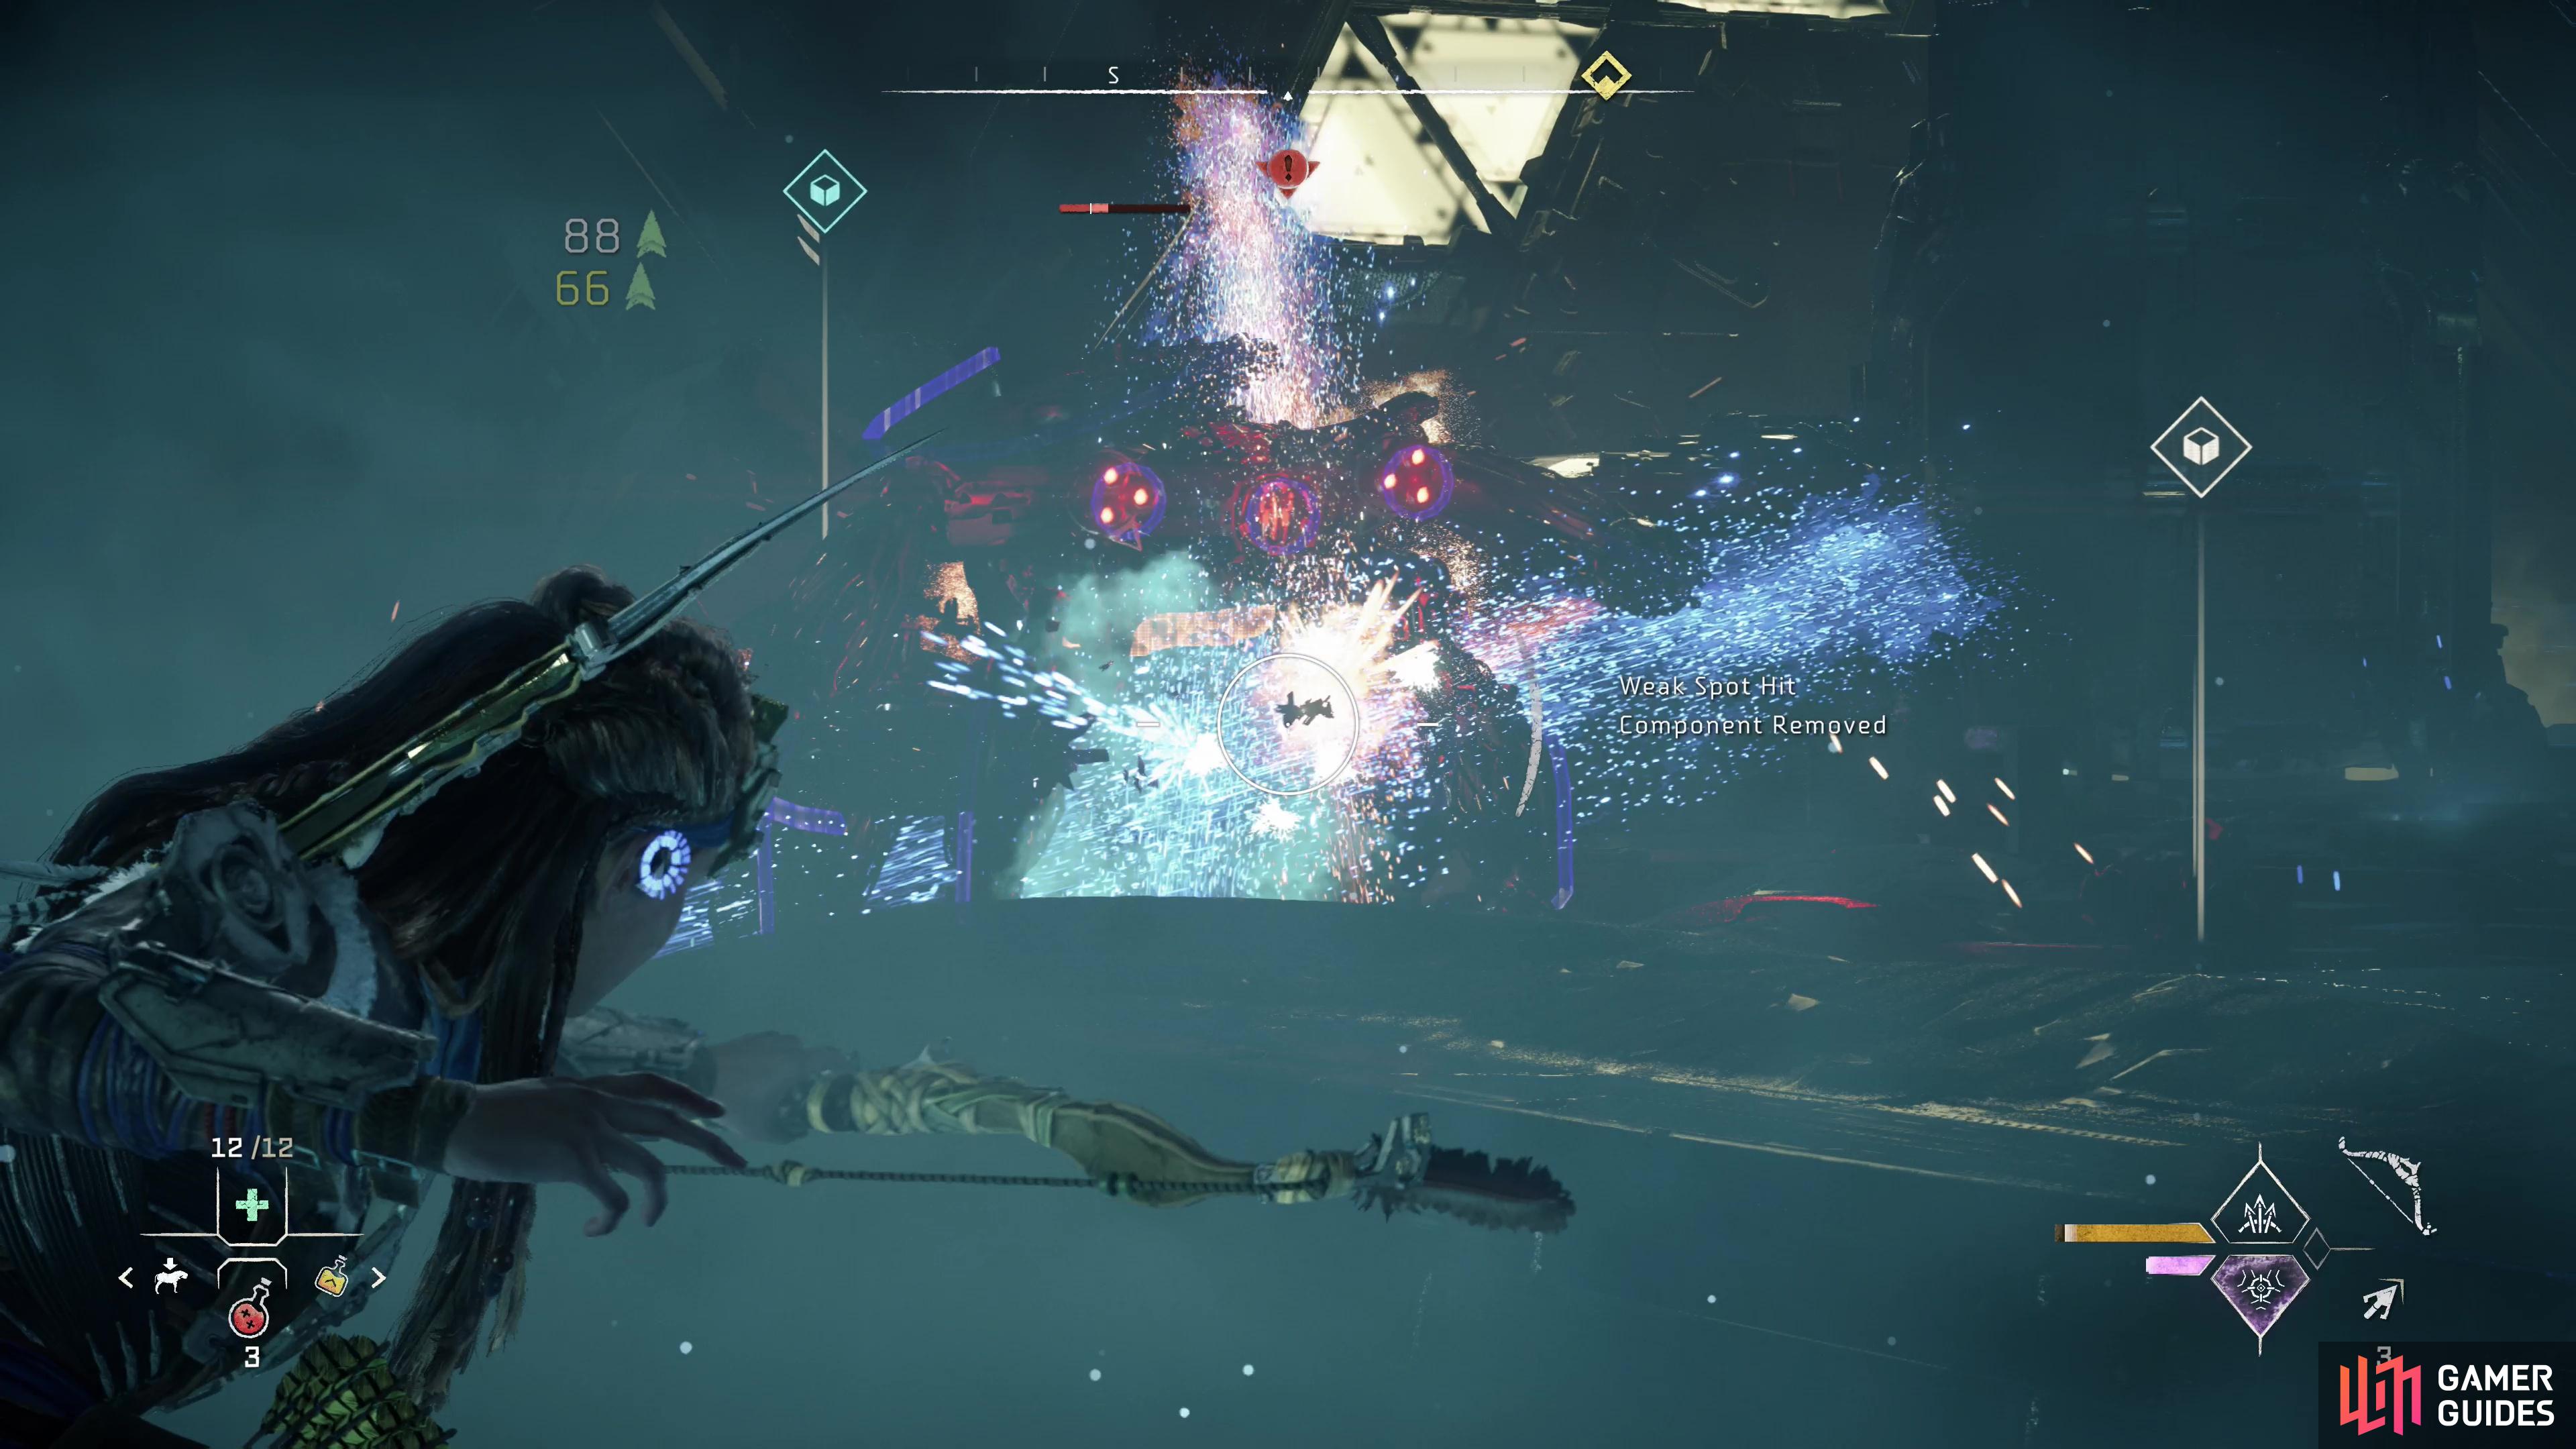
You shouldn’t feel too comfortable in close range, either, as these machines can charge and roll. They can also perform a suction attack, but this is as much of an opportunity as it is a threat. When they open their mouths (either to spit rocks or use their suction attack), try to shoot them in the maw - this will likely deal enhanced damage, moreseo if you can hit a Tusk (a valuable upgrade component) or the Vacuum Unit in their throat. Even if you miss, when they’re reared back with their maws open you can often hit the Purgewater Sac on their belly easier, and if this explodes they’ll be debuffed.
Otherwise they’ve got weakspots on their rears in the form of Vacuum Turbines, Sparkers (well protected under panels of armor) and a Resource Container, but since they’ll almost certainly be facing you most of the time, these can be hard to hit.
Bring down the Widemaw machines and override the Cauldron Core. Afterwards an elevator will take you to the surface, while you’ll see holograms of all theo machines you can now override. To allow you to test this newfound ability out, a trio of Scroungers and two Burrowers can now be found just outside the Cauldron.
I was trying this on hardest difficulty... not very viable. Though Im not very proud of myself i found an asier option: behind that machine (before it lands and after) there is a spot (not the closed door) under a kind of "ladder?" that you can't climb but there is some space and offers a good protection (95% of attacks won't get you). Even on low levels (I had 350 life points) if you ingest a potions you should be able to easily survive the attacks that eventually falls in (very rarely). Meanwile concentrate your attacks on one enemy (I guess it will help if you inflict water purge state before getting in the spot). After defeating one, everything will be very easy.