
Walkthrough for the Side Quest Signal Spike in Horizon Forbidden West, including details about how to earn the Completed a Long Glide trophy.


(1 of 2) You can start this quest by either talking to Minda at Camp Nowhere,


You can start this quest by either talking to Minda at Camp Nowhere, (left), or by stumbling across Silga as she fights some machines. (right)
How to Start Signal Strike
To access this quest you’ll need to complete the main quest The Eye of the Earth. After this, you can start the quest by either heading to Camp Nowhere (a settlement north of the Tallneck: The Stillsands) and talking to Minda, or by stumbling across an Oseram woman named Silga fighting some machines in the mountains to the west of Camp Nowhere.
| Quest Giver | Starting Location | Prerequisite | Level | Rewards |
|---|---|---|---|---|
| Minda | Stillsands | Complete The Eye of the Earth | 15 |
How to Track Down the Oseram Woman
Assuming you started this quest at Camp Nowhere, follow some roads west through the mountains and you’ll come across an abandoned Oseram camp. Despite the similarities, this actually has nothing to do with the side quest “Signal Spike” - instead it’ll lead you to the Sunken Cavern: The Shining Wastes map marker. An activity for another time (although you can pick up the To Do List datapoint at the Oseram camp to the north).
Keep going west along the mountain trail and you’ll hear a woman warning some “scavengers” to “keep away”. Make your way up over the rocks to find an Oseram woman named Silga fending off two [Spikesnouts] and a Scrounger. With any luck the machines should be distracted enough by the Oseram to allow you to take them out (or at least significantly damage them) with Silent Strikes, but they shoudln’t be too much of a hassle to defeat conventionally.
After the machines are defeated, follow Silga north to her workshop and talk to her, and when you’re done you’ll be tasked with investigating a “Spike” on the cliff to the north.


(1 of 2) Climb up to the spike to acquire the first signal,


Climb up to the spike to acquire the first signal, (left), after which Aloy and Silga will scheme to triangulate the signal. (right)
How to Reacquire the Signal
As Silga says “just follow the wire to the top”. Head up the road to the north and climb a cliff to reach the spike, then climb up near the spike to reacquire the signal. After intercepting more of the message, zipline back down to Silga and give her a status update and Aloy and Silga will hatch a plan - triangulation!


(1 of 2) As you ascend the mountain, you’ll run afoul of some Leapslashers,


As you ascend the mountain, you’ll run afoul of some Leapslashers, (left), and some Glinthawks. (right)
How to get the Signal in the Mountain Above the Base
Fast travel to The Base, which is in the mountains to the northeast.
From where you arrive, head south up some rocks and push over a tree to create a path up, but be wary of machines as you go - you’ll likely find some Leapslashers just over a ridge, and above them to the northeast roosts a flock of [Sunwings]. If you’re patient you can probably pick off the Leapslashers from afar - their ability and willingness to come chase you is limited - but if you cause too much of a fuss the Sunwings will get involved, and things can get messy. Once the Leapslashers are gone, however, you should have little trouble sneaking past the Sunwings.
Deal with the machines however you wish and once they’re no longer a hindrance, continue up the mountain to the southeast, climbing when walking no longer suffices. After your first climb you should reach a peak somewhat west of your objective. The Sunbirds should be out of sight, but some Frost Glinthawks can be seen to the right (east). You shouldn’t need to fight them yet, just skip across some rocks to the northeast, then climb up and to the right to make it up to the Glinthawks. There’s plenty of grass to hide in, so taking them down via stealth shouldn’t be too difficult, but Fire damage will also ground them, deal significant damage, and leave them vulnerable to followup attacks.


(1 of 2) Vault between cliffs to reach the summit,


Vault between cliffs to reach the summit, (left), where you’ll acquire the second signal. (right)
Destroy the two Glinthawks, then climb a cliff to the north to find yourself between two sheer cliffs. Climb the northeastern face as far as it’ll take you, vault backwards when you can’t climb higher, and repeat the process again to climb up near the top of the mountain. Grapple and climb your way a bit more to the summit to the east, then reacquire the signal when prompted.

After reaching the summit, glide down to earn the trophy “Completed a Long Glide”.


(1 of 2) Use your Pullcaster to ascend to the top of the tower,


Use your Pullcaster to ascend to the top of the tower, (left), where you’ll be able to acquire the signal. (right)
How to get the Tower in the Scalding Spear Signal
To reach this signal point you’ll need to head to the town of Scalding Spear, which is north of where Silga has set up camp, and west of The Base. if you haven’t already discovered this location, you’ll find that the trek is far more trouble than actually acquiring the signal is.
Once in Scalding Spear, head to the base of the tower, which is along the western end of the town. Ascend some ramps to reach the southern side of the tower, after which it’s just a matter of using your Pullcaster to reach grapple points and jumping between platforms to reach the top. When you’re at the top of the tower, reacquire the signal when prompted.


(1 of 2) While it may inspire a feeling of schadenfreude, turning a Ravager’s cannon against it might not end as well as you’d hope.


While it may inspire a feeling of schadenfreude, turning a Ravager’s cannon against it might not end as well as you’d hope. (left), Shoot the Bellowback’s Gullet and Cargo Refining Sac to create an elemental explosion. (right)
How to Find the Origin of the Signal
Triangulate the signal and you’ll find that the origin is between - and north of - both Scalding Spear and The Base, northeast of the former and northwest of the latter. Make your way to the objective marker (there’s a convenient Campfire just south of your destination) and head north, only to find more machines blocking your path.
It’s an unusually varied bunch of machines cohabiting such a small area; the menagerie includes a pair of [Lancehorns], a [Spikesnout], an [Acid Bellowback] and worst of all, a [Ravager]. Stealth can be used to thin out the herd, but the Acquisition machines are the least of your worries.
The Acid Bellowback and the Raverage are both weak to Purgewater damage, while the Ravager is also weak to Acid damage. Fortunately the Acid Bellowback happens to be a walking elemental hazard, due to both its Gullet and Cargo Refining Sac, both of which will explode if destroyed, are easy to hit, and weakpoints to boot. You’ll be sacrificing some loot if you destroy the Acid Bellowback’s Cargo Refining Sac, but if it catches the Ravager up in an acidic explosion, it may be worth the sacrifice. Destroying these will also mitigate the Acid Bellowback’s own ability to use Acid attacks against you… not that it’s horribly impeded by having to use its massive body to deal damage.
The Ravager, as its name implies, is the real threat here. Bulky, agile, aggressive, it’s armed with both a bad attitude and its signature Ravager Cannon. If you can detach the device by damaging it (a good way to open the fight!) you can grab it and turn it against the machine… usually a fine strategy, but the Ravager’s got enough health to tank direct fire from its own cannon, and the heavy weapon will leave you vulnerable, something the Ravager won’t mind taking advantage of with its claws and fangs. Disable the Ravager Cannon to deprive the machine of a ranged option, then leave it in the dust where it falls. After the cannon is gone, the Sparker mounted on its stomach and the two Glowblast Canisters on its back both make fine secondary targets.


(1 of 3) Scan for the signal to locate it behind some boulders,
Decommission the various machines in the vicinity, then head to the northern end of the search area and scan some collapsed boulders to find the signal emanating from under them. To the east of where the signal is emanating you can find a Rock Barrier, which you can pry open with your spear (there’s another opening you can find if you climb some boulders, but it serves as your egress - you can’t enter via that route).
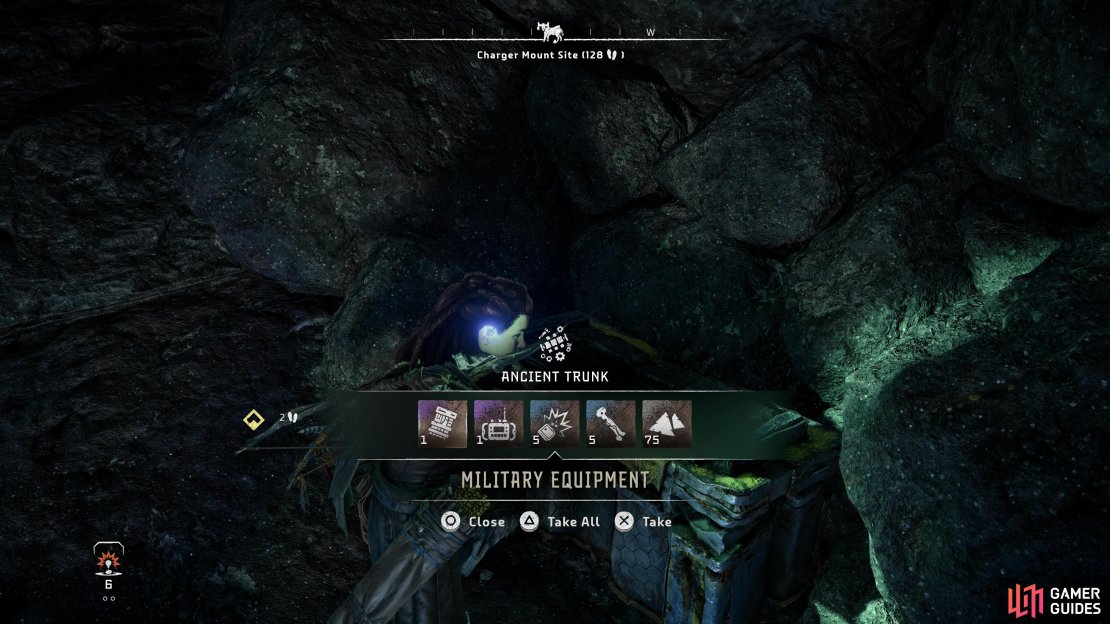
Pry open the Rock Barrier, enter the cave and swim down a linear passage - you should have just enough air to make it. Once you surface, loot an Ancient Trunk to acquire some Military Equipment and a Transmitter, among other goods. You’ll also gain the Water Under the Bridge audio datapoint for looting this trunk.
Pry open another Rock Barrier and return to Silga. After some chatter, use the nearby Workbench, go down to the “Quest Items” category, then craft the Spinethorn Spike Thrower weapon. This will finally complete the side quest.
No Comments