
Walkthrough for the Side Quest Thirst for the Hunt in Horizon Forbidden West.
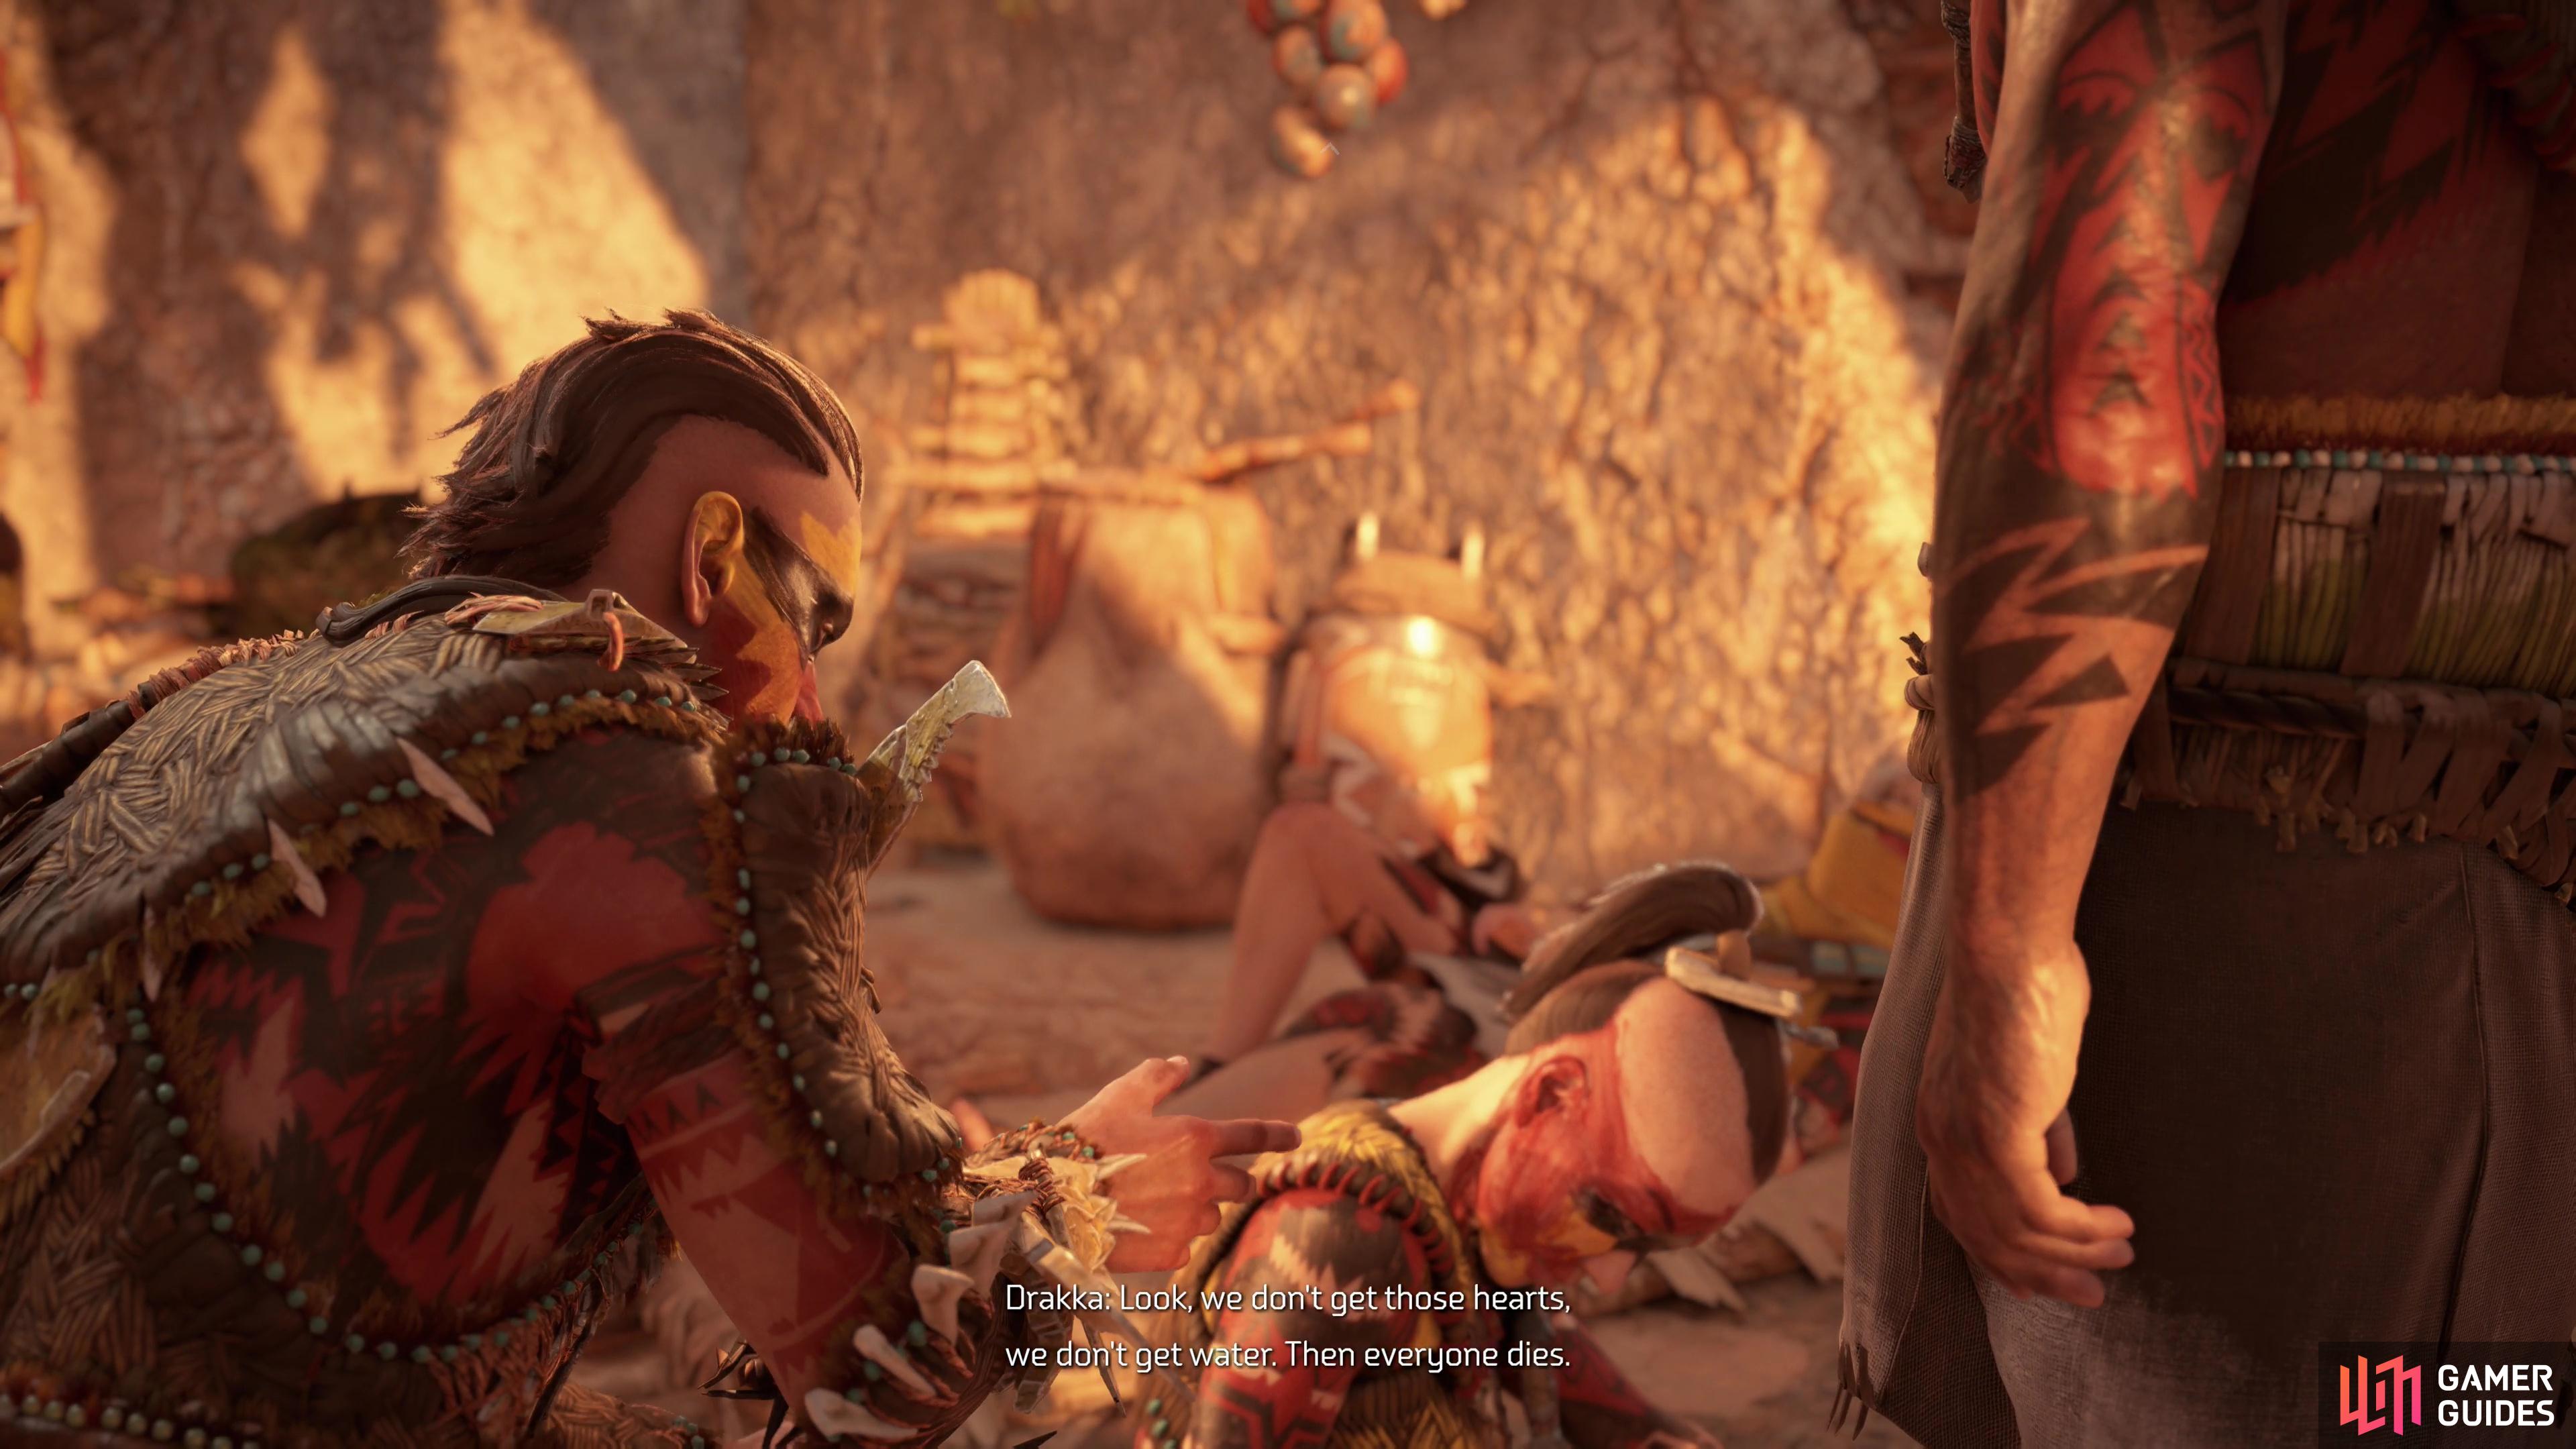
Talk to a hunter named Drakka at Arrowhand to start this quest.
How to Start Thirst for the Hunt
To access this quest you’ll need to complete the main quest The Eye of the Earth. After this, you can start the quest by heading to Arrowhand, which can be found southwest of The Base. Once there, talk to a man named Drakka to start the quest.
| Quest Giver | Starting Location | Prerequisite | Level | Rewards |
|---|---|---|---|---|
| Drakka | Arrowhand | Complete The Eye of the Earth | 17 |
At the end of your conversation with Drakka, he’ll offer to head out immediately, or you can meet up with him on your own time. It doesn’t matter much either way, he’ll be waiting by a Campfire a short trip to the southeast. Meet up with him there, loot the numerous caches strewn about, then talk to Drakka.
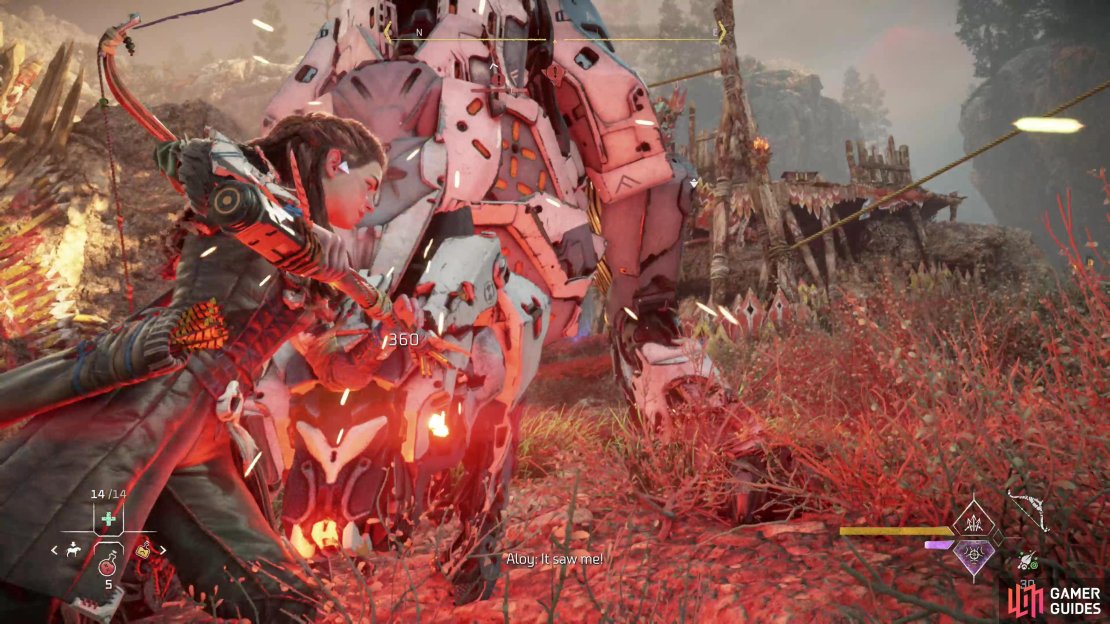
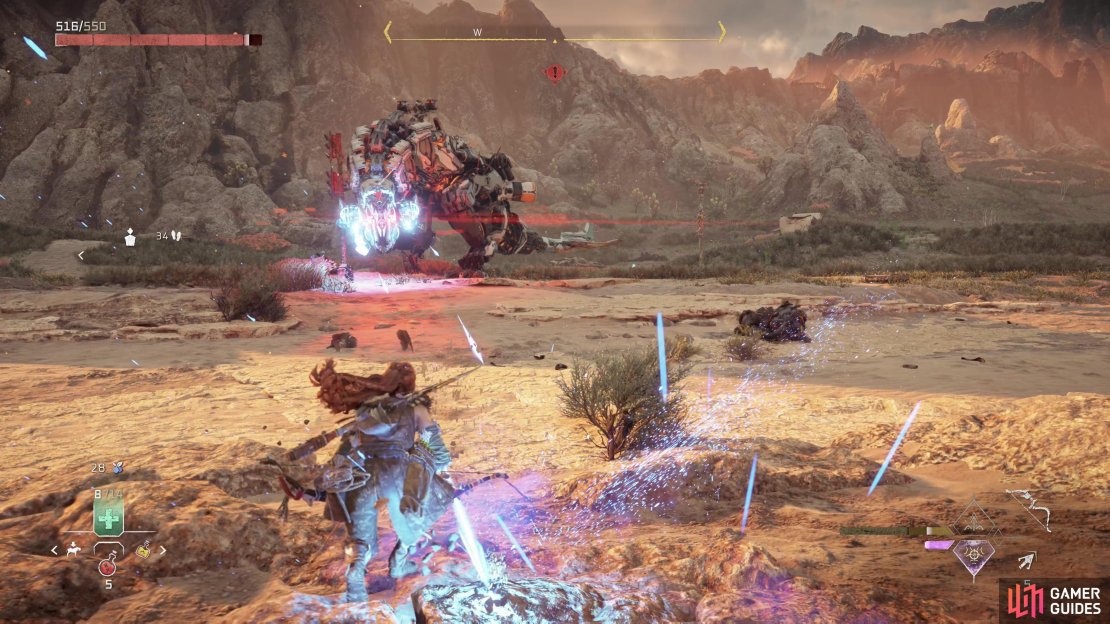
(1 of 3) Try to start out the fight with a Silent Strike,
How to Harvest Machine Hearts With Drakka
Follow him along a road until he stops, talk to him again, then climb a cliff to the northeast and scan the machines dwelling ahead. Drakka wasn’t lying when he said that combat machines were protecting their more docile prey, as two [Ravagers] roam around near a pair of Fire Fanghorns.
The Ravagers are, of course, the real threats here, and one of them is obnoxious enough. If you care to fight two of them conventionally, you’d be wise to try to start out with a Silent Strike and quickly try to bring the first Ravager down quickly so you’re only dealing with one. They’re weak to Acid, if you have a weapon powerful enough to bother with and their Ravager Cannons make fine targets, forcing them to resort to pounce attacks and lightning waves - still unpleasant, but better than leaving the cannon attached.
If you’d rather play it safe, you can just pick the machines off from the cliff you climbed up. If you have a potent weapon skill like Braced Shot, you shouldn’t have any trouble at all, but even if you don’t, you can take a shot, hide down the cliff to the southwest, and return when the machines have calmed down. Hit and run tactics are, as usual, cheap and effective. Alternatively you can try to tie some of the machines down with a Ropecaster, if you have a decent one on hand.
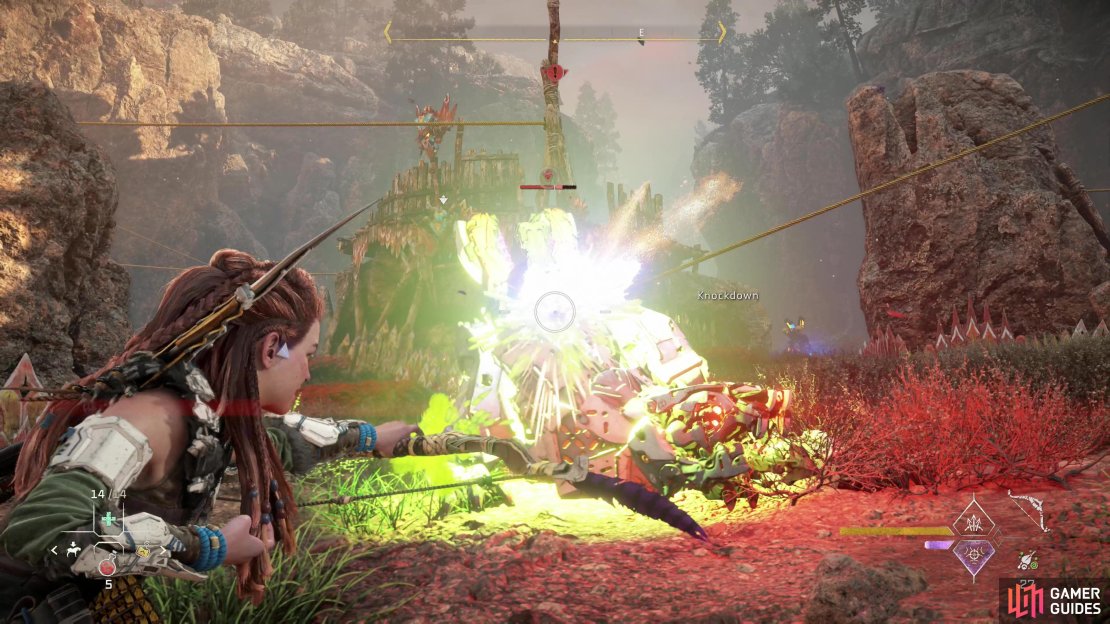
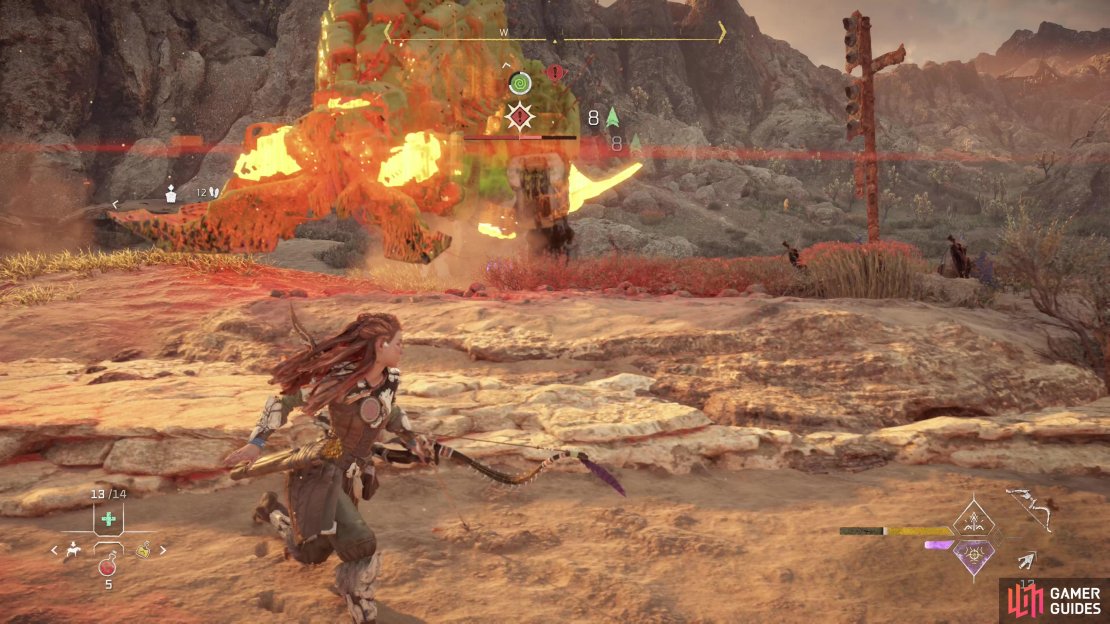
While you’re fighting the Ravagers, don’t forget about the Fire Fanghorns. While the lesser threat of the two machine types, these acquisition machines aren’t as docile as others of their class, and can inflict a good bit of damage if they muster up the nerve to attack. They’re weak to Cold damage, and if you can inflict them with Brittle and shoot their Horns, they’ll falter quickly.
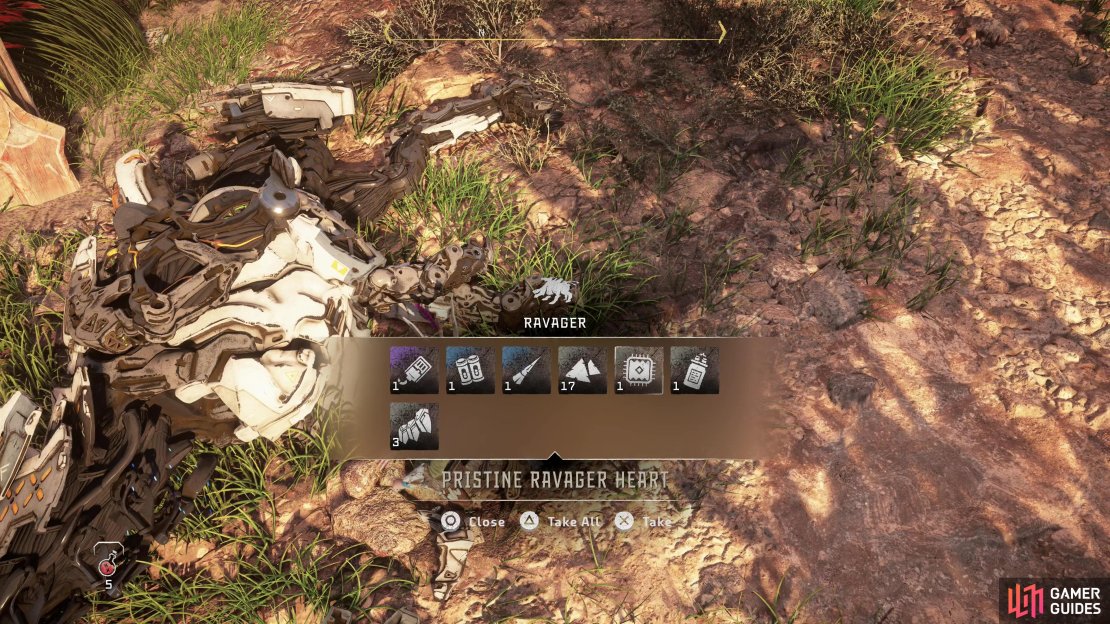
After the machines are destroyed, loot both pairs to get their hearts, then talk to Drakka again, who will ask you to accompany him on another errand.

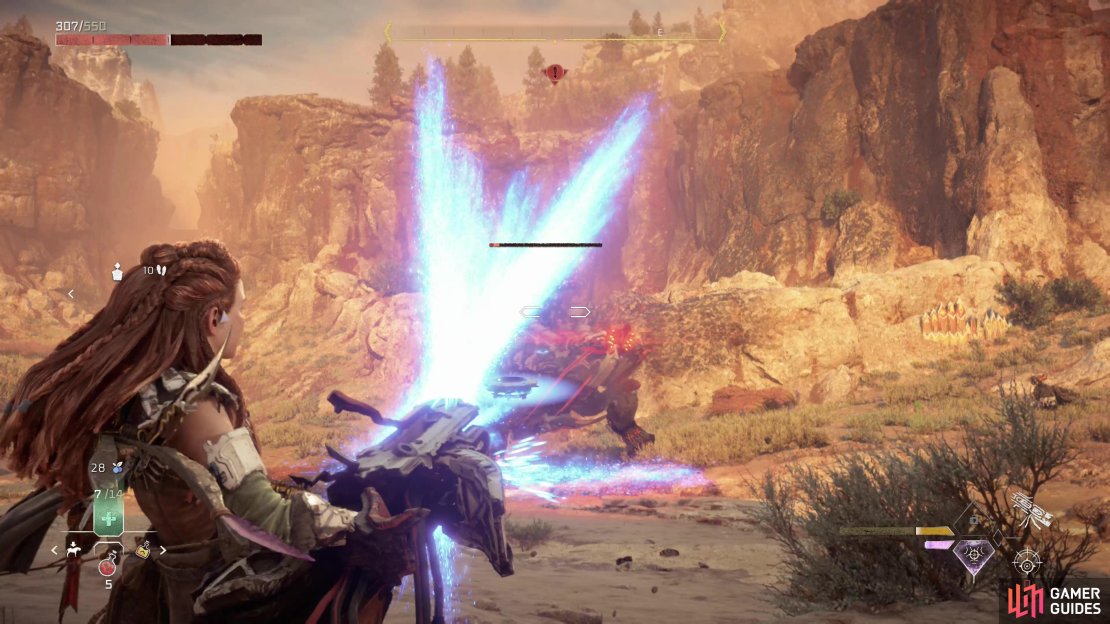
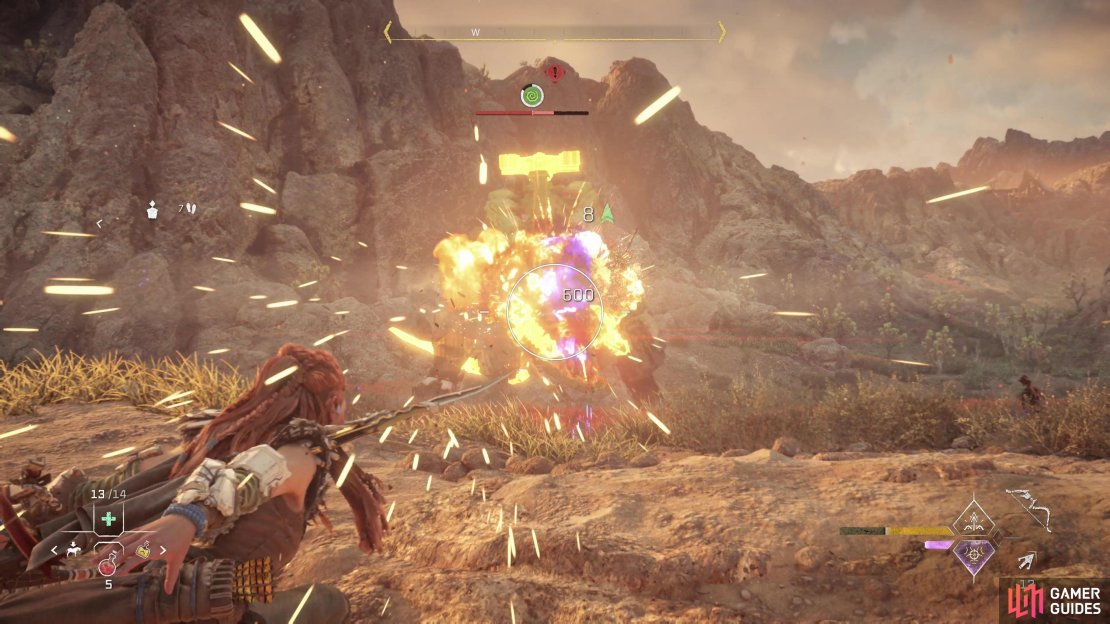
(1 of 3) The Thunderjaw comes armed with two Rapidfire Cannons, which function much like Ravager Cannons.
How to Defeat the Thunderjaw With Drakka
Follow Drakka to the site of the battle with the Thunderjaw, where your endeavors will be interrupted by several Burrowers. Defeat these nuisance enemies and try to avoid burning through resources, as the commotion will draw the attention of the [Thunderjaw] that Drukka has been talking about.
This… is one hell of a fight for a Level 17 Side Quest. Thunderjaws are no joke, reigning as apex predators among the machines, and positively bristling with dangerous weaponry. On the side of their heads are a pair of Rapidfire Cannons, which fire bursts of energy much like a Ravager Cannon. The Thunderjaw typically uses these to sweep an area, either horizontally or vertically, rather than concentrating on a target. It can also unleash numerous lasers from its maw, typically starting at the ground and fanning out into the distance in front of the machine.
In addition the Thunderjaw has two Disc Launchers on its shoulders, which it can use to rain death down on targets from above; if you see blue lasers, run - you’re being targeted. The Disc Launchers are something of a mixed bag for the Thunderjaw, as they’re large, easily targeted weakpoints which can be detached and turned against the goliath, dealing massive damage if all of their limited rounds manage to hit. It’s not a bad strategy, especially with Drakka around to distract the Thunderjaw while you try to reach and wield these heavy weapons. At the very least it deprives the Thunderjaw of another weapon.
The most dangerous weapon the Thunderjaw has, however, is arguably its sheer bulk. Given its size, it’s no surprise it can stomp, ram, perform tail sweeps, and most of all, charge. The charge attack is especially deadly, and unless you’ve got highly upgraded, high-quality armor and are highly leveled, this could end up being a one-hit-kill maneuver, so be sure to dodge it.
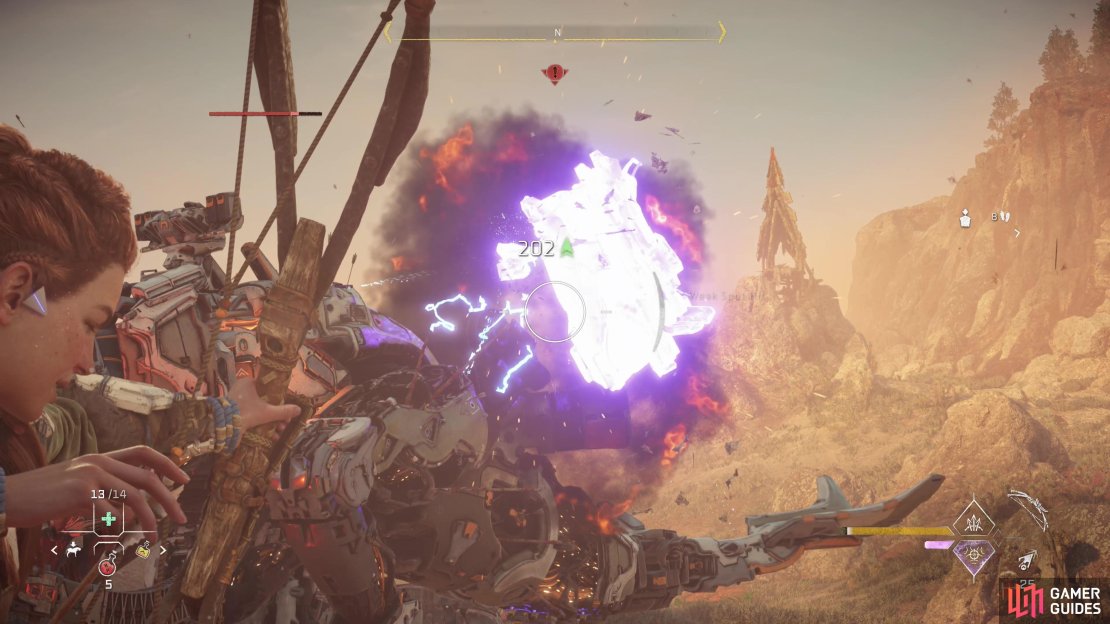
(1 of 4) Detach the Thunderjaw’s Disc Launchers,
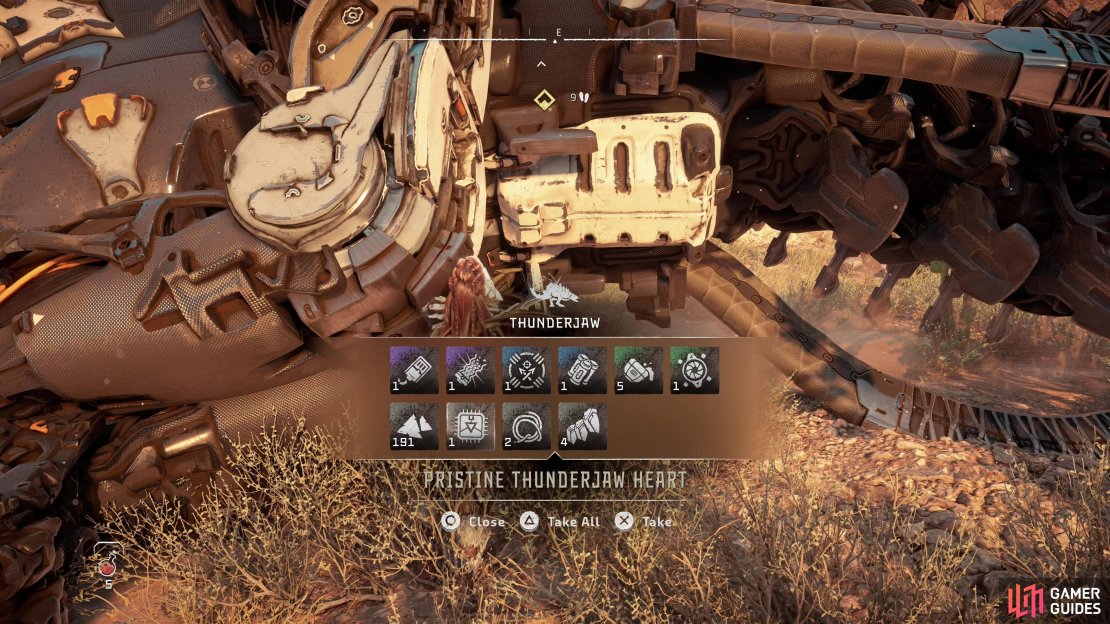
The Thunderjaw is weak to both Acid and Purgewater, and given its heavy armor plating, it’s worth trying to Corrode it, especially if you want to target the Heart. The Thunderjaw’s Heart is in the middle of its torso, just in front of its legs, and usually starts out protected by metal plates. Once shot off, however, you’ll expose the orange-glowing Heart, which will take heavy damage if you can hit it. It’s a worthy target, but you should start off by detaching the Disc Launchers, then the Radar/Antenna (mostly because they’re relatively easy to hit - you’ll often strike them while trying to detach the Disc Launchers) and if it presents itself, shooting off the Thunderjaw tail can also prove lucrative - it’s both a weakpoint and a valuable upgrade component.
Mind the Thunderjaw’s charge, pick it apart piece by piece, and hope Drakka does his part… the odd Braced Shot to the face won’t hurt either. Once the might machine falls, loot it for a Pristine Thunderjaw Heart (among other rare goodies), then talk to Drakka. After that, all you need to do is take your haul to Jetakka in Arrowhand to end the quest.
The next quest in this questline, [The Wound in the Sand] will start immediately afterwards.
No Comments