Walkthrough for the Side Quest A Tribe Apart in Horizon Forbidden West.
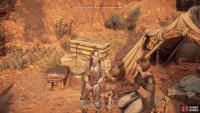
(1 of 2) You can start “A Tribe Apart” by talking to Lora.
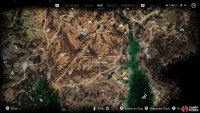
You can start “A Tribe Apart” by talking to Lora. (left), Or you can head to the location indicated on the map. (right)
How to Start A Tribe Apart
To access this quest you’ll need to complete the main quest The Eye of the Earth. After this, you can start the quest by either heading to a cave southeast of Stone’s Echo and talking to Jaxx, or you can head to a Campfire northwest of Stone’s Echo and find a gossip named Lora sitting there. Talk to her and she should tell you a rumor which starts this side quest.
| Quest Giver | Starting Location | Prerequisite | Level | Rewards |
|---|---|---|---|---|
| Jaxx/Lora | Cinnabar Sands | Complete The Eye of the Earth | 15 |
Whether you stumble across the cave yourself or you overhear the rumor from Lora, you’ll need to head to this cave and talk to Jaxx. After some chatter, you’ll need to accompany Jaxx and a Tenakth warrior named Sokorra to Riverwatch, an abandoned fort across the river to the east.
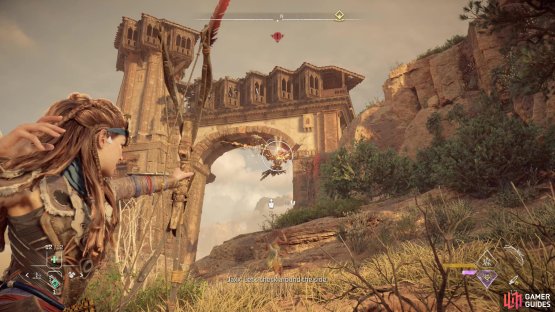
(1 of 2) Kill some machines - Frost Glinthawks are vulnerable to fire,
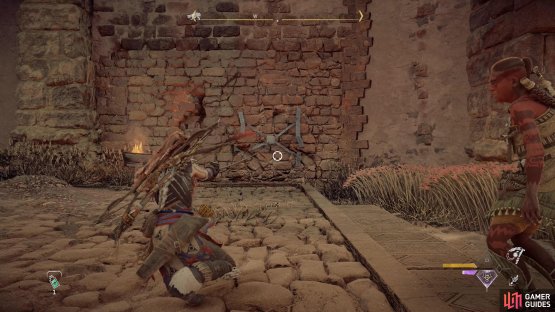
Kill some machines - Frost Glinthawks are vulnerable to fire, (left), then use your Pullcaster to tear a hole in the wall. (right)
How to Get the Supply Cache from Riverwatch
Follow Sokorra to Riverwatch, which, despite the bickering of Jaxx and Sokorra, should otherwise be a pretty uneventful trip.
Since the entrance is blocked you’ll need to head around to the northern end of the fort, which is patrolled by three Burrowers and two Glinthawks. With the abundant grass you should be able to take out many of the machines via stealth, and Frost Glinthawks are highly vulnerable to Fire damage - a fire arrow or two should be enough to ground them, opening them up to a Critical Strike.
After the machines are defeated, circle around to the eastern side of the fort to find a brace on the wall near a brazier. Use your Pullcaster to create a hole in the wall, go through to enter the bowels of the fork, climb a ladder to the west and jump backwards to reach the interior of the fort.
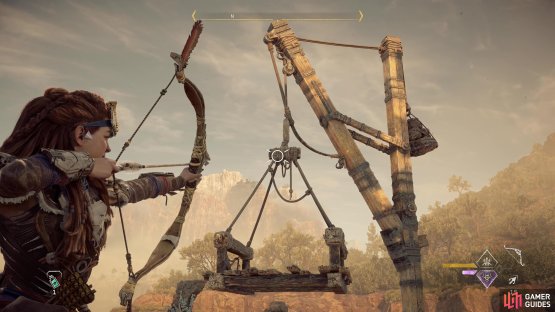
(1 of 2) Shoot a pulley to smash open a building,
Shoot a pulley to smash open a building, (left), then push a crate so you can reach the battlements. (right)
Ascend a flight of stairs and head east to find a building. You can’t get in via the door, but you can climb up to the roof using the doorframe. Once on the roof, look up and shoot a pulley to cause its payload to collapse and smash a hole in the roof. Head inside the building through the destruction you created and drag a crate to the north and west. Using this crate you can reach a handhold on the battlement walls, then follow the battlements west and south. Kick down a ladder, then jump up and grapple up to a grapple point and climb left and up to reach the top of the arch.
Make your way west and when you reach a dead end, turn around (east) and look up to spot a grapple point. Put your Pullcaster to work and climb up, then loot the cache to the west.
(1 of 2) Loot the cache in the tower,
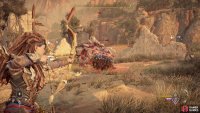
Loot the cache in the tower, (left), then help your allies deal with more machines, two Leapslashers and a Widemaw. (right)
How to Defeat the Widemaw and Leapslashers
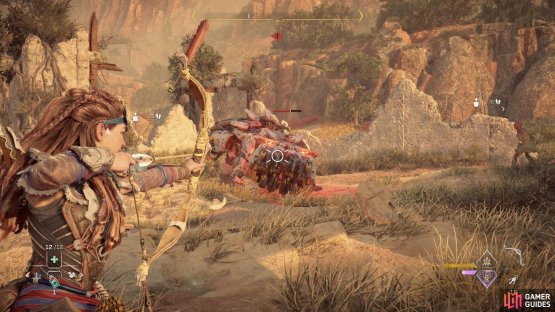
Since your companions couldn’t behave in your absence, rappel down and head north to some ruins, where you’ll find Jaxx and Sokorra under attack by two Leapslashers and a Widemaw.
With three-on-three odds, this fight shouldn’t be too miserable, especially if you have access to Purgewater damage, as all three machines are weak to it. Try to keep walls between you and the Widemaw (just don’t expect them to last if the Widemaw wants to charge through them) to block its ranged attacks and try to take out the more mobile Leapslashers. Once those two machines are gone, you can try putting arrow’s in the hungry hippo’s mouth, or targeting the weakspots on its rear if it turns its attention on your companions.
After the fight, talk to Jaxx and Sokorra, then return to the cave where the rest of the Tenakth are holed up and after some more chatter the quest will end.







No Comments