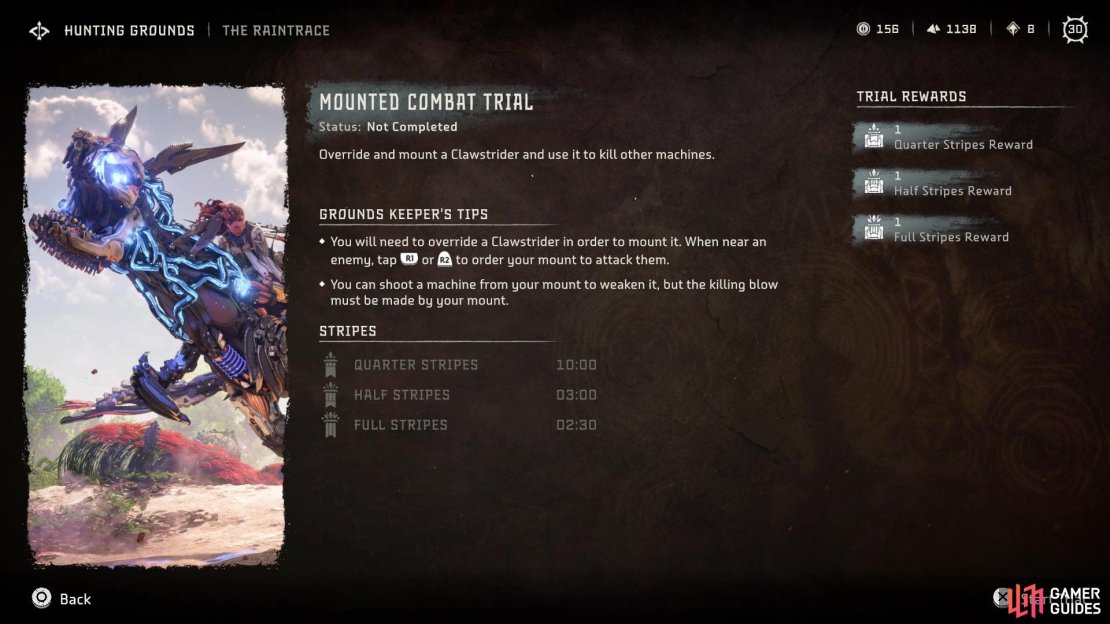
Hunting Grounds are challenges that will test your mettle with various weapons in the game. This page will detail the Mounted Combat Trial at the Hunting Ground in The Raintrace.
The Mounted Combat Trial at the Hunting Grounds in The Raintrace
Where to Find the Hunting Grounds in The Raintrace
There doesn’t seem to be a story prerequisite for this Hunting Grounds, as long as you can freely explore the western portion of the map. For the exact location, if you’ve found the Fall’s Edge village, then the Hunting Ground will be to the southwest of there. If you’ve found the Thornmarsh village, then it will be to the northeast of that location. You should see a large, brown clearing on your map and that will be where you find the Hunting Grounds.
Stripes
| Stripes | Time Needed | Rewards |
|---|---|---|
| Quarter Stripes | 10:00 | 4 Hunting Medals, 70 Metal Shards, 2 Small Machine Cores |
| Half Stripes | 03:00 | 5 Hunting Medals, 80 Metal Shards, 15 Echo Shells, 1 Medium Machine Core |
| Full Stripes | 02:00 | 6 Hunting Medals, 90 Metal Shards, 15 Echo Shells, 1 Elemental Clawstrider Circulator, 1 Medium Machine Core |
Grounds Keeper’s Tips
- You will need to override a Clawstrider in order to mount it. When near an enemy, tap R1 or R2 to order your mount to attack them.
- You can shoot a machine from your mount to weaken it, but the killing blow must be made by your mount.
How to Complete the Mounted Combat Trial
Before you can even do this trial, you will need to have completed the IOTA Cauldron, as that will grant you the ability to Override Clawstriders. Once you’ve done that, you will be able to participate in this trial. It is also recommended that you have a good weapon that can build up Shock, as it helps tremendously in making things that much simpler, and the strategy below will use it. To finish this trial, you will need to Override one of the Clawstriders, then make sure the killing blow on two other machines are a result of the mounted Clawstrider’s attacks. While riding the Clawstrider, you can use R1 and R2 to deliver blows with the mounted machine.
The biggest problem is that the Clawstrider’s attacks won’t do much damage, but the good thing is that only the killing blow matters. So, that means you can use your bow to whittle down the enemies’ health to almost nothing, then deliver the final blow with the Clawstrider. Naturally, one of the things you don’t want to do in this trial is alert the Tremortusk to your presence, at all. The Tremortusk should be entirely off limits here, as its attacks deal way too much damage, and it will down your overridden Clawstrider. If that happens, then you can revive it and even repair the machine, although the latter will cost you Metal Shards to do so.
So, the trick here is to not alert the Tremortusk at all, at least to the point where it will be coming after you. With the knowledge that only the killing blow matters, as previously mentioned, you can shoot at the other Clawstriders to reduce their HP, to the point where only a hit or two from your Clawstrider will kill them. To make this even easier, the Clawstriders are weak to Shock damage, so you can put them into a Shocked state to basically make them sitting ducks (reapply as needed). You will want to be a little careful, though, as the Clawstriders do have a Sparker underneath their belly, which will explode if you hit it with Shock ammo. The resulting explosion might accidentally kill the Clawstrider, making it so you’d have to start over.

No Comments