
Walkthrough for the Main Quest The Broken Sky in Horizon Forbidden West, including information about how to obtain the [Cleaving Sharpshot Bow] and how to defeat the [Tremortusk].
This quest will begin immediately after completing The Eye of the Earth, where it will be one of three different main quests you can pursue in any order you wish.
| Starting Location | Prerequisite | Level | Rewards |
|---|---|---|---|
| The Base | Complete The Eye of the Earth | 17 |

At the Memorial Grove you’ll find numerous datapoints, including several “Visions” you can interact with.

Talk to Hekarro and he’ll tell you want he wants in exchange for access to AETHER.
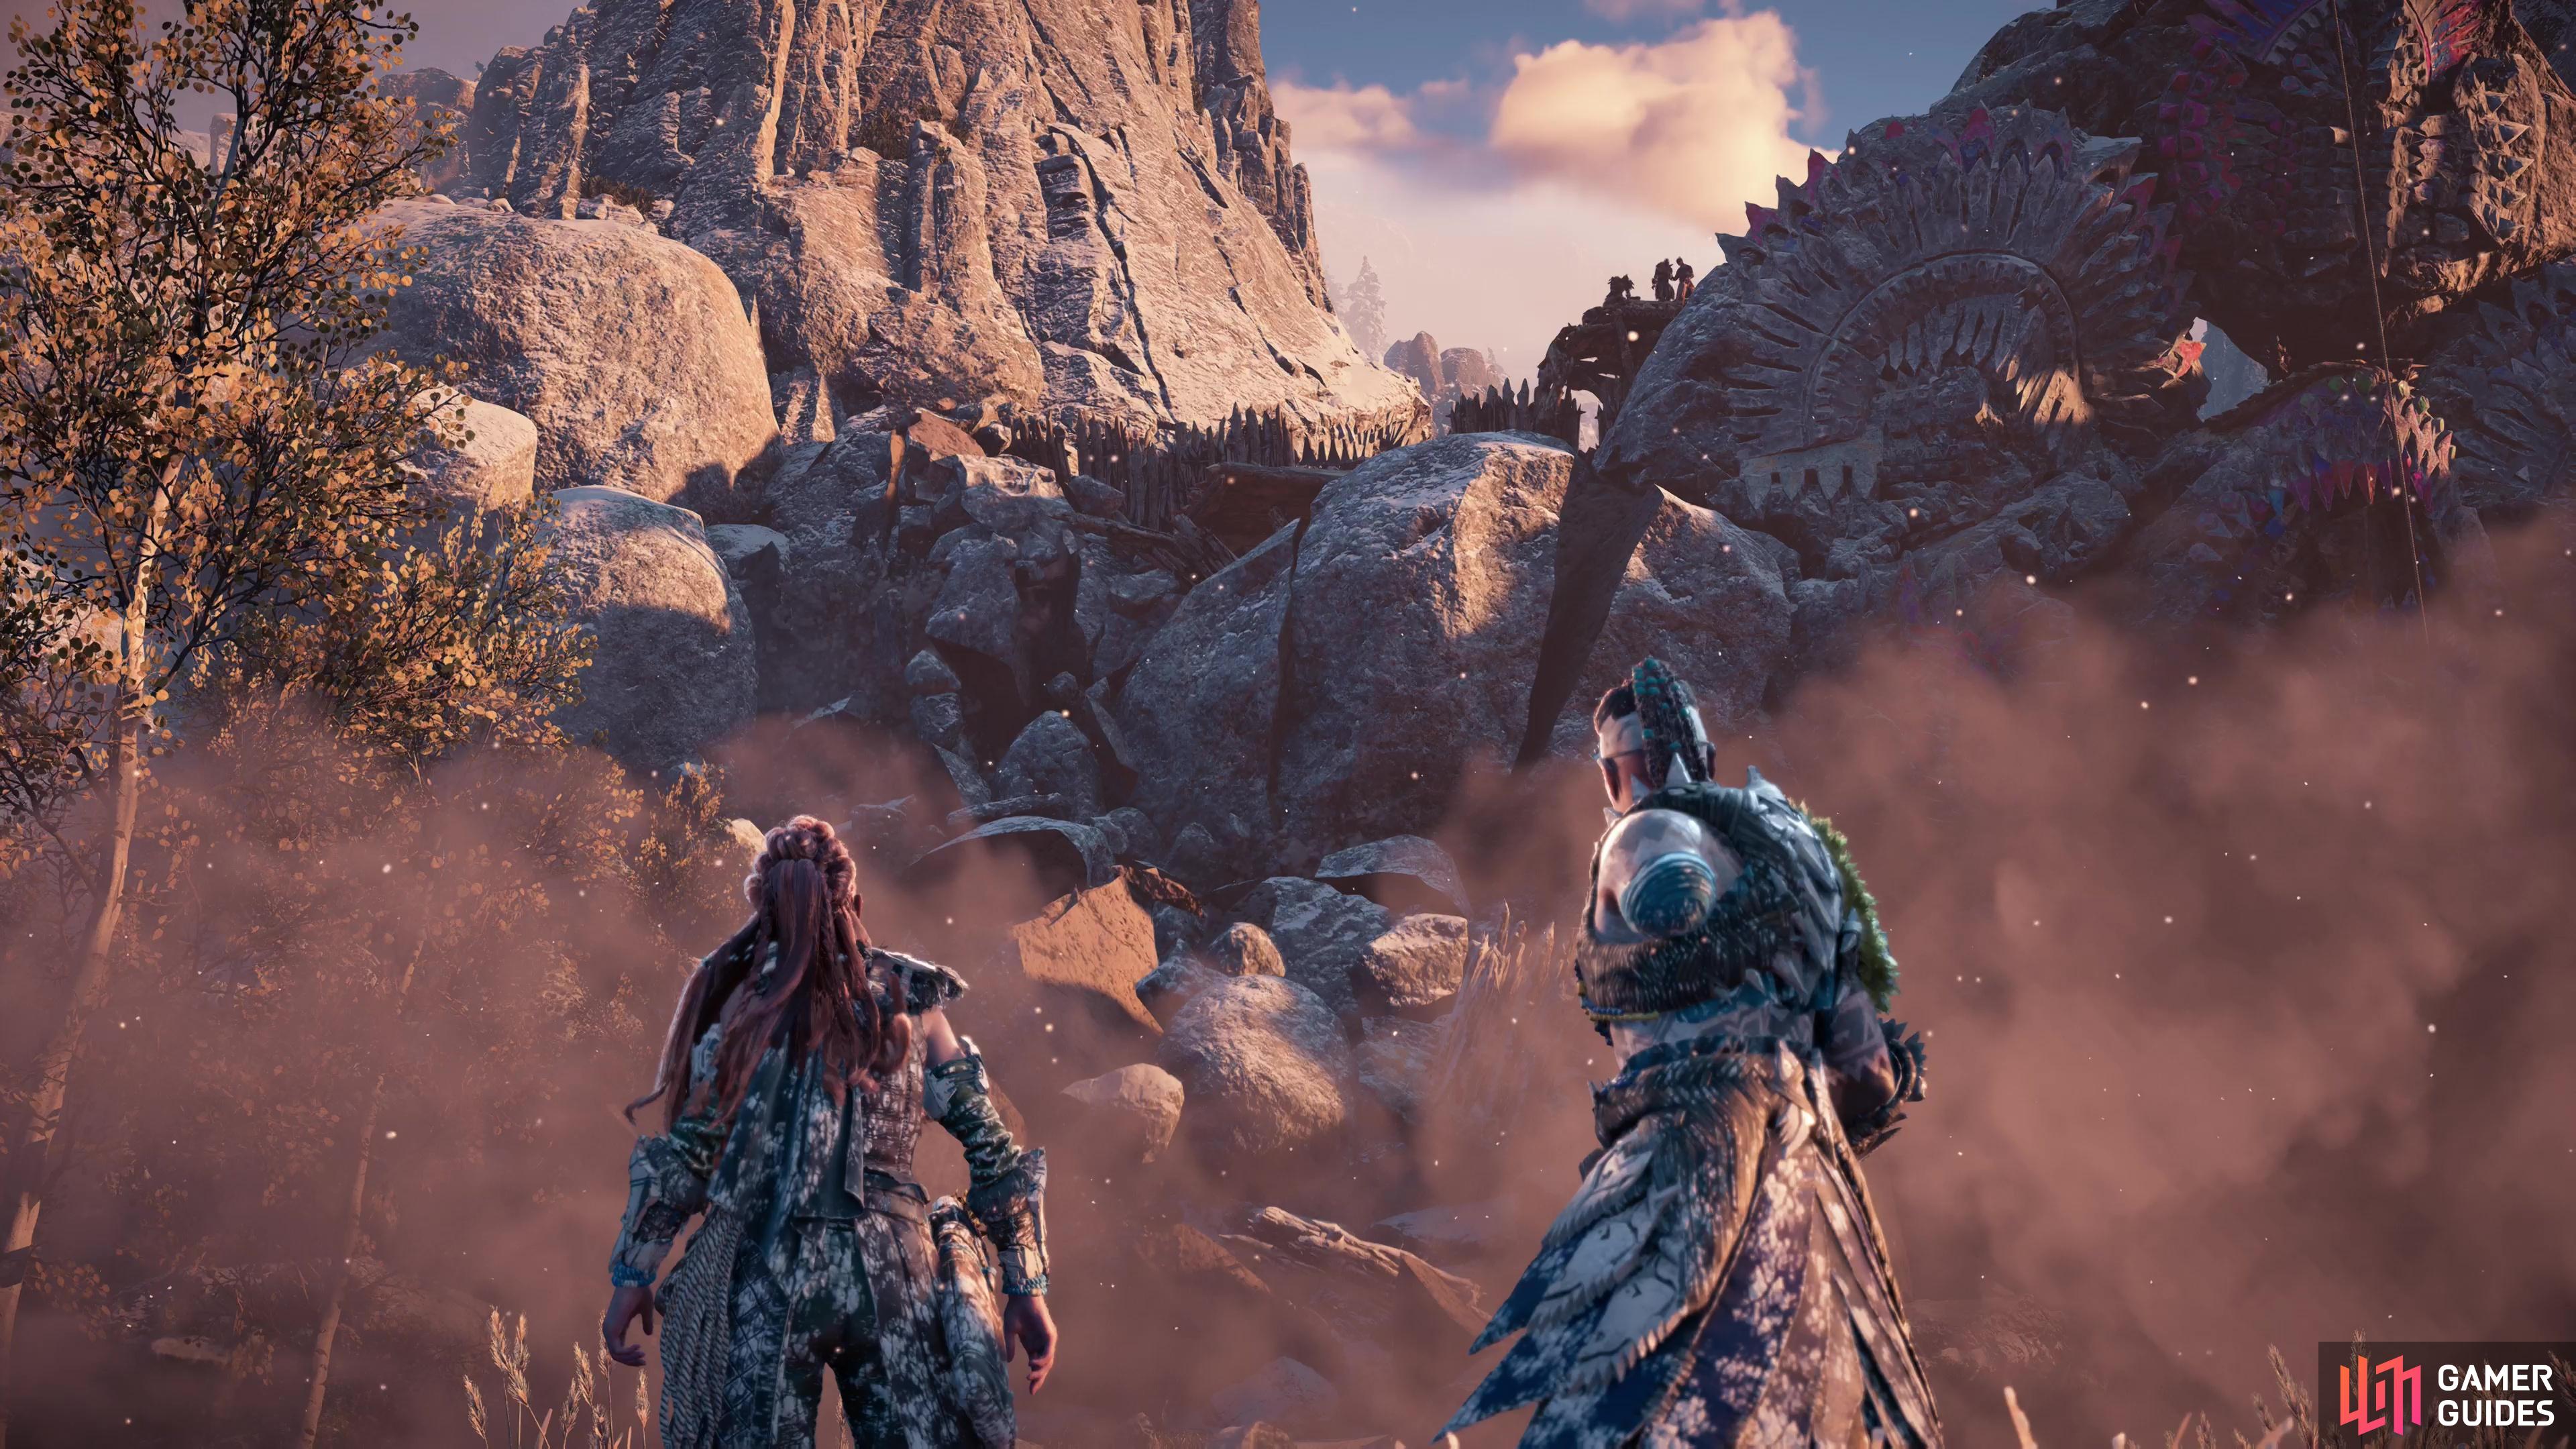
Meet With Hekarro
Make your way to the quest marker, which will take you to some ancient ruins on the eastern edge of a jungle. Enter the ruins and talk to a Tenakth named Dekka and exhaust her dialog options, after which you can optionally watch some hologram “visions” en route to Chief Hekarro. You can also scan the following datapoints in the ruins:
- 73-H Exhibit
- Black Box Exhibit
- Causes of the Conflict
- Feedback
- Hall of Heroes
- Items for Collection
- Man vs. Machine
- Staff Instruction
- The Memorial Grove
- Tour Script V44.2
There’s so many of these things lying about, you’re best off just turning on your Focus and looking for glowing purple spots that indicate something to scan. In addition, interacting with the aforementioned hologram “visions” will get you the following datapoints:
- Columbia Drop
- Gold Mountain
- Military Life
- Nevada Ambush
Scan around for this treasure trove of lore, and when you’re done, make your way to the throne room.

You’ll be given the Cleaving Sharpshot Bow after meeting Hekarro.

Rebel Champions are armed with the same shields Grudda had.
How to Reach The Bulwark
After you parley with Hekarro seek out the De La Hoya Exhibit datapoint to the west, northwest, the Medina Exhibit to the south, southeast and the Faraday Exhibit to the southwest.
Meet up with Dekka and she’ll give you the [Cleaving Sharpshot Bow] and point you towards your destination. You’ll now need to make your way north, norwest to Stonecrest; override a mount (you can find some Bristlebacks to the north) to speed things up or just head on foot, fighting or avoiding rebels and machines as you go.
However you manage it, once you arrive talk to Kotallo and you’ll soon be on your way towards The Bulwark. Along the way you’ll encounter several rebels, whereupon you’ll be given a choice: fight them, or avoid them.
To avoid them, just sneak and stay off the road as you continue north, while if you choose to fight be wary of the Rebel Champion, who bears an energy shield. These devices are identical to the one Grudda bore - hit it enough and it’ll blink off temporarily, although you’re doubtlessly capable of inflicting far more damage now than you were back then. Further on the road you’ll find another group of rebels, this time with two Champions. Do what you will, then continue following Kotallo until you reach The Bulwark.

Scan The Bulwark to find a metal object buried in the mountain,

then climb up to get a closer look.
How to Convince the Sky Clan
When you’re ready to proceed, confirm your intentions with Kotallo and after some scenes you’ll reach The Bulwark. Make your way through the town (you can stop and do some shopping, if you wish) and when you’re good and ready follow Kotallo to your meeting with Tekotteh.
Afterwards, leave The Bulwark by gliding down to the ground north of the town, go to the observation point indicated by the quest marker, then turn southeast and scan the rocky face to find some metal that arouses Aloy’s interest. Head east and turn south to find a waterfall, then scale the wall to the right of said waterfall. When you reach an alcove, pry open some rocks and enter the passage you created, following the linear path ahead until you find the object you scanned through the rocks earlier. Scan it again, then report to Kotallo, who is north of the the lift to The Bulwark.

How to Defeat the Tremortusk
Make your way to a search area to the northeast to find the rebel camp, where you’ll see firsthand the fruits of their labors.
Fighting a [Tremortusk] is work enough, but doing so while being bothered by rebels is even worse, so before you provoke the machine, consider sneaking around the perimeter of the camp and picking off rebel soldiers - most of them are pretty far apart and relatively easy to dispatch via Silent Strikes. If you can deal with them, the upcoming fight with the Tremortusk will be much, much easier.
You should also take Aloy’s advice to scan objects of interest in the area. You won’t find any magic bullets you can use to take out the Tremortusk, but you will find some Chillwater Barrels and some Log Stockpiles you can use to damage it. There’s even a Ravager Cannon along the western end of the camp, but it should go without saying that a Tremortusk is more than capable of tanking the entire clip.
For such a marquee battle, this Tremortusk isn’t all that impressive. If you want to cheese it, keep your distance and work on picking off components with a Sharpshot Bow. As long as you don’t attack while its threat indicator is yellow and you move to different patches of grass between shots, you can effectively whittle the machine down without much trouble… provided you cleared out the rebels beforehand, anyways.
In a more conventional fight, the Tremortusk shouldn’t fare much better (again, assuming you took care of the rebels, first). It’s weak to Frost damage, and you should use your own weapons and the Chillwater Barrels whenever possible to inflict the Brittle status, which will cause the Tremortusk to take increased damage.
The Tusks are obvious weakpoints to target and will yield Tremortusk Tusks components if detached. Armaments like Shock Cannons and Plasma Cannons are also attractive targets, being weakpoints that will deprive the machine of ranged options and allow you to use the detached weapon against if. The Blaze Sac on its belly is particularly vulnerable as well, and when dealing damage to other components (particularly the Tusk) the Tremortusk will often rear up, exposing this tantalizing weakpoint. If you destroy the Blaze Sac you’ll deprive yourself of the opportunity to loot some Blaze from the machine - a trivial sacrifice considering how common that resource is.
Head back to The Bulwark with Kotallo and use the Tremortusk Plasma Cannon and fire it at the indicated spot at The Bulwark. The quest will end shortly thereafter, which will start the followup quest, [The Kulrut].
The Bulwark wasn’t as defensible as the Sky Clan thought.
No Comments