
Hunting Grounds are challenges that will test your mettle with various weapons in the game. This page will detail the Silent Looting Trial at the Hunting Ground in Plainsong.
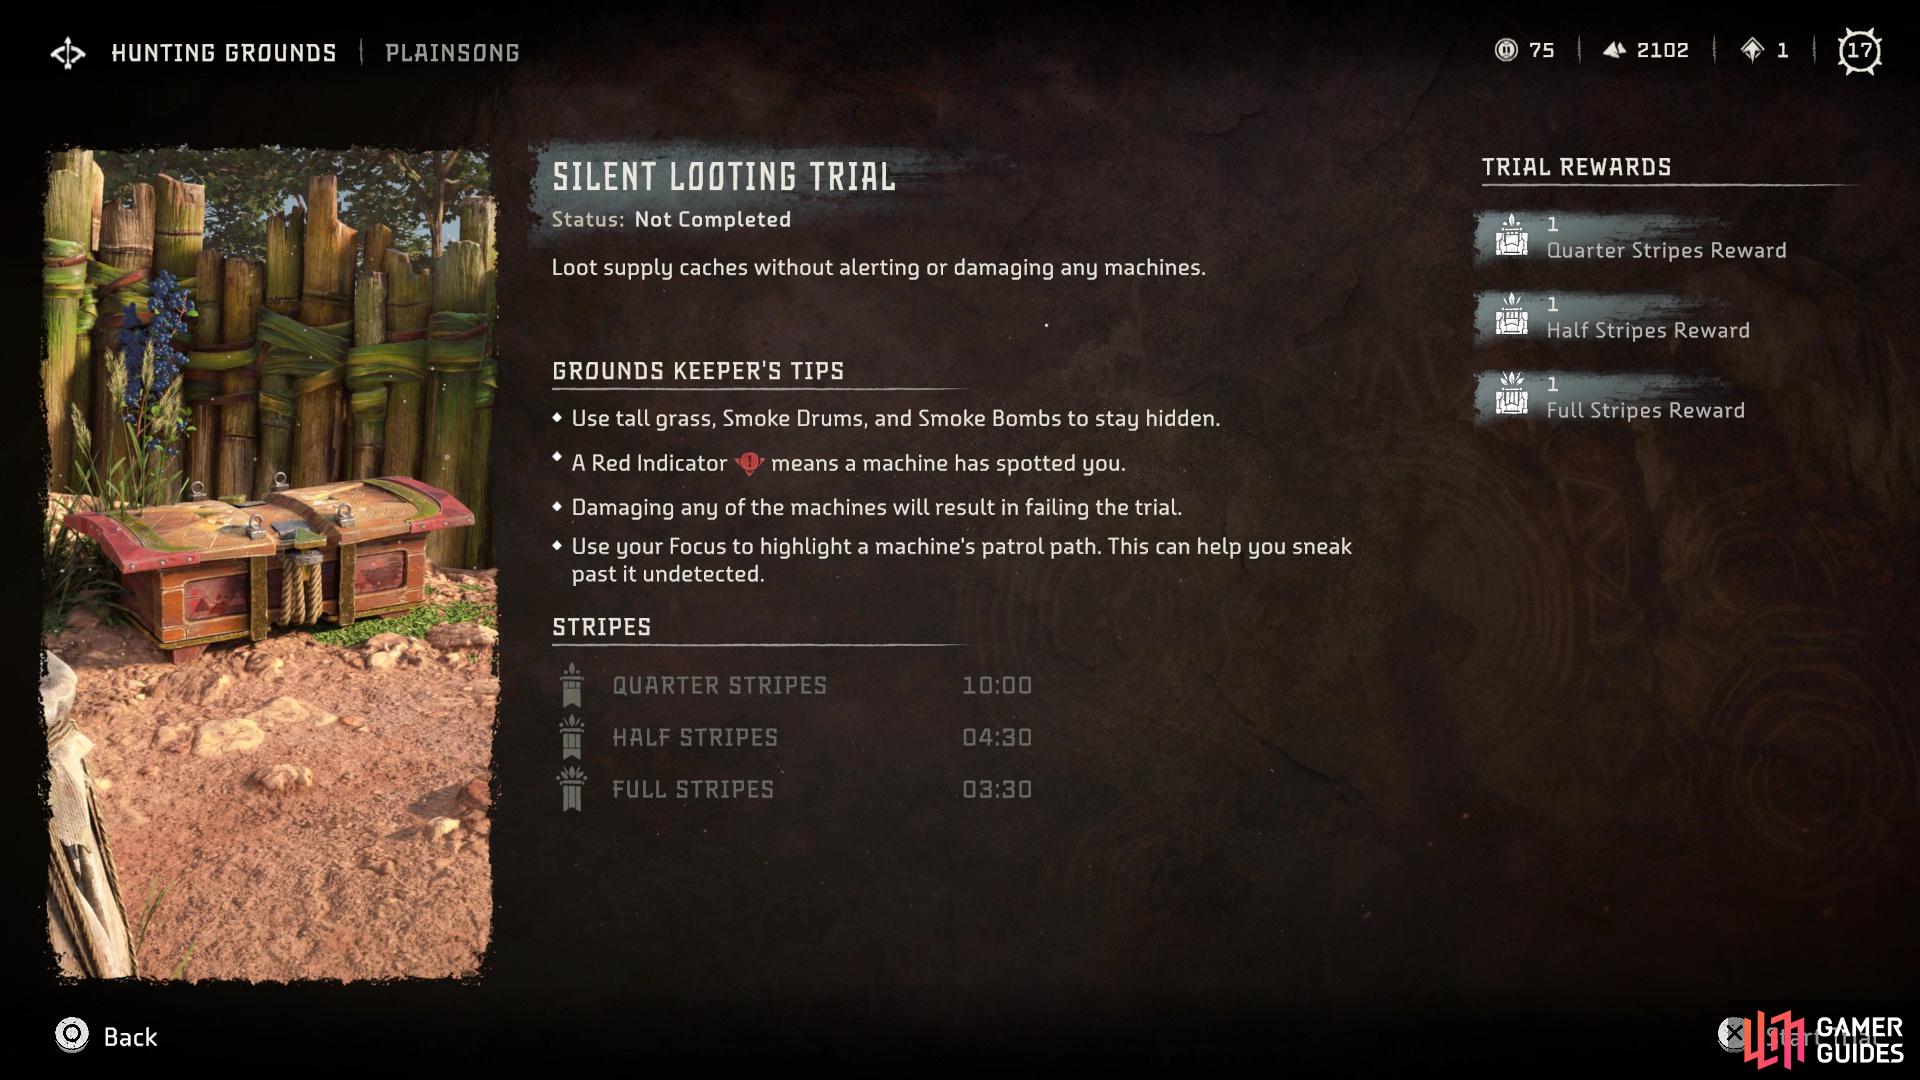
The Silent Looting Trial at the Plainsong Hunting Ground
Where To Find The Hunting Ground in Plainsong
While you can find the site of the Hunting Ground as soon as you have access to this area, you will be denied permission to participate in the trials until you have completed the main quest, The Dying Lands. Once you finish that portion of the main story, you will be able to locate the Hunting Ground to the northwest of the Plainsong settlement. If you have also located the Restless Weald Relic Ruin, then it will be directly east from there.
Stripes
| Stripes | Time Needed | Rewards |
|---|---|---|
| Quarter Stripes | 10:00 | 4 Hunting Medals, 40 Metal Shards, Small Machine Core |
| Half Stripes | 04:30 | 5 Hunting Medals, 50 Metal Shards, 10 Metalbite, Small Machine Core |
| Full Stripes | 03:30 | 6 Hunting Medals, 60 Metal Shards, 10 Metalbite, Leaplasher Circulator, Medium Machine Core |
Grounds Keeper’s Tips
- Use tall grass, Smoke Drums, and Smoke Bombs to stay hidden.
- A red indicator means a machine has spotted you.
- Damaging any of the machines will result in failing the trial.
- Use your Focus to highlight a machine’s patrol path. This can help you sneak past it undetected.
How to Complete the Silent Looting Trial
All of the trials in this Hunting Ground will test your skills in using stealth. For the first one, you will be required to loot three supply caches around the area without alerting any enemies, as well as without damaging any machines. So, you will need to be super stealthy in sneaking around the grounds to loot the needed chests. The only machines you have to worry about here are Burrowers, so keep a lookout with your Focus to know their positions at all times. When you begin the Trial, you will see two ropes you can slide down at the beginning; the one to your left should be the ideal one the majority of the time here.
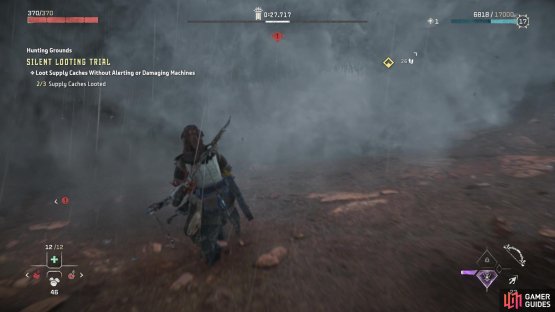

(1 of 2) The red marker at the top indicates you’ve been seen by the machines
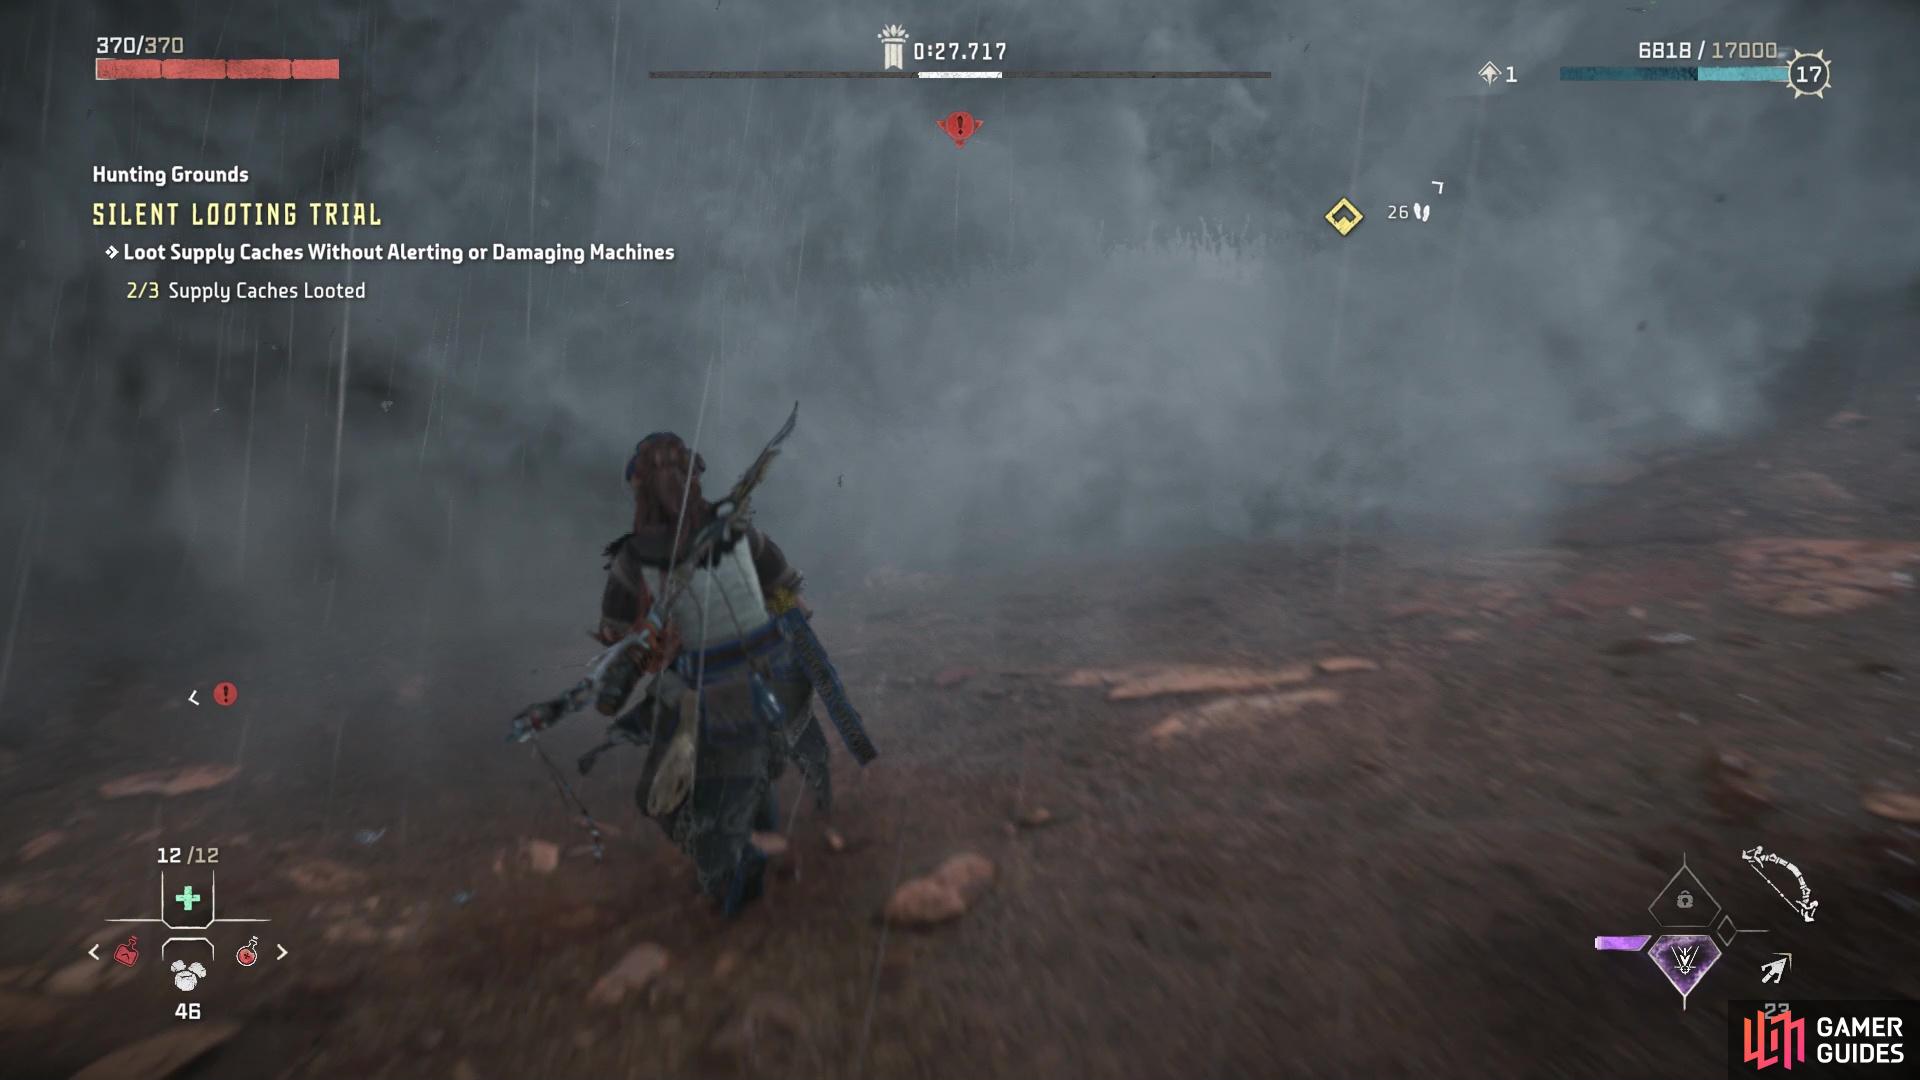
The red marker at the top indicates you’ve been seen by the machines (left), meaning you failed the trial and the chests will become unavailable to loot (right)
As soon as you slide down the rope, the timer will begin and you should see the first Supply Cache right in front of you. However, a Burrower will patrolling nearby, so you will want to wait until it passes before moving forward and hiding in the tall grass. Once the Burrower has passed again, you can go ahead and loot the chest, then begin moving towards the second one. There will be higher ground right in front of the first chest, so climb up there and look for the rope that will put you close by to the second chest. The final chest is in a fairly open area and will have a Burrower pretty much patrolling the front of it, so you will need to time it to avoid the machine.


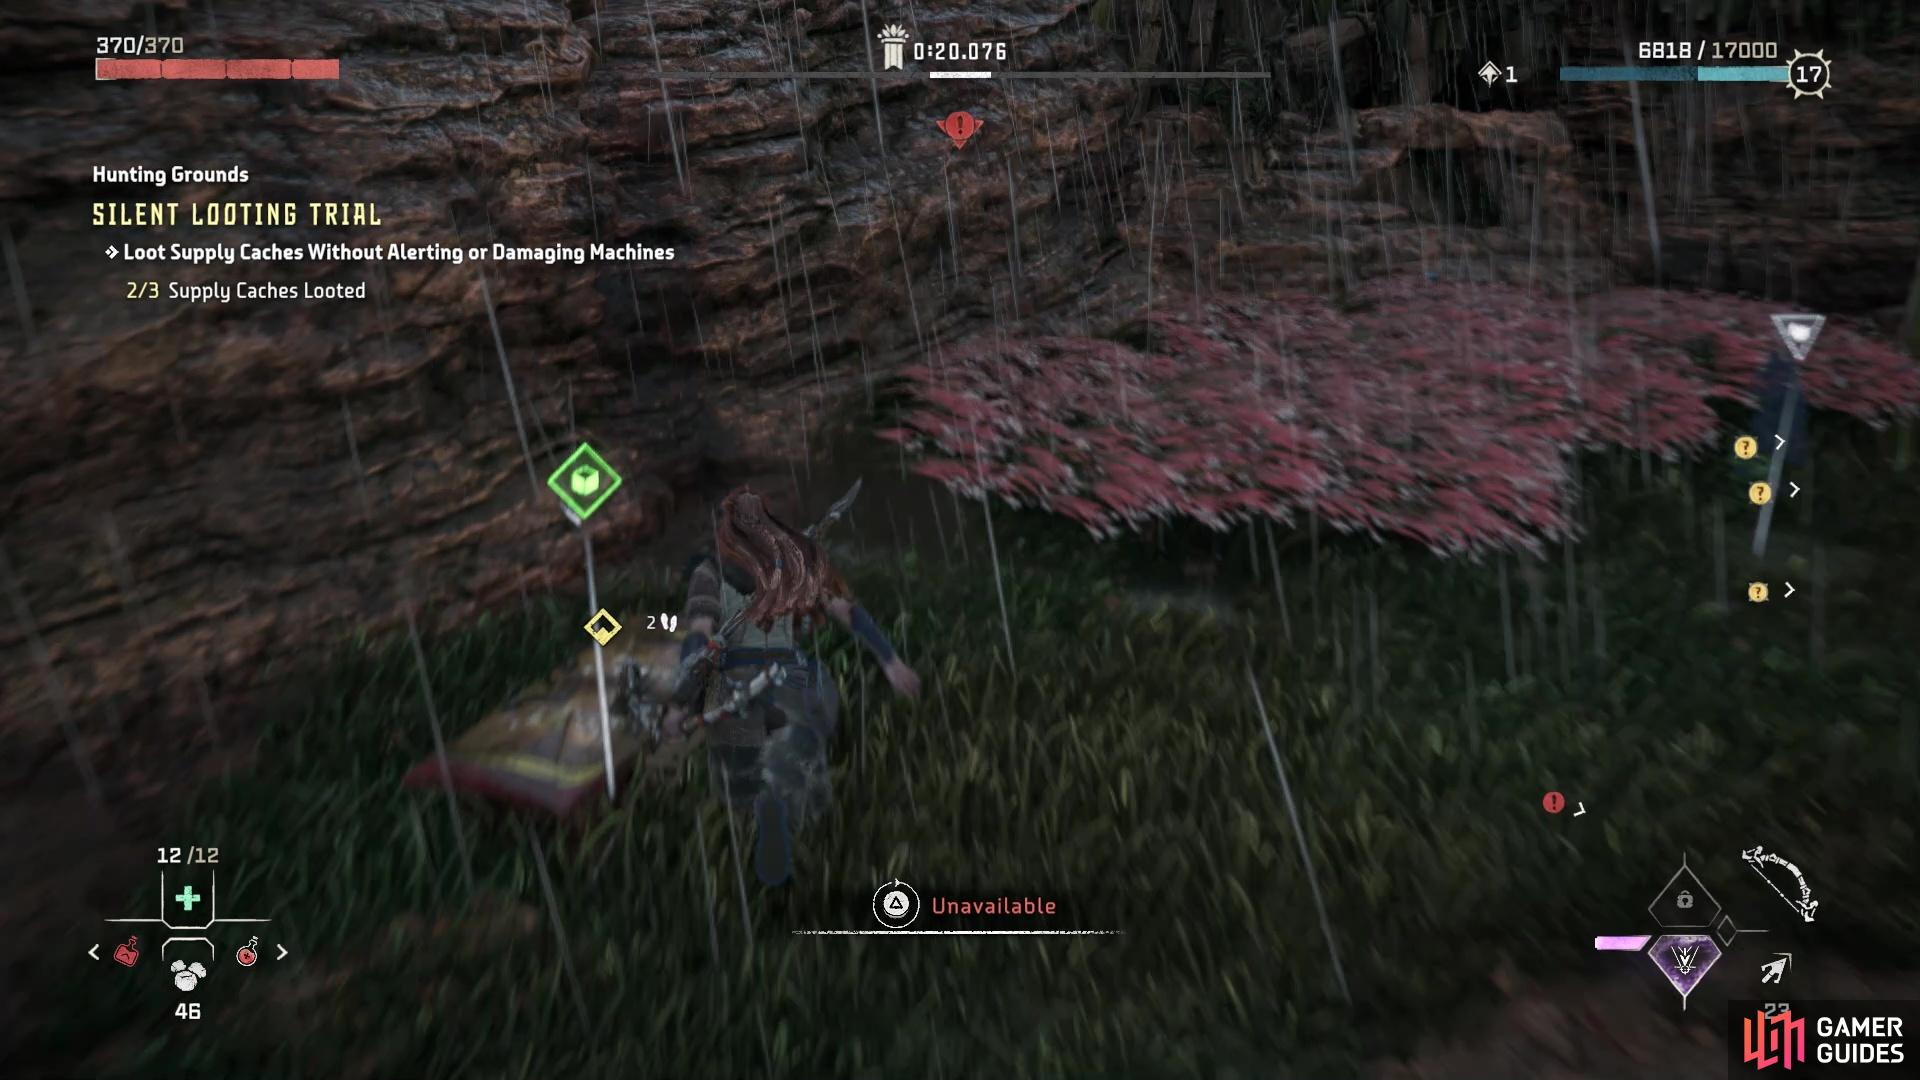
(1 of 2) Tagging the Burrowers will make it easier to keep track of them
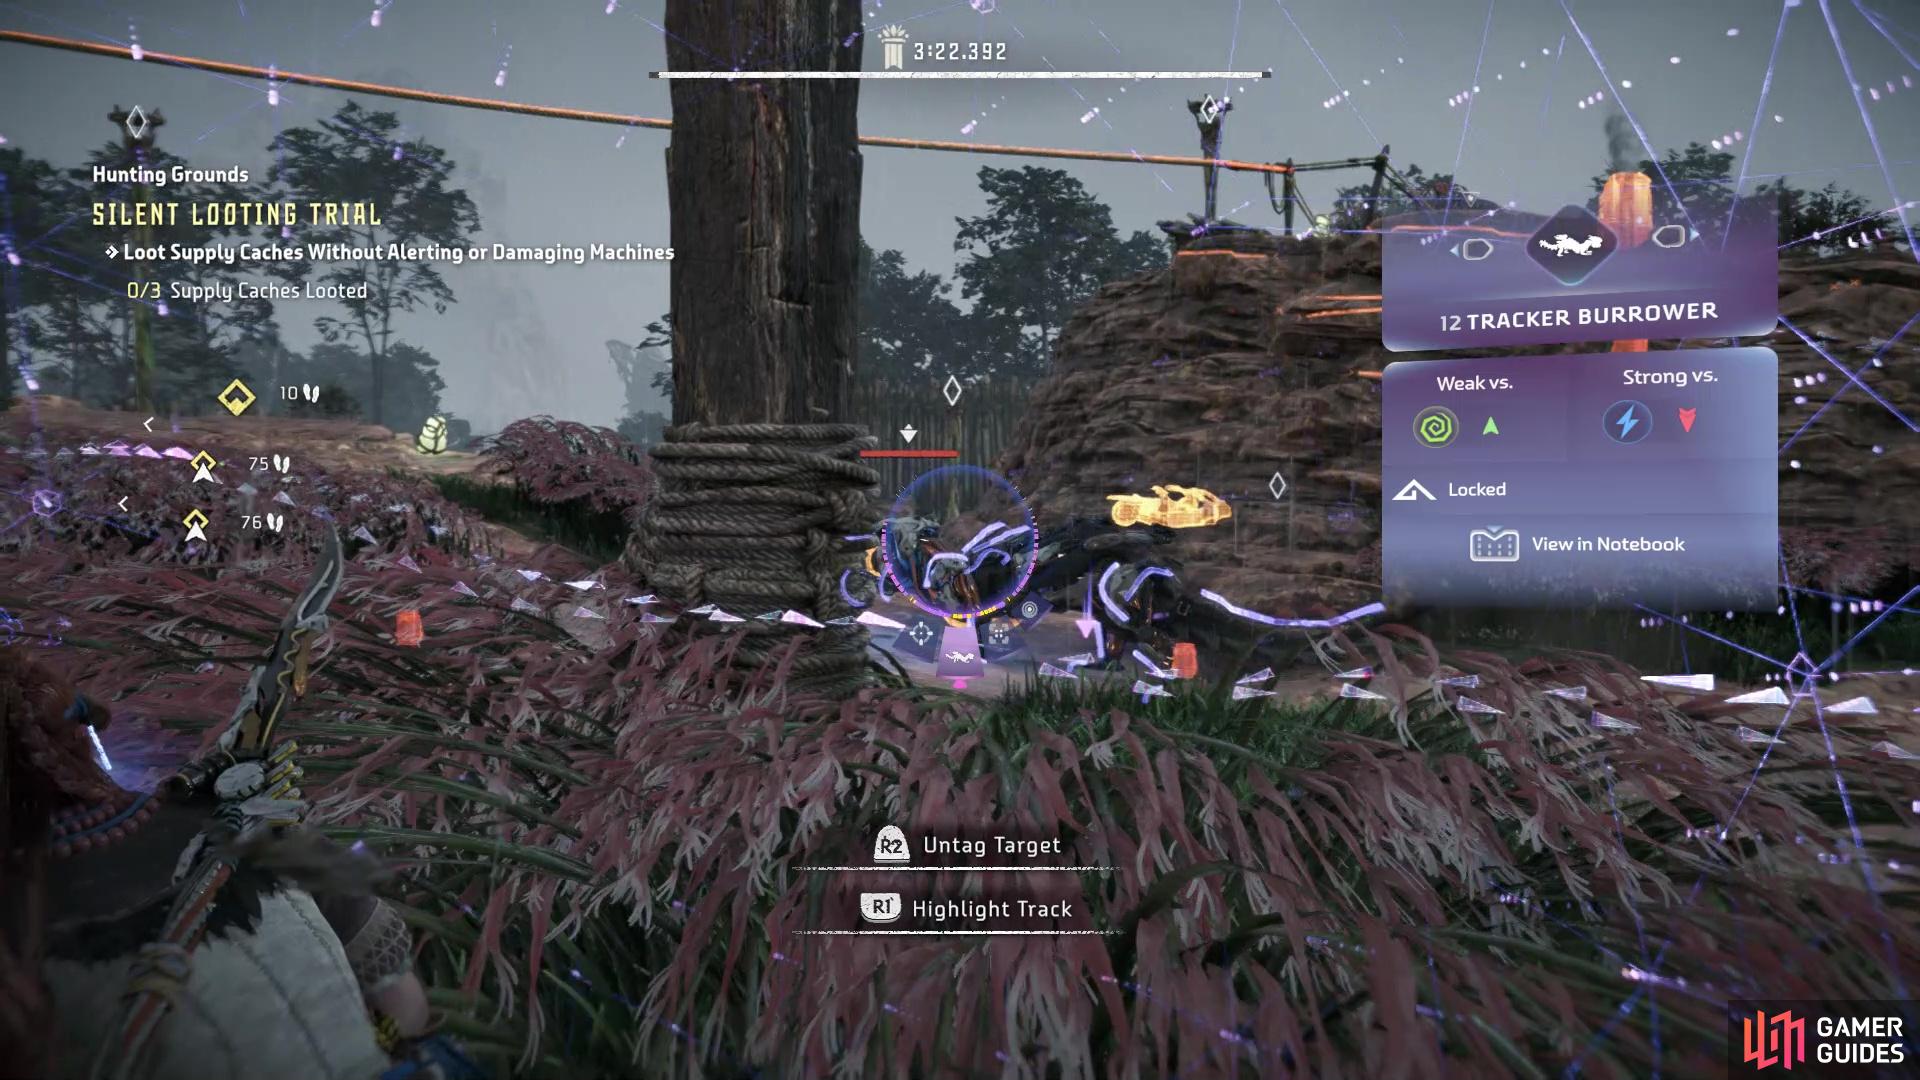

Tagging the Burrowers will make it easier to keep track of them (left), Stick to the high ground when doing the Trial, as it gives you better vantage points (right)
You probably noticed all of the poles throughout the grounds, which act as grapple points, should you want to use them. You will want to be careful using these, though, as you might make the Burrowers be alerted to your presence if you’re not paying attention. Of course, you don’t have to get the chests in the order mentioned above, although the first one will be right in front of you after sliding down the rope. If you get seen at all, then the chests cannot be opened and you will have to restart. It’s also a good idea to ignore looking at the loot in the chests and immediately spam the Triangle button to grab the loot as soon as you open them. Once you have gotten all three chests without being seen, then you don’t need to stay stealth anymore and can just sprint back to the Grounds Keeper to get your rewards.
No Comments