Walkthrough for the Side Quest Drowned Hopes in Horizon Forbidden West, including how to obtain all three Vault Keys and how to craft the [Guardian Tripcaster].
How to Start Drowned Hopes
After completing the main quest Death’s Door you’ll find yourself in Stone’s Echo. Make your way southeast to the Carja Camp and talk to two Carja Scholars inside to start this quest. Note that while you can start this quest now, you must complete the main quest The Sea of Sands before you can complete it.
| Quest Giver | Starting Location | Prerequisite | Level | Rewards |
|---|---|---|---|---|
| Carja Scholars | Carja Camp | Complete [Death’s Door] | 22 |
(1 of 2) Talk to the Carja Scholars at the Carja Camp to start the quest,
Talk to the Carja Scholars at the Carja Camp to start the quest, (left), then head over to the dig site (Jagged Deep Delve) and defeat the machines there. (right)
How to Clear the Dig Site
After talking to the Carja Scholars, cross the river to the east and follow the coast south, southeast to reach the Jagged Deep Delve. Here you’ll find two Scroungers and two Widemaws that must be defeated before the quest will continue. The Scroungers can be killed via Silent Strikes, and the Widemaws are far enough apart that you may be able to fight them individually. Best case scenario, it’s two one-on-one fights with Widemaws with a stealthy prelude.
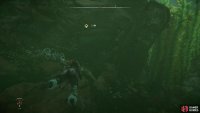
(1 of 2) Swim down into a submerged ruin,
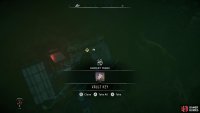
Swim down into a submerged ruin, (left), and claim the first Vault Key. (right)
How to Find the Jagged Deep Delve Vault Key
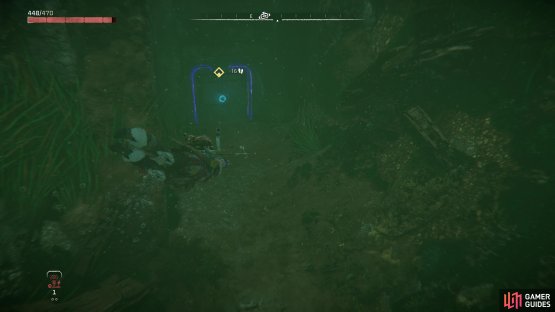
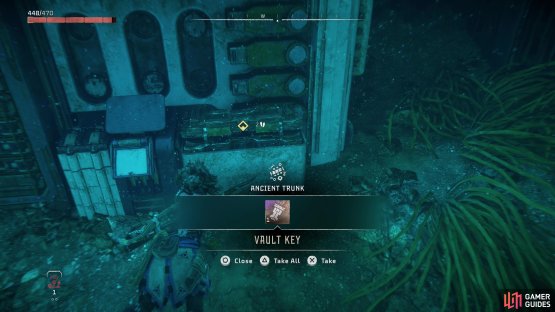
When the area is clear, head west into the water and dive down to find a destroyed concrete structure inside of which is a Data Console. Swim around to the western end of this sunken ruin to find a hole you can swim through, use the console and pick up the Vault Key. This will trigger the Checkpoint Delta datapoint and reveal a location on the peninsula to the southwest. Seems like you need to get three different vault keys if you want to get your hands on this ancient prototype.
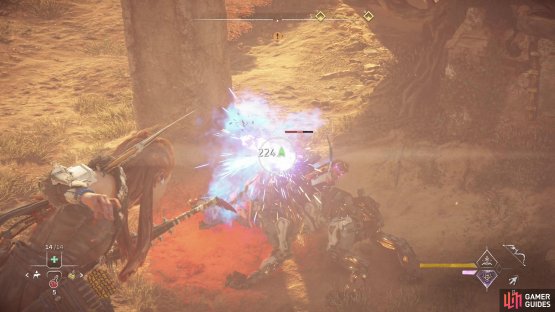
(1 of 2) Defeat some machines,
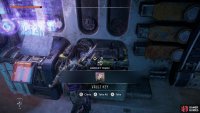
Defeat some machines, (left), then plunder the underground bunker at Dread Bluff for a second Vault Key (right)
How to Find the Dread Bluff Vault Key
At the southern end of the peninsula west of the Jagged Deep Delve you’ll find some more ruins - Dread Bluff. This old fort is the demesne of several machines - a Skydrifter, two Scrappers and a [Ravager]. A potentially dangerous group of machines, the Skydrifter can harass you regardless of the terrain, the Scrappers are agile, aggressive nuisances and the Ravager has significant firepower. You can try to fight them conventionally (ideally after softening them up with Silent Strikes), but if you climb around to the northern end of the ancient fort you’ll find a perch from which you can rain arrows down on the machines, retreating behind cover when they attempt to fire back. In this scenario you’ll need to take out the Skydrifter first, but once that’s done you should be able to cheese your way to an easy victory.
Dispatch the robots, then seek out a building in the middle of the ruins. On the northeastern corner of this building you’ll find some handholds you can use to climb up and into the building. Drop down a shaft to the west, then climb up and seek out an entrance to the underground bunker along the eastern wall, wherein you’ll find another console. Interact with it, grab the second Vault Key, triggering the Checkpoint Echo datapoint in the process.
Two down, one to go.
(1 of 2) Swim down to a submerged bunker,
Swim down to a submerged bunker, (left), and pick up the third and final Vault Key (right)
How to find the Devil’s Slide Vault Key
The third Vault Key can be found in the ruins of Devil’s Slide, which in turn can be found to the northwest of Dread Bluff. Head over to the Devil’s Slide ruins, dive into the water, find a submerged bunker, pry open two doors, activate a console and grab the third Vault Key. Easy enough. This will trigger the Checkpoint Foxtrot datapoint.
(1 of 2) Defeat a final group of machines outside the vault,
Defeat a final group of machines outside the vault, (left), then enter and claim the Mobile Cover System Prototype. (right)
How to Find the Vault
Now that you have all three Vault Keys you can access this ancient prototype, the coordinates for which are now also available to you. More good news, they’re just to the south of Devil’s Slide, so swim on down to the quest marker, dive down into a cave, and pry apart a weak section of wall. Continue swimming east, surface, then follow the linear trail ahead until you reach a machine-infested clearing.
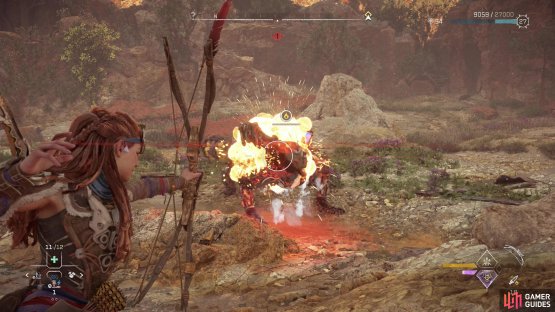
Between you and the vault are two Leapslashers and a [Snapmaw], the former of which are probably Apex variants. Take them out and enter the cave to the south, then crawl under a rude Corruptor to enter an ancient bunker. Seek out a trio of terminals - one for each Vault Key - and use your aforementioned keys on each one. Once done, enter the vault (you’ll get the Last Words datapoint here) and open a cache, inside of which is the Mobile Cover System Prototype.
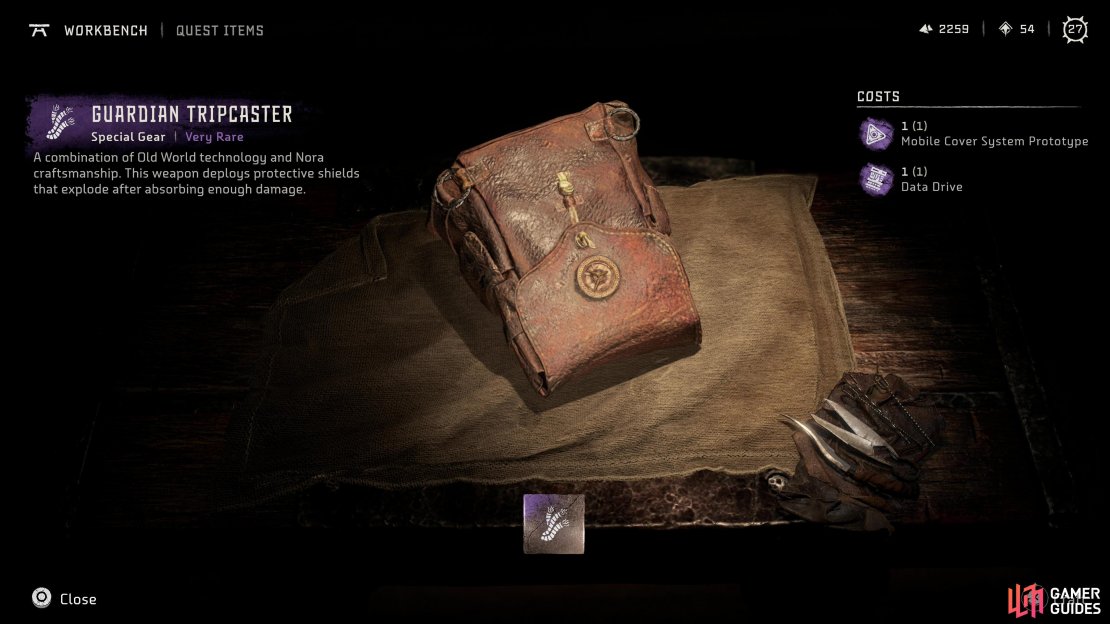
With the prototype and the Data Disc you can craft the Guardian Tripcaster.
How to Craft the Guardian Tripcaster
Return to the Carja Camp and talk to the Carja Scholars. After that conversation is over you’ll obtain the Data Drive. Use the nearby Workbench and craft the [Guardian Tripcaster] to complete the quest.











No Comments