
Walkthrough for the Side Quest Deep Trouble in Horizon Forbidden West.
After completing the main quest [The Point of the Lance] you’ll travel to The Daunt. Once off the lift, make your way southwest to Chainscrape and when you talk your way inside turn north to find a man named Arnuf languishing on a bed near some tents. Talk to him to start the quest. Alternatively you can head directly to the Crimson Narrows, a mine over the mountains to the northeast of Chainscrape.
| Quest Giver | Starting Location | Prerequisite | Level | Rewards |
|---|---|---|---|---|
| Arnuf | Chainscrape | Complete [The Point of the Lance] | 5 |


(1 of 2) You can start Deep Trouble by talking to Arnulf at Chainscrape,
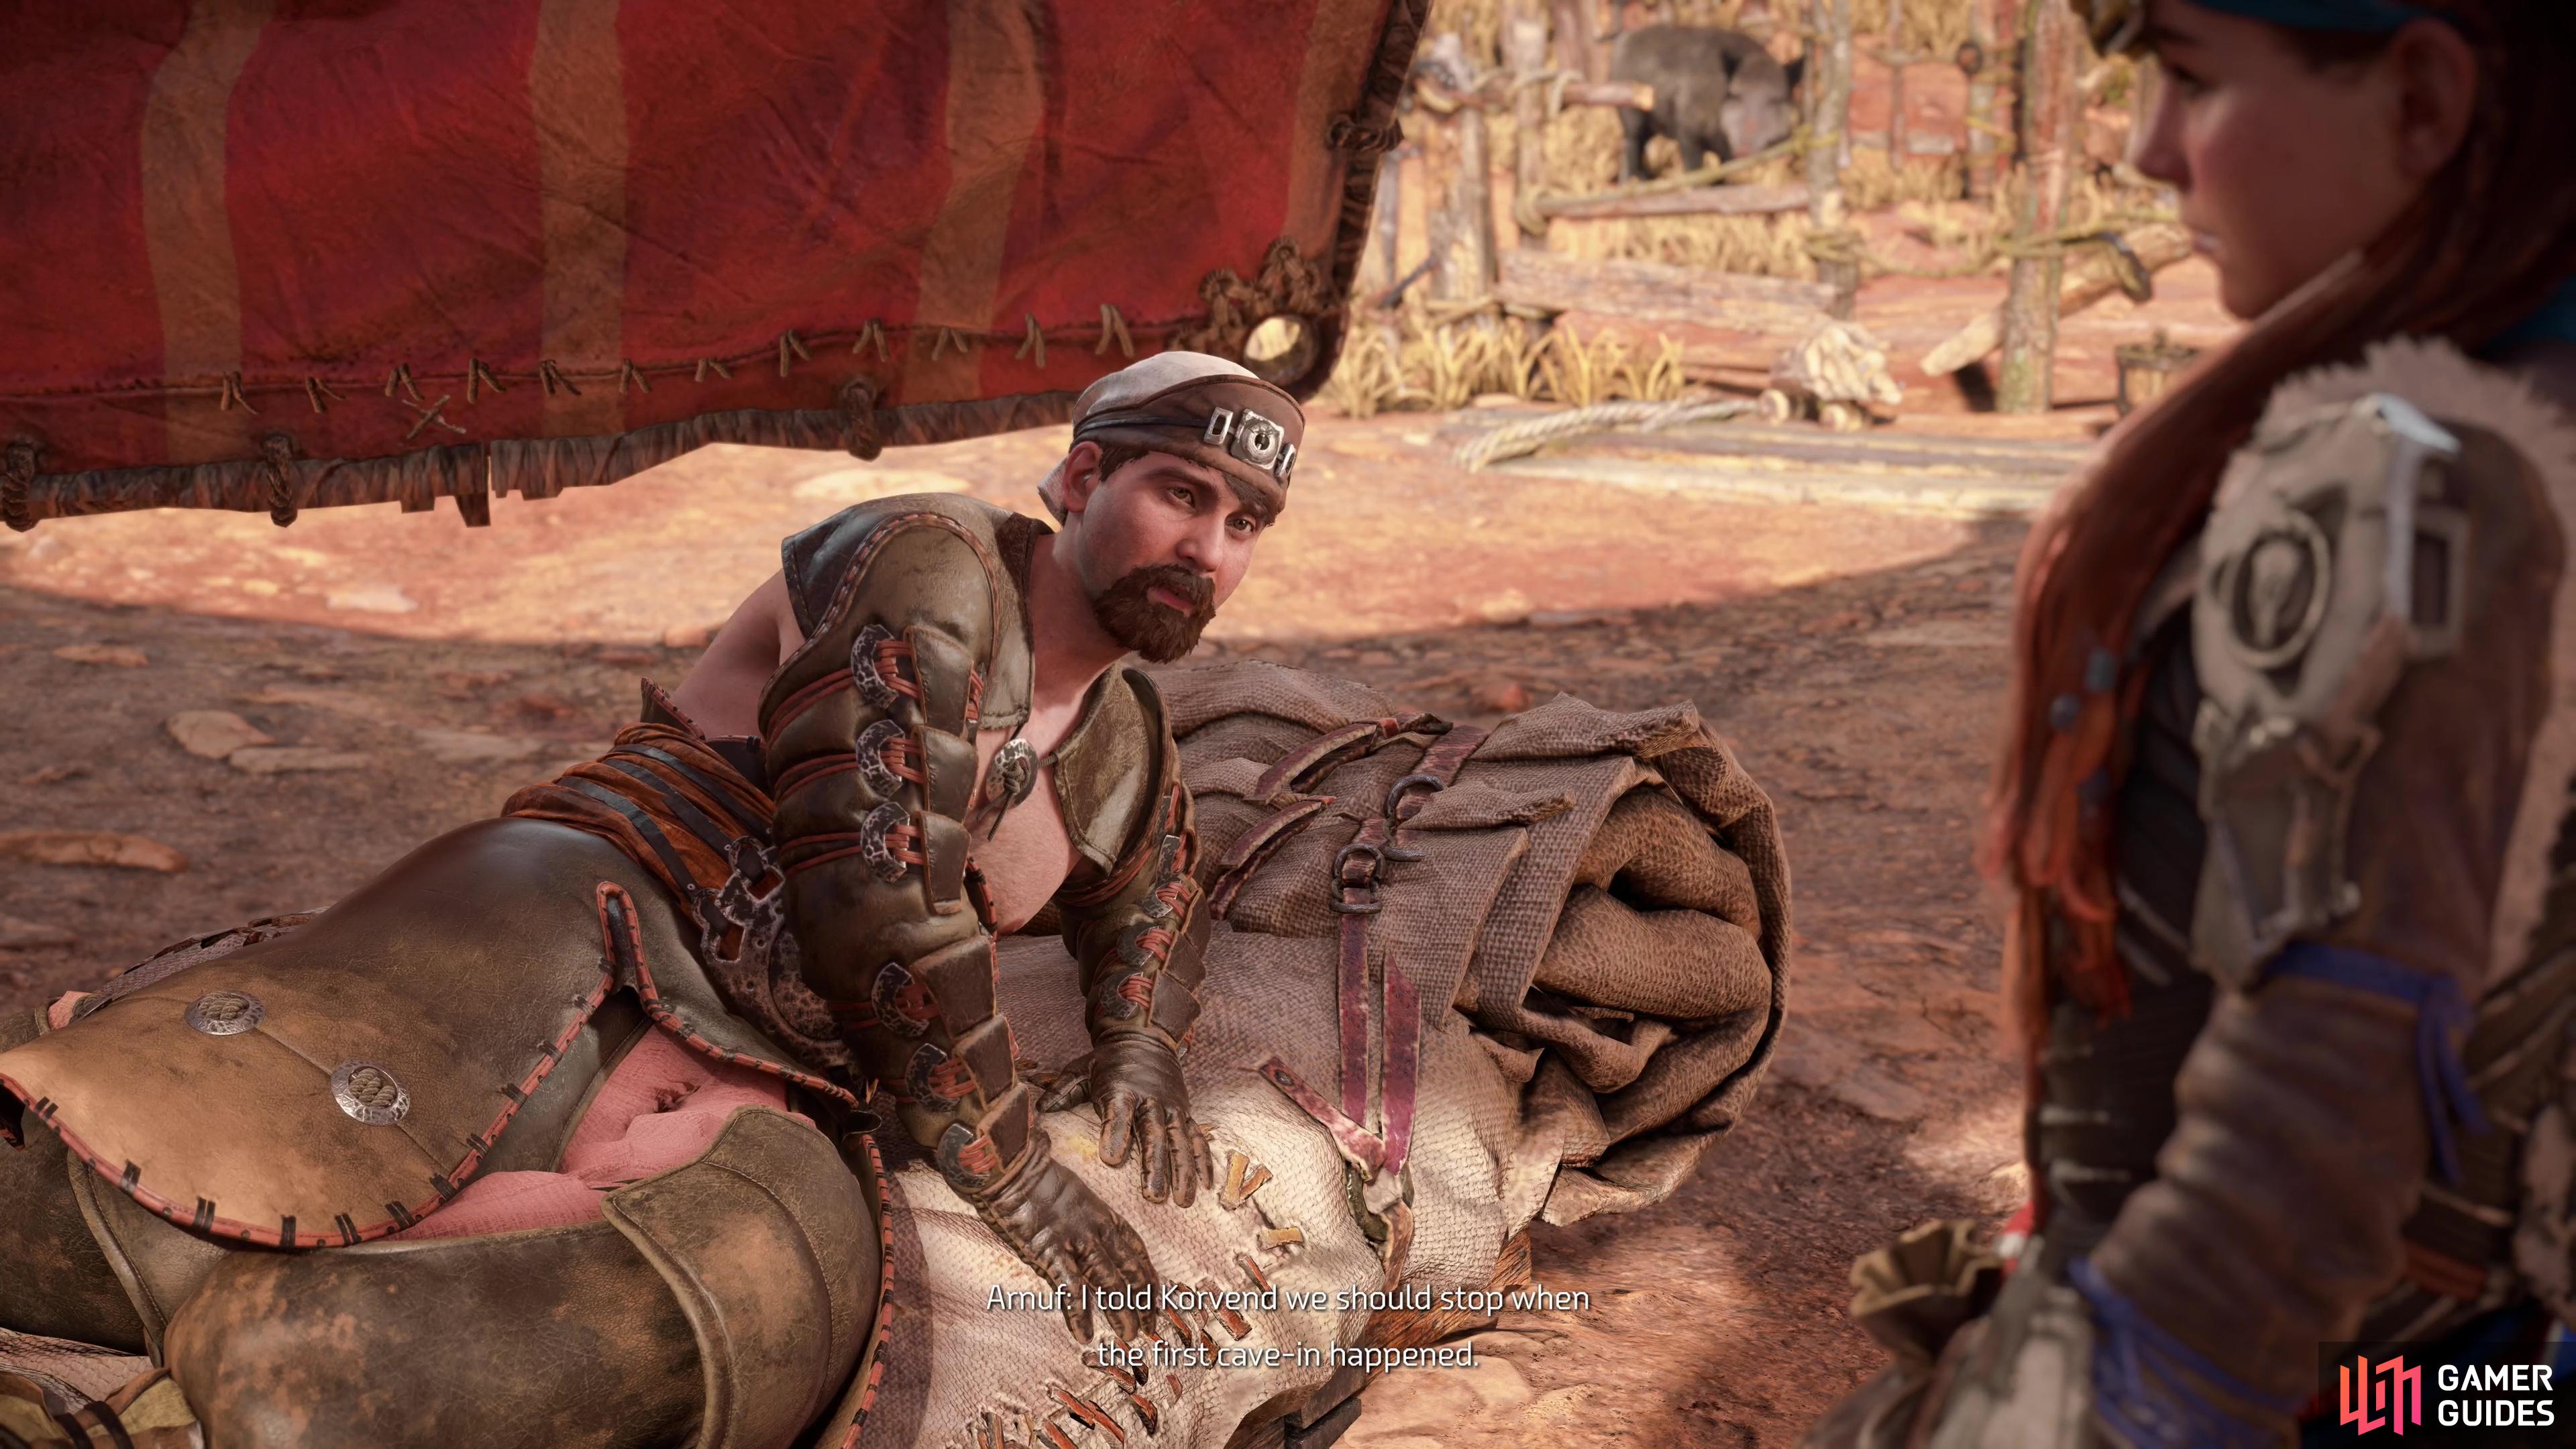

You can start Deep Trouble by talking to Arnulf at Chainscrape, (left), or by talking to Korvend outside of the Crimson Narrows. (right)
Investigate the Crimson Narrows
Make your way to Crimson Narrows, which you can do by following the river as it runs east, north, then west from Chainscrape. When you arrive you’ll find a man named Korvend tending to another wounded miner. Talk to Korvend and squeeze what little information you can out of him - he’s a little distracted by his injuries and his missing miners to indulge Aloy.
Find the Missing Miners
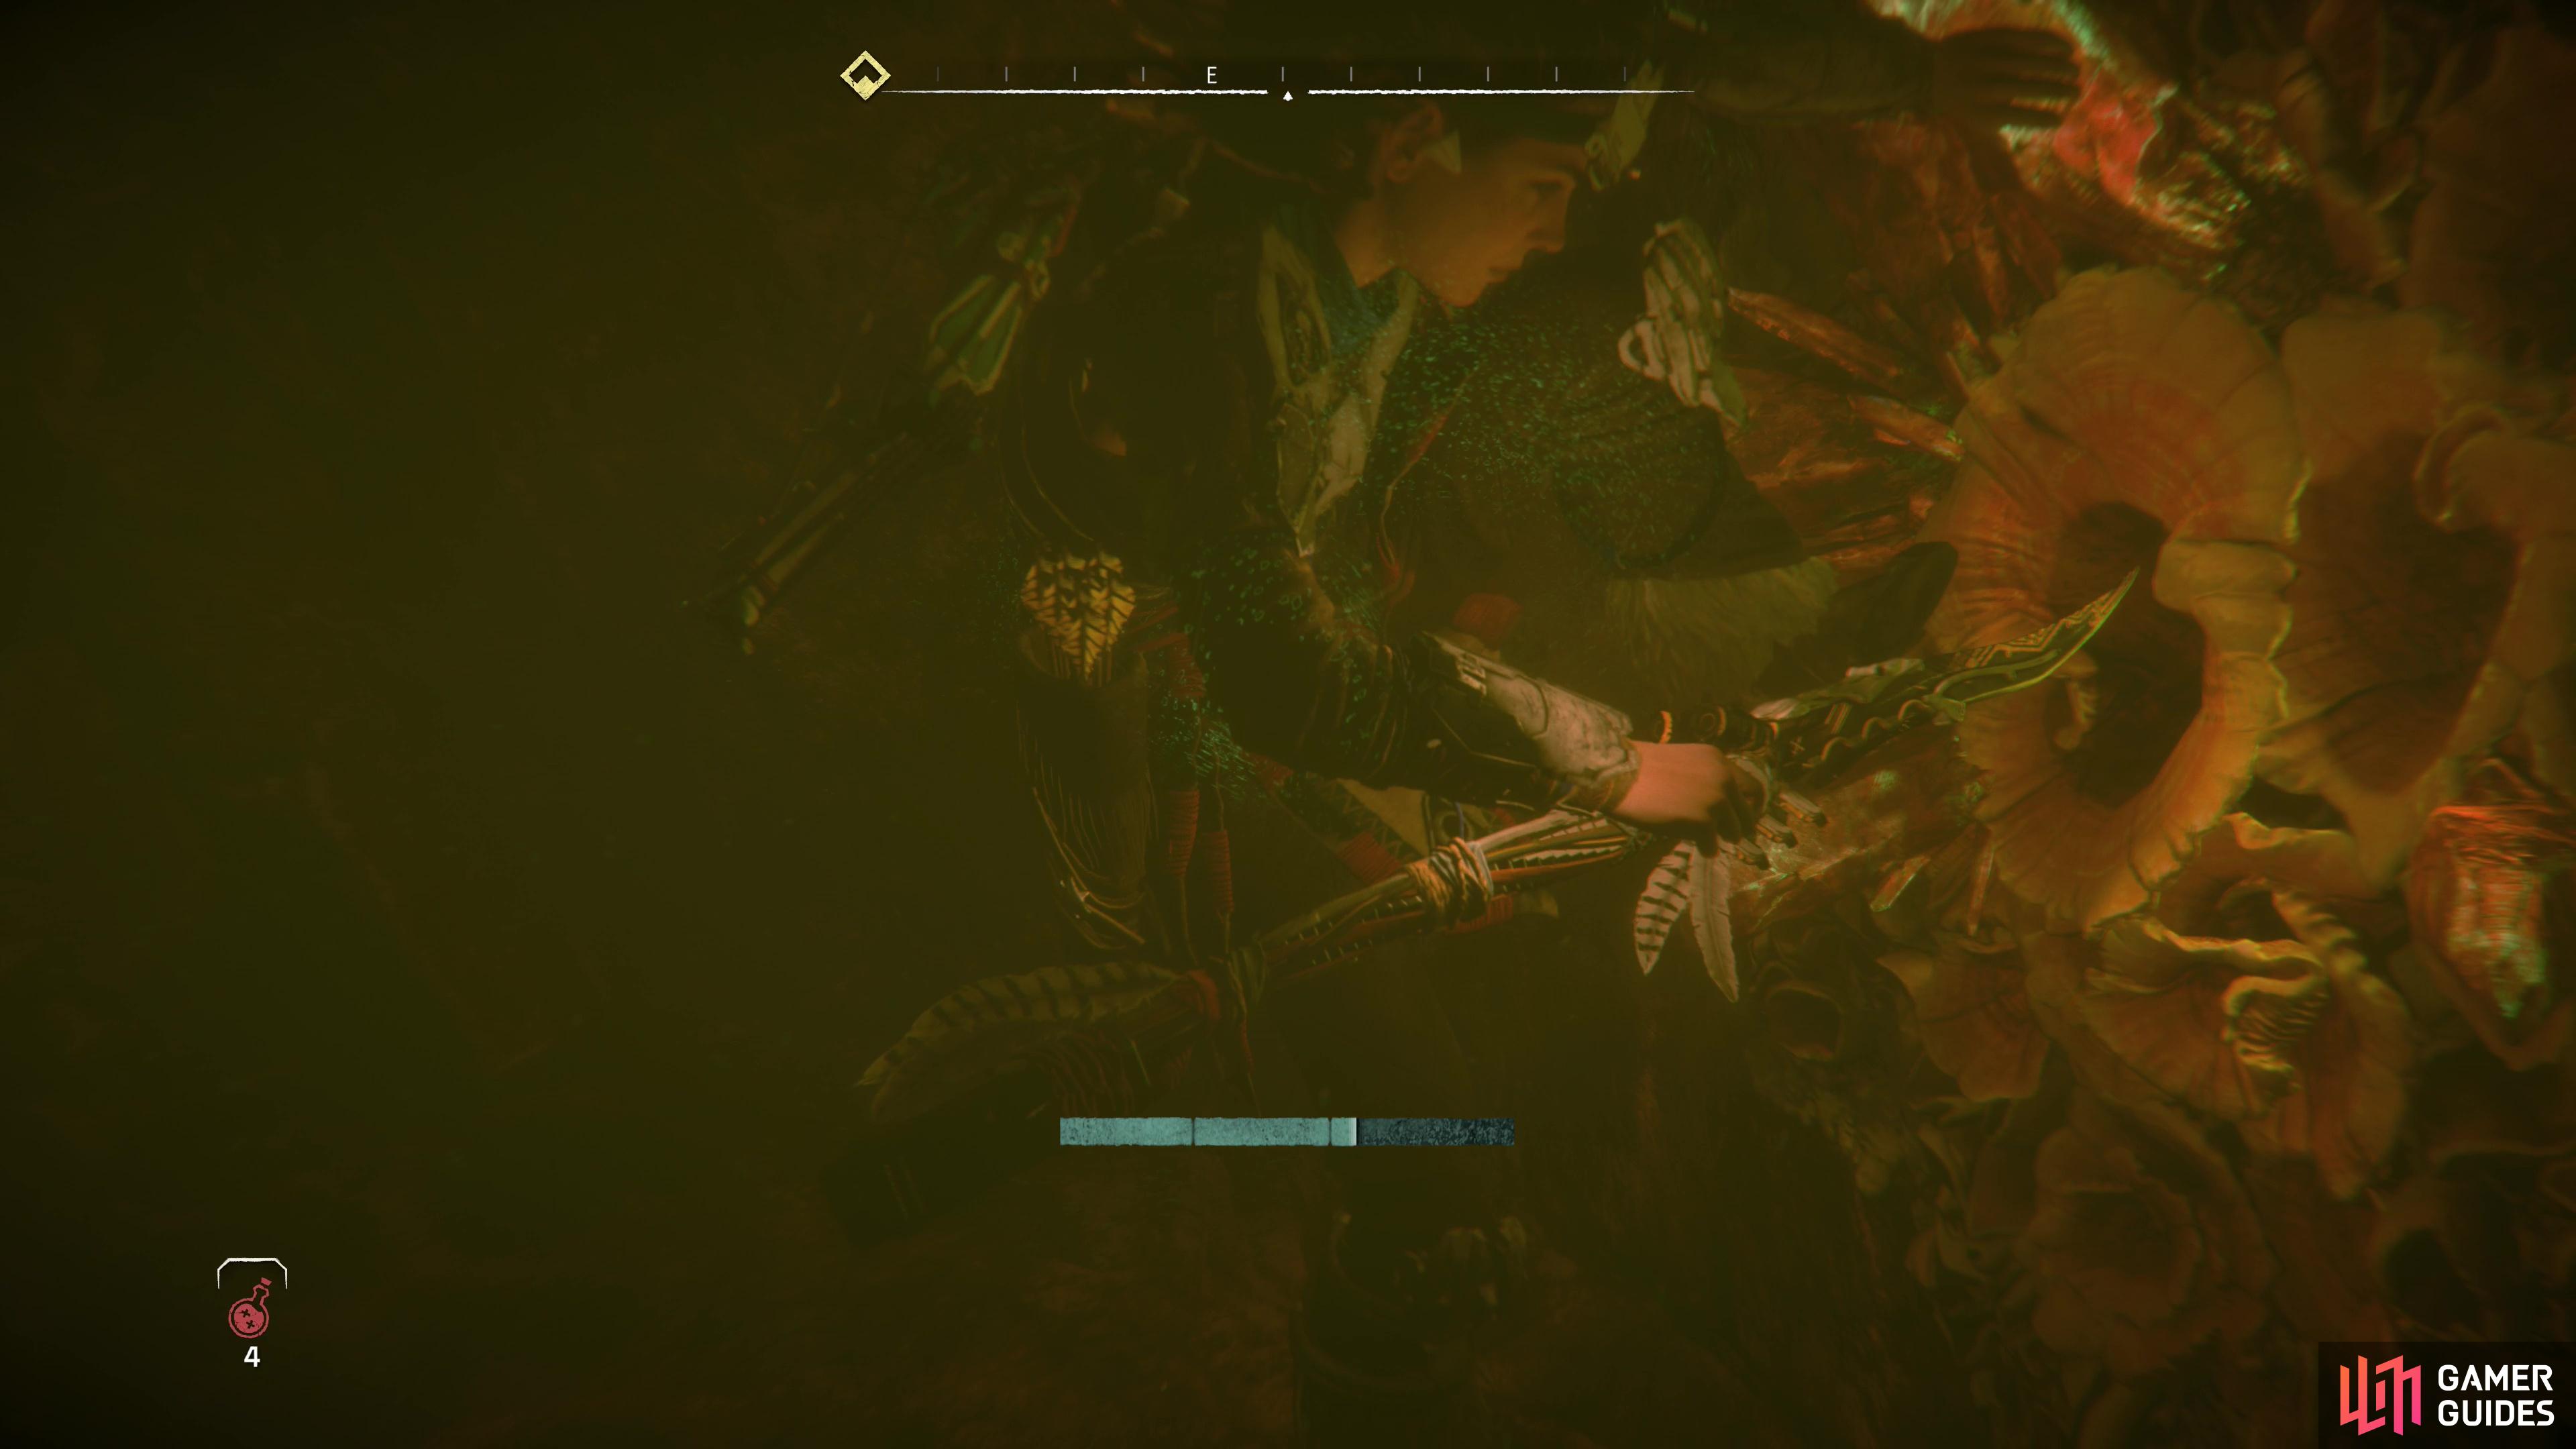
Enter the Crimson Narrows mine and turn left, crouch under a low wall - the remains of a much roomier tunnel - then dive into some water just beyond and swim forward a short distance before surfacing. This serves as a swimming tutorial: hold Square to dive, X to surface, move Aloy with the Left Analog stick, and turn the camera (and Aloy) with the Right Analog.


(1 of 2) Only when you can ignite Firegleam can you get through the side passage,

Only when you can ignite Firegleam can you get through the side passage, (left), and dive for the loot beyond. (right)
After you surface and Aloy calls out to the trapped miners, search for Moderate Supply Cache on a ledge above the water (you can loot it from the water, you just have to get close enough) and dive for more, albeit less lucrative loot if you wish. Once done, swim to the western end of the chamber where you’ll find two submerged passages: one to the northwest and one to the west. Both will get you to your destination, but if you take the western passage you can find a side-tunnel to the south which is currently blocked off. You won’t be able to get access until you complete the Main quest [Death’s Door], but there’s no real need to fret over it too much - all that waits beyond is a deeply submerged Generous Valuables Cache.
Anywho, swim down either of the flooded passages (use debris to gain a boost while swimming by pressing Triangle when prompted) then surface at a platform where the two miners can be found. They’re dry, but not well, as a conversation with the two - Lokuf and Thorden - will reveal, and Aloy proposes a rather unorthodox solution to their predicament.
Any problems caused by blasting can be solved by blasting!

(1 of 3) Meet with the trapped miners, whereupon Aloy will cook up a scheme for draining the mine.
Drain the Mine
Dive into the water to the northwest, then swim up a tunnel (also to the northwest). Don’t fight against the current, though; surface, climb a ladder, then continue north to find a large water-filled chamber to the north. Jump on in and note that many of the features in this chamber aren’t suited for swimming - it’ll become easier to navigate once it’s drained, so don’t worry too much about any loot that may be out of reach at the moment.
Swim to a structure to the northwest and climb out near a ladder. Immediately jump up and climb a second ladder, then turn left to find some beams you can leap across. Do so, then duck into a narrow passage that’ll open into a chamber patrolled by three Burrowers. There’s nothing you can do from up here, so drop into the water below and take out the machines by whatever means you find convenient.
With the Burrowers vanquished, make your way to the southern end of the chamber, then follow a ramp up and to the left, at which point follow some tracks until they’re rent asunder. Jump a gap to the north to reach the other side of the tracks, turn right (east) and climb a cliff face to reach some more narrow passages. Work your way through them, stopping to loot various caches as you go, then drop down two ledges to the west and make your way northwest to find yourself overlooking the large submerged chamber again.
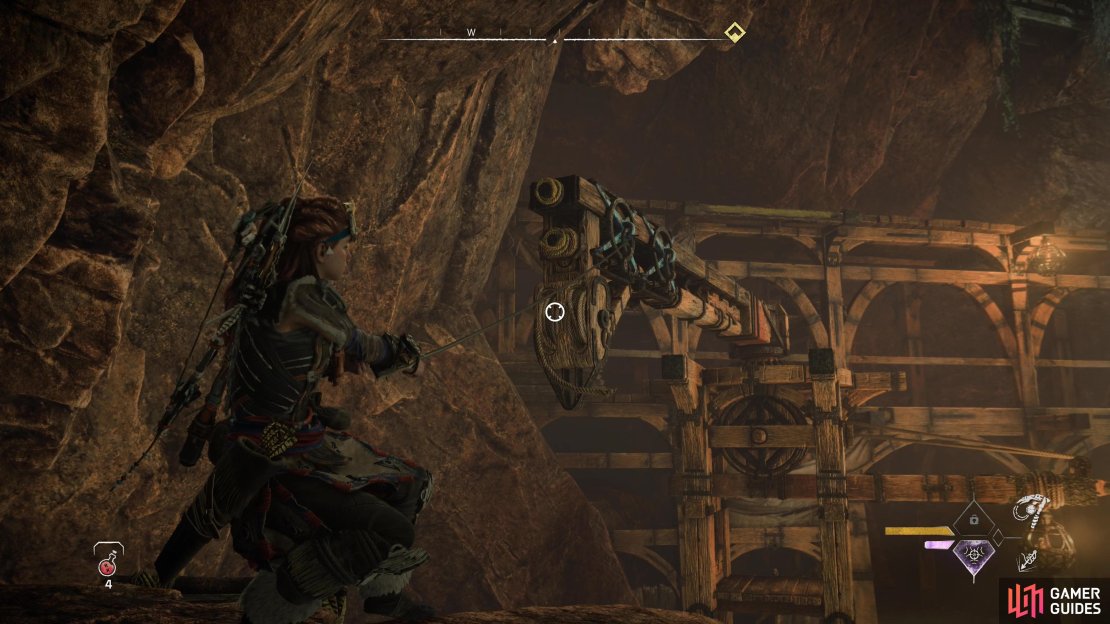
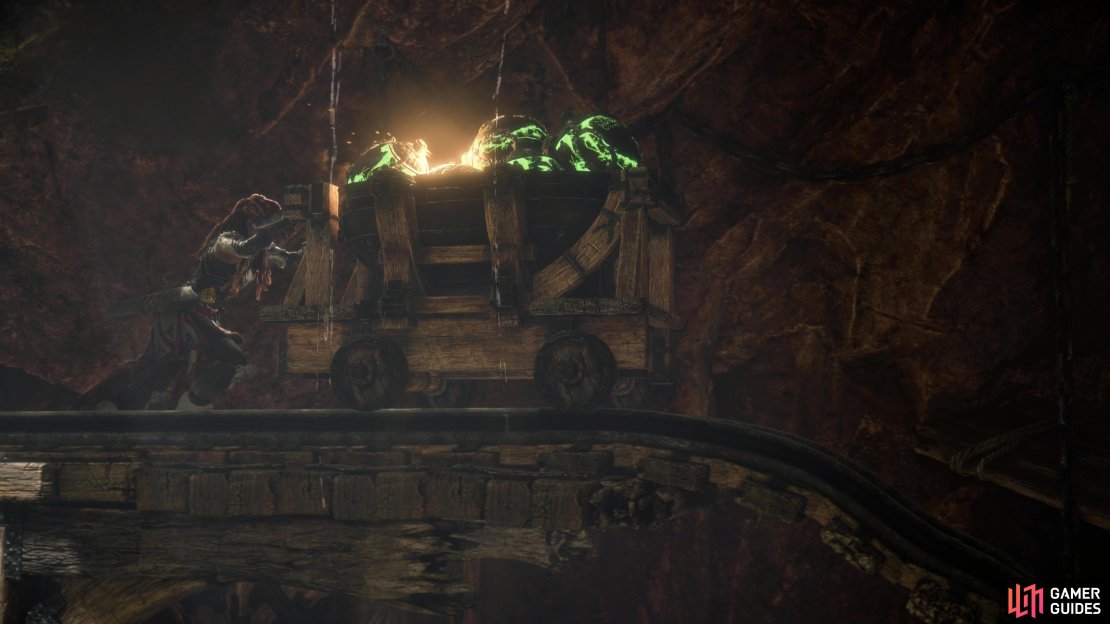
Kick a ladder to make your way back up quicker, then activate your Focus and look for a Wooden Crane, which you can drag over to you using the Pullcaster (aim with L2, switch to the Pullcaster by pressing Triangle, then fire the Pullcaster by holding down R2). Once the crane arm is pulled towards you, leap onto it, then use it to reach a higher platform than you could previously access. Follow the tracks to their end, then interact with the minecart to drain the mine.
(1 of 3) Detonate the explosives,
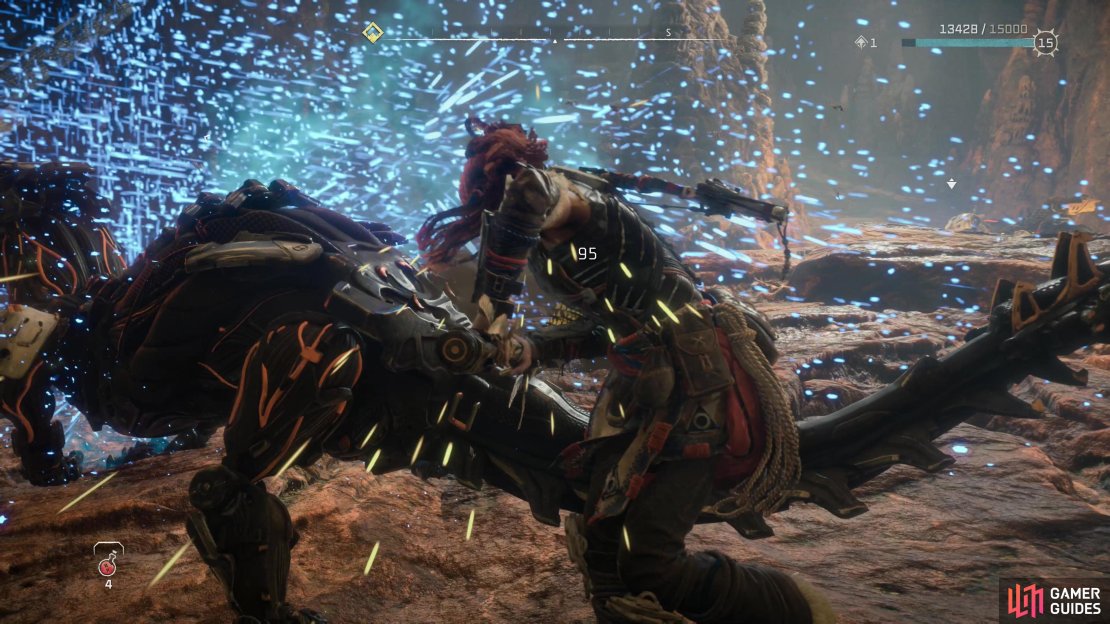
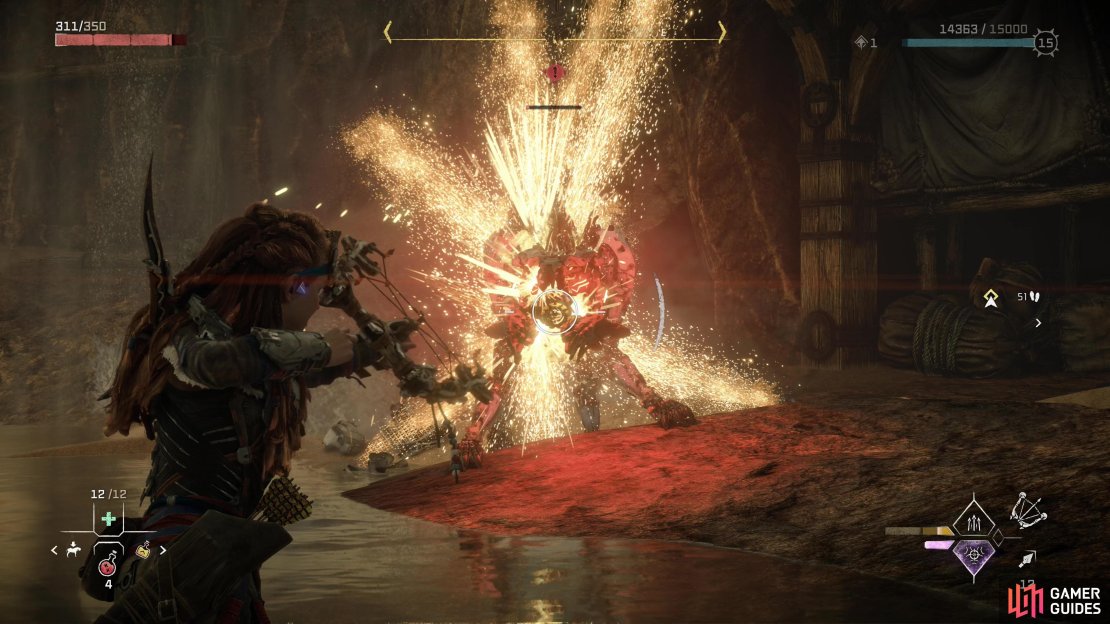
After successfully draining the chamber, Aloy will drop down and will be confront by a Burrower - a more dangerous Tracker Burrower variant, presumably lured by the explosion. Put it down the same way you would any other Burrower (it’ll just take a few more hits) and a Scrounger will appear, followed by a second Scrounger following the demise of the first. Once all three machines are defeated you can finally explore this chamber.
Head to the southern end of the chamber, where you’ll find two crates blocking the way. Grab one and pull it backwards - not only does this get it out of the way, but you can reposition it under the ladder to the north and use it to reach the platform, which is now out-of-reach due to the water being drained. With the water gone you can then walk a rope to the southeast. Note that unlike most other ropes, Aloy will not “cling” to this one - if you’re not precise, she’ll walk right off. Make your way across to the far platform and loot a cache, then jump up on the nearby scaffolding to reach a small ledge containing another cache. There’s no finesse here - keep jumping and you’ll get up there.
Drop down to the bottom of the drained chamber, exit via the hole in the wall to the south, then climb up to Lokuf and Thorden and tell them the good news. With that done, all that is left is to leave the mine and report to Korvend to complete this quest.
No Comments