
This is everything you need to know about how to find and defeat the Stillsands South Rebel Outpost in Horizon Forbidden West.
How to Find the Stillsands South Rebel Outpost
Although the Stillsands North may be the first Outpost you find in the area, the clue is in the name — it’s so specific that it means there’s another.
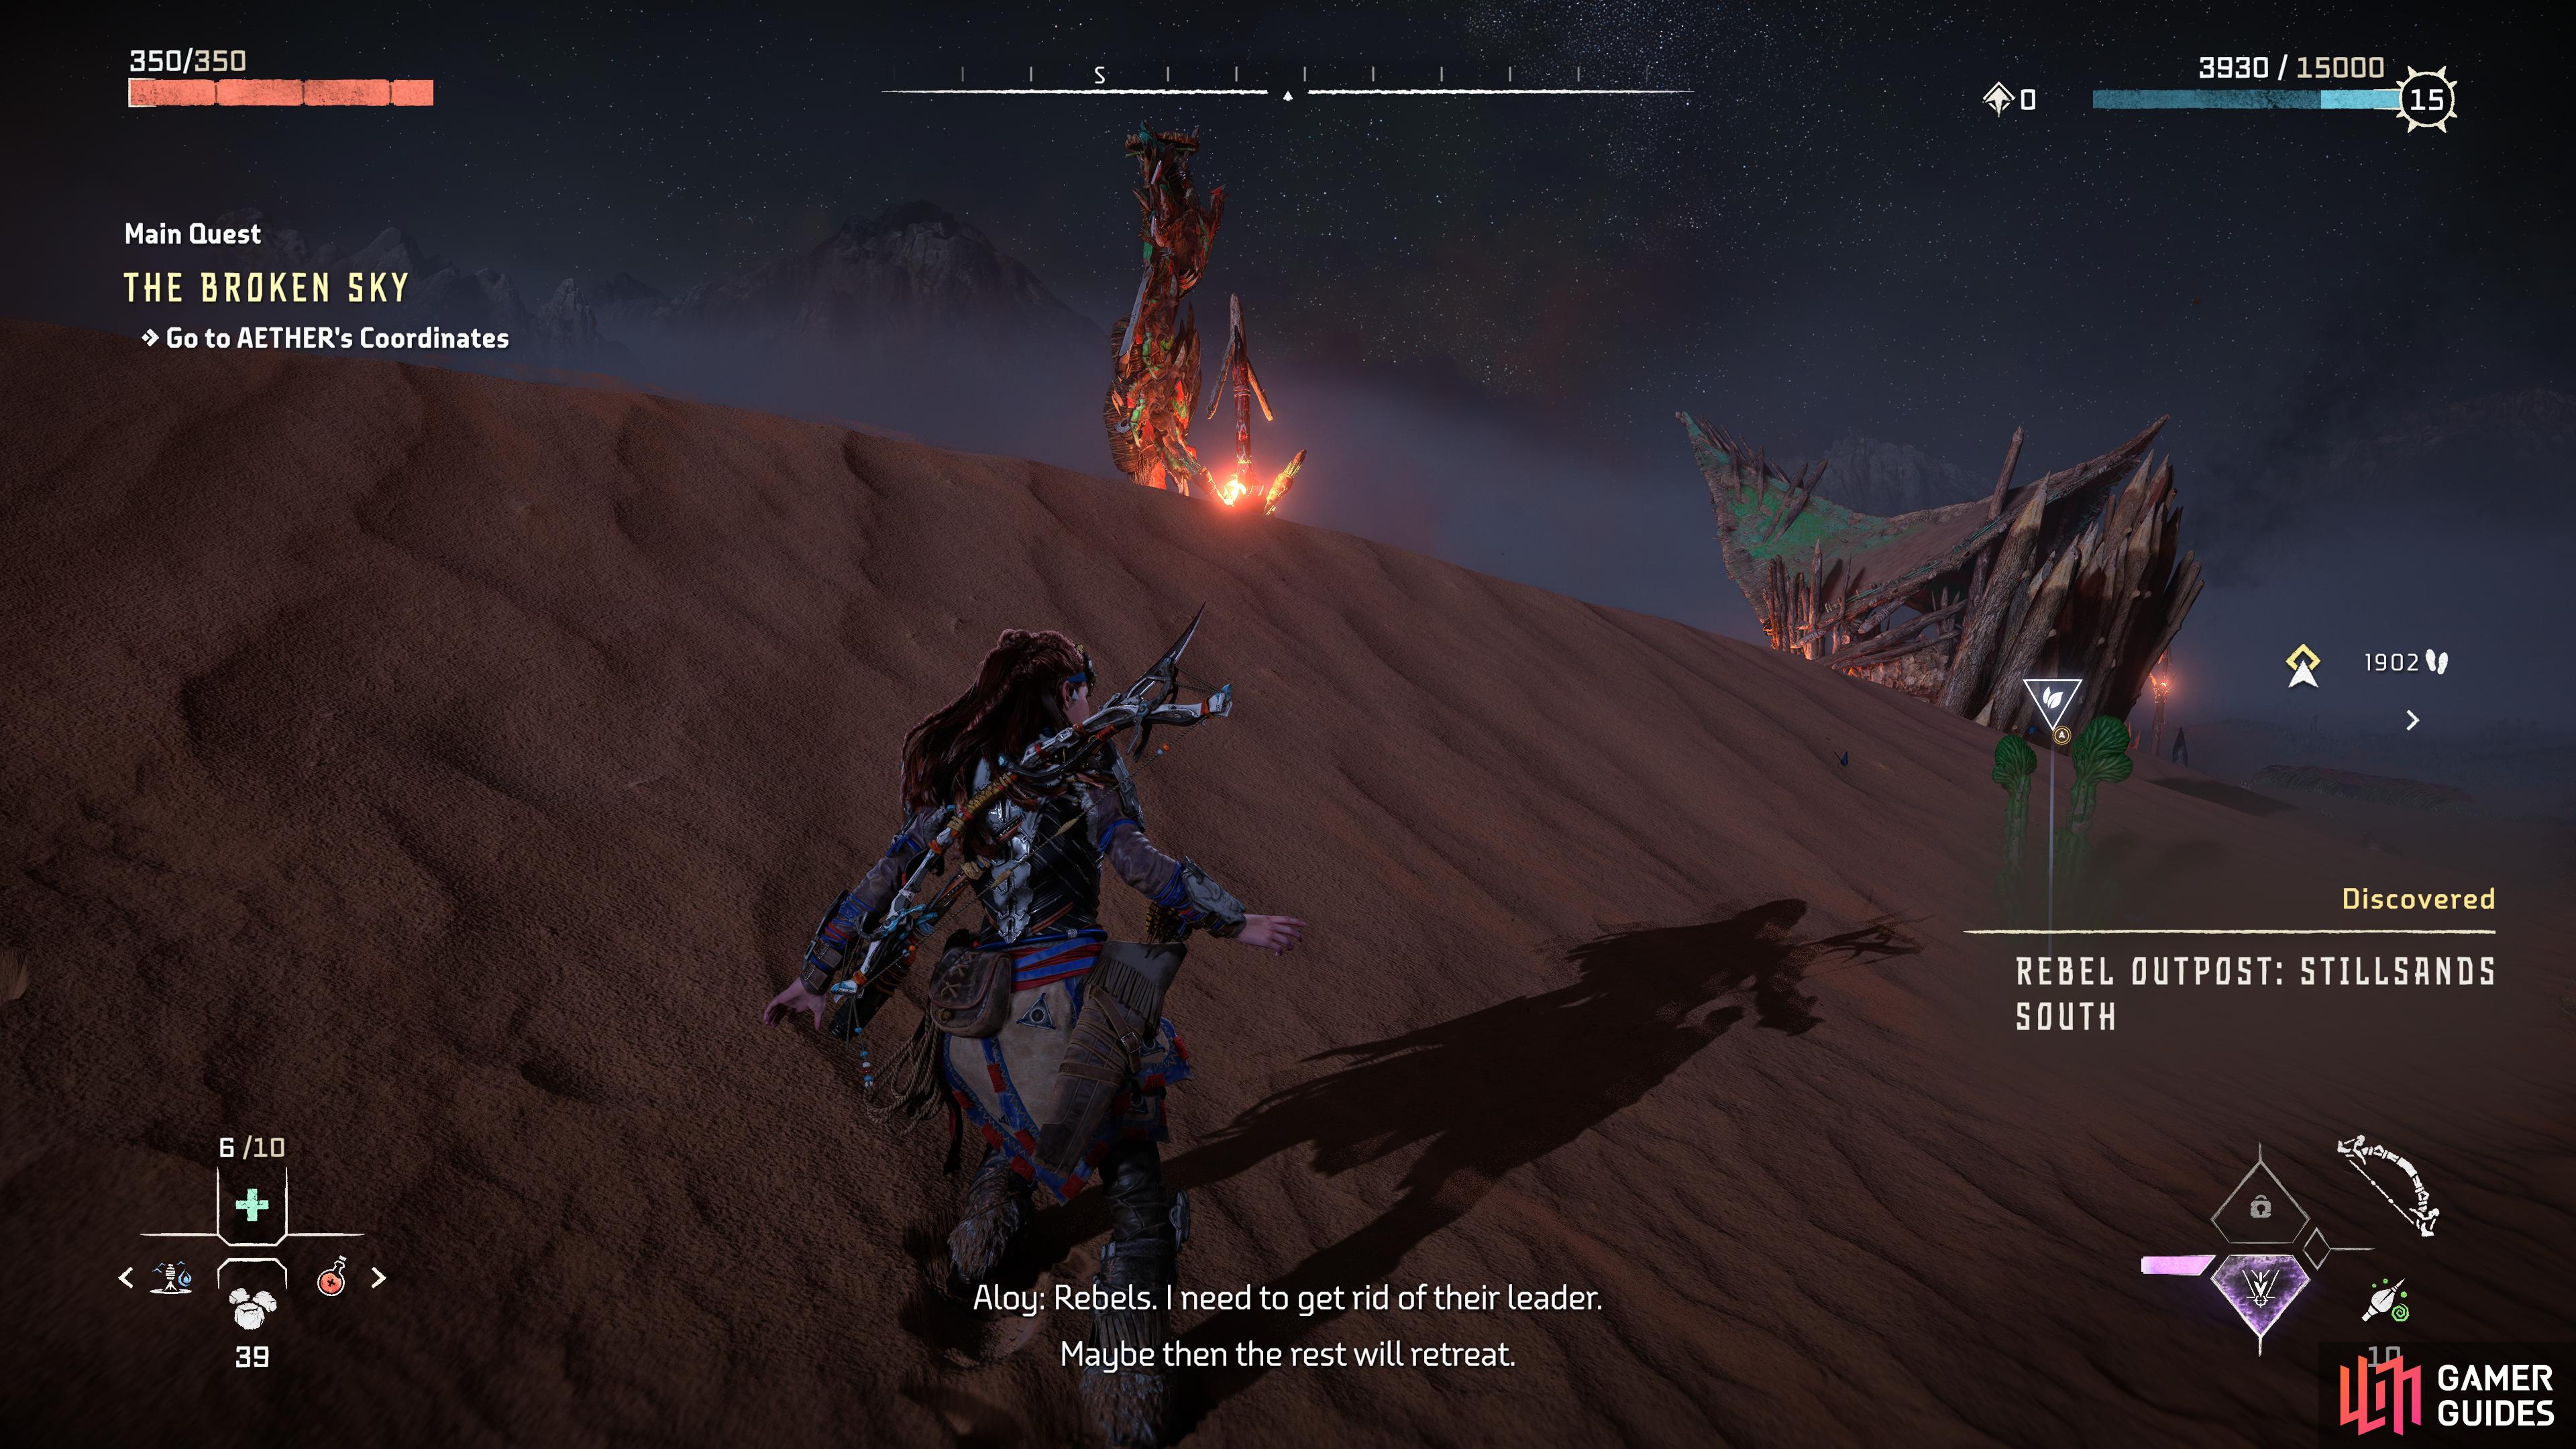
The Outpost is out in the middle of nowhere, but Aloy will note the approach when she sees it.
If you head southeast of this Outpost, somewhere below the Tallneck in the same area, you’ll come across another Outpost. Much like the one in the north, it’s highly recommended that you’re at least Level 25 before attempting it, though it’s doable on less.
How to Defeat the Stillsands South Rebel Outpost
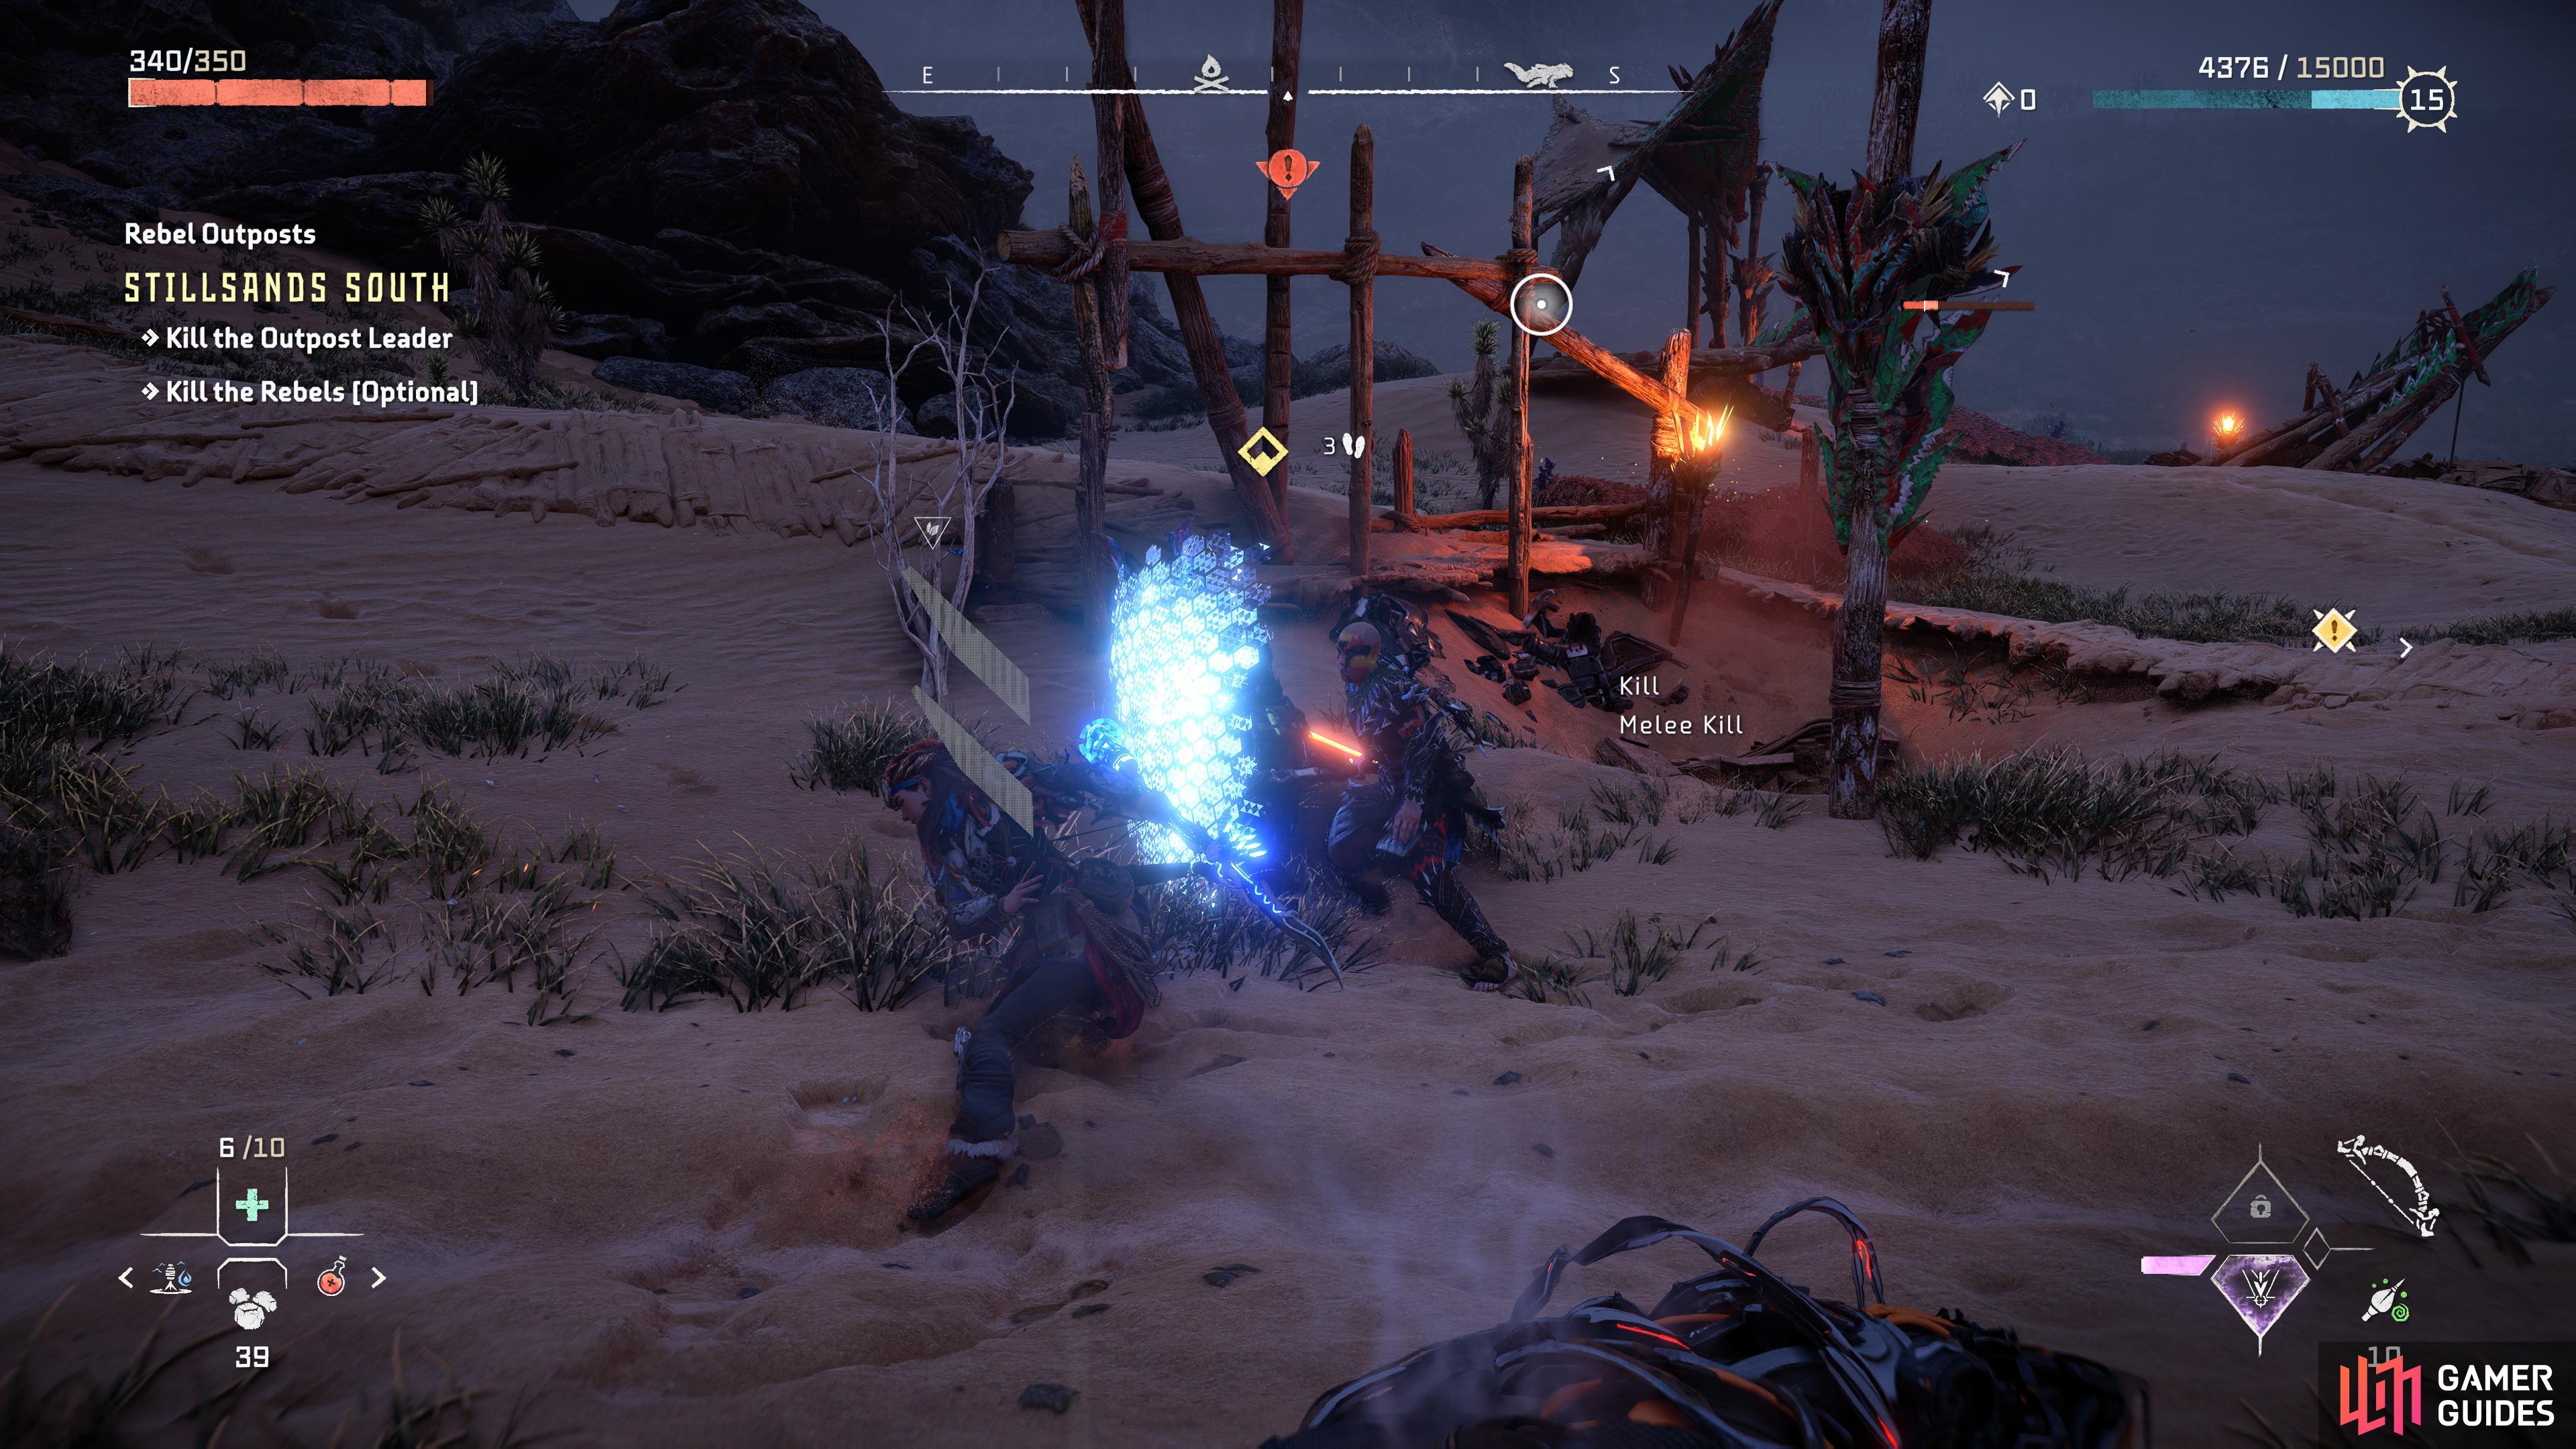
Much like its companion Outpost, this one is a bit hard to stealth. The reason for that is that it’s out in the dessert and this one provides very little cover. You can always try, but the easiest option is to start taking out the Rebel Soldiers quickly before they can ambush you.
Kill the Rebels is an optional part of the mission, as ever, but find and kill the Rebel Leader is the mandatory part and that’s what you’re going to want to focus on.
Fortunately, the leader will come out pretty fast. This time, however, he has a shield.
You’ve come across these purple shields in the game before, so you have two choices. If you do enough damage to it, the shield will break, leaving you free and clear to attack the Rebel Leader. If you don’t want to take option of hammering on him hard, you can dodge his attacks and then hit from behind as he recovers. He’s left vulnerable every time he hits or tries to hit you, so dodging and then hitting is a solid strategy that should take him down in no time.
The thing that makes this harder is the other Rebels attacking as you fight him. The Leader is almost impossible to stealth by this point, so you might want to take down some of the less important Soldiers first. Otherwise, they’ll be doing damage to you as you attack.
This type of shield was introduced in a main mission at the Embassy initially, which is where Aloy learned how to deal with it.
This Outpost provides a few more rewards than the others. When you knock down the Rebel Leader, you can retrieve a Rebel Key. Look for the purple icon around you and head to it to find a chest. Inside, you’ll find a lot of goodies you can collect for your trouble.
[REWARDS PICTURE HERE]
After that, if there are Rebels left, you can take them out. None of them have shields but they also don’t have loot as good as the Rebel Leader, so it’s really your choice. If you want to leave then you can, and Aloy will, as ever, remark to herself that the Rebel Soldiers will now abandon this place.
No Comments