
Walkthrough for Cauldron CHI in Horizon Forbidden West. How to find and infiltrate the Cauldron, as well as reach and override the core.
How to Find and Infiltrate Cauldron CHI
Of the four optional Cauldrons in the game, Cauldron CHI is probably the third one you will come across and do. It is located in the jungle area of the map and has a recommended level of 30. You will need to do The Eye of the Earth main story mission before you have free access to the Forbidden West (and this Cauldron). You will find Cauldron CHI to the south of the Raintrace West Rebel Outpost, which is southeast of the Thornmarsh settlement.
| Prerequisite | Level | Rewards |
|---|---|---|
| Complete The Eye of the Earth | 30 |
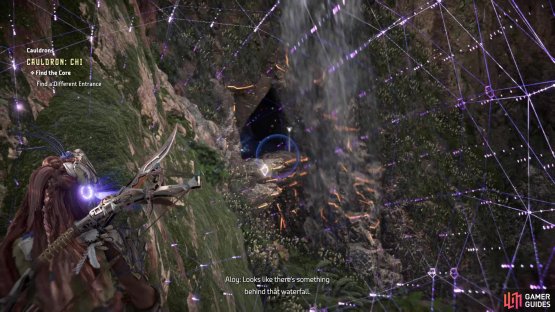
(1 of 2) You will find the entrance to the Cauldron behind this waterfall

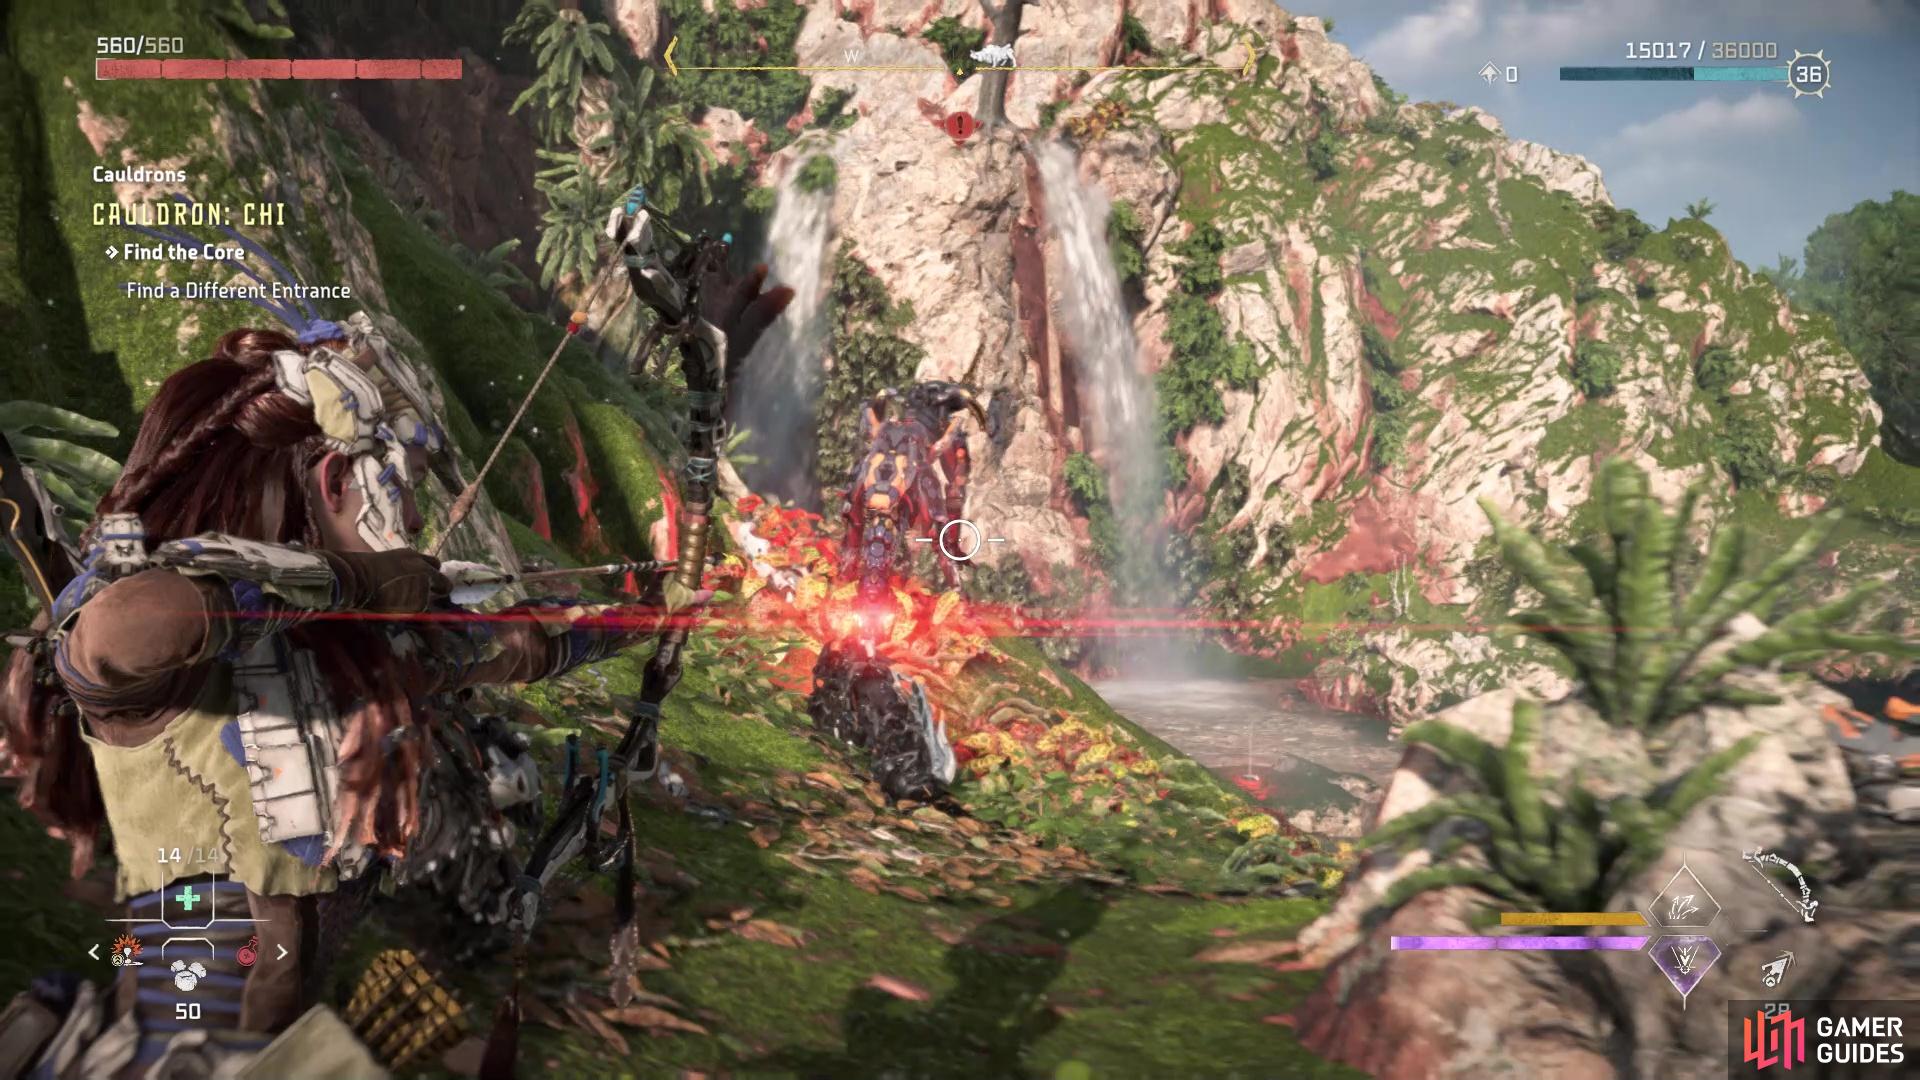
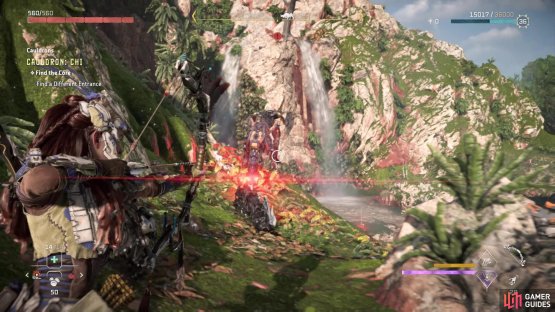
You will find the entrance to the Cauldron behind this waterfall (left), Of course, there will be some machines guarding the entrance (right)
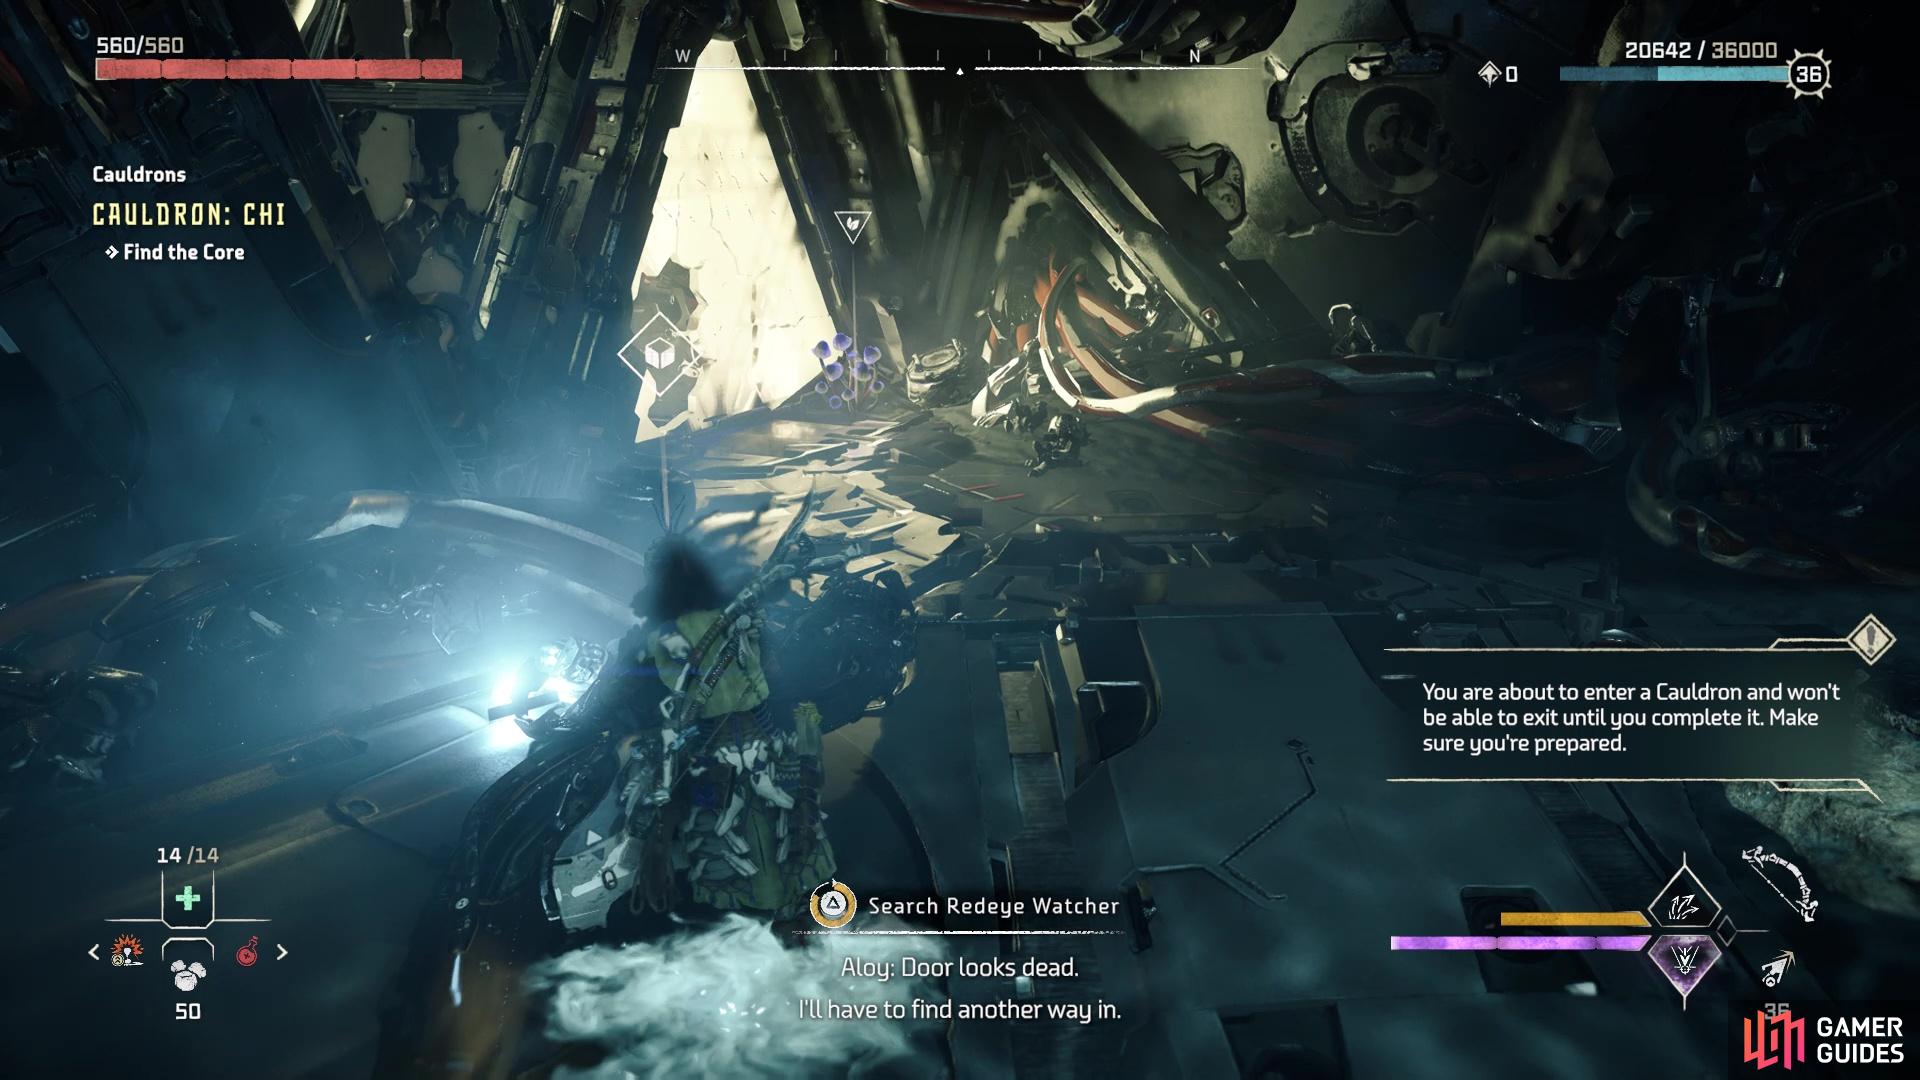
As you approach the entrance, you will see that you will have to find another way inside. Go north of the main entrance, then look to the west to spot a waterfall. You will be entering through a secret passage behind that waterfall, but there will be some Redeye Watchers and a Stalker guarding it. The Watchers are easy to take out, as they are similar to the Burrowers in some ways. The Stalker, on the other hand, can camouflage itself, but you’ll know one’s in the area whenever you see the mines on the ground. They will generally try to stay away from you, while dropping more mines, or shooting you with their Dart Gun.
You should still be able to see a faint outline of their body when camouflaged, so keep pelting them with your attacks. Although it’s not necessary to kill the machines guarding the entrance, it makes things a little easier. When all machines have been destroyed, go towards the waterfall and climb to the secret passage hidden behind it. Follow the tunnel to a rappel point and press the designated button to truly enter Cauldron CHI.
How to Reach the Core of Cauldron CHI
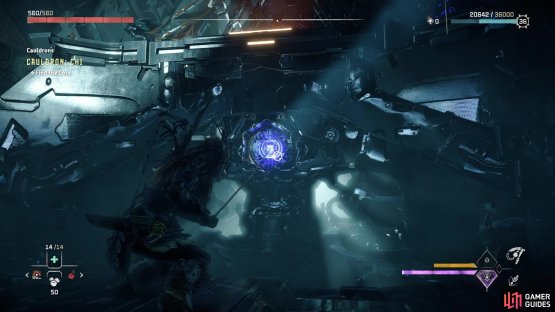
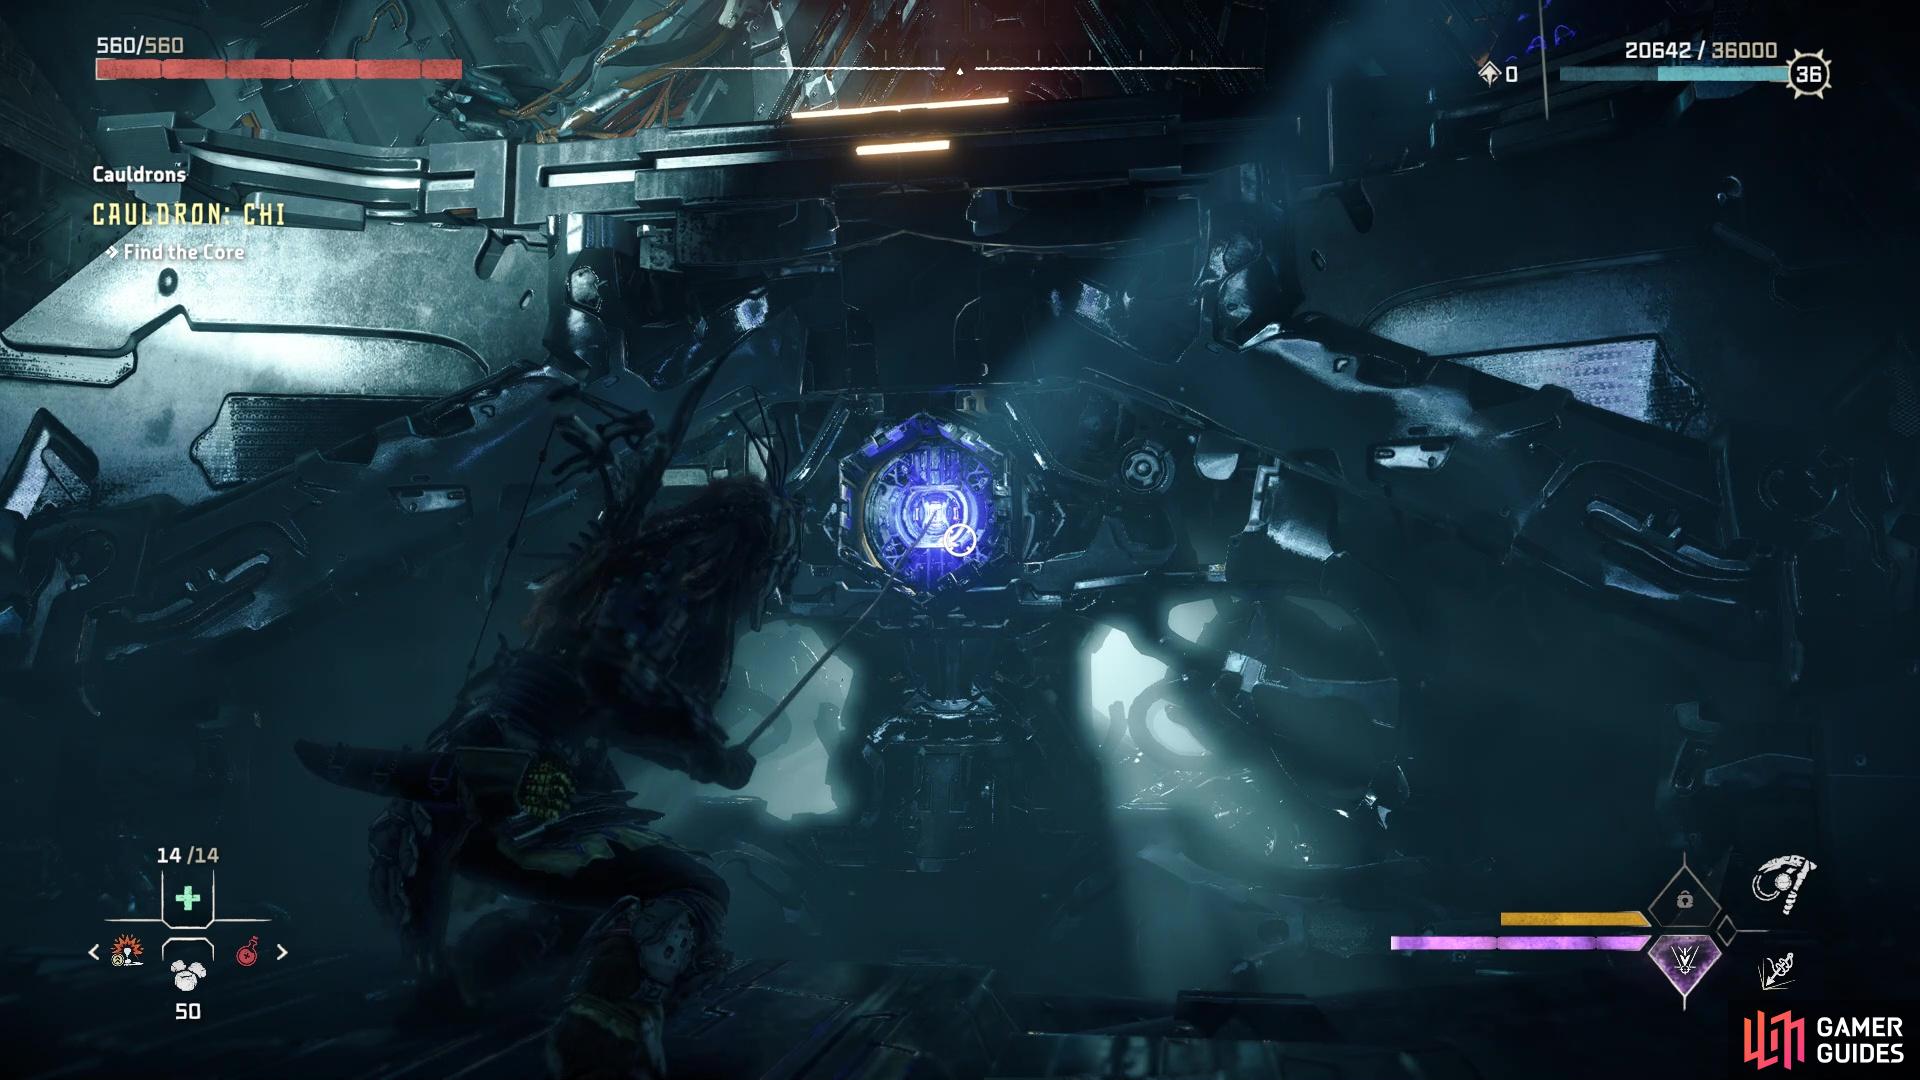
Upon landing in the actual Cauldron, Aloy will point out the door ahead is broken and you cannot go through it. However, to the right of the door is a partially broken glass window-like contraption. Walk up to it and use a melee attack to smash through it, which will be your new “door.” Step through and follow the tunnel until you reach a larger room. You should notice a blue light opposite of where you entered. There is actually a canister behind that blue light, but you won’t be able to use it while it’s retracted. In order to draw it out, you will need to use your Pullcaster on it. So, do that and climb up the ledge, then override the cauldron door to continue on with this place.

(1 of 2) Break the glass window-like thing here to get past the initial door
Break the glass window-like thing here to get past the initial door (left), You’ll have to use your Pullcaster to get the canister out for climbing (right)
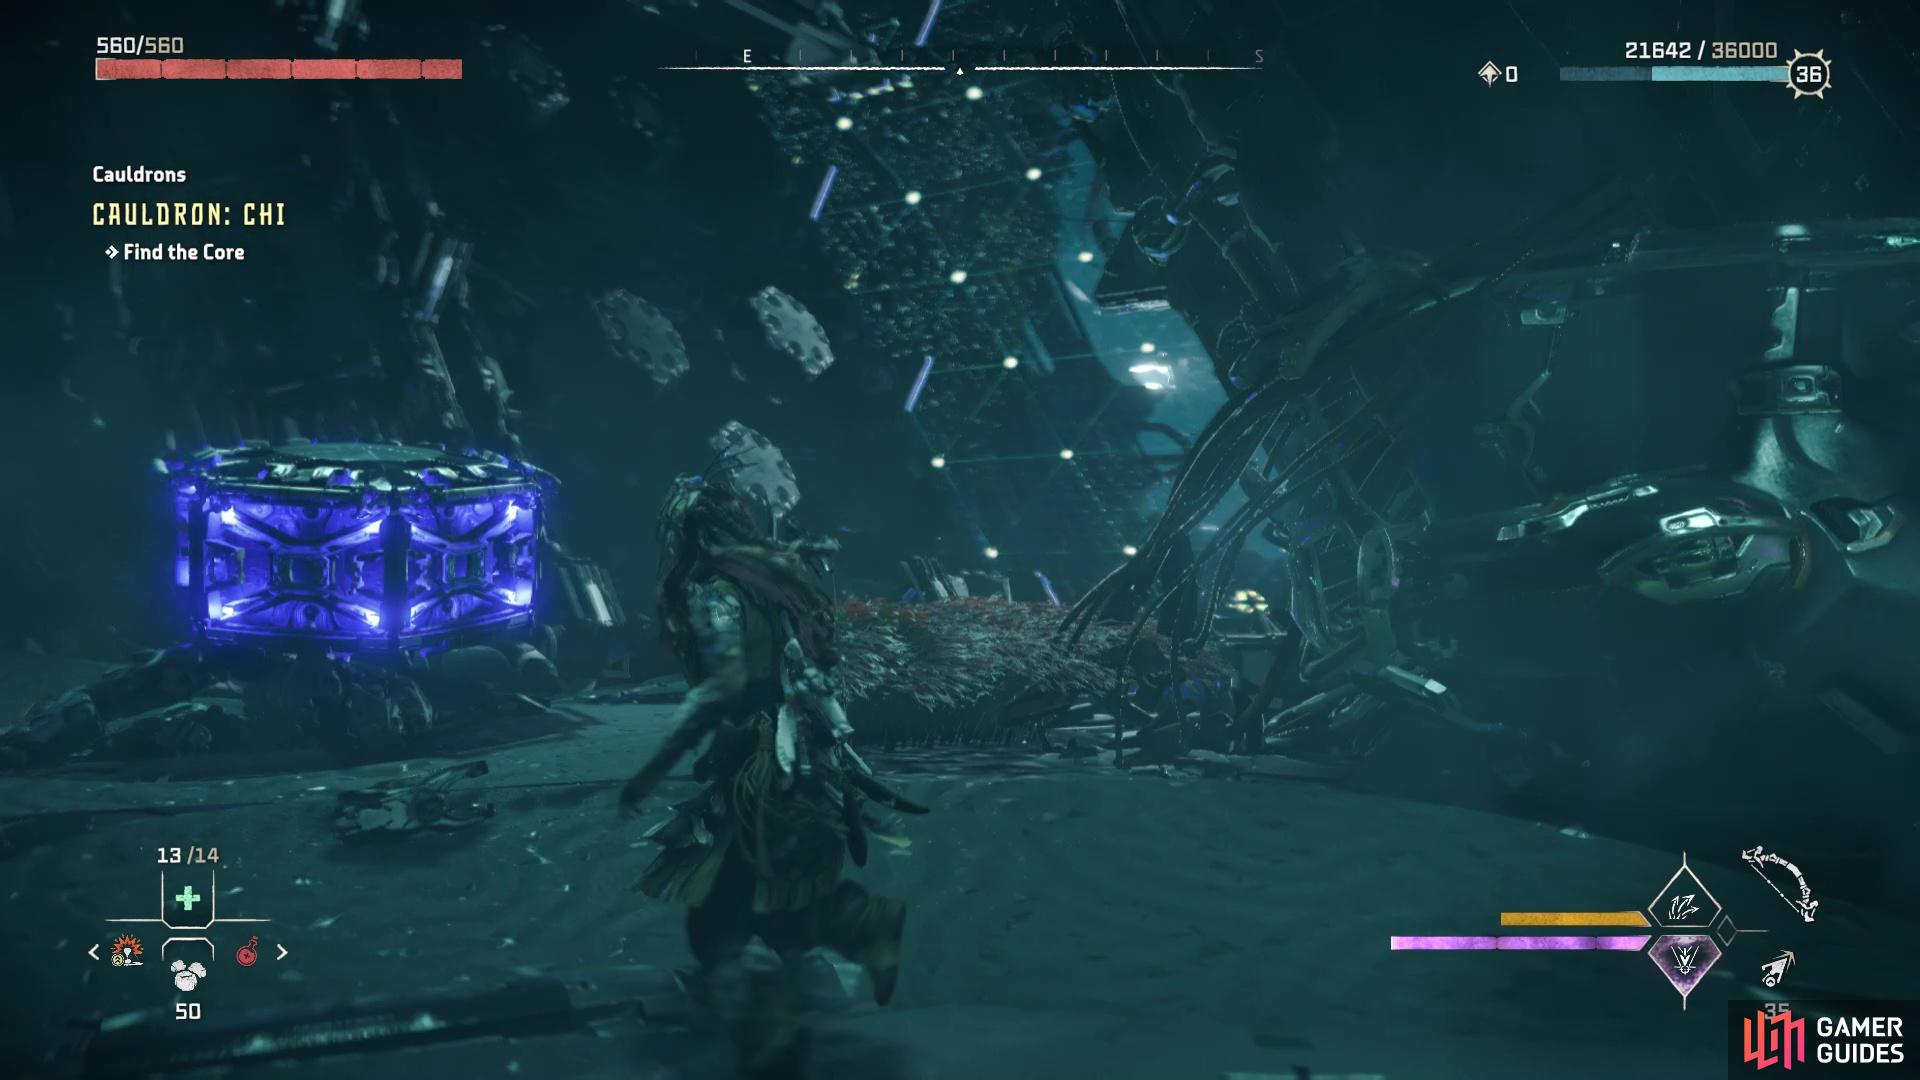
As soon as you enter the next room, you will find some Scroungers waiting for you (some may be Apex variants). Luckily, there is some tall grass littered throughout, in case you want to be a little bit more sneaky. If there is an Apex Scrounger, target that one first, then handle the others as cleanup. There will be more canisters in the wall, similar to the previous spot, here, but you can only pull out two of them from the ground. In order to reach the higher ones, you will need to find a way to get to a higher ledge. In the middle of the room, there is a large cargo container still attached to the carcass of a Shell-Walker.
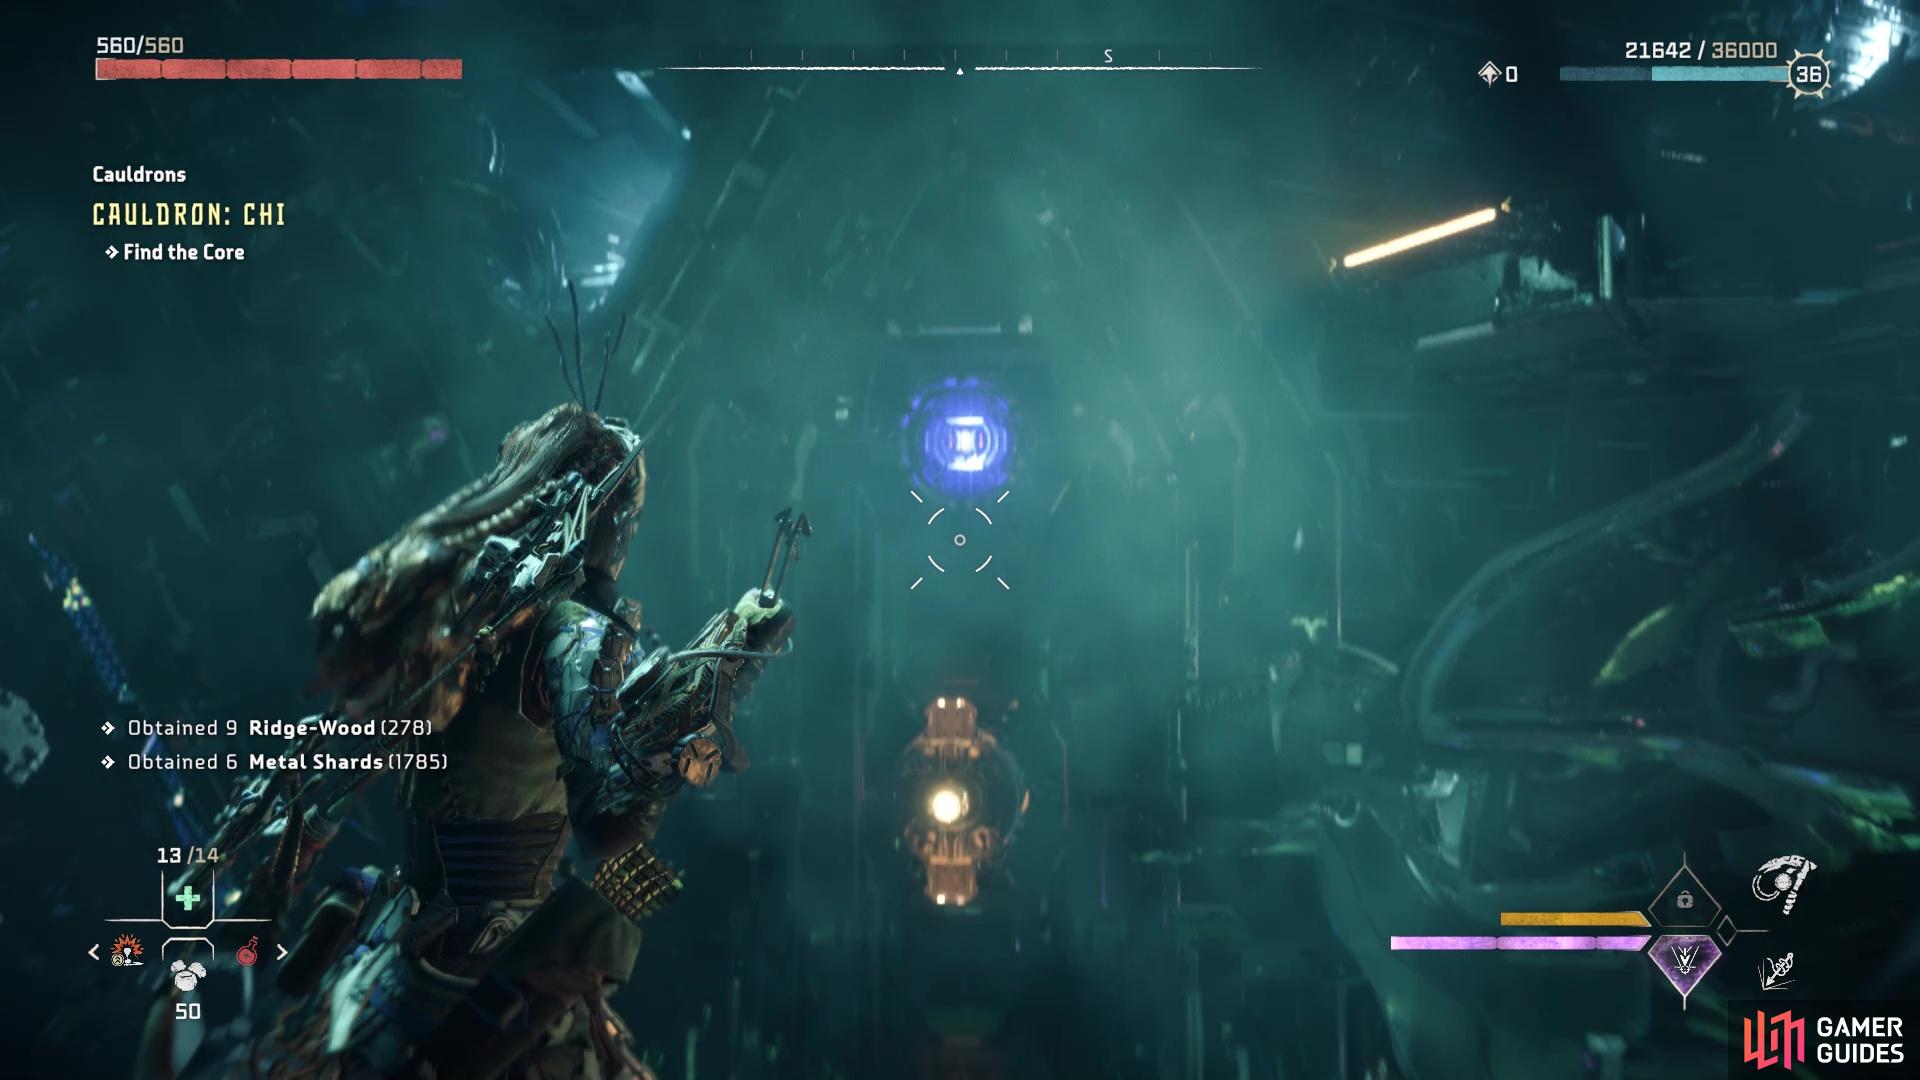
Using your Focus, scan the Shell-Walker and you see a clamp holding the cargo holder in place still, so shoot it to disconnect it. This allows you to move it freely, giving you a chance to reach all but one canister with the Pullcaster. Position the cargo holder below the middle set of canisters, then jump up to grab the one and climb to the ledge to the right. From this little ledge, you will be able to target and pull the final canister at the top. From there, you can either jump to that set of canisters or use the cargo holder to reach them. At the top, go over to the handhold to the right and climb to the area above.


(1 of 2) You can use the cargo holder from the dead Shell-Walker to reach the canisters
You can use the cargo holder from the dead Shell-Walker to reach the canisters (left), You’ll need to go to an upper ledge to reach this canister (right)
Kill the Machines
Follow this tunnel to a new area, where you will find some more machines waiting for you. There will be some Scroungers, as well as a Spikesnout and a Frostclaw. Of the machines, the Spikesnout should be your top priority, as it can produce a gas that powers up the damage of any machines it touches. The Spikesnout shouldn’t take much to kill, and there are Bellowback sacs you can use around the arena, if you can lure the machines over to them. The Scroungers either don’t care that you’re there, or they simply don’t join the fight at all, since they tend to stick to doing their thing with the scrap piles.
That leaves you with the Frostclaw, which is the most dangerous of the machines here, in terms of actually killing you. It can toss frozen rocks at you, do a lunging attack, as well as cause some ice spikes to come out of the ground around it. The Frostclaw is weak to Fire, and strong against both Frost and Shock. If you have Purgewater ammo available, you could use that, then follow up with either of the two elements it is strong against to make things easier on yourself. It’s a good idea to keep on the move against the Frostclaw, as it can produce some ice underneath you, which can be difficult to see if you’re not paying full attention to your surroundings.
Once you’ve killed the machines, you should take a look around the room. There are some ledges that are out of reach here, as well as a robot arm in the middle of the room, which has some grapple points on it. If you look closely, though, you will see the arm is holding one of the Shell-Walker’s cargo holders, meaning you will be able to latch onto it with the Pullcaster. In fact, this is what you’re meant to do here, as latching on and pulling will also move the entire arm. There are two ledges in this room, one of which has a barrier right next to it, so you will want to move the arm over to the other ledge. This one will bring you to a Network Uplink, which you can override and start an elevator.
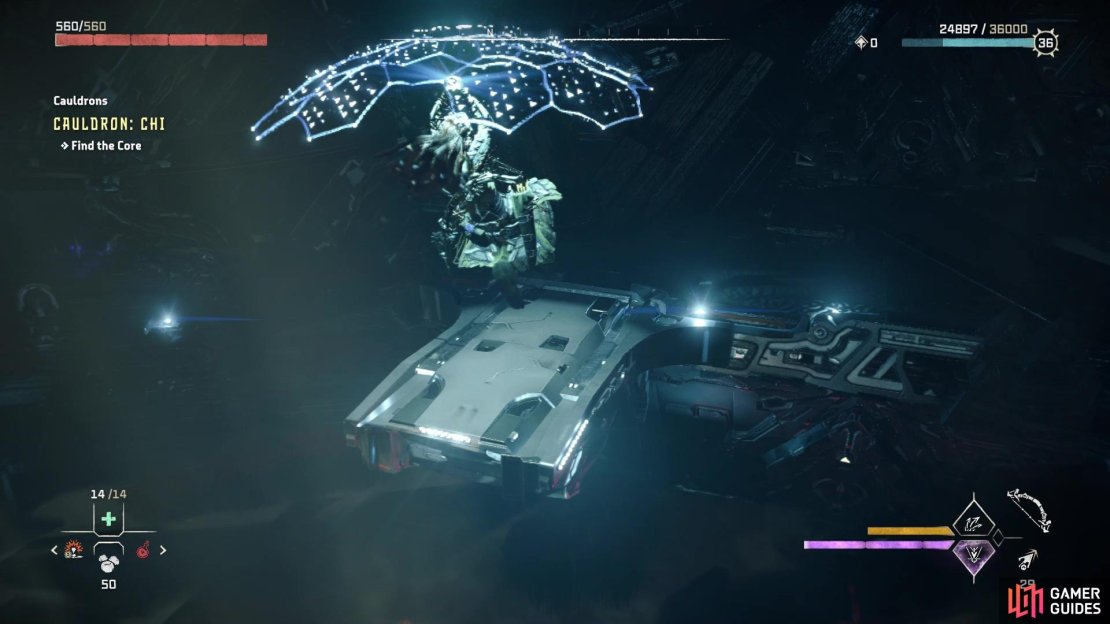
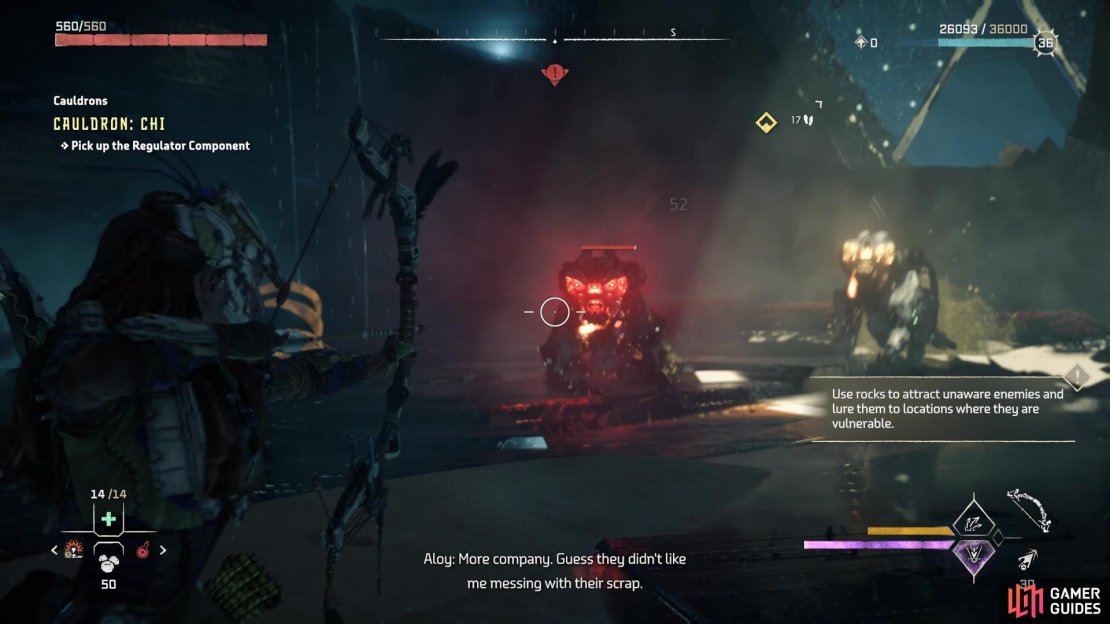
The elevator takes you to the room with the core, but things aren’t quite that easy. As you try to override the core, something stops you and some unknown objects rise up from the floor. These are core regulators and one of them is missing a part. Use your Focus to find a trail leading from the regulator and follow it to a wall, with it going up it. Unfortunately, the vents on the one side are broken and the other side is just out of reach, so you will have to find something you can use to reach those vents. Of course, in between the vents is another cargo holder, but this one is behind a barrier.


(1 of 4) The cargo crate is behind a barrier you cannot pass
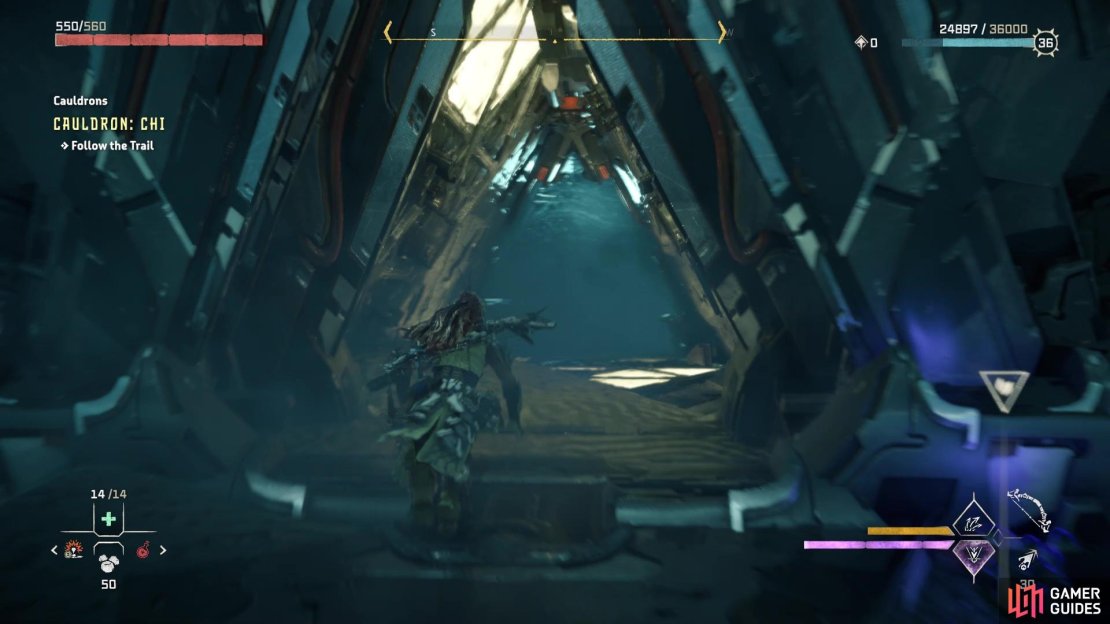
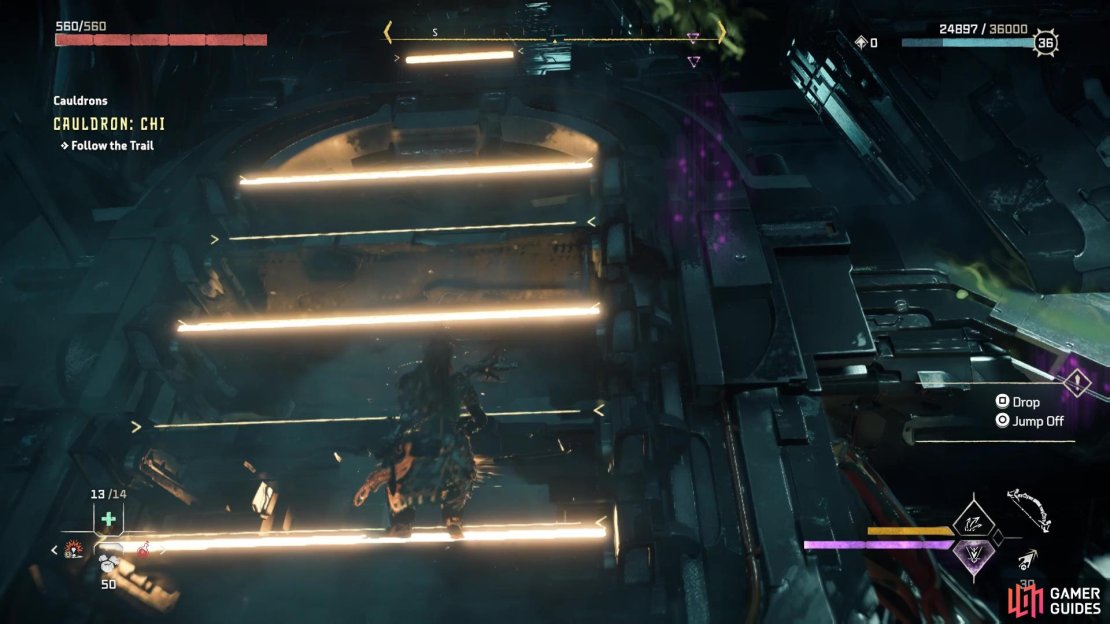
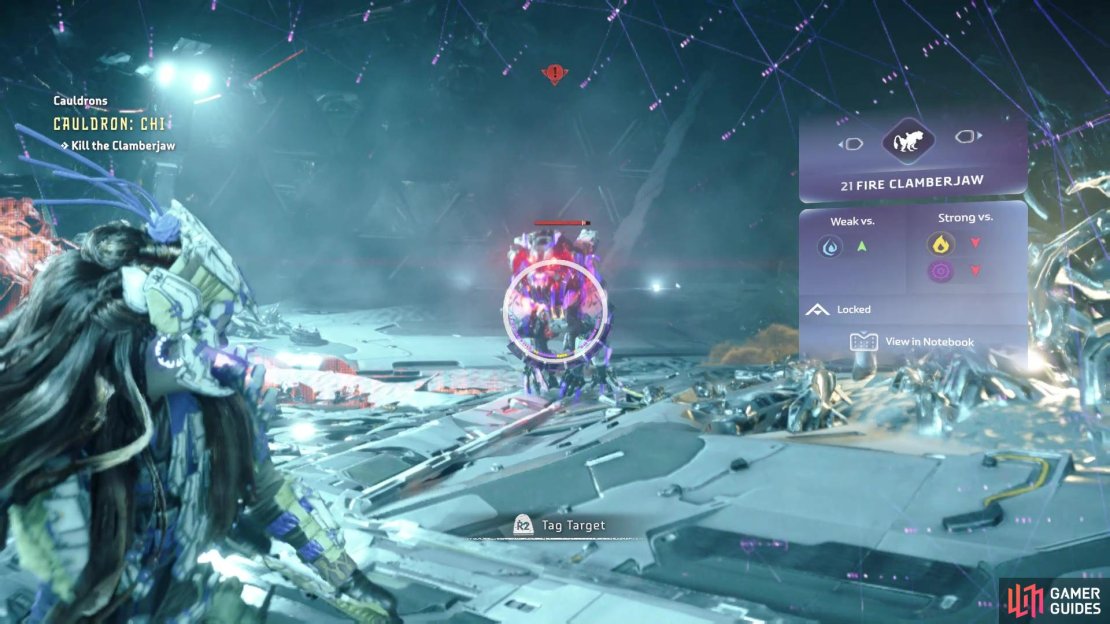
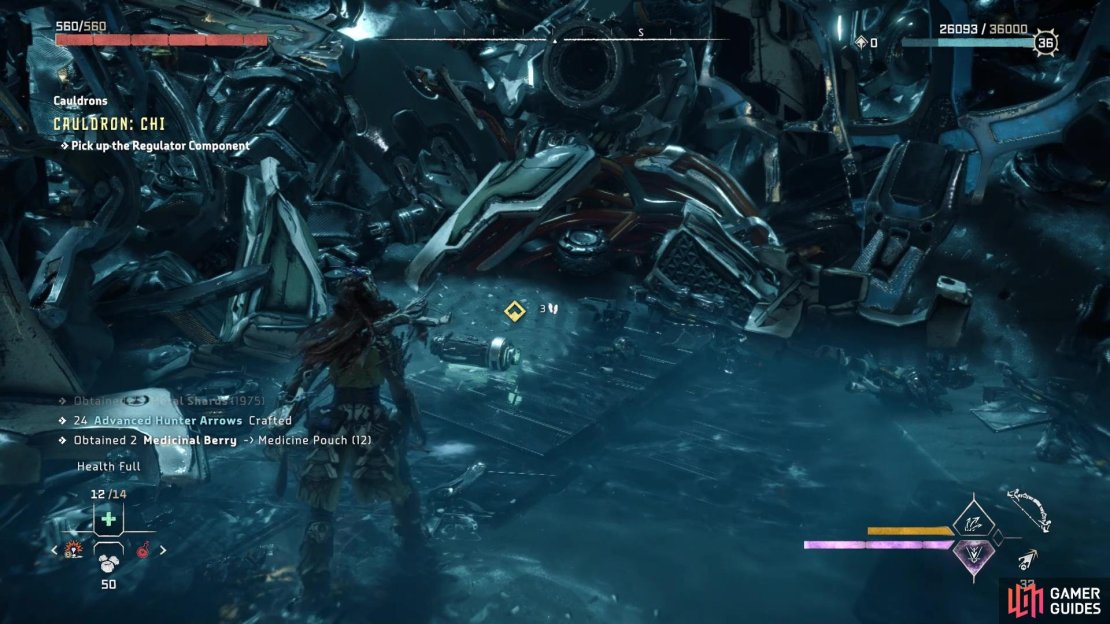
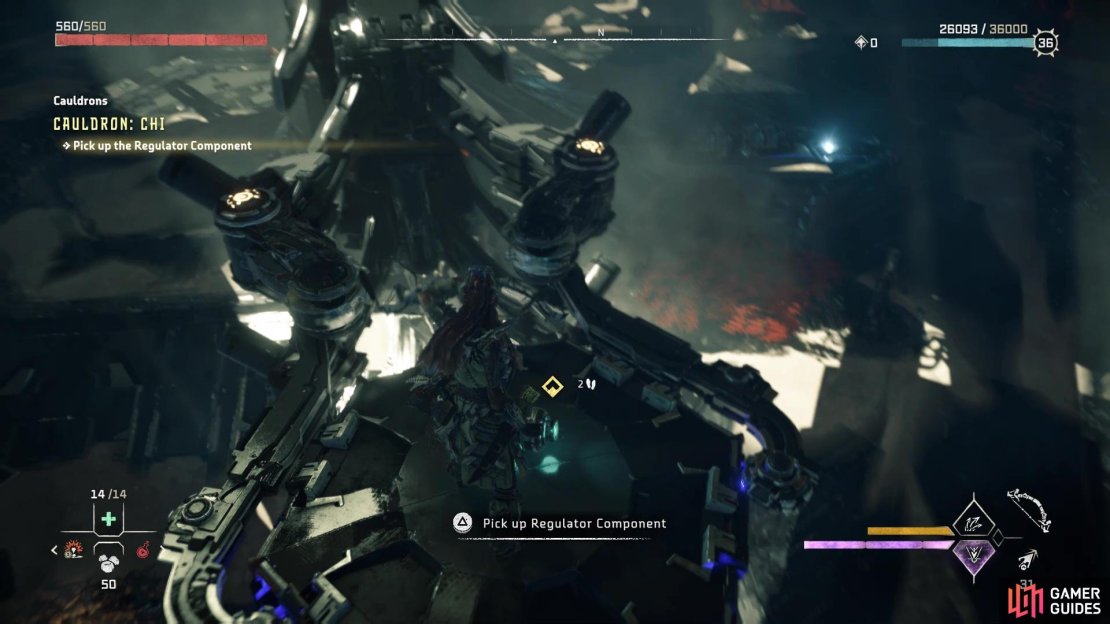
To get to the cargo holder, you only need to go a little to the left of the barrier to find an opening, which will take you to the crate. Push it slightly through the barrier, then go back out and grab it from the outside, pushing it into place at the base of the vents you can climb. Go up the vents and follow the trail at the top, to a zipline that takes you to an area with some large scrap piles. You will need to use your Focus here to find the regulator, although there are a number of broken ones around the place. The one you need is to your southeast and as you go to pick it up, a Fire Clamberjaw will pop out and start attacking. Apart from tossing some fireballs in your direction, the Clamberjaw’s other attacks will be mostly physical in nature.
Retrieve the Regulator Component
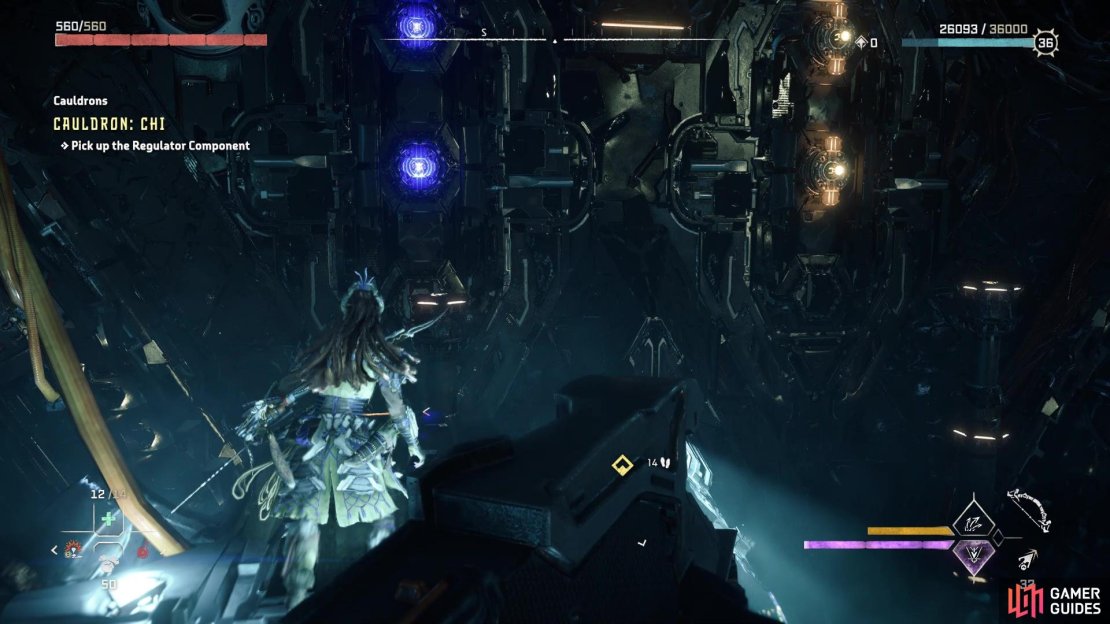
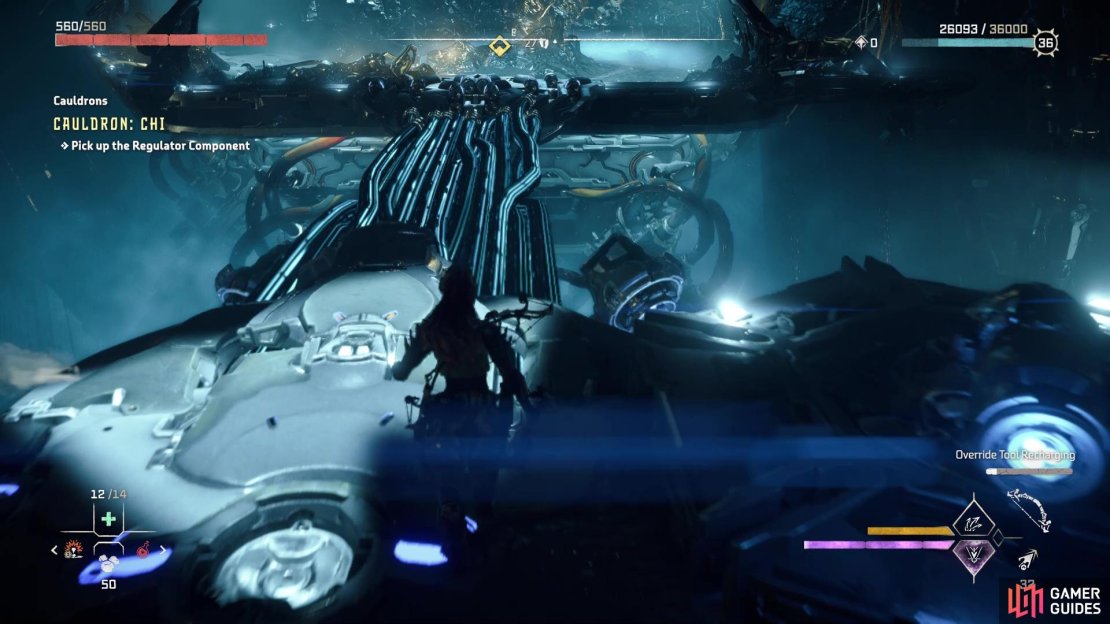
Defeat the Fire Clamberjaw, then pick up the regulator and try to find an exit. None of the usual ways seem plausible, but if you go to the southwestern side, you should see a red light across the gap. If you pulse your Focus, you should see some yellow highlights near there, with some more canisters stuck in the walls. Use your Pullcaster to expose them, then climb over and jump onto a pillar, where you have one more canister. Override the network link to create a bridge for yourself, allowing you to bring along the regulator. Carry it along until you reach the barrier, which you can disable with the network link right next to it. You will now be back in the room where you fought the Frostclaw earlier.
You will need to bring the arm over to the ledge right next to where the barrier was located, place the regulator on top of it, then use the Pullcaster to bring it back to the previous ledge. Of course, whenever you place the regulator on the arm, two Fire Clamberjaws will appear and start attacking you. Take them out, finish bringing the arm over, then carry the regulator towards the elevator, which will appear with two Redeye Watchers on it. They shouldn’t take you long to kill, so do that, place the regulator on the elevator and take it back down to the core room.


Place the component in the one regulator, and before you can do anything else, a Slitherfang will show up.
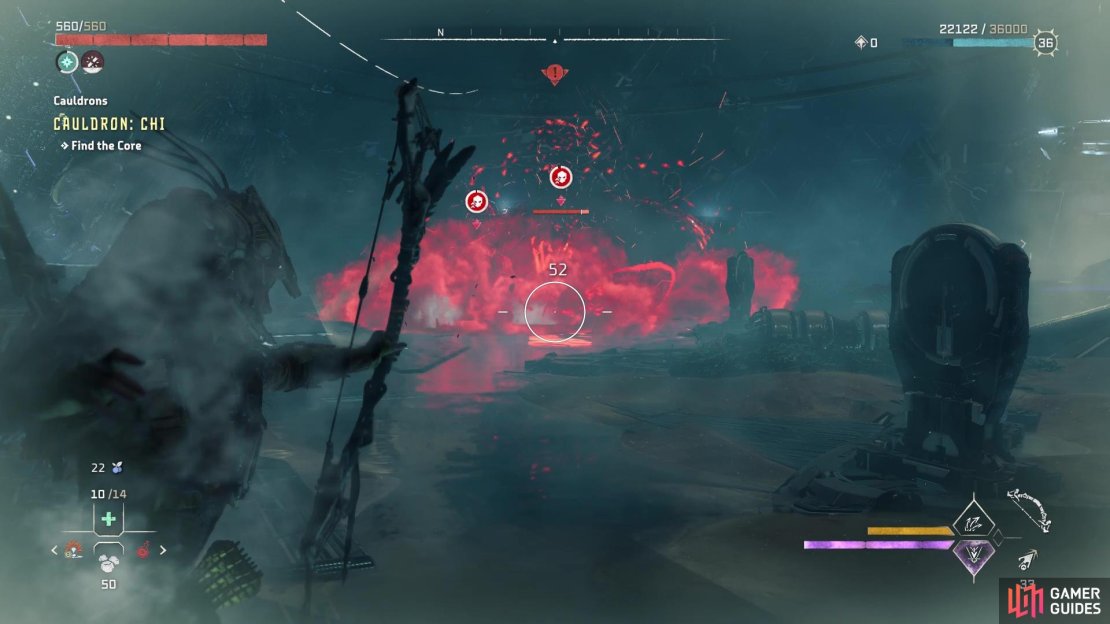
Kill the Slitherfang
The Slitherfang is one of the hardest machines to fight in the game, due to its agility and its attacks causing severe damage to Aloy. It has access to Shock, Purgewater and Acid attacks, all of which can be annoying. The Shock attacks are centered around its tail, which it can use to launch an electric attack that sends out little bits of electricity once it hits the ground. It can also pound the ground with the tail, doing the same thing, and even do two sweeping motions that are back-to-back. In order to disable its Shock attacks, you have to detach the three Shock Orbs embedded in the tail, which are very difficult to hit when the machine is moving.
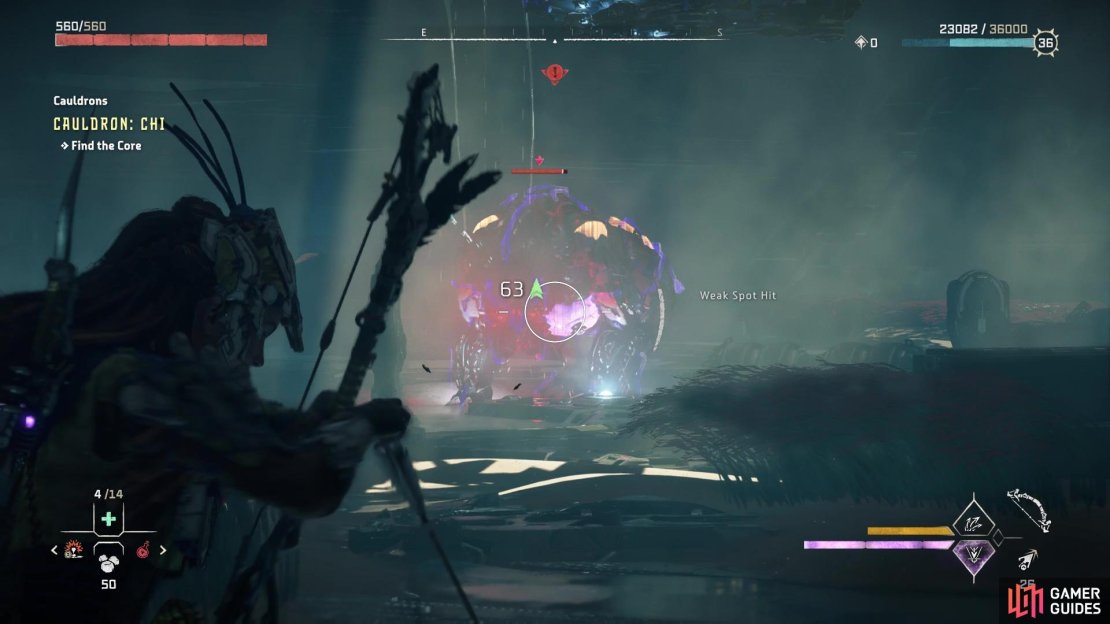
Both the Acid and Purgewater attacks can be disabled by destroying the sacs right below its head. The Slitherfang can change the sac on the front, depending on the element it will be using, so there will be two of them you have to break. Of course, destroying the sac will cause it to explode, putting the Slitherfang in the respective state associated with each element. These attacks are usually attached to some of its melee attacks, although not all of them. The Slitherfang can spit some Acid or Purgewater at you, though, so also be on the lookout for that. You will find that the machine will have a few lunging attacks, too, so there’s definitely a lot to look out for in this battle.
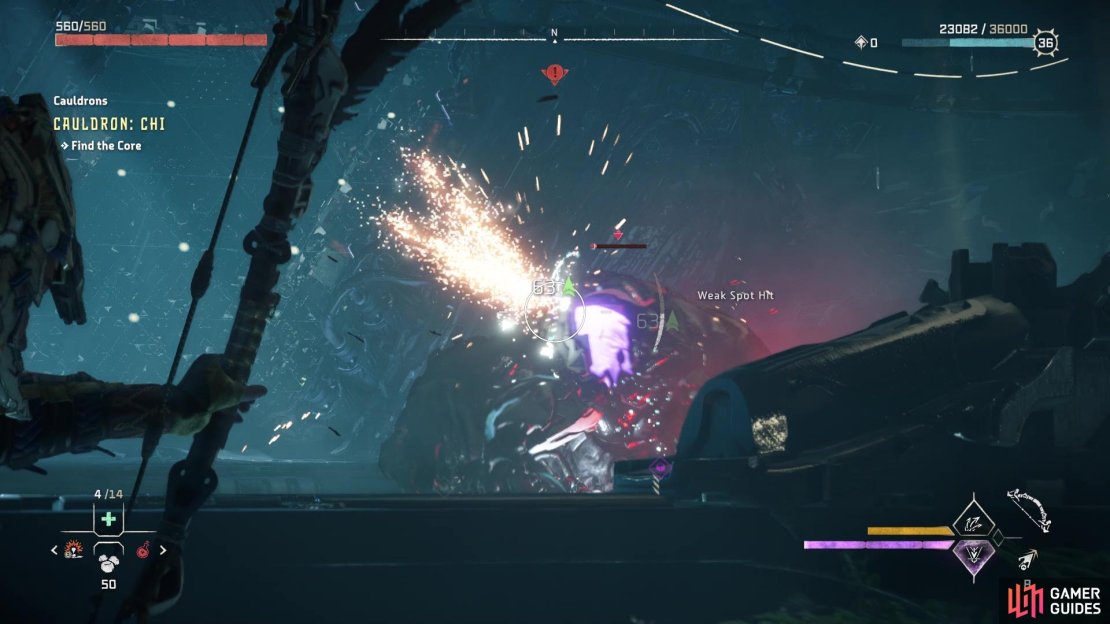
The Slitherfang is weak to Fire, Frost and Plasma, so if you have any of those, then use them to your advantage. On the other end, as you might expect, it is strong to Shock, Purgewater, and Acid, so don’t use those at all. You will probably spend a lot of time on the defensive, since the Slitherfang can be quite aggressive. Also, considering how often the machine moves around, it can be quite difficult to target the components, although something like the Earthgrinders might be a little easier to hit, over something like the Shock Orbs, as an example.
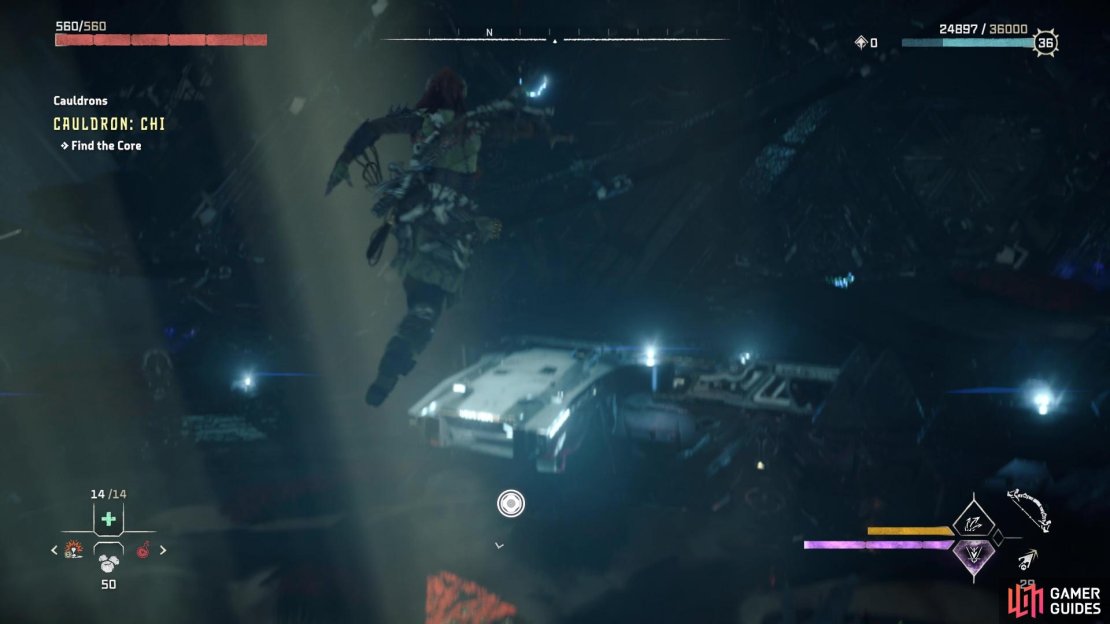
It will likely take a while to defeat the Slitherfang, but it’s not overly difficult. Once you do defeat the machine, you can go and override the Cauldron Core, which will unlock the following Overrides:
- Frostclaw
- Redeye Watcher
- Shell-Walker
- Clamberjaw
- Behemoth
- Stalker (Partial)
- Shellsnapper (Partial)
- Spikesnout (Partial)
- Scorcher (Partial)
- Fireclaw (Partial)
You will be finished with Cauldron and be carried out of the core area. Just walk forward to the entrance and ignite the Firegleam to open the way back outside.
No Comments