
Throughout your journey in Forbidden West, you will come across a variety of Machines, most of which will be out to attack you. This page will concentrate on the Acquisition Machine, the Bristleback.
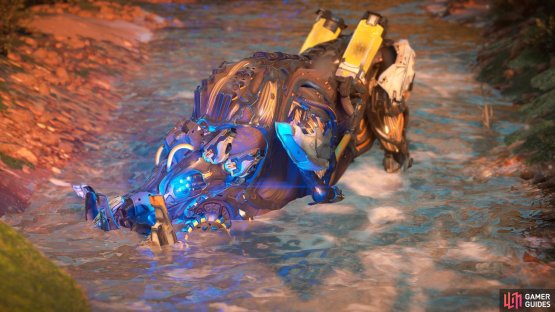

(1 of 2) The Bristleback in the game
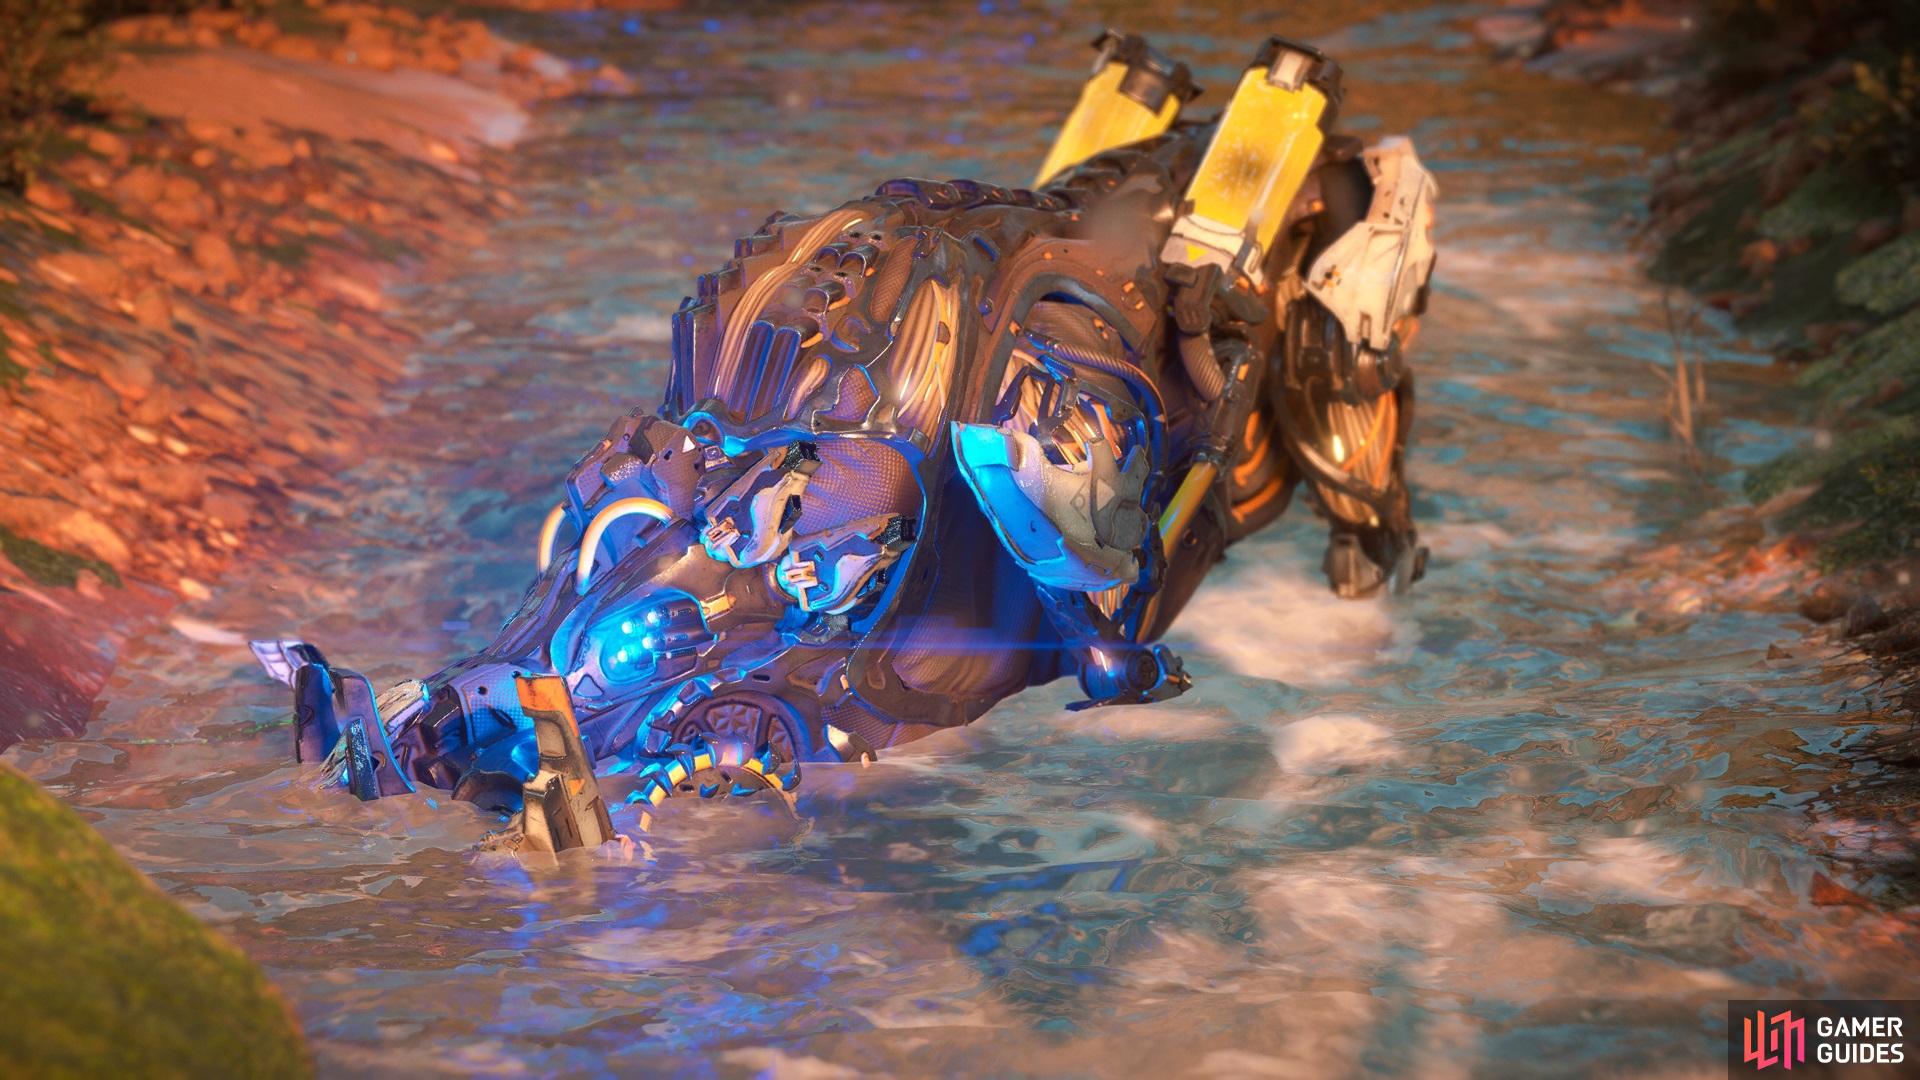

The Bristleback in the game (left), The Bristleback in the notebook (right)
General Information
A herd machine that uses its tusks to dig up resources. If provoked, it can unearth scrap and augment it with Acid for use in ranged and melee attacks.
| Level | Type | Cauldron | Weak | Strong |
|---|---|---|---|---|
| 13 | Acquisition | TAU Cauldron | Shock | Acid |
Tips for Defeating the Bristleback
The first variant of the Bristleback you come across will be the Acid Bristleback, although the other variant you encounter later on, the Fire Bristleback, will be fought pretty much the same way. Bristlebacks resemble large wild warthogs, so if you are familiar with those at all, you have a good idea of what to expect when fighting these things. One of the main moves it does is charging straight at you, but it’s easy enough to dodge out of the way of it. It can also perform a few lunging attacks, none of which are difficult to avoid, either.
Depending on the Bristleback variant, though, if you happen to be up close and personal, it will buck up and cause some clouds of the element to kick up around it. In the case of the Acid variant, you will see little clouds of Acid that will very slowly deplete your health should you stand in them. The biggest attack of the Bristleback will be when it digs up some debris (or a log) of some kind under the ground, then charge at you. As with its normal charging attack, this is very easy to avoid, so you don’t have to worry about it too much, unless you’re fighting multiple Machines at once and it’s coming from a blind spot. Later on, some of the Bristlebacks might dig into the ground, then launch a ranged attack at you, which has a wide area and could be quite difficult to dodge properly.
Acid Bristlebacks will be weak to Shock, while Fire Bristlebacks are also weak to Shock. This element will help to slow them down some, should you concentrate on using it. Depending on the variant being fought, you can utilize either Acid or Fire arrows to shoot the canisters, which will slowly build to an explosion that causes heavy damage to the machine itself, as well as possibly to any machines in the immediate area. Due to their limited number of attacks, the Bristlebacks (at least the normal variants) are pretty easily dispatched and you shouldn’t have to worry too much about them, provided you aren’t being targeted by a large number of enemies.
Loot (Body)
All of the loot in the table below can drop upon killing the Machine and looting its body.
| Loot | Chance to Drop |
|---|---|
| Metal Shards | 100% |
| Metalbite | 100% |
| Sturdy Hardplate | 69% |
| Machine Muscle | 31% |
| Bristleback Circulator | 23% |
| Braided Wire | 21% |
| Medium Machine Core | 17% |
| Bristleback Primary Nerve | 15% |
| Metal Bone | 10% |
Loot (Tusks)
The Tusks are located on the front of the Bristleback, by its mouth. Similar to other parts on other Machines, the Tusks are used in some of the Bristleback’s attacks, so shooting them off will remove those attacks. This is especially true when the Bristleback digs up debris and charges at you. Shooting these off will also net you an exclusive resource you cannot get anywhere else. This part is destroyed upon killing the Machine.
| Loot | Chance to Drop |
|---|---|
| Bristleback Tusk | 100% |
Loot (Grinder Discs)
The Grinder Discs are located on either side of the mouth and can be extremely difficult to target, thanks to the Bristleback’s movements. If you wish to shoot these off, then you will need to make use of Aloy’s Concentration (aim and hit R3) to slow down time to make it easier to hit. It’s a little unclear which attacks use the Grinder Discs, but you do disable an attack or two for shooting both off of the Machine. This part is destroyed upon killing the Machine.
| Loot | Chance to Drop |
|---|---|
| Braided Wire | 66% |
| Piercing Spike | 51% |
| Sturdy Hardplate | 35% |
| Bristleback Primary Nerve | 11% |
Loot (Acid/Fire Canister)
The Acid/Fire Canister, of which there are two, is located on the back of the Bristleback and function like any other elemental canister on other Machines. You can knock them off to loot Metalbite, but if you shoot them with Acid/Fire Arrows, then you can cause a reaction that makes the canisters explode. Not only does this cause major damage to the Bristleback itself, but it can also harm other Machines in the vicinity. This part is destroyed upon killing the Machine.
| Loot | Chance to Drop |
|---|---|
| Metalbite | 100% |
No Comments